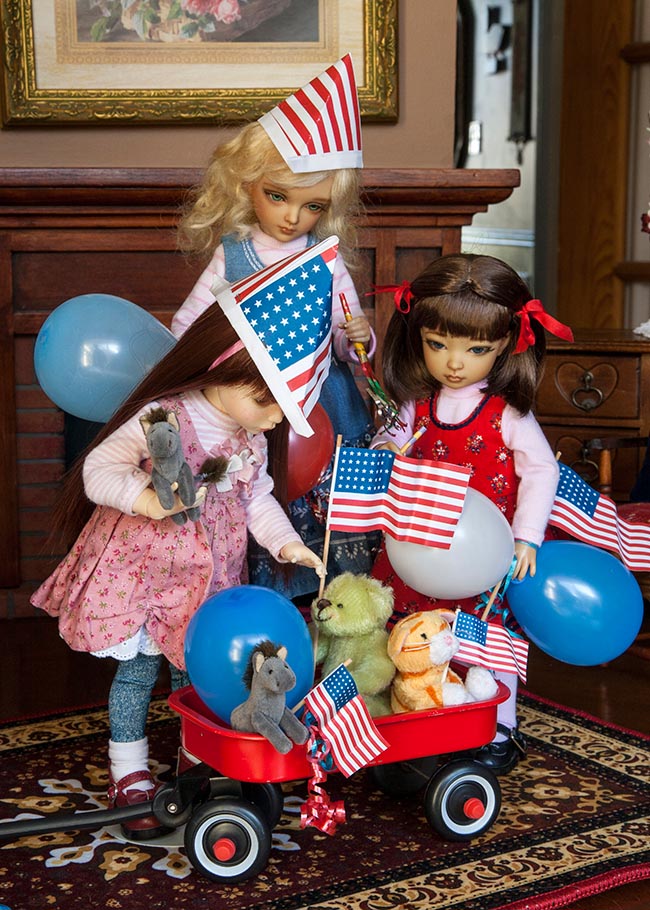
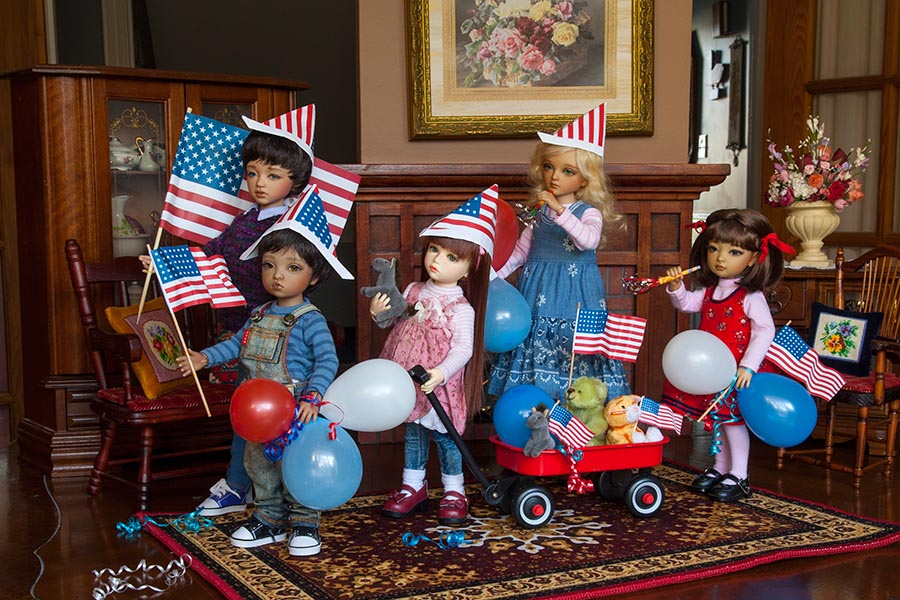
Much of the world is celebrating with America today.....
|
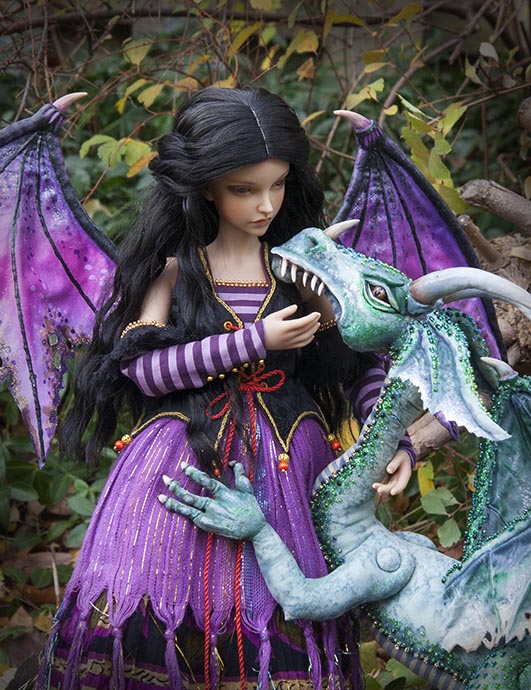
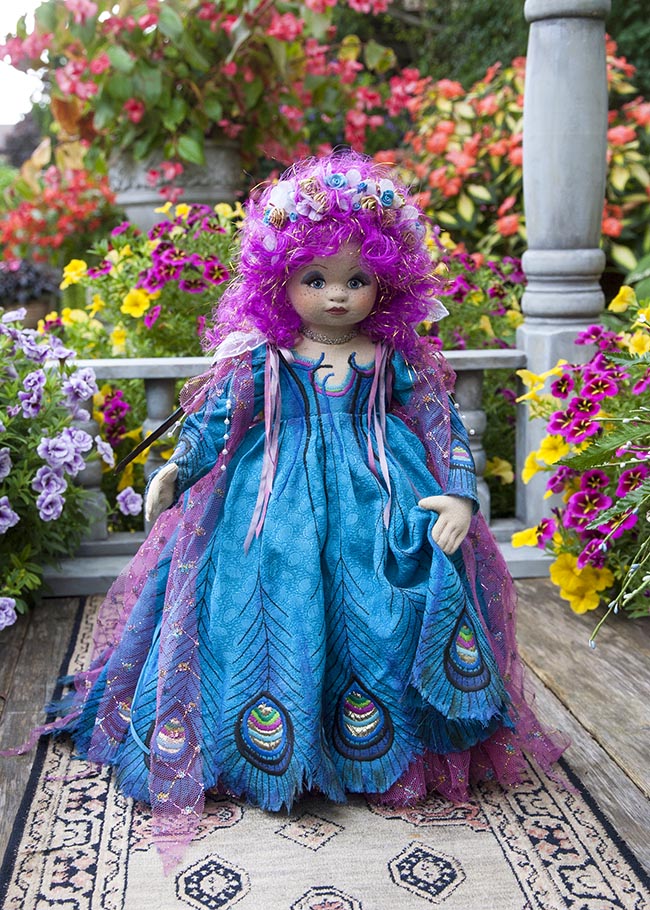
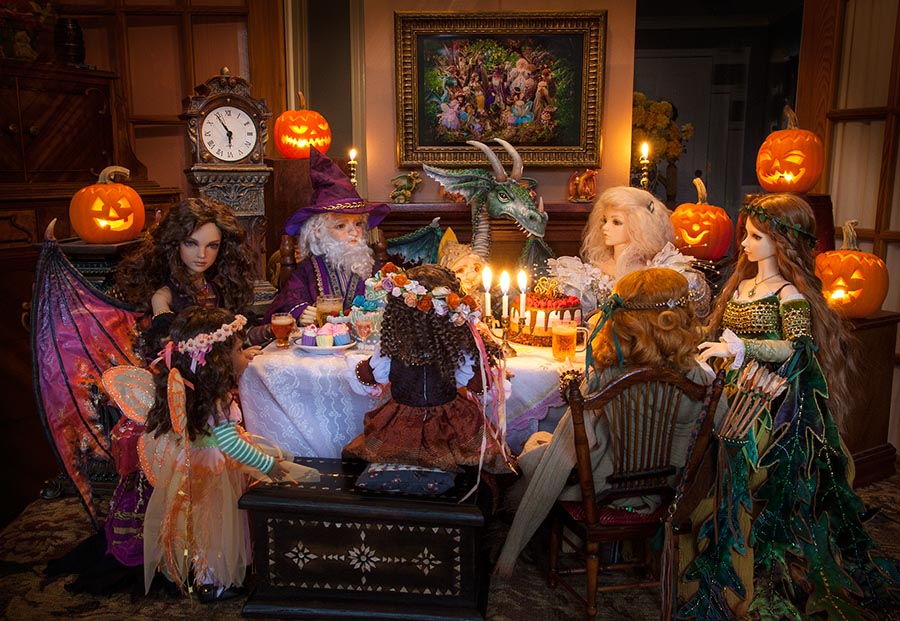
The little Jack-o-lanterns had been sitting around for a while, and they were getting worse by the day, especially the one with the yellow comb-over. So it was time to take them out and dump them all on the compost heap.... 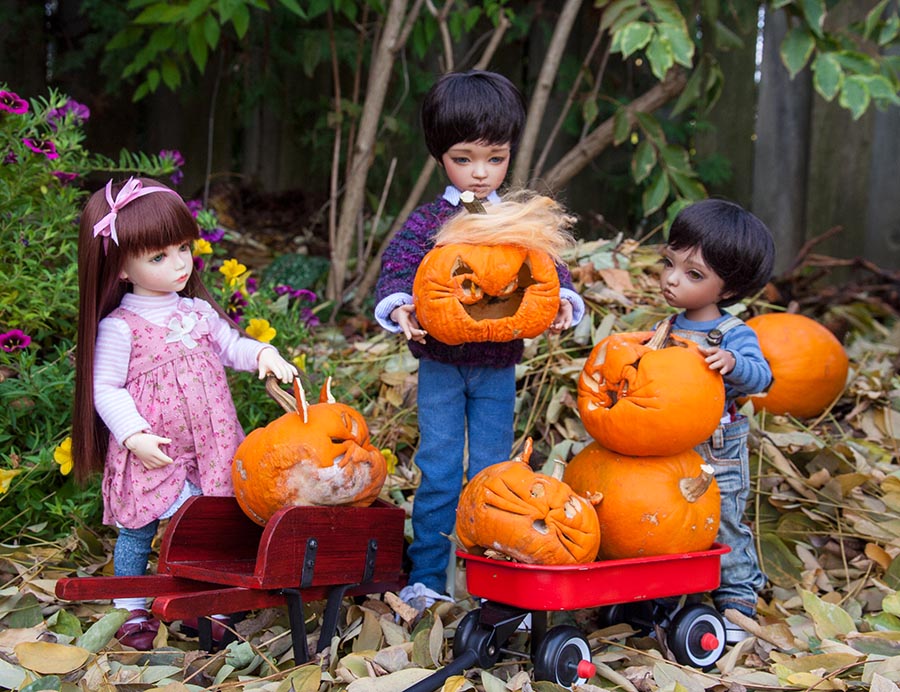 "That one is really bad...." 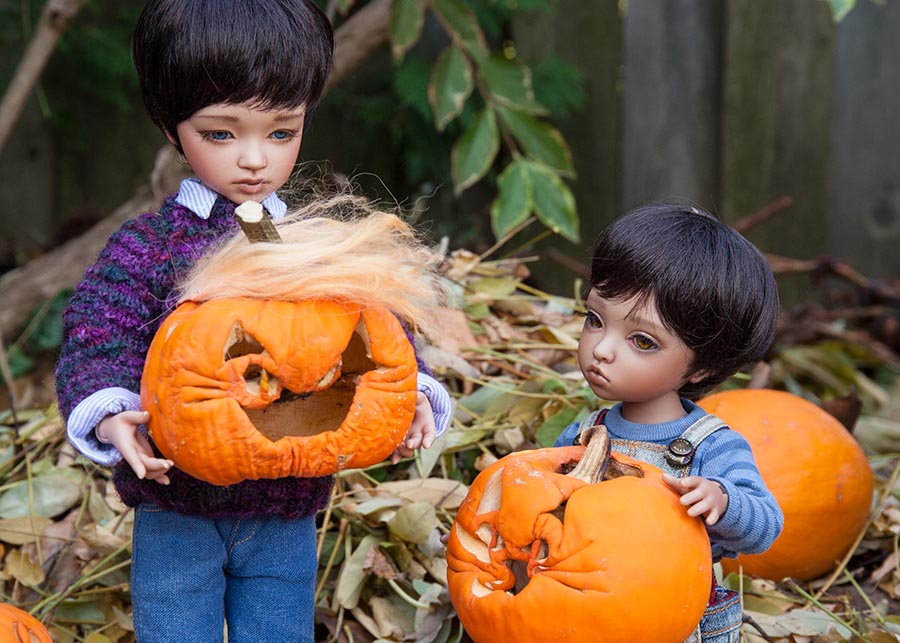 "It's downright scary!!" 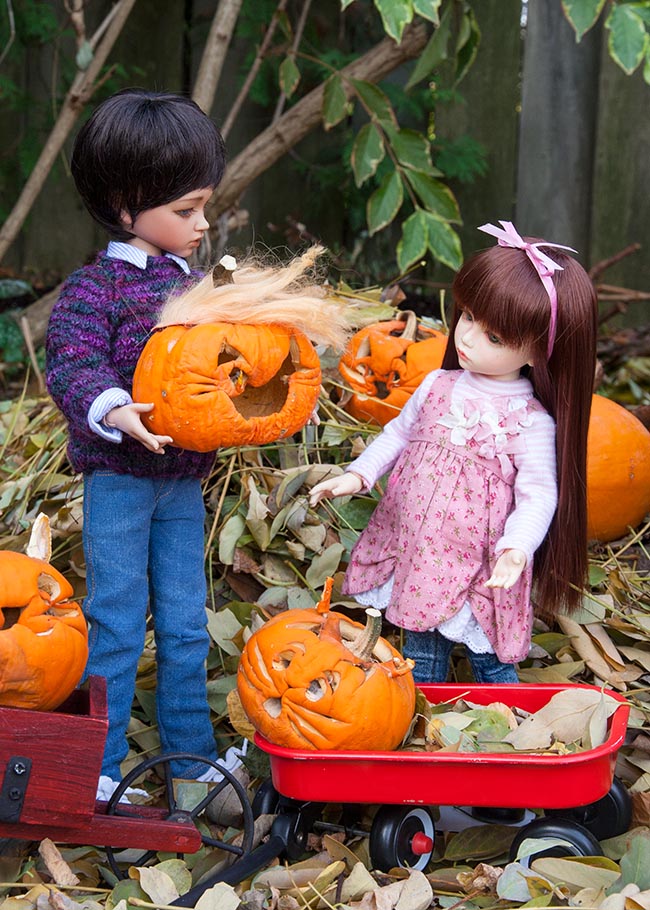 "Definitely the worst of the bunch..." 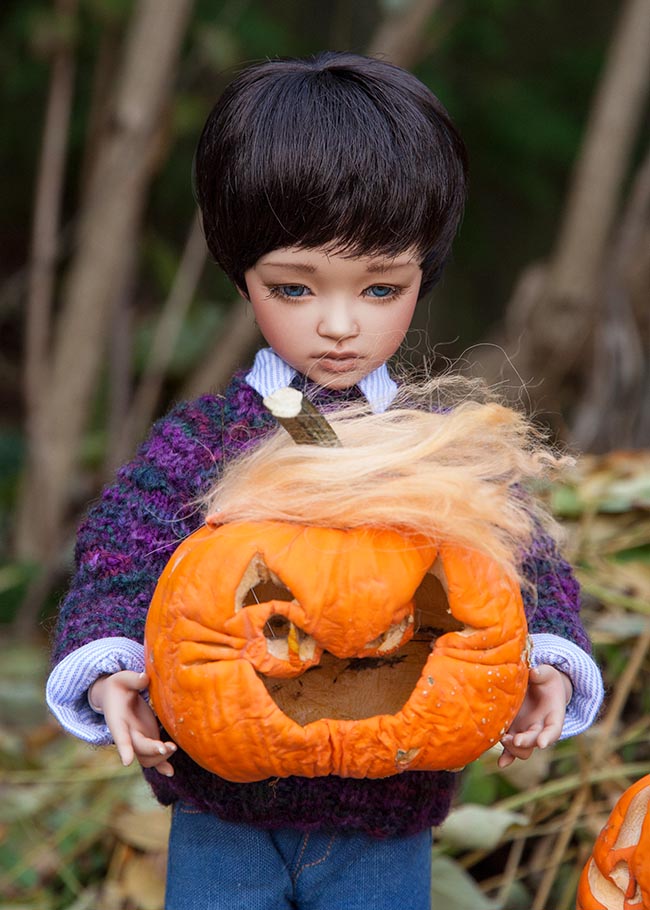 "It's time to chuck him..." 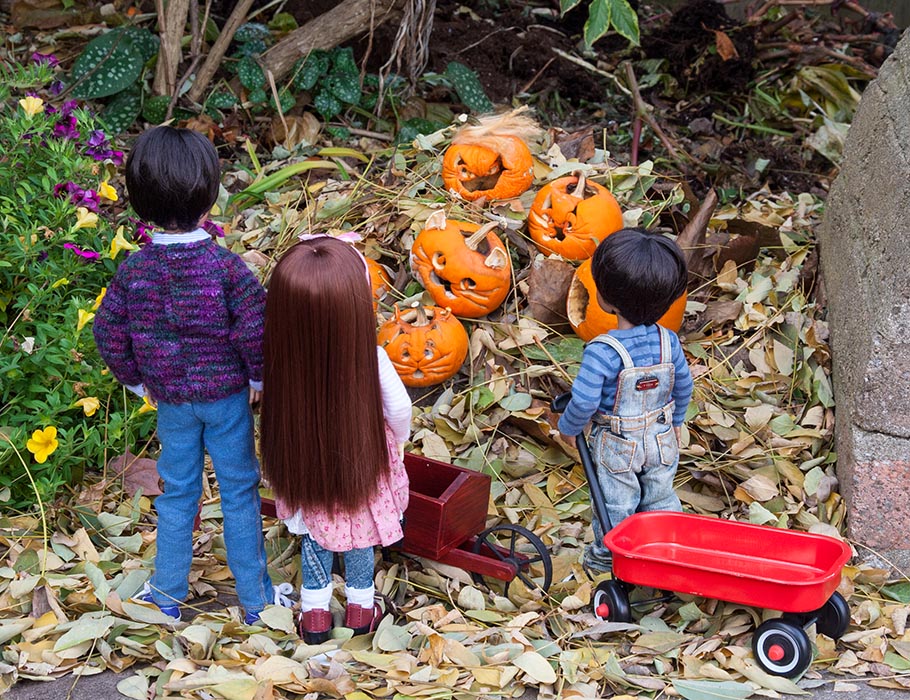 And they tossed him on top of the hill where he belonged... 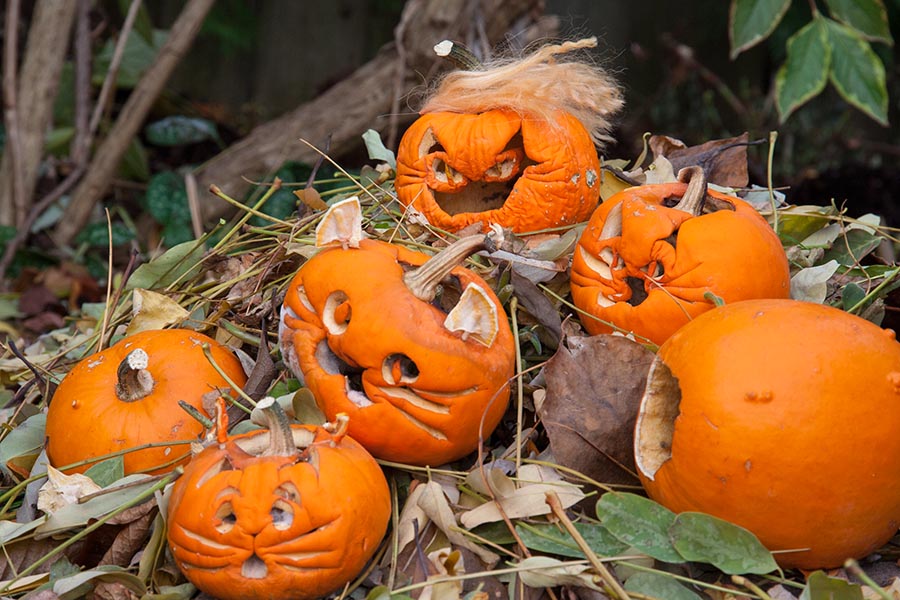 Sharing some more behind-the-scene photos from the Magic Talisman cloth doll series. Taking away the dolls that I'd posed in the woods... 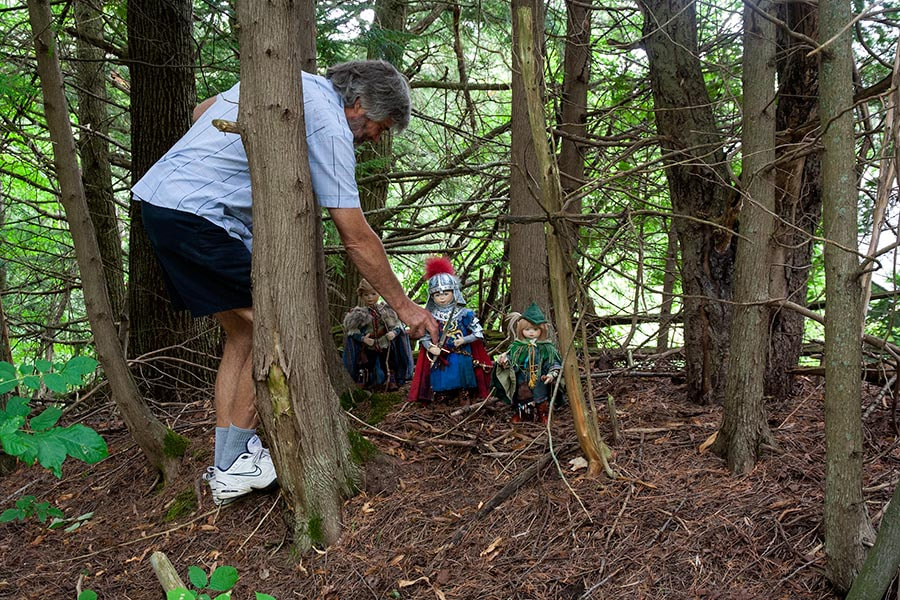 ..for this photo... 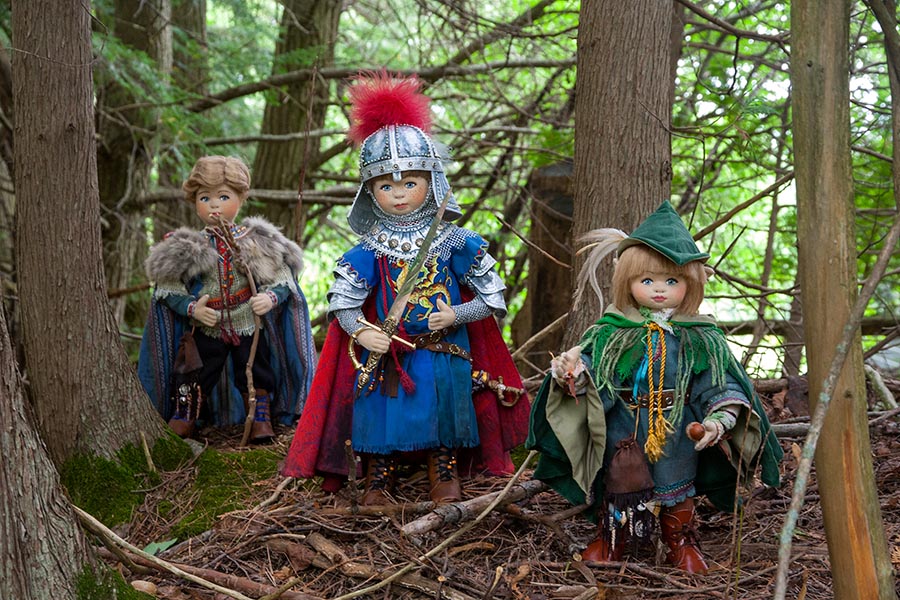 Making a few final adjustments at the Ruins... 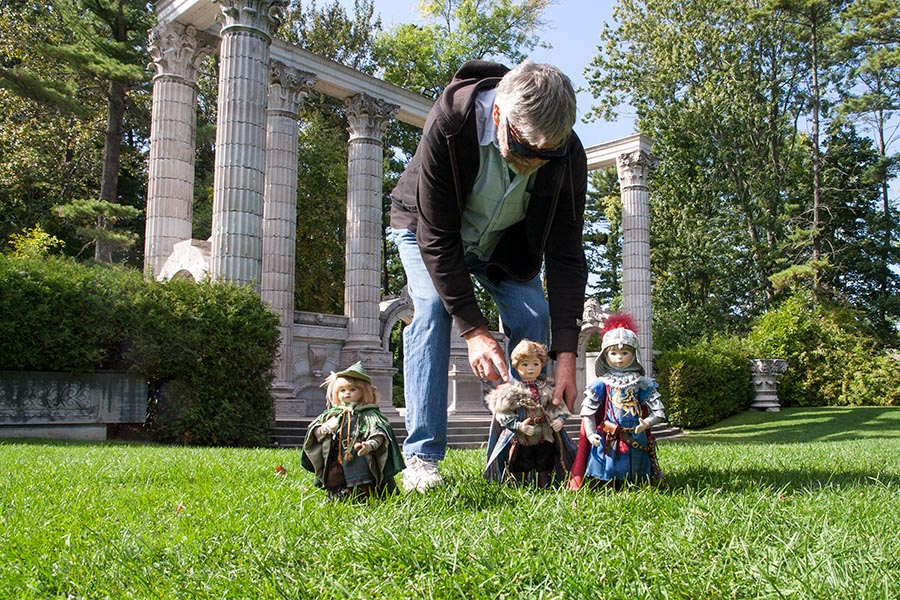 ...for this photo.... 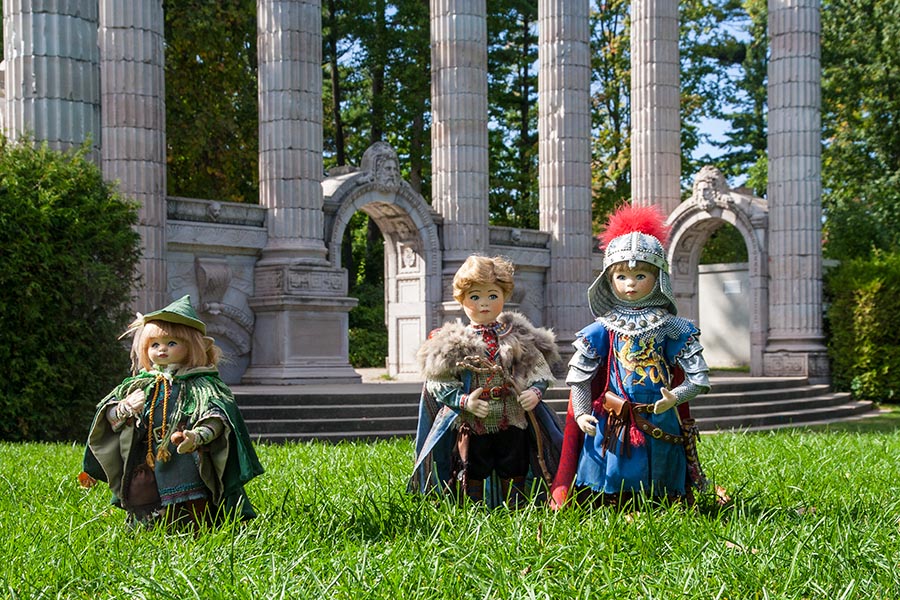 And a lighting tip. I like to pose my dolls on our patio table, which works great in summer when the sun is high overhead, but in fall the dolls are facing away from the light so their faces are in shadow. I don't like to use a flash, since it usually gives way too much light, and makes the dolls look unnatural. So that's when a white card is useful to help bounce some more light onto their faces. On the left is my sorceress shot naturally, and on the right, with white card....
Then one final scene of Jan packing up the dolls after a photo shoot in a field north of us.... 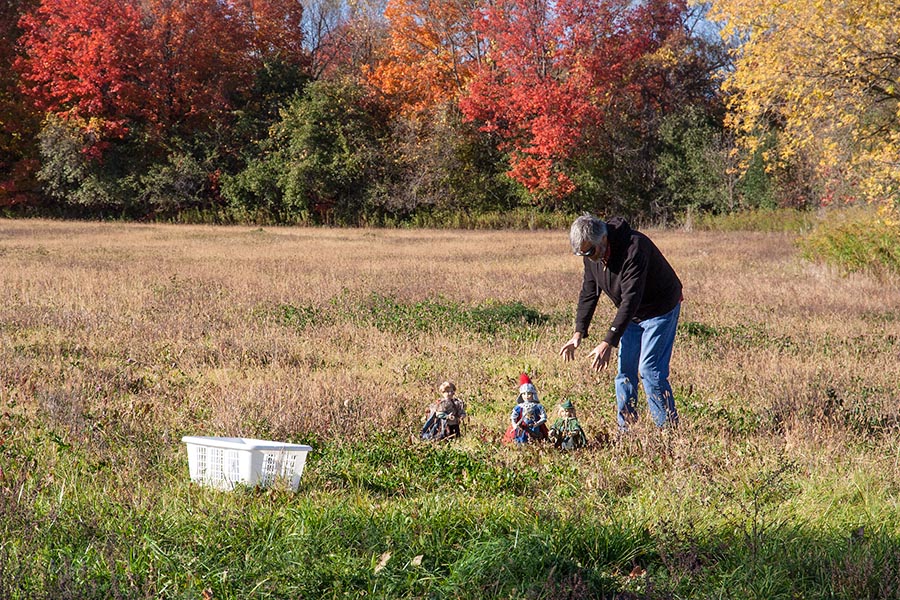 One of the photos I took while laying on a tarp on the ground.... 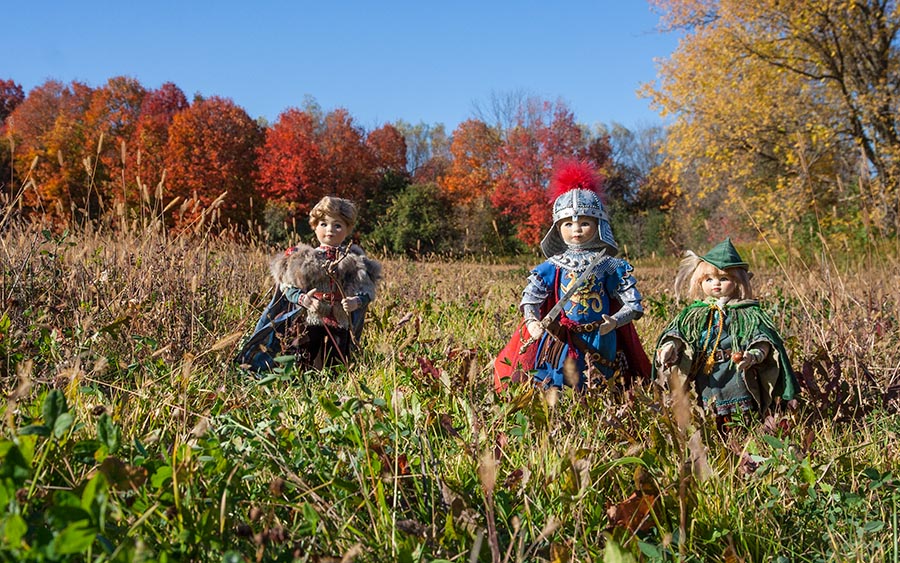 *See all the photos in 'Behind the Scenes 2'
I'm in the process of changing the 'Just Patterns' section in Tutorials. Originally you would click on a thumbnail and the pattern pdf would appear. But I decided that since it's just the patterns, with no instructions, people could use a little more than that. So I'm in the process of changing it, so a thumbnail will link to the Gallery page that features the outfit the pattern is for. That way people can get a better look at what the outfit is supposed to look like - front, back, sides, closer up, etc. Pattern pdfs will be added to the end of the page, along with any new detail photos I can take. I'm hoping this will help some. The newest Just Pattern, added yesterday, is for Steve's Victorian coat.... 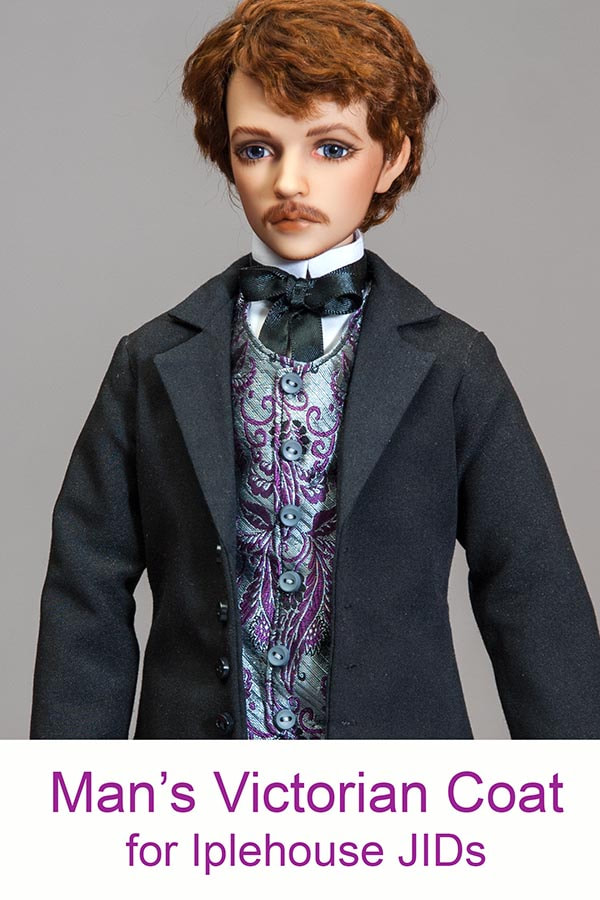 Anyways, it will take me a bit of time to switch everything to the new format, but I will get there eventually, so bear with me.
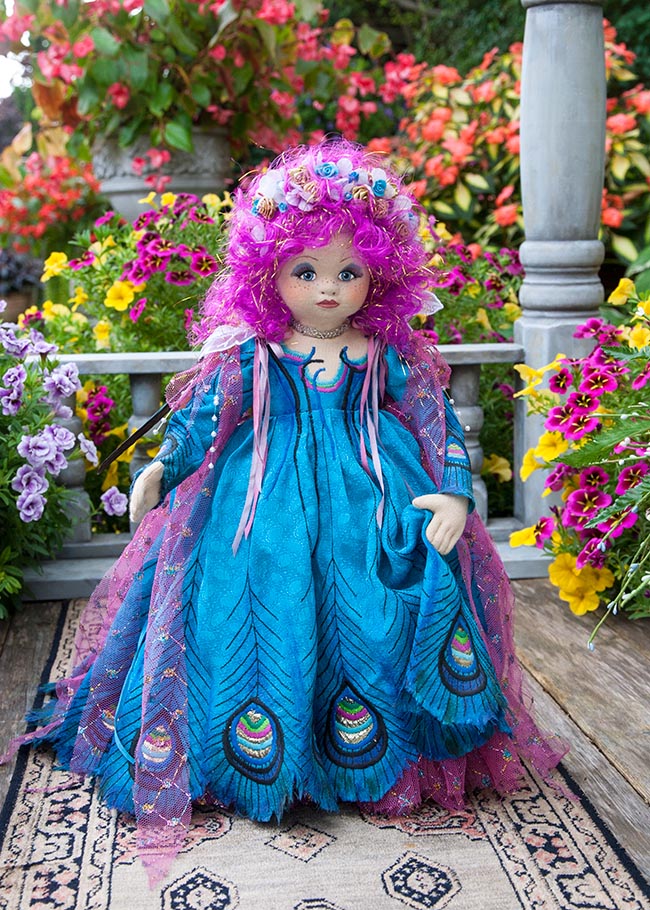
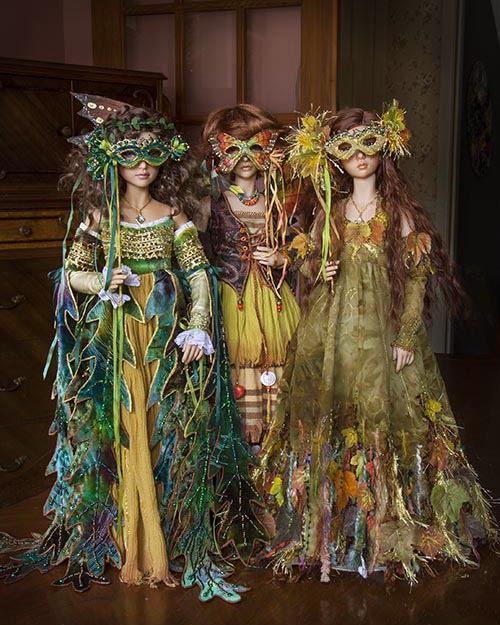
With the two Princes reunited at last, they confronted the Evil Queen.... 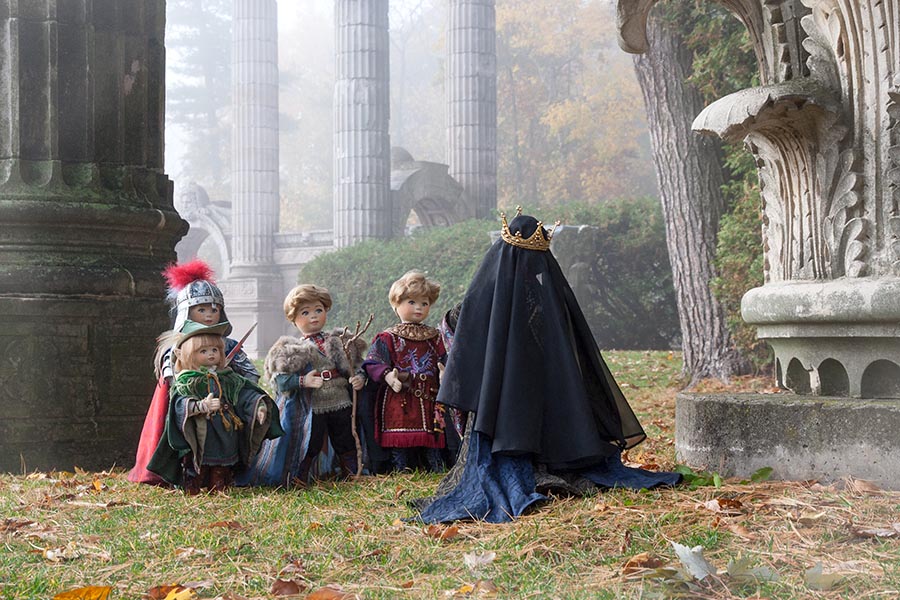 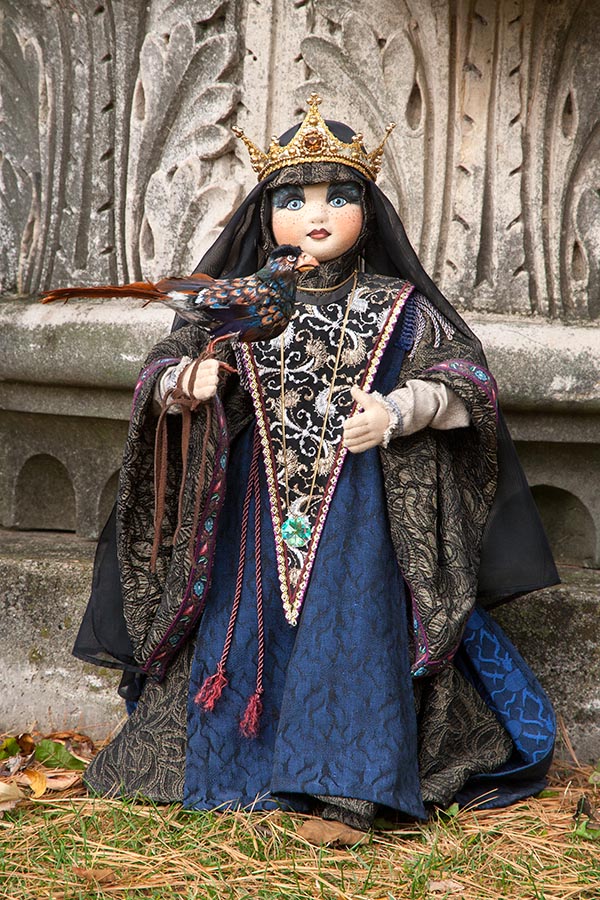 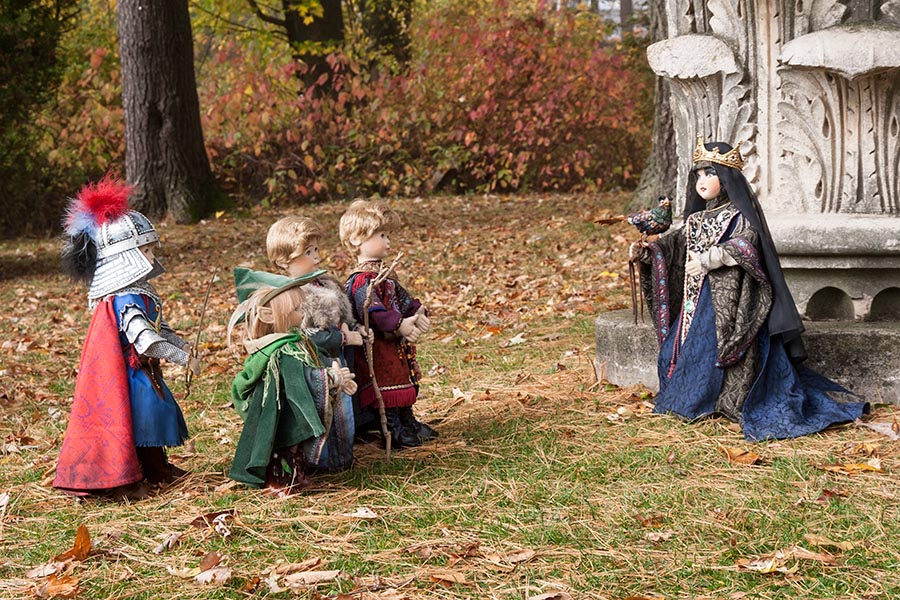 The two princes put together their halves of the Magic Talisman.... and the Evil Queen was no more.... 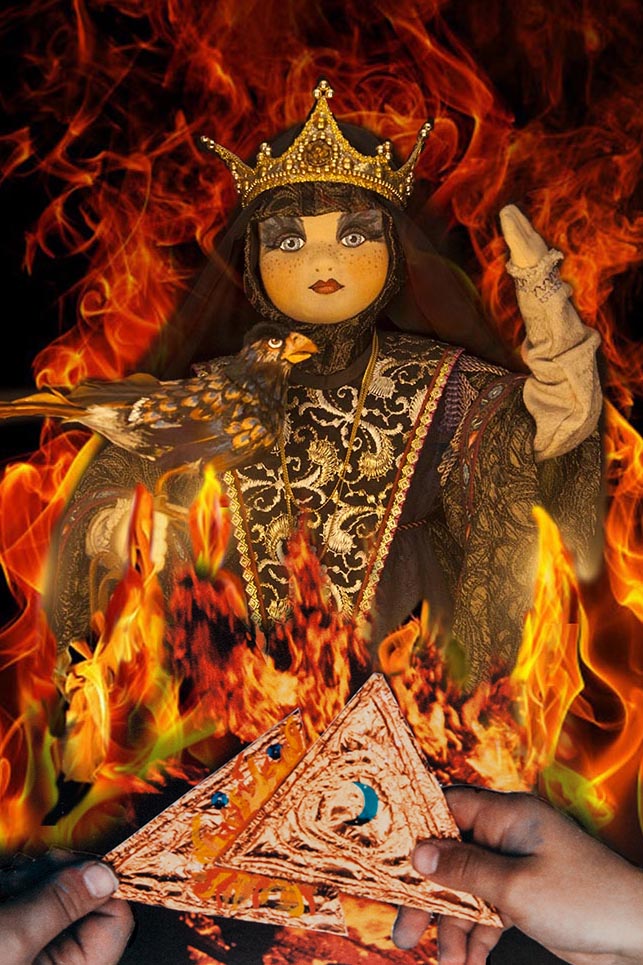 All her evil spells were broken, the kingdoms were restored,
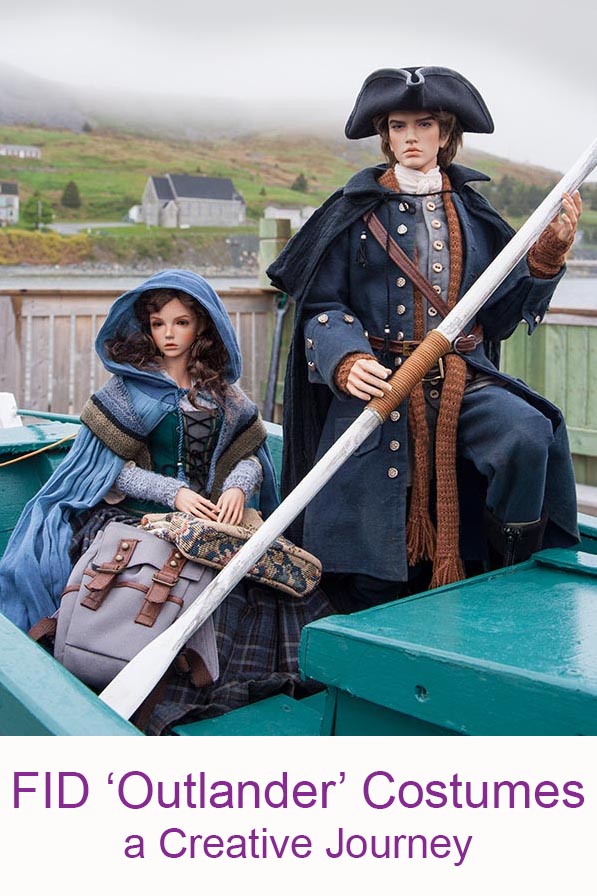
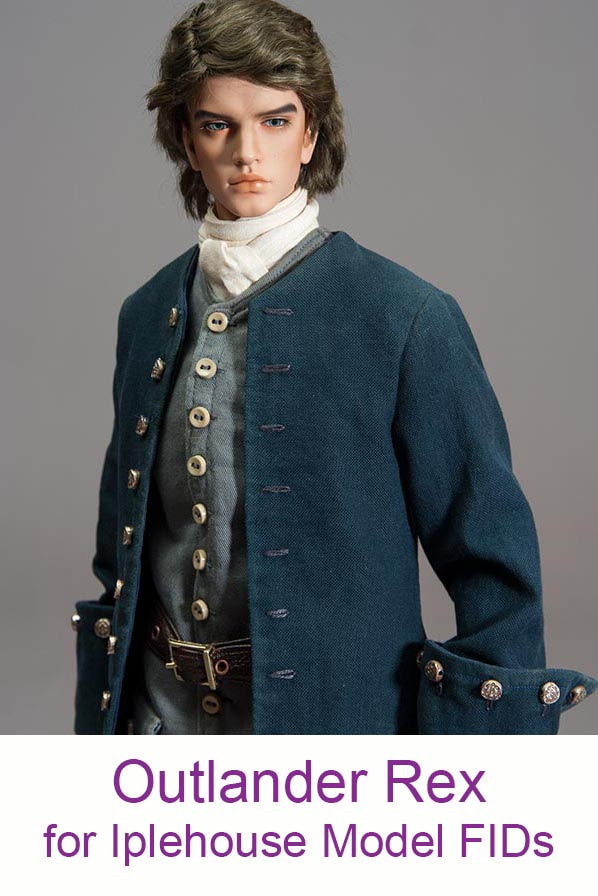
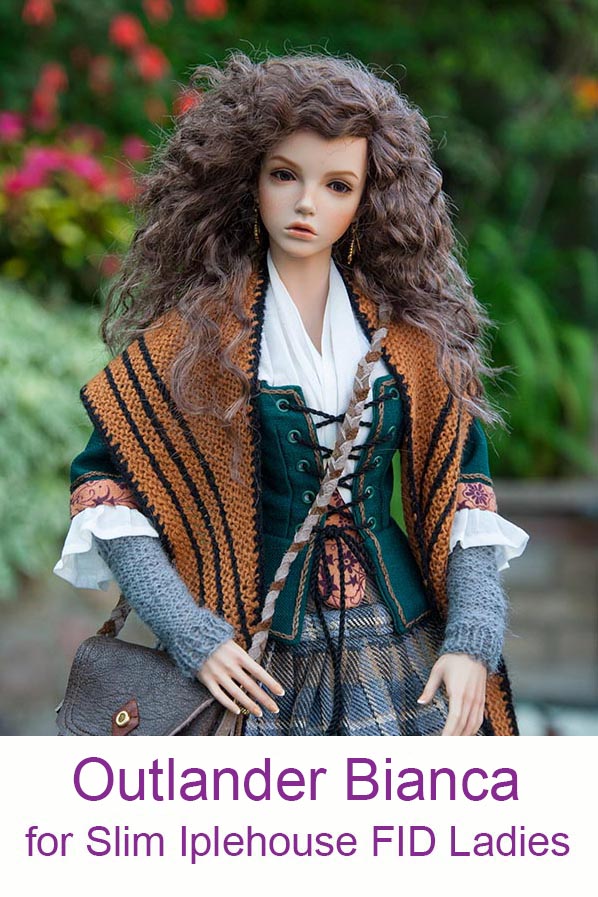
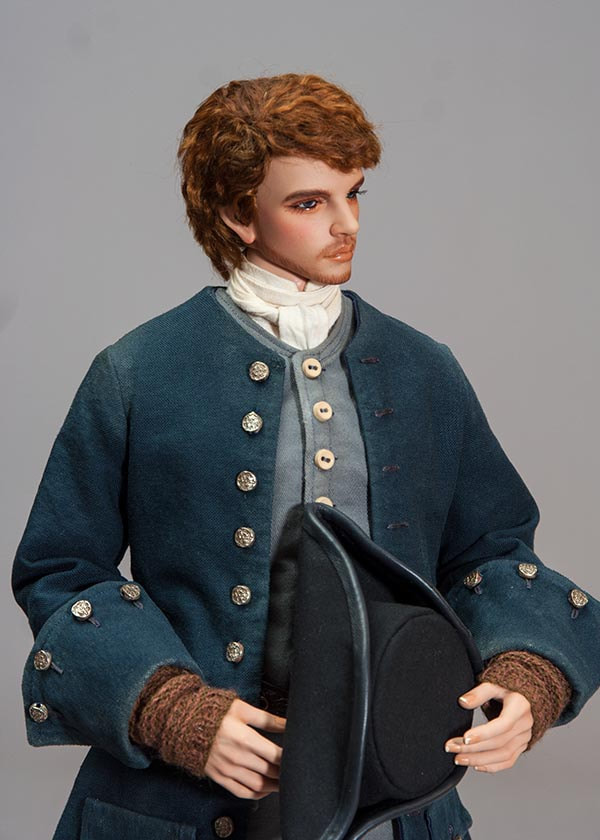
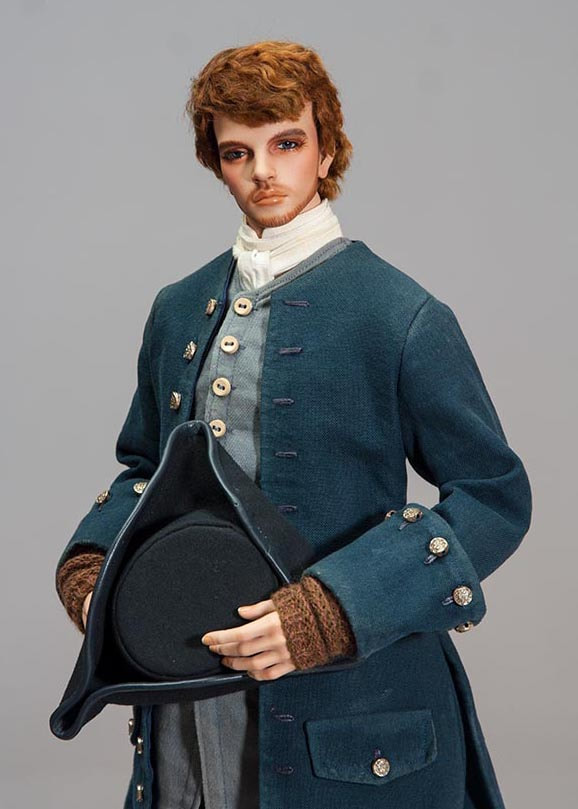
and the survivors all lived happily ever after. I've released the patterns for my FID Outlander costumes. The pdfs contain all the patterns and templates for the respective outfits. There are no instructions, but photos and under construction descriptions in the 'Outlander Creative Journey' may help. I have added the pattern pdfs to the 'Outlander Creative Journey'.... and to the individual Gallery pages for their specific outfits...
*Note, that even though Rex's outfit was designed for his Model body, it also fits my Lawrence, who has the Muscle body.... 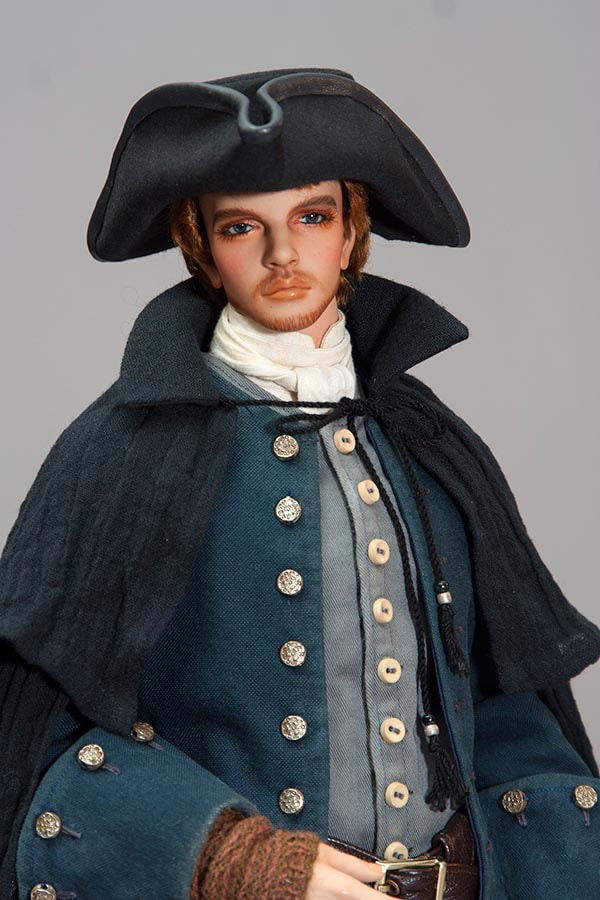
Eden has a shirt.... 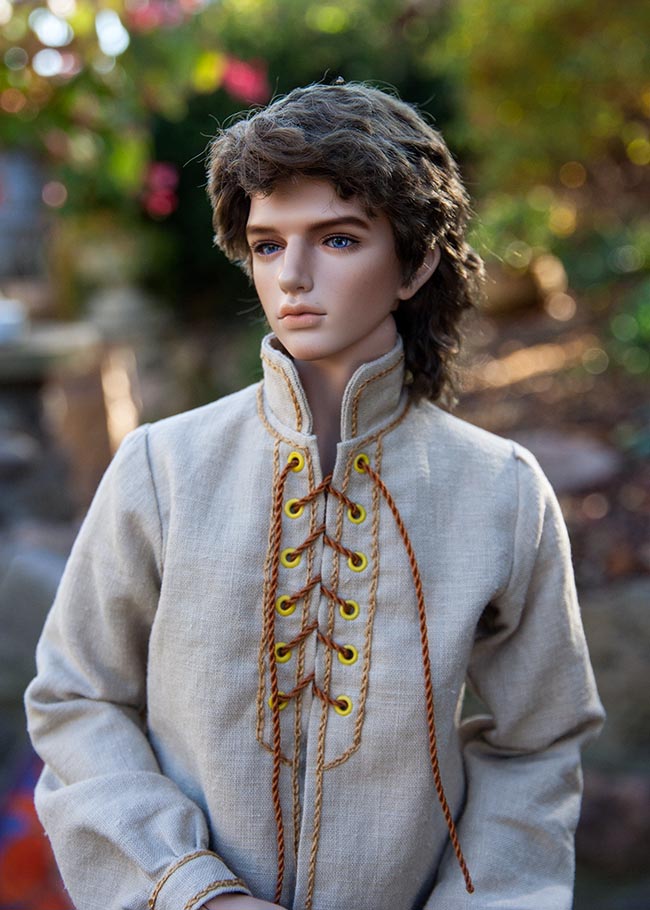 It should have been an easy one-day affair, but like usual these days, I ran into several issues. First, when I clipped the neck seams after sewing in the collar, I accidentally cut two small holes into the upper back section of his shirt. I thought 'here I go again!', since I had done something similar on the last outfit I made, but that time it was a hole in the outfit's sleeve, and I had to pick it apart and make a whole new sleeve. But this time I was way too far along to rip it all apart. The only option would be to completely start over -or patch the holes. Since the holes were right in the middle, I decided to sew on a little patch.... 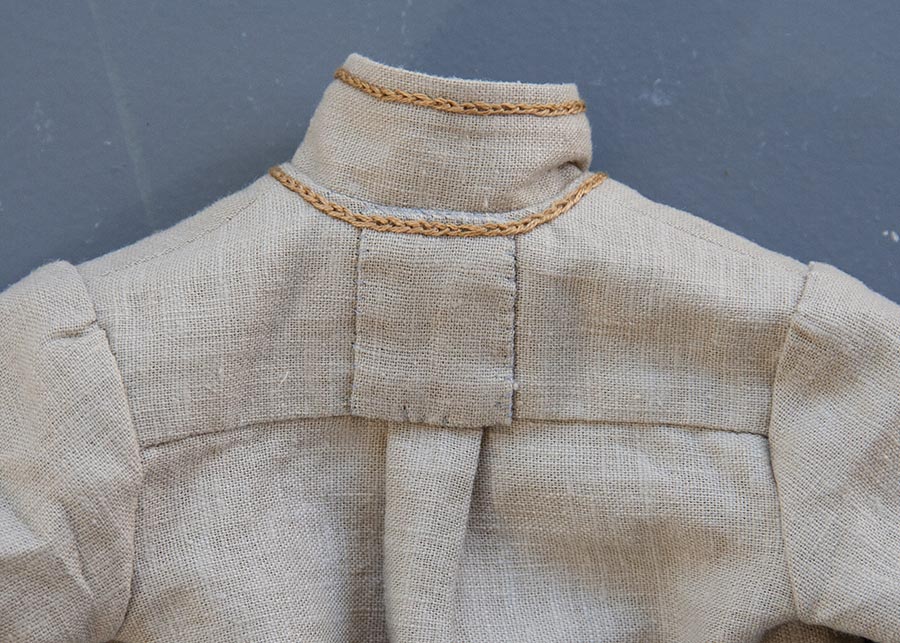 Then I made the mistake of choosing the eyelets in the evening by artificial light. I thought I had chosen 'beige' ones to match his shirt, so installed them all. But in the morning light the true colour revealed itself - they were bright yellow! Eyelets are impossible to remove without ruining the fabric, so I was stuck with them. Another thing that occurred to me was that eyelets tend to have 'sharp' edges on the back. I do try to make them as smooth as possible, but there's always the risk of a bit of a sharp edge, and them scratching the doll's resin if the garment is directly on his skin. So I sewed some narrow strips of the same shirt fabric on the inside of the shirt to protect the doll from the eyelets....  I basted the strips on by hand, then did an extra row of chain stitch over the basting, to hide it. Then made some cords for the lacing, and Eden's shirt was done....  Now I need to start the next layer of his outfit....
|
AuthorMartha Boers is an award-winning Canadian doll maker and costumer specializing in fantasy and historical-style costumes. Archives
May 2024
|
 RSS Feed
