Antique Lilac
  • Home
  • for Sale
  • Galleries
  • Favourite Photos
  • Tutorials
  • Blog
  • Links
  • Books

Doll & Ponies

3/31/2015

1 Comment

 
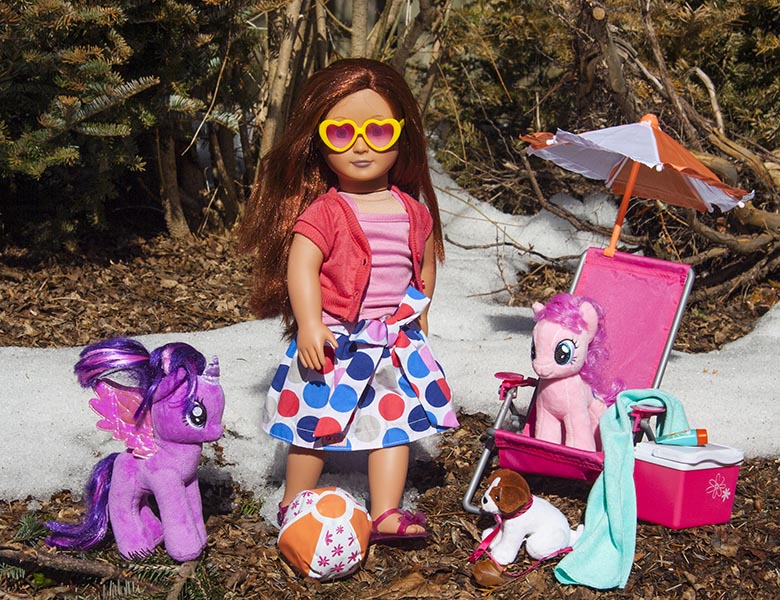
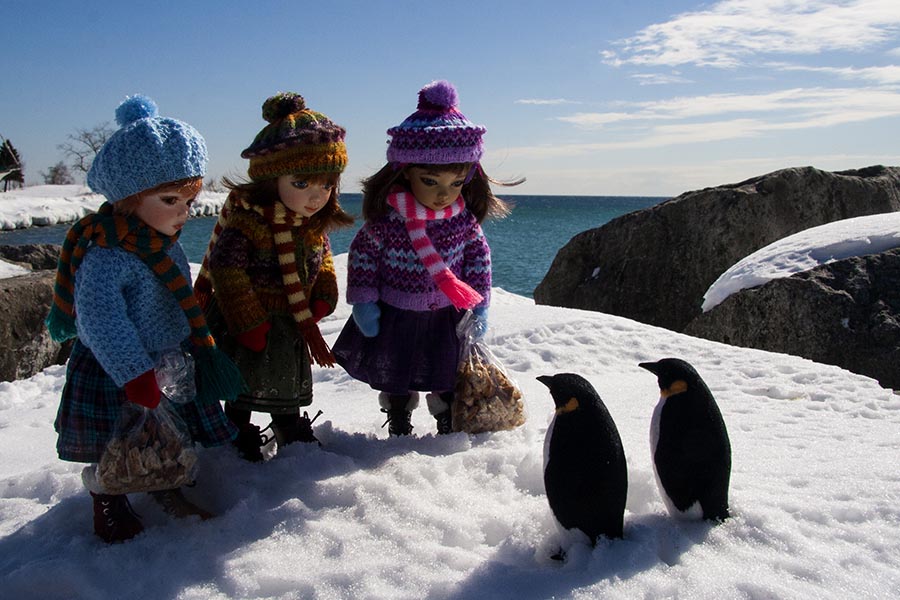
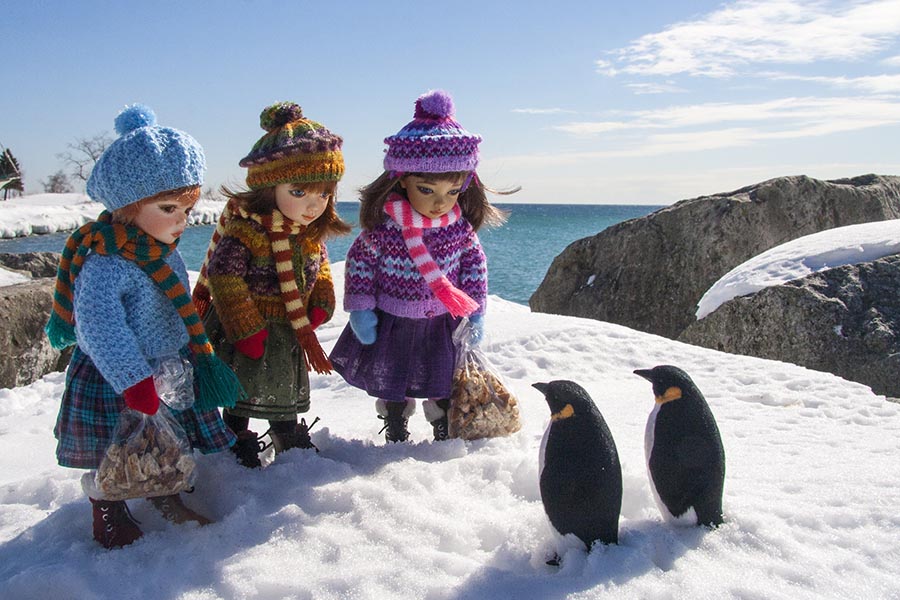
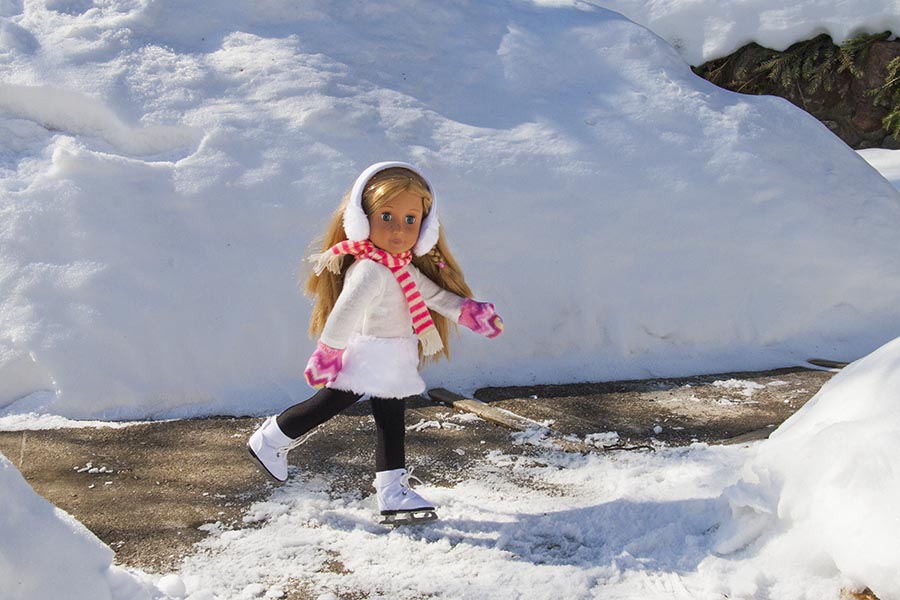
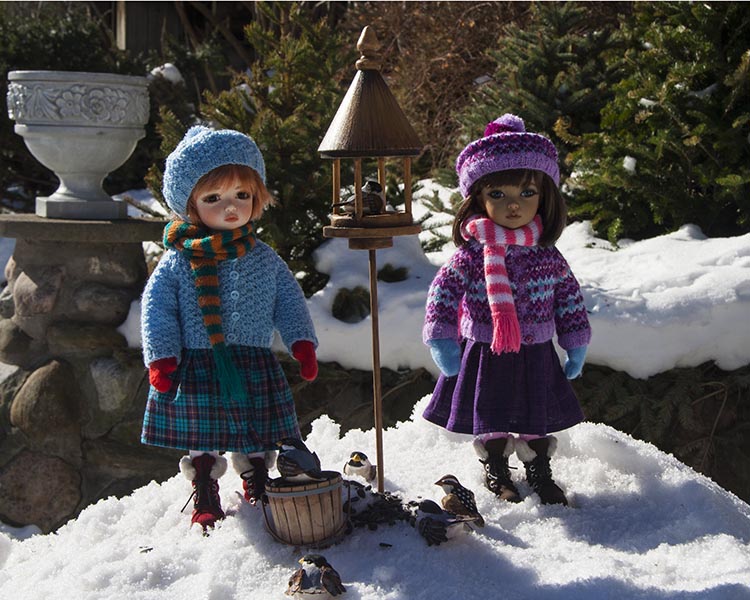
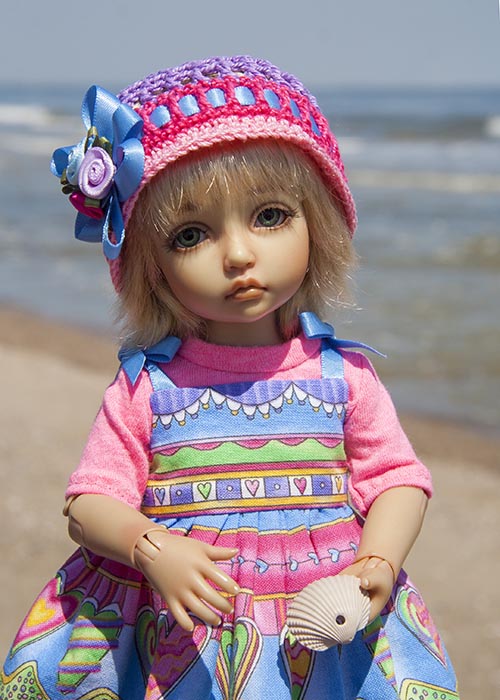
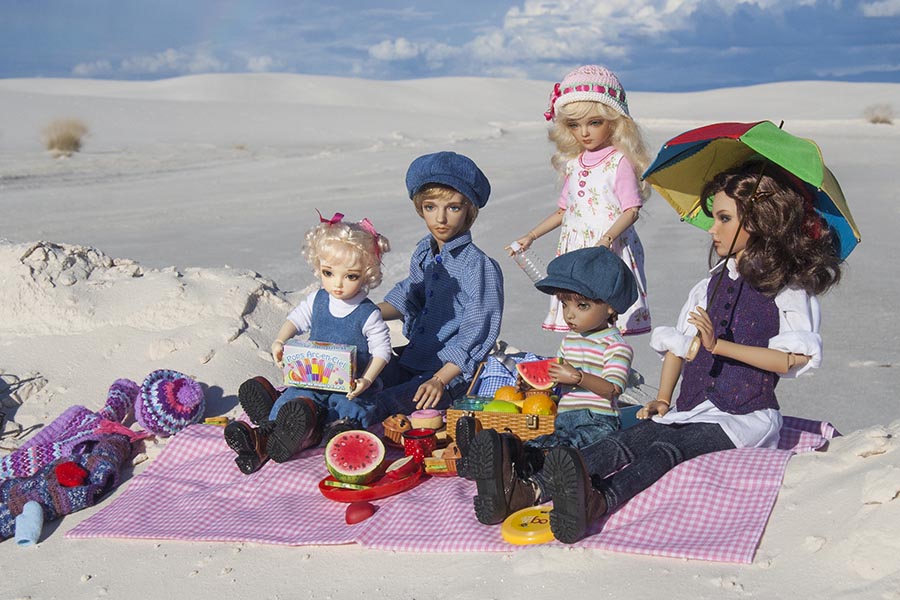
This past Saturday Teagan brought a doll with all kinds of beach accessories, and since I'm not partial to shooting 'outdoor' scenes inside, I took everything outside - even though it was minus 10 - and chose a spot where there was still some snow.....
Picture
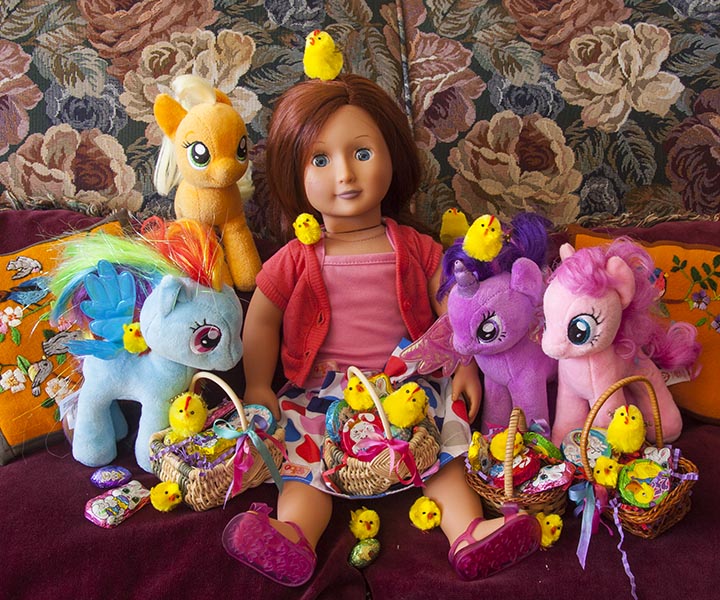
Then we had fun filling Easter baskets for the doll and ponies, for an Easter portrait....
Picture
1 Comment

Ordered a New Boy

3/30/2015

7 Comments

 
In a new, unexpected turn of events, several of my smaller dolls are going to get the opportunity to become 'fantasy adventurers' - a group of pirates, or a tiny LOTR group, or something else totally fantasy barbarian-ish.  And they need a 'leader', so Jan wanted me to choose a KID that would make a good boy, and he'd order him for my birthday next month. I had a hard time choosing since only a couple of the KIDs look like they could pass as boys in my opinion. At the end it was between Lisa and Milly, but I finally chose Milly since she's a different sculpt that I don't already have....
Picture
Milly in the photo above is Peach-Gold, but I'm getting mine in Real Skin.  Not sure what 
I'll name him - maybe Milo?  I'll wait until he gets a face up and a wig, and then decide.
7 Comments

Two Renaissance Girls

3/30/2015

10 Comments

 
I finally finished the first two Renaissance costumes. I had hoped to take photos of them at the Ruins Gardens in Guildwood, then in the studio, so I could move on and use the girls for the next two costumes. But it was way too windy, so I just took a couple of quick photos in the backyard.

I decided that I didn't need to make a 'dressing ball' to replace Rosy's one hand after all - I just used a large S-hook to keep the elastic from shooting up inside her arm. It was a bit fidly to remove her hand and put it back on after dressing her - I could have used an extra hand of my own - but it worked perfectly, and Rosy looked beautiful in the green, especially with her long red hair....
Picture
And then there's Ryung in the dark red version....
Picture
So now I'm working on finishing the last two, and hoping to take photos some time later this week.
10 Comments

Sunsets

3/29/2015

3 Comments

 
This is the one time that you do want to be shooting into the sun, or better yet, shooting into the bright sky after the sun has gone down. This is one of the few times you do want a brightly coloured background (the sky) with the dolls as mere silhouettes. But it's best not to have the actual sun in your picture, as it's not good for the camera sensor, so wait until the sun is behind a cloud or sinks below the horizon.....
Picture
Don't use a flash to highlight your dolls, because in my opinion it ruins the entire feel of the photo.   Compare these two photos....
Picture
Picture
The one with flash might show the dolls better, but the photo without flash is a much nicer picture. Taking photos in such low light can be challenging because of 'camera shake' when the shutter speed gets really slow. I can shoot hand-held down to 1/8th of a second and if I take several shots I have a pretty good chance at least one will be reasonably sharp. Slower than that and I really have to use a tri-pod. So familiarize yourself with your own camera so you know how low a light you can get away with - or use a tripod.
Picture
3 Comments

What if There's No Choice?

3/28/2015

4 Comments

 
What if you are somewhere and you want to take a doll photo and you have no choice but to shoot into the sun?  Go ahead and take it anyway, just be careful not to shoot directly into the sun (as in having the sun in your picture) because the sun is not good for your camera sensor.  It won't be a very good photo, because the doll(s) will be little more than dark silhouettes, but if you are shooting with an SLR with RAW capabilities, the image can be fixed in Photoshop. However if you just have a point-and-shoot or phone to take pictures with, the photo won't turn out very well. But maybe it's still better than nothing.

I was at the lake recently and the lake is to the south of me, so I had no choice but to shoot into the sun. Here's the photo as taken..
Picture
With a little Photoshop work involving Layers, I managed to turn it into this.....
Picture
Same with this scene taken in Waterton Lakes a few years ago - I had no choice but to shoot almost directly into the sun......
Picture
This photo isn't quite as bad as the one with the penguins because it was taken much further back, but I did improve it in Photoshop..
Picture
Unfortunately teaching someone how to do this kind of photo manipulation in Photoshop is beyond the scope of my Tutorial.  

*The key thing to remember is that when there's no choice but to take photos with the sun overhead or behind the doll, that taking photos further back and including more of the scene, will give better results than trying to shoot close-up portraits.
4 Comments

Morning and Evening Sun

3/27/2015

4 Comments

 
If you are going to be taking doll photos in the sun, the best time of day to do it is either first thing in the morning or late in the evening.  Then the sun is low in the sky so you won't get unattractive harsh shadows as you do if the sun is high overhead. The light is especially nice if there's haze on the horizon to soften the light even more. Here's Nami & Byuri first thing in the morning....
Picture
They are in full sun, but the light is a lot softer so shadows aren't nearly as harsh. 
Here's Bonnie in late day hazy sunshine....
Picture
Again, the shadows are nice and soft.   
 Here's another photo of Elin taken in very late day hazy sunshine....
Picture
..and a late day scene just as the sun is about to set into some clouds on the horizon....
Picture
The light gets stronger the higher the sun gets, and shadows get stronger as well. Once the sun is higher and shadows stronger, it works best to have the doll facing directly into the sun in order to minimize shadows.  Here's Elin later in the morning.
Picture
Here's another shot taken a bit later in the morning with really bright sunshine in a completely 
white environment, while the sun was still low enough to shine right into the doll's faces.....
Picture
4 Comments

Album Updates

3/27/2015

2 Comments

 
I've added a 'Guest's Creative Gallery' to showcase reader's work, on the bottom of the main Tutorials page. The photos in the new Gallery link to the Tutorial that inspired the creation. If you've made something using one of my patterns or tutorials, and want to share it with everyone, just send me an email with a photo of what you've made.

I've also decided to put all the photos I've taken of my granddaughter's dolls and ponies into an album, so they are all together in one place....
Picture
Picture
Picture
2 Comments

the Direction of the Sun

3/26/2015

2 Comments

 
With doll photography it's important to pay attention to the direction the sun is coming from. For best results you should have your back to the sun when taking a photo of your doll. Shooting into the sun gives rather unsatisfactory pictures making your doll look like a dark silhouette against a light background.....
Picture
Also not great, is shooting at midday when the sun is high overhead. When the sun is overhead it casts very unattractive harsh shadows on a doll's face. If you have no choice, it's okay for wide scenic shots like this.... 
Picture
........but not very good for nice portraits, especially if the doll is wearing a hat........ 
Picture
Picture
Picture
Because of the harsh shadows, midday sun, especially in summer when it's overhead, 
is something I really try to avoid, especially for doll close-ups.
2 Comments

Shooting in Sunshine

3/25/2015

4 Comments

 
Back to my Photo Tips:  I've put together a tutorial with tips on taking photos in Sunshine, but it's way too long to post here in my Blog in it's entirety, so I'm going to post it in sections, by topic. The actual thumbnail in my Tutorials section won't go live until I've posted everything here.

First up......Limiting Exposure to the Sun

Taking doll photos in sunshine can be tricky, especially considering sunshine is not good for resin. 
No one wants their dolls to turn yellow or green. In order to protect the dolls from the sun, it's important to keep them covered as much as possible. This is especially important when setting up scenes with multiple dolls. Keep the ones you haven't posed yet in their box, covered by a cloth, or shaded by an umbrella. You can also shade the dolls with your own body as you lean over to pose them...
Picture
A large golf umbrella also works well to shade a group of dolls. I pose the dolls shaded by the umbrella, then go position myself to take the photo. They stay covered by the umbrella as I check their poses through my camera, and Jan makes any final adjustments. Once everything is to my satisfaction, Jan lifts the umbrella away, steps back so his shadow doesn't fall across the scene, I snap a couple of photos, and he immediately covers the dolls with the umbrella again, to pack them all away....
Picture
In White Sands, New Mexico, we used the RV to shade the scene. It was early morning with the sun low in the sky, so I found a spot along an undisturbed, plowed, north-west edge of a parking lot. Jan parked right beside the 'sand bank' (like a plowed snowbank, but in White Sands they are sand).  The RV cast a big shadow, and I set up the dolls. When I was ready, Jan backed up the RV, I quickly took some photos, and then he moved forward again to put the dolls back in the shade. Here's one of the photos....
Picture
The only problem with this kind of photography, is that photos must be taken quickly in order to limit the doll's exposure to the sun, so I can't take my time and readjust or change poses much, as I want to get the dolls out of the sun as quickly as possible.
4 Comments

More Challenges

3/24/2015

12 Comments

 
The four Renaissance gowns are presenting me with new challenges at every turn. First there wasn't enough of several of the fabrics I wanted to use, so the under-dresses had to have 'pieced' skirts. One of the skirts refused to let go of it's creases, and then the iron fought back, spilling water on the satin and making permanent stains. 

I designed the sleeves so the lower part could do up with snaps instead of lacing through eyelets, since it's so much easier to do up.  But even though I thought I added enough extra width to the bottoms of the sleeves, after all the layers of fabrics and trims, they would no longer overlap at the wrist. But I hadn't planned on using eyelets so the trims were not sewn on leaving spaces for eyelets. Okay, so the sleeves will now have snaps partway down, and the wrist will get tied shut with ribbons, which I still have to sew on.

This morning I stripped my Rosy so she could model along with Ryung. The underdress went on fine. Rosy isn't quite as large in the bust area as Ryung, so the dress fits a bit looser, but the over-dress can be laced tightly over top, so it doesn't matter.  BUT, then when I tried to put the over-dress bodice on Rosy, her one hand wouldn't go through the sleeve. I had designed the sleeve to let through Ryung's hand, but hadn't considered some other dolls of similar size have wider-spread fingers. Rosy's hand will have to come off in order for her arm to fit through the sleeve. Which means I need to design some 'dressing balls' to include with the gowns. 'Dressing balls" are wooden balls, a bit larger than the wrist opening on the lower arm, and they have an open screw-eye hook on one end and a closed screw-eye on the other. You gently pull the doll's hand, hook the 'dressing ball' into the arm elastic, remove the hand, and then dress the doll. After you are done, you pull the 'dressing ball' to expose the arm elastic, and slip the doll's hand back on.  Always something!

Anyway, here's Ryung and Rosy, both in their under-dresses, trying on a bodice with one sleeve...
Picture
The bodices won't get their edge trim and eyelets until after the over-skirts are attached. The wine and gold sleeve still needs some decorative beading and the snaps sewn on so it fits tight.
12 Comments
<<Previous

    Author

    Martha Boers is an award-winning Canadian doll maker and costumer specializing in fantasy and historical-style costumes.
    Read More... 

    Archives

    March 2023
    February 2023
    January 2023
    December 2022
    November 2022
    October 2022
    September 2022
    August 2022
    July 2022
    June 2022
    May 2022
    April 2022
    March 2022
    February 2022
    January 2022
    December 2021
    November 2021
    October 2021
    September 2021
    August 2021
    July 2021
    June 2021
    May 2021
    April 2021
    March 2021
    February 2021
    January 2021
    December 2020
    November 2020
    October 2020
    September 2020
    August 2020
    July 2020
    June 2020
    May 2020
    April 2020
    March 2020
    February 2020
    January 2020
    December 2019
    November 2019
    October 2019
    September 2019
    August 2019
    July 2019
    June 2019
    May 2019
    April 2019
    March 2019
    February 2019
    January 2019
    December 2018
    November 2018
    October 2018
    September 2018
    August 2018
    July 2018
    June 2018
    May 2018
    April 2018
    March 2018
    February 2018
    January 2018
    December 2017
    November 2017
    October 2017
    September 2017
    August 2017
    July 2017
    June 2017
    May 2017
    April 2017
    March 2017
    February 2017
    January 2017
    December 2016
    November 2016
    October 2016
    September 2016
    August 2016
    July 2016
    June 2016
    May 2016
    April 2016
    March 2016
    February 2016
    January 2016
    December 2015
    November 2015
    October 2015
    September 2015
    August 2015
    July 2015
    June 2015
    May 2015
    April 2015
    March 2015
    February 2015
    January 2015
    December 2014
    November 2014
    October 2014
    September 2014
    August 2014
    July 2014
    June 2014
    May 2014
    April 2014
    March 2014
    February 2014
    January 2014
    December 2013
    November 2013
    October 2013
    September 2013
    August 2013
    July 2013
    June 2013
    May 2013
    April 2013
    March 2013
    February 2013
    January 2013
    December 2012
    November 2012
    October 2012
    September 2012
    August 2012
    July 2012
    June 2012
    May 2012
    April 2012
    March 2012
    February 2012
    January 2012
    December 2011
    November 2011
    October 2011
    September 2011
    August 2011
    July 2011
    June 2011
    May 2011
    April 2011
    March 2011
    February 2011
    January 2011
    December 2010
    November 2010
    October 2010

    RSS Feed

Powered by Create your own unique website with customizable templates.