|
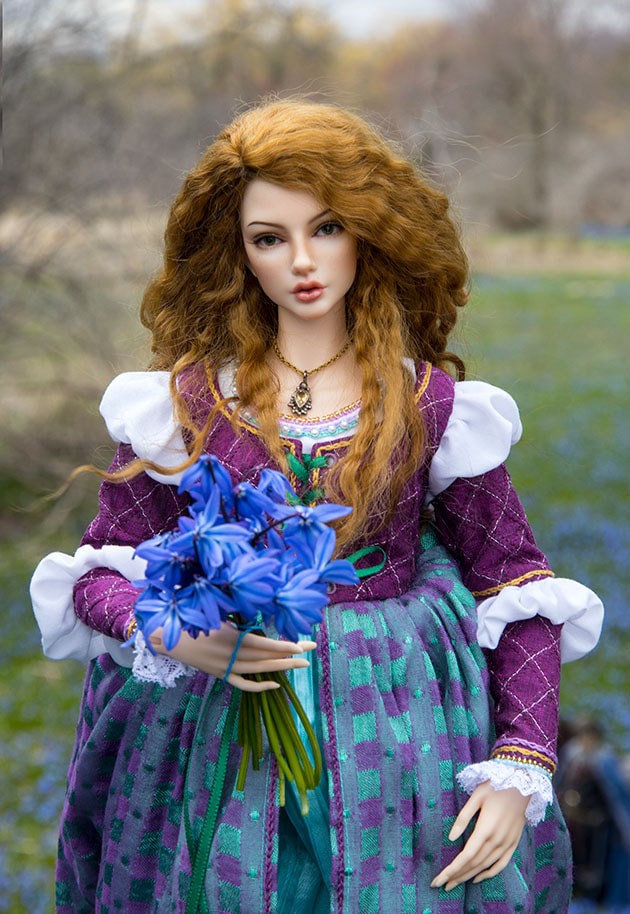
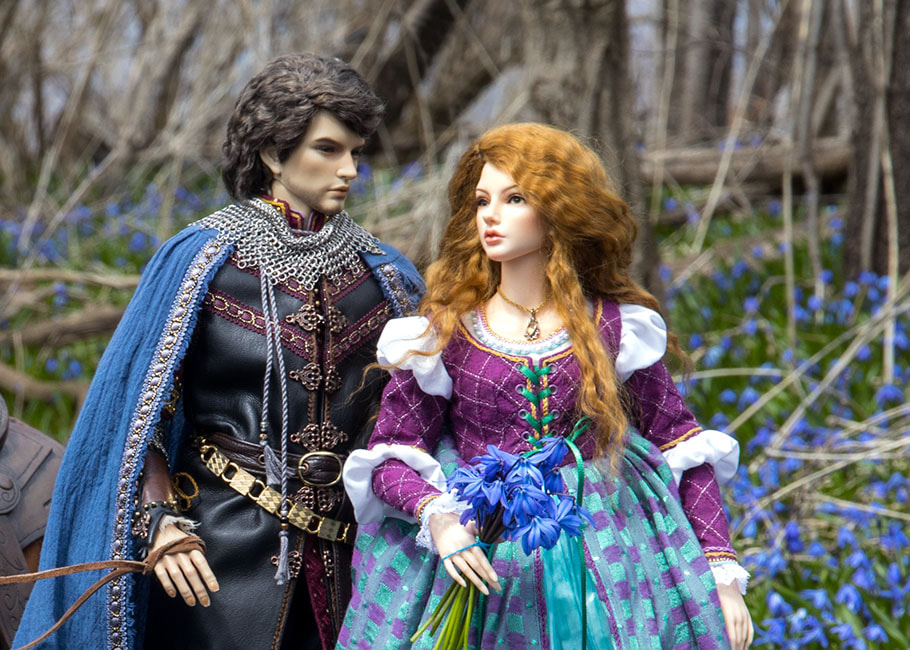
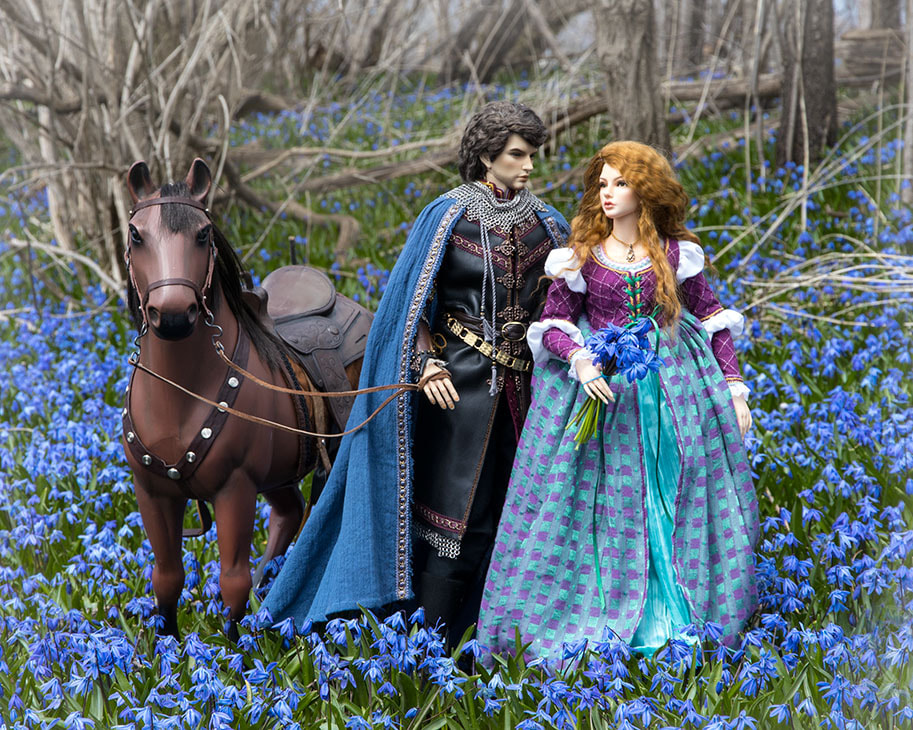
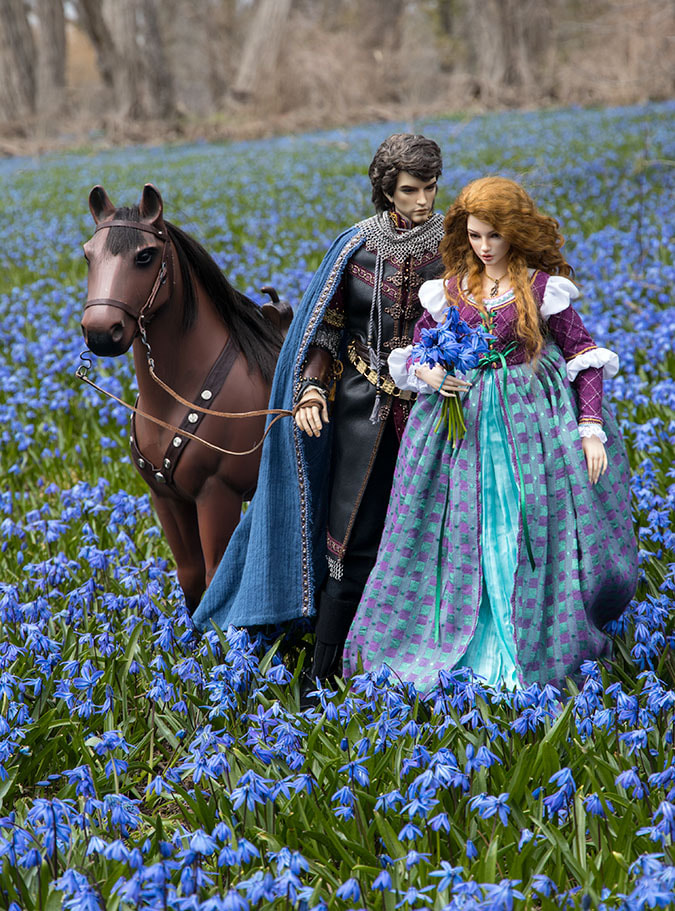
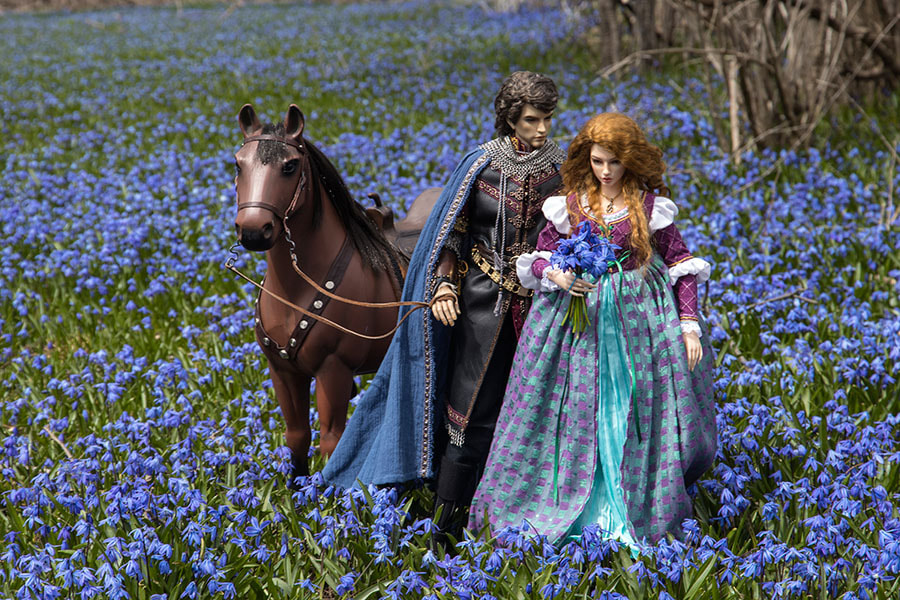
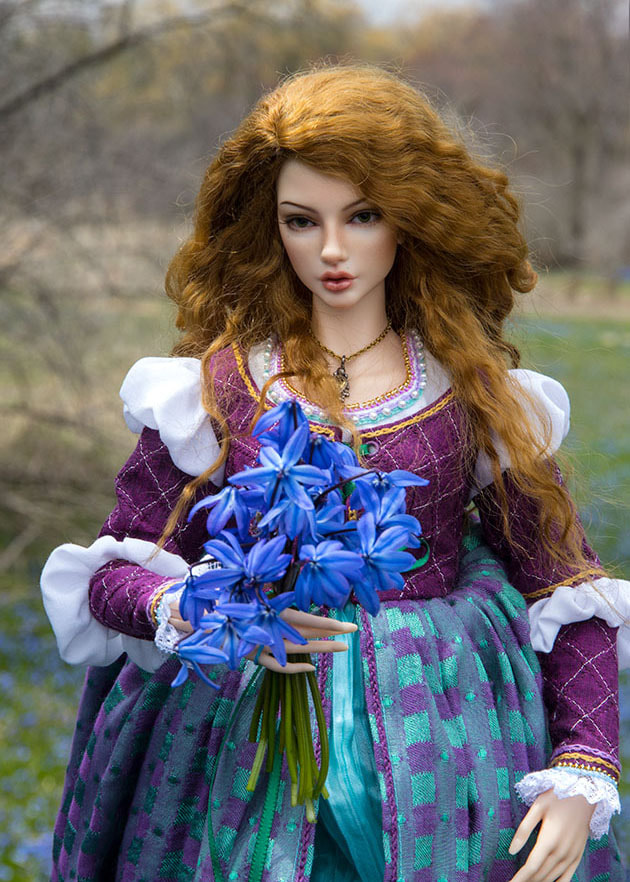
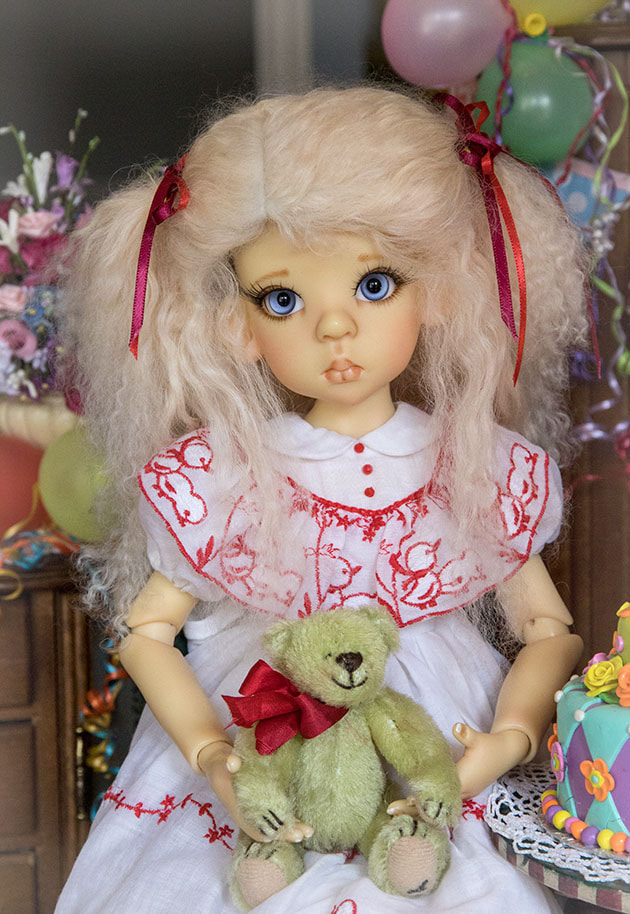
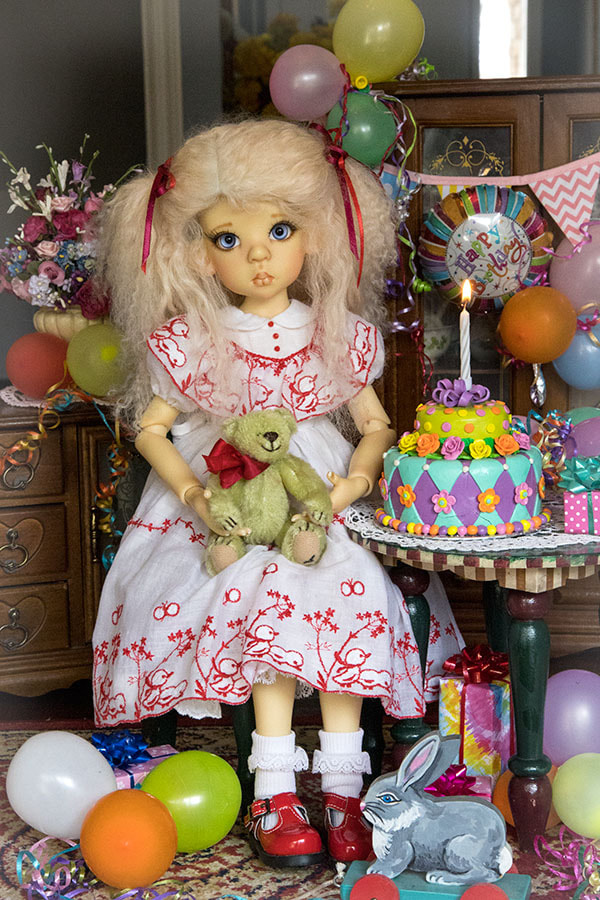
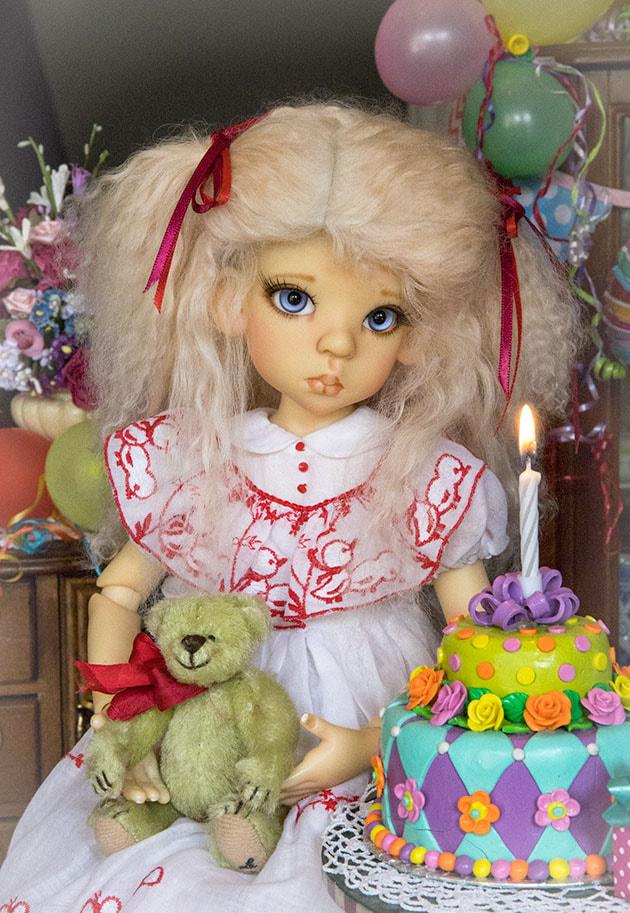
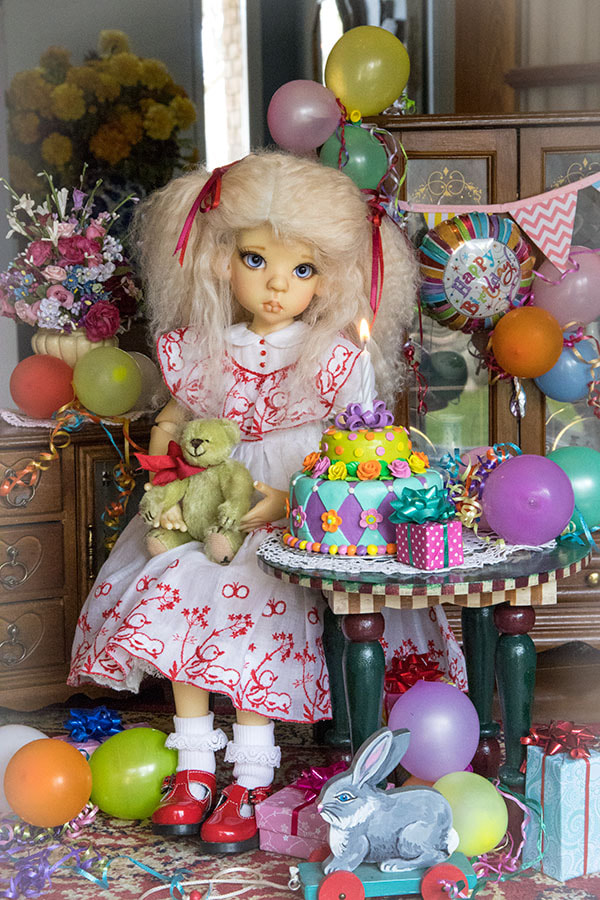
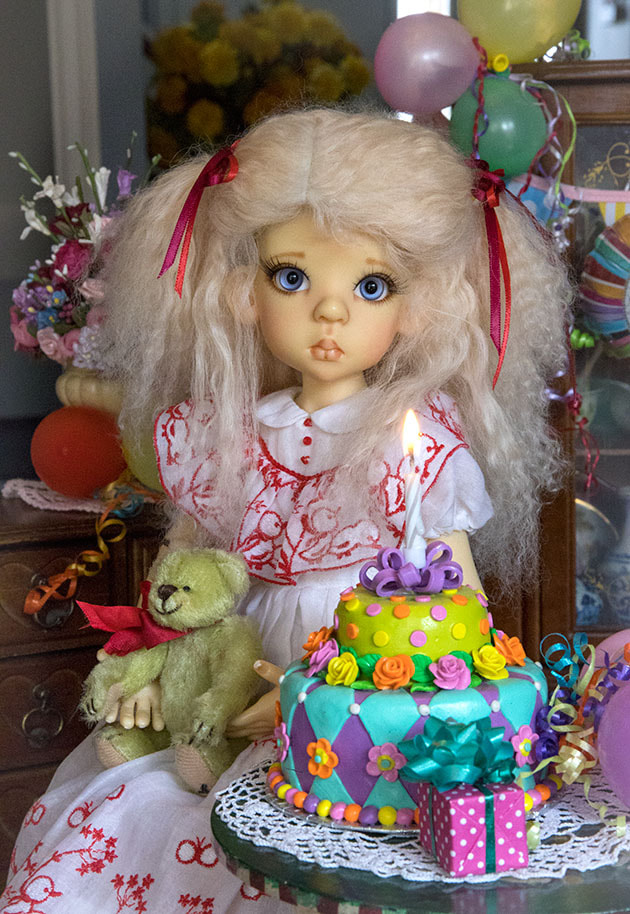
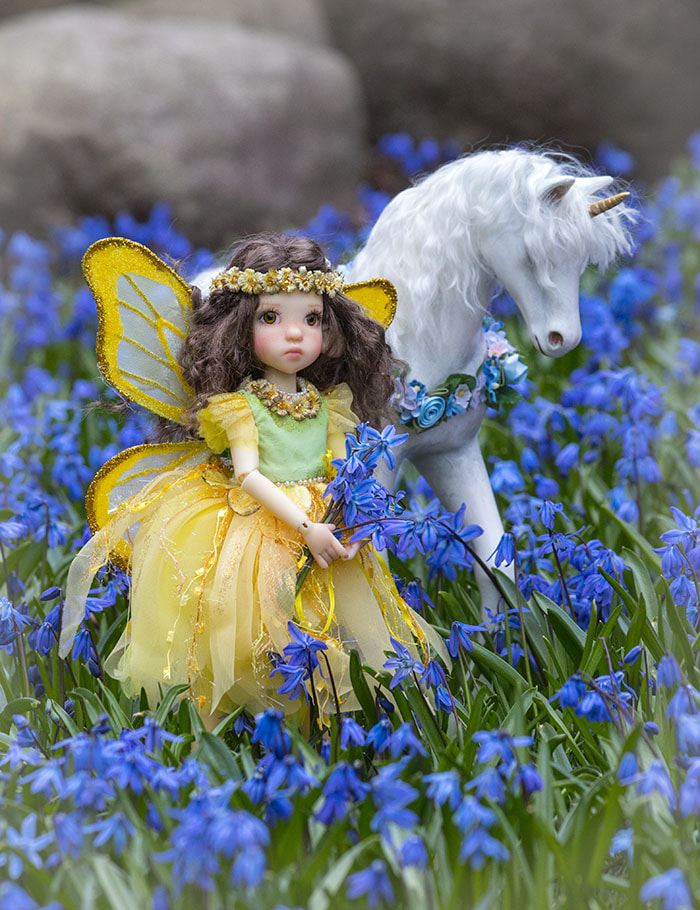
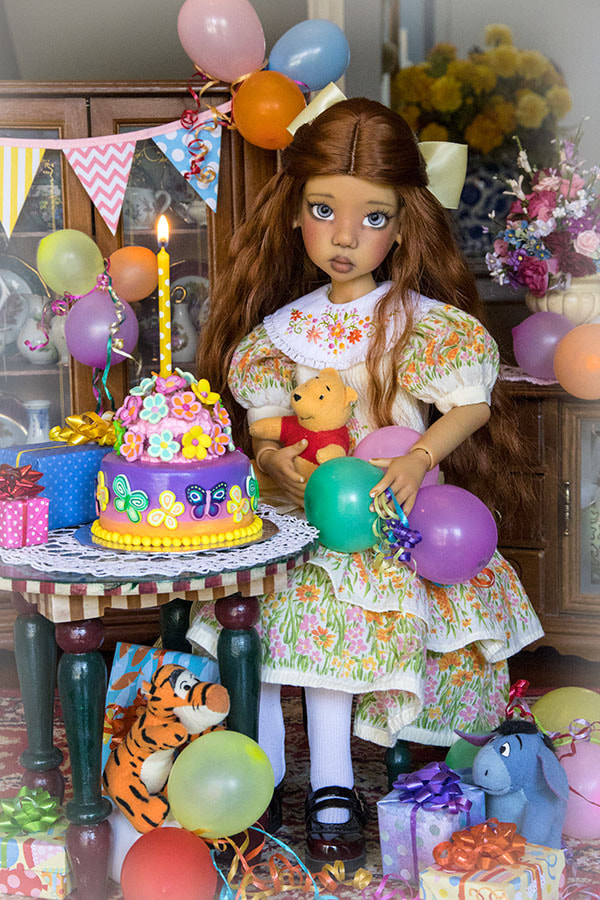
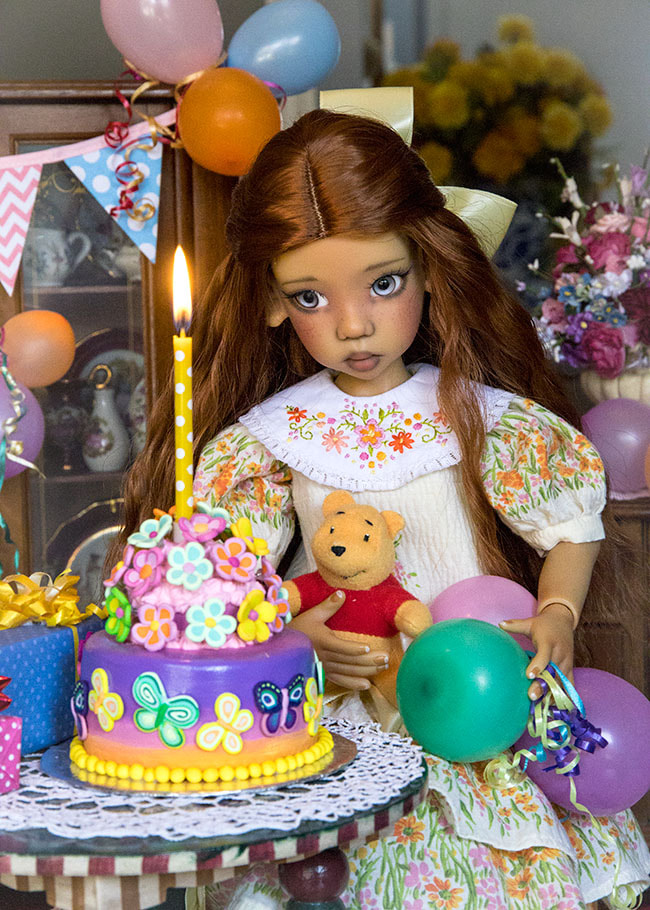
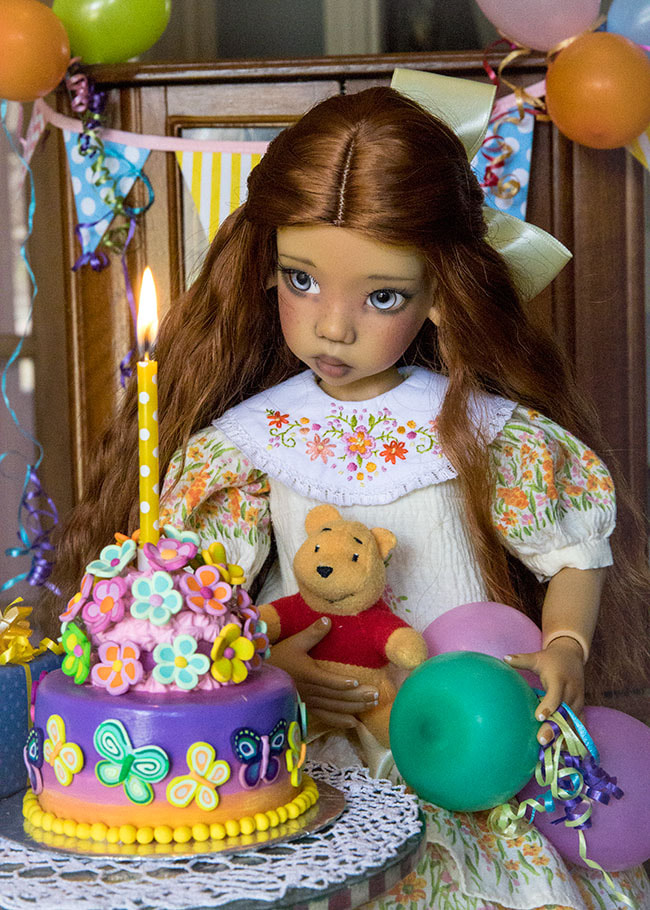
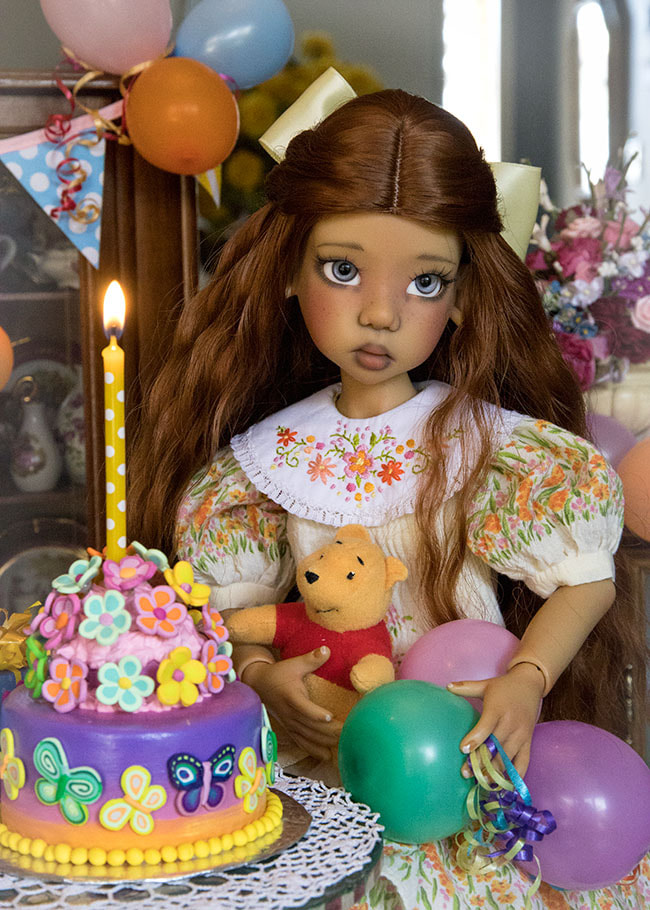
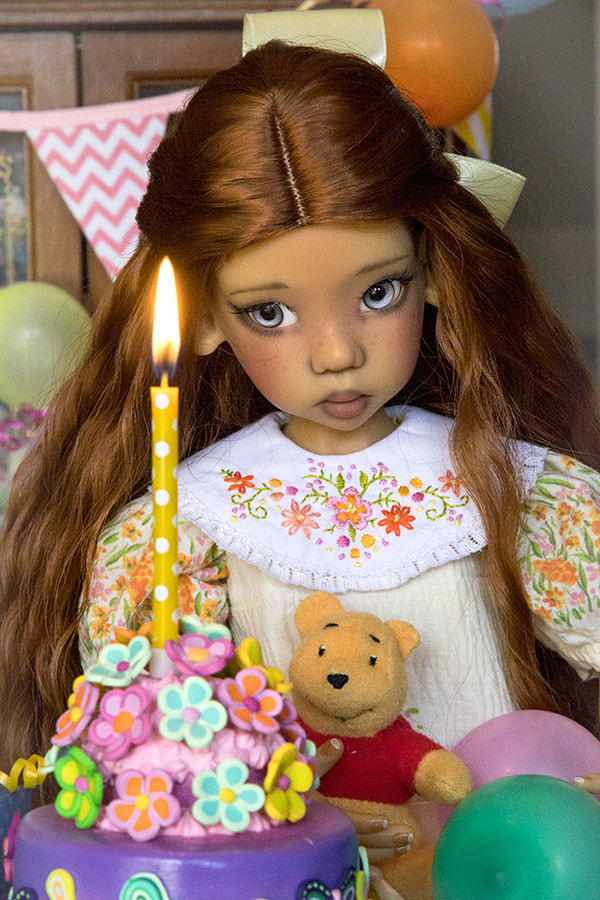
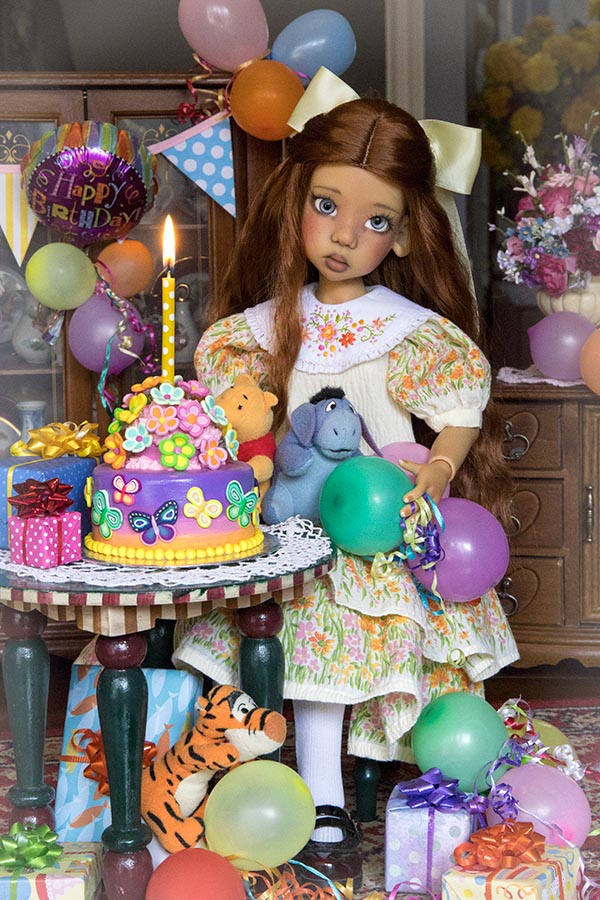
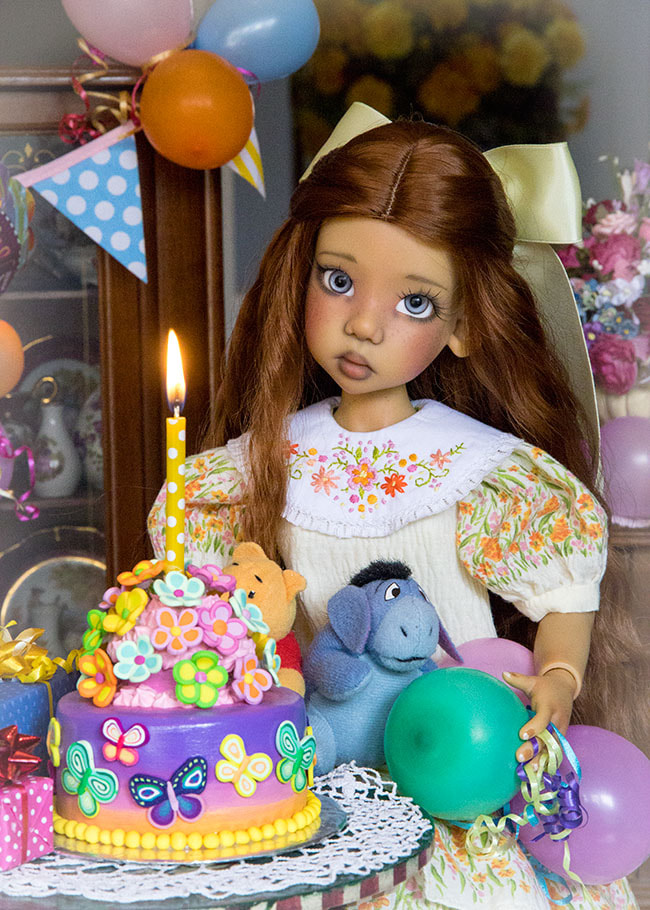
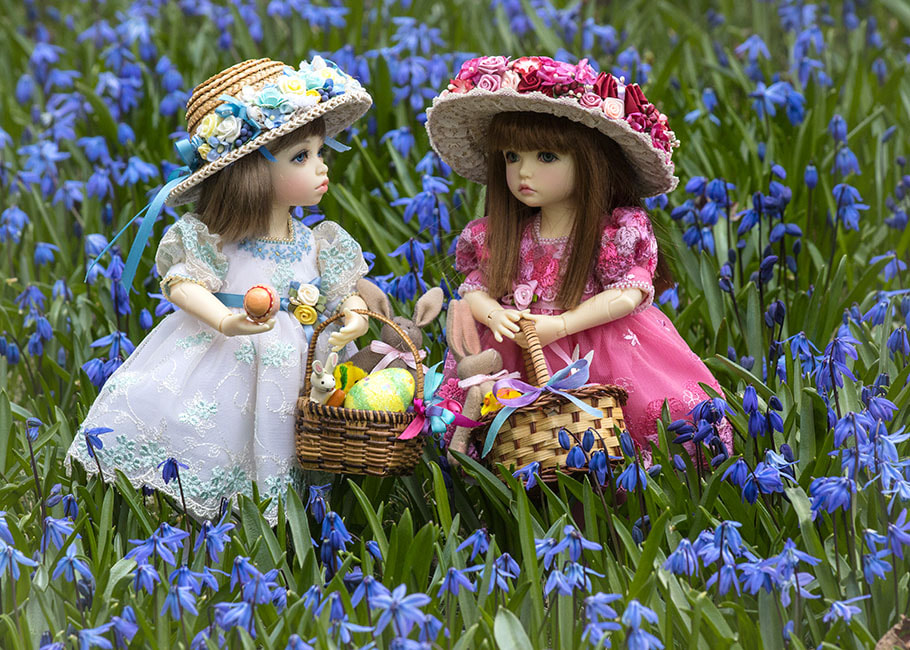
Today is the eleventh anniversary of my Fair Layla's arrival, and she's another of my older dolls who has never celebrated a birthday. Until now.... Her dress was made from a dress I wore when I was three years old. My Mom had saved the dress, and I had it in a box for decades, before I came to the conclusion that there was no point having it in a box out of sight, and that the dress wouldn't mean anything to anyone other than me, so why not remake it in a smaller version for my dolls, where I could see it and enjoy it all the time?
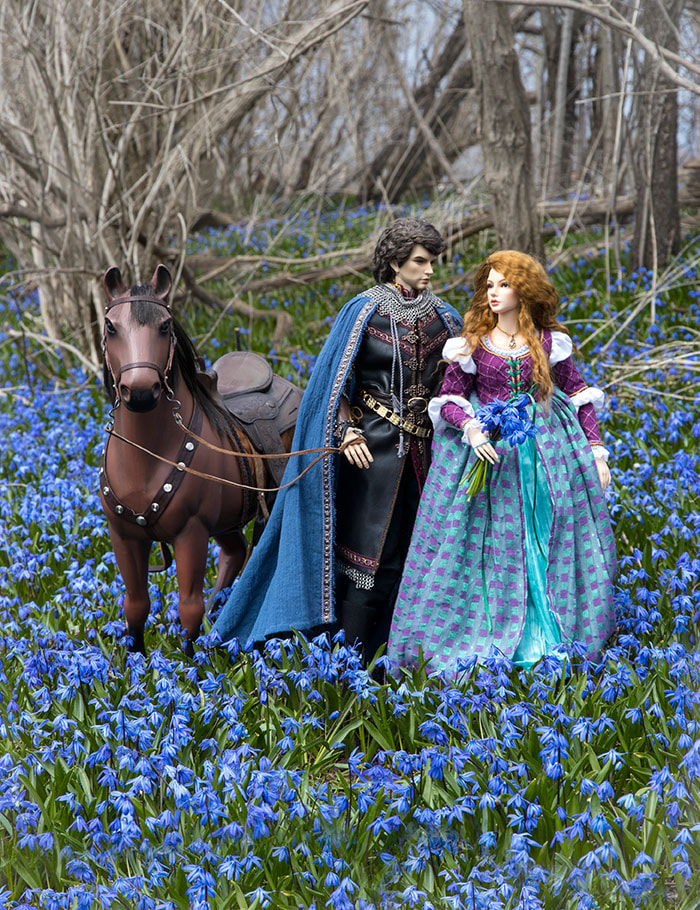
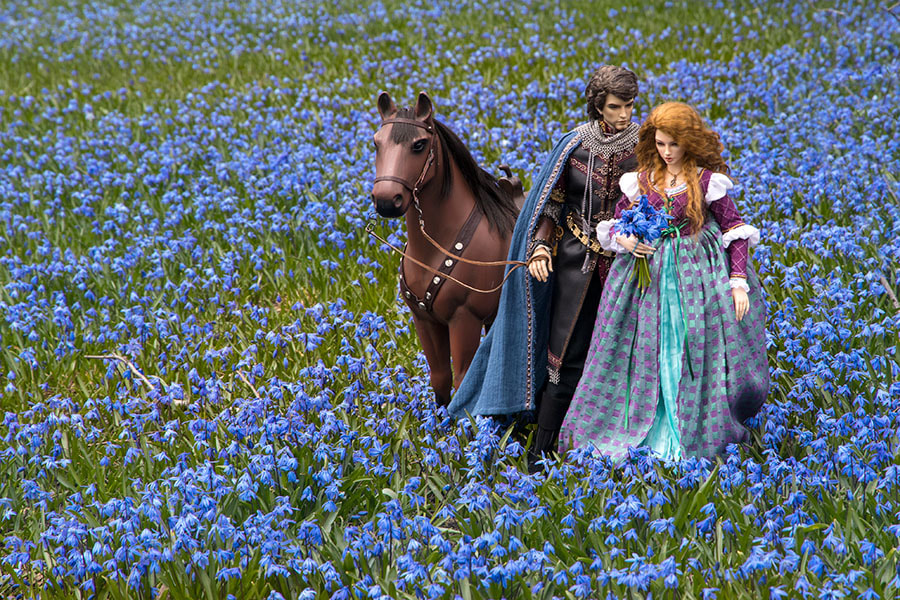
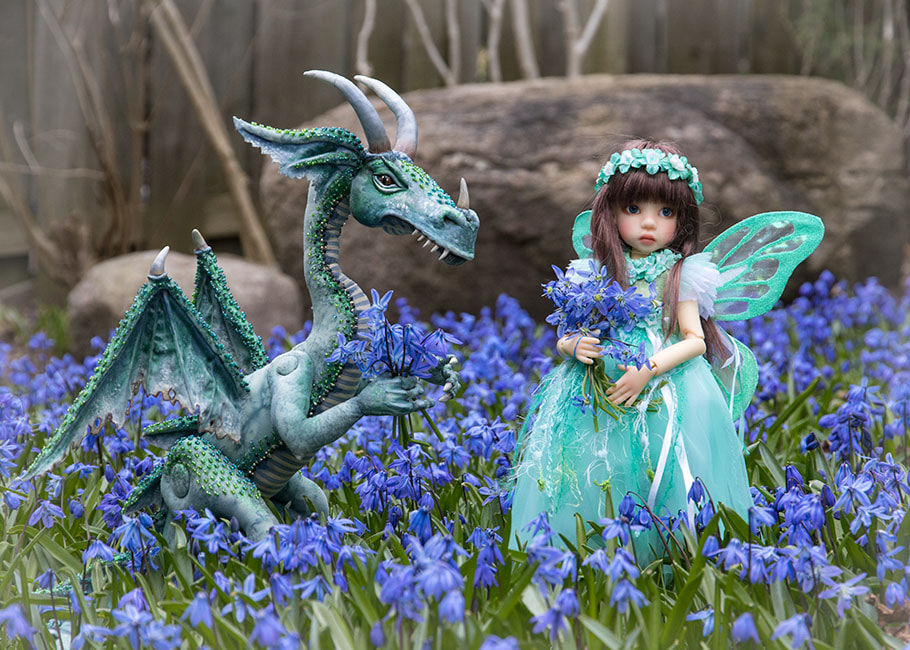
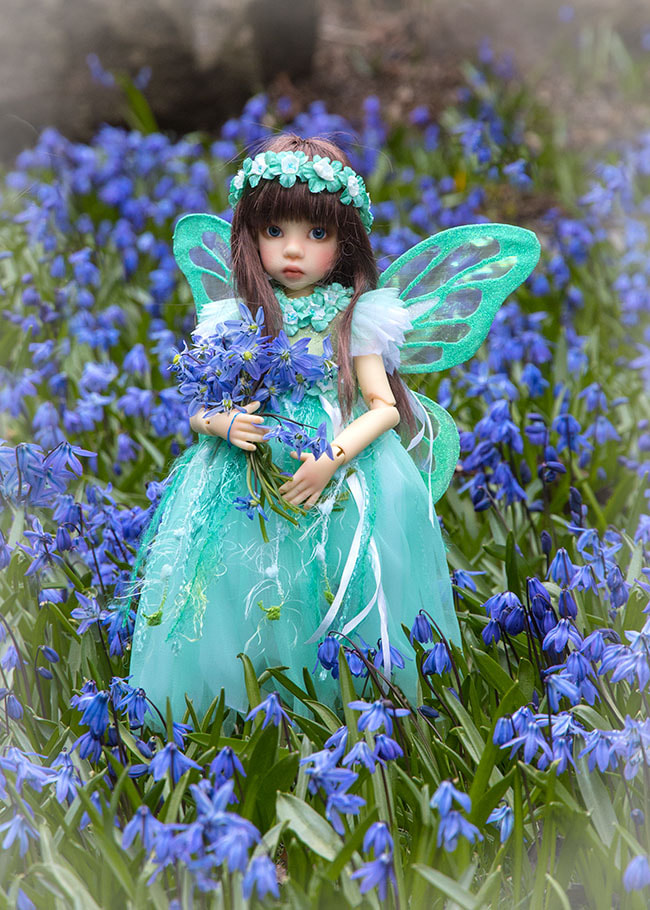
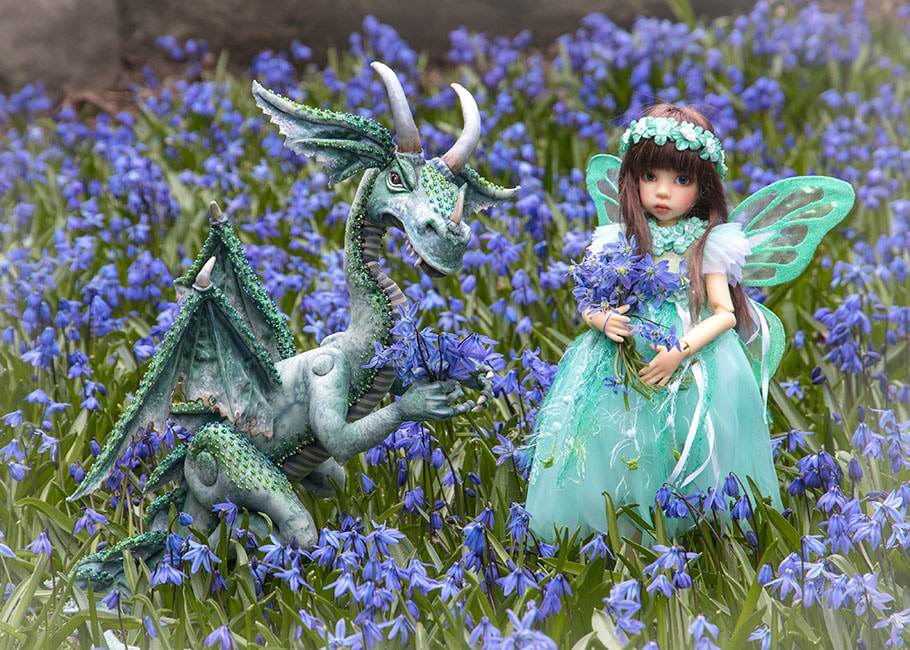
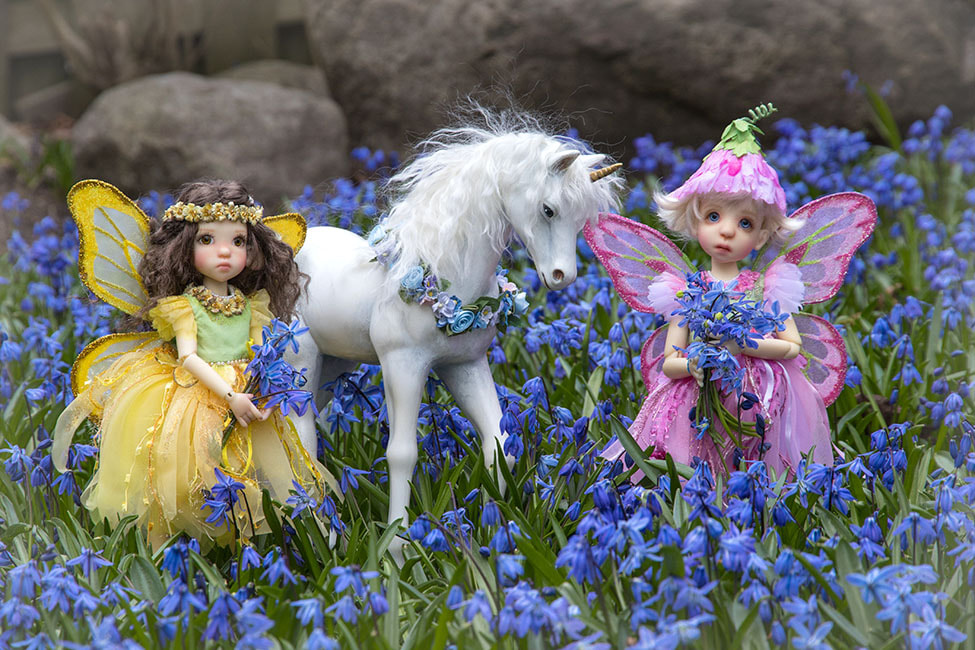
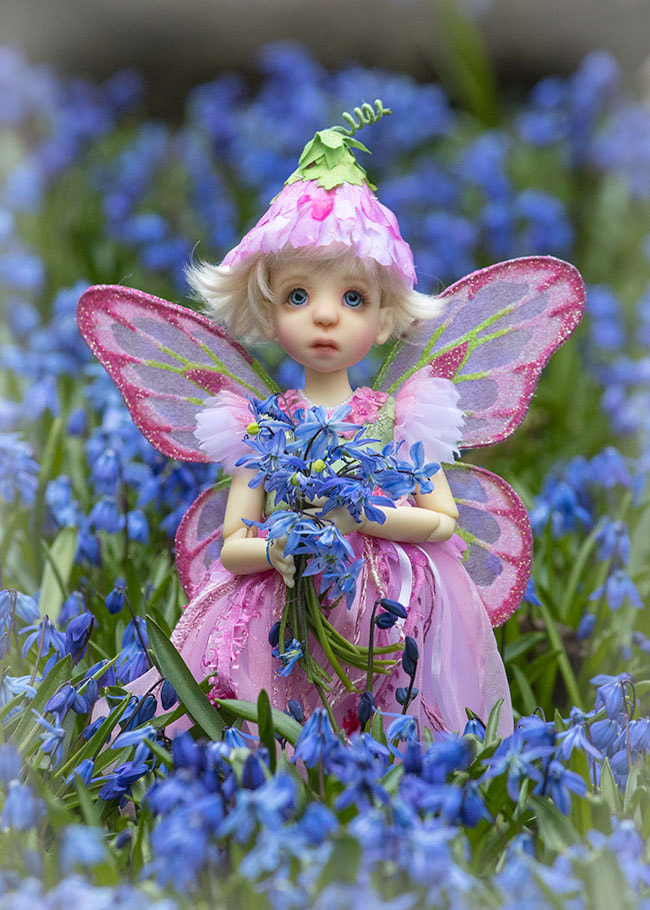
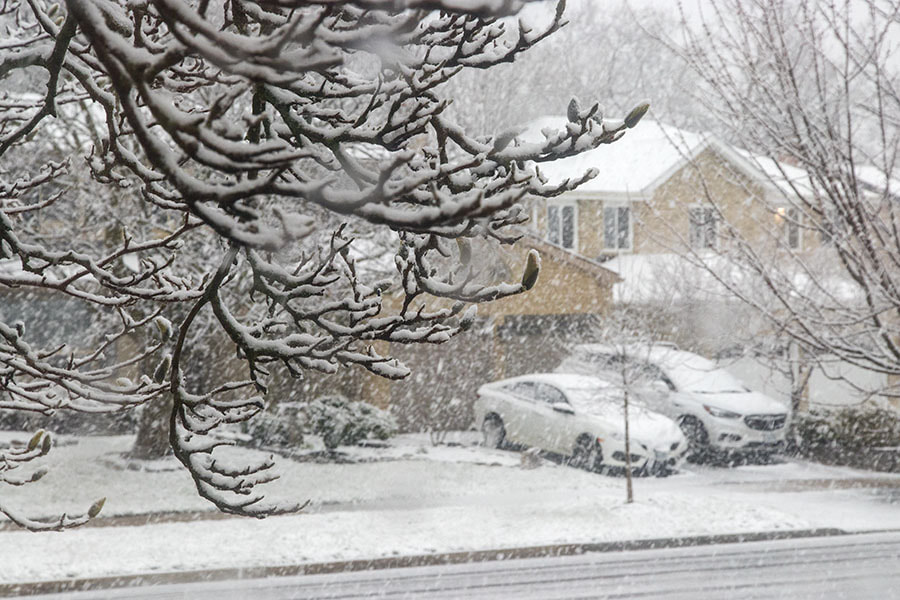
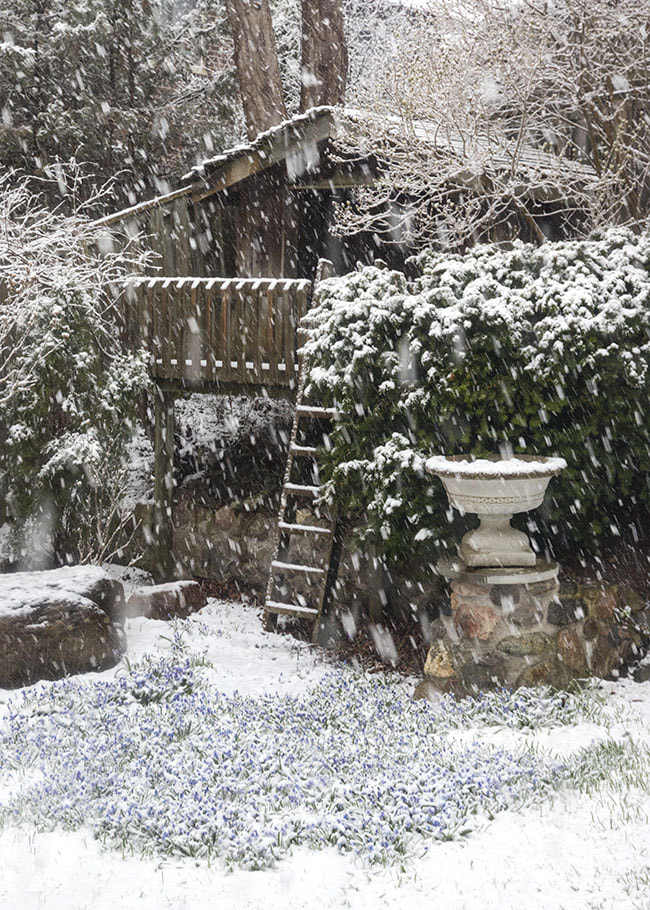
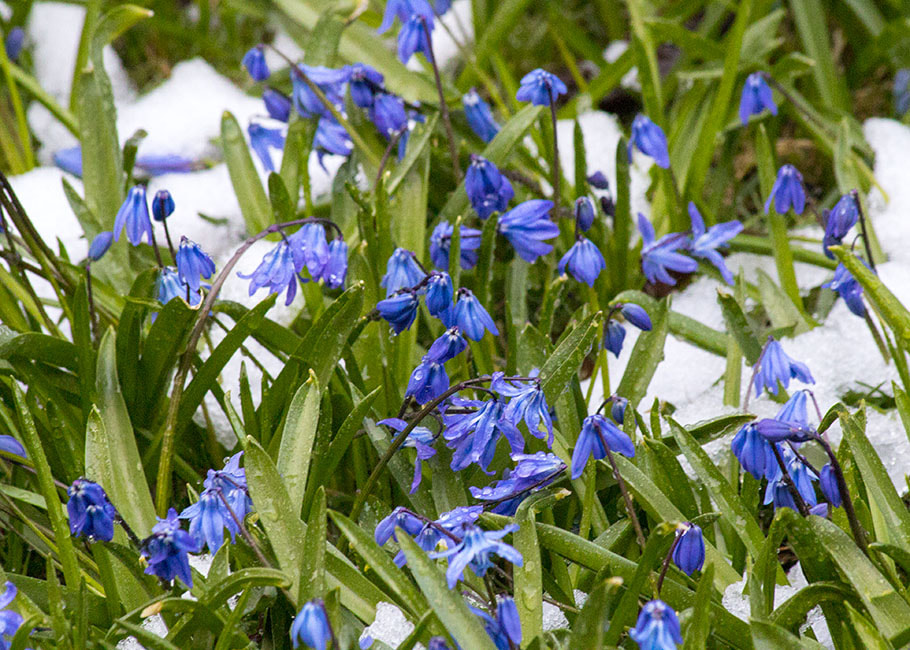
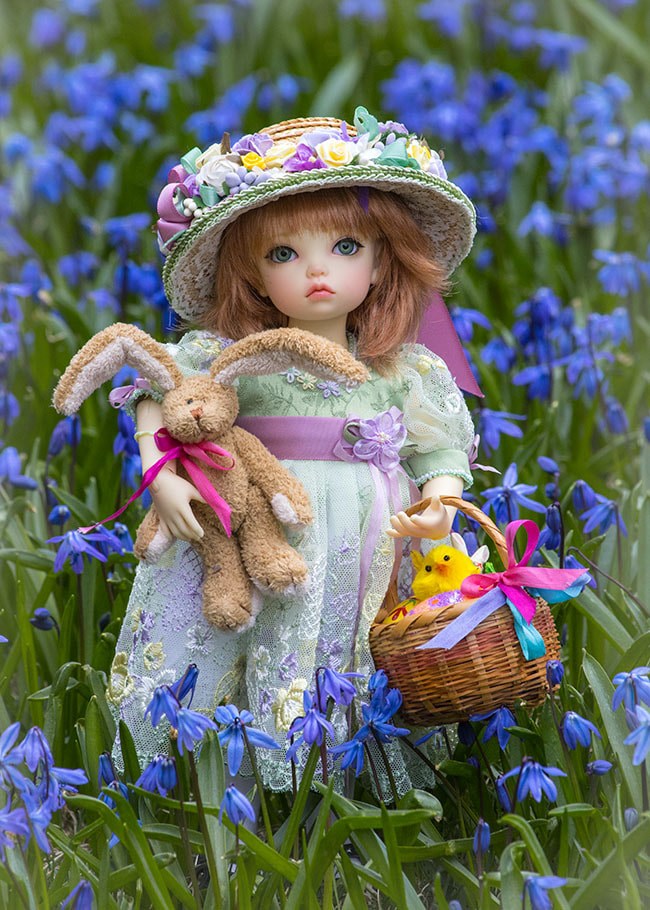
I must say that making that first cut was rather difficult, but I was really happy with how it turned out. So now my Layla is a 'mini me'. I've been trying to grow a patch of scillas in my back lawn, and they are starting to fill in quite nicely. I shot the Easter photos in it, and yesterday I photographed a couple of fairies. I figured with bad weather in the forecast, I didn't know if they'd survive. And even if they did, scillas just keep getting taller and taller until their leaves totally hide the flowers. Although by that time the flowers are too tall scale-wise for doll photos anyways. So even though it was very cold yesterday afternoon, I took out three little fairies. First, Mini Hope with Winston.... Then Raillie and Little Lenny with a unicorn.... It was very cold and windy, and already starting to spit while I was taking the photos, so I decided that was enough for the day. Less than an hour later, the snow hit.... It was coming down hard, and my Scilla patch disappeared. It's that darker patch in the lawn..... Thankfully spring flowers can handle a bit of crazy weather, and this morning most of the snow had melted, although many of the flowers and leaves were still covered in ice... By this afternoon the scilla patch looked almost completely untouched. So hopefully, I can get back to taking photos in it again tomorrow.
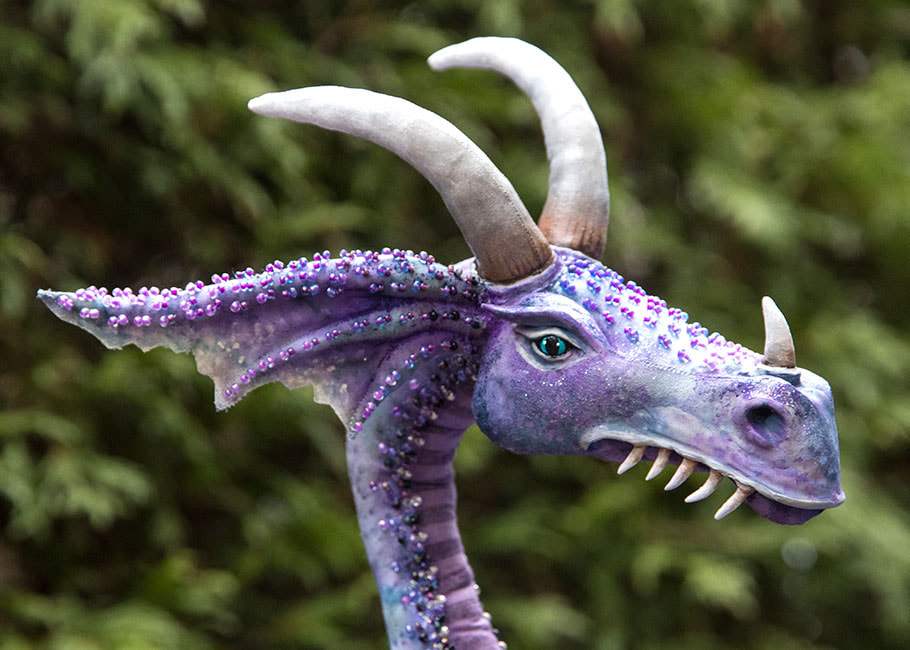
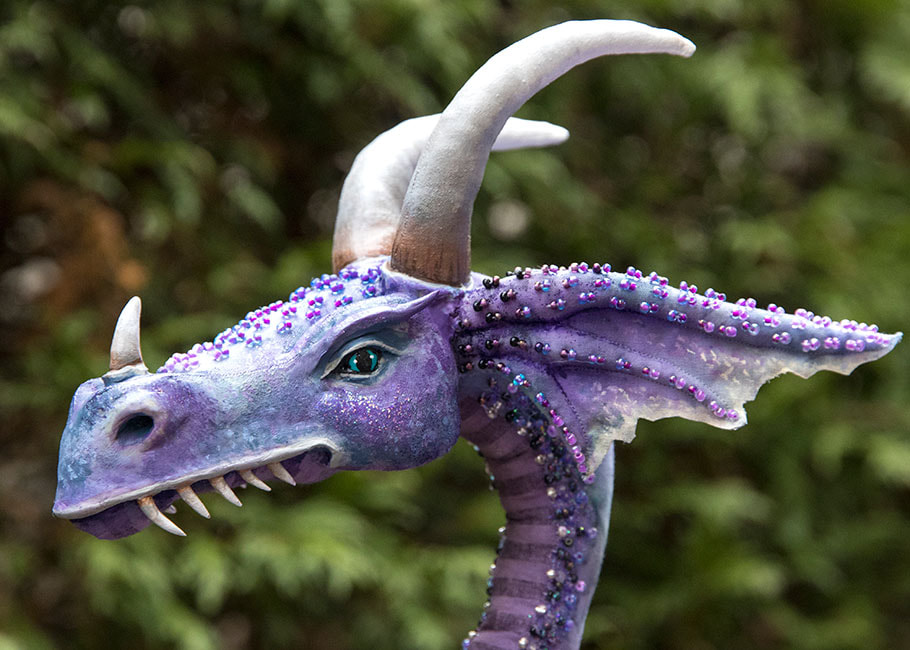
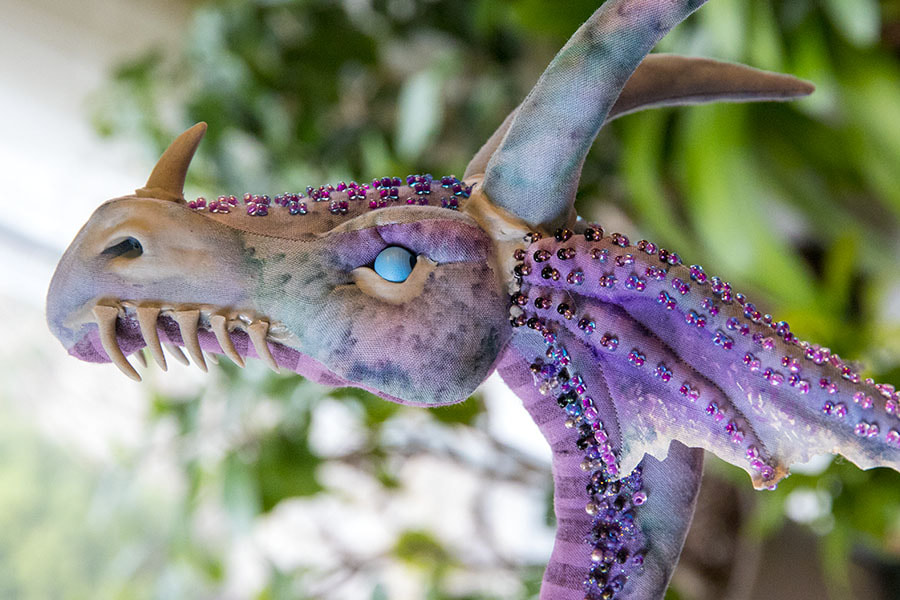
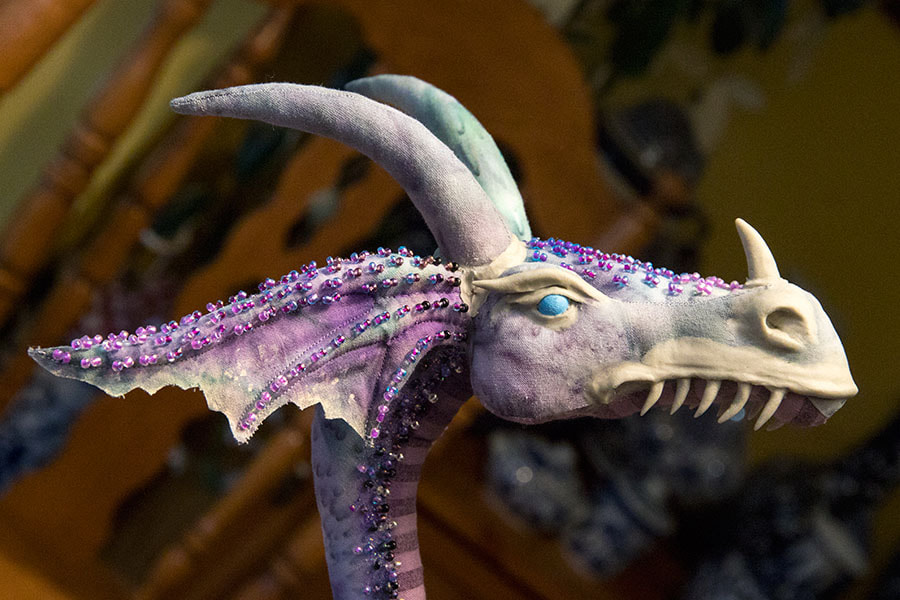
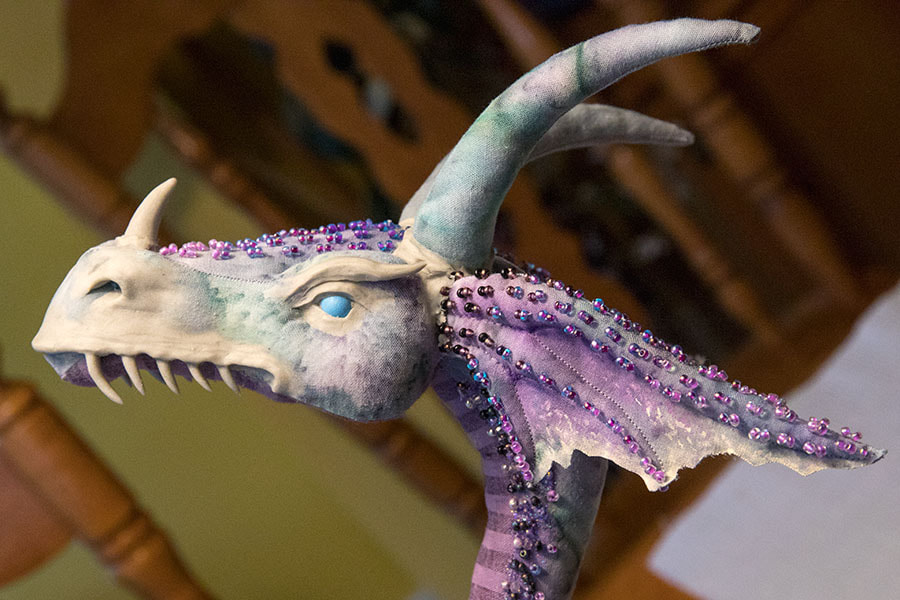
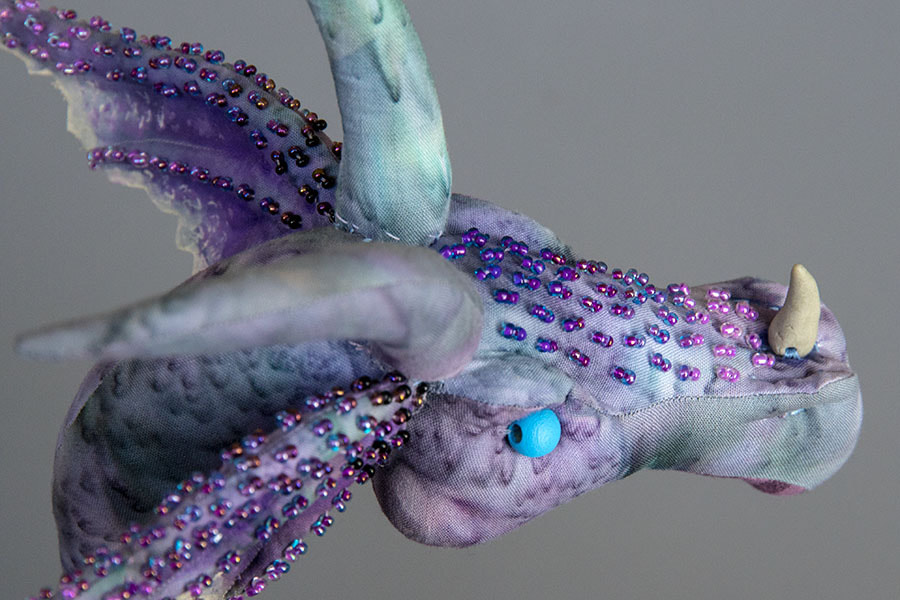
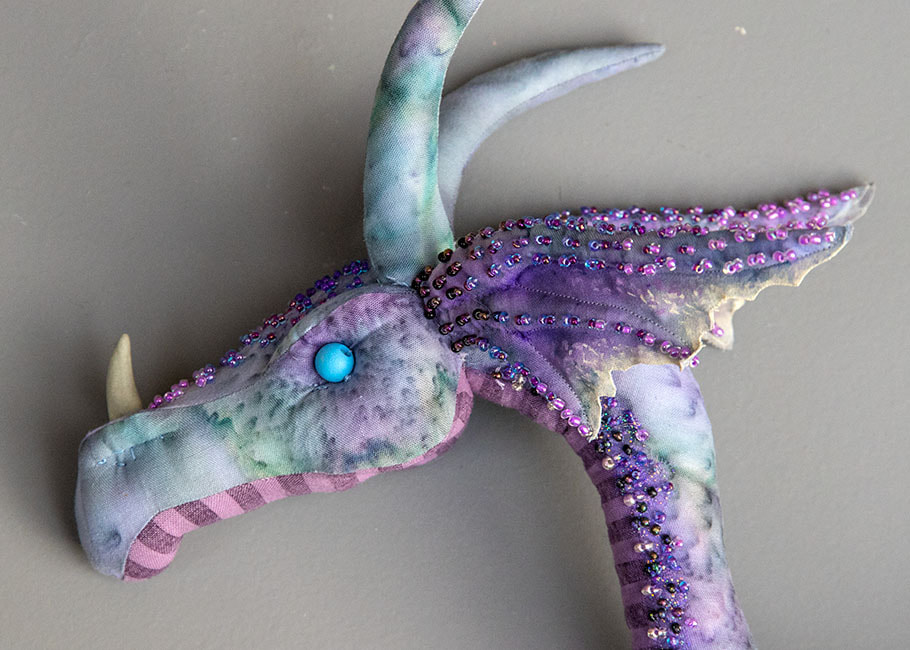
I spent most of yesterday painting the dragon's head. I was actually surprised that I could see the detail as well as I could. Even so, it's always a challenge painting anything that's 3-D, especially when one can't see both sides at the same time. One of the hardest parts was doing the blending on the horns and teeth. I had to redo them several times. Her face looks quite different on both sides, at least to me. It's clear now that her eye on the right side is set further back than on her left side. Of course there's no doing anything about that at this point. It just means she'll have two different expressions. Of course there's nothing like taking a photo, to help show up any issues, and I noticed a few areas in need of a touch up, so have fixed those. Now to address her arms and legs.
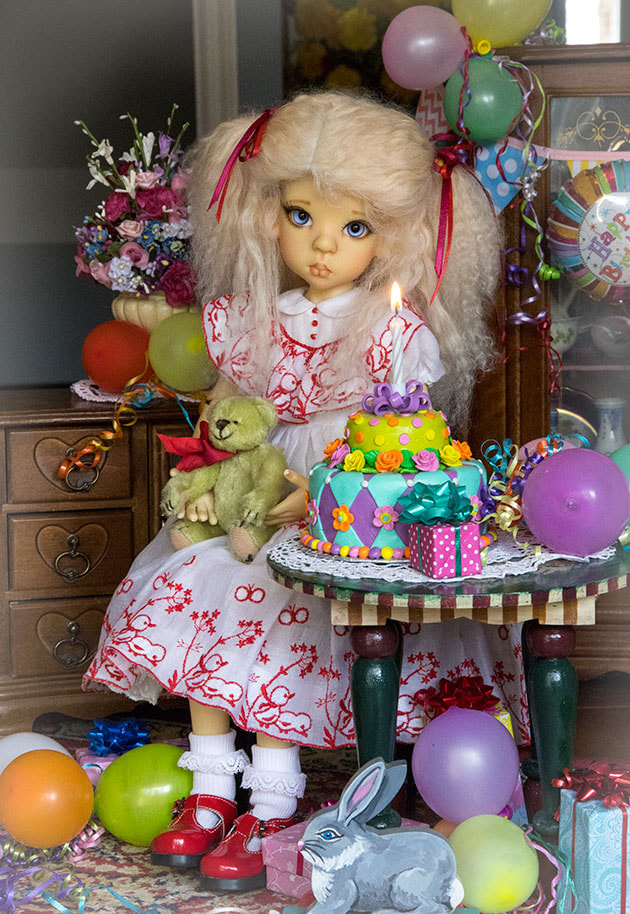
Today is the tenth anniversary of Hope's arrival. I've never thrown her a birthday party, so figured it was high time that I at least took some birthday portraits... Her dress was made from one I made for my daughter to wear on one of her birthdays way back when she was very little.
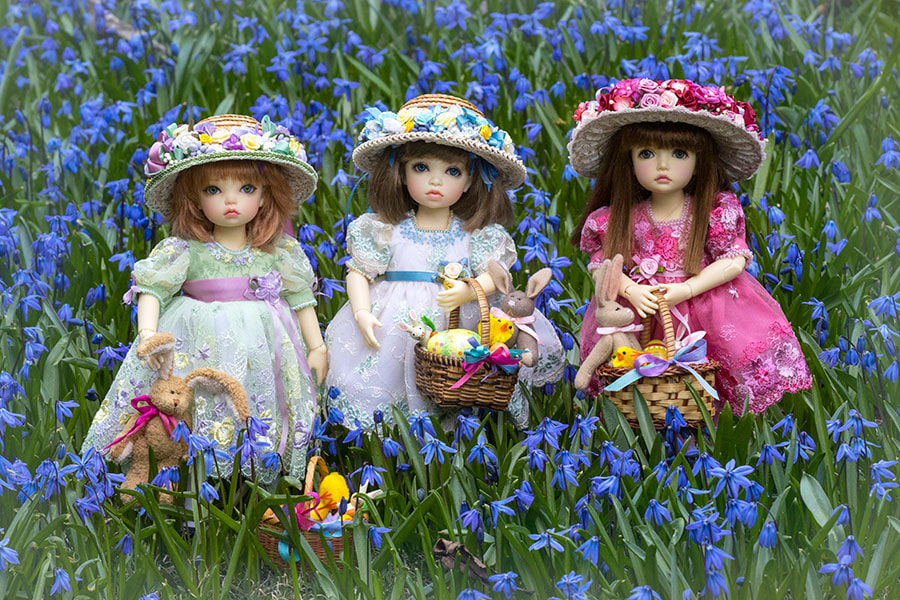
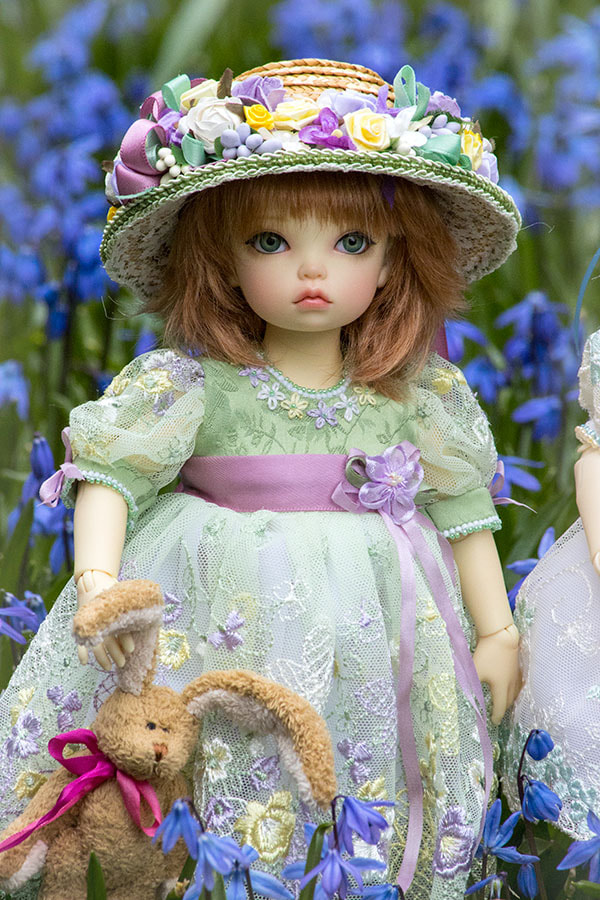
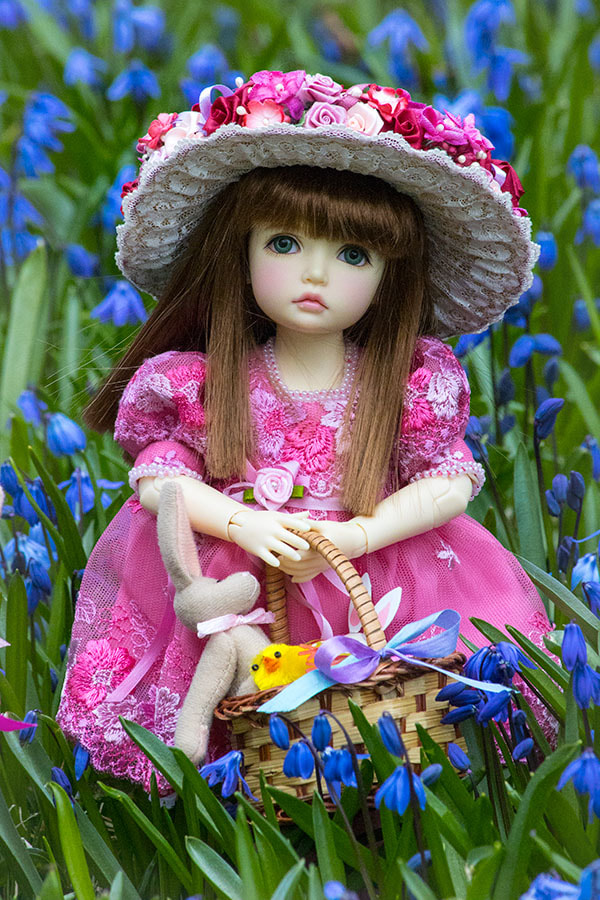
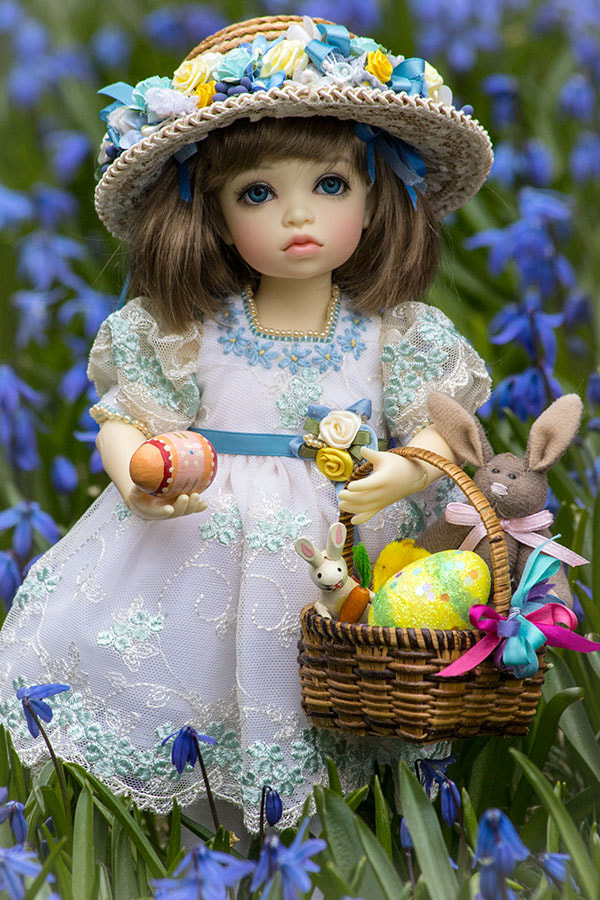
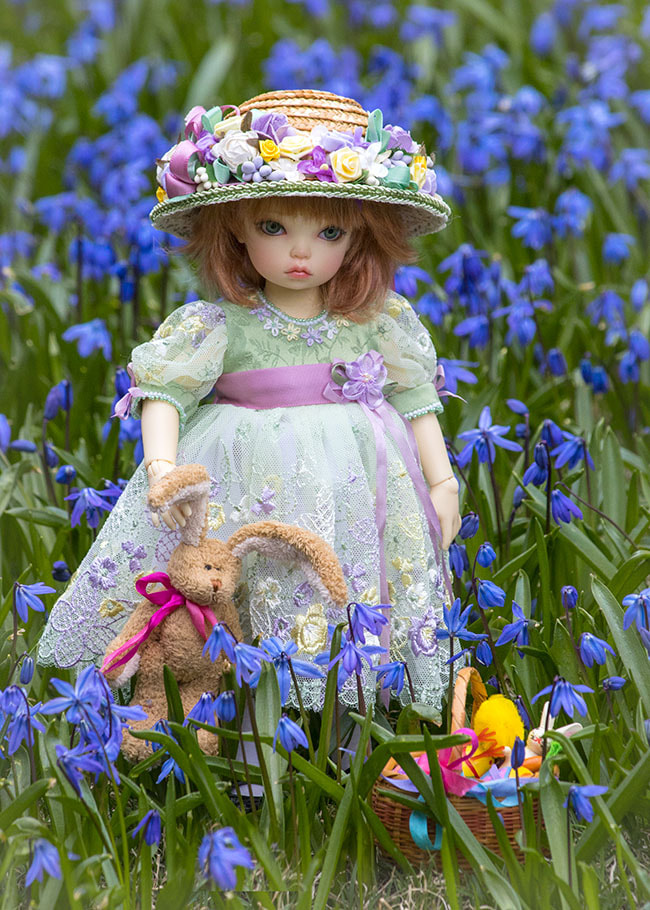
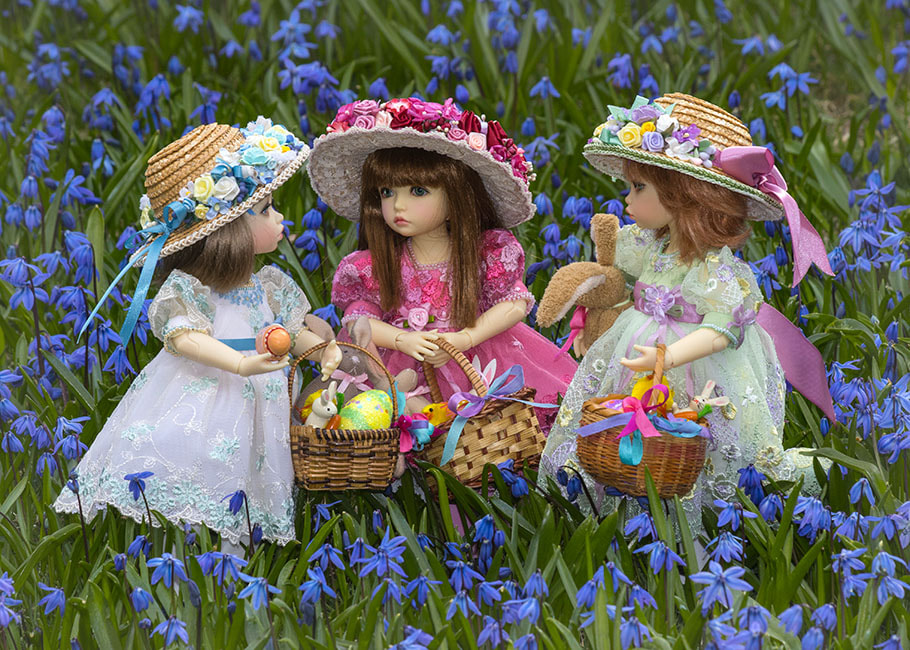
Remember those days long ago, when we were little, and everyone actually dressed up for Easter? Well, three of my little girls decided that they wanted to dress up in their prettiest lace dresses, complete with matching hats.... Happy Easter!
It was time to build up my dragon's face and sculpt her features out of Aves Apoxie. I mixed up a little, then wet the cloth, and applied some white glue in the area I was going to add the Apoxie. I wasn't going to build up everything at once, but do it in stages. First up was building the base of the antlers, and the horn on her nose. Then I added her lower eye lids and nostrils, always working the Apoxie smoothly into the cloth. Then I added the inner gum line, and glued all the pre-made teeth into it. Then I let everything cure.... After the first layer of Apoxie had cured, I proceeded with the finishing details. I added her upper eyelids, and her upper lip... The other side of her head. Even though I tried as best as I could, the two sides are not mirror images of each other. Her right side looks a little more fierce, while the left looks a little friendlier. But then it's not like both sides of her face will ever show at the same time. And it just might be handy having a little variety of expression.
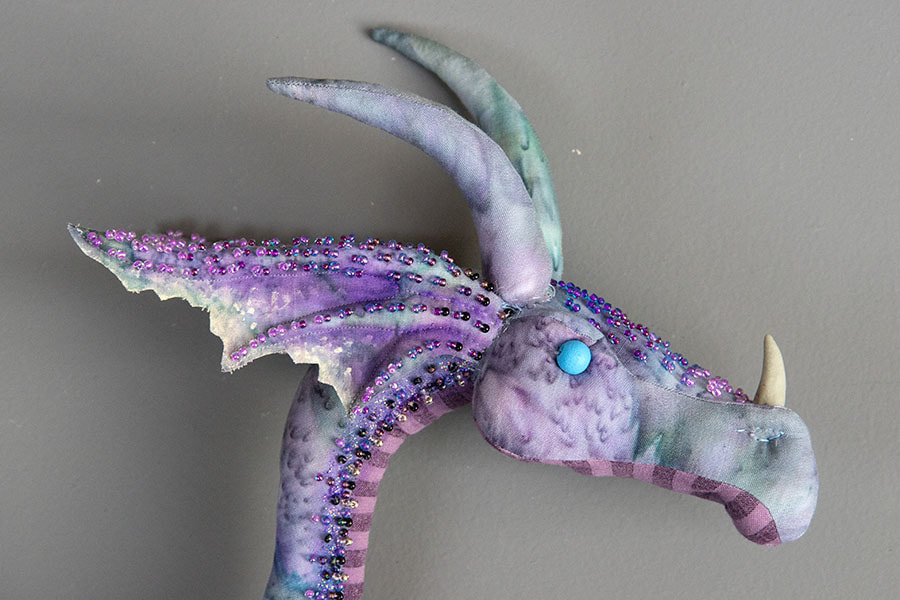
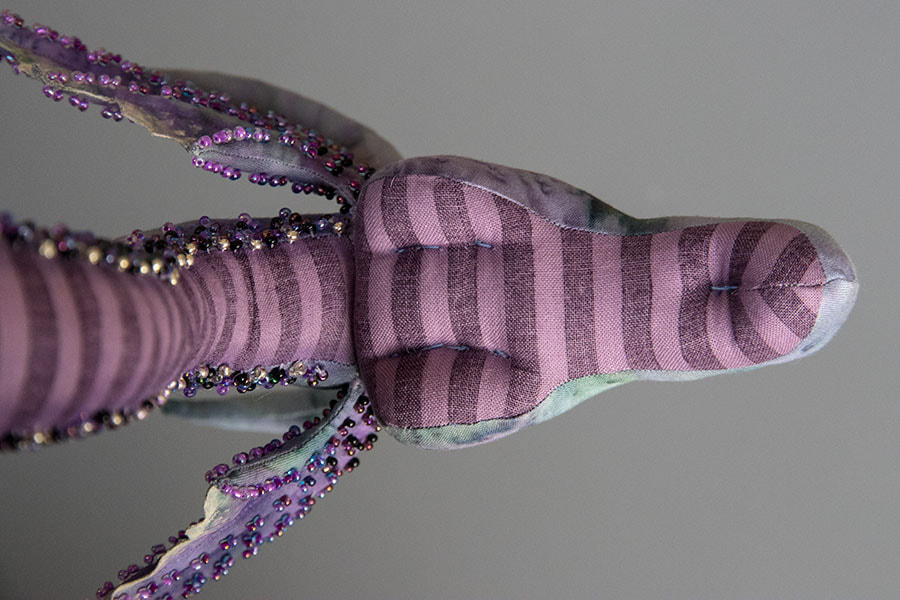
I tackled the soft sculpture of my new dragon's head. First I sewed on her big cloth horns at the top of her head, and the Apoxie horn (which I made several days ago) on her nose. I used a heavy thread to give some soft sculpture definition to her nostrils, eyebrow ridges, and give her eyes some depth. Then I stitched in some blue wooden beads to be the base for her eyes. Then I did the beading along the top of her face from her forehead to her nose.... Looking under her chin. You can see that I'm not the neatest. I really don't like doing soft sculpture. But at least all the messy stitches on the top of her head, and around her horns will get covered with Apoxie, so who cares? A top view showing the gradated colours of the beading... The other side of her head. She's looking more and more like a dragon now, and the Apoxie will only make her look even more so...
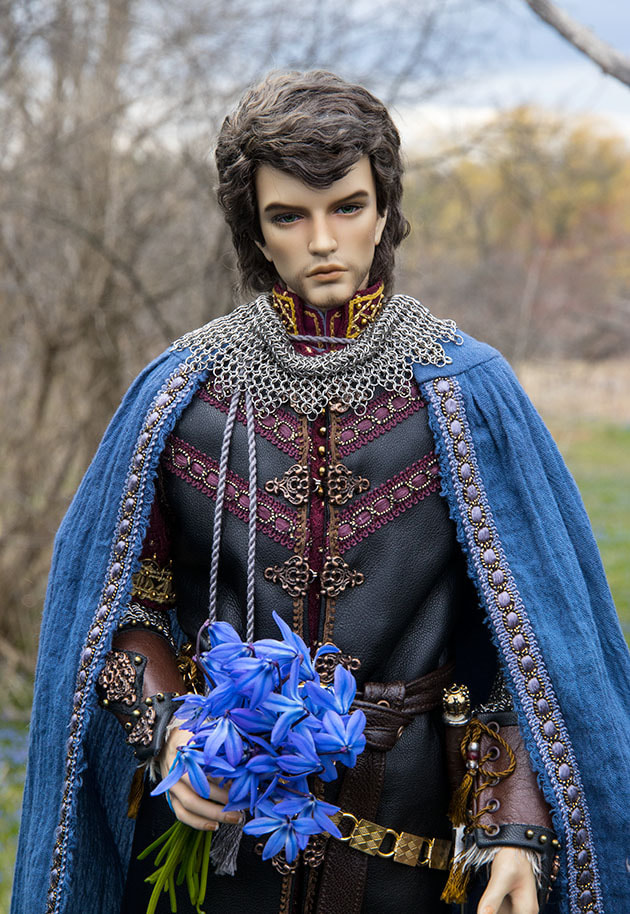
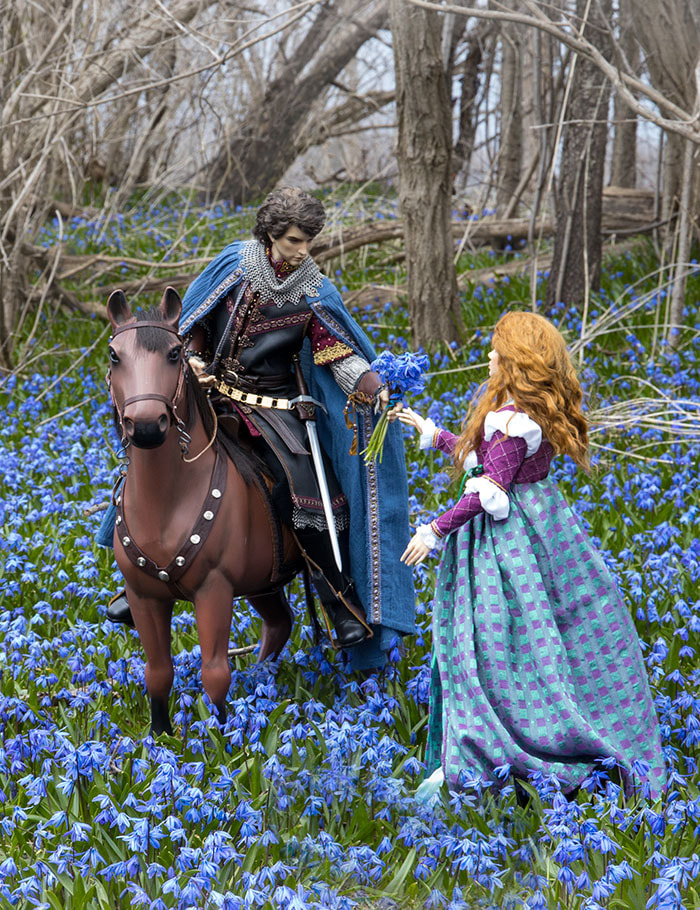
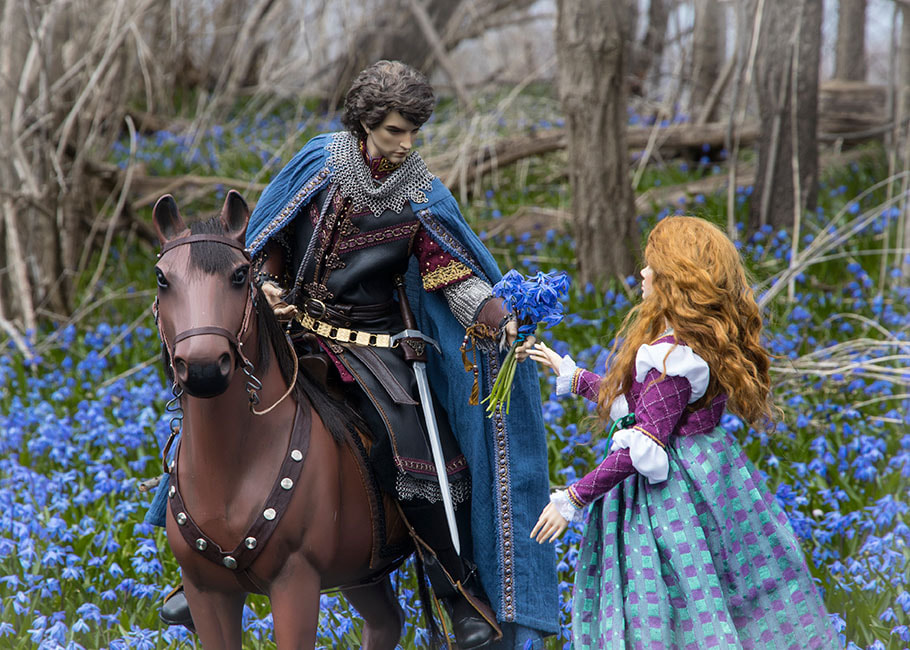
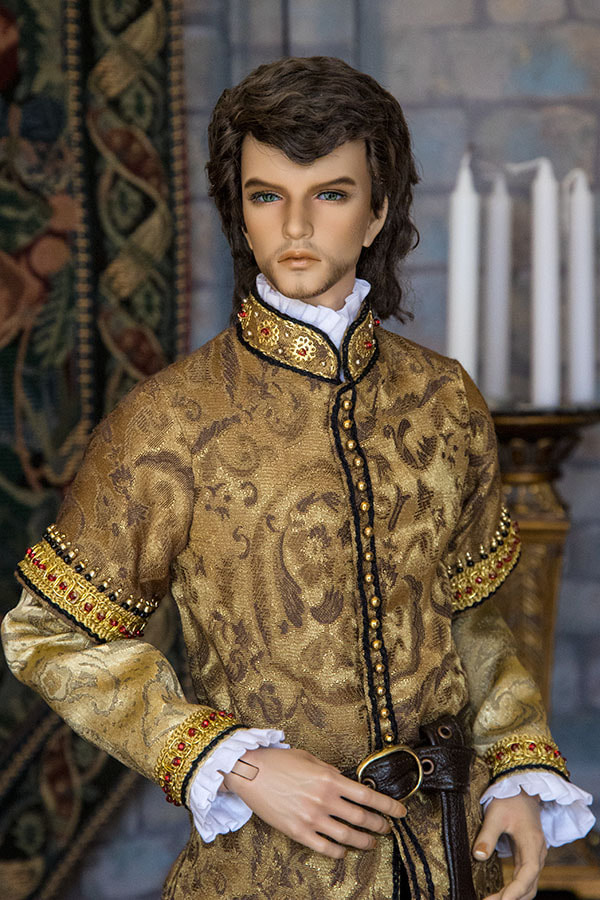
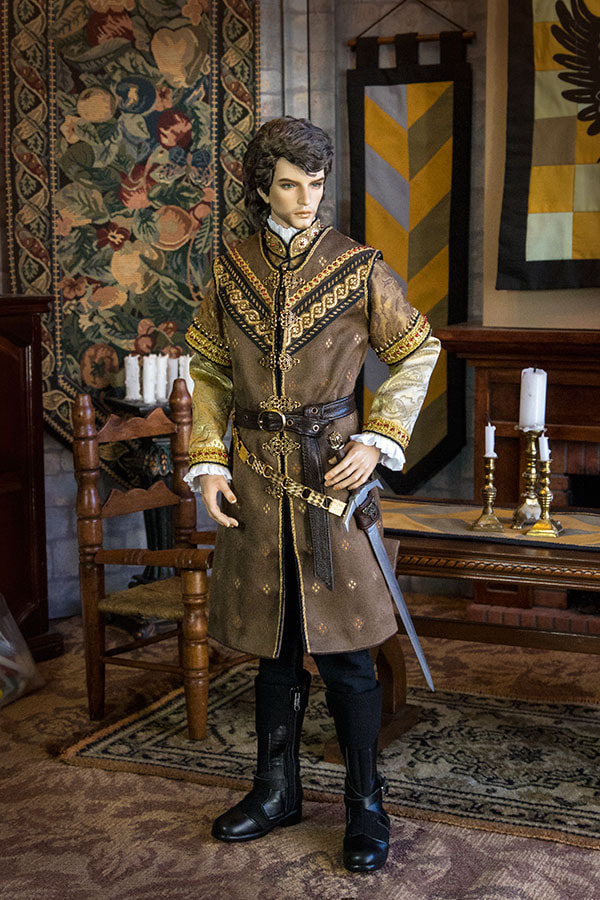
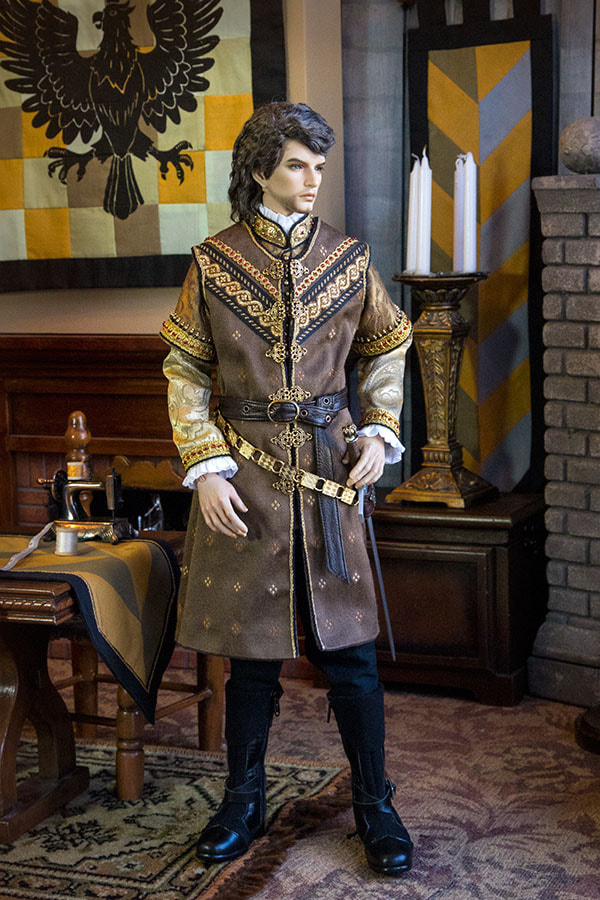
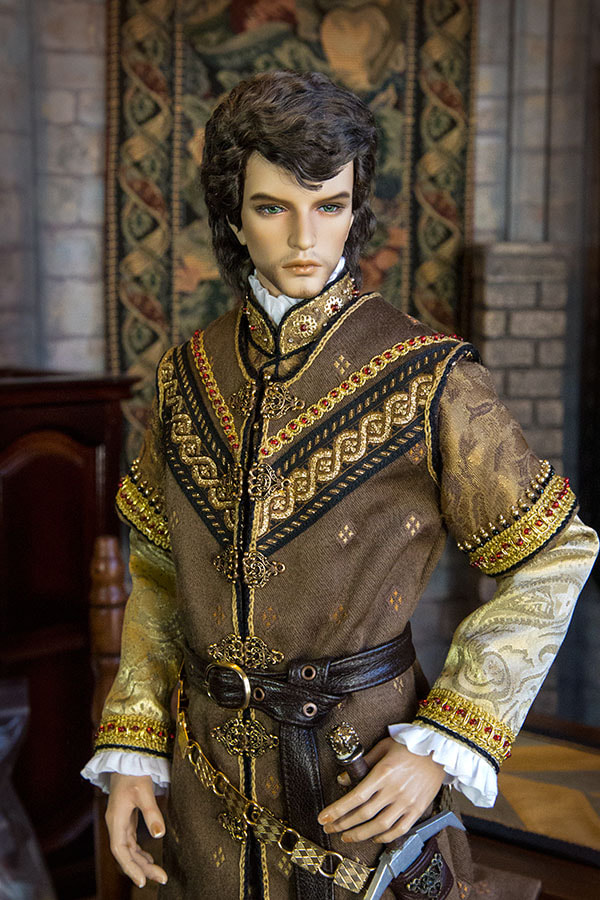
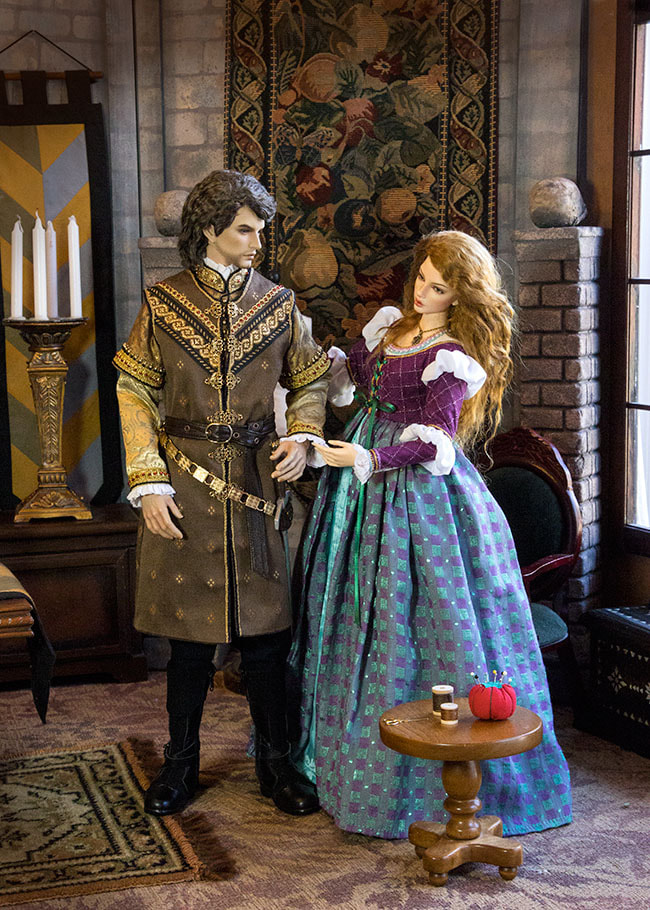
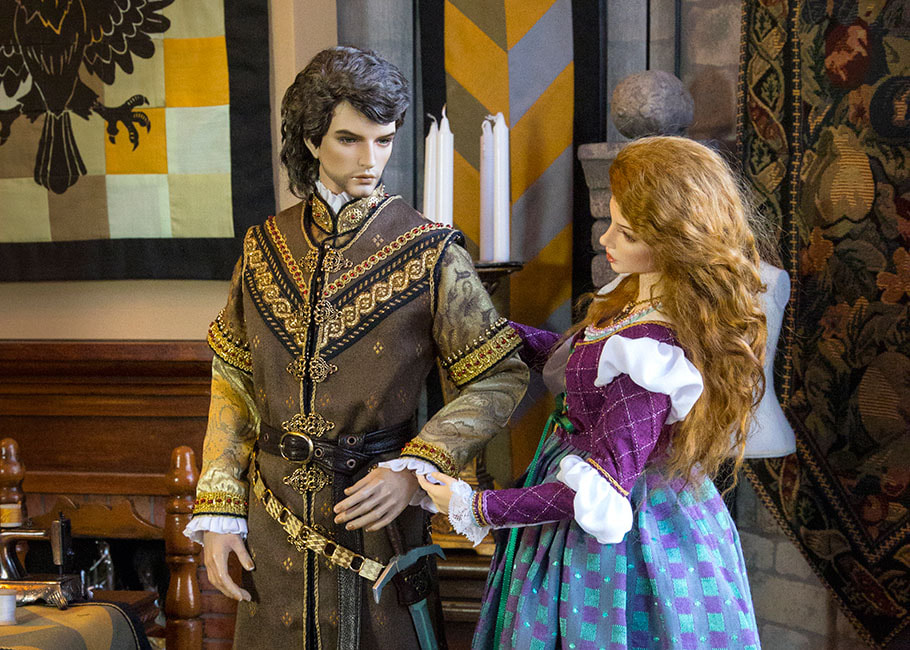
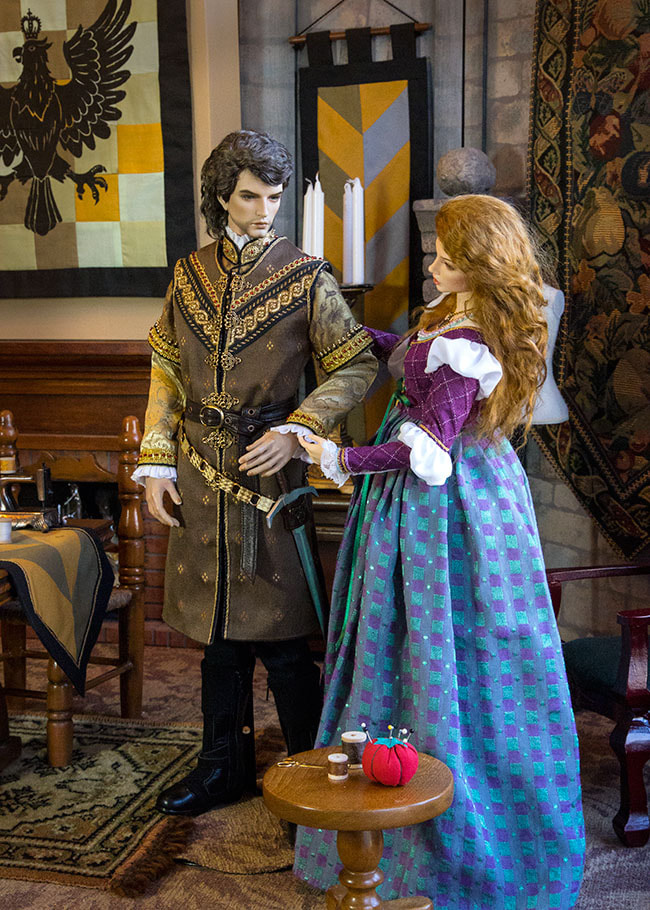
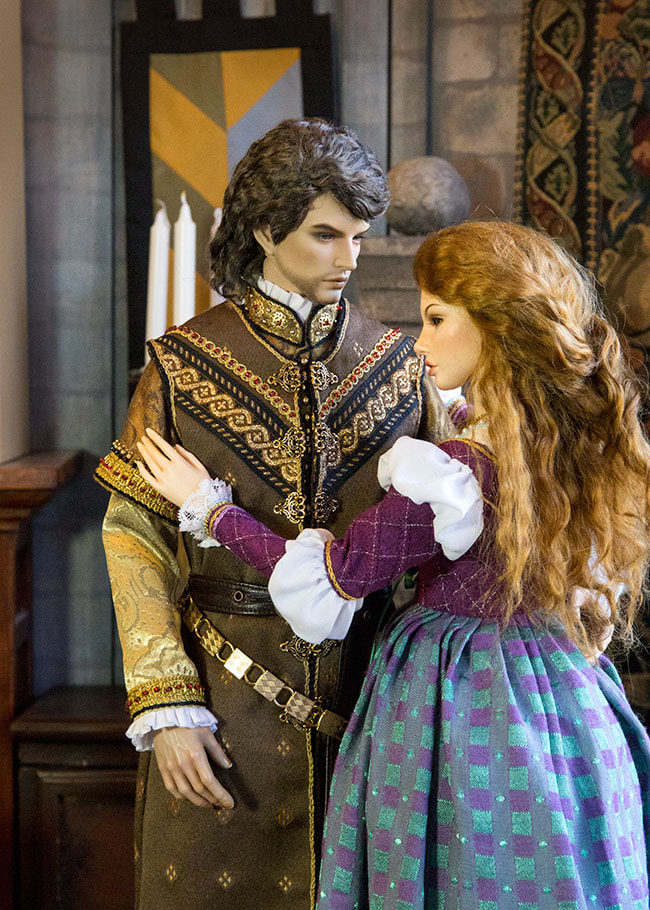
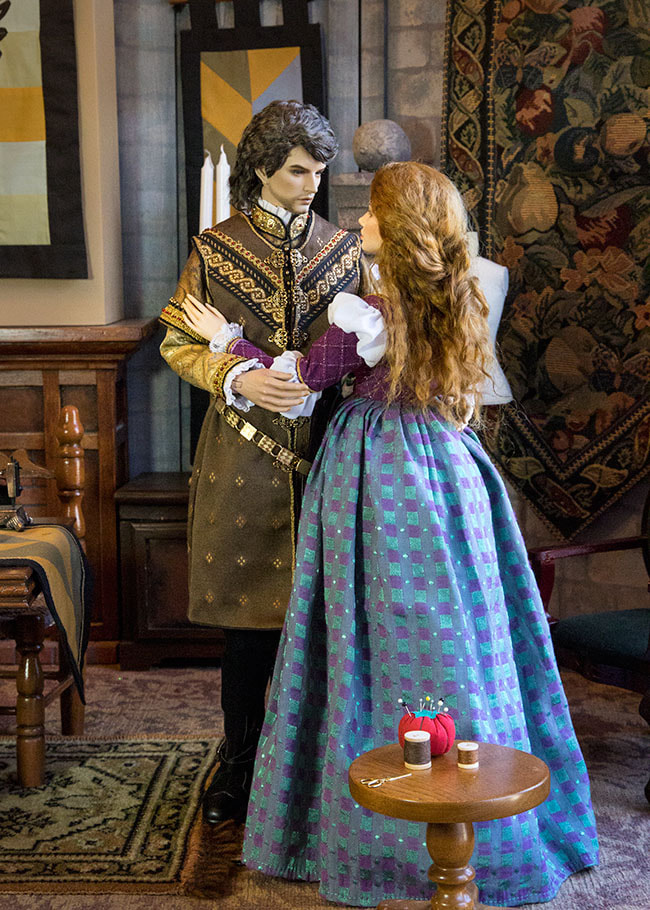
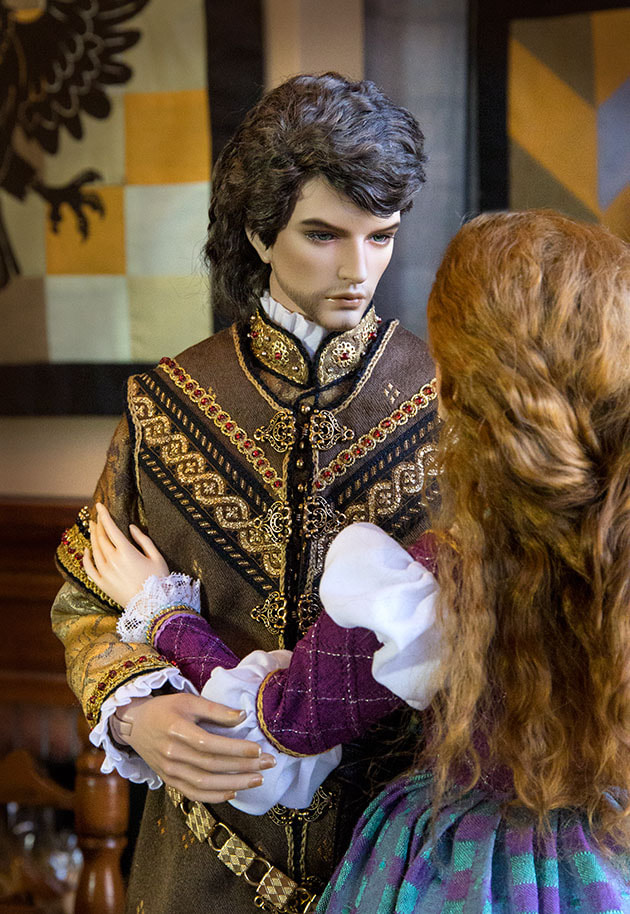
Naomi had finished Baron's wedding suit, and he came in for a final fitting. First the shirt.... ...then he put on the surcoat. Naomi thought he looked incredibly handsome.... ..and felt a bit flustered... ...as she pretended to check the length of his sleeves... "So, what do you think?" "It's perfect..." "...and I can't wait to wear it again on our wedding day."
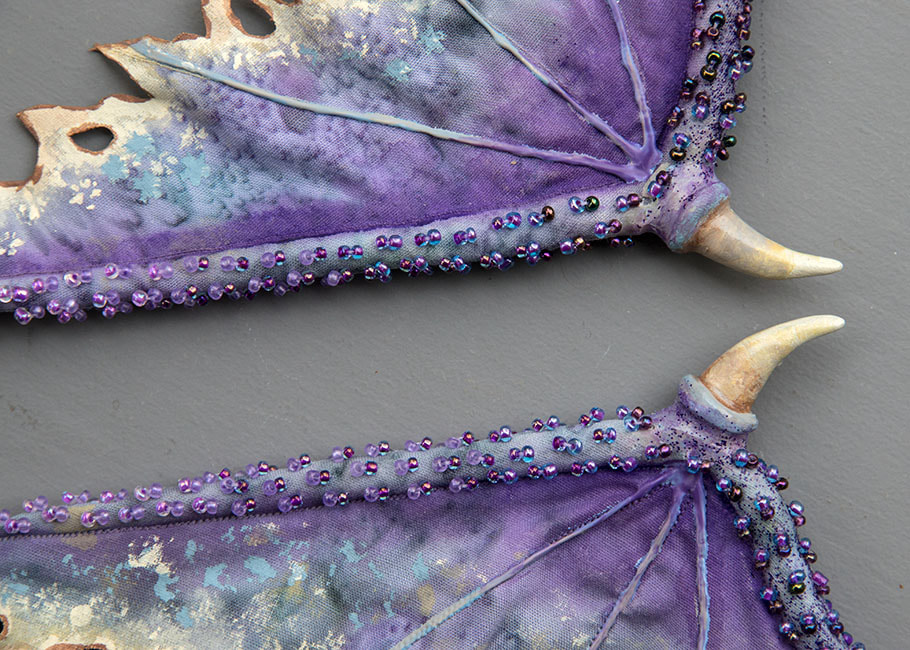
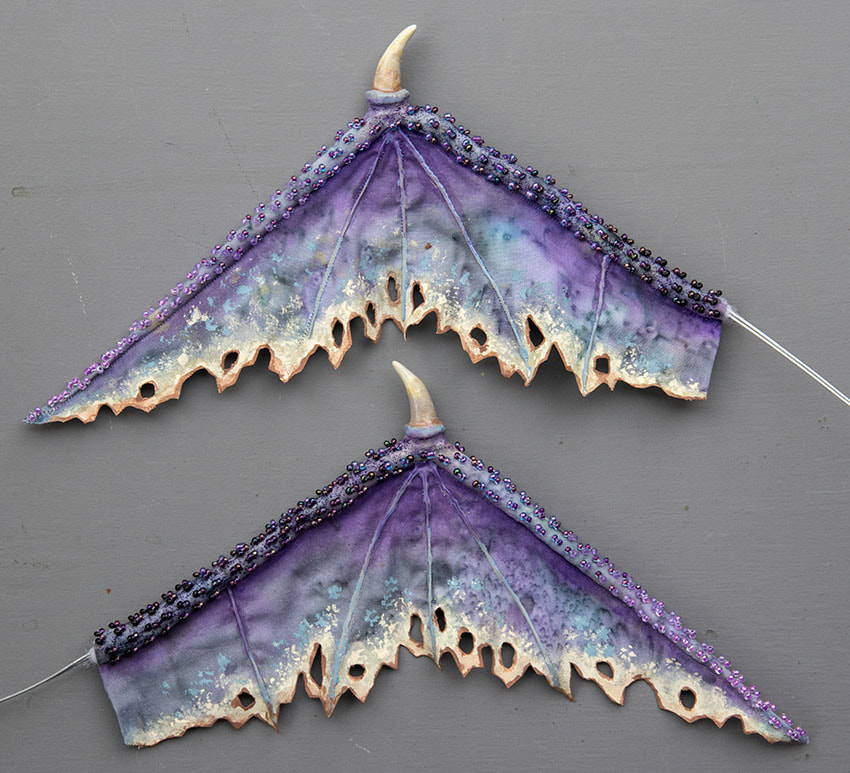
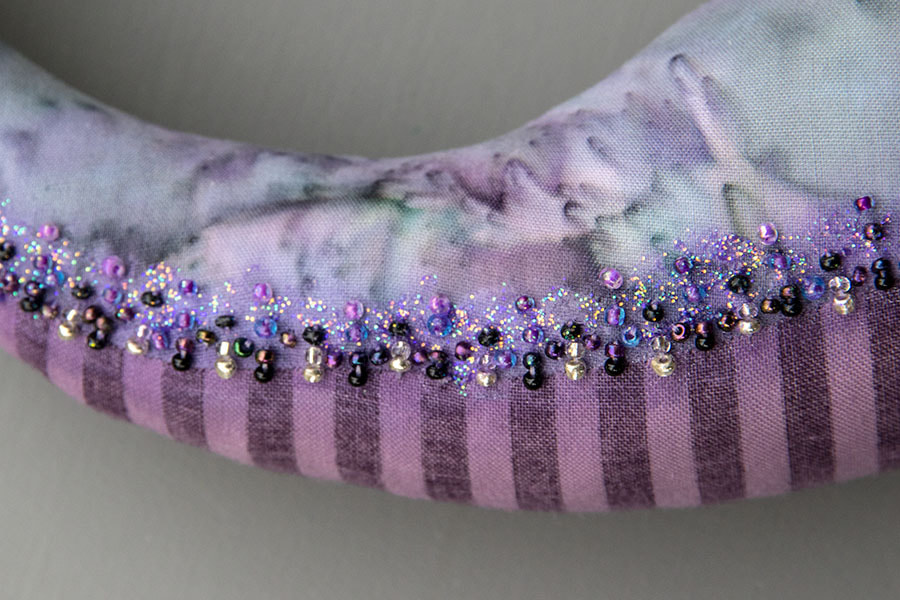
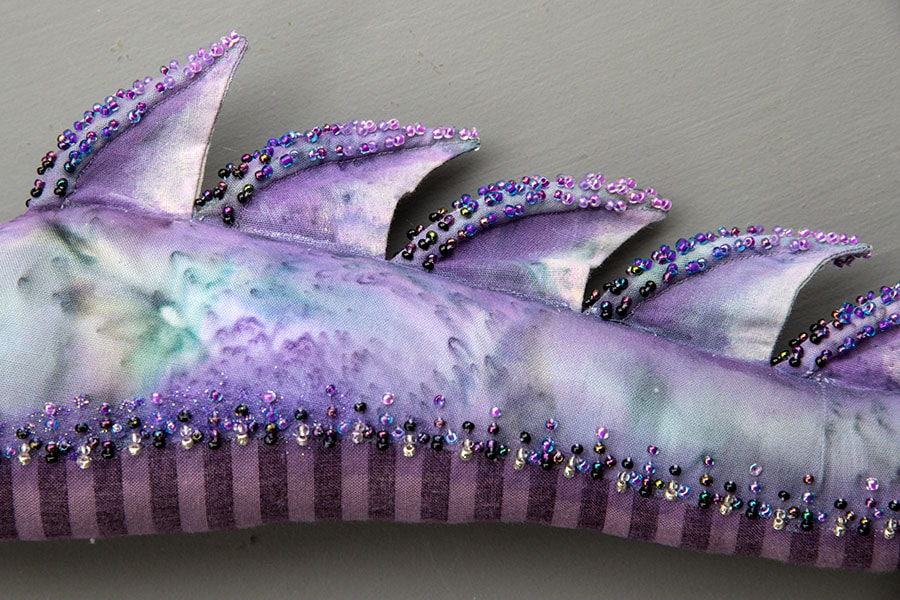
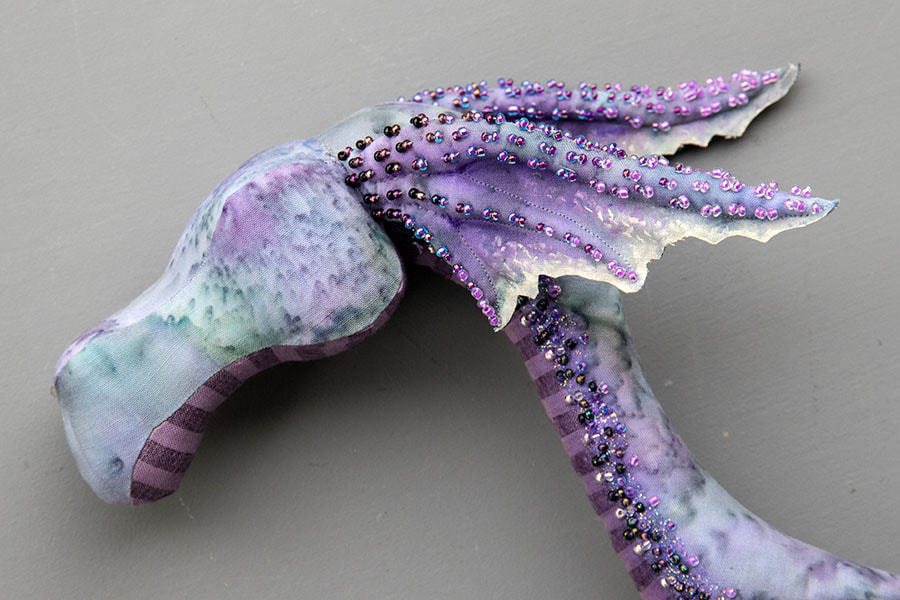
I finished the beading along the tops of the dragon's wings. I used seven colours of beads, sewing the darkest ones where the wings would come out of the body, and gradating the colours lighter and lighter towards the wing tips. I wanted to add some sparkle with glitter fabric paint, and applied a little along the ends nearest the body. But there wasn't much left in the bottle, and glitter paints haven't been available for a few years now, so I decided I better wait until the entire dragon was finished, and then apply the glitter paint judiciously in the most important places.... I had the same issue with the second bottle of purple glitter paint. There was barely a third of the tiny bottle left, and after applying a little along the upper neck edges, I decided I better wait until the entire dragon was finished. Then I will cut the bottle open so I could access every drop. After beading the underbelly, wings, and ears, the next step was to bead the top edges of the fins along the back. That was one tedious job! There are nine fins, and the beads needed to gradate from dark to light, but with every....single...stitch... the thread would get caught on either another fin - or some other beads - or both - and then I'd have to untangle it. Over....and over... It was rare if the thread didn't get caught at all. It was definitely an extreme exercise in testing my patience, and it seemed to take forever. But I just kept at it, doing a fin or two a day. After all, the way time seems to be flying these days, I figured if I just stuck with it, it would be done in 'no time'. And I was right....the week is now behind me and it's all done..... I had been waiting to sew on her head until I'd finished all the fin beading. I had altered the head patterns to make the cheeks and eyebrow area not stick out quite as much. I had done the same with Winston, because I wanted a sleeker look to the face. Of course, no sooner was I ready to stuff her head, I ran out of stuffing, and had to go buy some more. I stuffed her head, leaving an opening into the middle of the stuffing in order to accommodate the body wire. I sewed the sides and bottom of her head onto her neck, leaving the top open so I could finish the stuffing. When it was finally stuffed firm enough, I sewed the top shut. And she finally had a head!! Next step is to do some basic soft sculpture before I can start building up her features with Apoxie.
|
AuthorMartha Boers is an award-winning Canadian doll maker and costumer specializing in fantasy and historical-style costumes. Archives
July 2024
|
 RSS Feed
