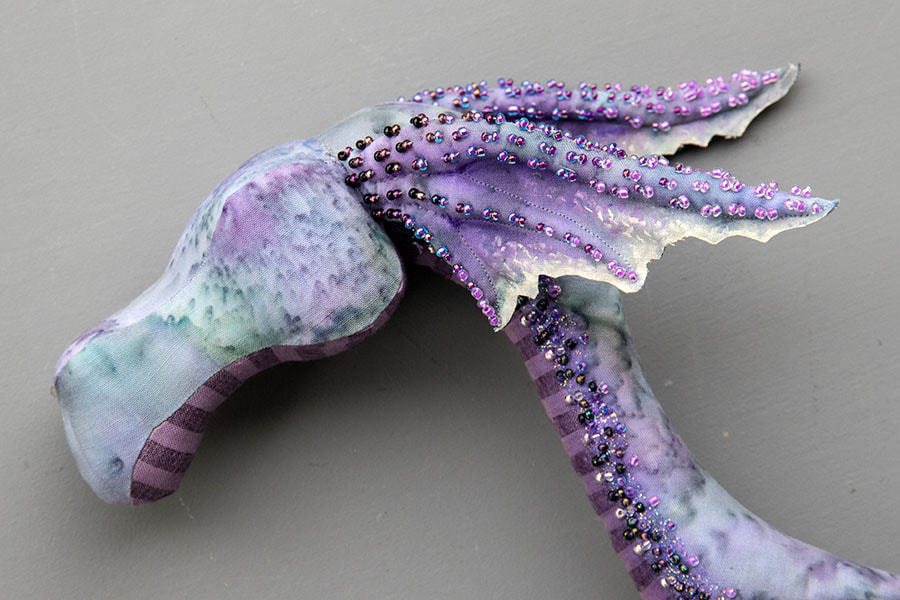
I stuffed her head, leaving an opening into the middle of the stuffing in order to accommodate the body wire. I sewed the sides and bottom of her head onto her neck, leaving the top open so I could finish the stuffing. When it was finally stuffed firm enough, I sewed the top shut. And she finally had a head!!
|
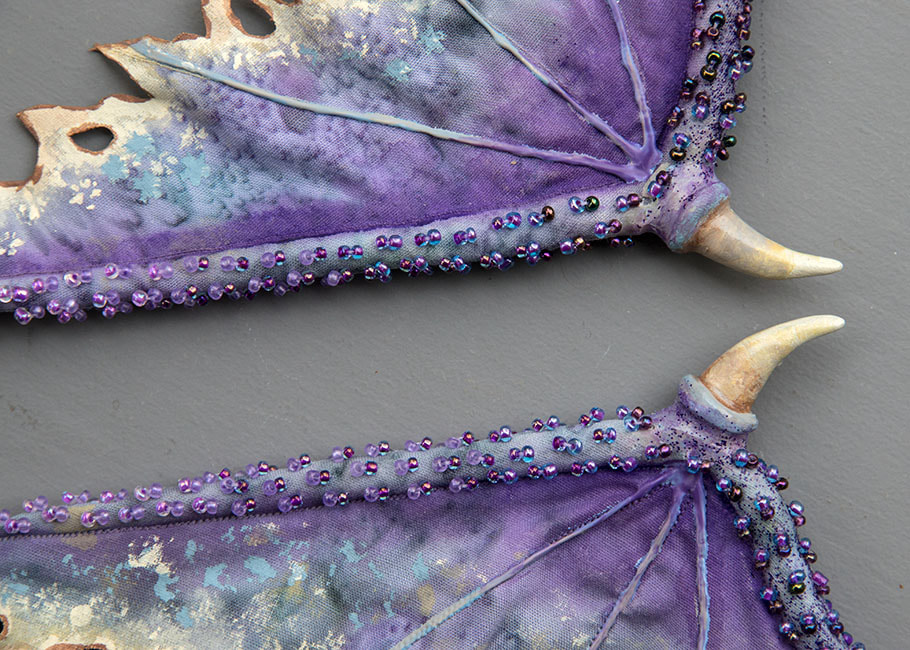
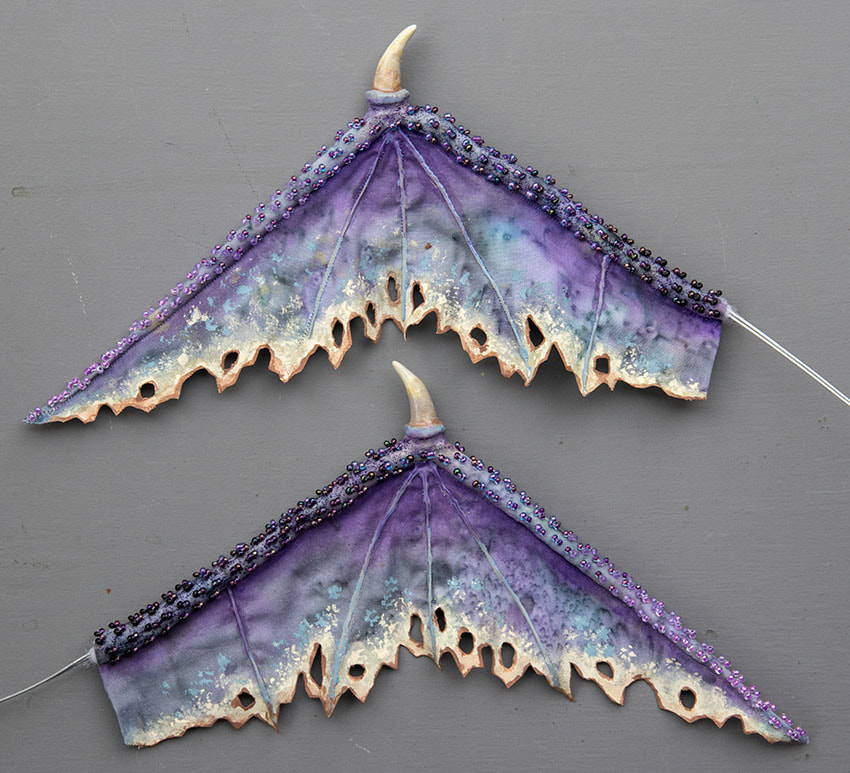
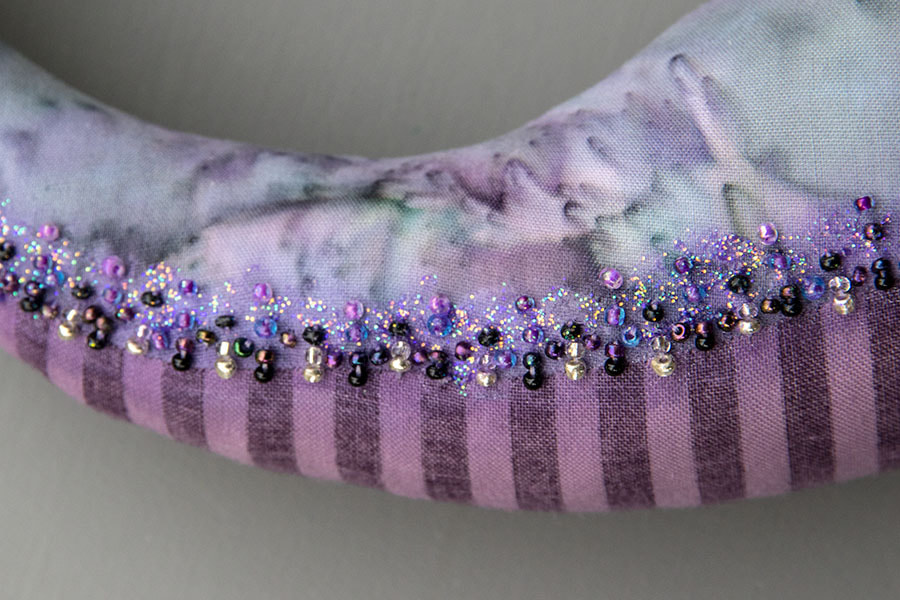
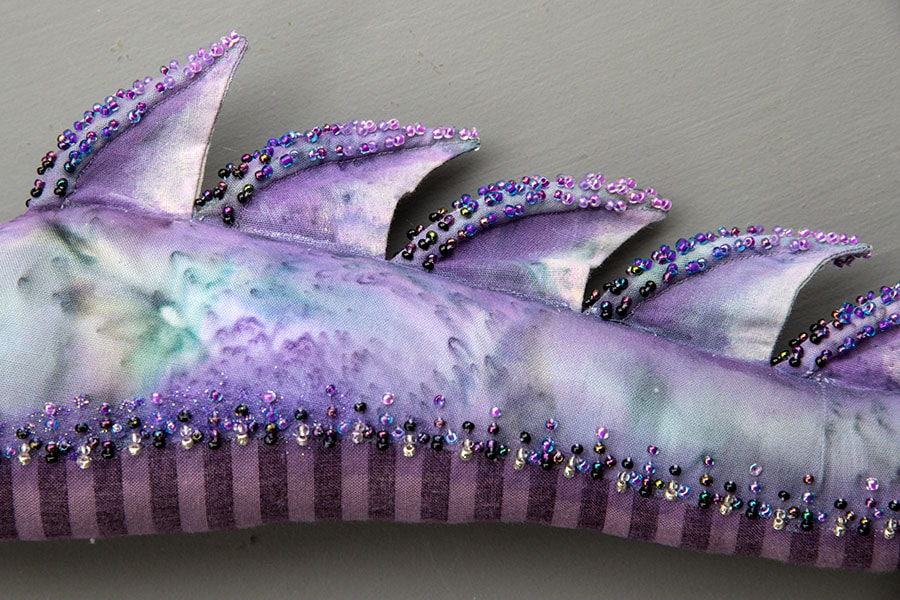
I finished the beading along the tops of the dragon's wings. I used seven colours of beads, sewing the darkest ones where the wings would come out of the body, and gradating the colours lighter and lighter towards the wing tips. I wanted to add some sparkle with glitter fabric paint, and applied a little along the ends nearest the body. But there wasn't much left in the bottle, and glitter paints haven't been available for a few years now, so I decided I better wait until the entire dragon was finished, and then apply the glitter paint judiciously in the most important places.... I had the same issue with the second bottle of purple glitter paint. There was barely a third of the tiny bottle left, and after applying a little along the upper neck edges, I decided I better wait until the entire dragon was finished. Then I will cut the bottle open so I could access every drop. After beading the underbelly, wings, and ears, the next step was to bead the top edges of the fins along the back. That was one tedious job! There are nine fins, and the beads needed to gradate from dark to light, but with every....single...stitch... the thread would get caught on either another fin - or some other beads - or both - and then I'd have to untangle it. Over....and over... It was rare if the thread didn't get caught at all. It was definitely an extreme exercise in testing my patience, and it seemed to take forever. But I just kept at it, doing a fin or two a day. After all, the way time seems to be flying these days, I figured if I just stuck with it, it would be done in 'no time'. And I was right....the week is now behind me and it's all done..... I had been waiting to sew on her head until I'd finished all the fin beading. I had altered the head patterns to make the cheeks and eyebrow area not stick out quite as much. I had done the same with Winston, because I wanted a sleeker look to the face. Of course, no sooner was I ready to stuff her head, I ran out of stuffing, and had to go buy some more. I stuffed her head, leaving an opening into the middle of the stuffing in order to accommodate the body wire. I sewed the sides and bottom of her head onto her neck, leaving the top open so I could finish the stuffing. When it was finally stuffed firm enough, I sewed the top shut. And she finally had a head!! Next step is to do some basic soft sculpture before I can start building up her features with Apoxie.
earthspirits
4/13/2022 09:43:31 am
She's looking good! What an amazing and very interesting project with your beautiful female dragon!
Dorothy
4/13/2022 01:39:20 pm
I am always amazed at how you can "envision" your characters before they come to life.
Nancy
4/13/2022 05:40:52 pm
She is really coming to life. Thank you for sharing your step by step creation.
Donna
4/14/2022 08:49:20 pm
Winston is going to be overwhelmed! She is really taking shape in front of our eyes. It is going to be fun to see her personality emerge as she comes to life. Comments are closed.
|
AuthorMartha Boers is an award-winning Canadian doll maker and costumer specializing in fantasy and historical-style costumes. Archives
July 2024
|
 RSS Feed
