Antique Lilac
  • Home
  • for Sale
  • Galleries
  • Favourite Photos
  • Tutorials
  • Blog
  • Links
  • Books

Effie and Bianca

1/17/2018

4 Comments

 
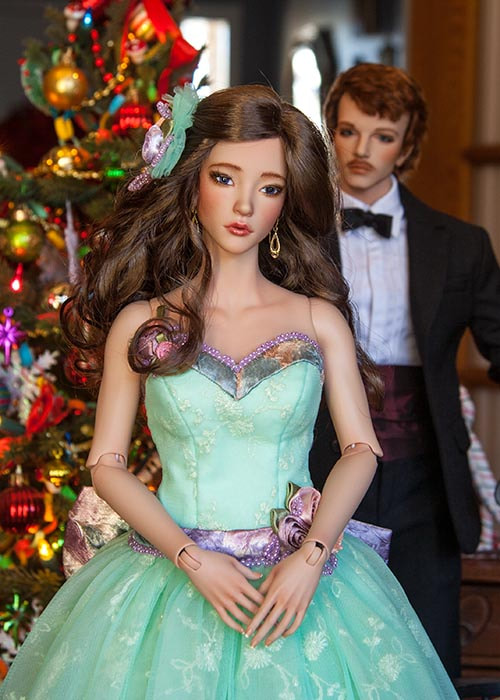
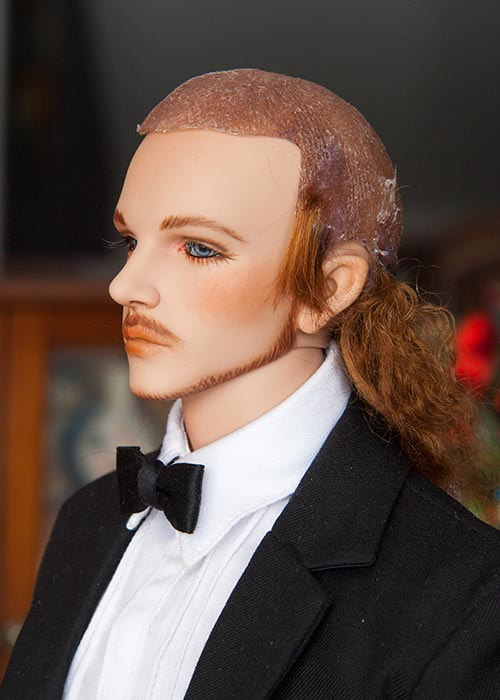
Two new dolls from Iplehouse arrived today, and I have to say that they are as different as night and day.  Effie is an Addiction Efreet BID from their Vampire series from a few years back.  The intent is to have her fangs filed so she's just a 'chatty' little girl. She's definitely not 'adorable' or 'cute', but is almost 'homely', especially right now in her unpainted state. But then, not all children are beautiful.  Character counts for something too. And she's got plenty of that....
Picture
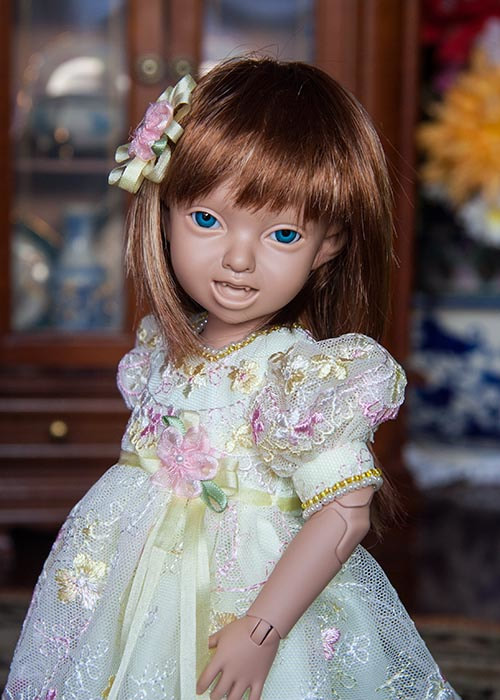
She's going to be a real challenge to find just the right look.  I tried quite a few eyes and wigs on her, before finally settling on this look for now.....I think she's already starting to grow on me....
Picture
Picture
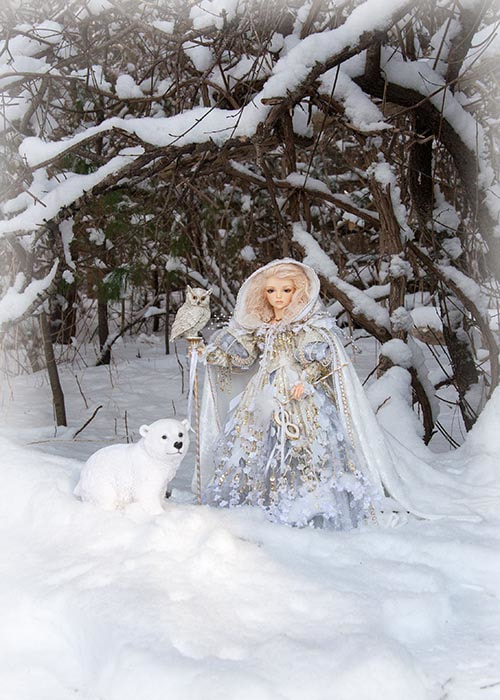
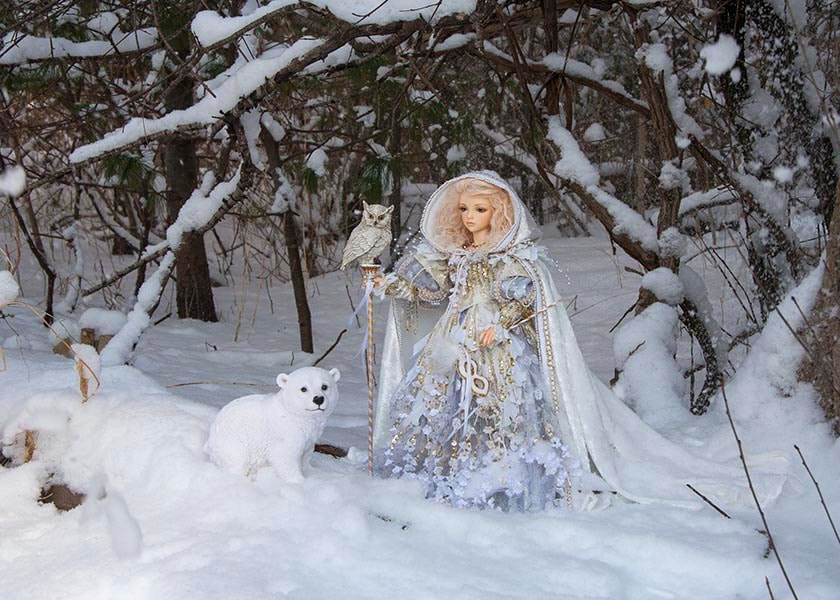
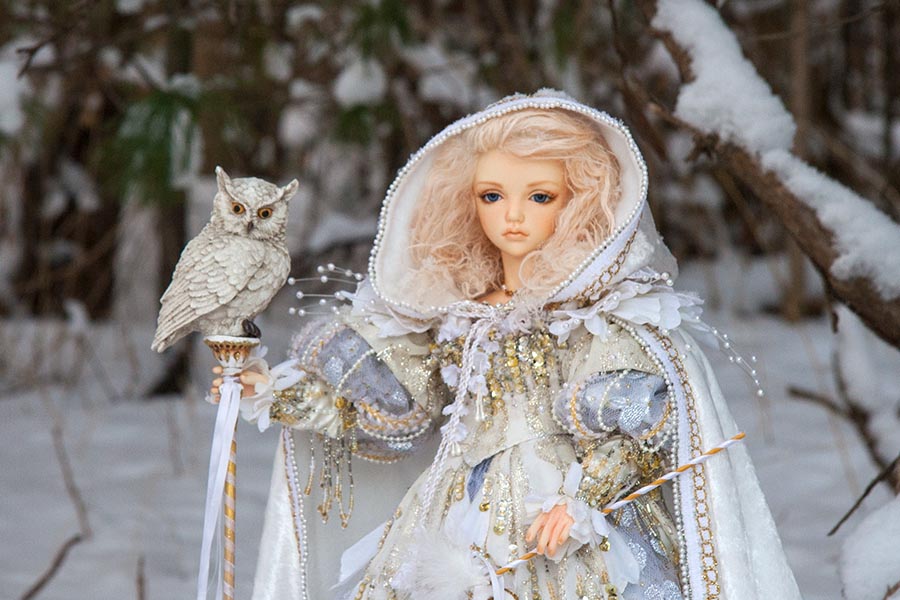
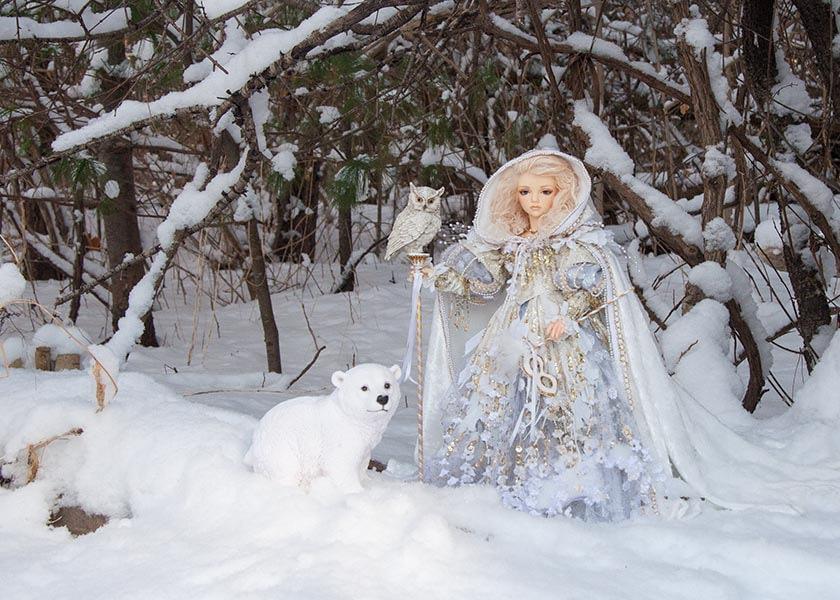
Her sculpt is a modified 'Efreet' sculpt, but I already have a regular Efreet boy, so she needed a name of her own - something unique to her, and much more feminine. So she will be called 'Effie', which is of Greek origin, and short for Euphemia, which means "Well Spoken".  Perfect, since it's pretty clear that she's going to be talking non-stop. I even got her some extra hands with pointy index fingers, so she can wave her finger to help emphasize her point.

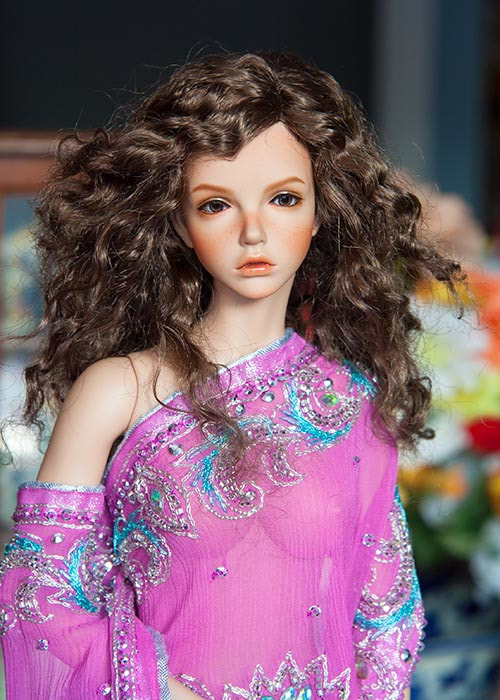
And then there is Bianca.  What can I say??  She's gorgeous, just like her promo photos on the Iplehouse site. I only have three wigs her size, so stole this one off Talyssa. And I wrapped her in the sari that I bought especially to make something out of for her....
Picture
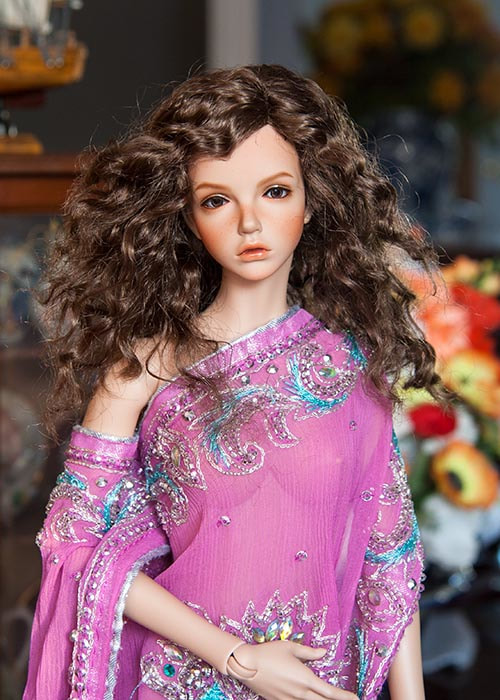
I find she reminds me quite a lot of my Kassia. Same pouty look.

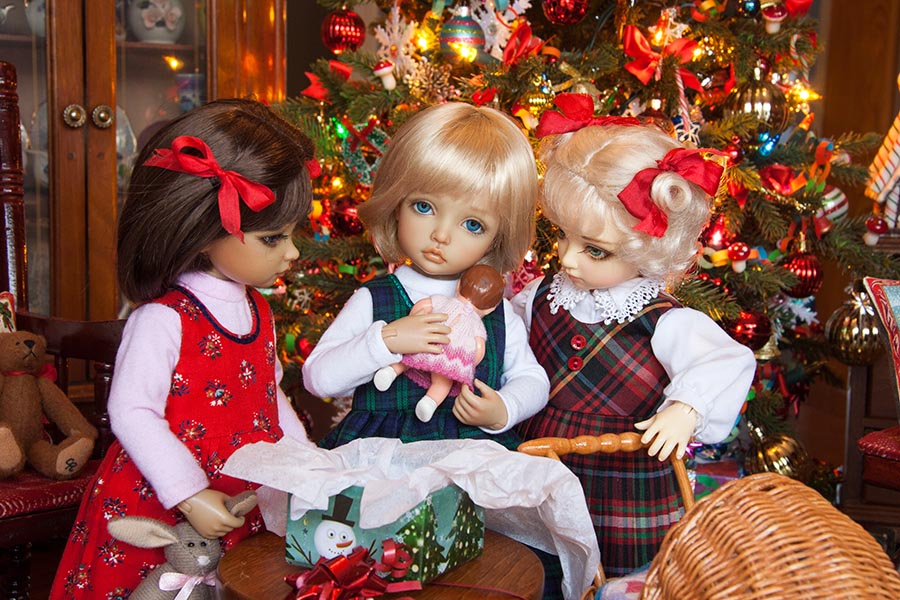
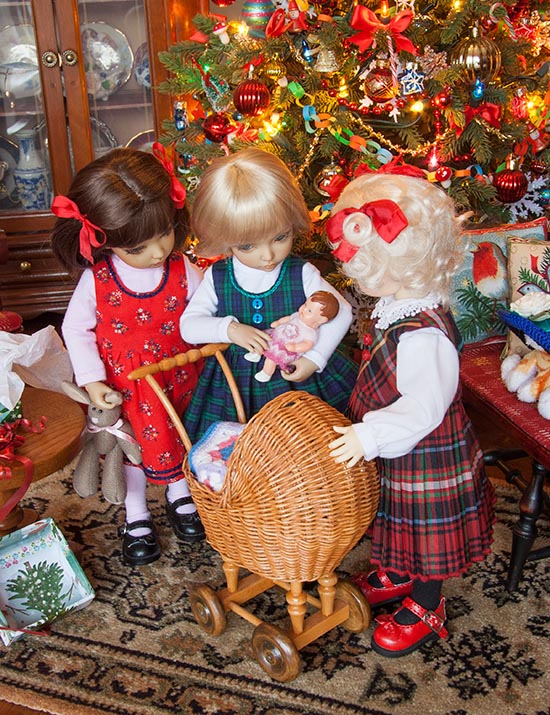
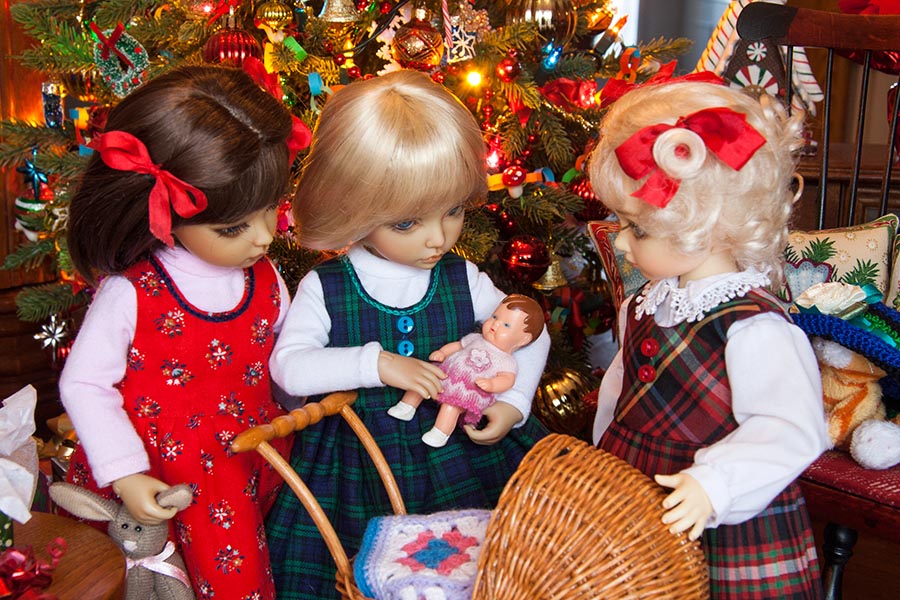
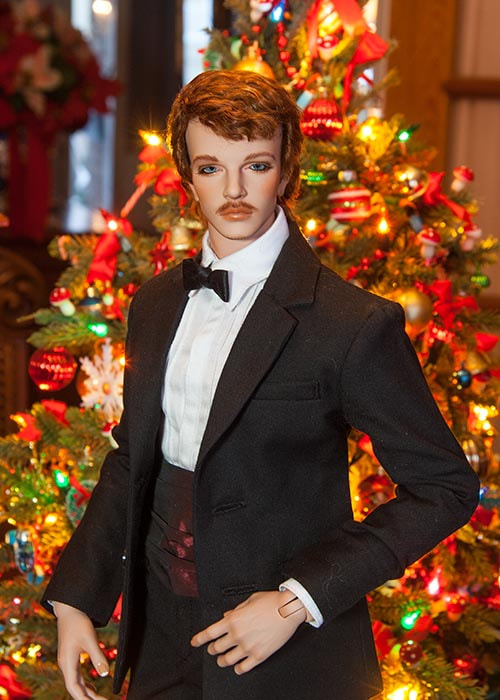
Then just for fun, since Nelly was still standing there, I thought I'd take a photo of the three dolls together, just to show the difference in their sizes..... 
Picture
It's interesting that Nelly, whose the biggest, looks like a 'doll', whereas Bianca whose quite a bit smaller, looks much more 'realistic'. It's also interesting that Effie looks a dull grey colour compared to Bianca, even though they are both the exact same resin colour. Just goes to show the difference a face up makes, because only Bianca's face is painted, and not her body, and her hands are the same dull grey as Effie.

I can't wait to see Bianca dressed.  She could wear so many things.  The first thing I intend to make will be a fancy evening gown out of the pink sari.  That way she will fit with my other two FIDs, who are also both in fancy dress. Other costumes can come later.
Picture
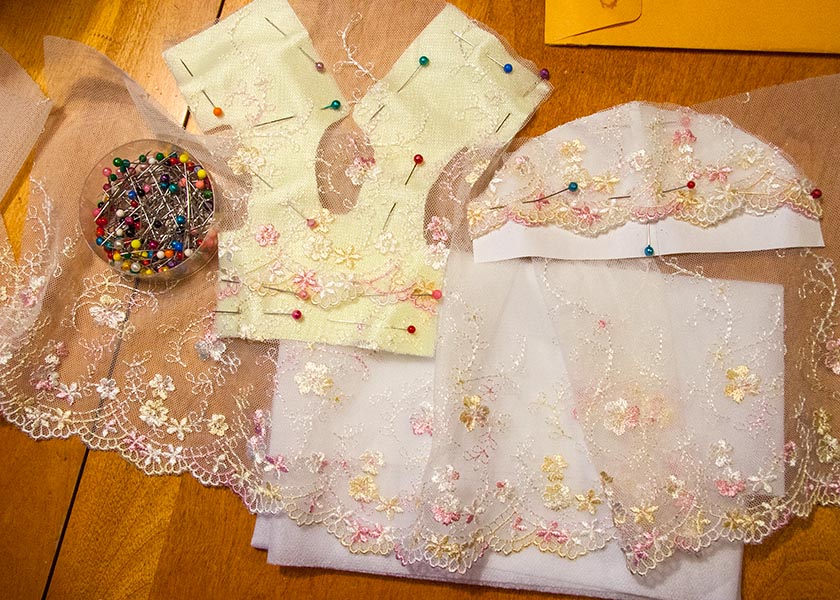
But first I have to finish the outfit I'm making for my Butterfly Narae. I've chosen her to be an artist in an upcoming photo series, but she has absolutely nothing suitable to wear. In fact I've never made anything especially for her at all. Ever since she arrived five years ago, she's just been wearing a white dress borrowed from my first Narae. It's definitely not something an artist would be wearing in their studio - or anywhere else, for that matter. So I have to finish her outfit first.
4 Comments

Kassia in the Snowy Woods

1/17/2018

3 Comments

 
Yesterday morning we woke to a beautiful, fresh snowfall. It was thick on all the branches, and it wasn't too cold, so I packed up Kassia and her friends, and we headed out to the woods....
Picture
Picture
Picture
Picture
Picture
Picture
Picture
Picture
Picture
Picture
Picture
3 Comments

Nelly in Yellow

1/16/2018

8 Comments

 
I finished the yellow ball gown for Nelly yesterday. It fought me for much of last week, but I finally got it to look like I envisioned it.  The worst had to be gathering all the tulle for the skirts. I've never tried sewing a skirt with that much fabric before - the seam at the waist ended up being almost a quarter inch thick - and I was surprised I didn't break any needles.

​Today I took a few photos....
Picture
Picture
Picture
8 Comments

A Doll for Elin

1/15/2018

2 Comments

 
A package arrived for Elin the other day.  It was from her Auntie Joyce in Calgary. Elin had two of her friends over, but she couldn't wait to see what was in it.  And neither could they.
Picture
"It's a cute little baby doll!!"
Picture
Picture
Elin took her out of the box and gave her a big hug....
Picture
​"Look at this pretty pink dress she's wearing..."
Picture
"You're so lucky to have an aunt that sends you dolls..." said Byuri....
Picture
Picture
Yes, Elin was very lucky indeed!
Picture
2 Comments

Lawrence & Miho

1/15/2018

1 Comment

 
I took some more photos of Miho and Lawrence the other day, before cleaning up all the Christmas decorations. They were both still standing there, on my dining room table, frozen in mid dance from a few days earlier, looking too nice not to photograph some more.....  
Picture
Picture
I'm really starting to fall in love with this size and proportion of doll....
Picture
Then I woke this morning to a shipping notice from Iplehouse.  My 'chatty' BID Effie, and FID Bianca are on their way!!  Little Efreet will need some modding and a face up, but Bianca is coming with one. Which is very exciting!!

​Although the prospect of having another girl around has Miho a bit concerned....Is it true that "two's company, and three's a crowd??"
Picture
But then, Bianca could become a really good friend, and if she and Lawrence do end up together.....well, there's lots more handsome guys where he came from....
Picture
1 Comment

An Owl Perch

1/13/2018

4 Comments

 
I was really looking forward to some magical pictures of Kassia with an owl perched on her arm, but became very frustrated by trying to get the Owls to stay in position. The leather and wire perch I made, along with the dowel to help hold the weight of the Owl up, was just too flimsy, and although I did manage a few photos last month with the one Owl, I just couldn't get the second Owl - a white Horned Owl - to stay in position.  I needed something more reliable, and easier to work with outside in the cold and snow.  So decided to make a staff for the Owls to perch on top of.

​The Owls already had holes drilled into their base, so Jan inserted a similar sized nail into the end of a 1/4" dowel. I built the end up with wire, covered with Aves Apoxie....
Picture
​I'm protecting Kassia's hand and sleeve with some plastic wrap...
Picture
The staff still needs some final finishing, but it's proving so much sturdier.....
Picture
4 Comments

Birthday Dresses & Ballgown

1/13/2018

4 Comments

 
It's been a challenging week so far as the lace dresses I was making was concerned. In the end, after redoing the bodice linings several times, I ended up going with a pale yellow after all. I decided I already had too many pink lace dresses, so decided to stay with yellow. But that first yellow satin was just too bright a yellow. So I ended up using the inner lining from the toddler dress that I'd washed and taken apart. It was a very pale yellow, and made all the embroidery on the lace stand out nicely.....
Picture
Which left me with the rest of the toddler dress. I didn't feel like putting it all away into storage all in pieces, so thought I'd make a gown out of it.  But for who??  It had to be a bigger doll,because there were yellow roses attached to the tulle skirt, so I had to leave the length of it as long as possible.  So I chose my Nelly. I've not made anything her size in years.

Then I had nothing but trouble with the sleeve cuffs on Nelly's dress. The satin lining was so slippery, and the cuffs kept getting all deformed when I'd sew the lace to the satin.  I redid them several times, until there was just one piece of the lace left that was still big enough. I ended up cutting a length of satin ribbon instead, and wrapped the lace around that. Finally I had proper sleeve cuffs! The bodice wasn't quite long enough either, and I'd used up all the satin and lace, so couldn't redo it, so I sewed a wide ribbon waistband along the bottom of the bodice to lengthen it neatly extending the length of the bodice, both inside and out....
Picture
The next step is to sew the yards and yards of tulle skirt onto the bodice. 
4 Comments

Starting Over

1/9/2018

0 Comments

 
I started work on two little lace dresses last night, but have changed my mind about the lining colour. I thought the cream lace would like nice with a pale yellow lining, and the only thing I had in pale yellow was a frilly dress from Value Village.  So I picked it apart last night, then washed it this morning - all so I could use the soft satin lining under the lace in the two dresses.

​But after cutting out the lace for the bodices and sleeves, it struck me that the yellow lining pretty much hid all the beautiful embroidery on the lace.  The intricate yellow, pink and cream embroidery stands out so much better on the white paper pattern......
Picture
I guess that's what I get for making decisions about colour in the evening by artificial lighting. So now I'm going to cut out white bodice lining instead. 
0 Comments

Lawrence and Miho

1/8/2018

5 Comments

 
I thought I would introduce Lawrence to Miho.....
Picture
Picture
Picture
We'll see how they get along.  Personally, I think Bianca might be more his type.  
​But she's not here yet.  So We'll see.....
5 Comments

A Wig for Lawrence

1/8/2018

4 Comments

 
Well, it's finally time to bite the bullet, and make that wig for Lawrence.  I made a hard cap wig base when he first arrived last January, and did a final bit of trimming on it....
Picture
Picture
Lawrence has the exact same face up as my JID Steve, but his head is smaller. I tried Steve's wig on him, just to see how it looked, and I'm hoping I can recreate that look a second time.

I've chosen the same mohair. It's a 'Dark Antique Brown' (which is more of a dark auburn) and I have two baggies of it, coming from two different goats, named 
Pharaoh and Sheba, from the days when Edgewood Angoras still raised goats, and dyed their locks for doll hair.

The first step is to cut the mohair into 2" lengths, and sew it into a strip.  I sew the mohair near the middle onto a strip of paper, then turn around and sew about 3/16" beside the first stitching row. I remove the strips from the paper, and pin them down onto some plastic placemats, so they won't move. Then I use a small paintbrush to paint 'Gem-Tac' glue down the middle, going slightly over both seam lines. I use Gem-Tac because it dries "washable", so won't dissolve when I wet the wig later when I'm trying to style it.
Picture
When the glue is dry, I turn the strip over and apply glue on the other side as well.

​Once that glue is dry, I carefully cut the strip up the middle between the rows of stitching....
Picture
So, now all the mohair strips are now ready to be glued onto the wig cap. Making a wig for a guy is not a job I enjoy, as I have to pay very close attention to which way the waves in the mohair go if I want a half-decent hairstyle. I usually have to cut the strips into really short pieces to glue on one at a time, then do the final styling after all the mohair has been glued on.  I know how I want the wig to look, but getting it that way seems to be total chance.  So wish me luck!!

The first mohair to get glued on is the sideburns and the back hair.  I don't glue with the wig cap on the doll - I hold the wig cap in my hand, hot glue the strips on, then take a photo on the doll....
Picture
More strips of mohair get glued up the back, and across the front, always paying attention to the wave in the mohair, so I'll be able to style the wig more easily later.....
Picture
And with all the hair glued on, combed, and the first trimming done....
Picture
 Then I took the wig, wet it, combed it some more, and with a pressing cloth, steamed the hair above the sideburns backwards on the edge of my tiny ironing board. I covered Lawrence's head with plastic wrap to protect his face up from the next few steps (hairspray will ruin a face up) Then I trimmed the wig some more, and saturated it with hair spray.  Then wrapped everything tightly with strips of cotton fabric and let it dry.....
Picture
After the wig dried, I combed and trimmed it some more....until I was happy with it.....
Picture
So Lawrence finally has a wig, and I'm really quite pleased with him now....
Picture
4 Comments
<<Previous
Forward>>

    Author

    Martha Boers is an award-winning Canadian doll maker and costumer specializing in fantasy and historical-style costumes.
    Read More... 

    Archives

    March 2023
    February 2023
    January 2023
    December 2022
    November 2022
    October 2022
    September 2022
    August 2022
    July 2022
    June 2022
    May 2022
    April 2022
    March 2022
    February 2022
    January 2022
    December 2021
    November 2021
    October 2021
    September 2021
    August 2021
    July 2021
    June 2021
    May 2021
    April 2021
    March 2021
    February 2021
    January 2021
    December 2020
    November 2020
    October 2020
    September 2020
    August 2020
    July 2020
    June 2020
    May 2020
    April 2020
    March 2020
    February 2020
    January 2020
    December 2019
    November 2019
    October 2019
    September 2019
    August 2019
    July 2019
    June 2019
    May 2019
    April 2019
    March 2019
    February 2019
    January 2019
    December 2018
    November 2018
    October 2018
    September 2018
    August 2018
    July 2018
    June 2018
    May 2018
    April 2018
    March 2018
    February 2018
    January 2018
    December 2017
    November 2017
    October 2017
    September 2017
    August 2017
    July 2017
    June 2017
    May 2017
    April 2017
    March 2017
    February 2017
    January 2017
    December 2016
    November 2016
    October 2016
    September 2016
    August 2016
    July 2016
    June 2016
    May 2016
    April 2016
    March 2016
    February 2016
    January 2016
    December 2015
    November 2015
    October 2015
    September 2015
    August 2015
    July 2015
    June 2015
    May 2015
    April 2015
    March 2015
    February 2015
    January 2015
    December 2014
    November 2014
    October 2014
    September 2014
    August 2014
    July 2014
    June 2014
    May 2014
    April 2014
    March 2014
    February 2014
    January 2014
    December 2013
    November 2013
    October 2013
    September 2013
    August 2013
    July 2013
    June 2013
    May 2013
    April 2013
    March 2013
    February 2013
    January 2013
    December 2012
    November 2012
    October 2012
    September 2012
    August 2012
    July 2012
    June 2012
    May 2012
    April 2012
    March 2012
    February 2012
    January 2012
    December 2011
    November 2011
    October 2011
    September 2011
    August 2011
    July 2011
    June 2011
    May 2011
    April 2011
    March 2011
    February 2011
    January 2011
    December 2010
    November 2010
    October 2010

    RSS Feed

Powered by Create your own unique website with customizable templates.