Well, it's finally time to bite the bullet, and make that wig for Lawrence. I made a hard cap wig base when he first arrived last January, and did a final bit of trimming on it....
 | 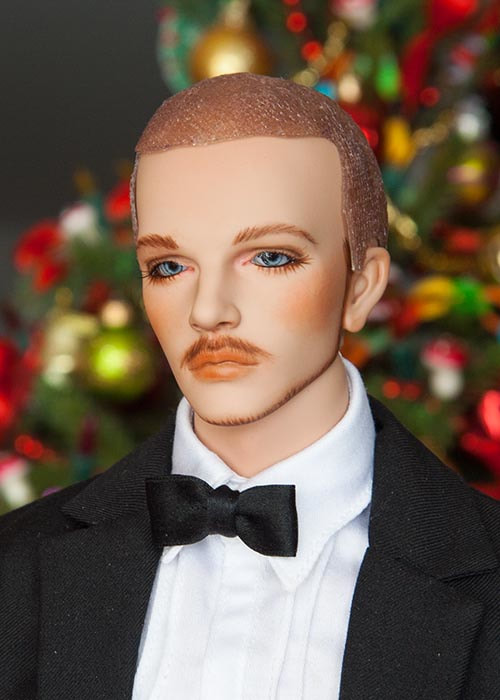 |
Lawrence has the exact same face up as my JID Steve, but his head is smaller. I tried Steve's wig on him, just to see how it looked, and I'm hoping I can recreate that look a second time.
I've chosen the same mohair. It's a 'Dark Antique Brown' (which is more of a dark auburn) and I have two baggies of it, coming from two different goats, named Pharaoh and Sheba, from the days when Edgewood Angoras still raised goats, and dyed their locks for doll hair.
The first step is to cut the mohair into 2" lengths, and sew it into a strip. I sew the mohair near the middle onto a strip of paper, then turn around and sew about 3/16" beside the first stitching row. I remove the strips from the paper, and pin them down onto some plastic placemats, so they won't move. Then I use a small paintbrush to paint 'Gem-Tac' glue down the middle, going slightly over both seam lines. I use Gem-Tac because it dries "washable", so won't dissolve when I wet the wig later when I'm trying to style it.
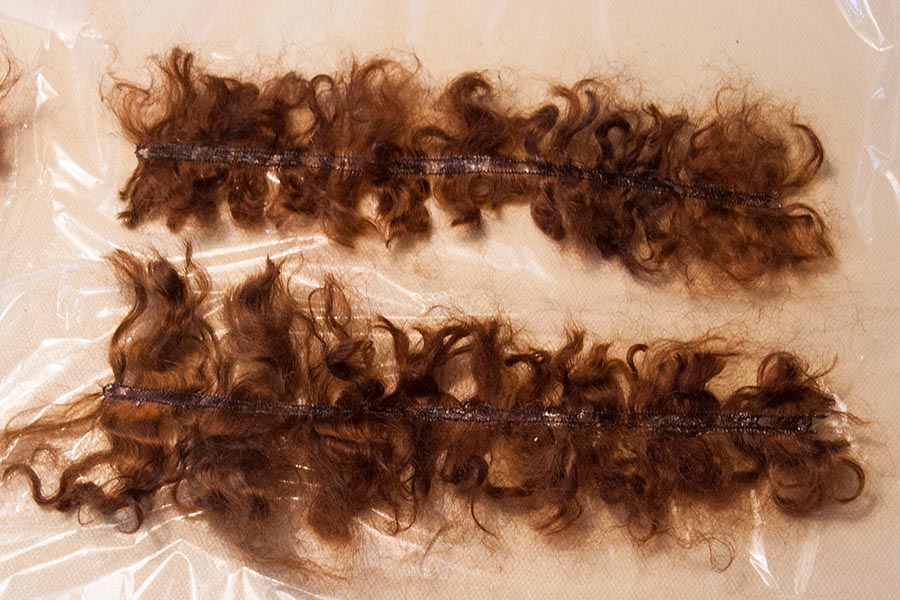
When the glue is dry, I turn the strip over and apply glue on the other side as well.
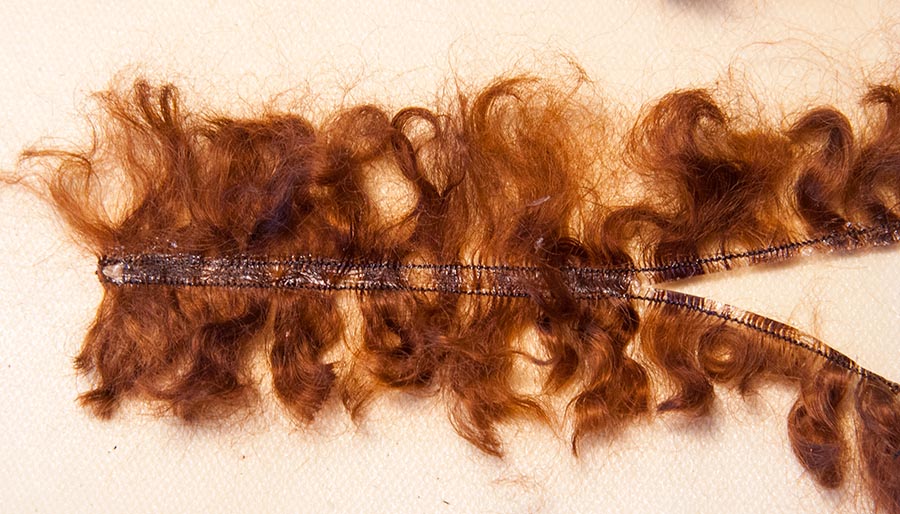
Once that glue is dry, I carefully cut the strip up the middle between the rows of stitching....
Once that glue is dry, I carefully cut the strip up the middle between the rows of stitching....
So, now all the mohair strips are now ready to be glued onto the wig cap. Making a wig for a guy is not a job I enjoy, as I have to pay very close attention to which way the waves in the mohair go if I want a half-decent hairstyle. I usually have to cut the strips into really short pieces to glue on one at a time, then do the final styling after all the mohair has been glued on. I know how I want the wig to look, but getting it that way seems to be total chance. So wish me luck!!
The first mohair to get glued on is the sideburns and the back hair. I don't glue with the wig cap on the doll - I hold the wig cap in my hand, hot glue the strips on, then take a photo on the doll....
The first mohair to get glued on is the sideburns and the back hair. I don't glue with the wig cap on the doll - I hold the wig cap in my hand, hot glue the strips on, then take a photo on the doll....
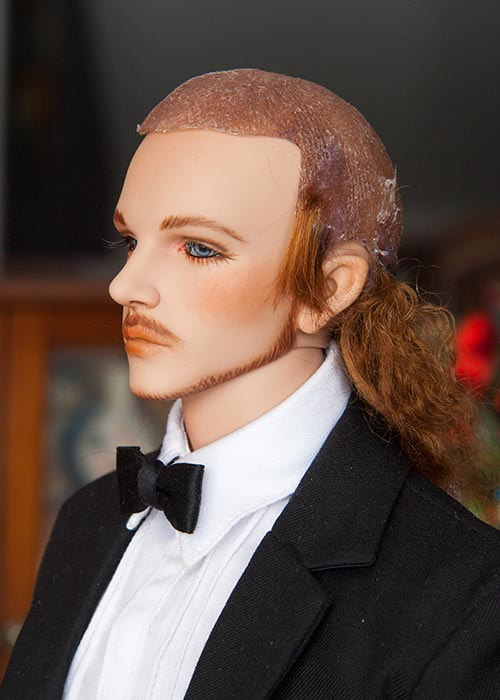
More strips of mohair get glued up the back, and across the front, always paying attention to the wave in the mohair, so I'll be able to style the wig more easily later.....
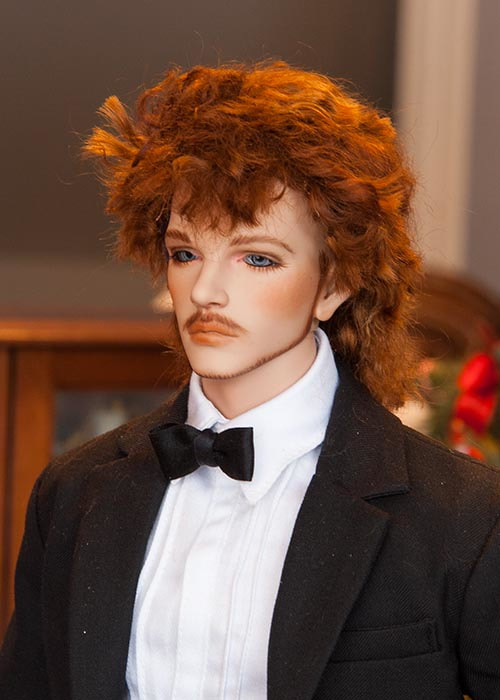
And with all the hair glued on, combed, and the first trimming done....
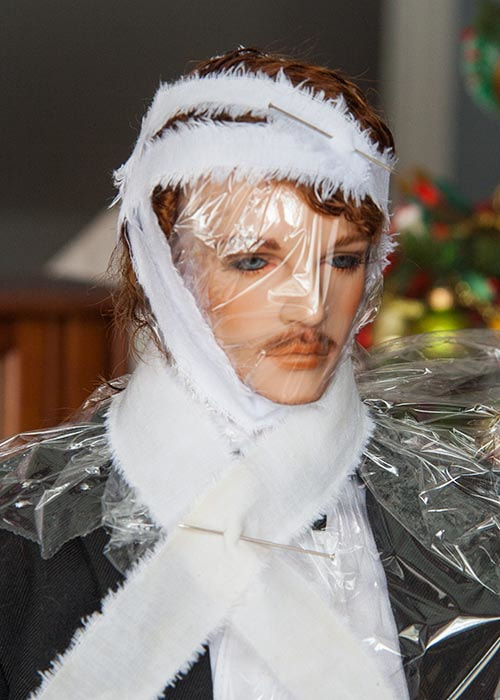
Then I took the wig, wet it, combed it some more, and with a pressing cloth, steamed the hair above the sideburns backwards on the edge of my tiny ironing board. I covered Lawrence's head with plastic wrap to protect his face up from the next few steps (hairspray will ruin a face up) Then I trimmed the wig some more, and saturated it with hair spray. Then wrapped everything tightly with strips of cotton fabric and let it dry.....
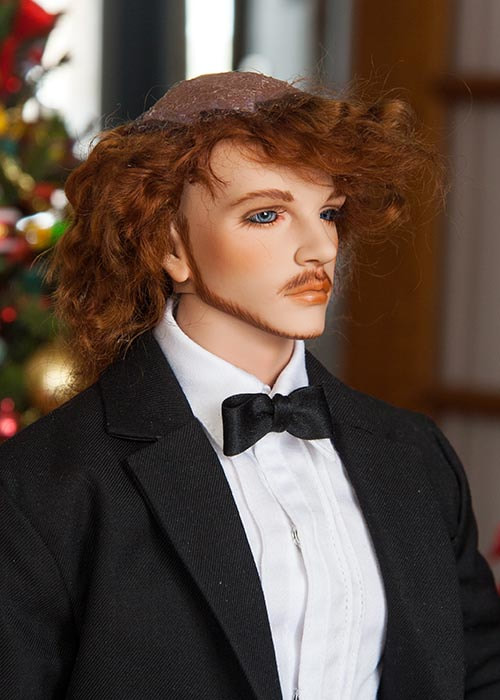
After the wig dried, I combed and trimmed it some more....until I was happy with it.....

So Lawrence finally has a wig, and I'm really quite pleased with him now....

 RSS Feed
