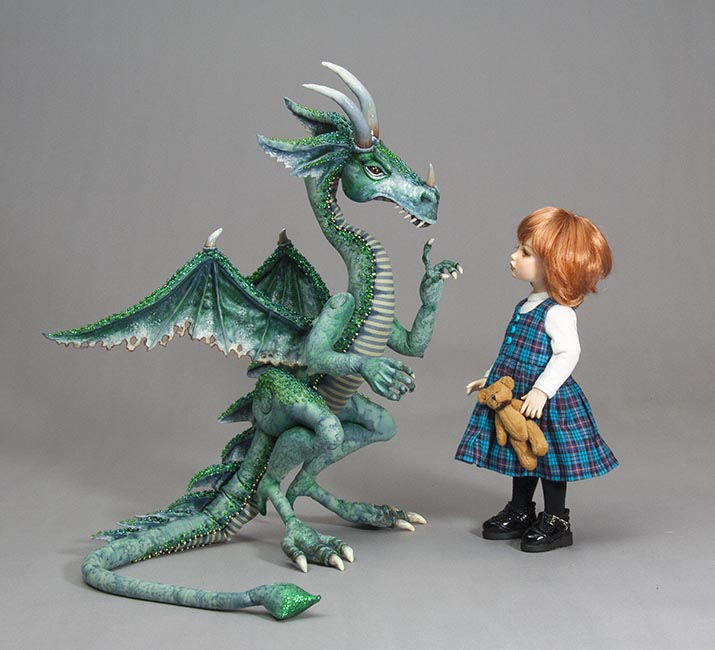
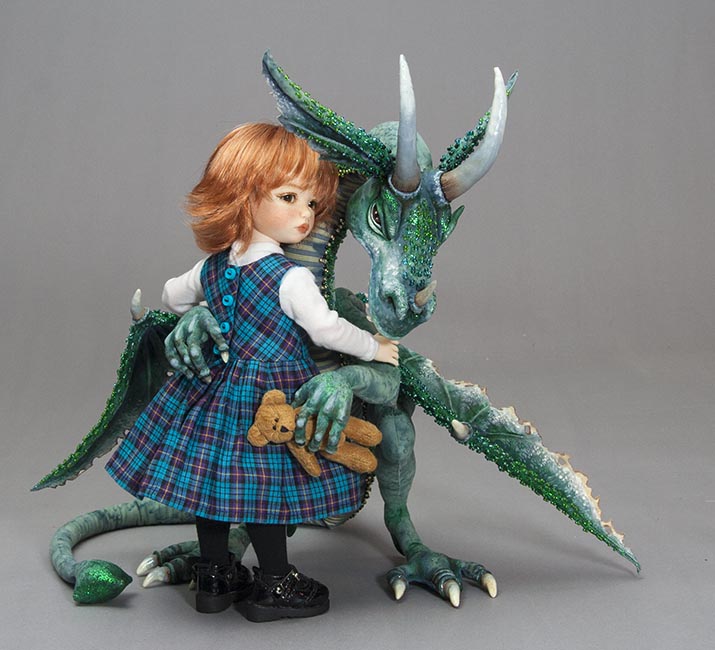
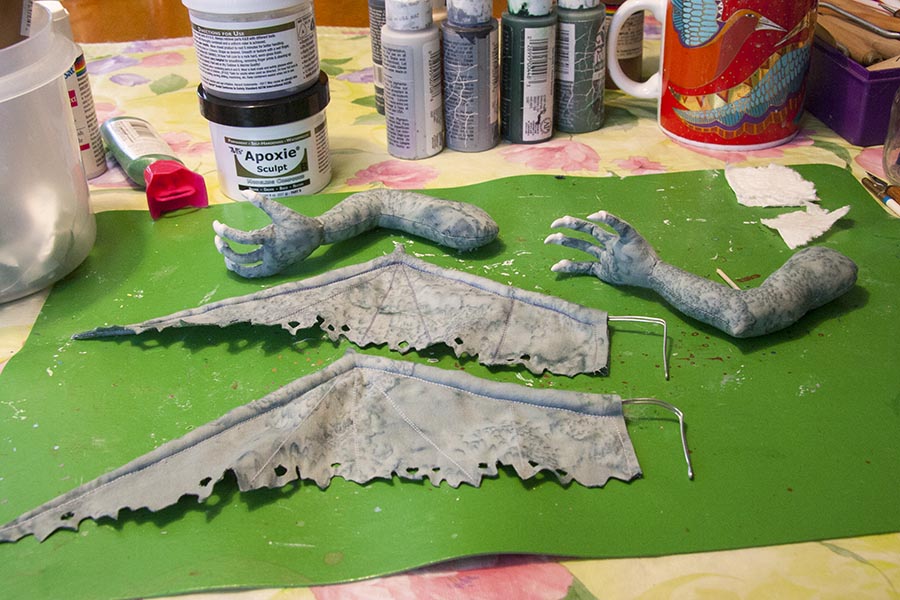
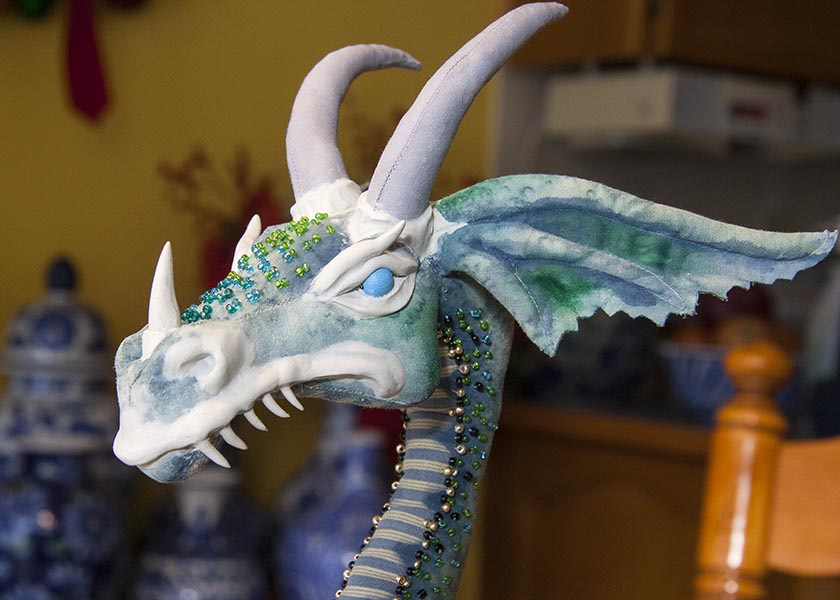
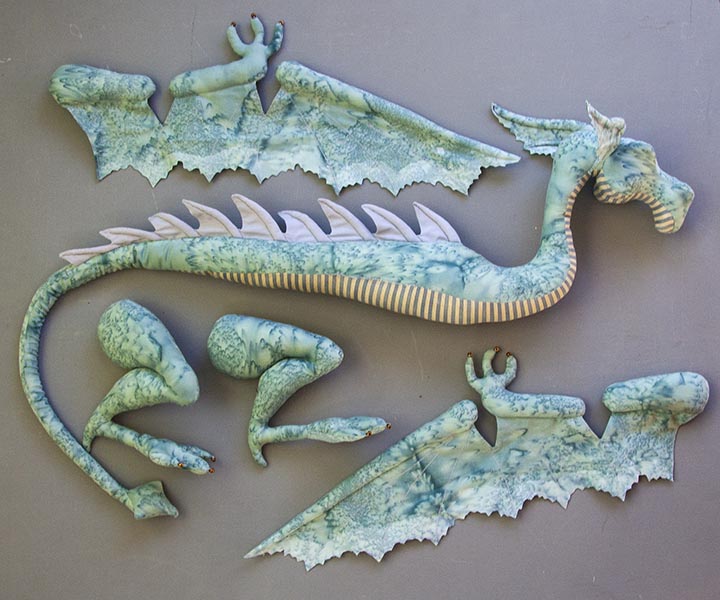
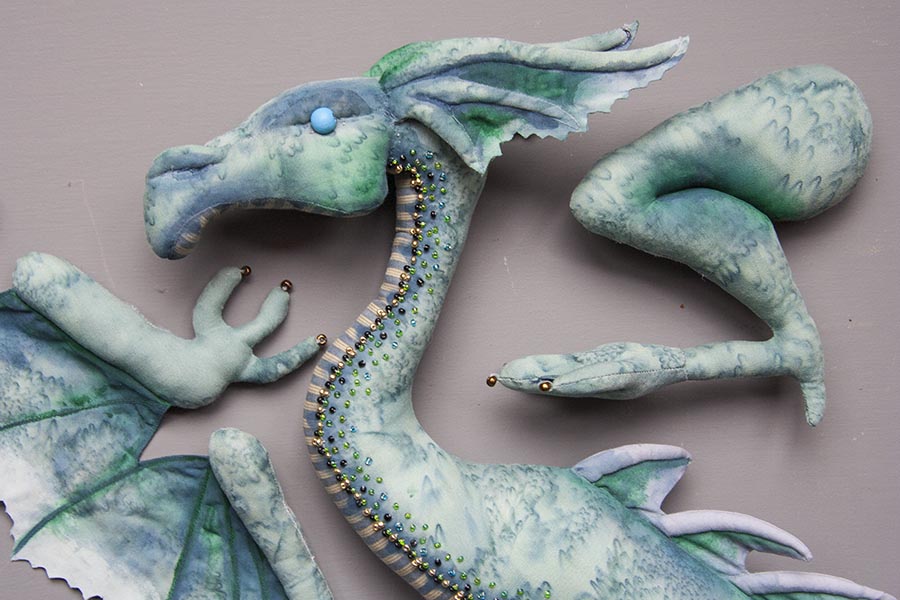
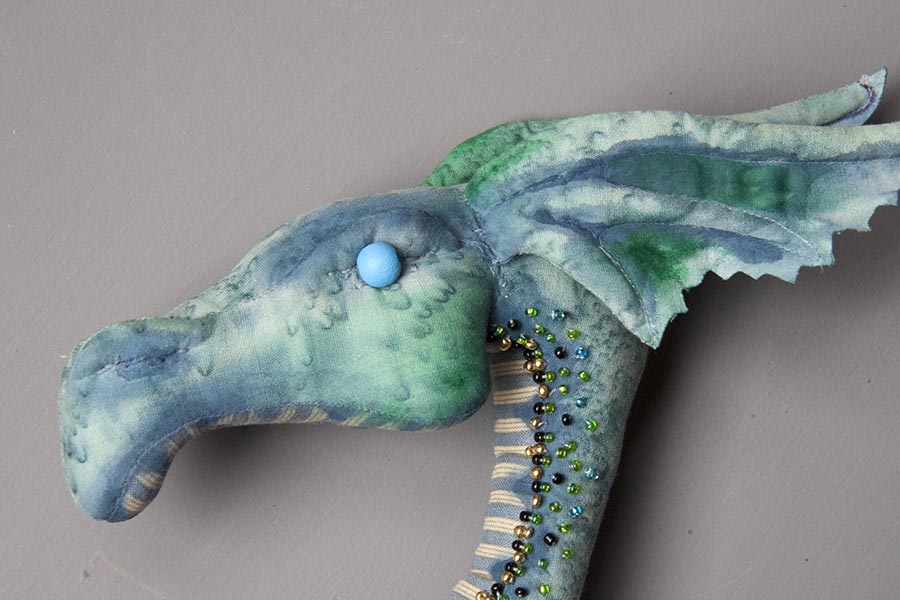
Well, the dragon is done. At least 99.9% done. I think he could use a little more beading on the tops of his legs, but I can do that later. I had originally wanted to give him a 'beard and mane', but even though I had plenty of great coloured mohair, none of it looked right. So he'll go without.
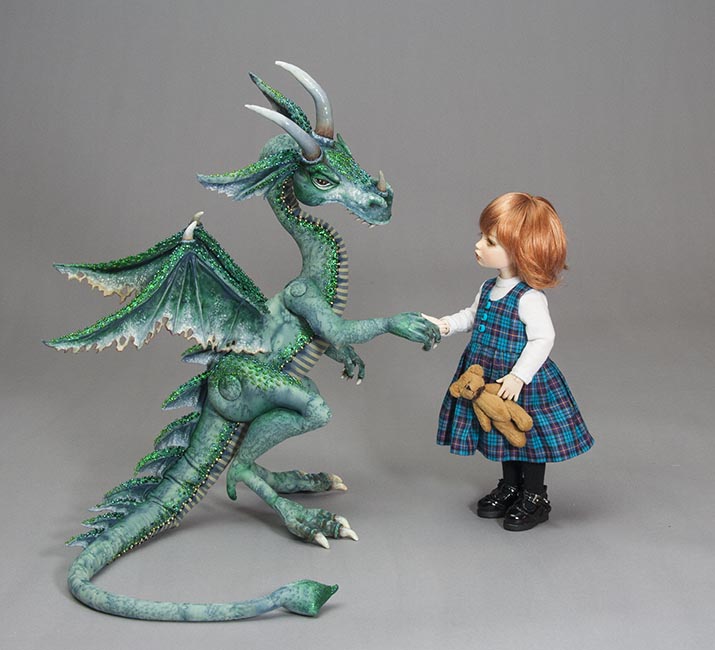
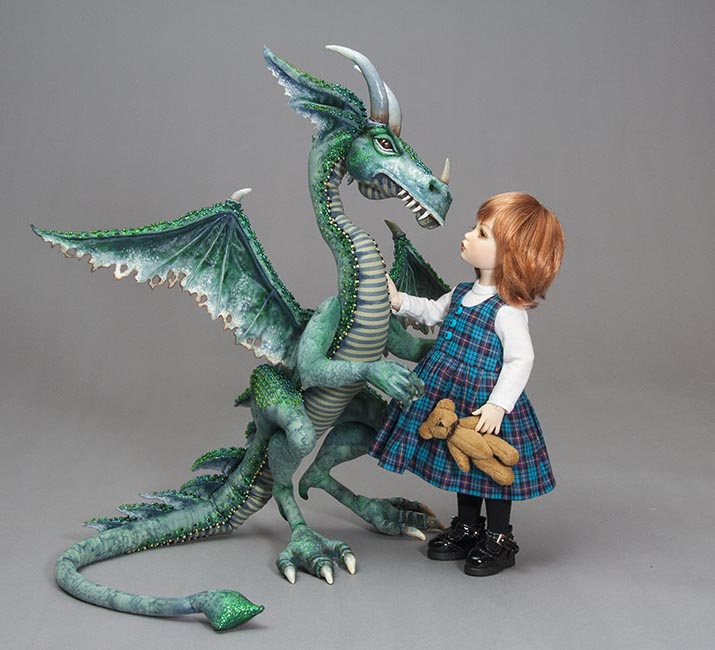
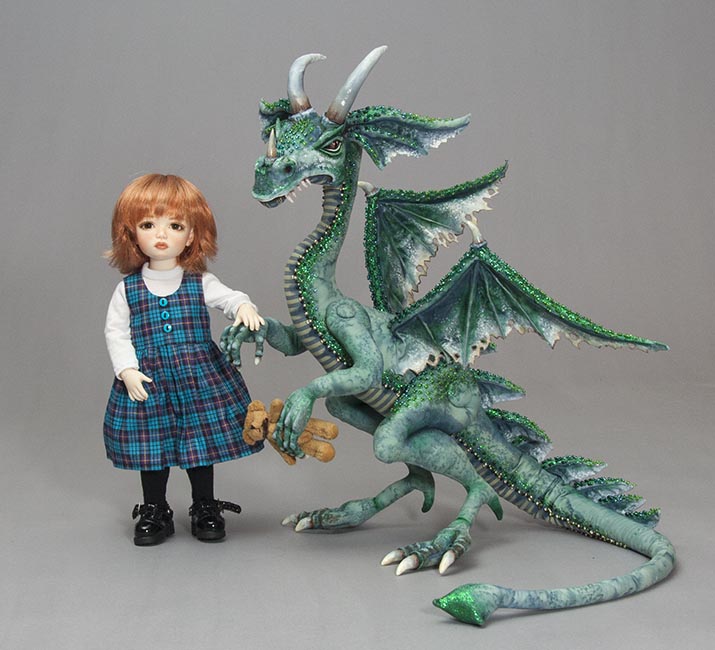
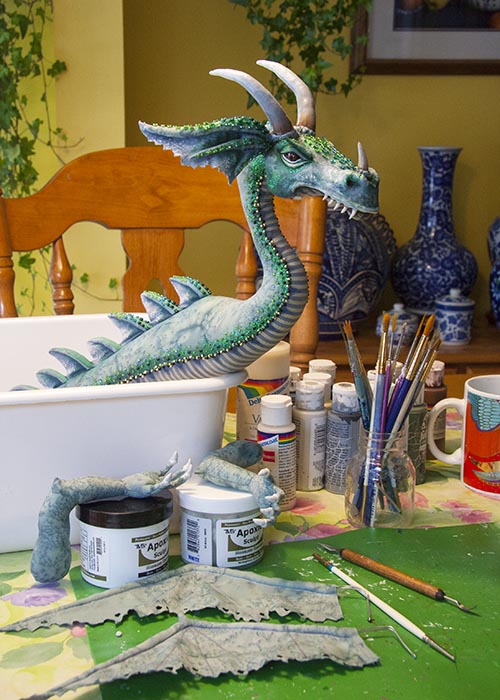
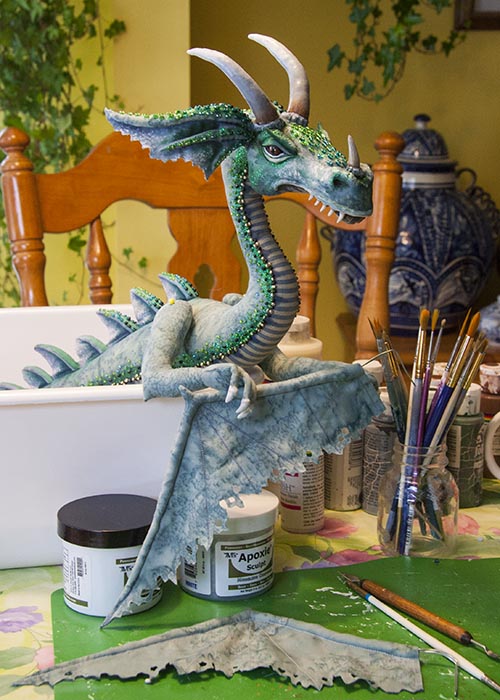
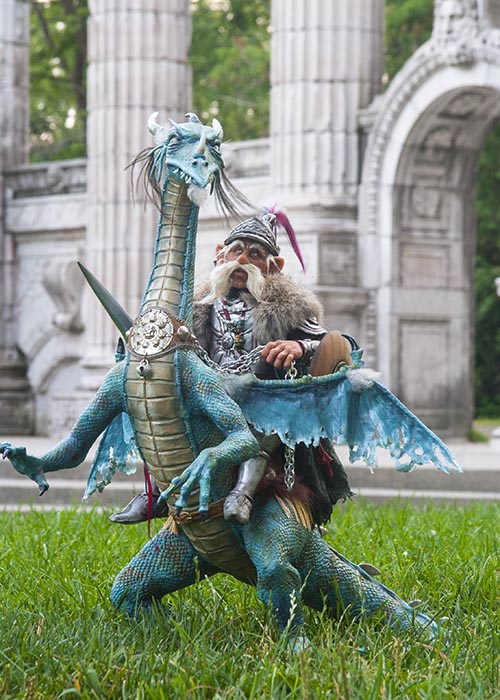
He's very lightweight, and quite posable, and I figured I'd take some photos of him in the studio, along with a BID, so you can see how well he can pose, and how big he is....
He's very lightweight, and quite posable, and I figured I'd take some photos of him in the studio, along with a BID, so you can see how well he can pose, and how big he is....


 RSS Feed
