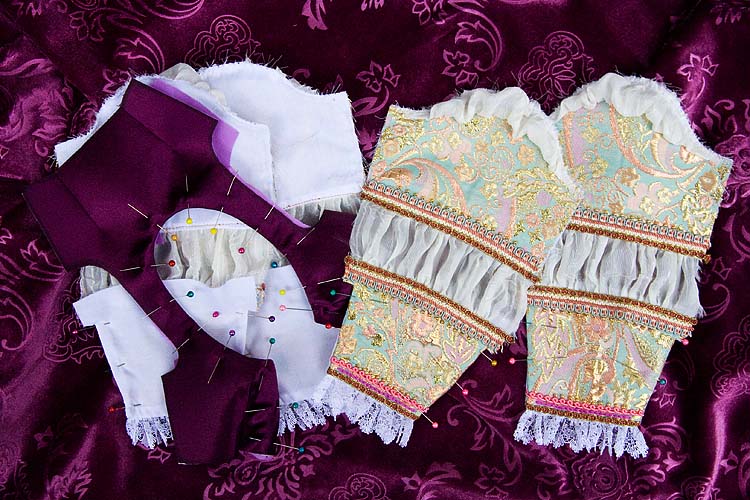
Well, the trim is finally on all the sleeves, and after pressing, they will be ready to baste onto the bodice. I ended up using two trims I've had for over twenty years - finally a use for them - trims in colours to accent the colours in the metallic brocade.
I beaded along the edges of the braid trims, but didn't go all the way to the sleeve edges, because I still need to sew the underarm seams, and my sewing machine does not like lumps. But it's easy enough to sew on the missing beads afterwards.
I tried the wine satin bodice over the under-dress, but it looks like the under-dress bodice fabric may be a bit thicker than my usual under-dresses, so the over-bodice isn't quite wide enough at the side seams. I don't have enough of the wine satin fabric to start all over and cut out new bodices, so I'll just have to add inserts under the arms along the side seams.
 RSS Feed
