Now if I could only envision the bodice design, and which of the three fabrics I've selected to make it from. But one step at a time.....
|
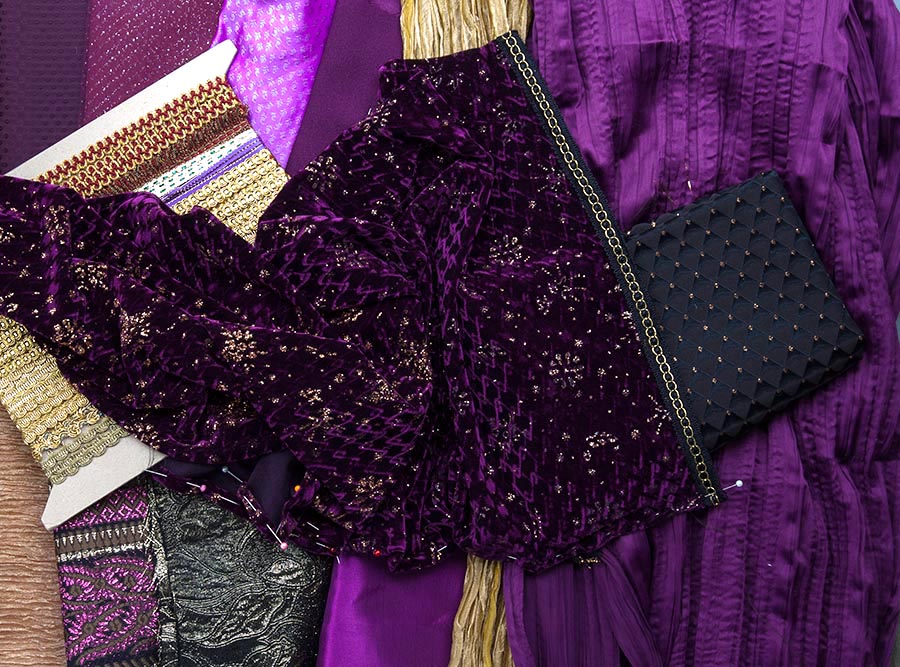
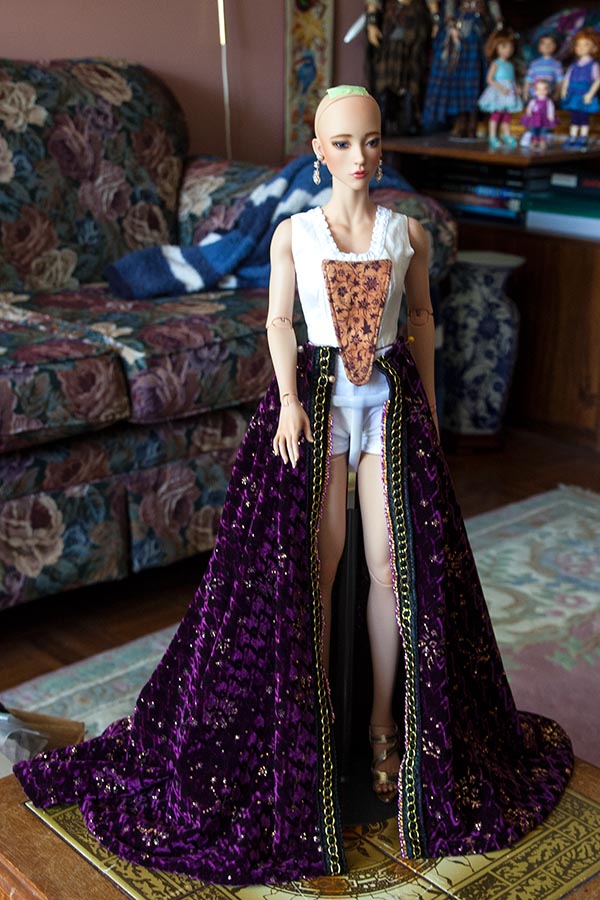
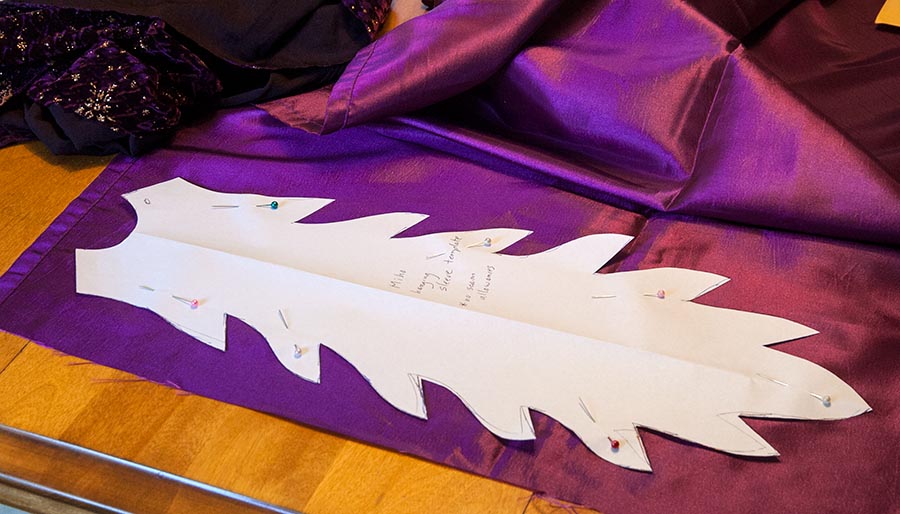
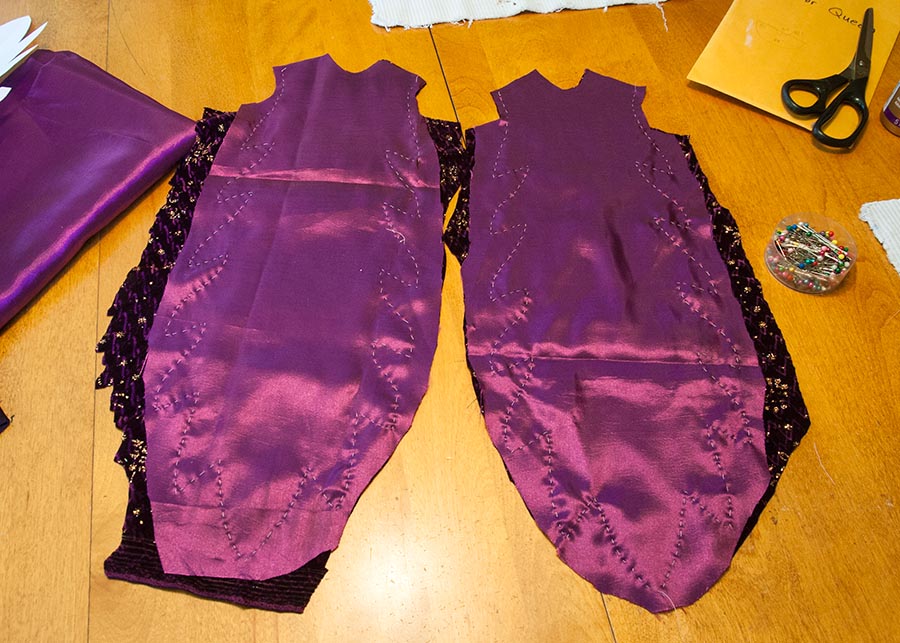
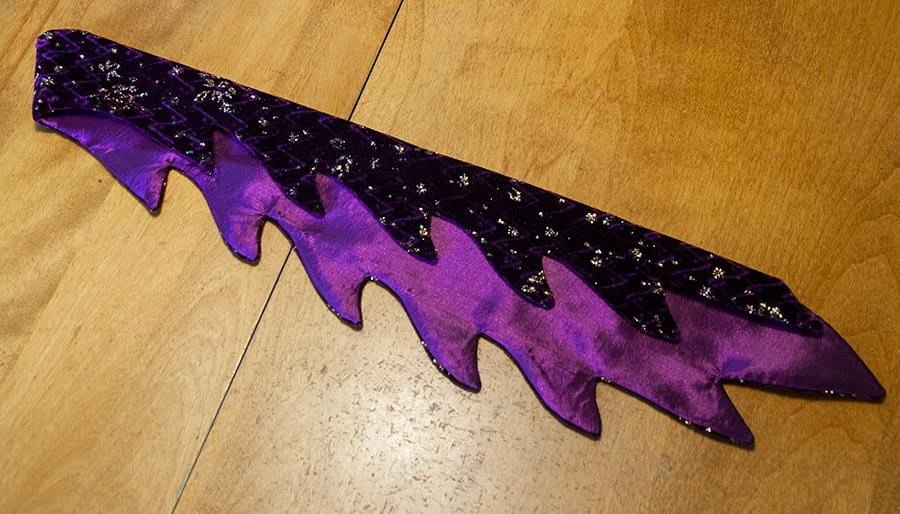
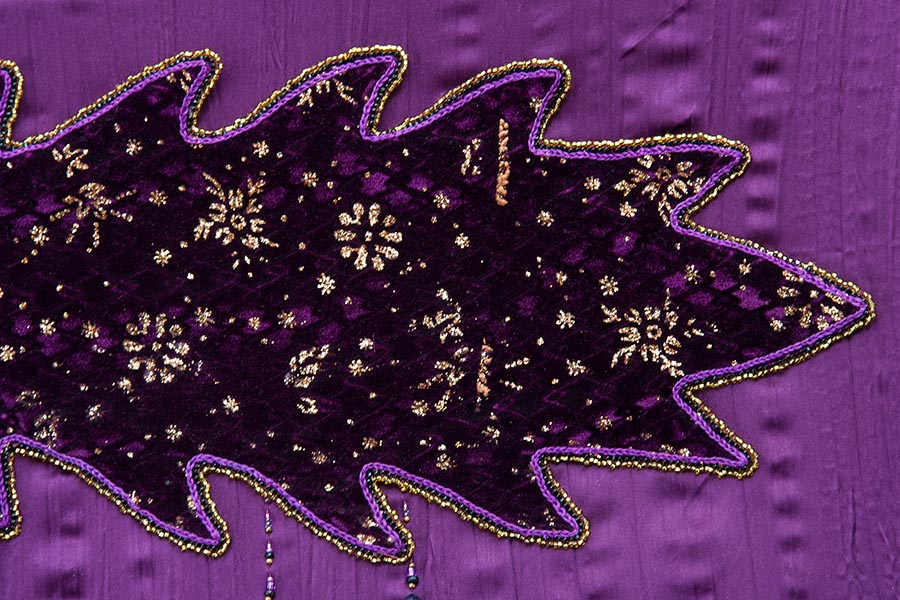
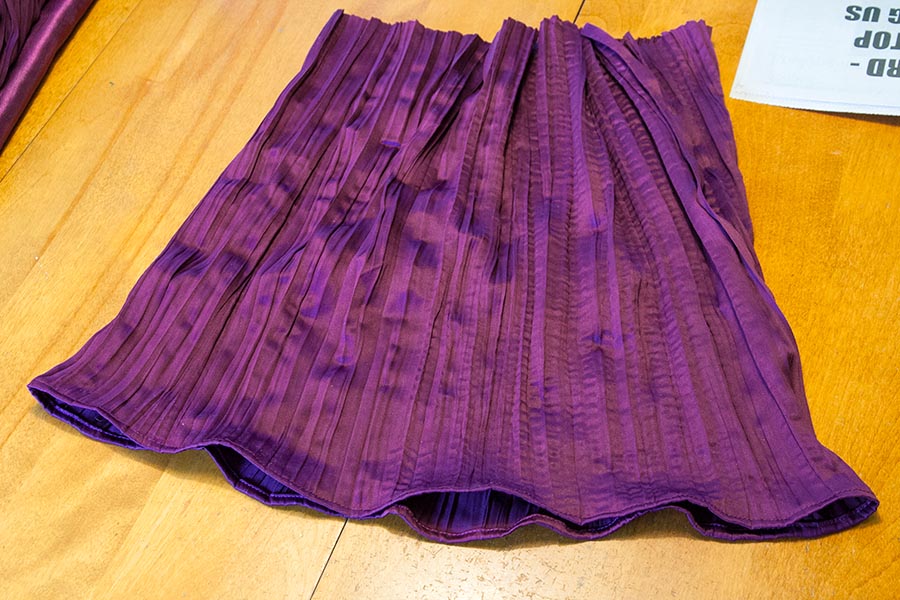
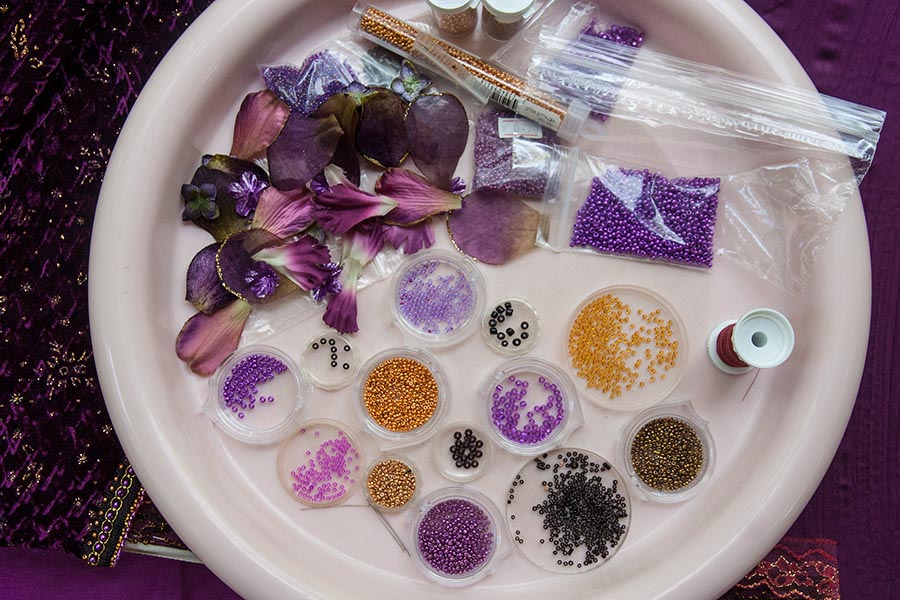
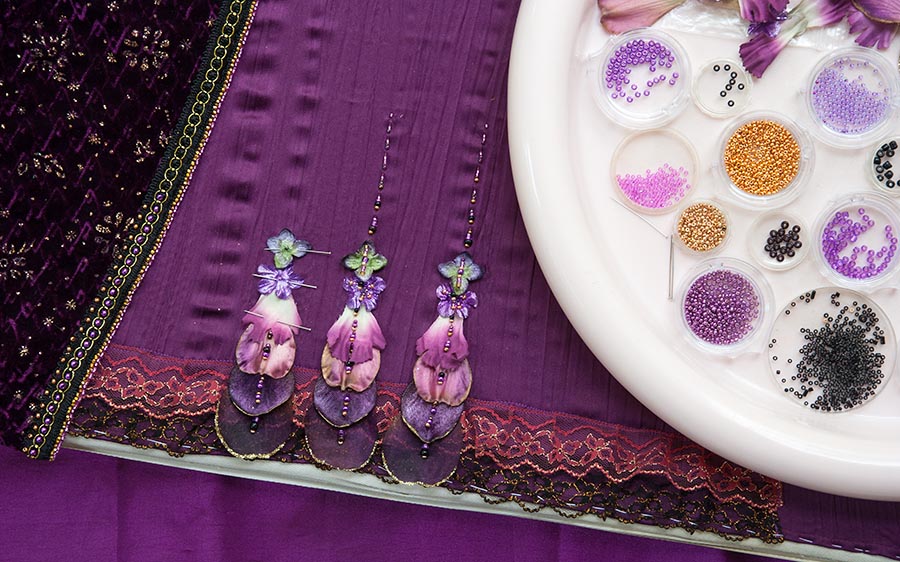
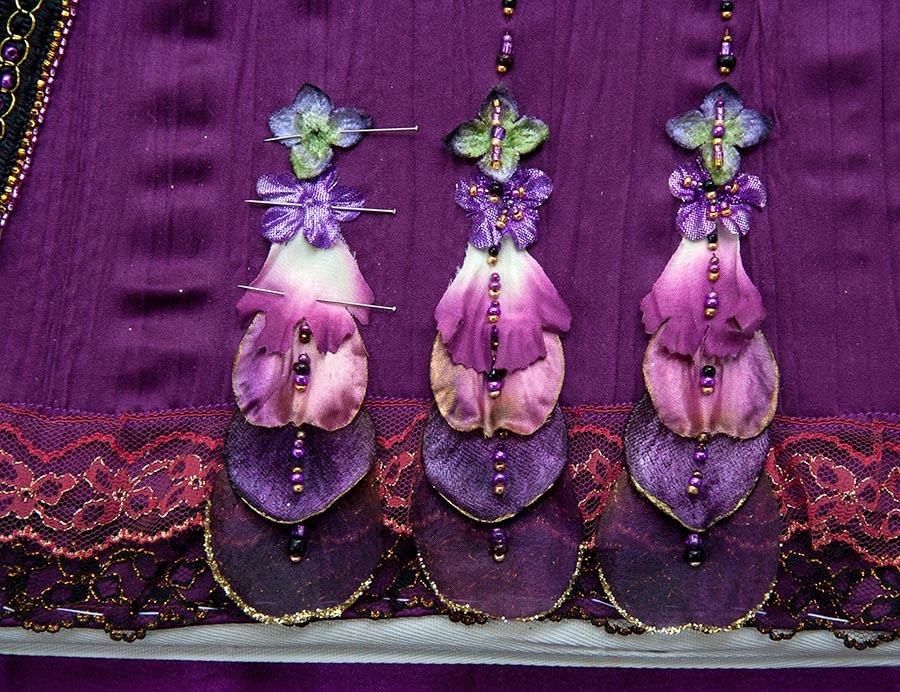
A while back I did the first round of fabric selections for Miho's new gown. I have in mind for her to be a Sorceress, or Dark Fairy, so chose a dark purple velour with irregular gold glitter patterns as the main fabric for her skirt and hanging sleeves. I cut out the overskirt and sewed on the first trim, then hemmed it by hand... I wasn't feeling especially inspired so it didn't go anywhere for weeks. Then, knowing Naomi would be coming soon, I figured I really needed to get Miho's dress done before I got majorly distracted again. So I started beading the front edges of the over skirt in hopes that it would help inspire me to get going. I tried one of the Outlander under bodices on her in order to hopefully help with a bodice design, but it was way too 'modest'.... Not knowing what I wanted for the bodice, I figured I'd start on the hanging sleeves. I wanted dagged edges, so drew up a pattern based on the hanging sleeves from my Mirror Queen pattern. I traced the pattern onto the back of the sleeve lining fabric..... The right side was going to be velour, which has a 'tooth' and tends to 'walk', so I wasn't going to make my life more difficult by cutting out the velour and lining fabrics and then try to match them up. Instead I just pinned the lining with right sides together onto the velour, and basted around the entire edge by hand, with white thread so I'd see it when it came to machine sewing. My eyesight is bad enough, especially with dark fabrics, which is why I chose white thread..... After machine stitching along the white basting lines, I had to remove all the basting thread, and then I applied Fray Check to all the inner and outer points on the dagged sleeves. After that dried, I finally cut out the sleeve a quarter inch from the stitching lines, and clipped all the way around. After sewing the top of the sleeves together, I turned them right side out, worked all the points into nice points, and pressed the sleeves.... By this point I was just letting the costume decide what it wanted, and it wanted a beaded edge. At first I considered just beading the upper edge of every point, but the sleeves wanted the entire edge beaded. So, since it's best to go with whatever the outfit wants, I complied. And after finishing beading the first hanging sleeve, it decided it wanted an embroidered line all the way around as well. So, again I complied. It was becoming obvious just how irregular the gold glitter patterns were on the velour, but there was nothing I could do about it, and I wasn't going to start over. Hopefully it won't show too much on the finished gown.... I had chosen a pleated fabric for the underskirt, and machine hemmed it, which made the bottom flare out. So I wet the bottom, crumpled it tight, and wrapped it in a paper towel and let it dry. It dried nicely 'pleated' like the rest of the skirt. But then the skirt wanted embellishment - MAJOR embellishment with lots of beading and fabric flower petals - like I used to do occasionally on art doll costumes, but hadn't in years, ever since I did it on the Queen of the Night's underskirt. Oh well, I figured this would probably be the last time I'd ever do something like that again, so I'd go for it. So I chose the petals I'd need, and all the appropriate coloured beads. The panel to be embellished on the underskirt wasn't going to be very wide, since I only had nine of one of the flower petals that I wanted to use. So that meant nine rows. I sewed two rows of lace along the bottom front of the skirt first, then removed the centre back stitching on the skirt, so I could stretch the skirt flat on an old embroidery frame.... This is the final design. My eyesight is really bad, so it's hard to see what I'm doing (things are double, warped, and out of focus) and it's hard to get the needle to come up where I want it. It usually takes a couple of tries. However, I'm determined to get this costume done, and I'm finding it helpful to pin the flower petals in place so they don't move. I have yet to start the beading on the second hanging sleeve, so knowing it will take at least five days, there's no hurry with the skirt embellishment. I'll just aim to complete two or three rows a day. And the way time seems to be flying these days, I'll be done in no time.
Now if I could only envision the bodice design, and which of the three fabrics I've selected to make it from. But one step at a time.....
Donna
5/29/2021 03:38:47 pm
It is going to be gorgeous!!!
Martha
5/29/2021 03:45:02 pm
I hope so. I wasn't expecting it to be quite so stressful doing the underskirt embellishments since I've been doing okay with the picot beading along the sleeve edges. My eyesight is just getting so bad, and it really makes me anxious. The macular degeneration has gotten so much worse the past year from all the pandemic stress.
Dorothy
5/29/2021 11:15:58 pm
I love how you let the outfit "create" itself. I am enjoying watching how you pull it all together.
Martha
5/30/2021 06:36:26 am
Sometimes it's just better to 'go with the flow', and not fight it.
Joanne P
5/30/2021 02:45:10 pm
This new outfit is going to be stunning! I love those rich purples and all the embellishments.
Martha
5/30/2021 04:05:12 pm
Thanks. I hope so. It's a lot of work, and I'm just taking it slow. I did finally decide on the bodice fabric today, so can get moving on that now too. I just have to figure out the upper and lower sleeves. Comments are closed.
|
AuthorMartha Boers is an award-winning Canadian doll maker and costumer specializing in fantasy and historical-style costumes. Archives
July 2024
|
 RSS Feed
