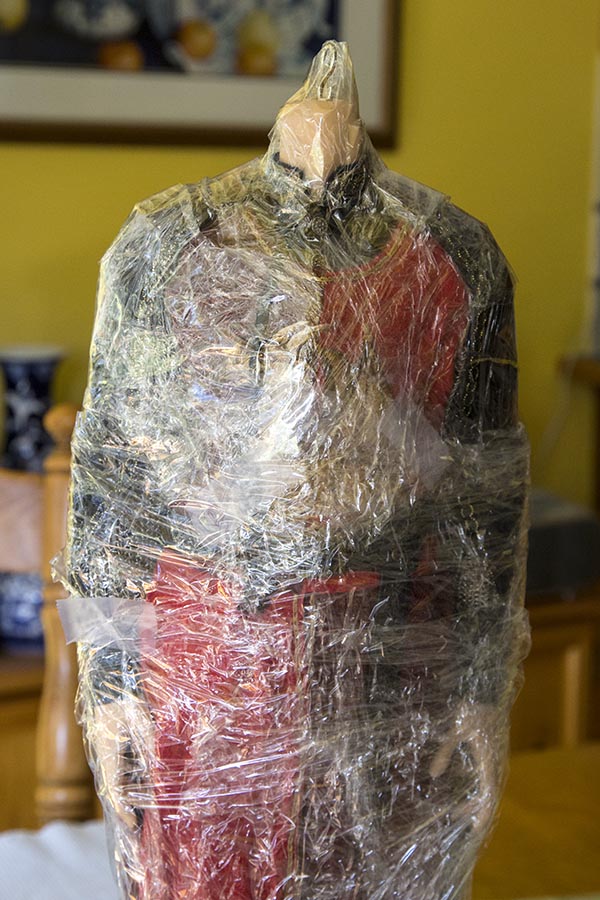
Then I removed Matias' head and put it somewhere safe out of the way. I definitely didn't want to risk getting any Apoxie on his face. Then I put on his cloak, and wrapped his entire dressed body in plastic wrap..
|
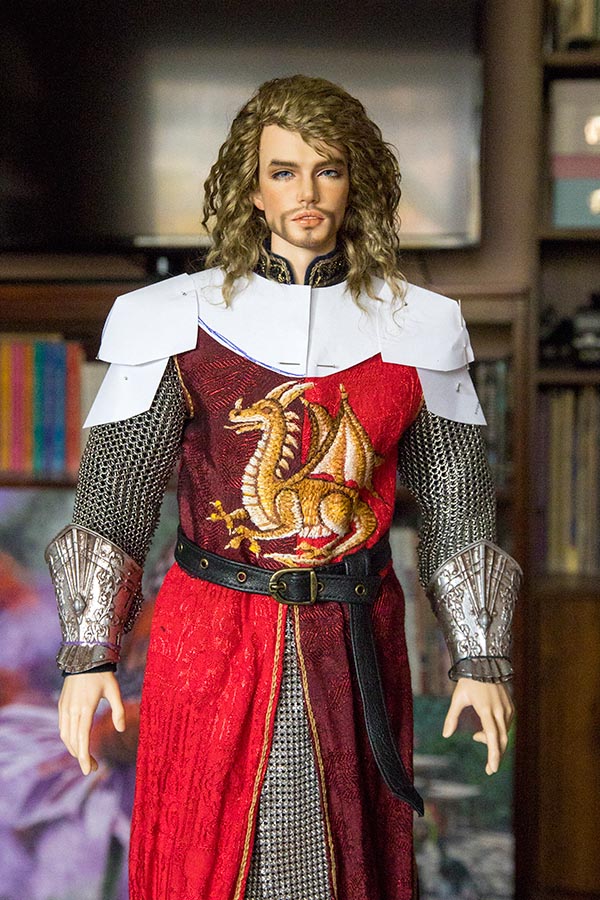
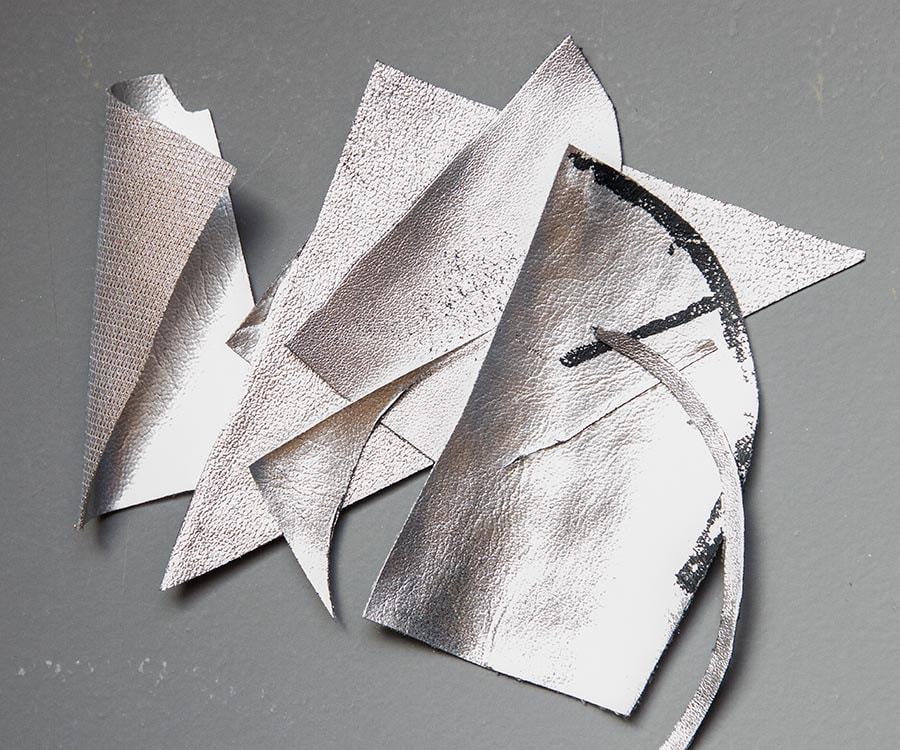
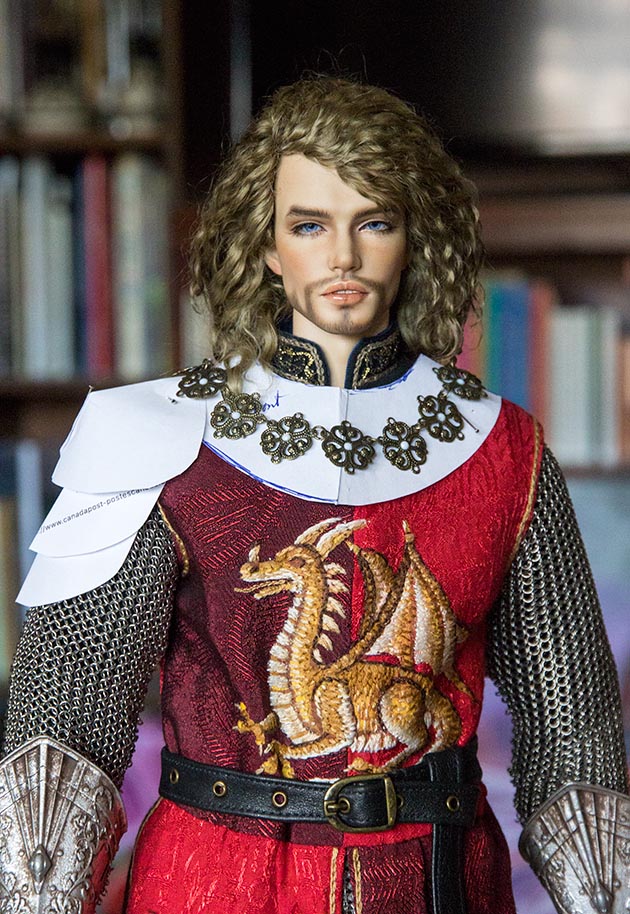
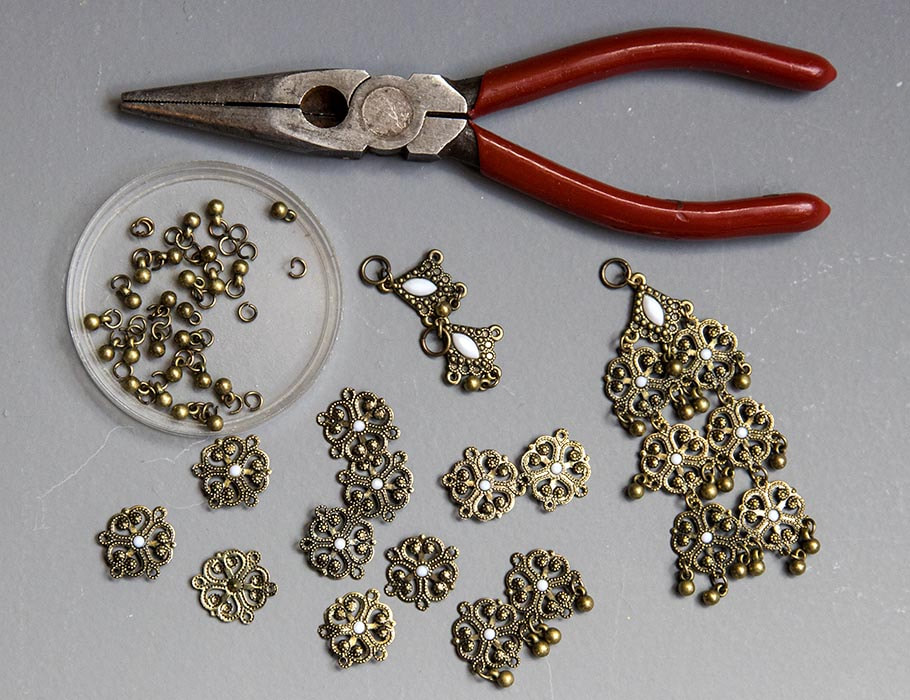
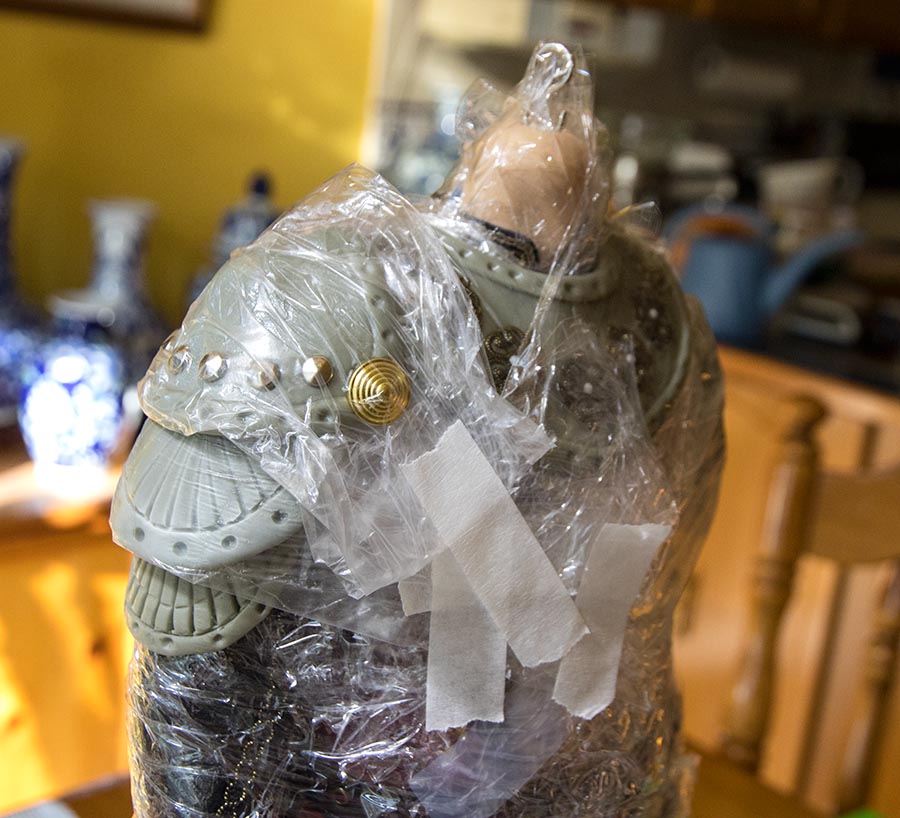
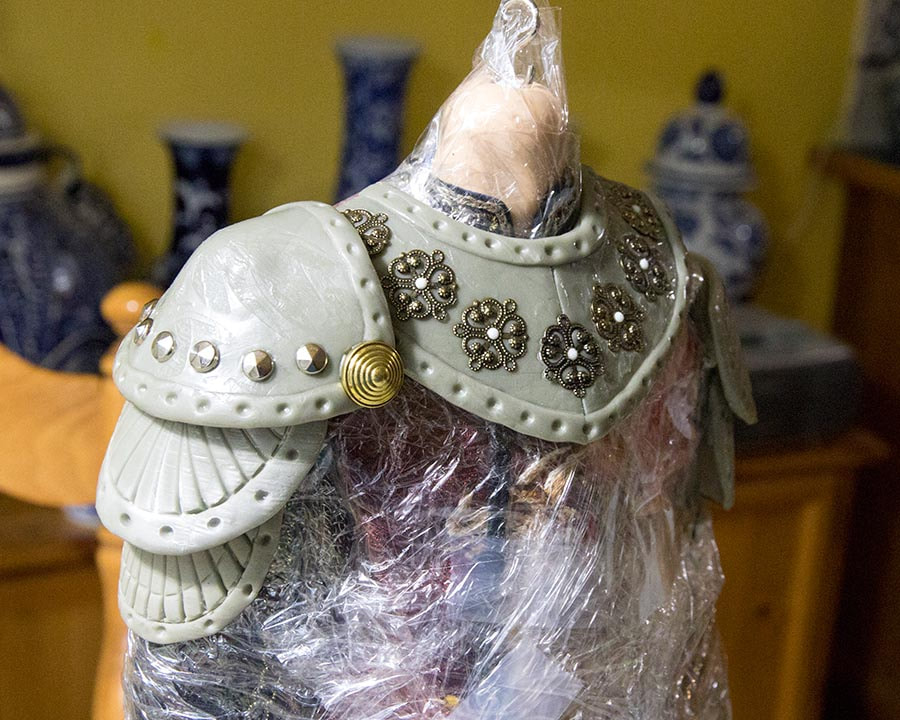
After drawing up some armour patterns in paper, I needed to figure out how to actually make them. I don't work with metal, and am not the biggest fan of working with Apoxie, so thought I'd experiment with leather. I remembered from my old doll-making days that silver spray paint didn't work very well on either vinyl or real leather, but couldn't remember which one. So I sprayed a couple of samples. It definitely worked better on the vinyl. So I tried cutting and gluing some bits, but it didn't have the right look I was after, plus the pieces just peeled right off, Which meant going back to sculpting with Apoxie. I needed the armour to look somewhat decorative so it would go with the highly detailed gloves and bracers from SartoriaJ. So I went looking through my stash of metal studs and filagree. I came across the leftovers from Dominic's chain, and there would be enough, so tried his chain on Matias to see how it might look... Dominic's chain was fashioned from pieces of some Indian jewelry which I found at Value Village years ago. So I proceeded to separate the remaining medallions... Before starting to sculpt all the armour, I cut all the pattern pieces out of card stock. The card stock would serve as a base for the Apoxie, keeping it smooth and sturdy while it cured, and then it would remain permanently on the underside of the armour. Then I removed Matias' head and put it somewhere safe out of the way. I definitely didn't want to risk getting any Apoxie on his face. Then I put on his cloak, and wrapped his entire dressed body in plastic wrap.. On the first day I mixed up some Apoxie and made the two lower sections of the armour on his upper arms. I wanted the Apoxie to be as thin as possible, and tried running it through my pasta machine, but it was too sticky, so that didn't work. I ended up having to layer the Apoxie between plastic wrap and flatten it with a wooden roller. After cutting out and shaping the armour pieces, I used plastic wrap and tape to secure the sections onto the body to mold them to shape, and left them that way for 24 hours until they cured. Then yesterday I made the next section of his upper arm armour, and the front section around his neck. I hadn't mixed enough Apoxie to make the back section, so made one of the shoulder sections instead. All the new pieces were covered with plastic wrap and held in place with tape... This morning I removed all the plastic wrap.... Once the last few pieces are sculpted, and cured, they will all get sanded so everything is smooth and flat. Then I will glue tiny bead 'rivets' into all the dents along the edges, and it will finally get sprayed silver, and 'aged' with brown paint.
Donna
11/13/2023 01:56:23 pm
Wow! Matais' costume is going to be amazing, a lot of work, but amazing and worth every bit of your effort!
Martha
11/13/2023 04:09:21 pm
Thanks. The stuff is very challenging too work with, but I love the end results.
Dorothy
11/13/2023 03:36:34 pm
I echo Donna's comments. What you have done is amazing!
Martha
11/13/2023 04:13:04 pm
I save up under construction photos, and post a series of them at once, instead of in real time, one every few days. So 'experiments' are in the same post as the almost finished product. It makes way more sense that way.
Nancy
11/13/2023 05:45:23 pm
I concur that your apoxy work is impressive. I can’t wait to see the finished work.
Martha
11/13/2023 06:27:47 pm
Thanks. I sculpted the last two pieces today, so it shouldn't be too much longer now. I can't wait until this costume is finished. It feels like I've been working on it forever.
designdreamer
11/13/2023 08:37:05 pm
WOW! Absolutely wonderful! I love that you post these photos of how create your incredible costumes. I'm only a sewist, but you sure do interest me with your additional stuff.
Martha
11/14/2023 07:46:23 am
Thanks. I will take under construction photos sometimes because I figure someone else might just benefit from seeing how I do things.
Svenja
11/14/2023 09:15:16 am
Your work is very inspiring. Thanks to your wonderful photos, I was able to dress my Barbie dolls in medieval fantasy clothes. And I learned a lot about doll photography.
Jitka
11/15/2023 09:58:26 am
I like that even though there are parts of the project that you are not very fond of - wig making and working with Apoxie, you do not give up and always end up with absolutely amazing final results :).
Martha
11/15/2023 10:32:20 am
Thanks. If I want something bad enough, I will keep on trying.
Karen
11/16/2023 11:30:06 am
So incredible, Martha! I love that you share your thought process and trials along the way. It is so inspiring to see how you don’t give up until you get what you want, and your results are always so worth it! This outfit for Matias is spectacular! P.S. He looks like he could be Jude’s brother! I would be so curious to see him in a black wig. 😉
Martha
11/16/2023 11:51:45 am
Thanks. Once I'm done and have taken some nice photos of him I'm going to put all the under construction posts into a Creative Journey Album in the Tutorials section. Then it's all together and easier to find at any time.
Barbara
11/18/2023 07:15:31 am
Where do you get inspiration for the designs on your armor ? It is wonderful ! It’s not like we see folks walking around in it. Your interpretations are stunning.
Martha
11/18/2023 07:31:11 am
Thanks. Well, my sister and I have made plenty of OOAK knights in the past (based on historical research) so I know what armour pieces would be needed. Plus I wanted it to go somewhat with the elaborate armour gloves and bracers from SartoriaJ, and found some metal filagree in my stash to make it fancier. Comments are closed.
|
AuthorMartha Boers is an award-winning Canadian doll maker and costumer specializing in fantasy and historical-style costumes. Archives
July 2024
|
 RSS Feed
