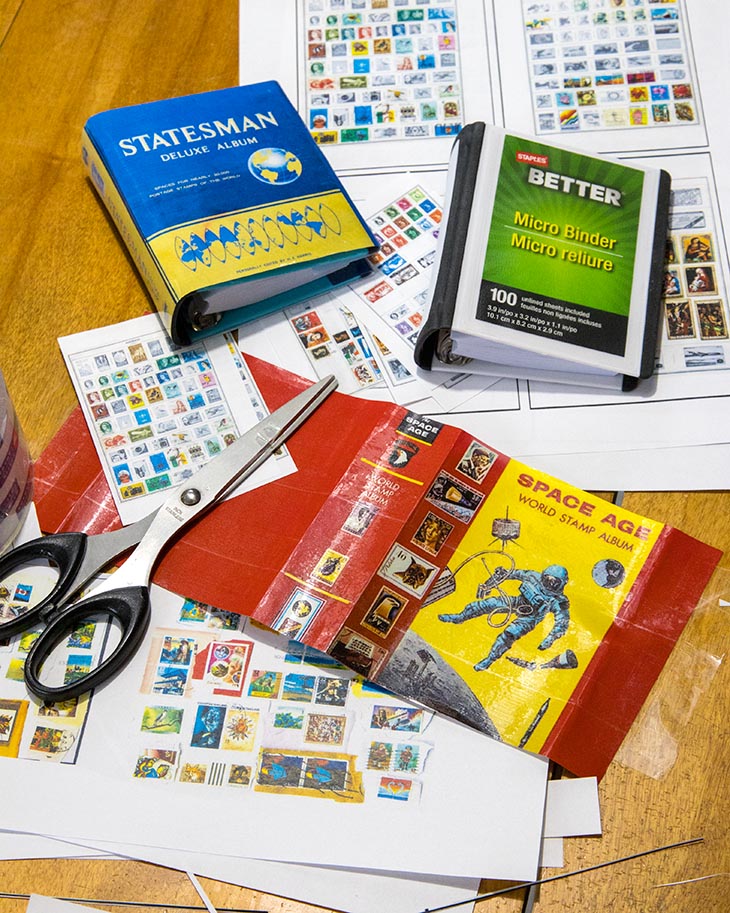
I started by photographing the cover of one of my old stamp albums...
|
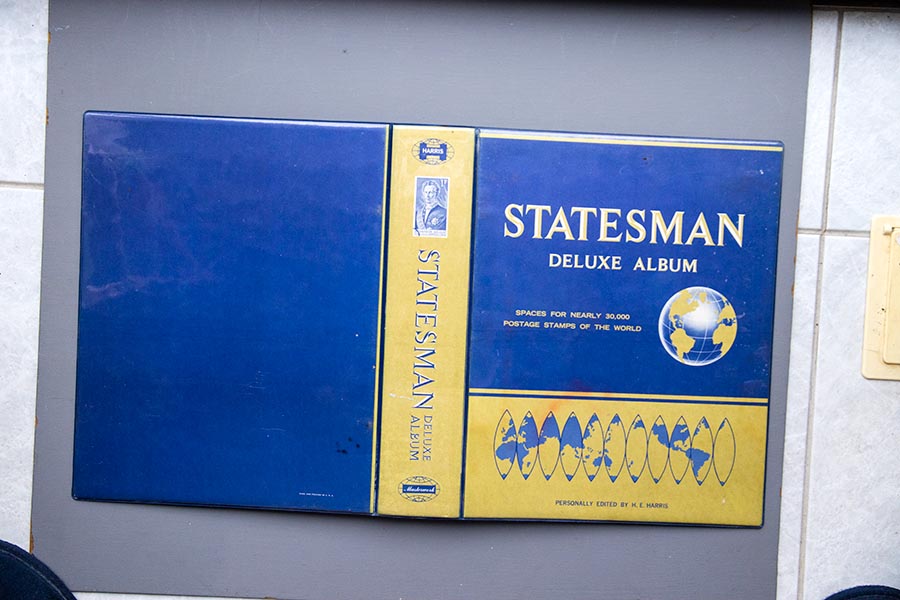
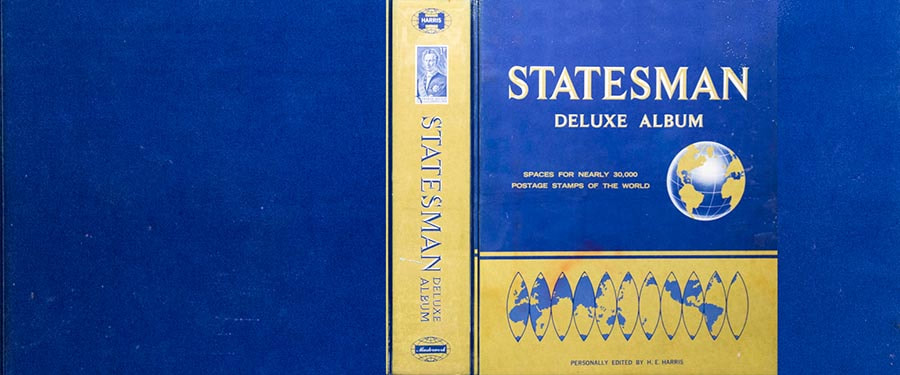
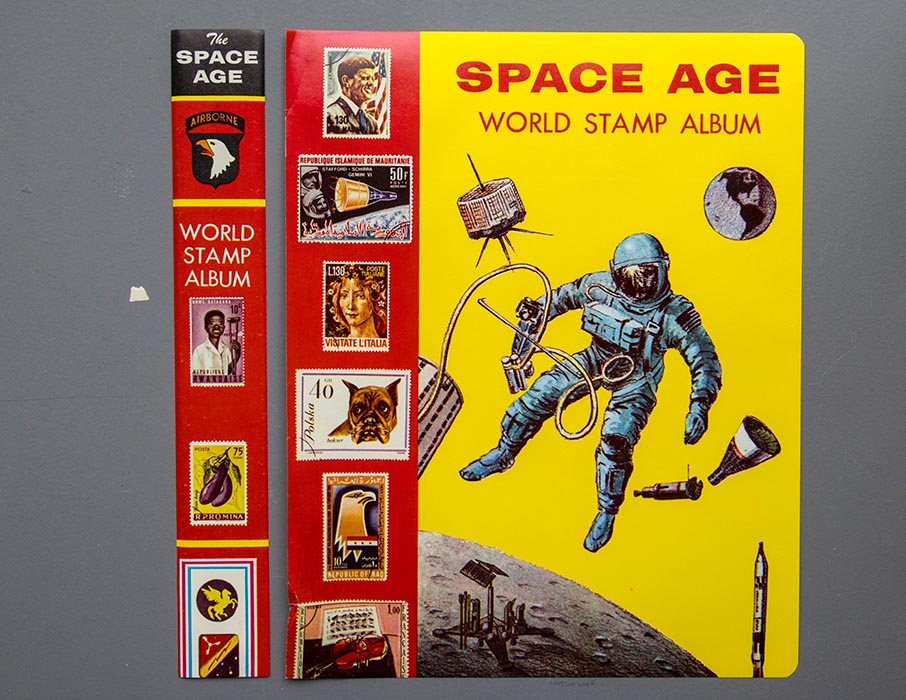
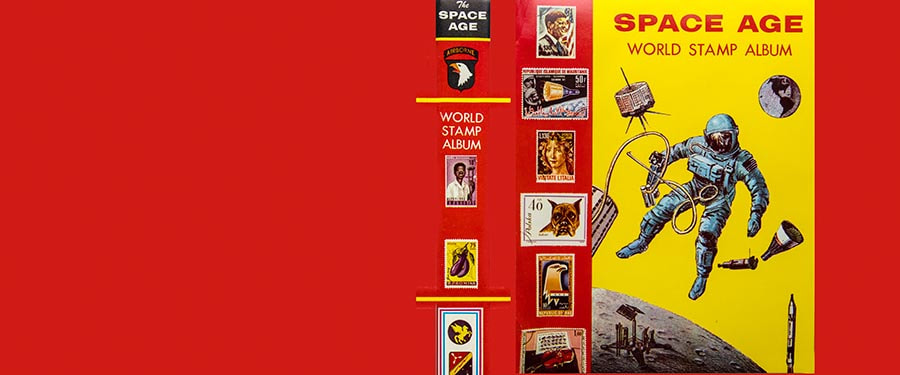
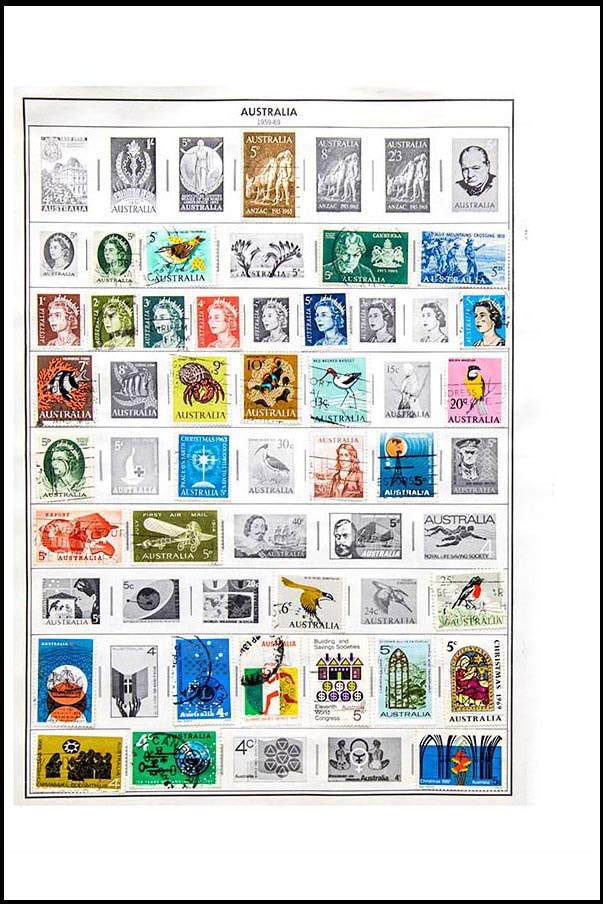
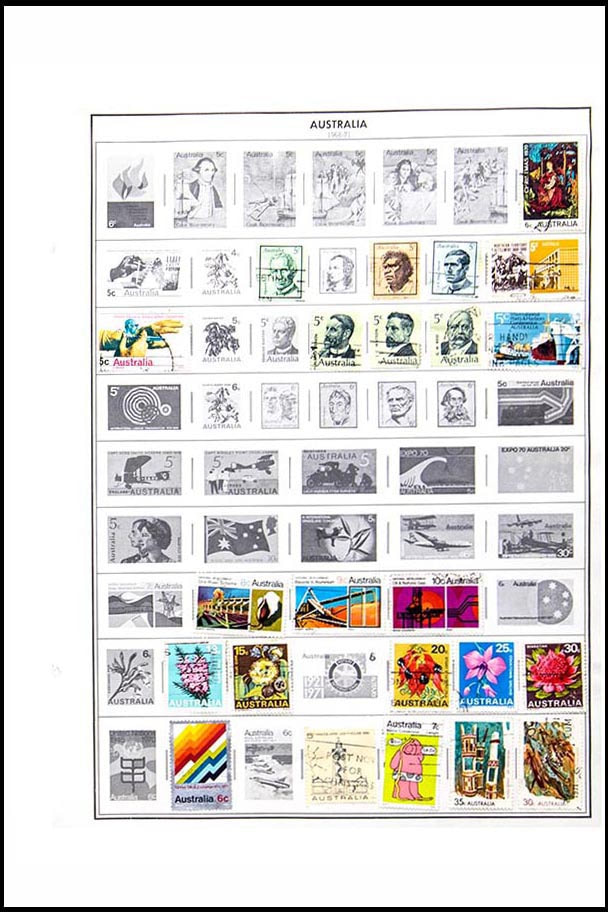
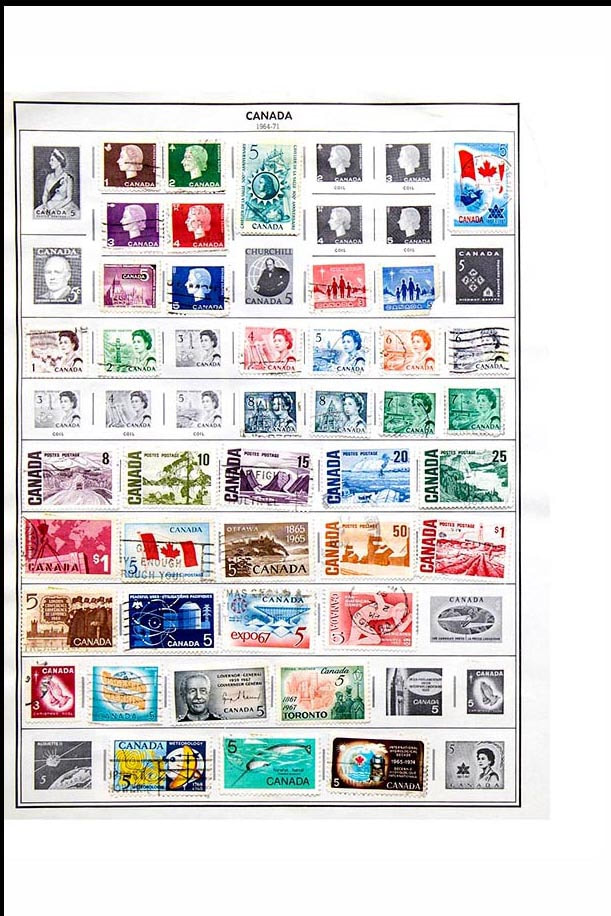
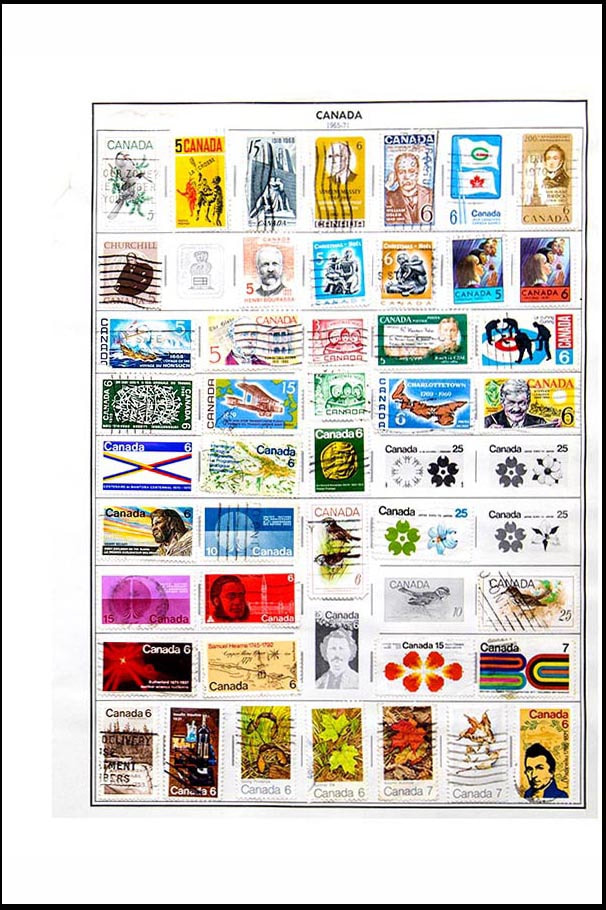
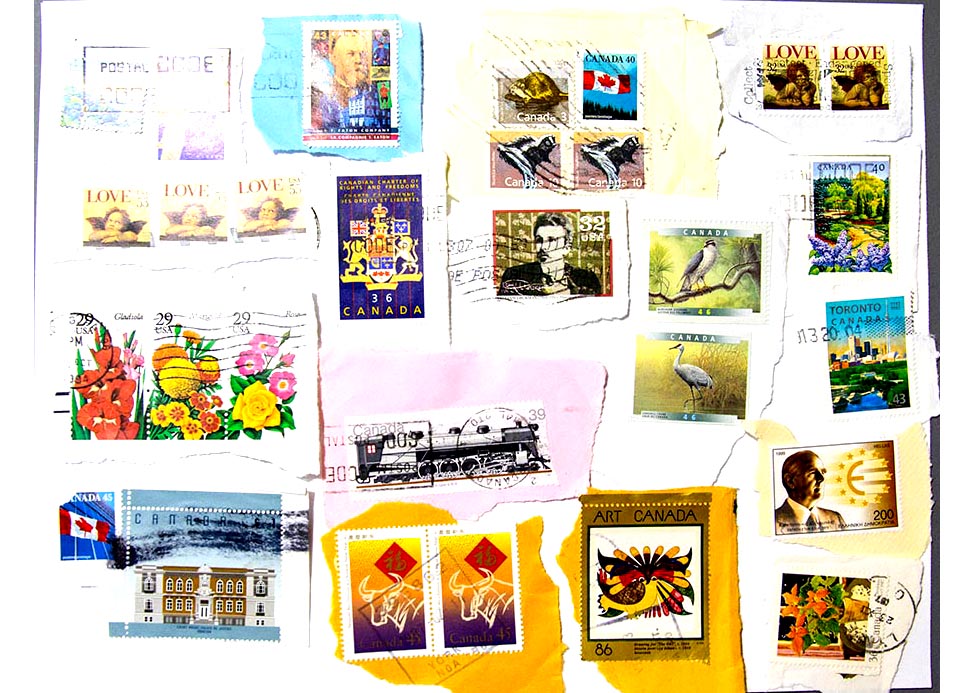
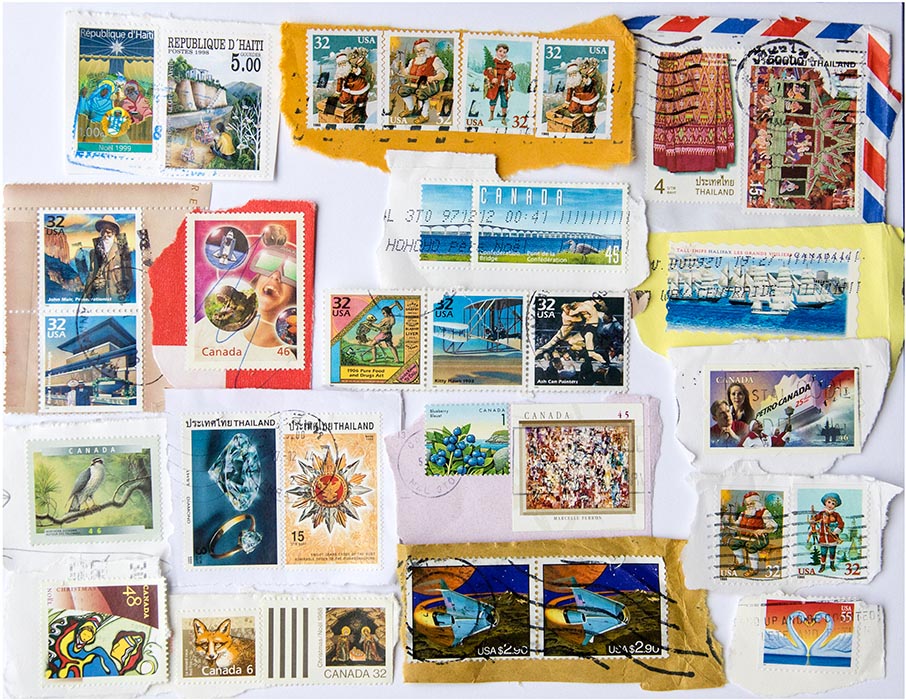
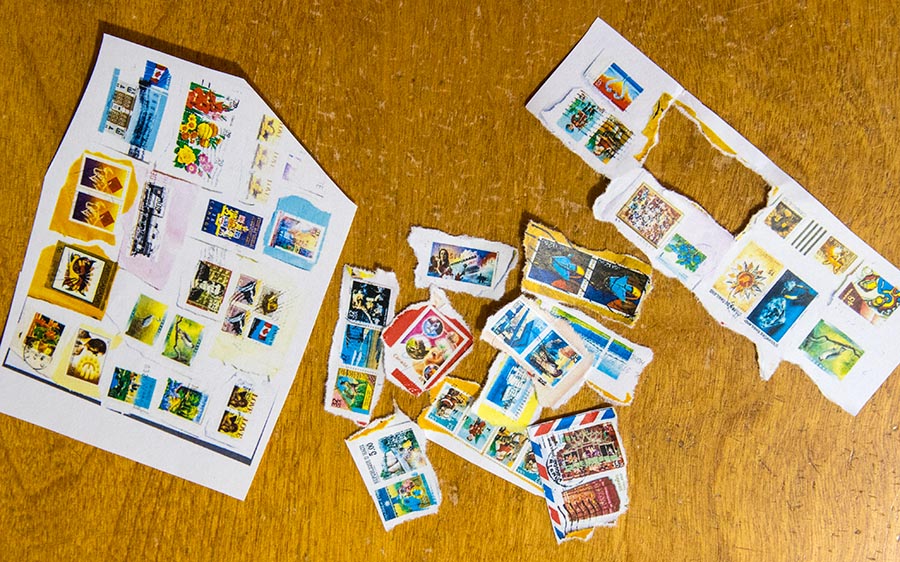
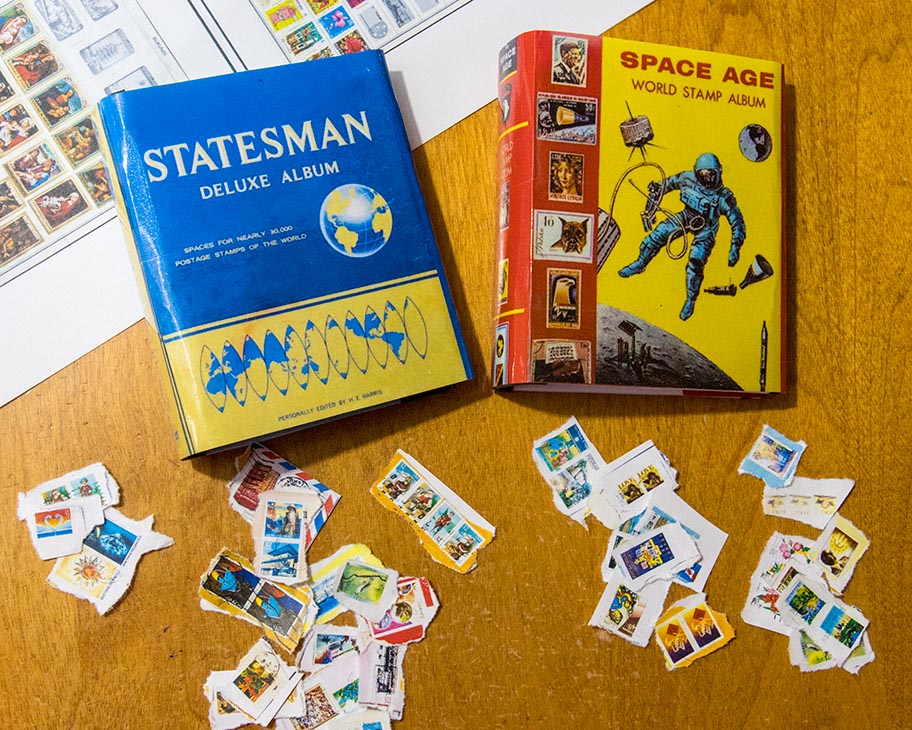
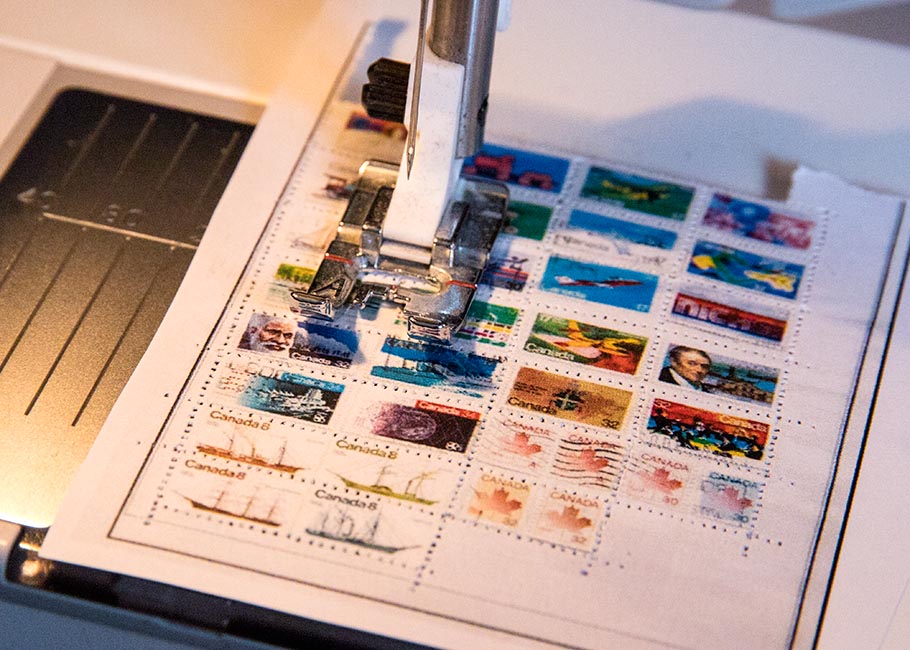
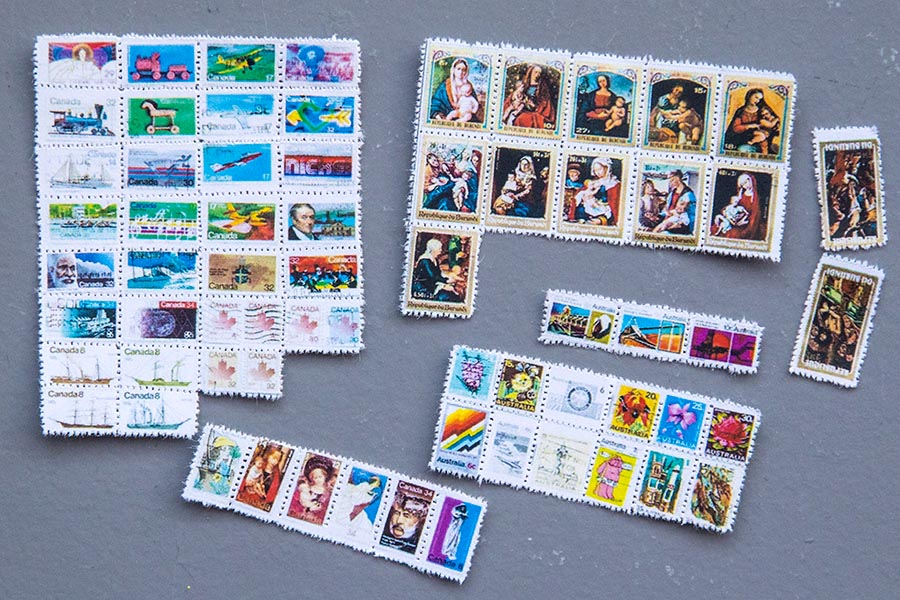
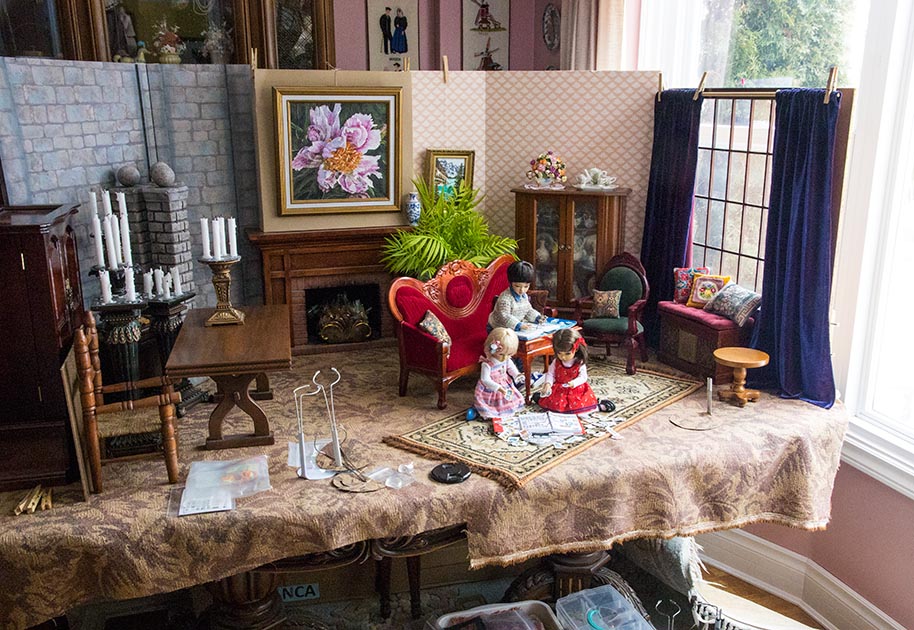
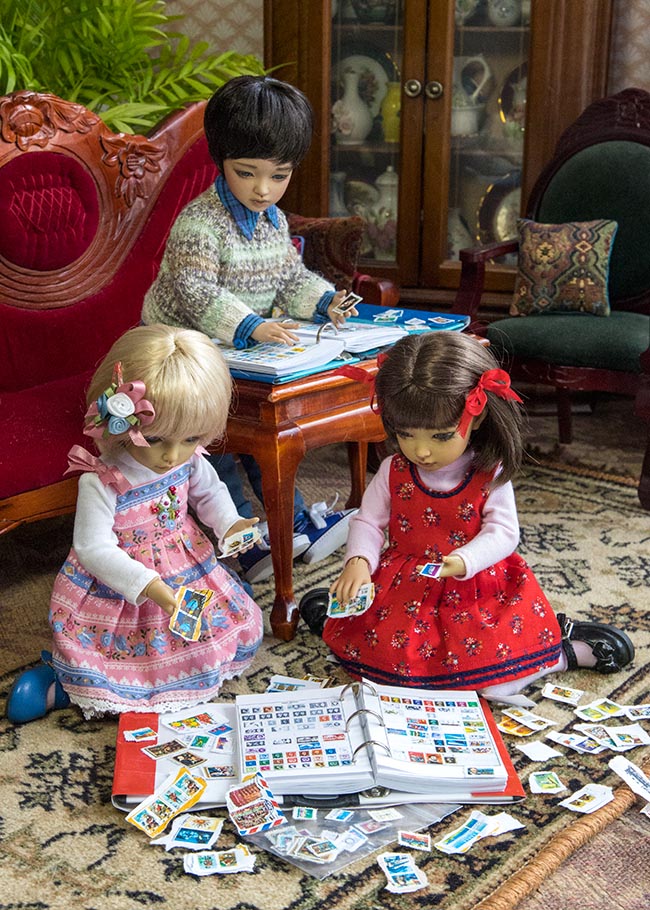
I loved collecting stamps when I was a kid, and with National Stamp Collecting day coming up on February 13th I decided it was finally time to feature this special day. Which meant having to make a miniature stamp collection. I started by photographing the cover of one of my old stamp albums... I had two tiny Micro Binders from Staples, which were different proportions than the stamp album cover, so I had to widen the album cover in Photoshop, and enough extra for the album cover to fold inside the ends of the micro binder cover. My second, much older stamp album was in rough shape, so I just photographed the cardboard inserts from the cover... Then I created a properly proportioned cover in Photoshop, with extra on both ends to fold around the ends of the micro binder cover... I also photographed several of my favourite pages from the stamp albums, and added borders so they'd be the same proportions as the pages in the Micro Binders, and allow room for punching the binder holes... Then I printed out the covers and pages to scale. I used clear packing tape over the cover printouts to seal and protect them, and give them the proper shiny look. Then it was time to cut out all the album pages and punch holes so they'd fit in the binders. A regular standard hole punch would make holes way too big for the tiny binders, so I used one of my leather hole punches instead. Half the fun of stamp collecting was saving stamps from envelopes that came in the mail, and then later soaking them off. So I took some photos of stamps still on their envelope corners.... I printed them out at quarter scale and carefully ripped them apart. Did I mention that I LOVE my colour printer? So I had albums and stamps.... Then I still needed some loose stamps that had already been soaked off their envelopes, and ready to put in the albums. I printed out a couple of the most colourful pages from my stamp album, ones where there were lots of stamps in neat rows. Then I ran the printouts under my sewing machine needle (without any thread) to create the perforations... ...and carefully separated them. They look a bit rough when blown up in a photo like this, but the stamps average just around 1/4" or less so the perforations work quite well. When I was ready to take photos for Stamp Collecting Day, I set up the interior of Byuri and Aaron's living room in one corner of my castle set which was still on the table... ..and the kids could spend a nice afternoon sorting and adding new stamps to their albums...
Nancy
2/20/2024 09:46:42 am
So clever to use your sewing machine to make the perforations. What a great set up!
Svenja
2/20/2024 10:46:33 am
What a clever and creative solution!
Dorothy
2/20/2024 11:44:40 am
Wow, that is amazing! You answered all of my questions and then some.
Martha
2/21/2024 07:33:02 am
At first I thought I'd have to use a needle to poke all the perforations by hand, but then I thought of running the stamps under the sewing machine needle - which is infinitely faster and neater.
Donna
2/21/2024 12:56:22 am
The amount of effort you put into your photos is amazing! That's why they're so terrific ❤️.
Martha
2/21/2024 07:37:03 am
One of my favourite things in this doll hobby, is figuring out how to make realistic looking props. Comments are closed.
|
AuthorMartha Boers is an award-winning Canadian doll maker and costumer specializing in fantasy and historical-style costumes. Archives
July 2024
|
 RSS Feed
