Antique Lilac
  • Home
  • for Sale
  • Galleries
  • Favourite Photos
  • Tutorials
  • Blog
  • Links
  • Books

Baby Elf Wigs

3/9/2024

 
When my first Baby Elf from DreamHigh Studio arrived last summer, I found her head way too bare looking. But I didn't want to make a wig that would make her head look even bigger, so I painted some hair on her. 
Picture
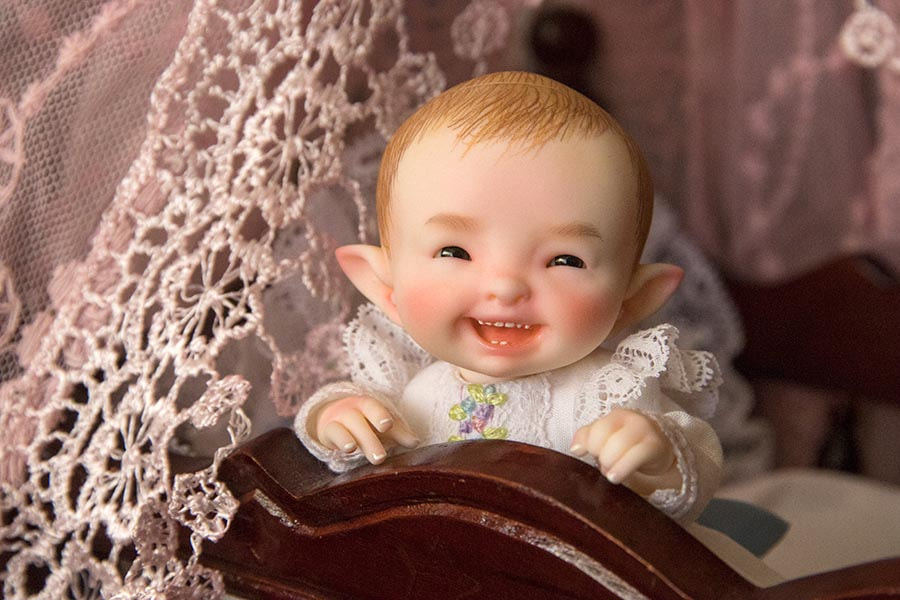
My intentions were to paint hair on my second baby elf and all the faceplates. But that meant both dolls would look exactly the same, which didn't seem all that appealing.

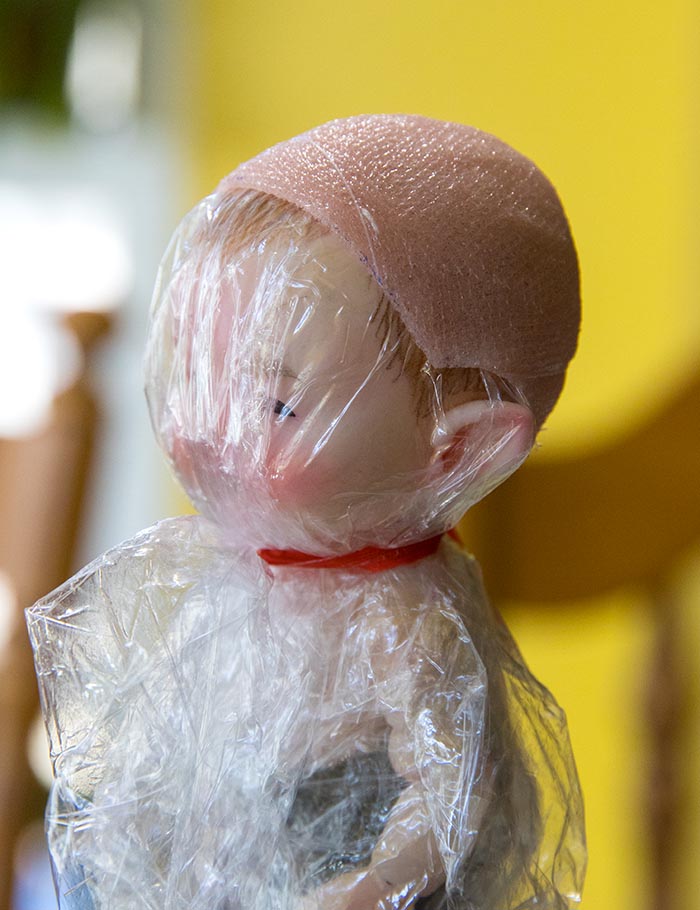
​But then, when everyone started getting their own baby elves, someone posted a wig making tutorial on Facebook that showed how to make a really wispy baby wig. It looked adorable, so I thought I'd give it a try. The wig cap was made the same way I always do, by first covering the entire doll with two layers of plastic wrap, then wrapping the head with a long strip of 1/2" wide peach coloured tulle. The wig cap tends to shrink a bit, if the tulle is pulled tight, so it's important not to stretch the tulle when wrapping the head. It was convenient that the doll didn't have eye lashes, so I could tie string around her head so the tulle was nice and smooth. Then I painted on the first layer of Gemtack glue. It has to be Gemtack glue since it dries waterproof, which means the wig can be wet later, without falling apart. ​After the first layer of glue dried, I painted on a second layer.
Picture
Picture
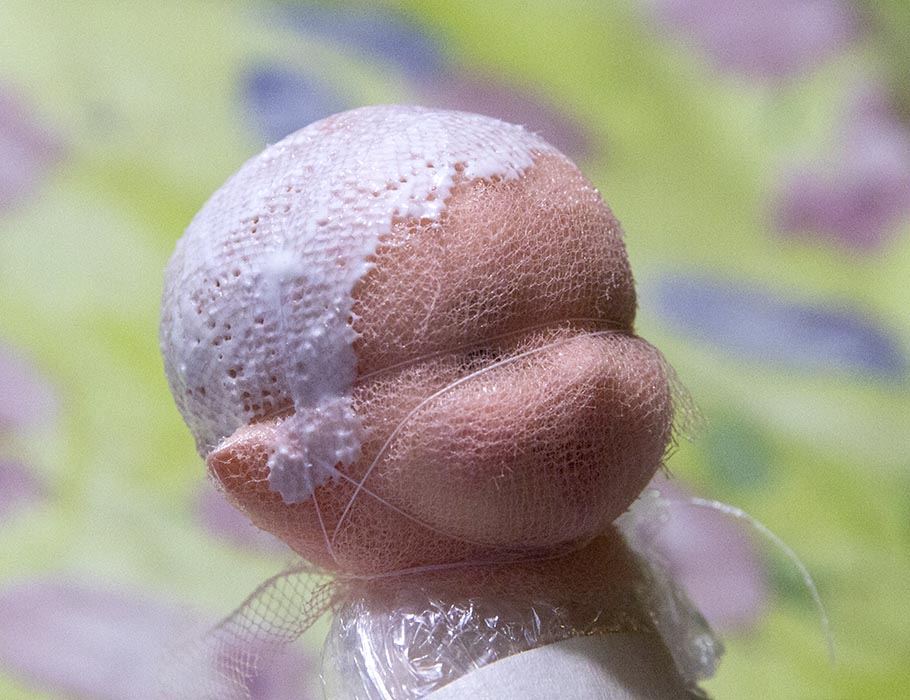
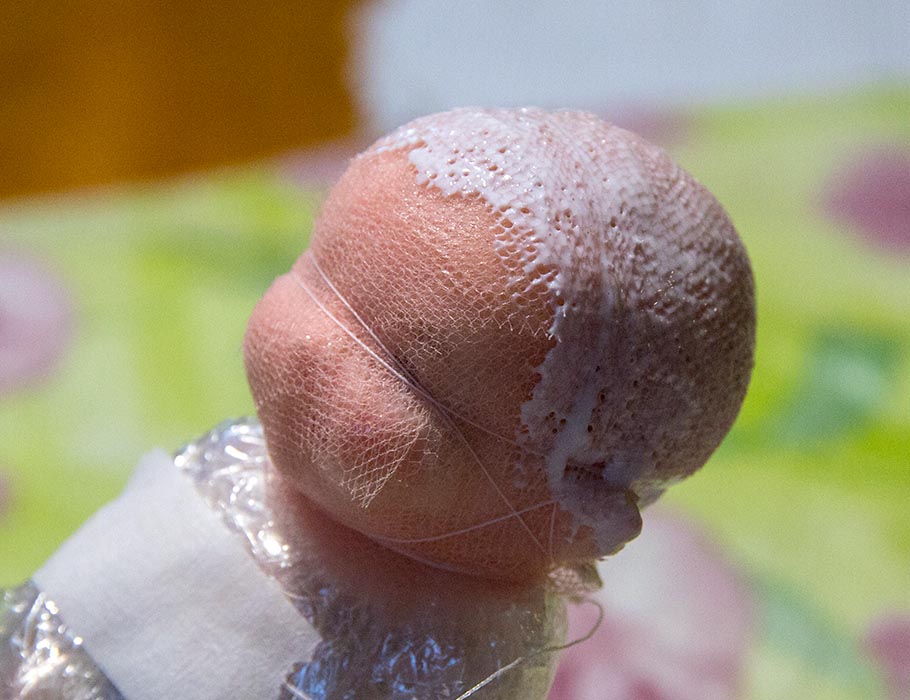
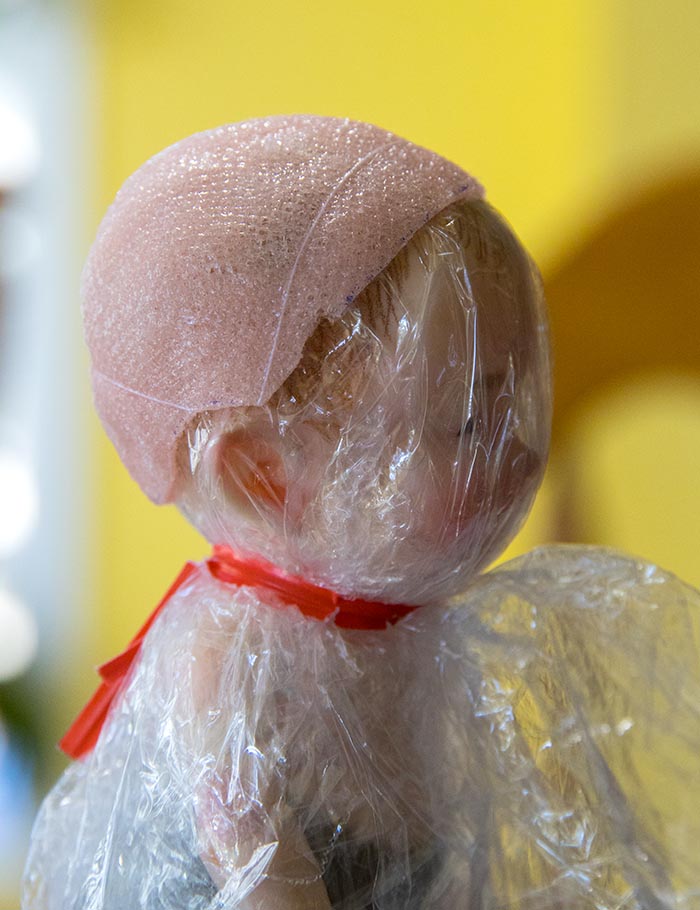
When the second layer had dried, I carefully drew on the edges of the hairline so I'd know where to cut the cap. Then I removed the tulle cap, and the plastic wrap from the doll. I cut the wig cap along the lines I'd drawn.  Then I covered the baby's head with a new double layer of plastic wrap, and secured it around her neck. (which always feels so wrong, like I'm suffocating the doll) 
Picture
Picture
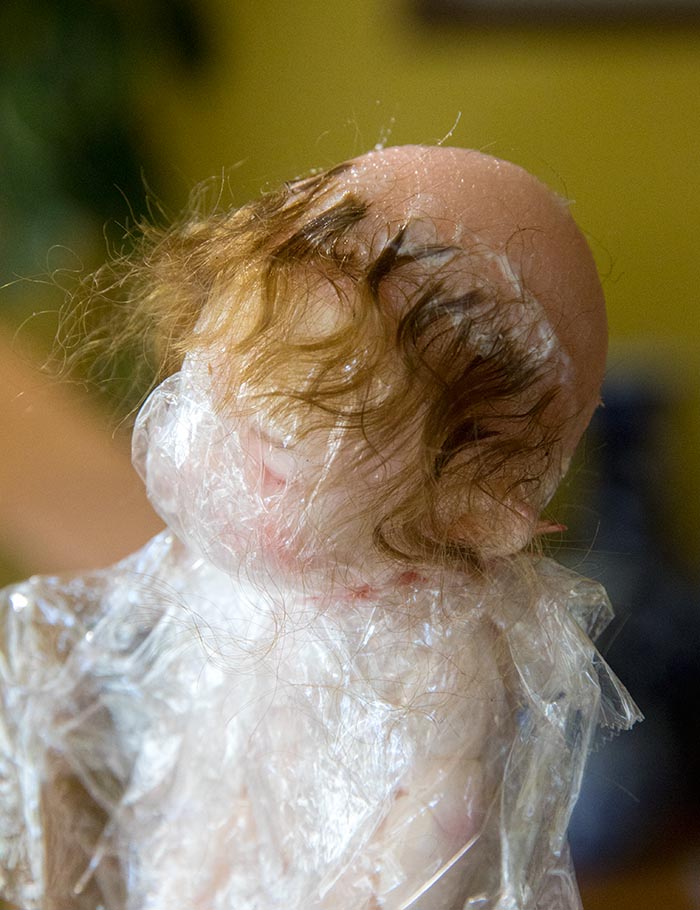
Then I started the tedious task of gluing on individual tufts of mohair, by first brushing a line of glue on the wig, positioning the end of a thin wisp of mohair on the glue, and then using the brush with more glue to securely hold the mohair in place. Each time more mohair was added, it needed to completely dry before more could be glued on. I was working on two wigs at once, each a different colour, so had to be careful not to mix up the two colours of mohair.
Picture
Picture
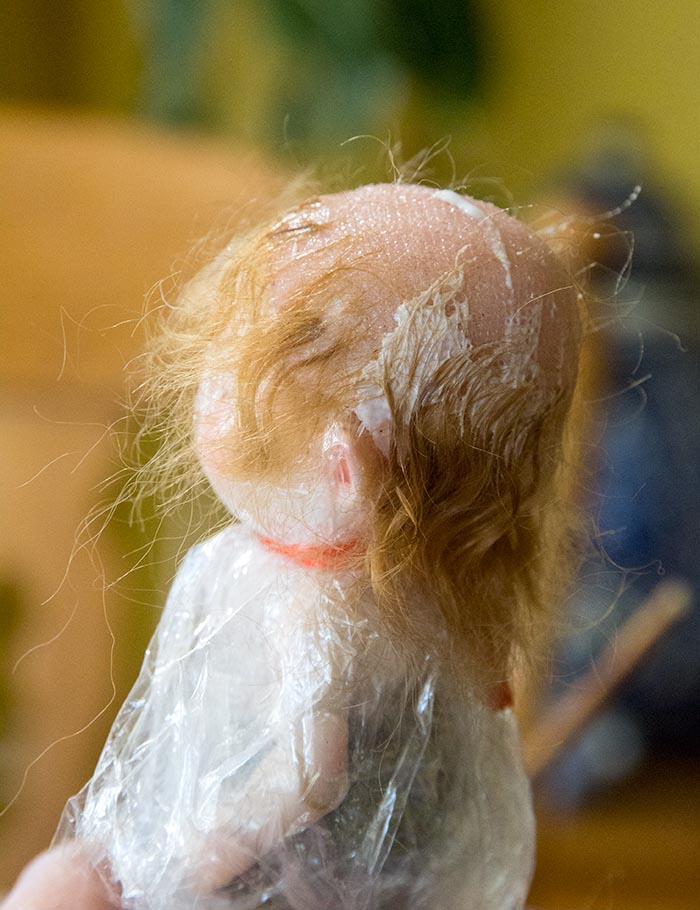
I kept gluing on thin wisps of mohair until I reached the crown...
Picture
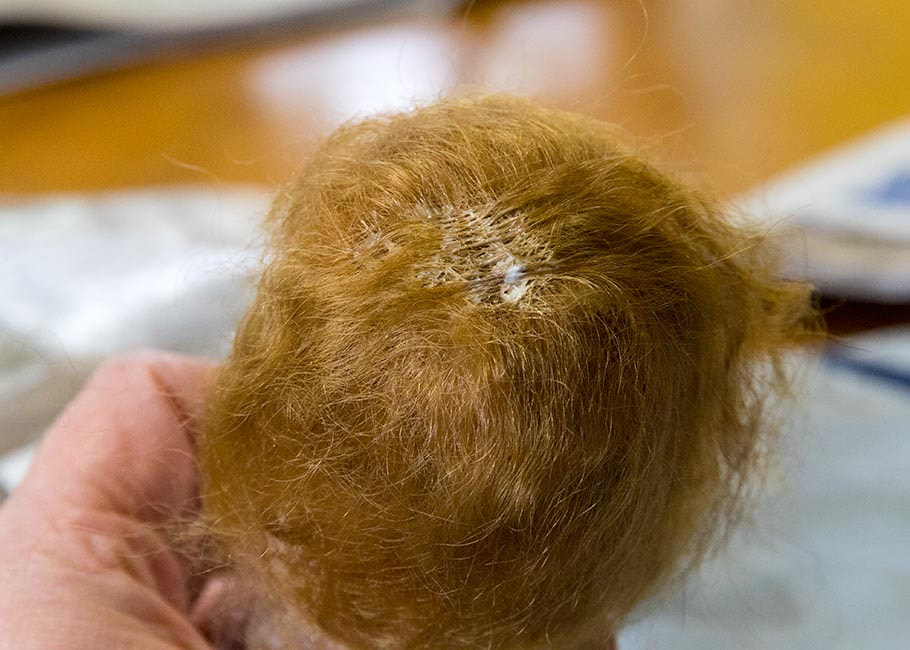
Then I brushed some glue into the middle of the crown, and laid two thin strips of longer mohair criss-cross across the crown. When the glue was getting tacky I pressed it down with the edge of a comb to suggest a 'part'. I'd occasionally press the 'centre part' until the glue had dried.
Picture
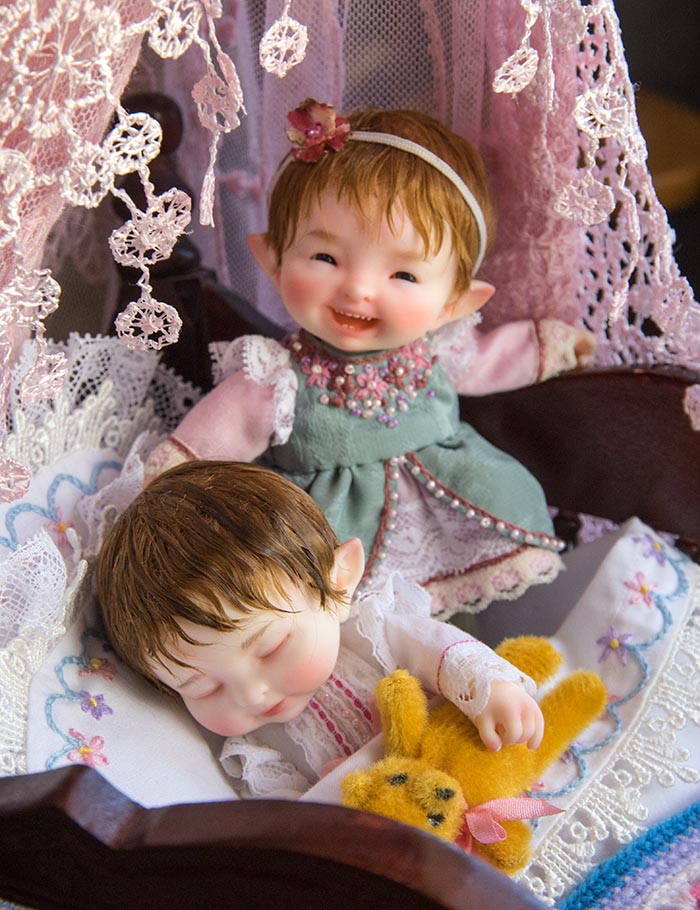
When the wigs were thoroughly dry - I waited 24 hours to make sure - I wet the wigs, carefully combed the mohair, and applied a bit of hair gel. Then I started trimming the hair, snipping upwards towards the crown one tiny bit at a time. I was very pleased with the final result - nice thin, wispy baby wigs that didn't make their heads look bigger...
Picture
Danyda
3/9/2024 11:55:02 am

OMG!!!! Cuteness overload!!!!!! Do you use the same glue to apply the hair as to make the wig cap?

Martha
3/9/2024 12:00:17 pm

Yes. I use Gemtack glue for both since it dries waterproof. Which means that I can wet the wig to style it, and the glue won't disolve.

Nancy
3/9/2024 01:44:28 pm

Beautiful job. Thanks for the tutorial.

Martha
3/9/2024 05:00:37 pm

You're welcome.

Dorothy
3/9/2024 04:28:10 pm

The wigs are lovely and the children look so cute. It looks as if they have "real" hair.

Do you have to remove the wigs to change the face plates?

Martha
3/9/2024 05:01:05 pm

Yes, the wigs have to come off in order to change the face plates.

Donna
3/10/2024 03:15:58 am

The wigs are just perfect and the baby elves are incredibly cute!!! They bring a smile everytime I see them 😊

I know Mika belongs to Agnes and Matias. Who is the second baby going to be?

Martha
3/10/2024 08:23:39 am

I haven't decided. The baby elves were named Mika and Gabi, but I don't care for 'Gabi'. I only ordered the second one so I could get all the extra face-plates. I had thought the second one could be part of Gino and Daisy's family, a little sibling for Avery and Emily. Which is why they both needed their own different coloured wigs.

It will be interesting to explain - or not - why Elf Agnes and Elf Daisy have similar looking babies. Maybe there was some common ancestor centuries ago and it just so happened to show up now?

I still need to decide if the second one will be a boy or girl. Girls would be able to share clothes, but if it's a boy it will need an entirely new wardrobe. AndI'm quite honestly getting rather tired of making all the tiny clothes.

designdreamer
3/14/2024 01:02:48 pm

OMG! How adorable!


Comments are closed.

    Author

    Martha Boers is an award-winning Canadian doll maker and costumer specializing in fantasy and historical-style costumes.
    Read More... 

    Archives

    June 2025
    May 2025
    April 2025
    March 2025
    February 2025
    January 2025
    December 2024
    November 2024
    October 2024
    September 2024
    August 2024
    July 2024
    June 2024
    May 2024
    April 2024
    March 2024
    February 2024
    January 2024
    December 2023
    November 2023
    October 2023
    September 2023
    August 2023
    July 2023
    June 2023
    May 2023
    April 2023
    March 2023
    February 2023
    January 2023
    December 2022
    November 2022
    October 2022
    September 2022
    August 2022
    July 2022
    June 2022
    May 2022
    April 2022
    March 2022
    February 2022
    January 2022
    December 2021
    November 2021
    October 2021
    September 2021
    August 2021
    July 2021
    June 2021
    May 2021
    April 2021
    March 2021
    February 2021
    January 2021
    December 2020
    November 2020
    October 2020
    September 2020
    August 2020
    July 2020
    June 2020
    May 2020
    April 2020
    March 2020
    February 2020
    January 2020
    December 2019
    November 2019
    October 2019
    September 2019
    August 2019
    July 2019
    June 2019
    May 2019
    April 2019
    March 2019
    February 2019
    January 2019
    December 2018
    November 2018
    October 2018
    September 2018
    August 2018
    July 2018
    June 2018
    May 2018
    April 2018
    March 2018
    February 2018
    January 2018
    December 2017
    November 2017
    October 2017
    September 2017
    August 2017
    July 2017
    June 2017
    May 2017
    April 2017
    March 2017
    February 2017
    January 2017
    December 2016
    November 2016
    October 2016
    September 2016
    August 2016
    July 2016
    June 2016
    May 2016
    April 2016
    March 2016
    February 2016
    January 2016
    December 2015
    November 2015
    October 2015
    September 2015
    August 2015
    July 2015
    June 2015
    May 2015
    April 2015
    March 2015
    February 2015
    January 2015
    December 2014
    November 2014
    October 2014
    September 2014
    August 2014
    July 2014
    June 2014
    May 2014
    April 2014
    March 2014
    February 2014
    January 2014
    December 2013
    November 2013
    October 2013
    September 2013
    August 2013
    July 2013
    June 2013
    May 2013
    April 2013
    March 2013
    February 2013
    January 2013
    December 2012
    November 2012
    October 2012
    September 2012
    August 2012
    July 2012
    June 2012
    May 2012
    April 2012
    March 2012
    February 2012
    January 2012
    December 2011
    November 2011
    October 2011
    September 2011
    August 2011
    July 2011
    June 2011
    May 2011
    April 2011
    March 2011
    February 2011
    January 2011
    December 2010
    November 2010
    October 2010

    RSS Feed

Powered by Create your own unique website with customizable templates.