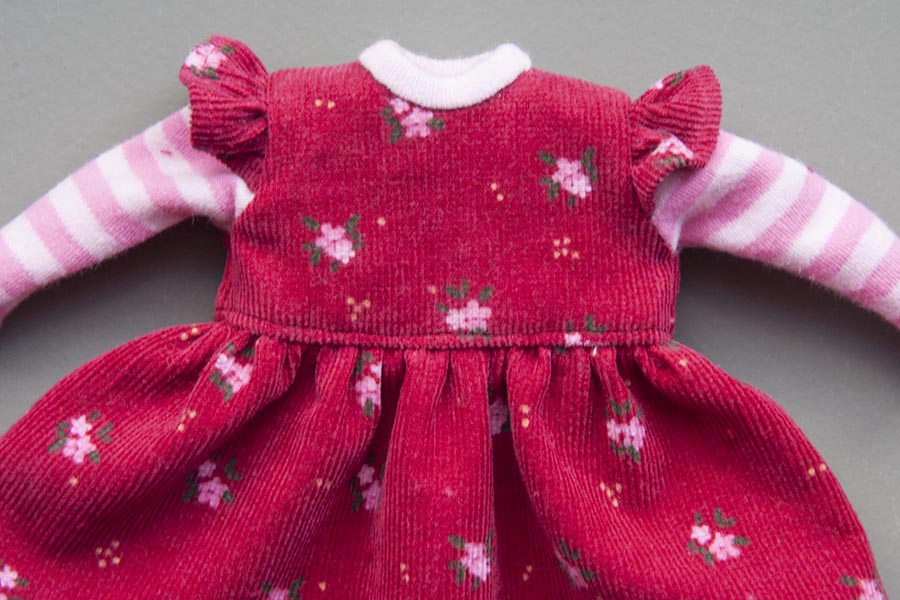
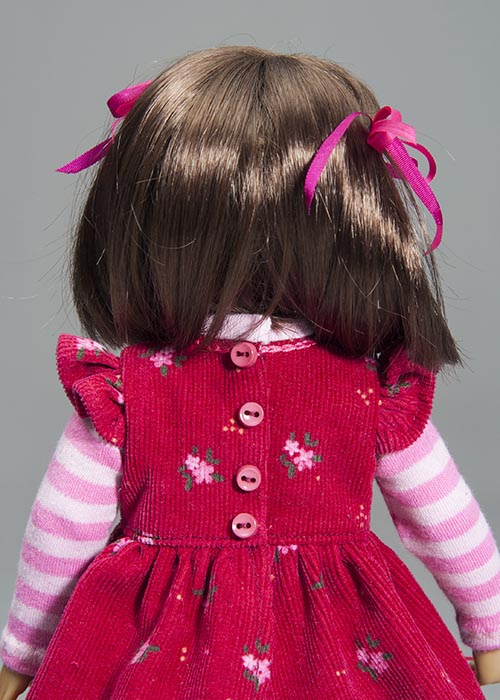
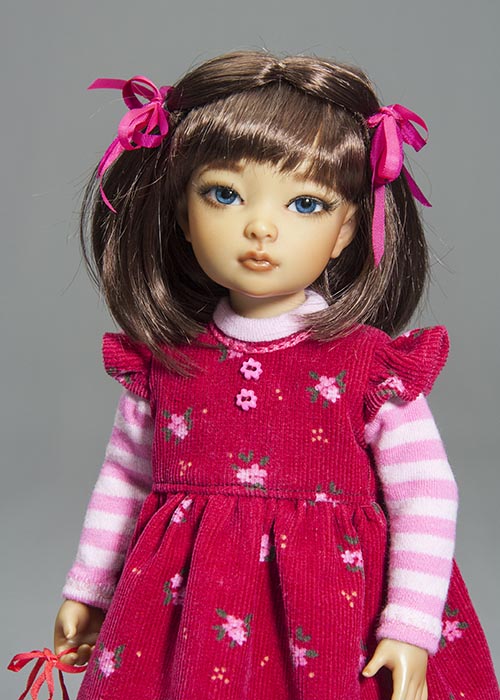
Ruffled Dress Pattern for BIDs
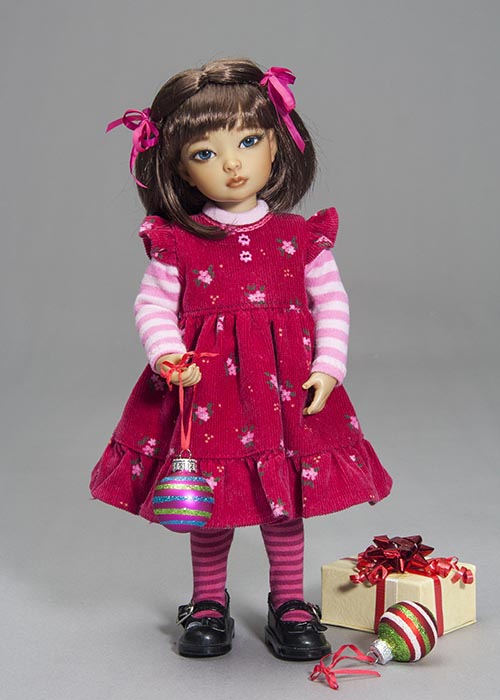
This pattern was designed to fit an Iplehouse BID. It may fit other small dolls with similar measurements
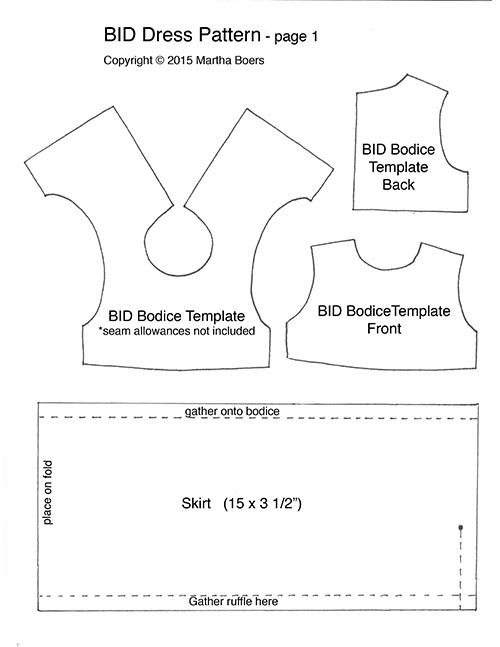
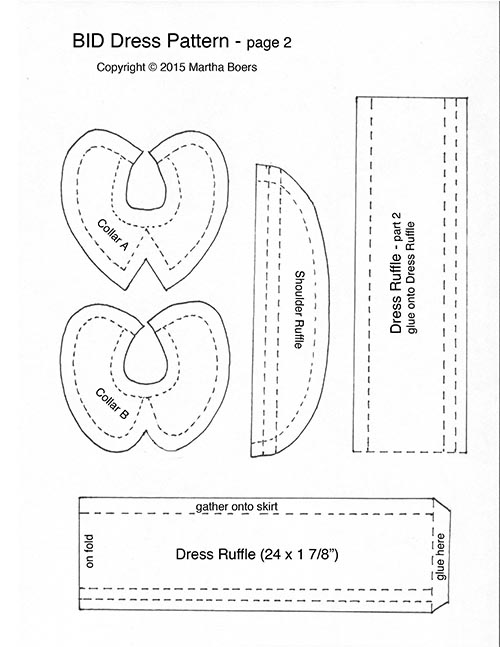
*To download the pdf with both full size pattern pages, just click on either pattern page below
When Fabric has a 'Nap'
|
I used fine corduroy for my doll's dress, and corduroy has a nap, so all the seams were basted (hand-sewn with a running stitch) before stitching on the sewing machine.
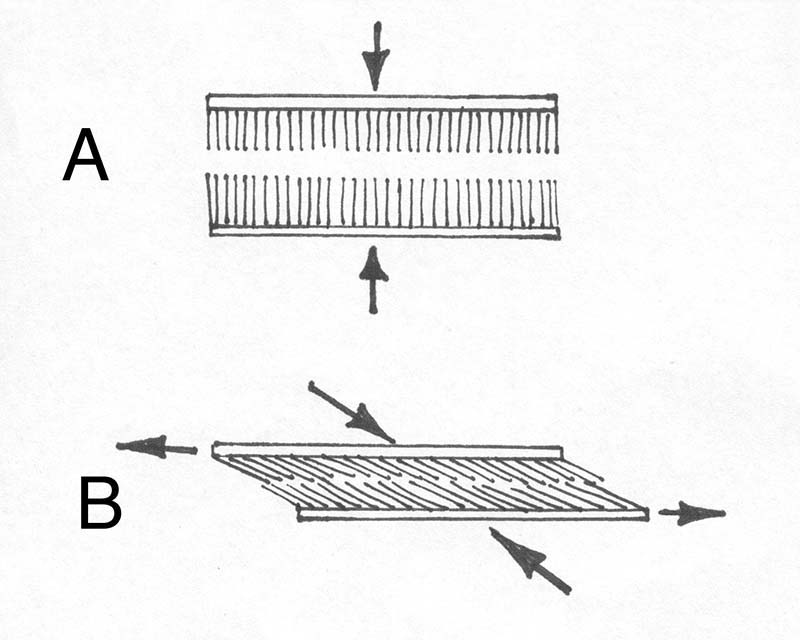
What is a 'nap' you ask? Fabrics with 'naps' include velvets, velours, and corduroy. They all have a raised pile - or nap - like a 'miniature carpet'. When sewing with any fabric with a nap, it is very important to pin and hand-baste all seams before sewing on the machine. I've tried to show why in the drawing to the left. When two fabrics with naps press down on each other, the fibres in the nap have nowhere to go but to one side, and when they bend to one side, the fabric goes with it. So unless you first carefully hand-stitch the layers together, you will find that the clothing pieces you ran through the sewing machine no longer align neatly on top of each other. The fabrics will have shifted, and your pattern pieces won't match up at all anymore. |
Instructions
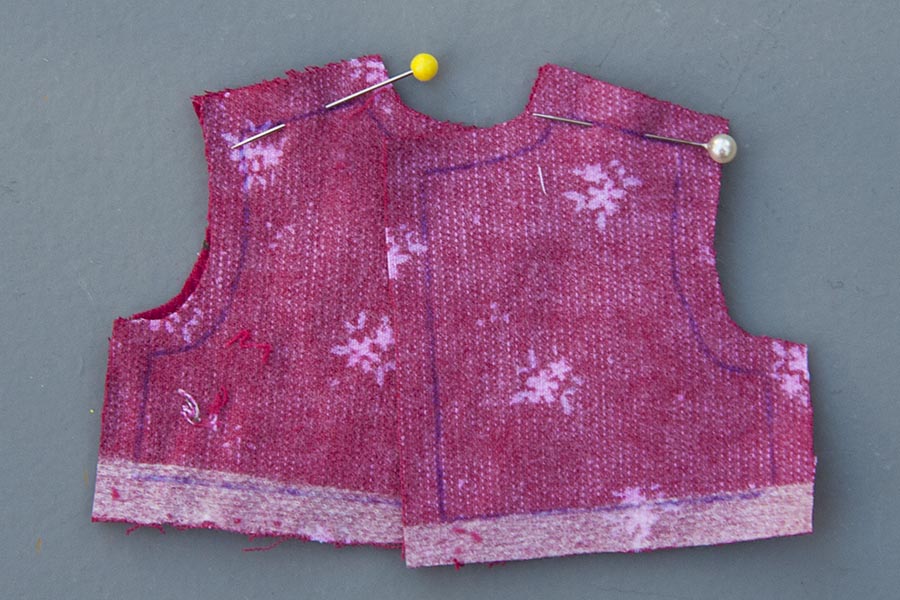
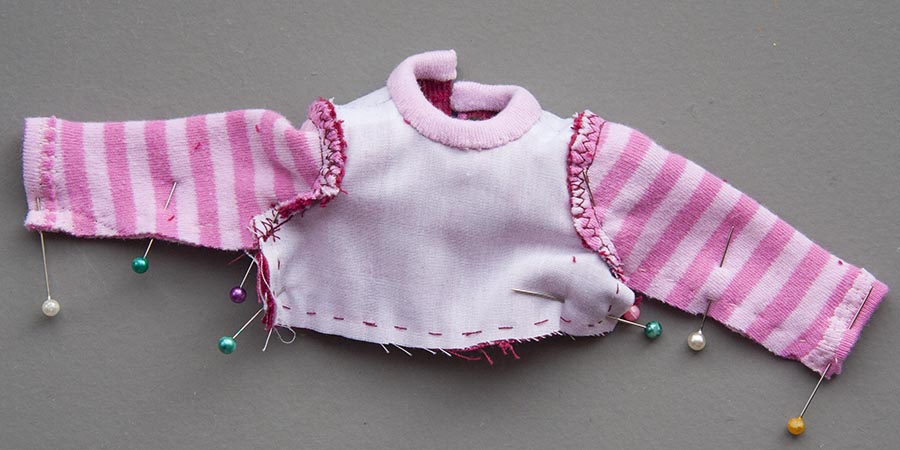
1. Click on pattern image to download pattern pdf. Print and cut out patterns. Please note that several of the pieces are templates and do not include the seam allowances. You will have to add those when cutting out the fabric. Trace bodice template pattern onto wrong side of dress fabric and onto lining fabric. Cut out adding seam allowances. Sew shoulder seams.
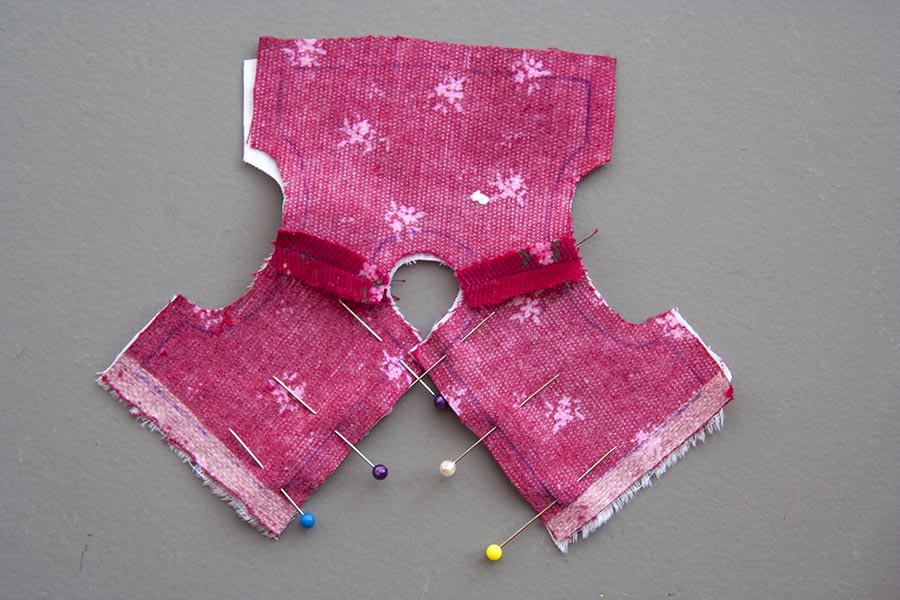
2. Press shoulder seams open. Pin right side of lining over right side of bodice.
*Note: The dress I made has a bound neckline, and does not have a collar, but I've included collar patterns just in case you'd like to add them to your dress. If you do, the instructions are not given here, but you can follow the first 5 sets of instructions for the 'Simple Kaye Wiggs Dress Pattern'. Then continue here.
*Note: The dress I made has a bound neckline, and does not have a collar, but I've included collar patterns just in case you'd like to add them to your dress. If you do, the instructions are not given here, but you can follow the first 5 sets of instructions for the 'Simple Kaye Wiggs Dress Pattern'. Then continue here.
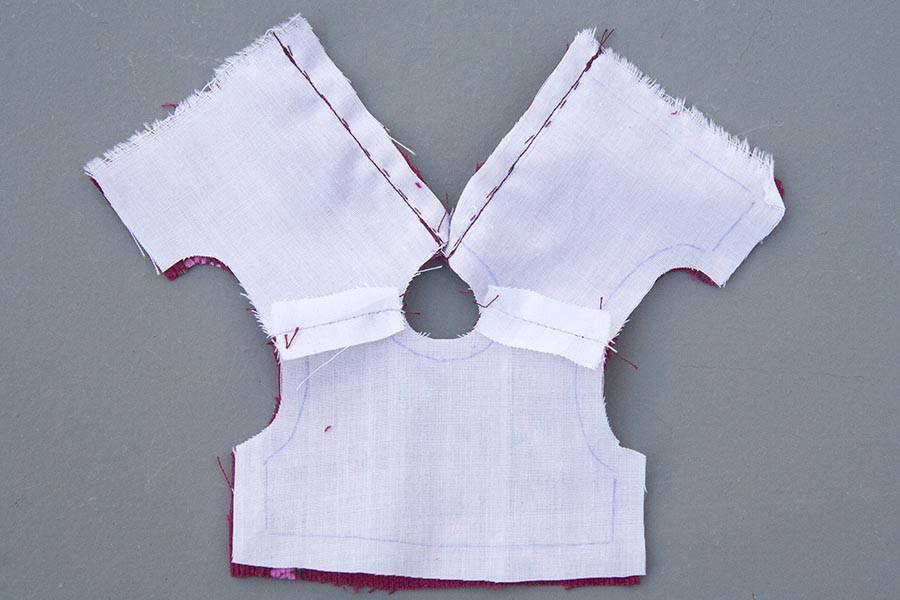
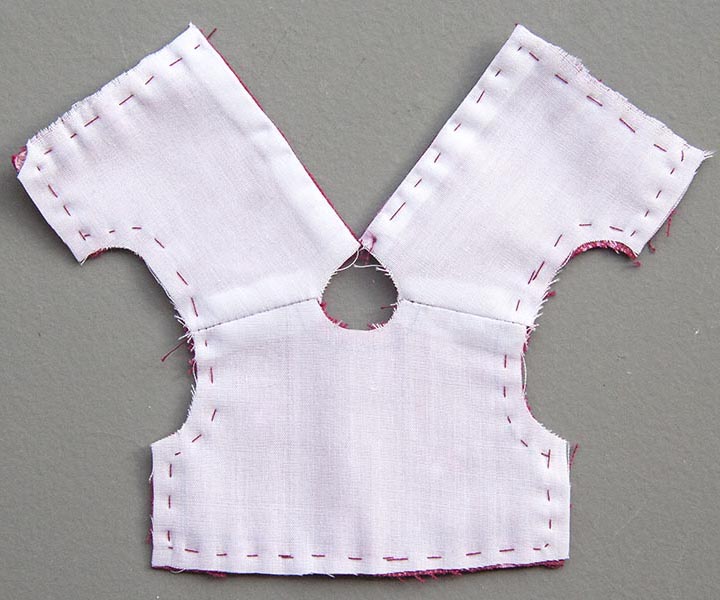
3. Baste, then stitch just the two centre back seams
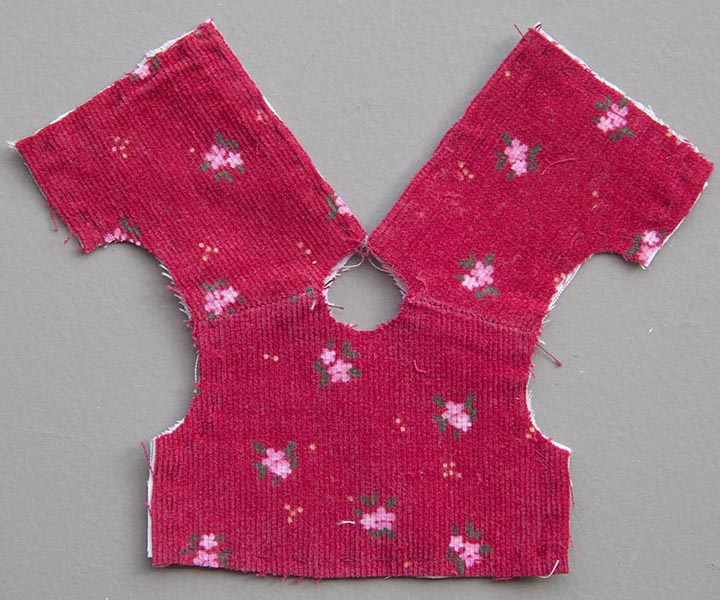
4. Turn right side out, and baste all edges
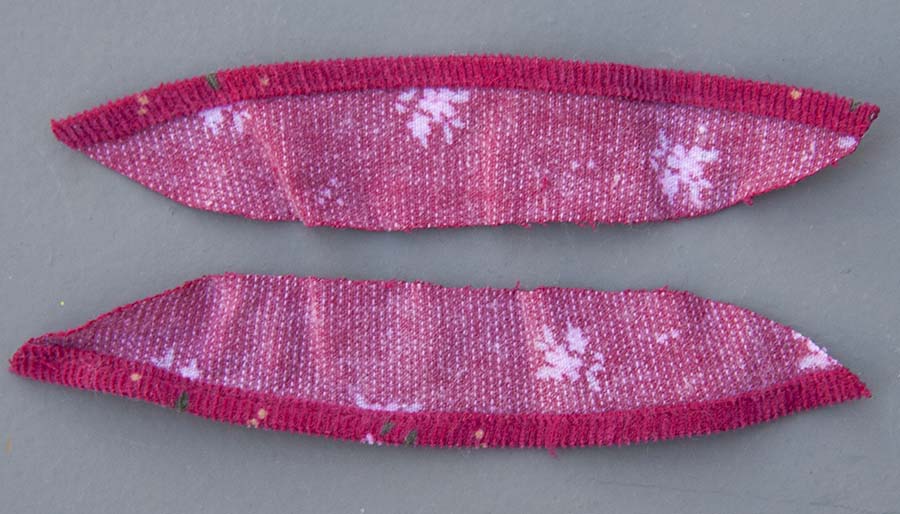
5. Hem edges of shoulder ruffles. Press. *Note: you can leave the shoulder ruffles off if you'd rather not have them
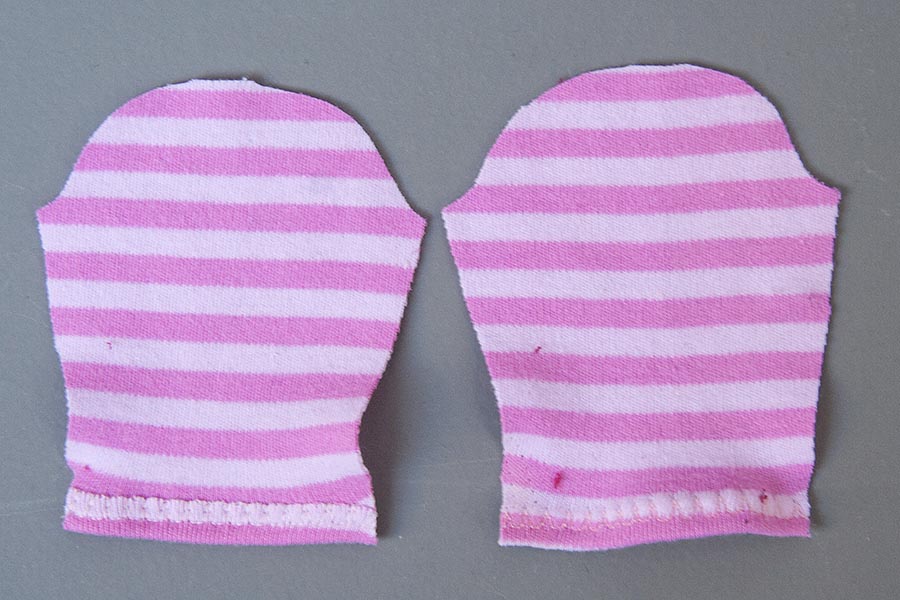
8. Hem wrist edge of long sleeves using a stretch stitch. *Note: the pattern for the sleeve is intended for stretchy fabric. If you are going to use non-stretchy, woven fabric, you will need to make the sleeves wider at the wrist.
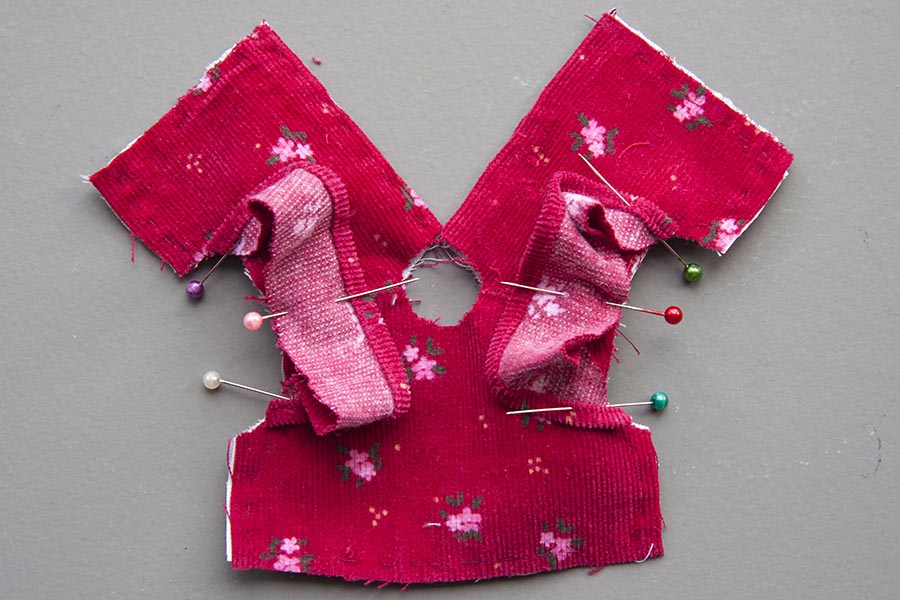
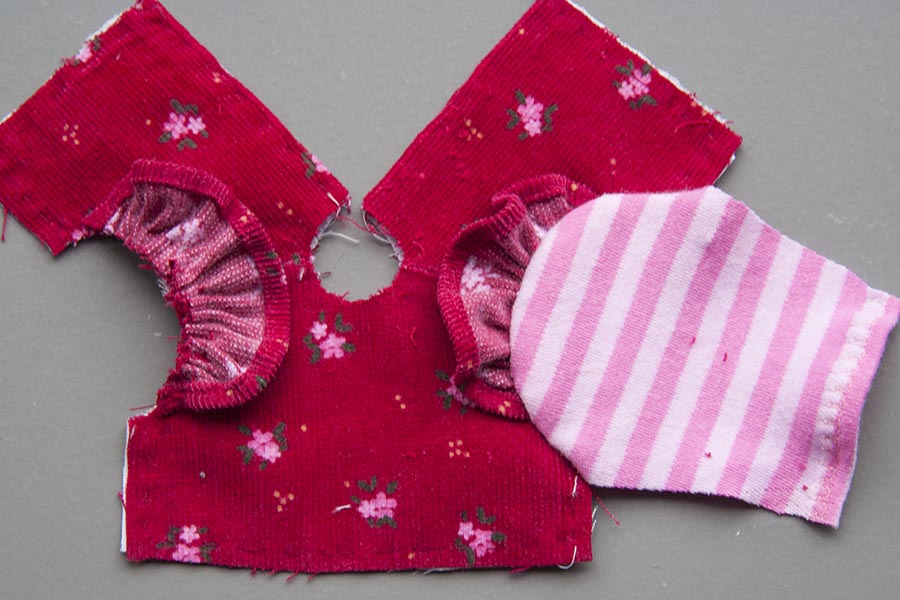
7. Pin ruffles into arm holes of bodice, as shown.
8. Baste ruffles into sleeve openings. Then pin and baste long sleeves into entire sleeve hole, on top of ruffles
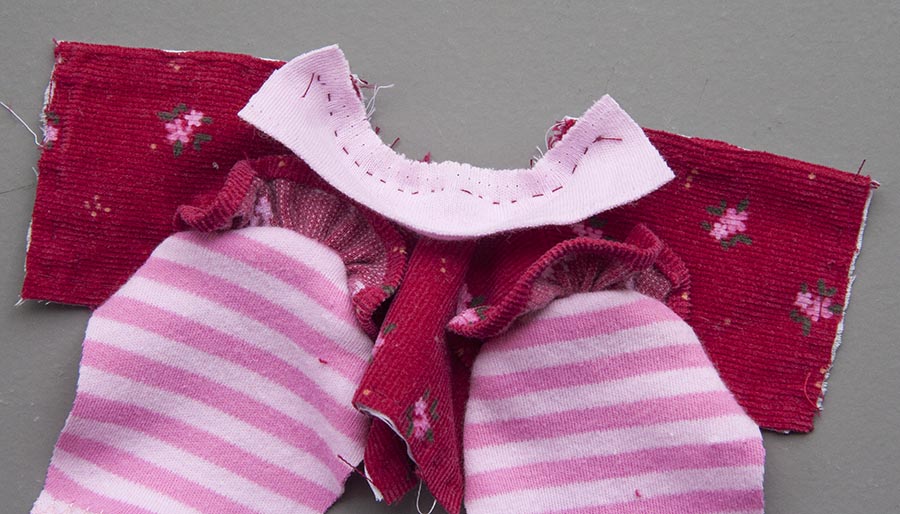
9. Baste neckband around neckline of dress, stretching it as you go. The neckband pattern has been designed so you may have extra length left over. If so, trim end.
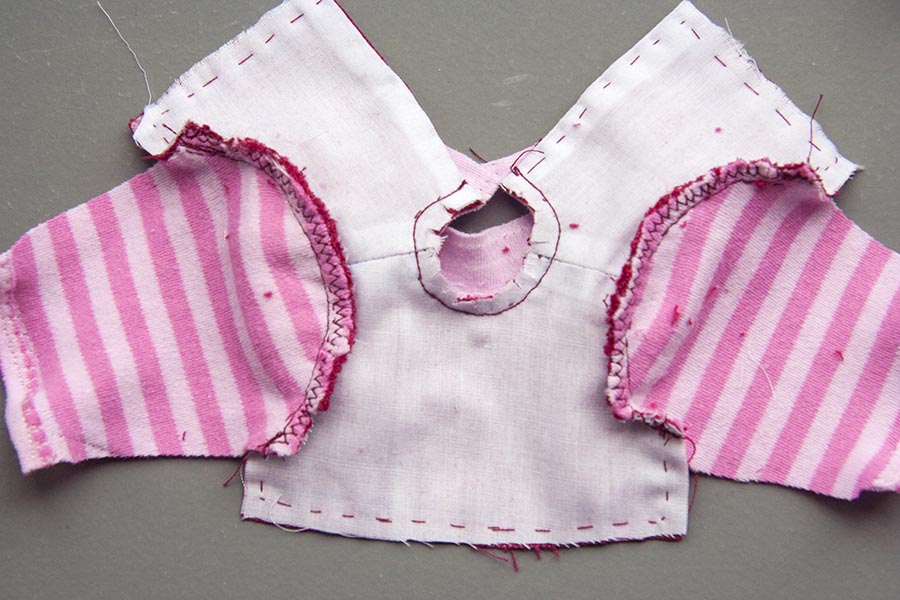
10. Machine sew sleeve s and neck seams. Clip seam allowances, and zig-zag seams.
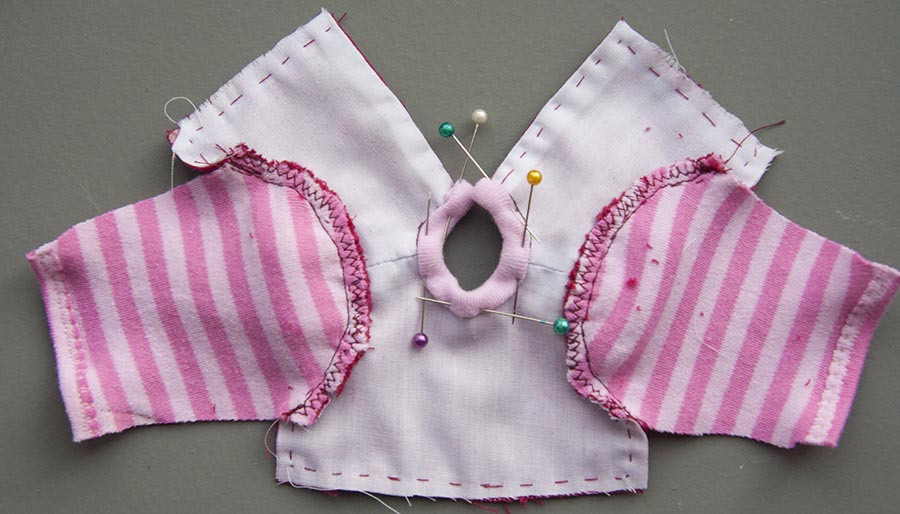
11. Fold in ends of neckband, then fold and pin inside bodice. Hand-sew neckband in place
12. Fold bodice with right sides together, pin and baste underarm seams. Machine stitch, clip underarm corners, and zig-zag seams.
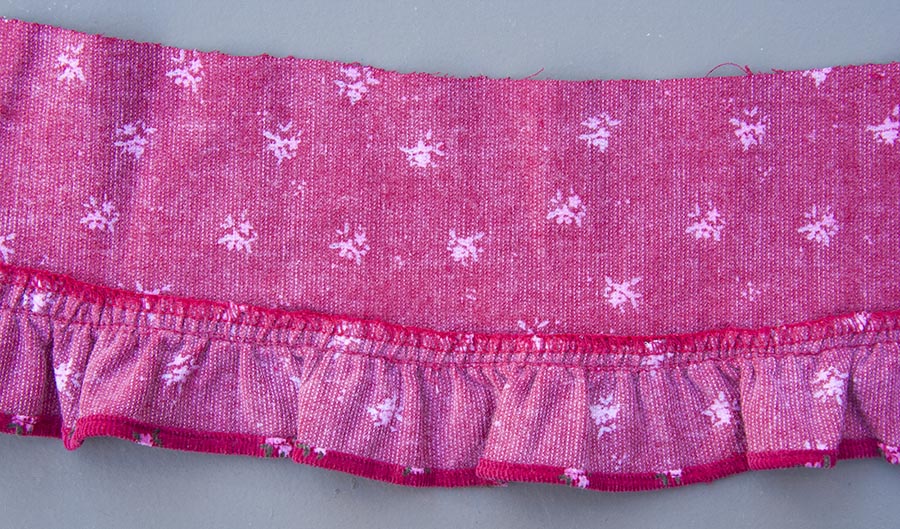
13. The skirt. Hem bottom of ruffle, then baste onto bottom of skirt. Machine stitch, and zig-zag.
I cut my skirt from a toddler's dress, so the ruffle was already attached.
I cut my skirt from a toddler's dress, so the ruffle was already attached.
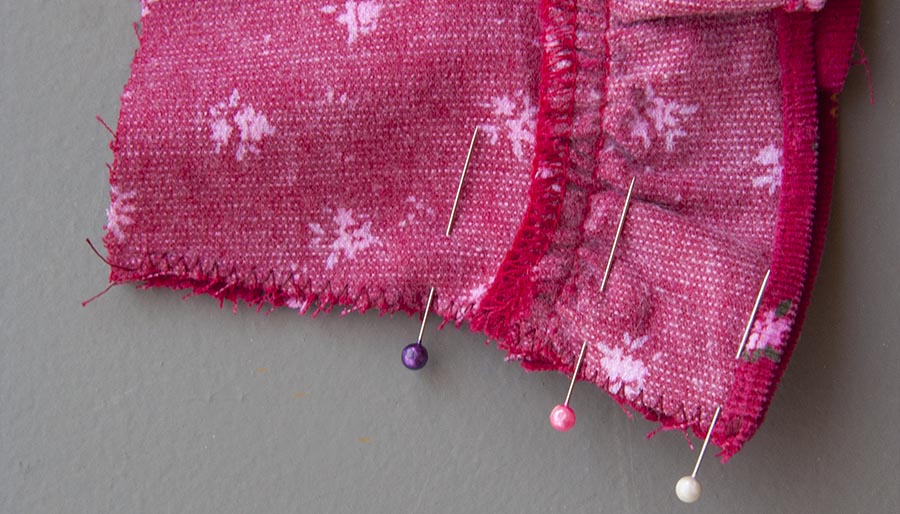
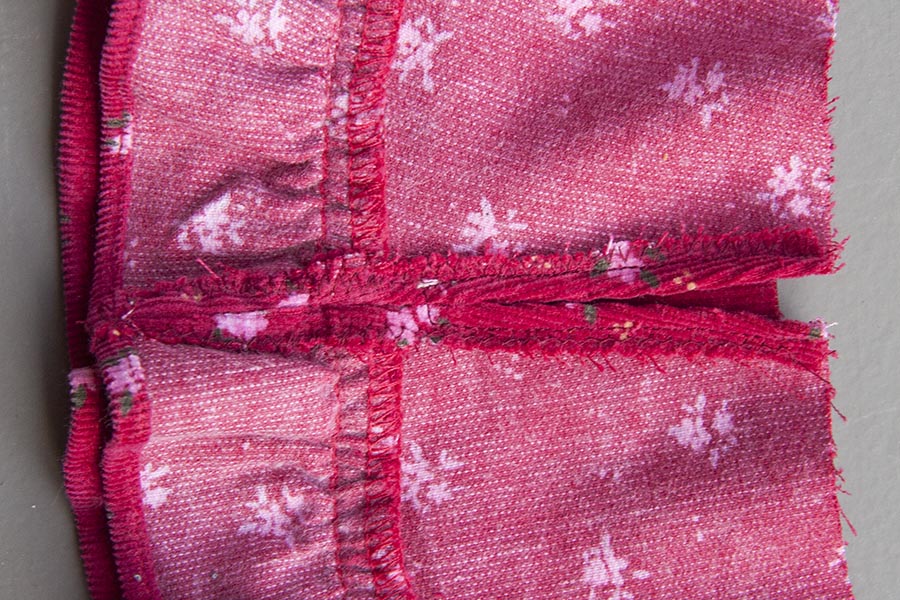
14. Zig-zag the back opening edges. Then fold the skirt with right sides together and pin the bottom back opening.
15. Baste seam, then machine stitch bottom back of skirt
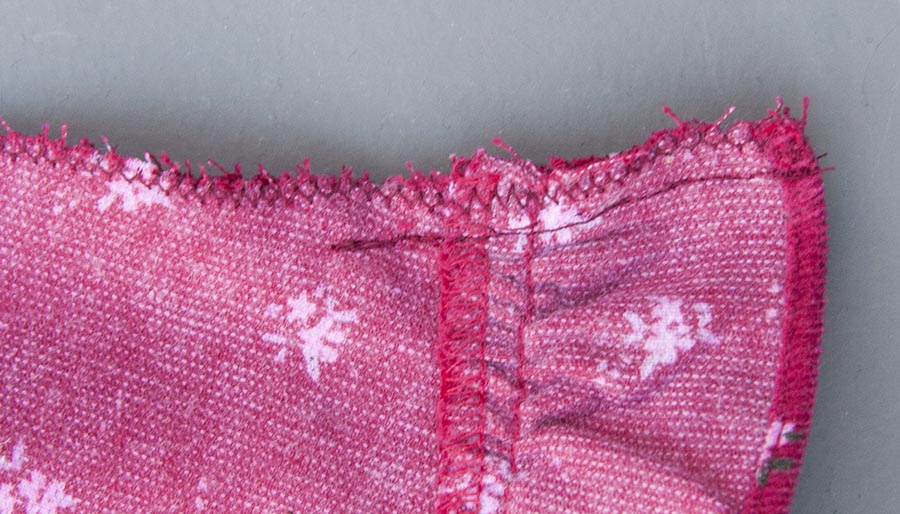
16. Press back seam allowances open, then top-stitch around back opening
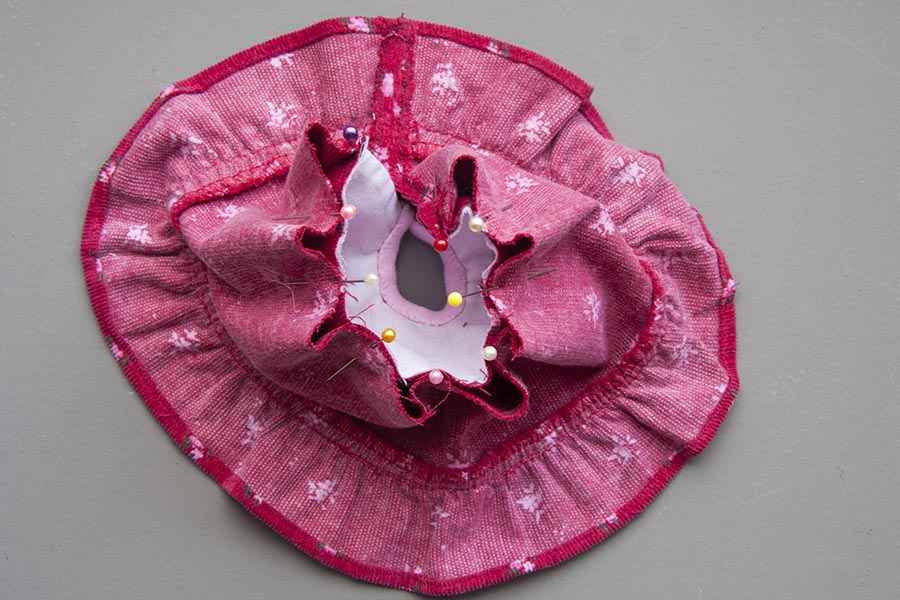
17. Pin, then hand-gather the skirt onto the bodice with right sides together. *Tip - To evenly gather the skirt onto the bodice, I divide the top of the skirt and the bodice into eights, by folding in half, marking with pins, folding in half again (to divide into quarters) marking with pins, and then eyeballing the middle between the pins to divide into eighths. Then I match the pins on the bodice and skirt together.
18. Baste gathers of skirt onto bodice, then machine-stitch, and zig-zag. Press seams up into bodice, and top-stitch on right side.
19. You can embellish with embroidery or tiny buttons if desired. Fit on doll to measure for snaps, then sew on snap fasteners.
*Note - Patterns and instructions for slip and tights are in 'Simple BID Dress Pattern'
Variation
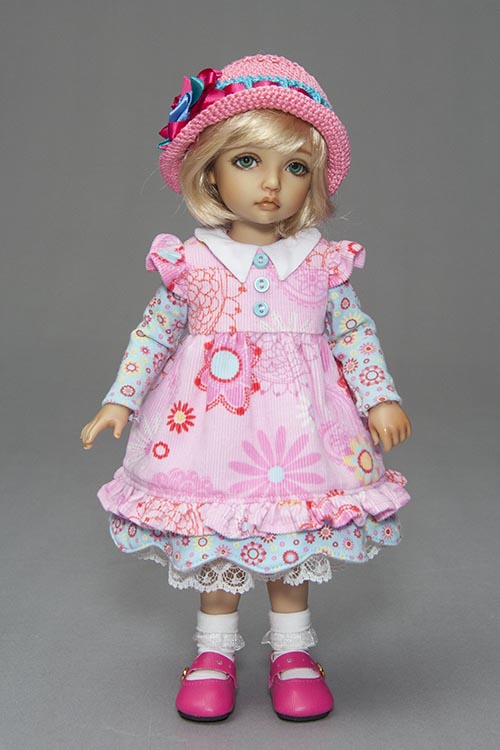
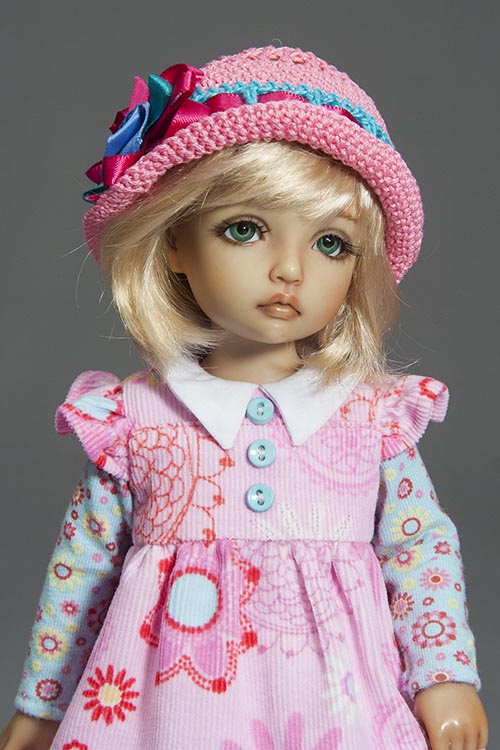
This dress was made with the same pattern, except it has two ruffles, and a collar
Copyright © 2015 Martha Boers
All Rights Reserved
All Rights Reserved
