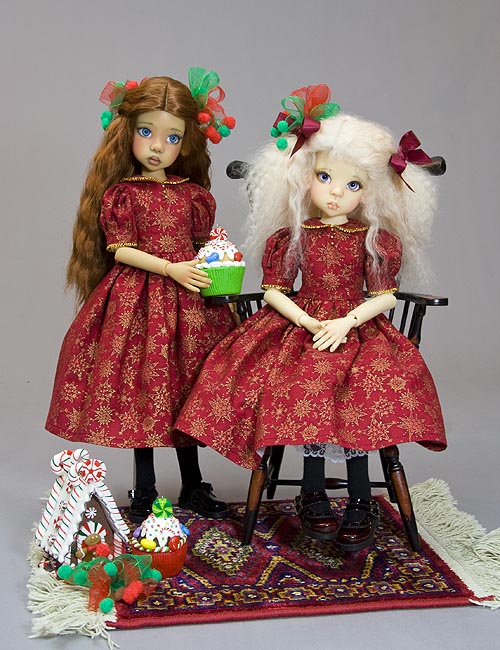
Simple Dress Pattern for a Kaye Wiggs MSD
This pattern was originally shared as part of the Resin Cafe's 2013 Christmas Calendar.
It was designed to fit a Kaye Wiggs MSD, but will also fit other dolls with similar measurements.
It was designed to fit a Kaye Wiggs MSD, but will also fit other dolls with similar measurements.
Instructions
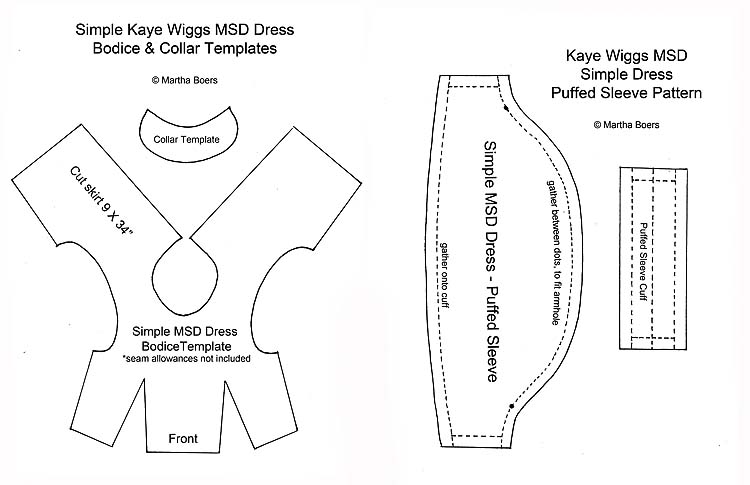
1. Click on pattern image to download pattern pdf. Print and cut out patterns. Please note that several of the pieces are templates and do not include the seam allowances. You will have to add those when cutting out the fabric.
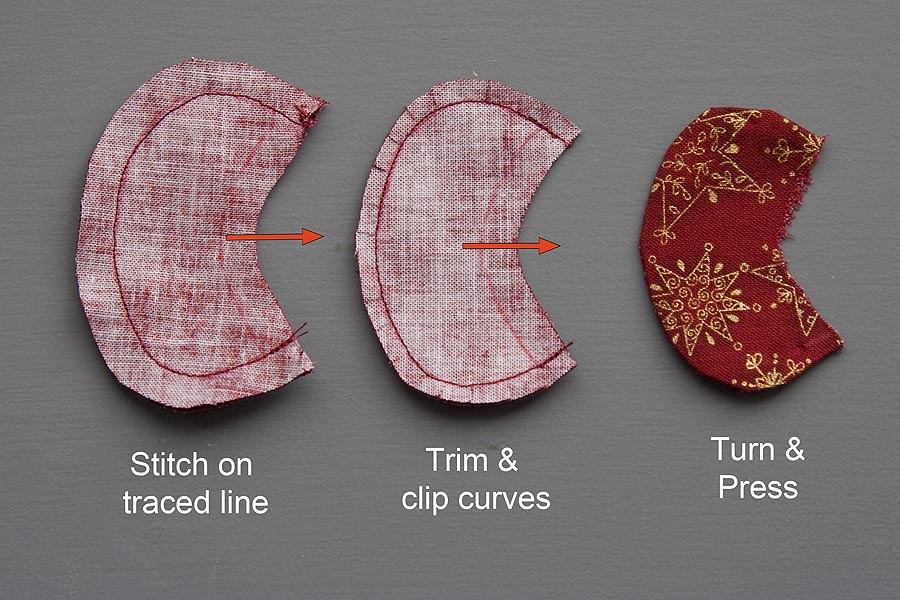
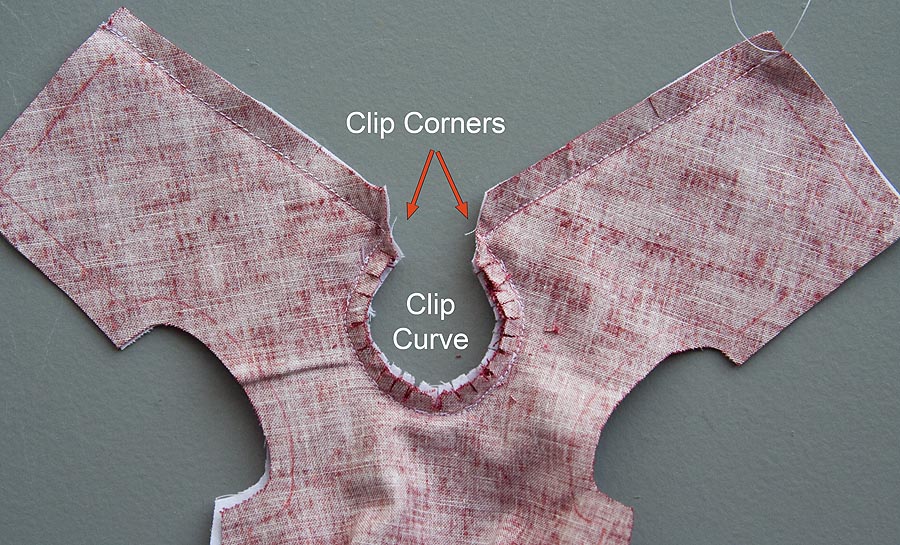
2. With double layer of fabric, with right sides together, trace collar template onto wrong side of fabric. Cut out adding seam allowances. Stitch along traced line. Trim seam allowance, and clip curves. Turn right side out and press.
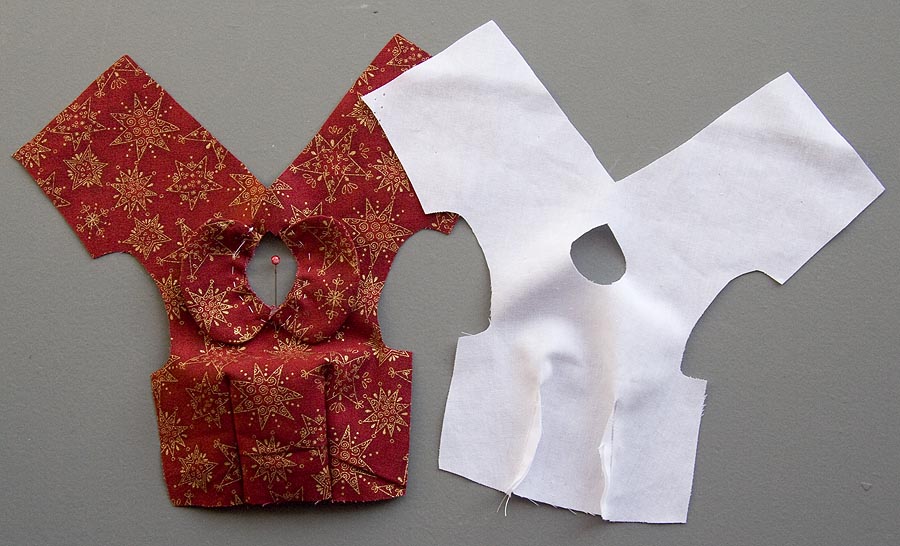
3. Trace bodice pattern onto wrong side of dress fabric and onto lining fabric. Cut out adding seam allowances. Stitch darts.
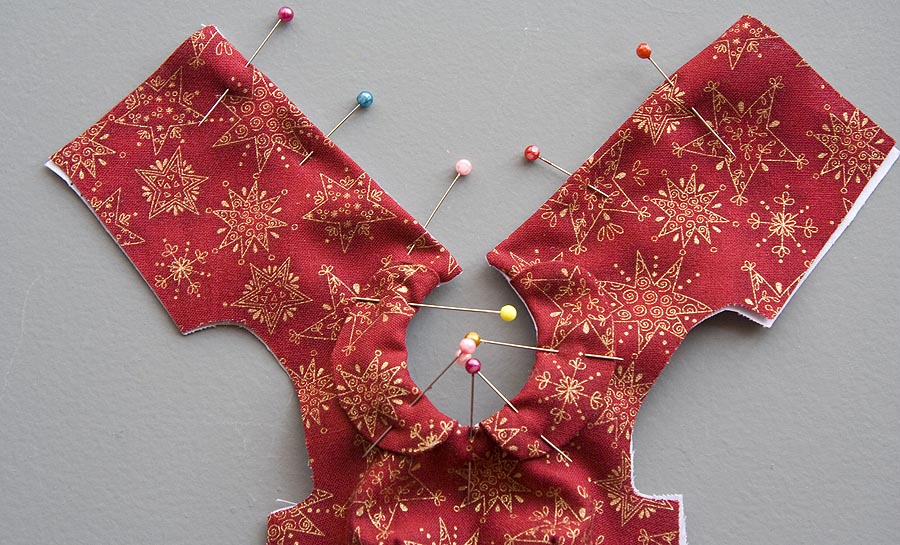
Pin and baste collar onto right side of bodice neck opening. Pin right side of lining over right side of bodice.
Pin and baste collar onto right side of bodice neck opening. Pin right side of lining over right side of bodice.
4. Stitch along traced lines, up back edge, around neckline, and down other back edge. Clip curves and corners.
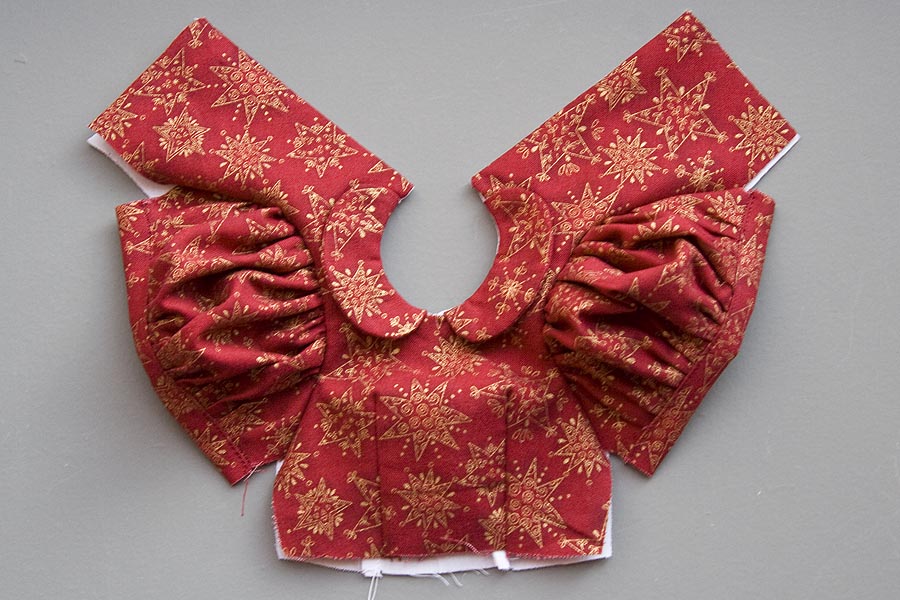
5. Turn right side out, pin edges and press.
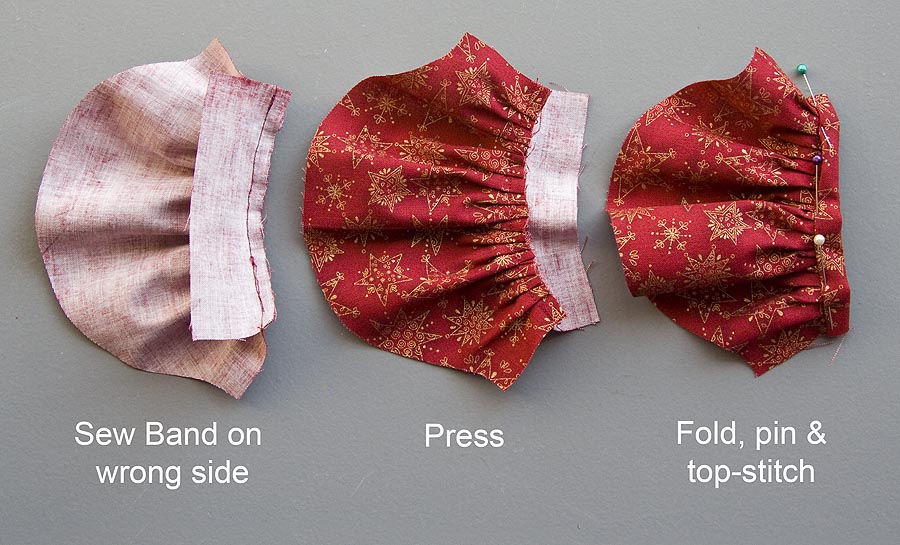
6. Cut out sleeves. Note that sleeve patterns already include seam allowances. Gather and stitch wrong side of sleeve to right side of sleeve band (as shown). Press. Fold sleeve band forward, tuck in seam allowance, pin, and top-stitch. Press.
7. Gather sleeve top between black dots and baste into armhole. Machine stitch and zig-zag.
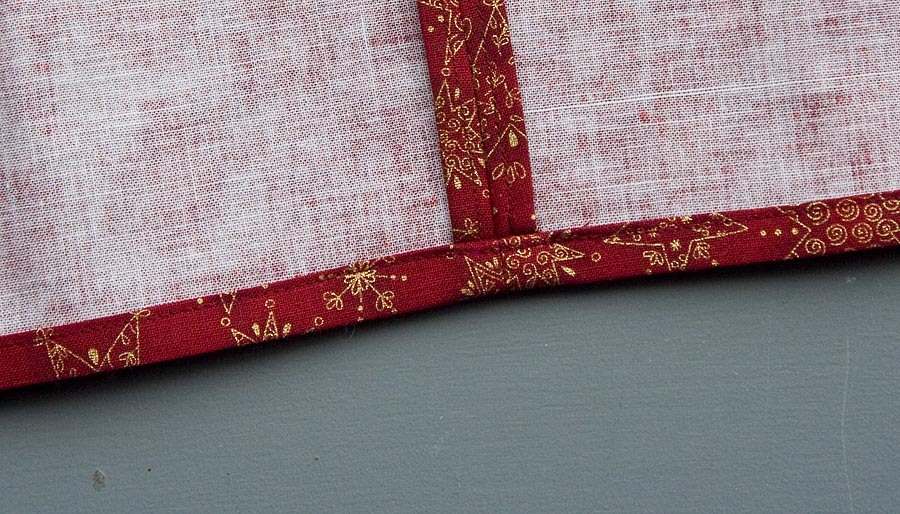
8. Cut skirt 9 X 34". Sew a rolled hem along both back edges of skirt. Sew skirt back right sides together approx halfway up. Sew a rolled hem along bottom edge of skirt. Press.
9. With right sides of bodice together, stitch underarm and side seams. Clip at underarm, zig-zag raw edges. Gather and stitch skirt to bodice with right sides together. Zig Zag raw edges. Sew snaps on back opening.
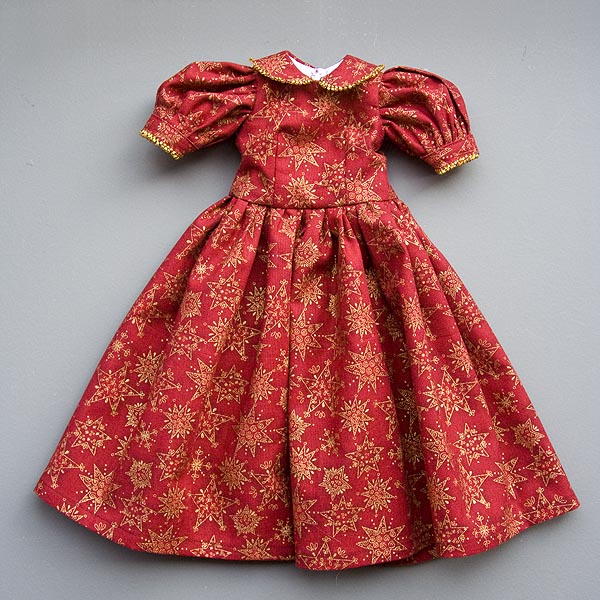
I've embellished the collar and sleeve cuff edges with picot beading - Instructions Here
The patterns and instructions for the Christmas Pinafore which fits over the dress - Available Here
The patterns and instructions for the Christmas Pinafore which fits over the dress - Available Here
Other Design Options
The design possibilities of this simple dress pattern are virtually endless!
You can make a sweet simple dress, or something very fancy-looking, depending on the fabric choices.
I have used this pattern to make many other dresses for Kaye Wiggs girls over the years.
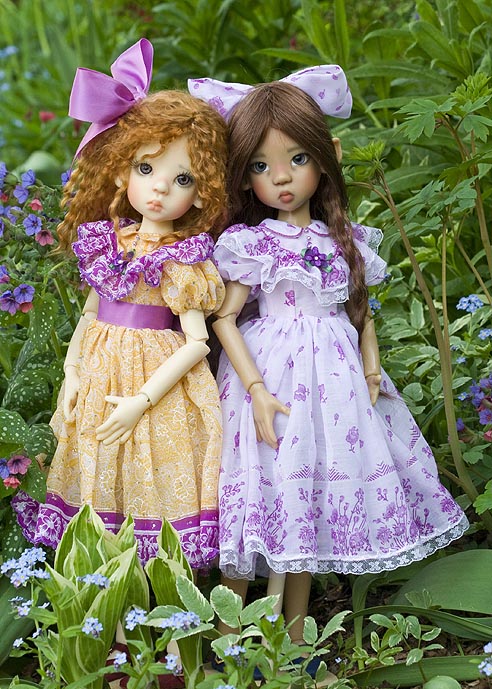
The following two dresses were made from border-printed scarves, and have ruffles sewn around the upper bodice, and to create a puffier-looking sleeve, instead of sleeve cuffs, the sleeve pattern was lengthened a bit to sew a casing for elastic.
You can make a sweet simple dress, or something very fancy-looking, depending on the fabric choices.
I have used this pattern to make many other dresses for Kaye Wiggs girls over the years.
The following two dresses were made from border-printed scarves, and have ruffles sewn around the upper bodice, and to create a puffier-looking sleeve, instead of sleeve cuffs, the sleeve pattern was lengthened a bit to sew a casing for elastic.
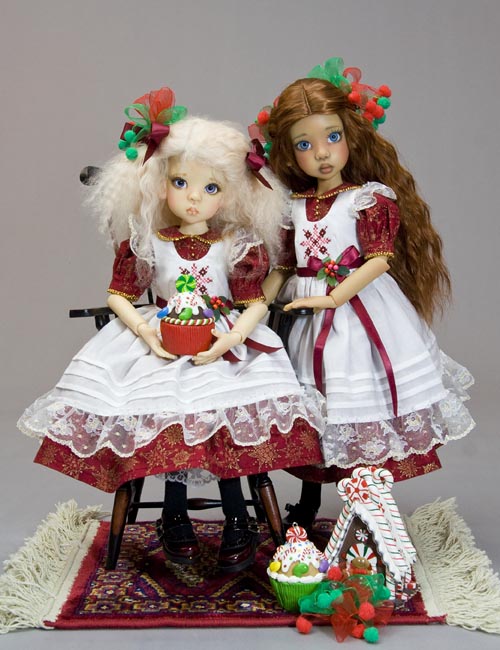
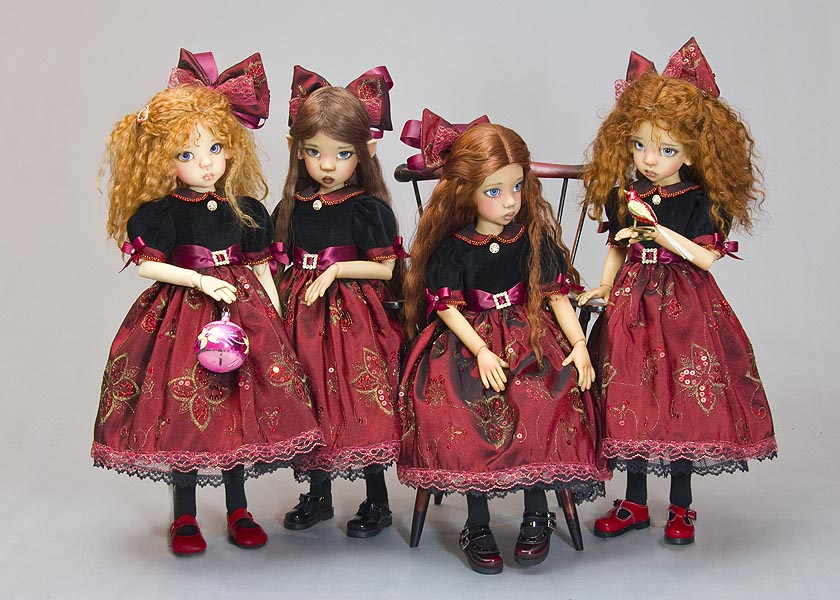
Christmas Velvet dresses made for Christmas 2012, have black velvet bodices and sleeves, with wine red sequined taffeta skirts, sleeve cuffs, and collars. A jeweled button at the neck, and a jeweled buckle with red ribbon sash complete the festive look.
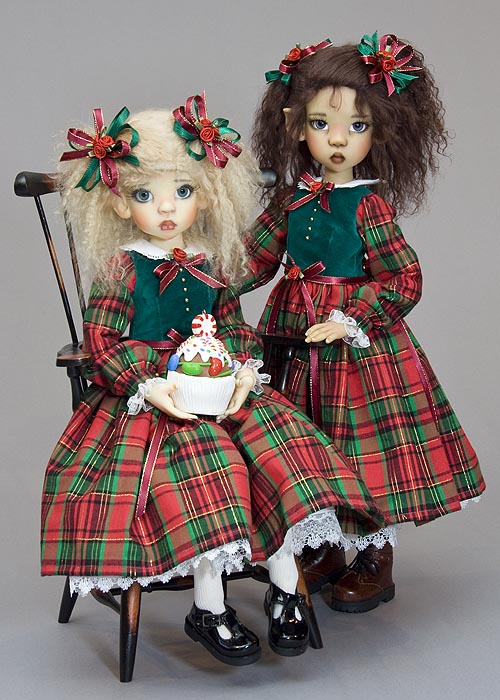
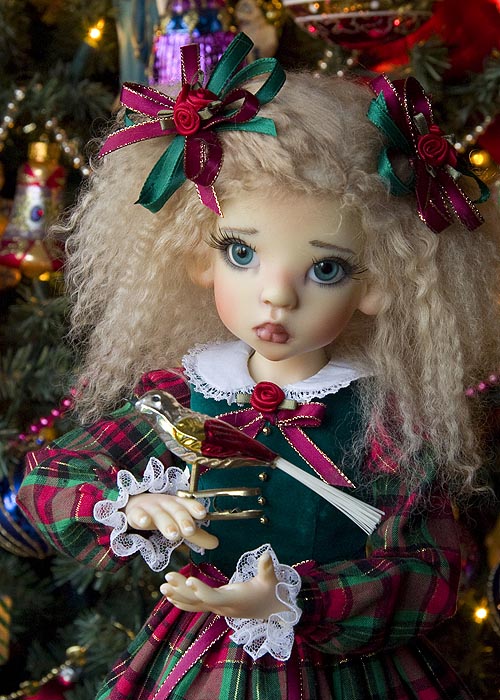
Christmas 2011 saw the dress made from red and green plaid, with a bodice of green velveteen, and had sleeves lengthened
and gathered to a lace-edged cuff around the wrist. This time the collar was edged with narrow white lace.
and gathered to a lace-edged cuff around the wrist. This time the collar was edged with narrow white lace.
|
|
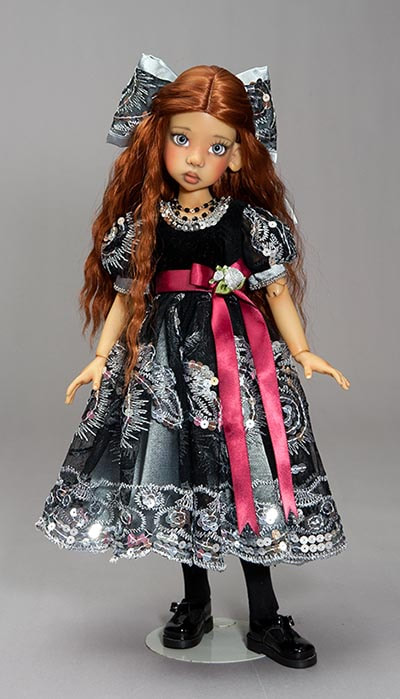
Holiday Velvet made for Christmas 2012, had purple velvet bodice and sleeves, with purple sequined taffeta skirt,
sleeve cuffs and collar edged with picot beading. A ribbon sash and jeweled buttons complete the elegant look.
sleeve cuffs and collar edged with picot beading. A ribbon sash and jeweled buttons complete the elegant look.

Amethyst Shimmer 2013, had the neck opening enlarged, the bodice and sleeves of dark brown velour, and layered skirts cut from toddler dresses from the secondhand discount store. Neckline and sleeve cuffs embellished with picot beading.

|

|
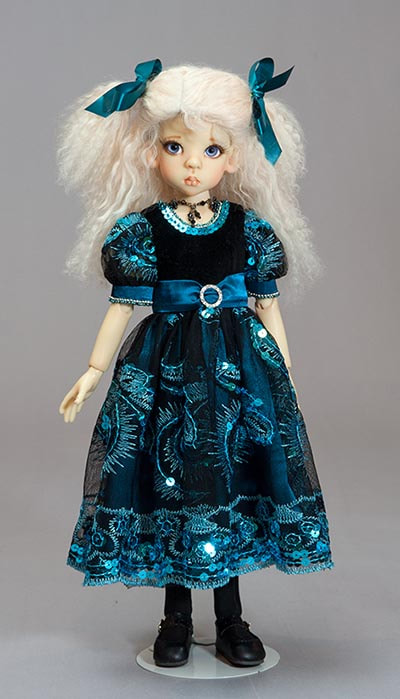
Holiday Dresses made in 2018, with the same lower, rounded neckline, and the skirt and sleeves out of sequinned lace. The neckline was embellished with picot beading and matching sequins. Then a ribbon bow at the waist.
|

|
|
Happy Sewing!!
Copyright © 2013 Martha Boers
All Rights Reserved
All Rights Reserved
