Simple BID Dress
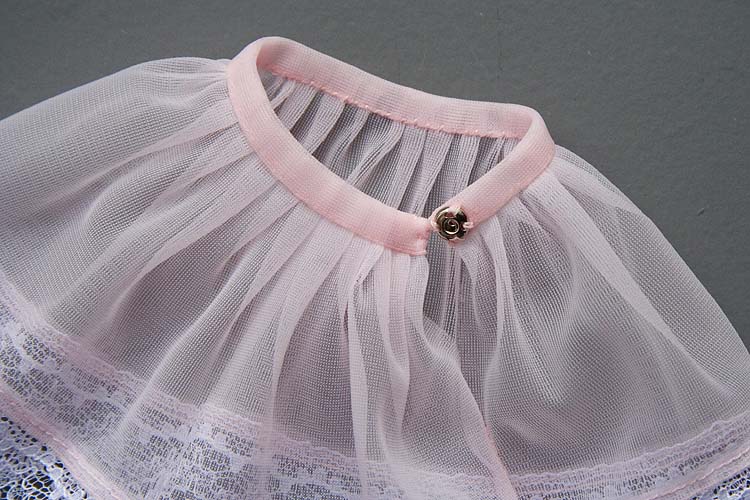
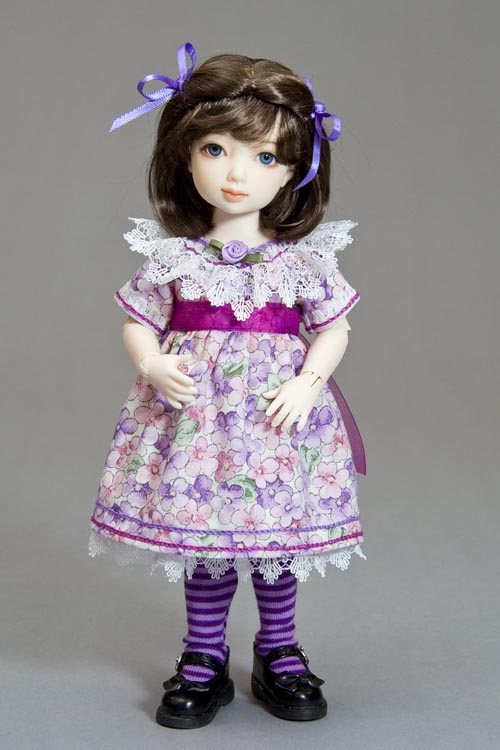
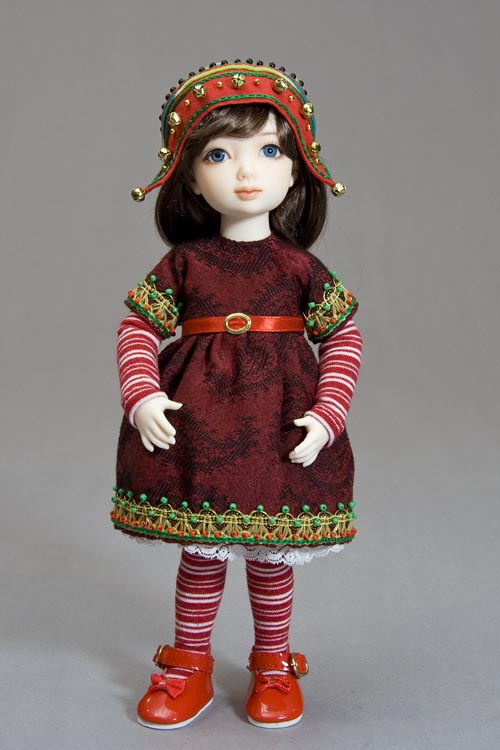
This pattern was originally designed for the Christmas Elf outfits for my Iplehouse BIDs, and includes a simple dress, tights and arm warmers. The basic dress design and construction is very simple allowing for endless possibilities for enhancement. The Christmas elf hat and collar are not included.
BID measurements are; height 26 cm, chest 14.1 cm, waist 13 cm, hips 14.6 cm, shoulder width 6 cm.
The pattern will also work for other dolls with similar measurements.
BID measurements are; height 26 cm, chest 14.1 cm, waist 13 cm, hips 14.6 cm, shoulder width 6 cm.
The pattern will also work for other dolls with similar measurements.
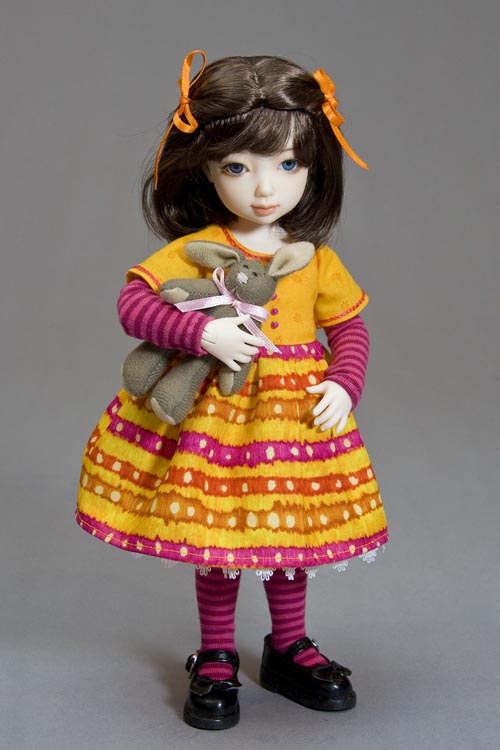
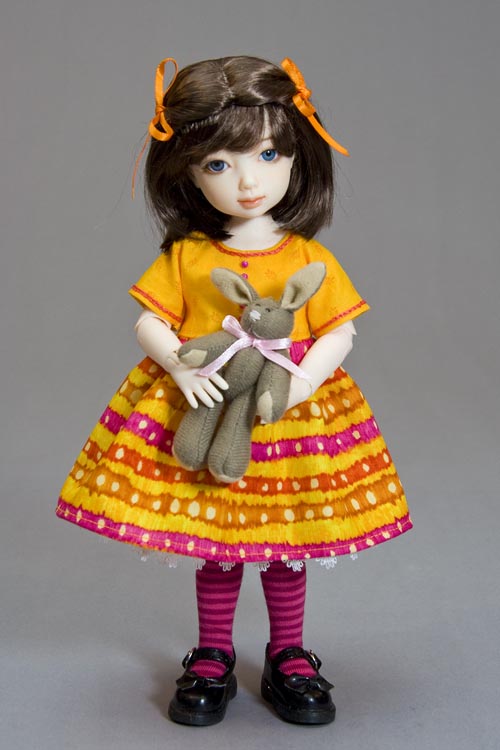
I've made up two samples; the yellow & pink, on the left, with a wider skirt;
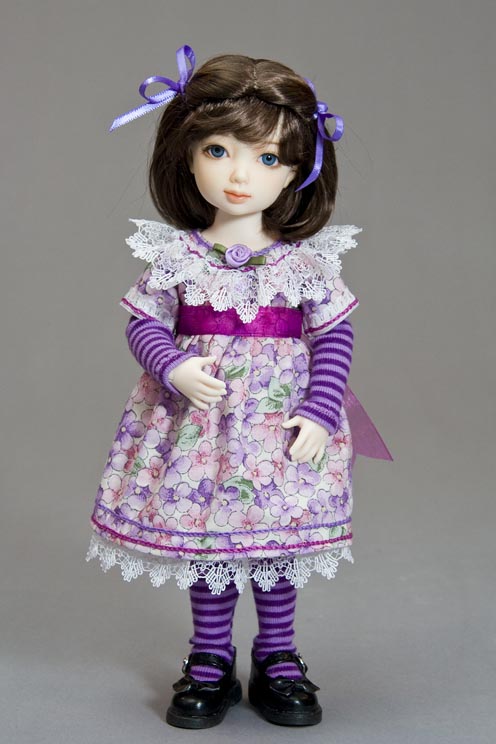
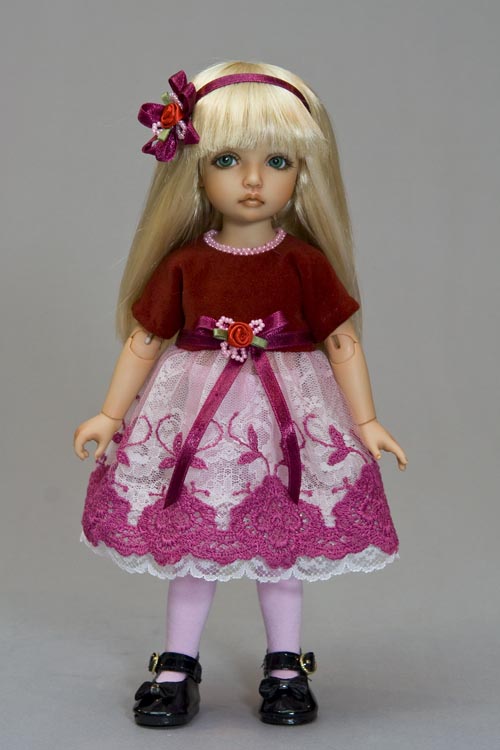
and the pink & lavender, on the right, with a lace ruffle and ribbon sash.
and the pink & lavender, on the right, with a lace ruffle and ribbon sash.
Patterns
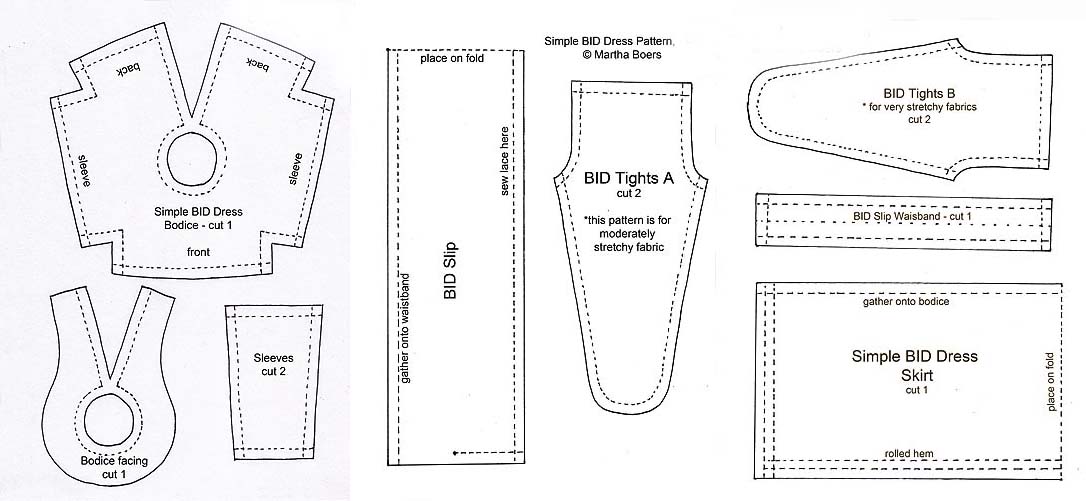
Click on patterns below to download full-size pattern pdf.
Dress Instructions
1. Print out pattern pdf, and cut out patterns.
*Important Notes
*Please read all the instructions thoroughly before cutting out any fabrics.
* the skirt on the yellow dress was cut wider than the pattern - 19" wide - to make a fuller skirt.
If you use the skirt pattern as given it will make a slimmer skirt - like the pink sample.
* the pink and purple dress has a higher waist. To create a higher waist on your doll's dress,
cut 1/8" - 3/16" off the bottom of the bodice after step 9 before pinning on the skirt.
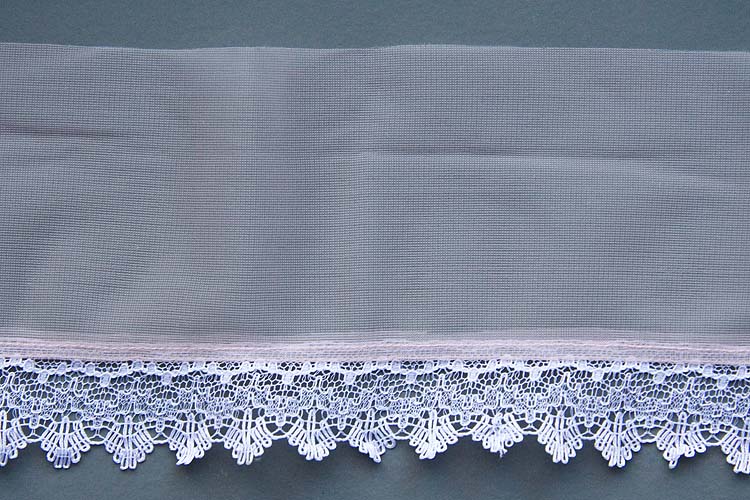
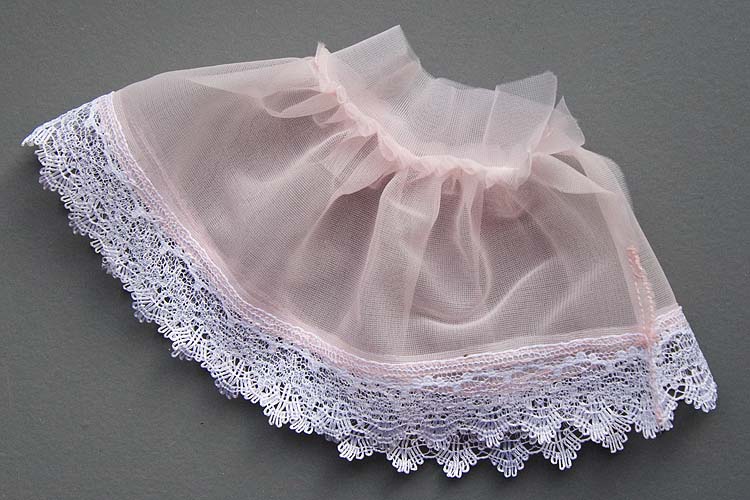
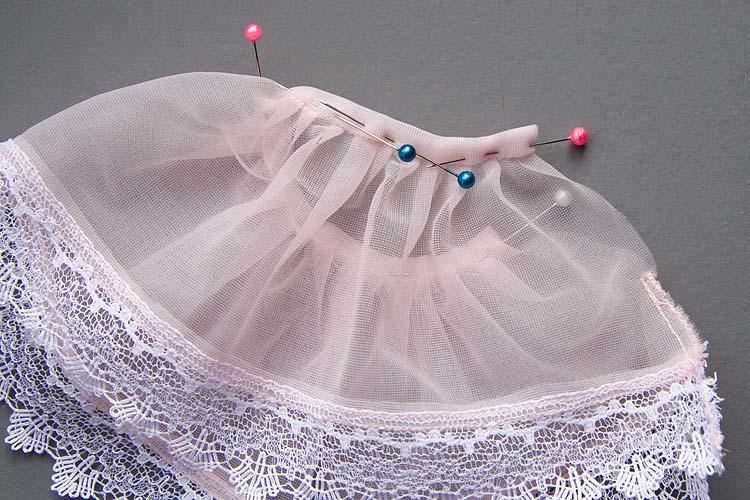
* I made the slips from nylon tricot, which is slightly stretchy, so if you are using a woven fabric
with no stretch, it will be necessary to lengthen the slip waistband - add at least 1/2"
Choose dress fabrics, and cut out.
|
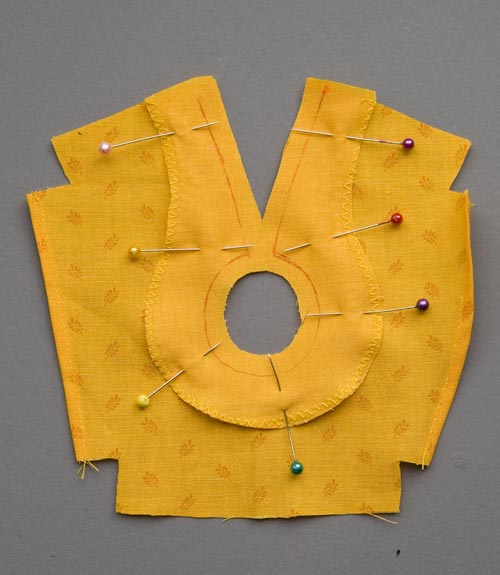
2. Apply Fray Check to edges of facing.
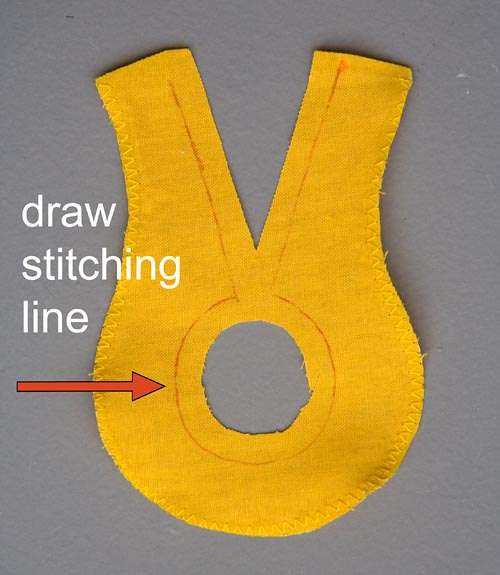
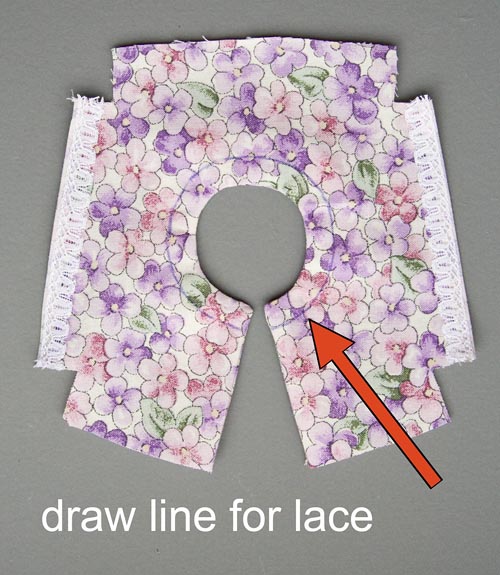
Let dry, then zig-zag outer edge. With matching colour pen or pencil, draw stitching line along neck and back edges of facing. |
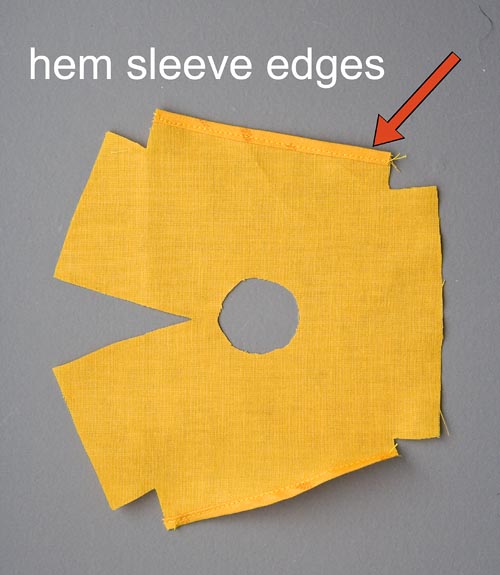
3. Sew a rolled hem along both sleeve edges of bodice. (*a rolled hem is made by folding the fabric edge on itself twice so no raw edges show)
|
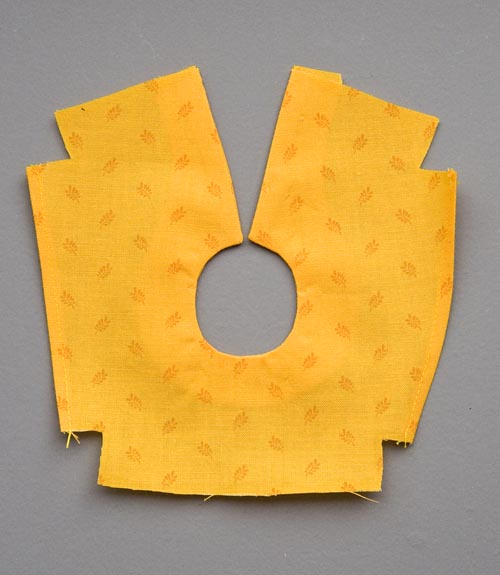
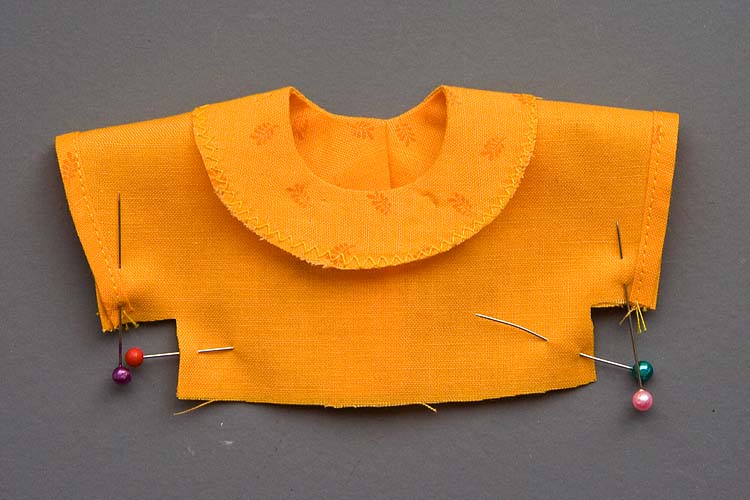
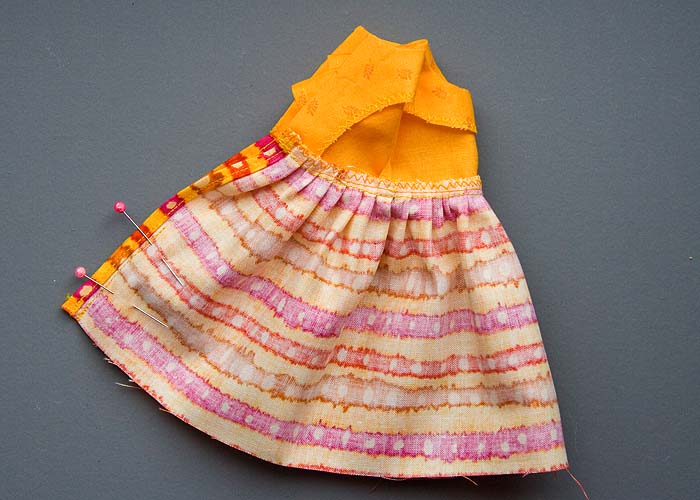
8. Fold bodice with right sides together, and pin sleeve/side edges. Stitch with 1/4" seam.
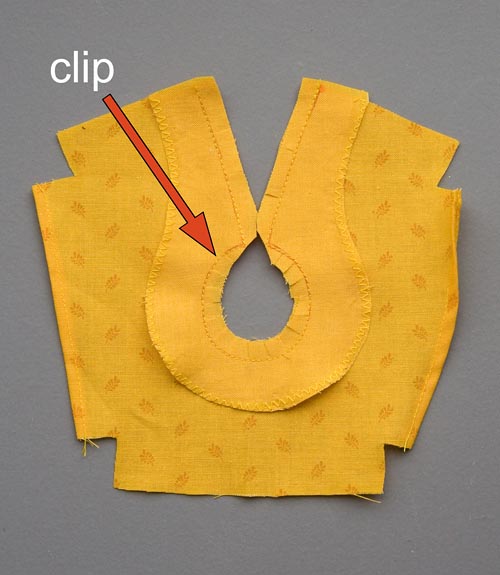
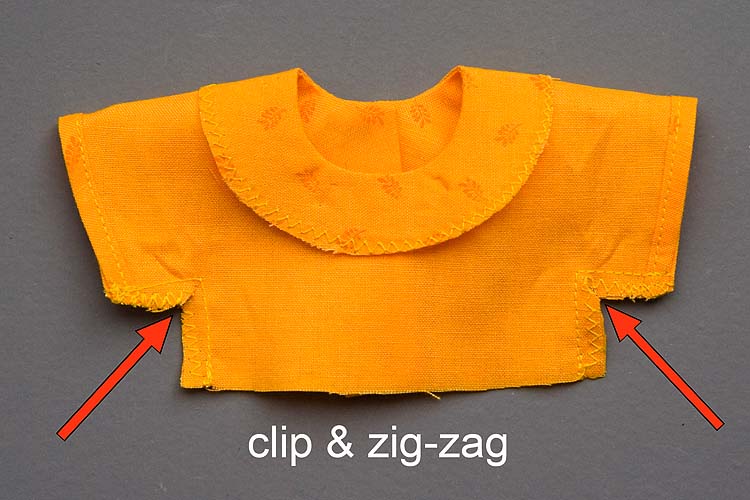
9. Clip armpit corner, and zig-zag entire underarm seam.
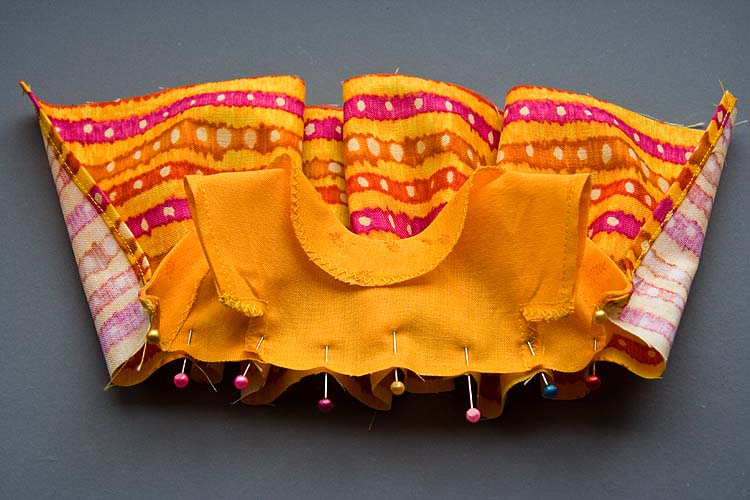
10. Pin skirt to bodice with right sides together. * tip - to gather skirt evenly onto bodice, fold skirt and bodice in half along waist edge, then in half again. Insert pins at folds, then match the bodice and skirt pins up. Then 'eyeball' the middle of each section and pin that too, so there are 8 equal-sized sections.
Stitch skirt, gathering fullness, onto bodice, then zig-zag edge.
Stitch skirt, gathering fullness, onto bodice, then zig-zag edge.
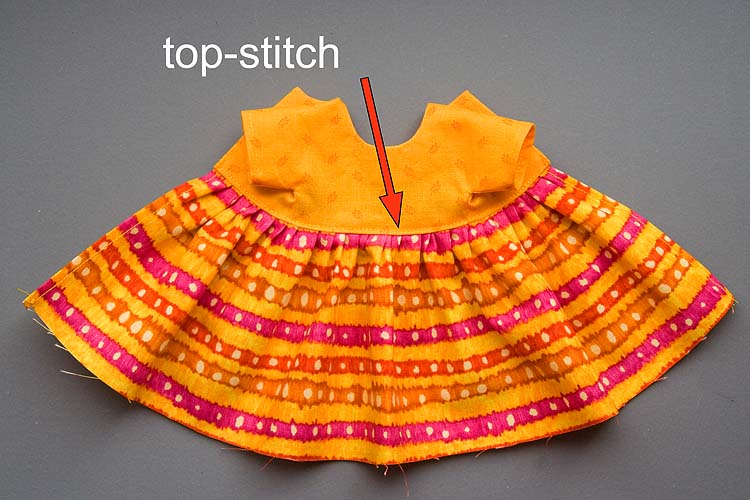
11. On right side, top-stitch bottom of bodice, making sure the sewn edges on the
inside are facing up into bodice.
inside are facing up into bodice.
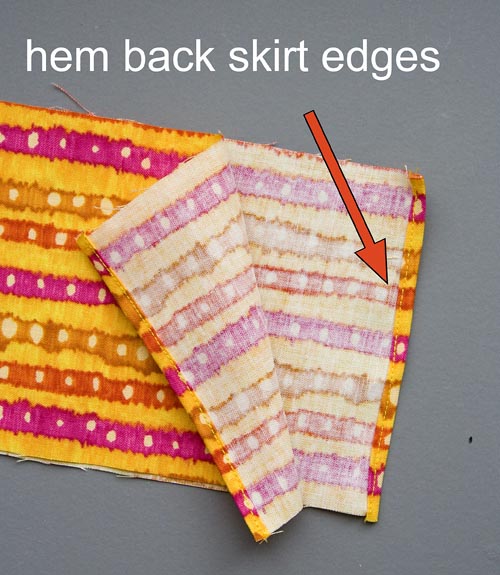
12. Pin back of skirt and sew seam just halfway up. Press seam open.
Sew rolled hem along bottom of skirt.
Sew rolled hem along bottom of skirt.
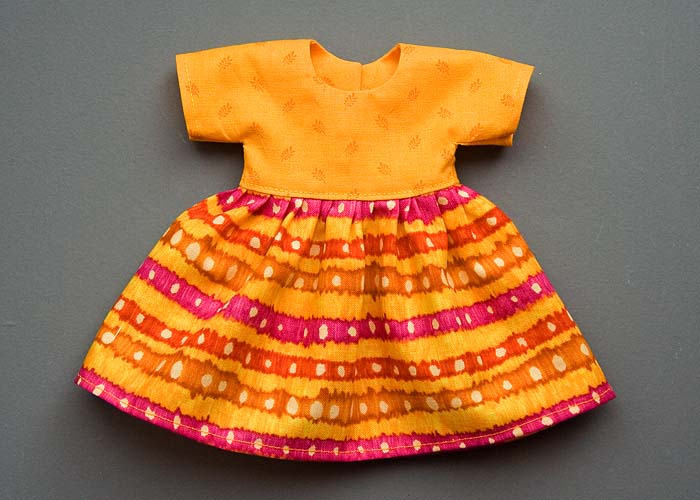
13. Finished dress. Sew three small snaps along back opening, and add any embellishments.
Lace Ruffle Option
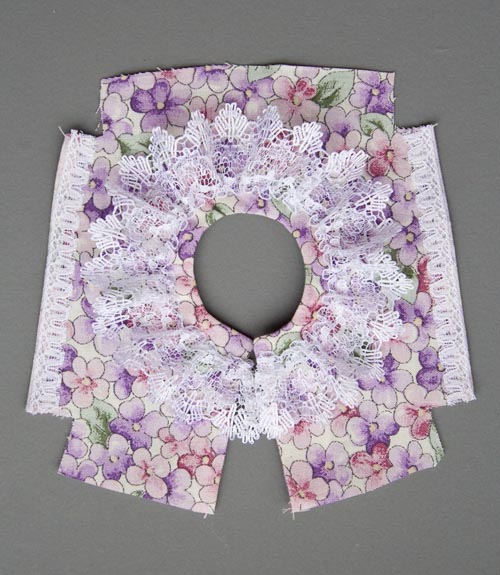
To add a lace ruffle to dress, it's easiest to do right after step 6 above, then after sewing on the ruffle,
you just proceed with all the remaining steps.
you just proceed with all the remaining steps.
* Both dresses were embellished with chain-stitch embroidery.
I will share how to do the chain stitch in a separate tutorial
I will share how to do the chain stitch in a separate tutorial
Slip Instructions
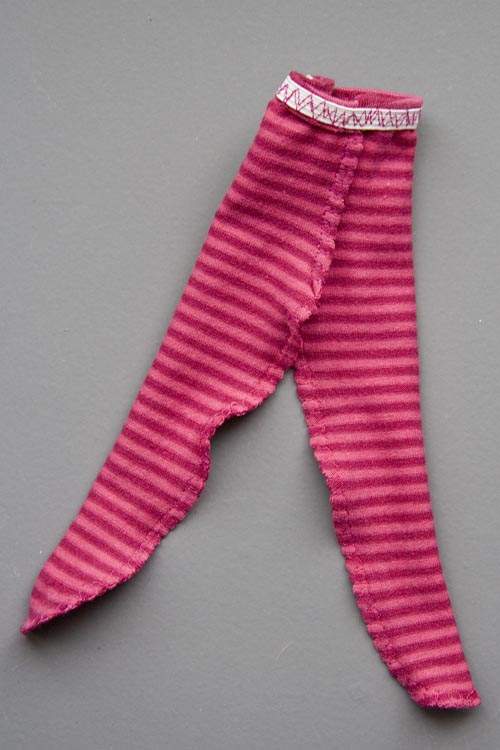
Tights Instructions
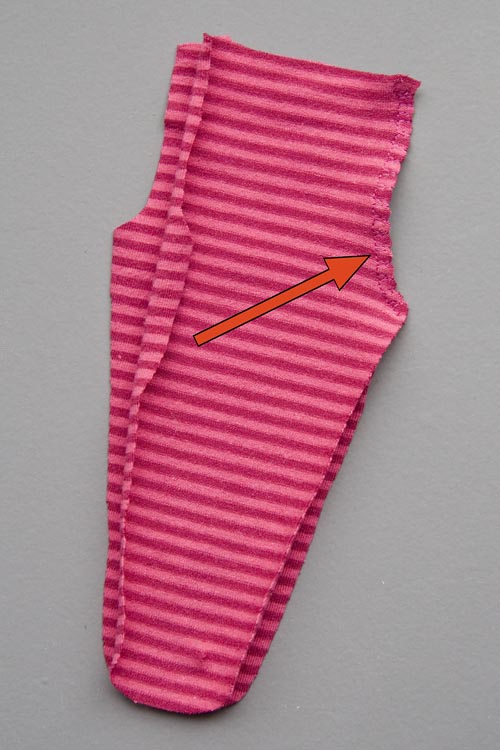
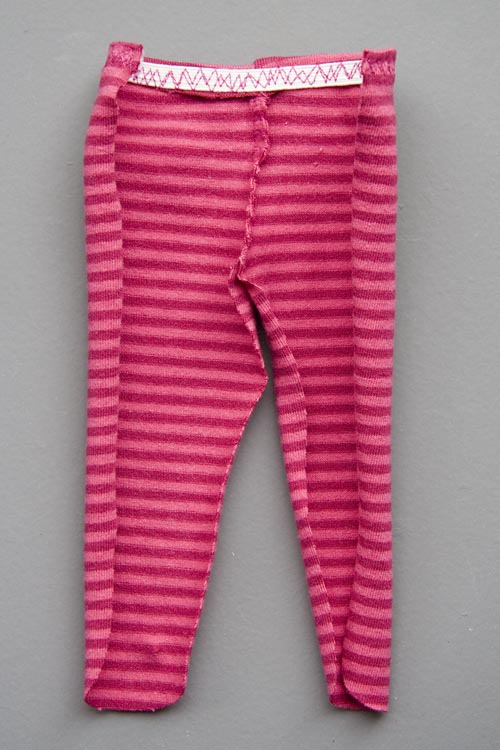
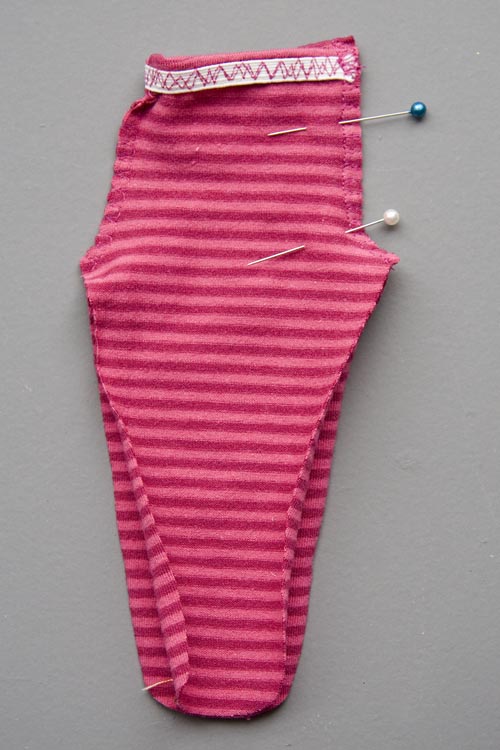
* There are two patterns provided for tights since the amount of stretch of the fabric will determine how big or small the pattern needs to be. I get my stretchy stripes from lady's and children's tops that I purchase at the used clothing store. The knit stripes have a huge discrepancy in their stretchiness. The pink-striped tights were made from a very stretchy fabric which stretched in both directions, so I used the smaller of the two tights patterns. The purple-striped tights were only stretchy vertically, so I used the longer pattern. However, the extreme horizontal stretch in the purple fabric made the tights a bit baggy - the pattern should have been made narrower along the sides.
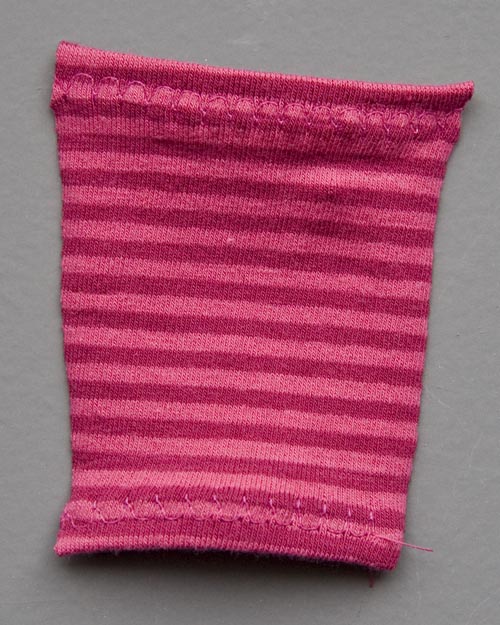
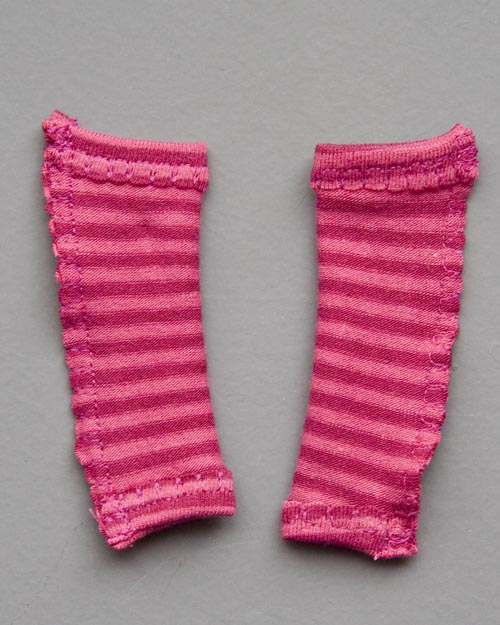
Sleeves
* Wearing the separate sleeves with the dresses is optional as they look just as cute without the sleeves.
More Ideas & Variations
|
My Christmas elf outfits used this same dress pattern, except the neckline had been made smaller - add 3/16" inside the neckline and use the existing cutting edge as the sewing line. The Christmas elf dresses are also high-waisted, with the bodice front and backs cut 3/16" shorter. I used a fancy gold trim along the skirt hem and sleeves, then did a row of chain-stitch along the bottom of the trim, and added beading.
|
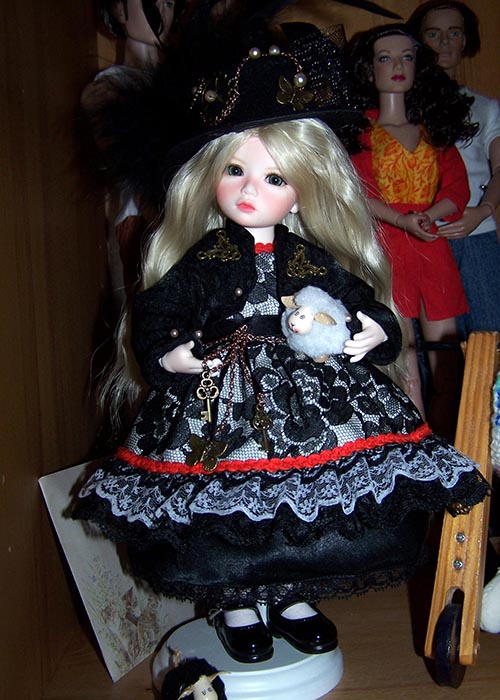
Make a fancy dress using velvet or brocade for the bodice, and wide lace for the skirt. Wear over a second layer of lace or an opaque matching coloured slip. The beaded neckline is done with a picot stitch.
|
More Ideas
- Gather sleeves with elastic or gather onto a cuff. You can even lengthen the sleeves, leaving
them straight, or widening them towards the hand and gathering with elastic or onto a cuff.
- You can shorten the sleeves or get rid of them altogether to make a sundress.
- Cut skirt from fabric with narrow border-print. Add pockets to the skirt
- Shorten the main skirt and add a ruffle. Add a collar
The possibilities are endless!
Show us what You have made using this Pattern!
Copyright © 2012 Martha Boers
All Rights Reserved
