Make a Festive Elf Hat and Collar
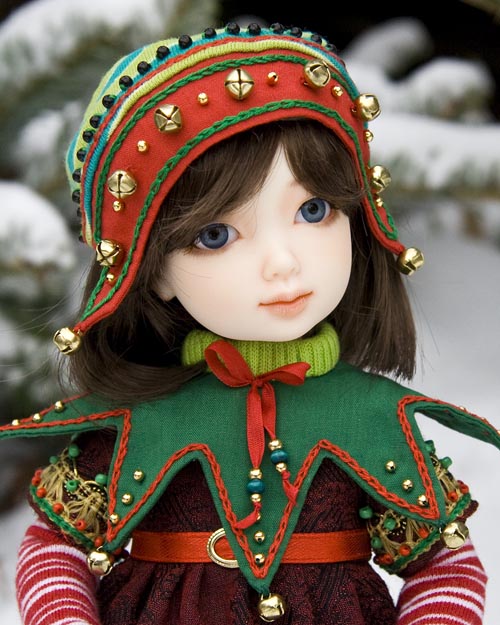
Make your smaller dolls an elf hat and pointy collar for a fun Holiday Season.
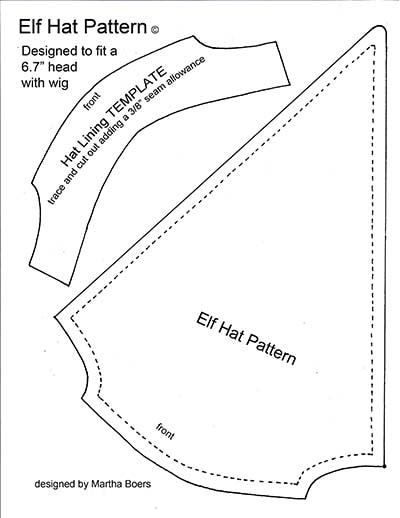
The hat pattern was designed to fit a doll with a 7" head circumference, and wearing a wig.
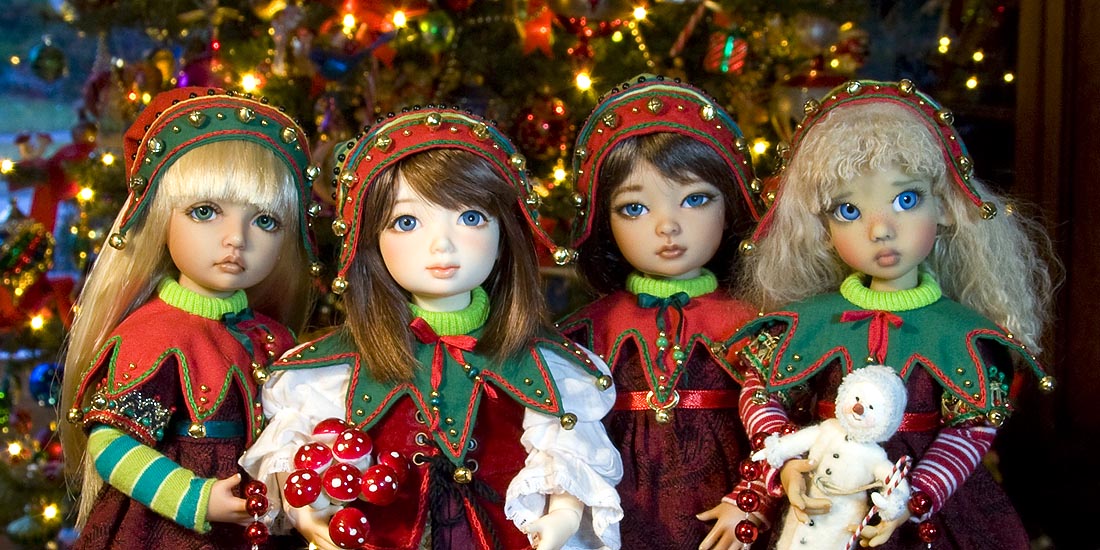
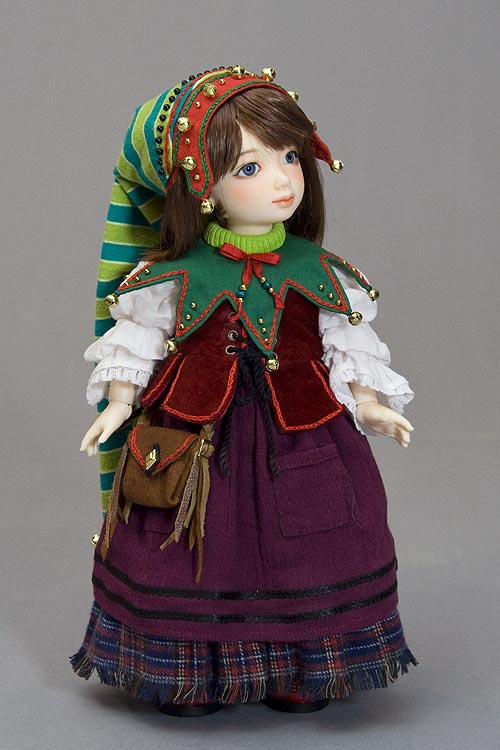
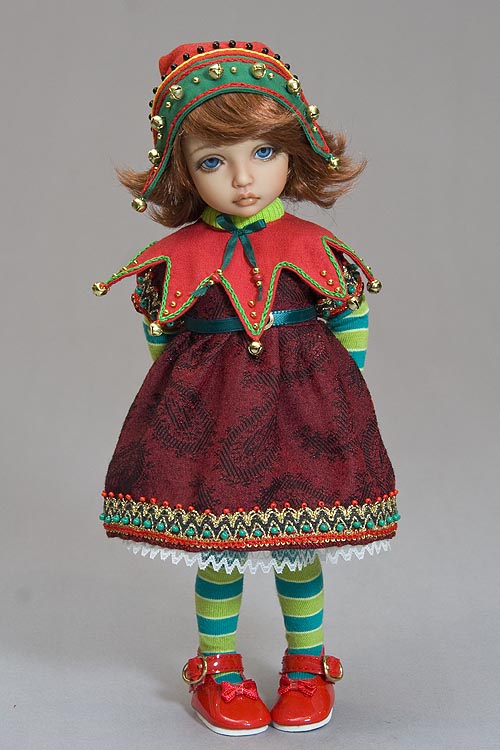
Each Holiday season, all my tiny dolls dress up as elves to frolic in the decorations, play in the snow, and help Saint Nicholas. This pattern tutorial is for the hat and collar, which will turn my "Simple BID Dress", or any other outfit into an Elf costume.
Modeling my elf outfits are my Iplehouse BIDs Elin, Nami, and Byuri, and Kaye Wiggs Tillie.
Materials
- red, green, and striped fabrics, and small strip of light green stretch fabric
- matching coloured thread
- scissors
- pencil
- Fray Check
- needles and pins
- red and green embroidery floss
- one medium size bell and 23 tiny bells
- beads & ribbon for embellishment
- matching coloured thread
- scissors
- pencil
- Fray Check
- needles and pins
- red and green embroidery floss
- one medium size bell and 23 tiny bells
- beads & ribbon for embellishment
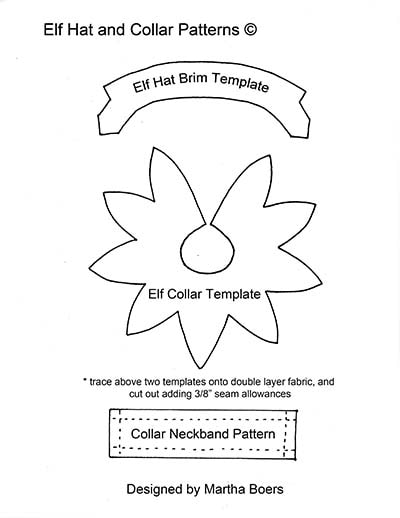
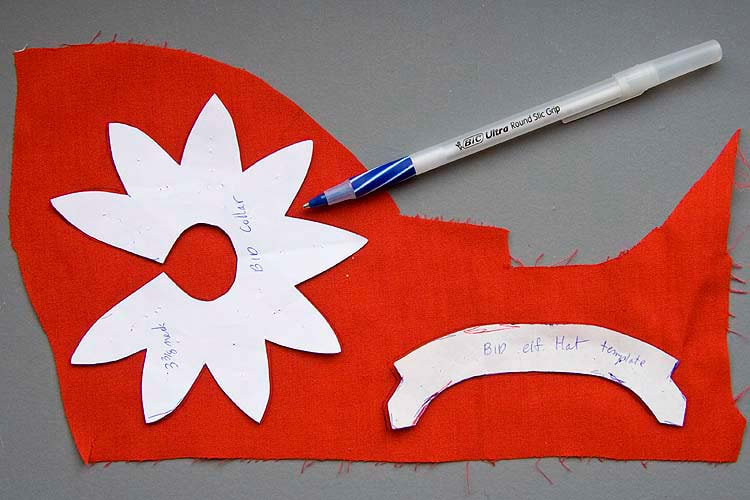
Pattern for Hat & Collar
*To download Pattern pdf, click on either pattern image...
Hat Instructions
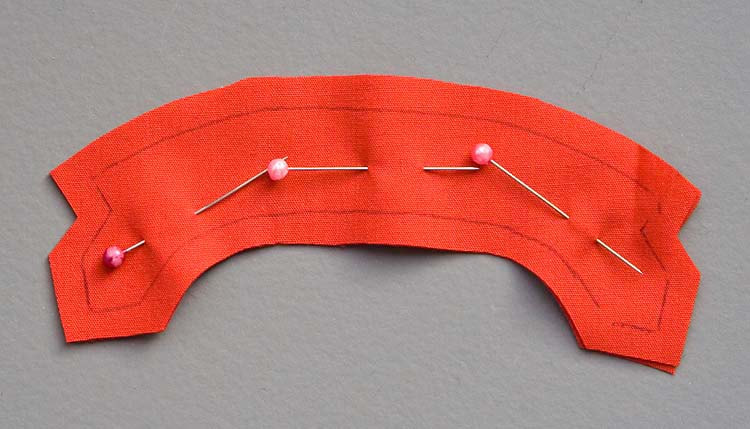
1. Download and print pattern pdf, and cut out patterns. Note that several of the pattern pieces are templates, which do not include seam allowances. Trace hat brim template onto fabric with pencil. Cut hat brim out of double layer fabric, making sure to add 1/4 to 3/8" seam allowances all the way around.
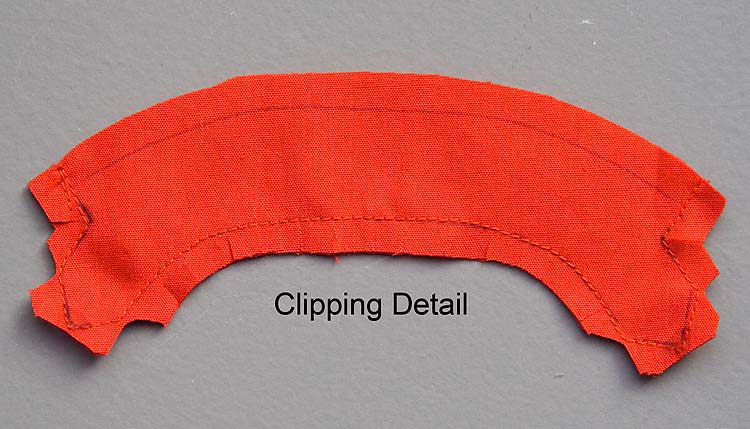
2. Sew along traced line around front edge of hat. Clip corners and edges, and apply a drop of Fray Check to each outer and inner corner.
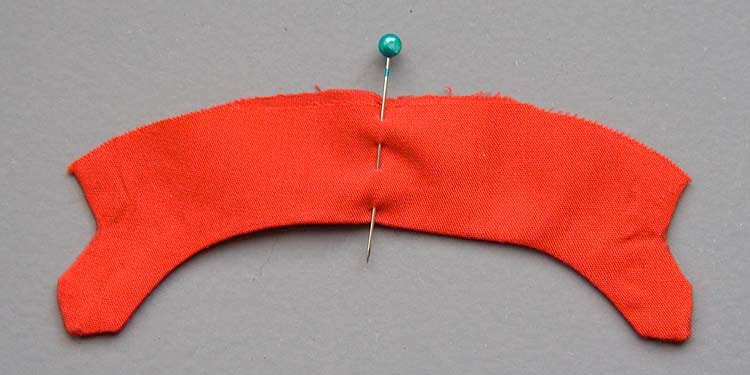
3. Turn right side out. Press. Mark center with pin.
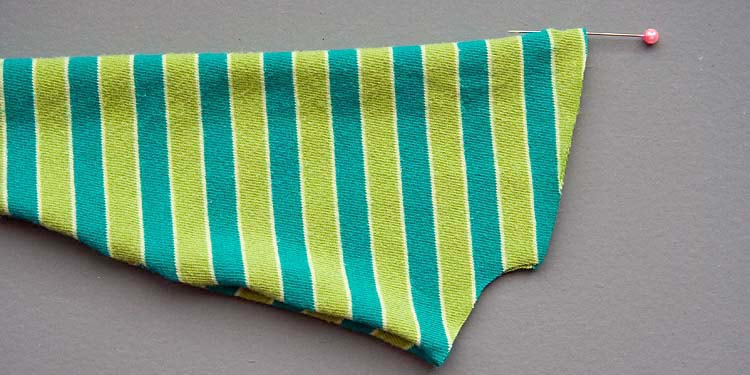
4. Cut main part of hat out of striped fabric. (I used an old striped T-shirt) Sew along seam and turn right side out. Mark center front with a pin
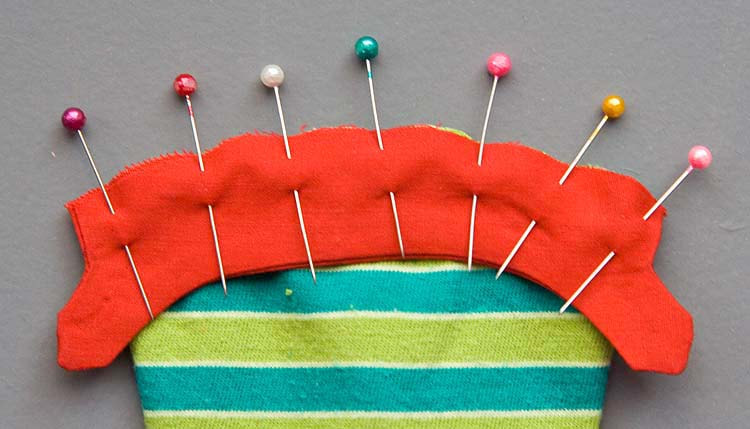
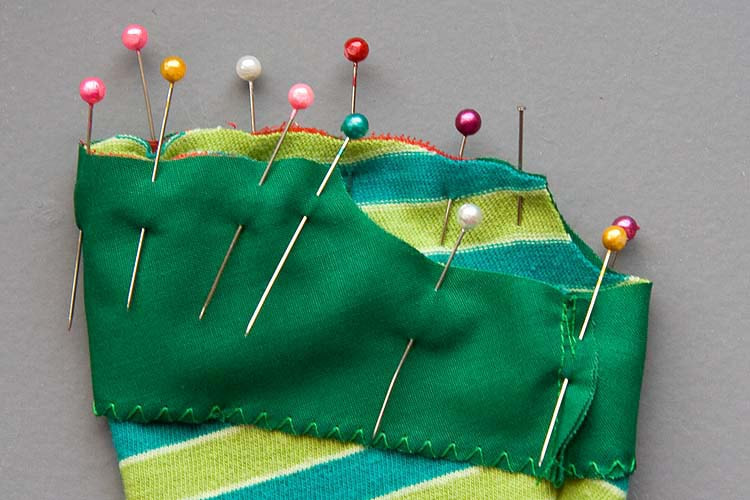
5. Match up pins in hat and brim with right sides together, and pin the whole length of brim.
6. Cut out hat lining, Fray Check inner edge, and when dry, zig-zag the edge.
7. Sew lining back seams together. Slip lining around hat with right sides together, and pin into place.
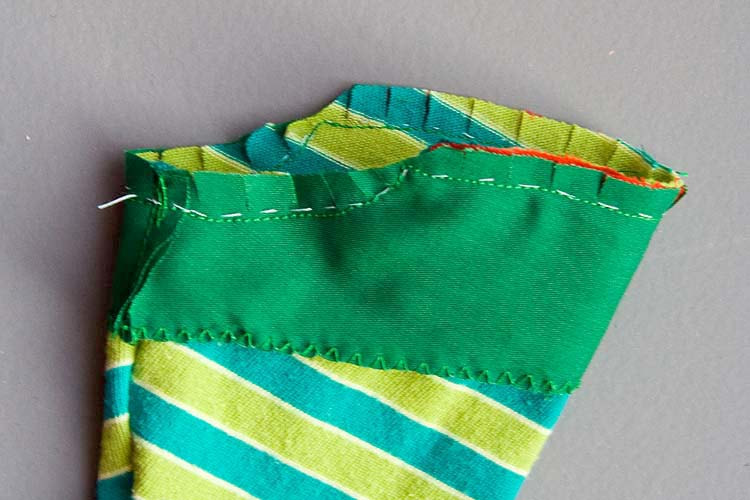
Hand baste, then machine stitch all the way around. Clip corners and edges.
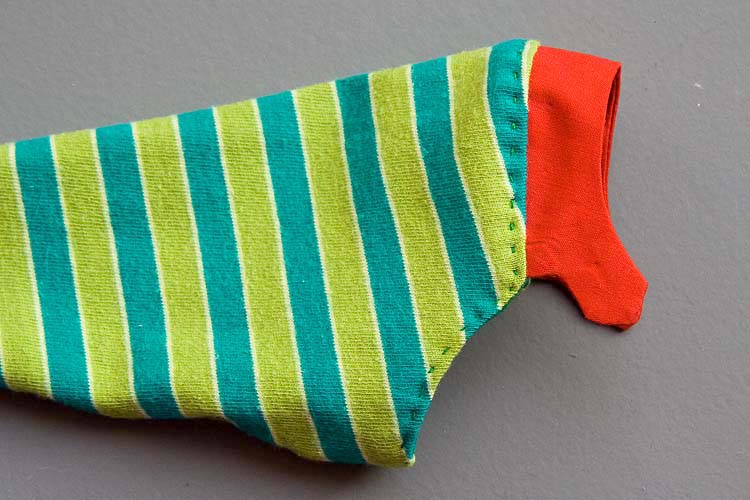
9. Turn lining to inside, and hand-baste along edge to hold lining inside hat.
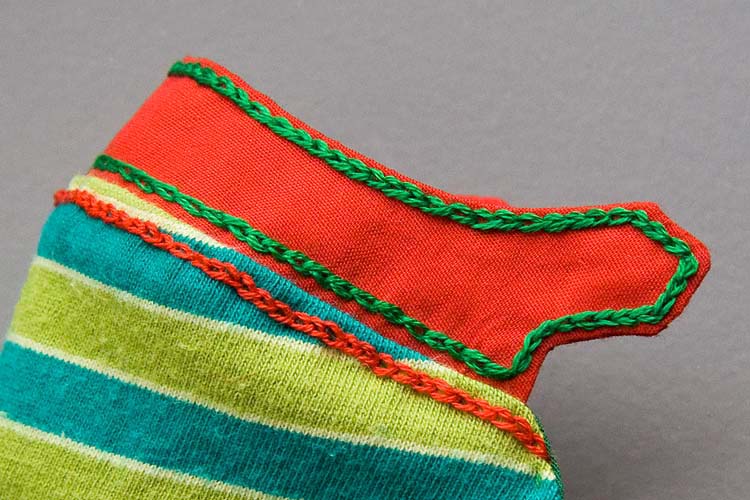
10. Using contrasting coloured embroidery floss, chain stitch decorative edges as shown.
For detailed instructions on how to do chain stitch - Embellish-with-chain-stitch
For detailed instructions on how to do chain stitch - Embellish-with-chain-stitch
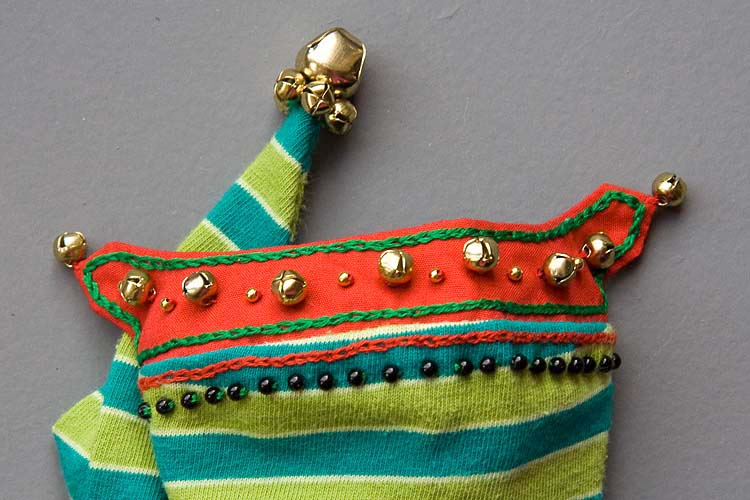
11. Embellish with beads and tiny bells as shown - or as desired.
*The end of the hat has a single medium sized bell, with 5 tiny ones around its base.
*The end of the hat has a single medium sized bell, with 5 tiny ones around its base.
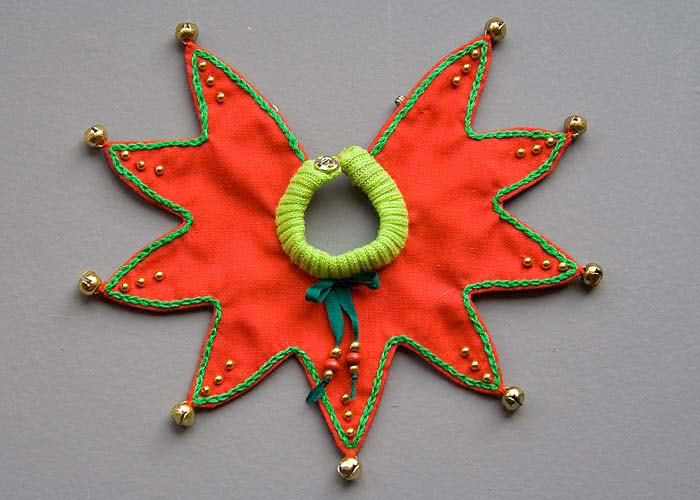
Collar Instructions
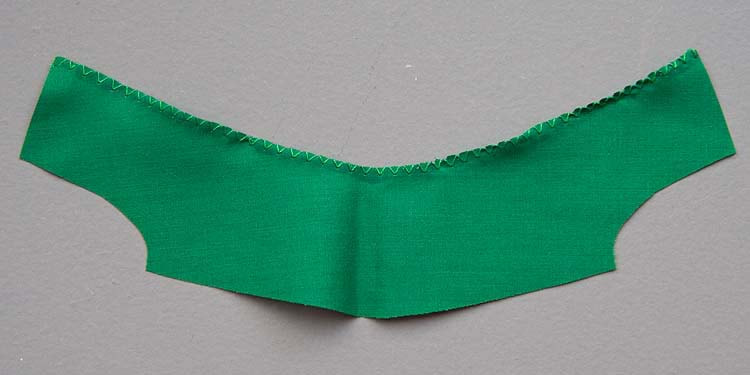
1. Pin traced collar onto second layer of fabric and cut out making sure to add a 1/4 to 3/8" seam allowance around all edges.
*Do NOT cut the center back opening apart yet.
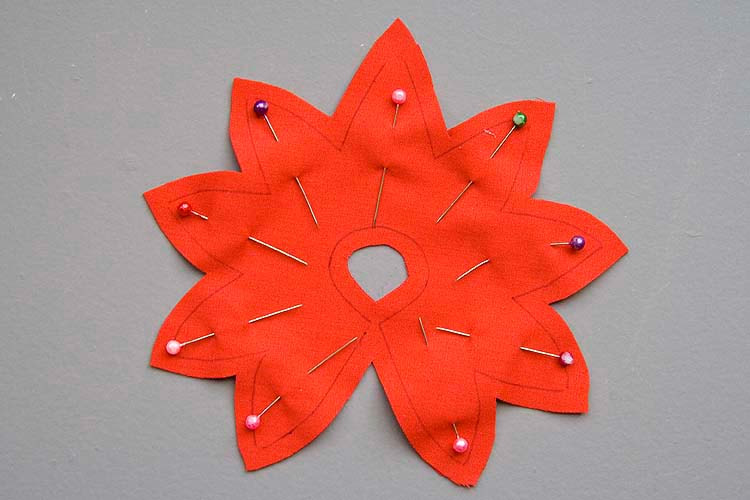
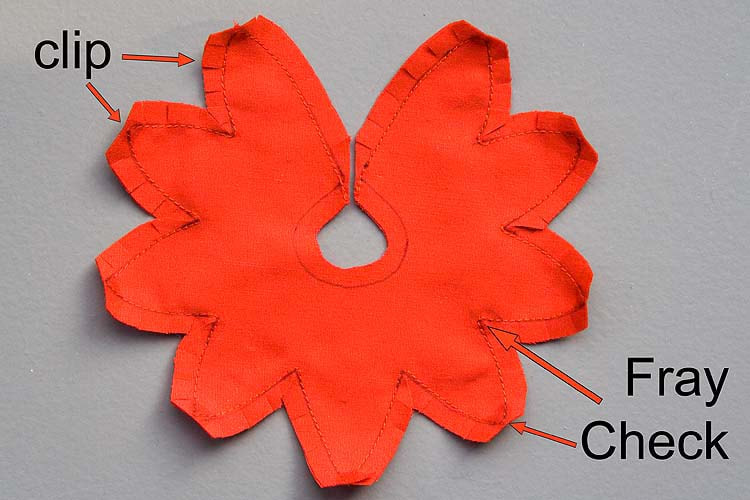
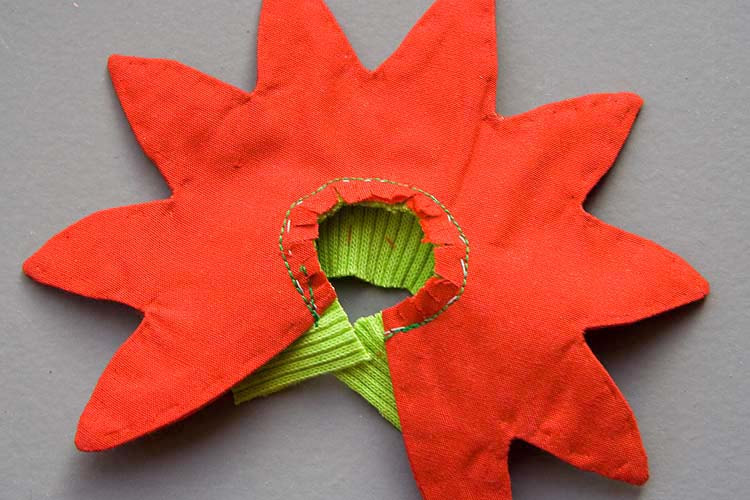
2. Carefully machine stitch along traced line around edge of collar, making sure to always take one stitch at all the inside corners. (*Don't just pivot and turn. Taking the single stitch across the end makes it easier to clip later) Apply a single drop of Fray Check to every inner and outer point. When dry, clip corners, and all curved edges, and carefully cut center back open.
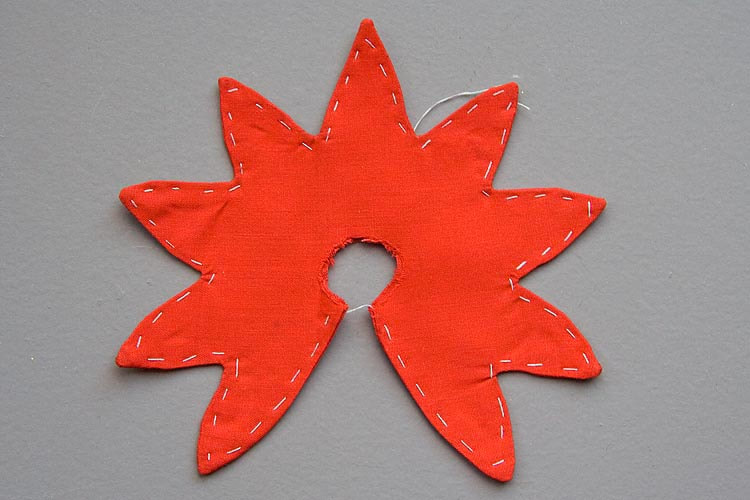
3 Turn right side out, carefully working out the points with a needle. Hand-baste along all the edges. Press.
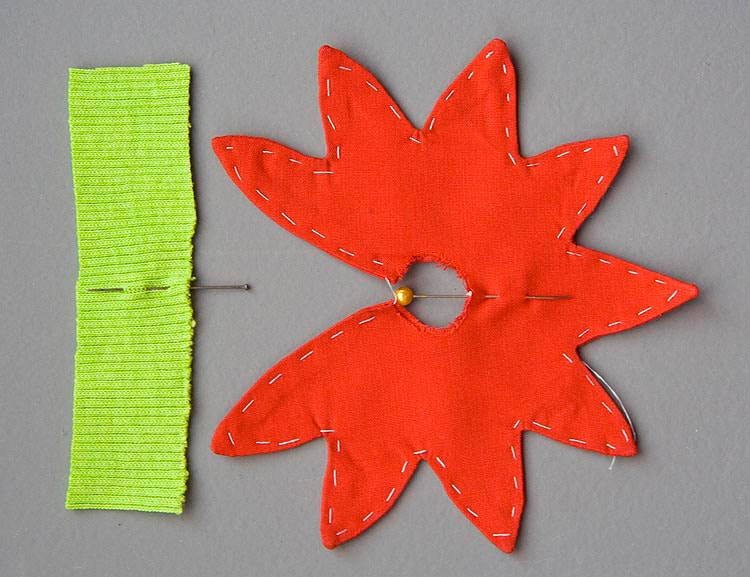
4. Cut out collar neckband from stretchy material. Mark center with pin. Mark center front of collar with pin.
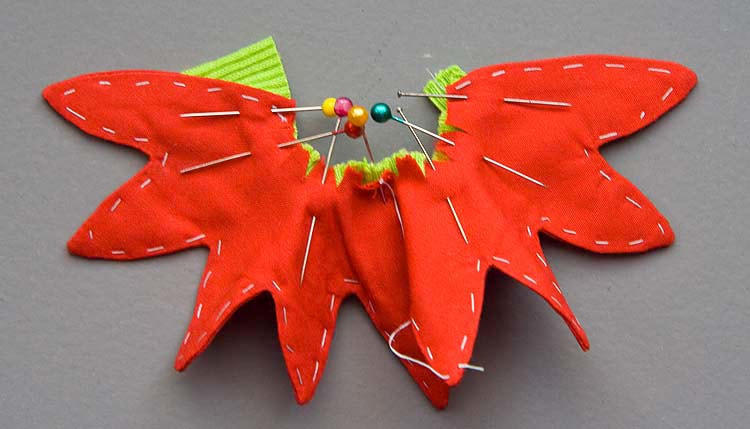
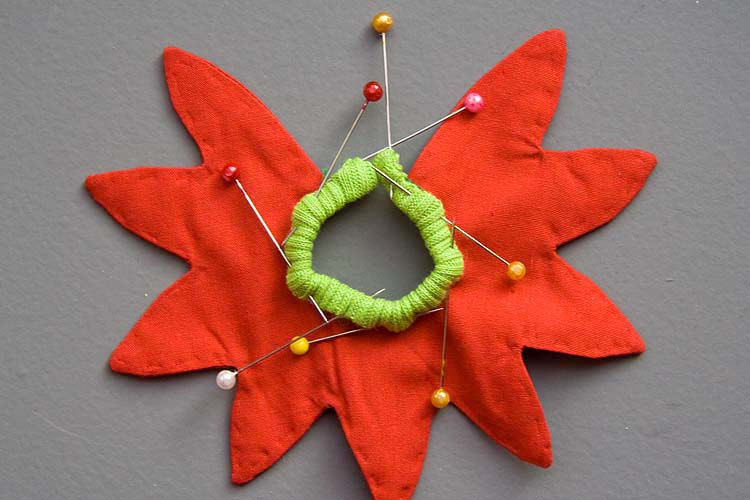
5. Clip collar neckline (LESS than 1/4" seam allowance) With right sides together, match up center front, and pin neckband to collar. Neckband will extend beyond back edges of collar
6. Hand baste, the machine stitch. Clip neckline curve some more. Remove basting thread from around outside collar edges.
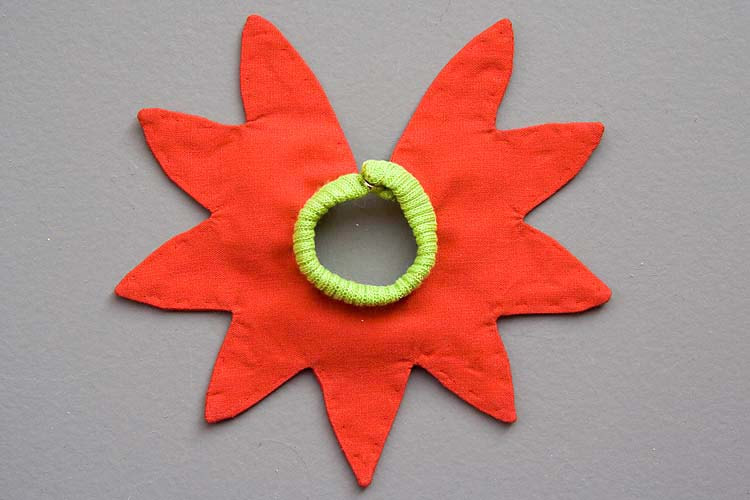
7. Fold neckband edges under and pin.
Hand-stitch wrong side of collar neckband into place, and sew a snap closure at back opening.
9. With contrasting embroidery thread, chain-stitch just inside outside edge of collar. Chain-stitch instructions
Embellish with beads and tiny bells as shown. Sew hook and eye on underside halfway down back opening.
Embellish with beads and tiny bells as shown. Sew hook and eye on underside halfway down back opening.
The Elf Hat and Collar can be made as part of a complete Elf Outfit
- see my patterns for a Simple BID Dress -
or they can be worn with an existing outfit for that special holiday touch.
- see my patterns for a Simple BID Dress -
or they can be worn with an existing outfit for that special holiday touch.
Copyright © 2010 Martha Boers
All Rights Reserved
All Rights Reserved
