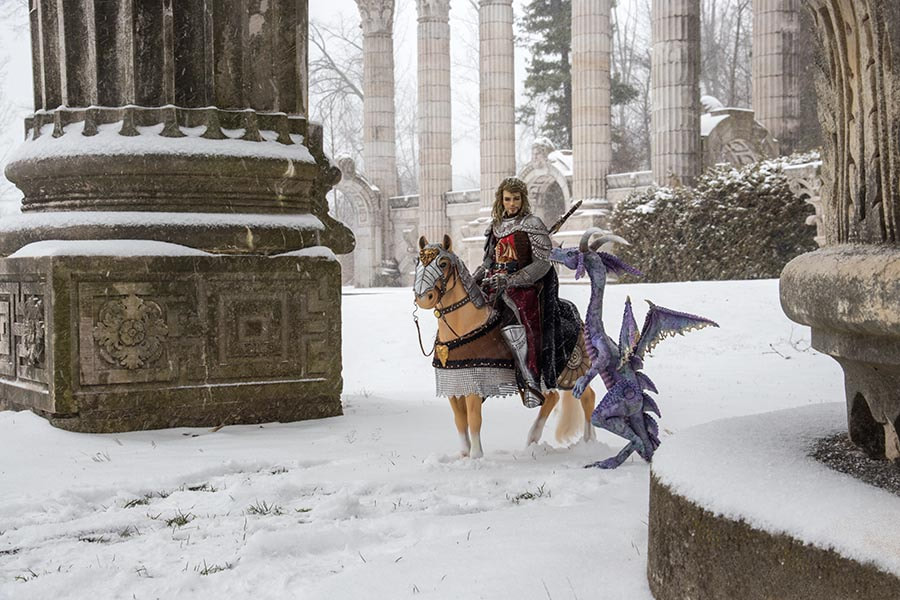
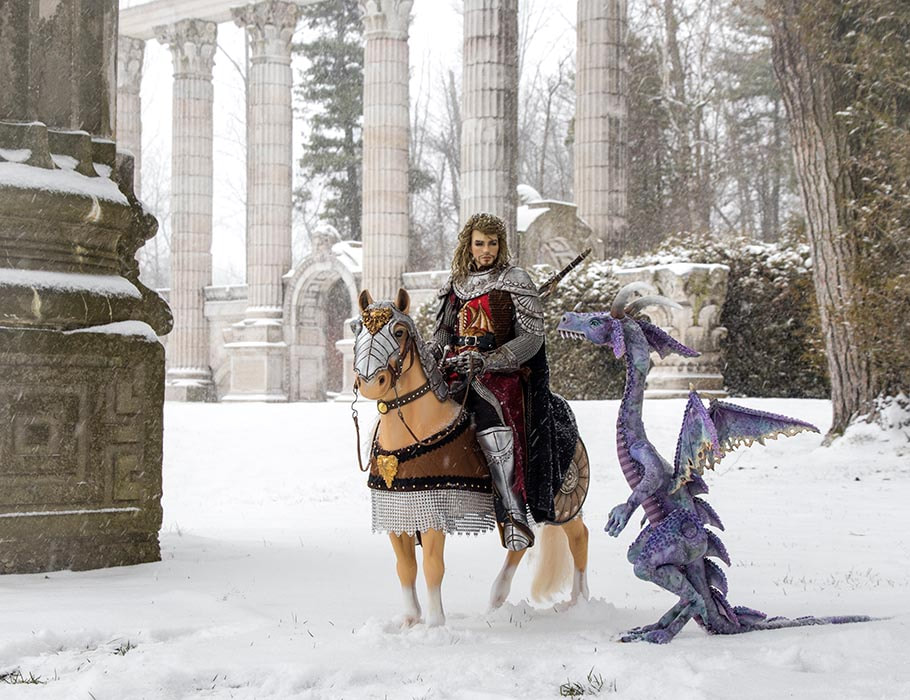
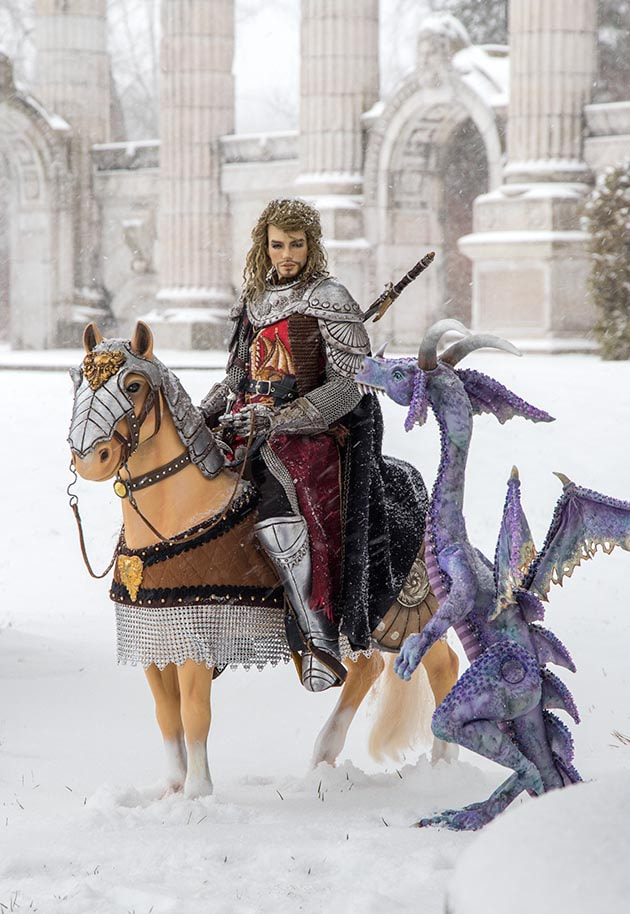
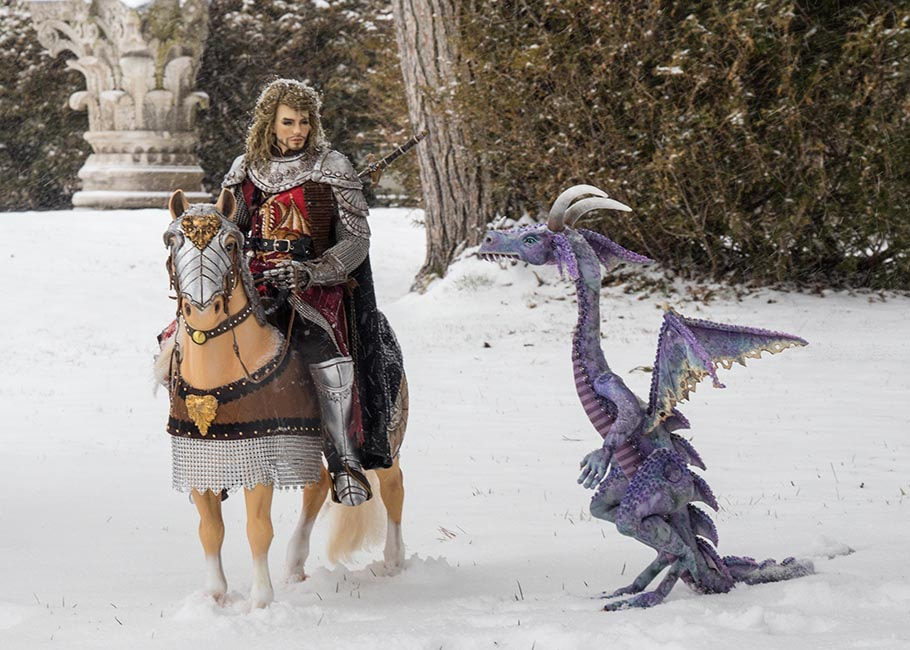
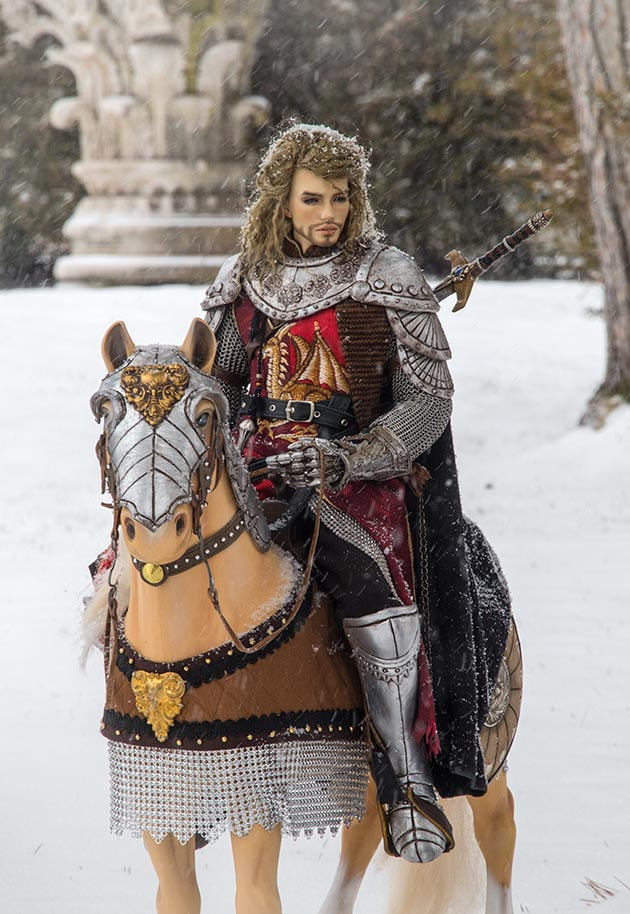
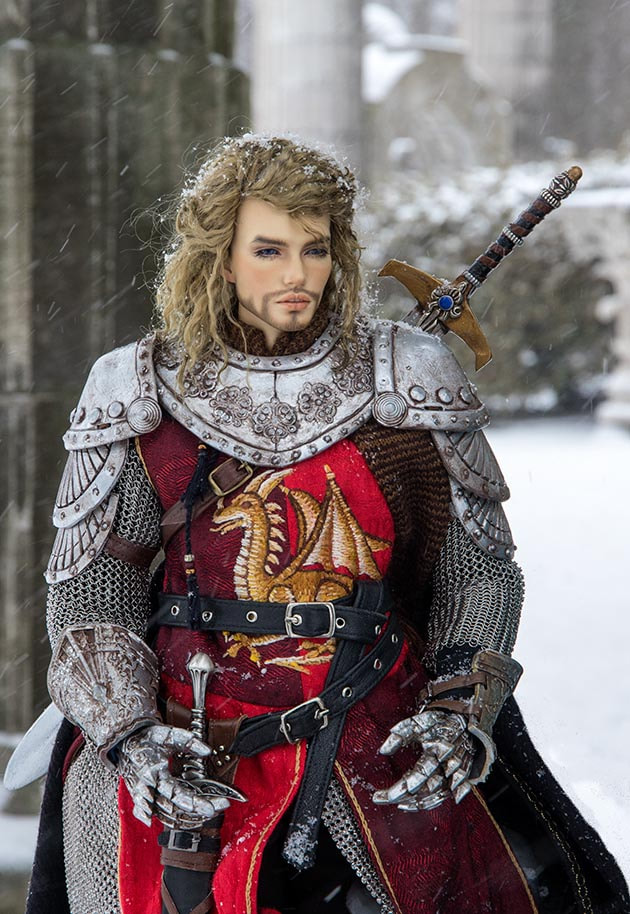
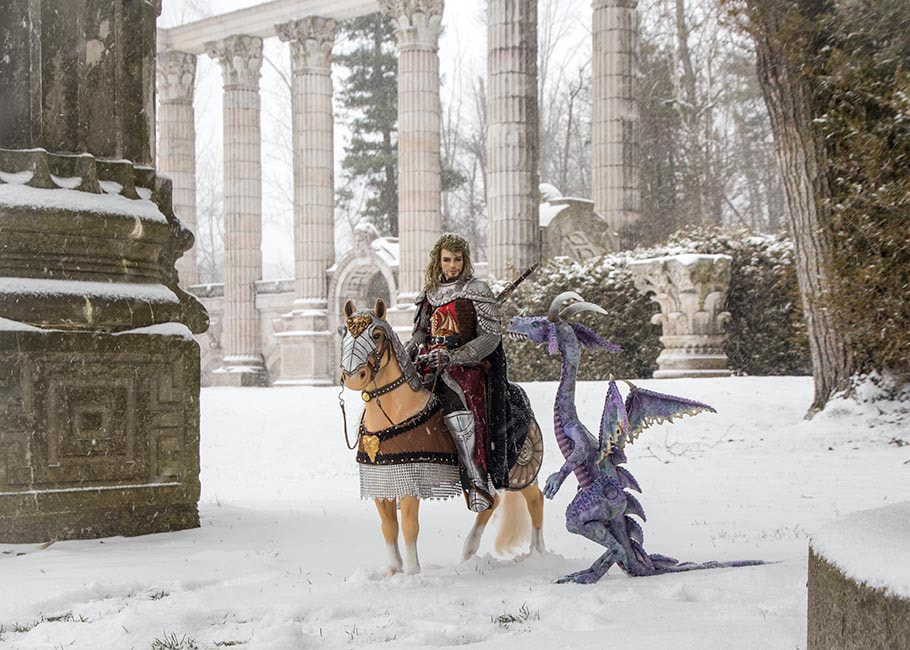
Returning home after another gruelling winter campaign....
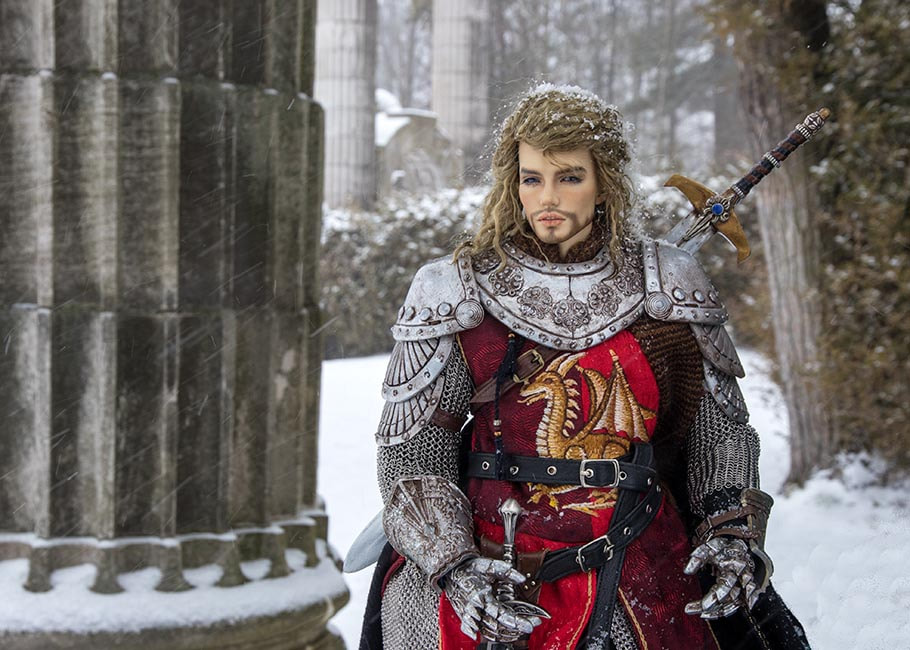
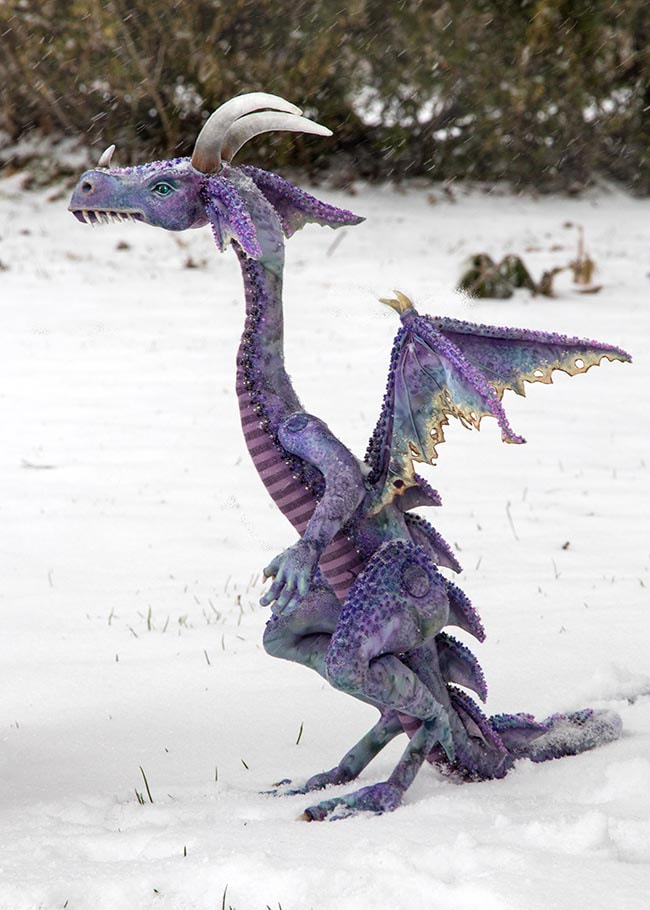
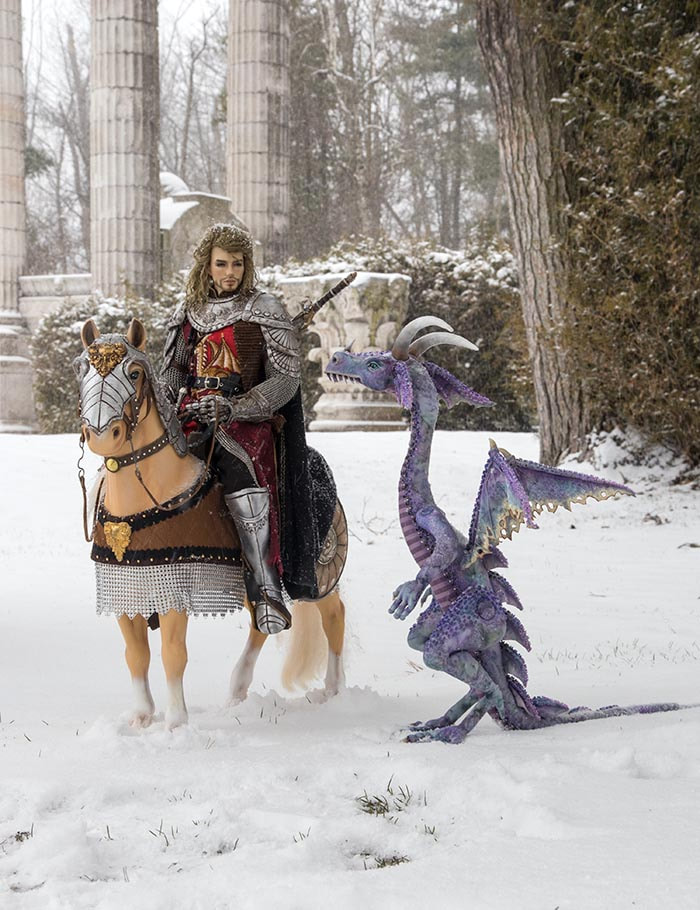
Matias meets Saphira also on her way home.
|
Returning home after another gruelling winter campaign.... Matias meets Saphira also on her way home.
3 Comments
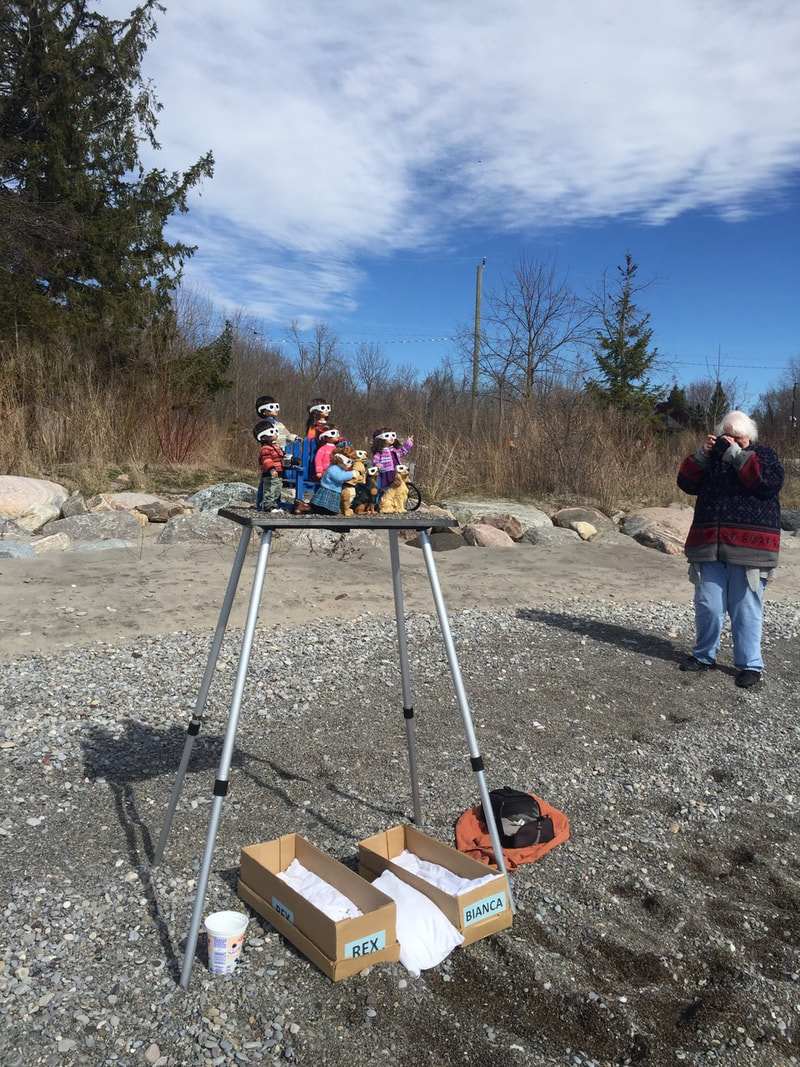
In late March we had the only major snowfall of the entire winter. I had wanted to take photos of Matias in the snow, so we headed out to the Ruins Garden in the storm, before the snow would get too deep and out of scale. It's always a challenge taking photos when it's actually snowing, since the falling snow can cause streaks across the subject's face, but I was lucky and most of my photos were perfect. In fact they turned out to be some of my favourite photos of him. 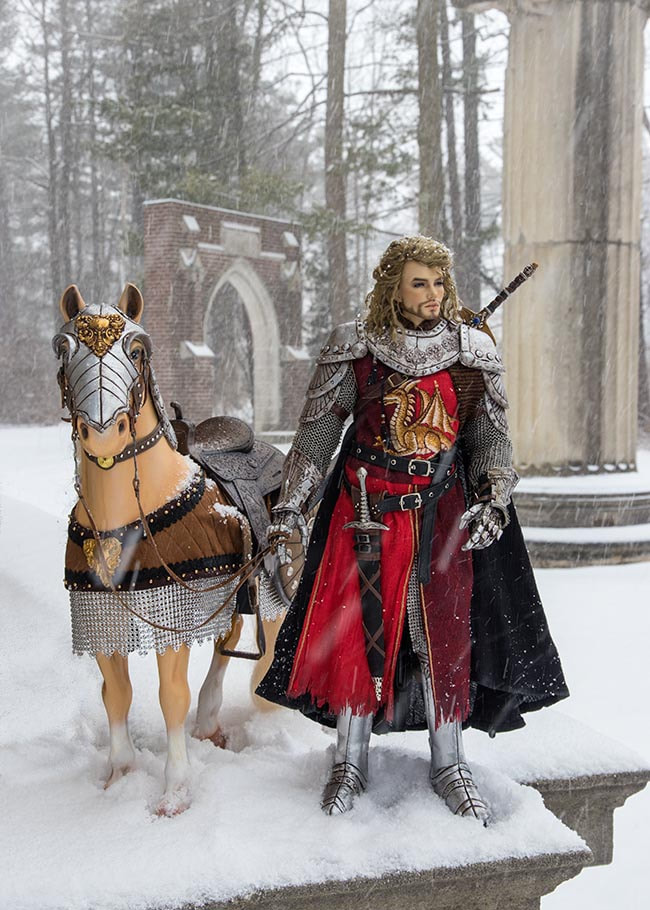 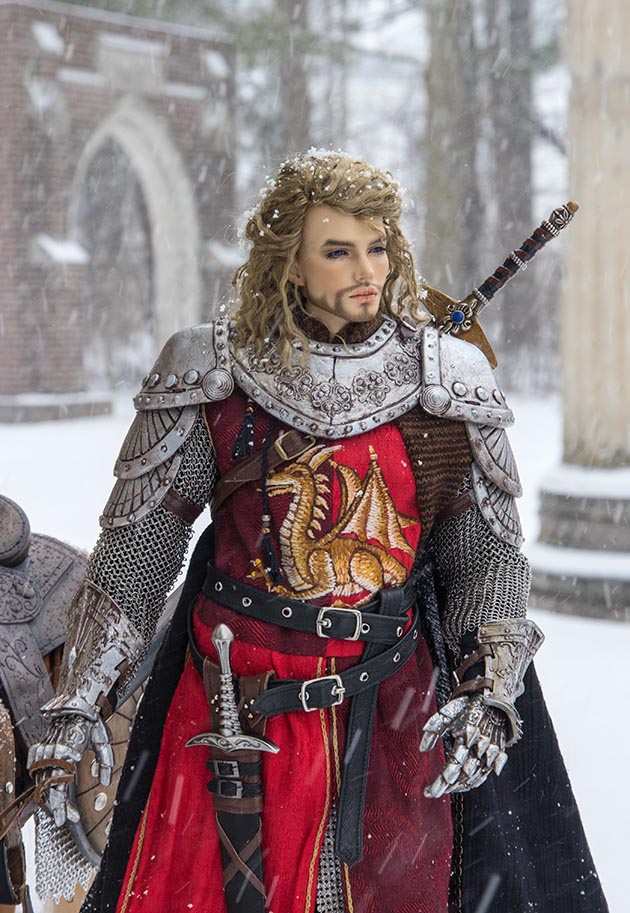 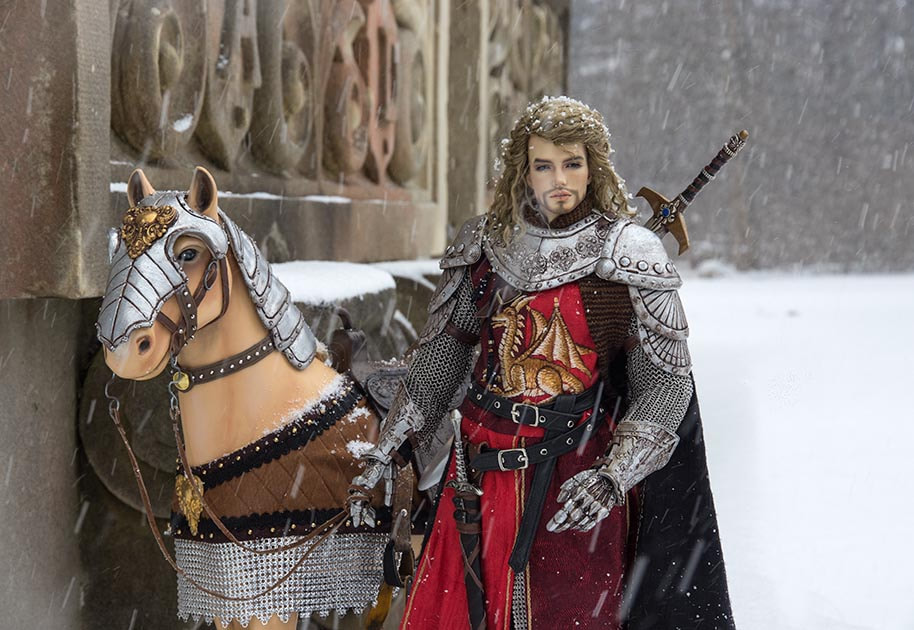 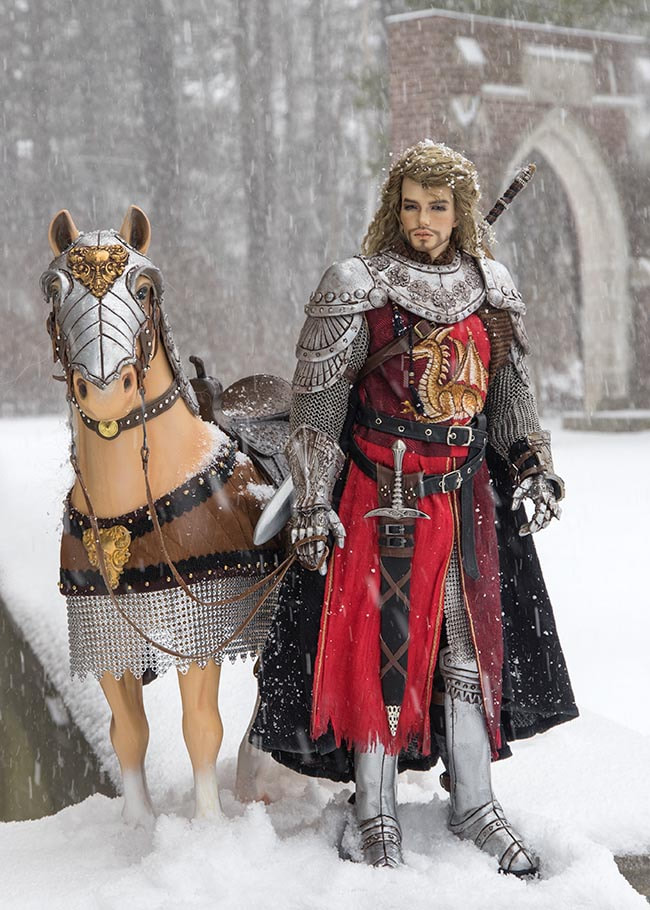  Every day I see such beautiful AI photos online featuring dragons, that they've inspired me to take more photos with my own dragons. No story, just a few photos to inspire the viewer's imagination. 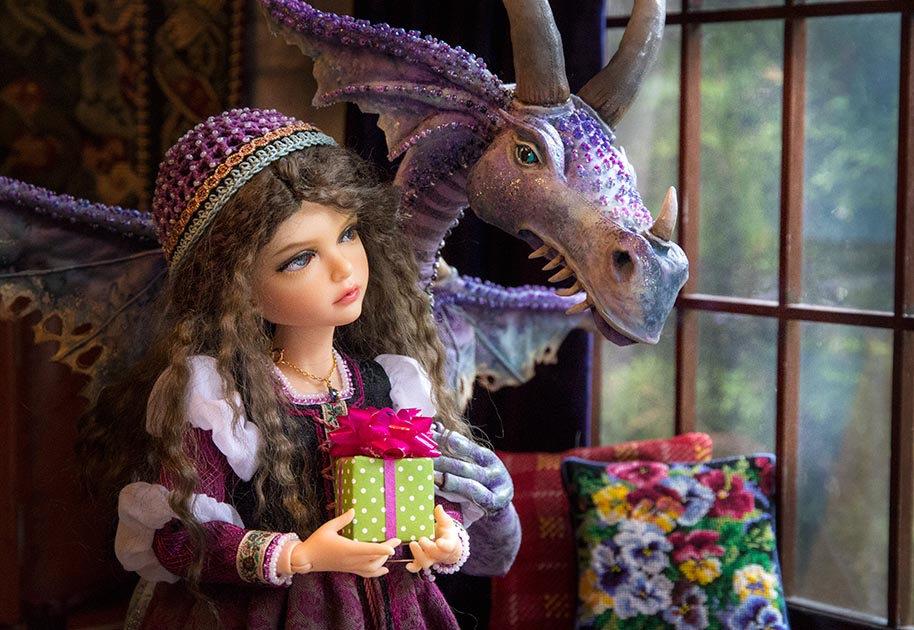 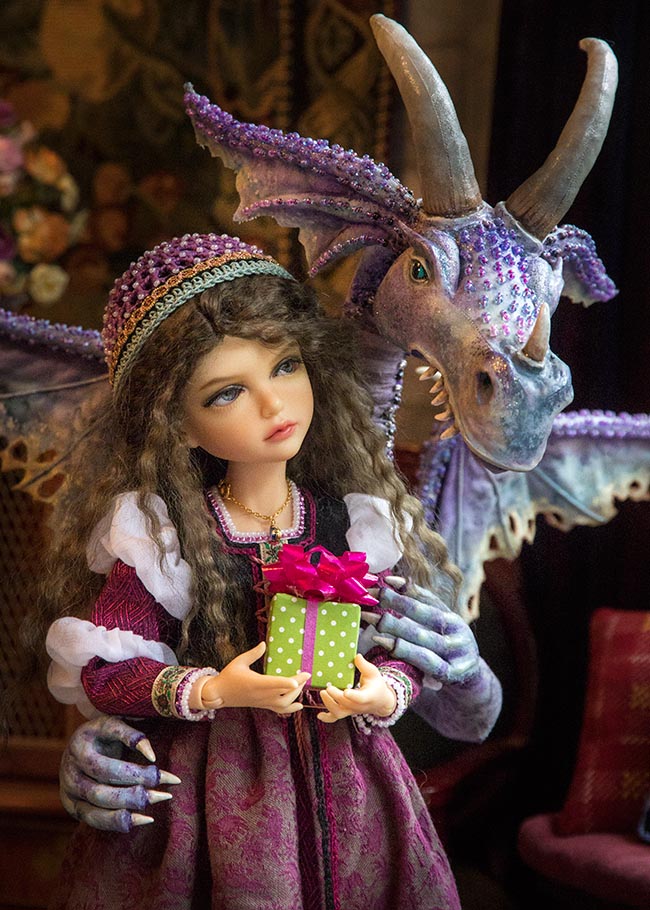 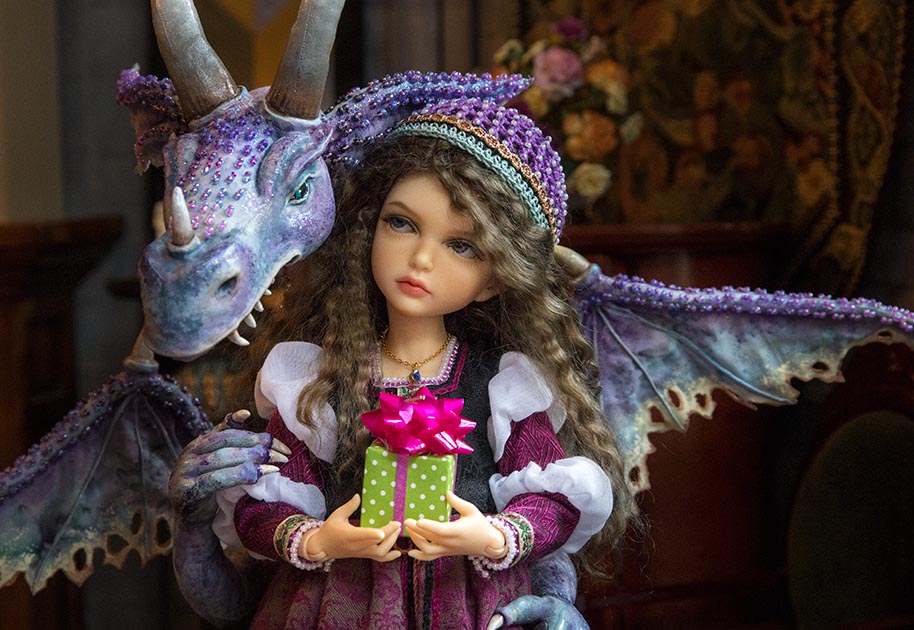  We didn't get much snow this past winter, so when a late spring storm a few weeks ago dumped several inches of wet snow, the kids eagerly went out to build a snowman... 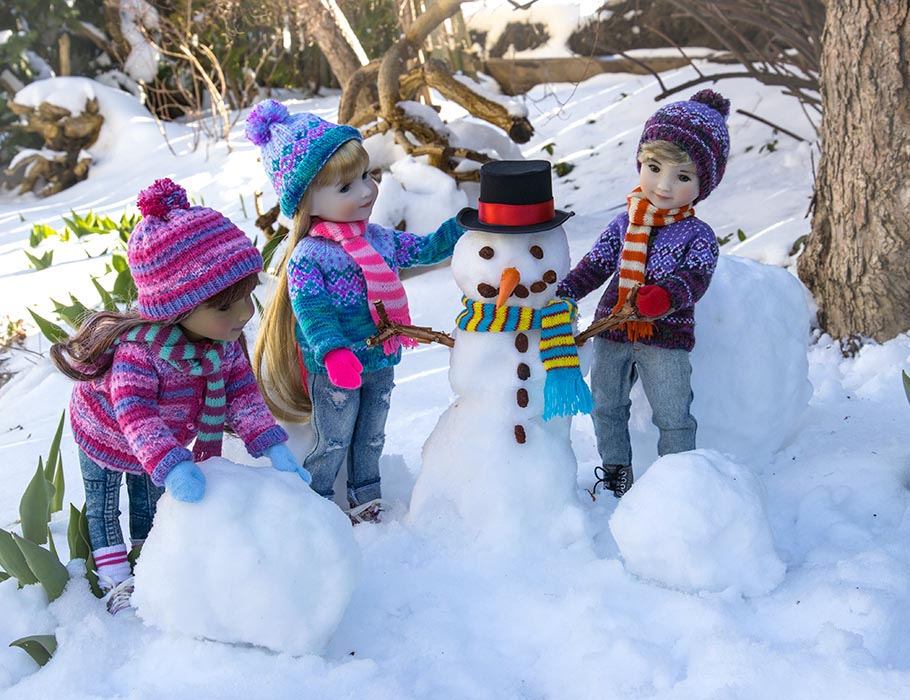 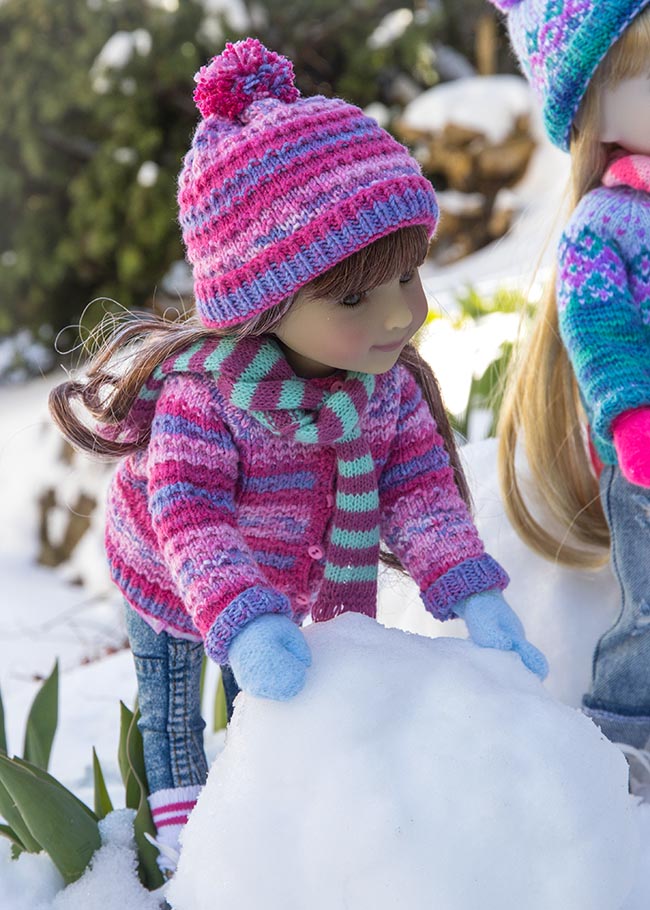 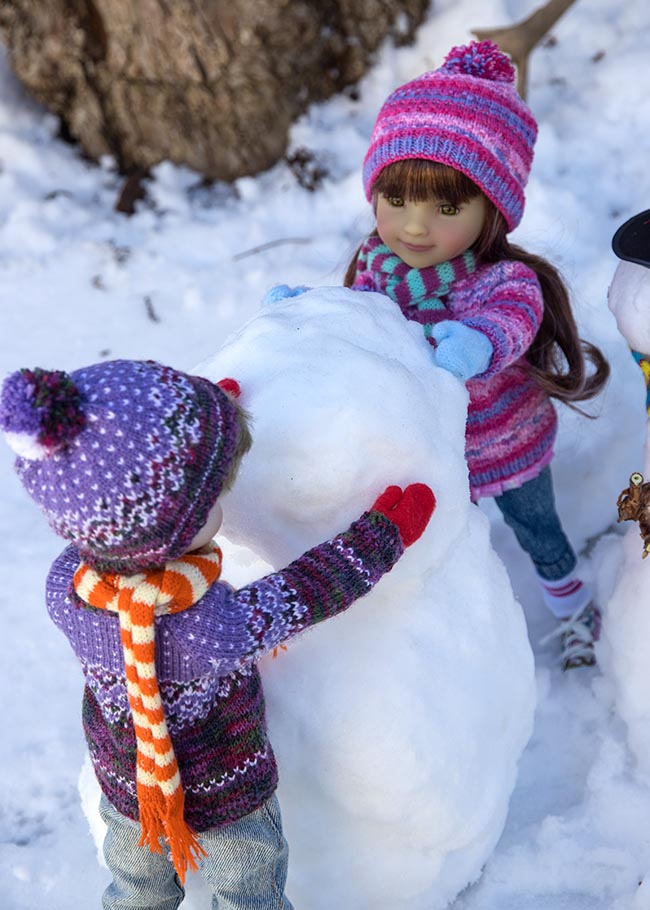 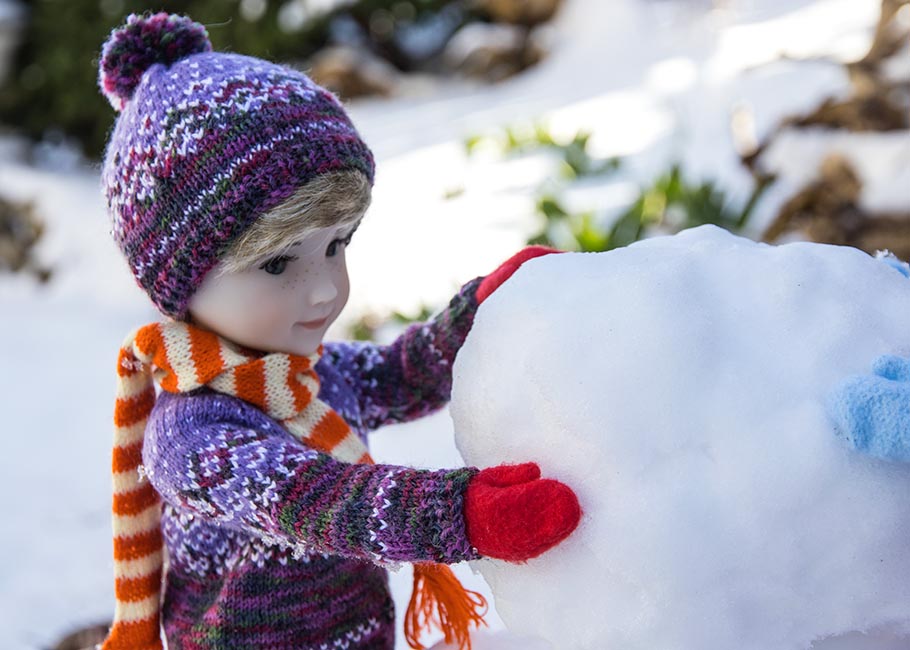 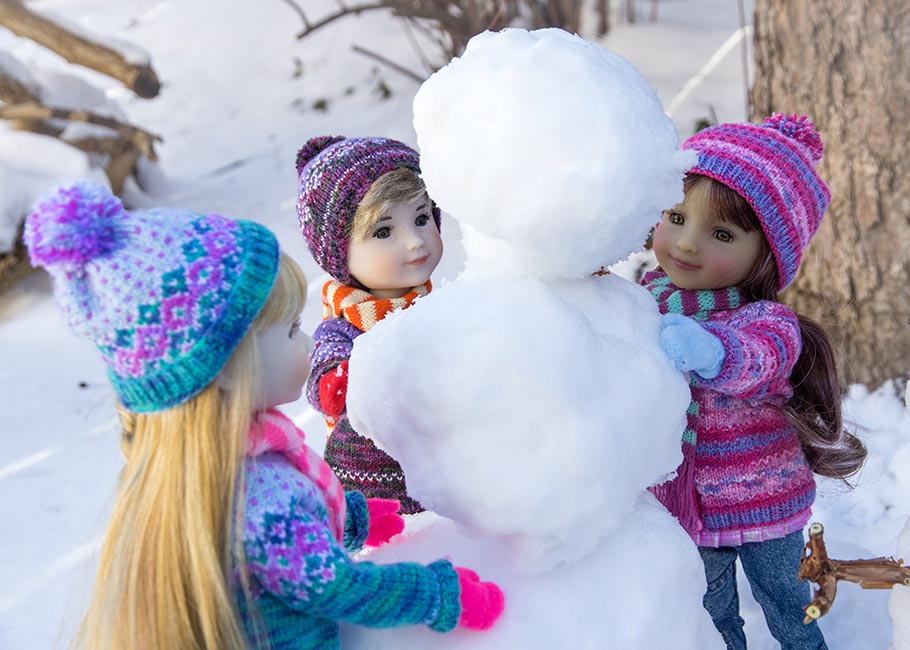 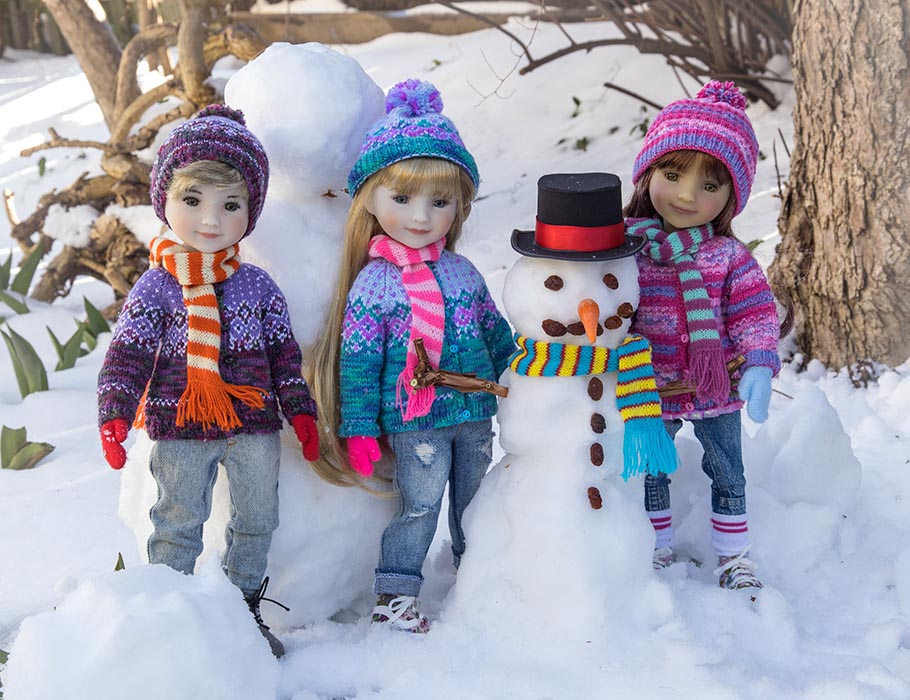 April 8th we were going to experience a total solar eclipse, and I wanted to take photos for my Special Days book. The forecast was for clouds on the actual day, so I decided to take my photos a few days earlier, and I thought the beach would be a good place to view an eclipse, so off we went. I'm getting too old and stiff to be getting down on the ground - unless absolutely necessary - so we brought along our projector stand to pose the dolls on. I don't normally like taking doll photos in full sun because of the possibility of harsh shadows, but taking photos earlier or later in the day when the sun is not high overhead, and then having all the dolls looking into the sun helps minimize the shadows.... 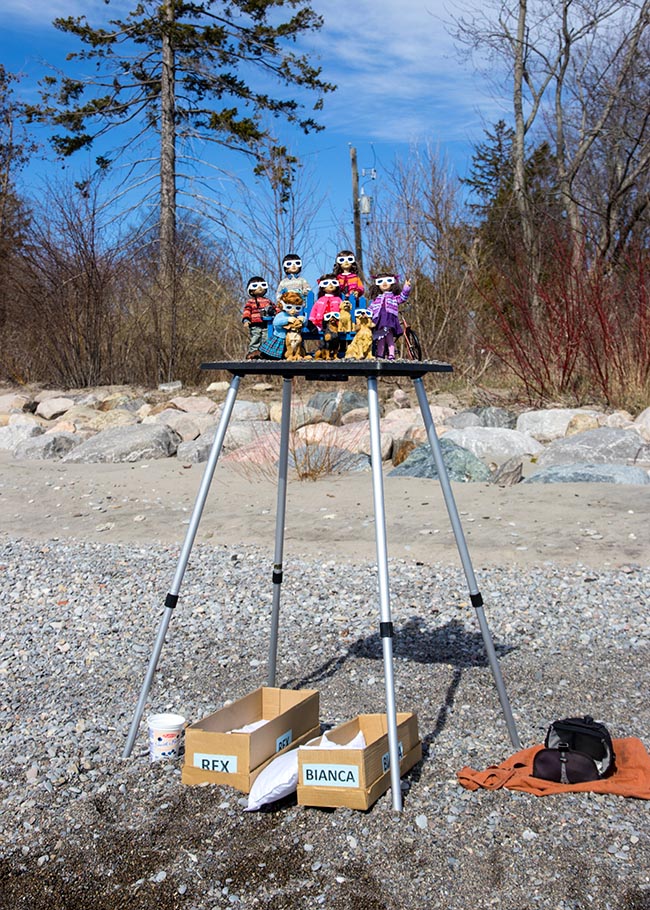 I sprinkled some of the fine beach gravel on the stand to help hide it in the photos, and made sure everyone was looking in the exact same direction, before taking close up photos....  We had taken a white umbrella along to shade the dolls from the sun when I wasn't taking photos of them... 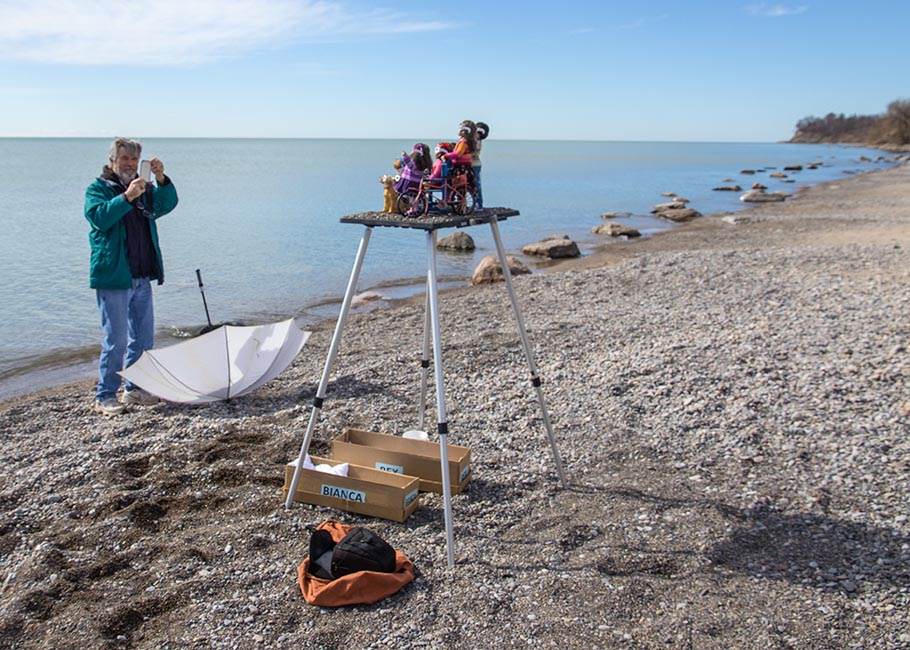
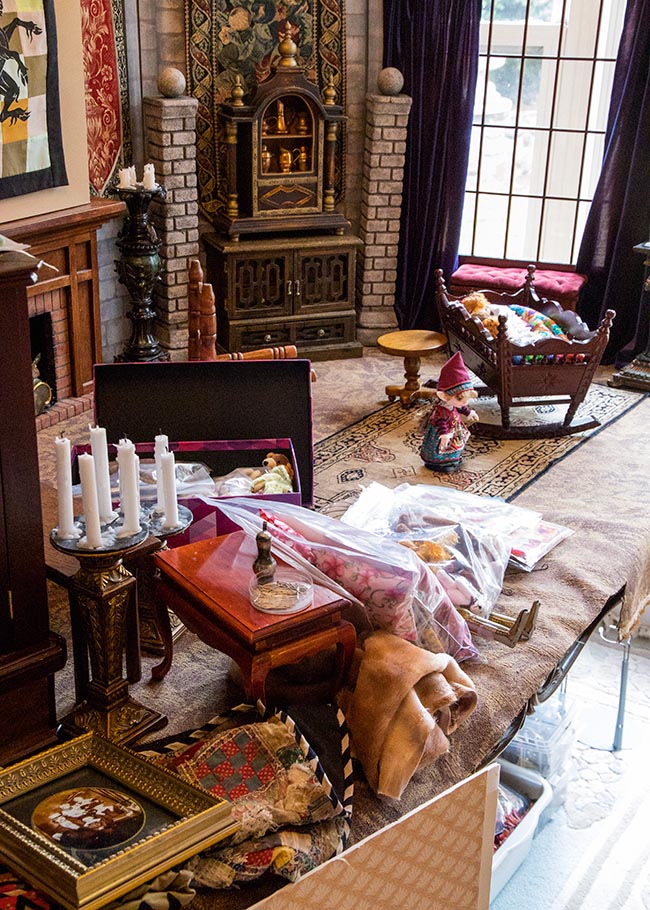
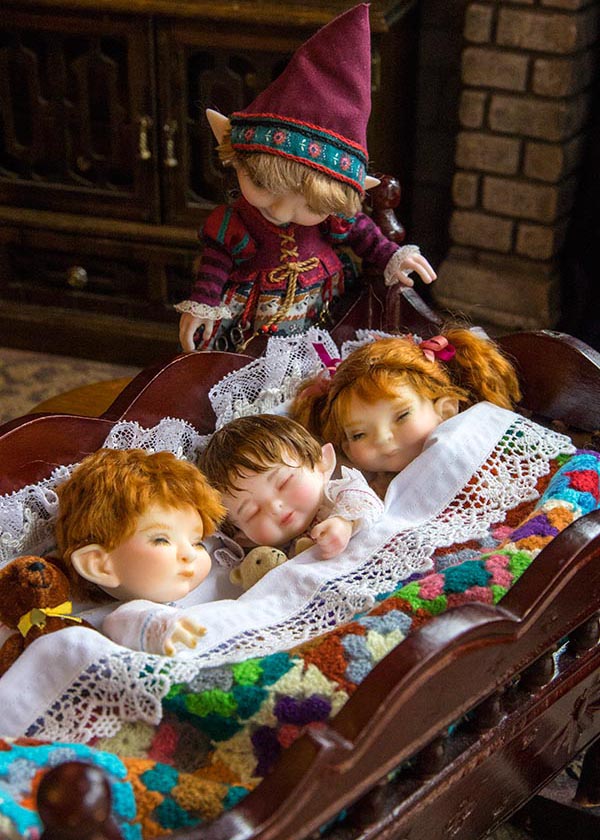
Behind the Scenes at HomeThe castle interior was set up on the dining room table, but I needed to photograph several Special Days photos, and most needed just a small set-up at one end of the table. Like the sleeping babies in their bed, for World Sleep Day... 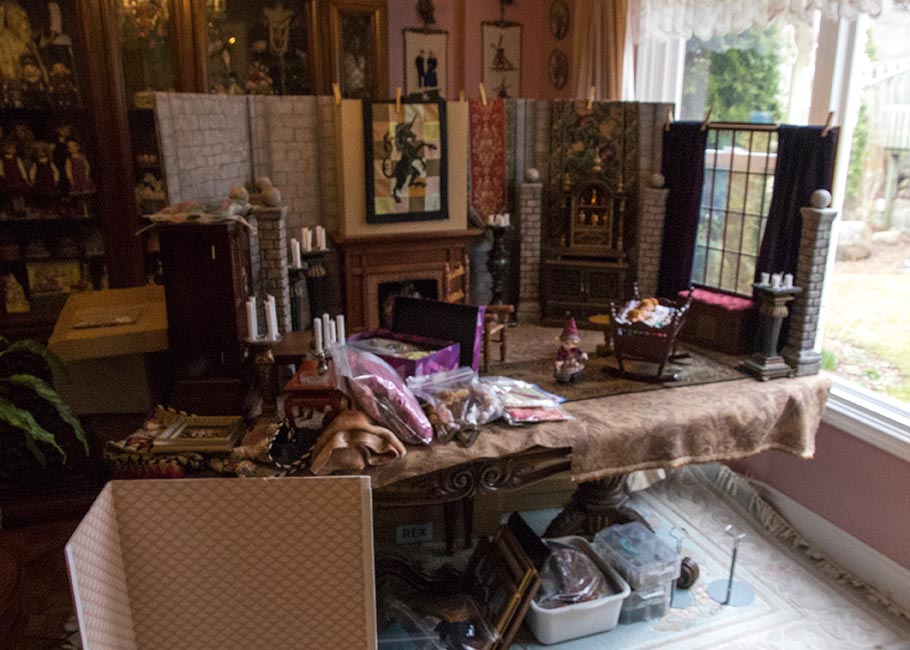 I was in the process of taking several completely different scenes, so there was quite a mess piled on the other end of the table. But no one would ever notice since all the photos I needed were close-ups
Then the wall and furniture were switched for the National Quilt Day photos... 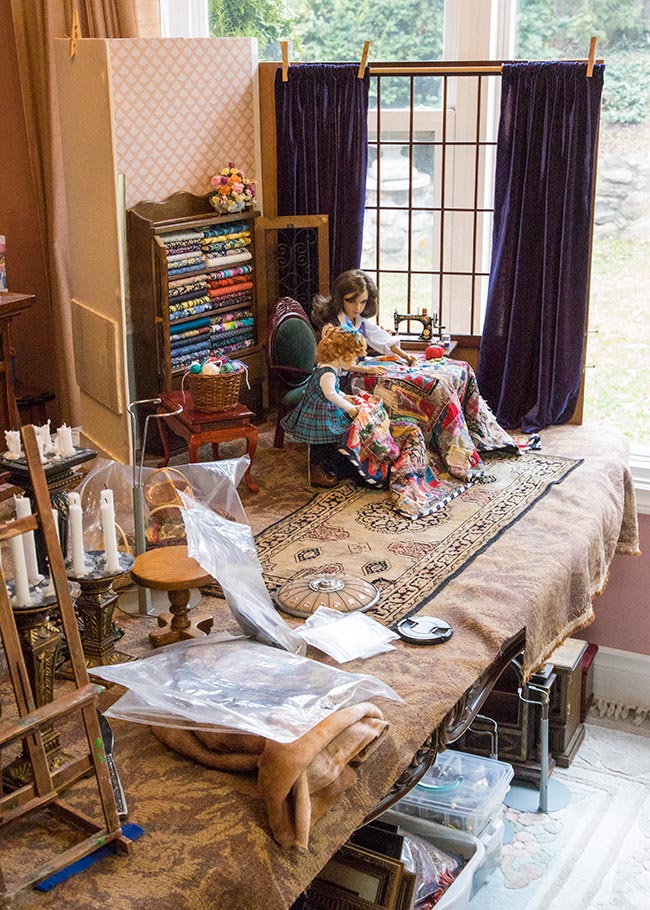 Again for just a small scene at the window end of the table... 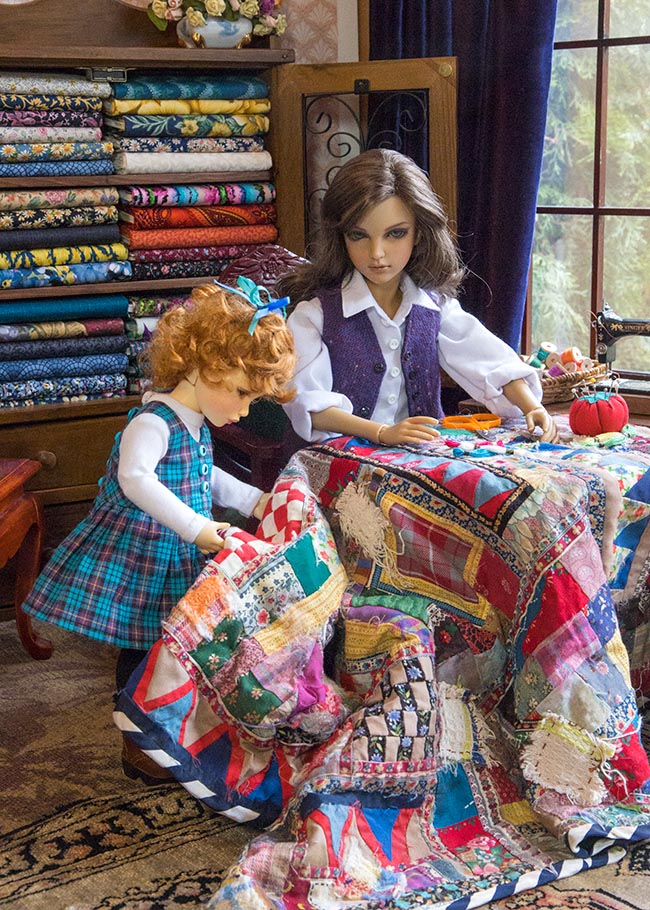 My work space was also a huge mess with several projects on the go all at the same time...  Bonnie was changed into her paint smock to be photographed for the Art book, I was in the process of making tiny baby elf wigs, and clothes for the Myou twins, as well as a Victorian outfit for Baron. 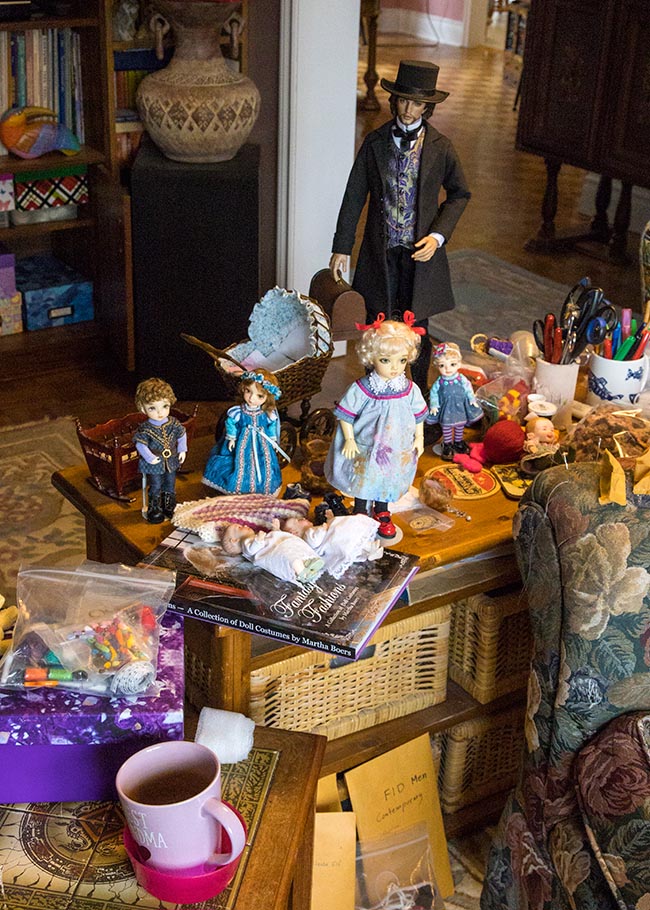 But my work space is constantly changing. This ,morning there's an entirely new group, with Matias patiently waiting for one last photo shoot before he gets changed into his casual outfit, and all the little girls that I'd been making lace party dresses for. There is just one green BID dress left to finish, and then I'd be done and can move on.... 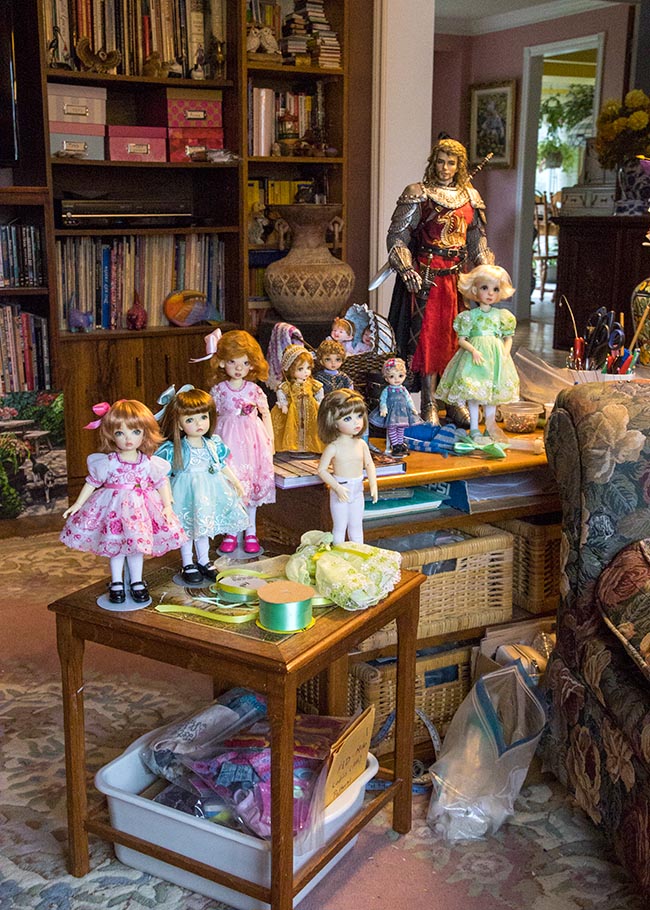 A few days later, after another significant spring snowfall last month, Winston took the kids outside to make a snowman.... 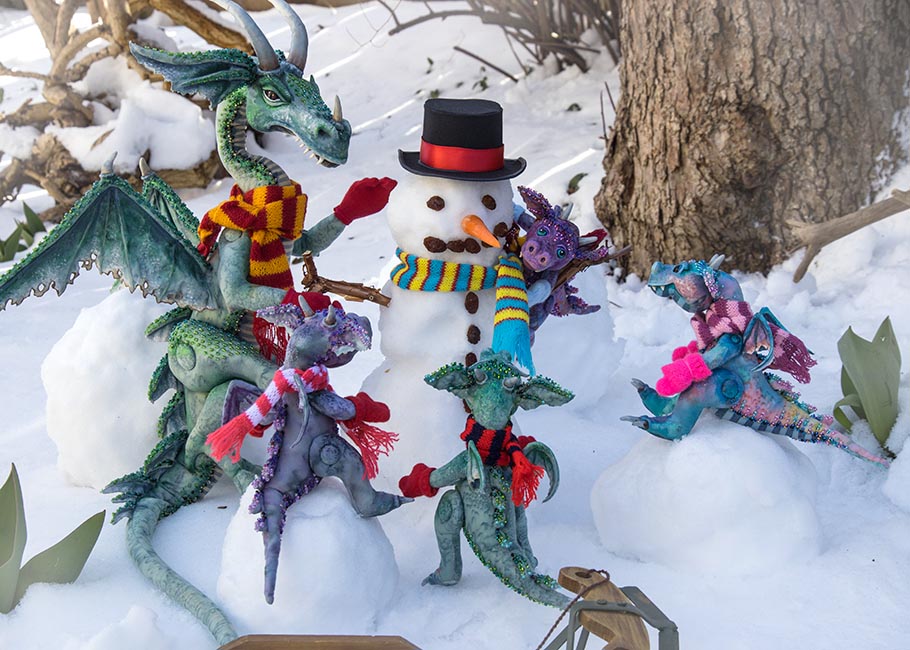 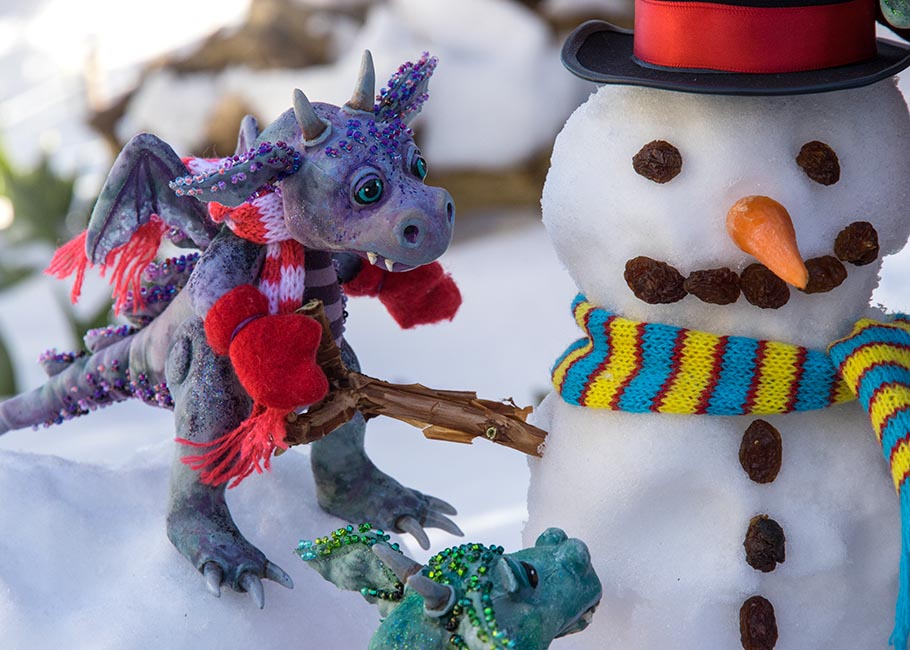 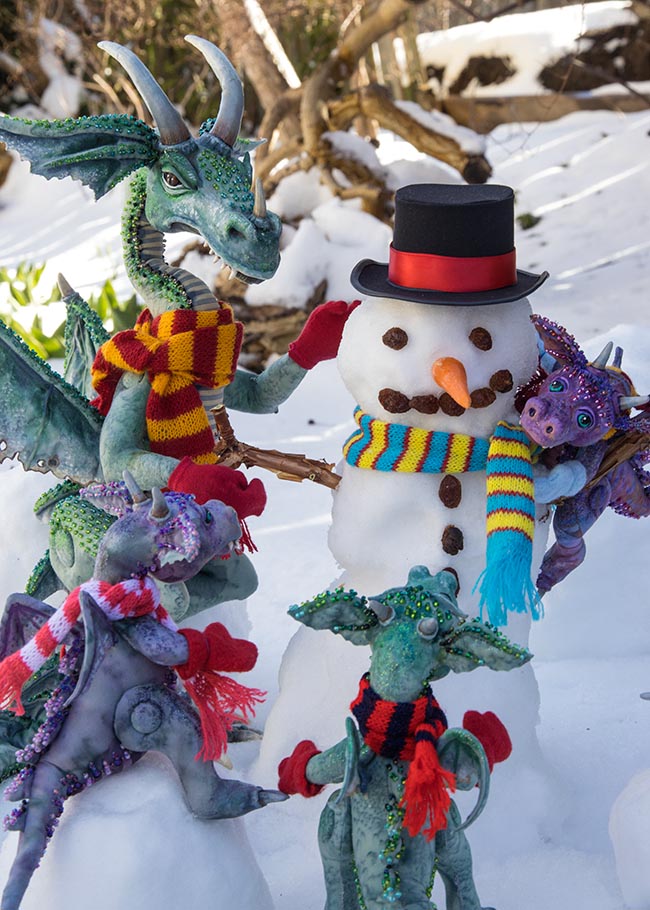 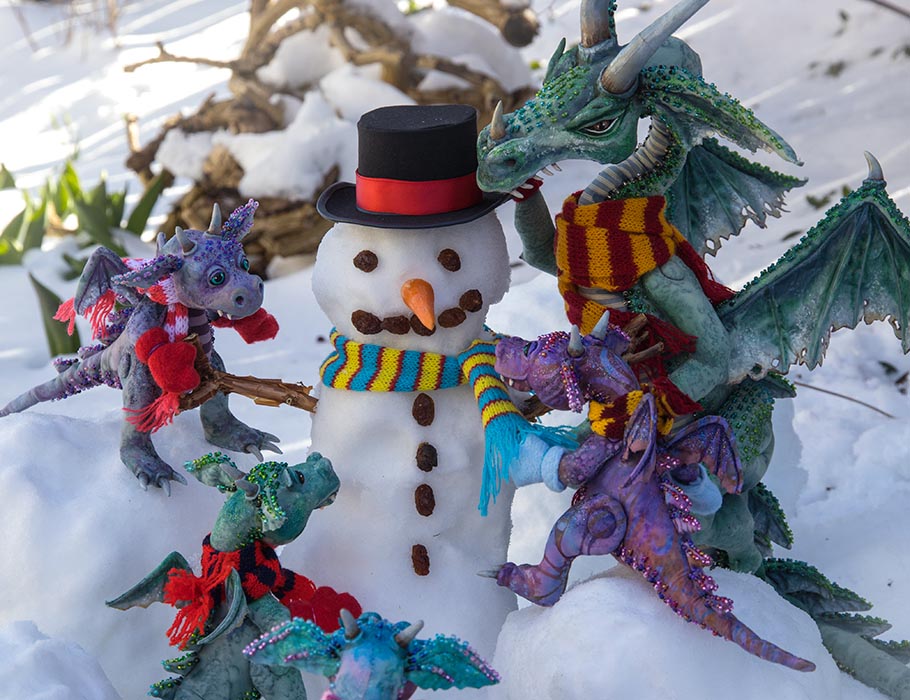 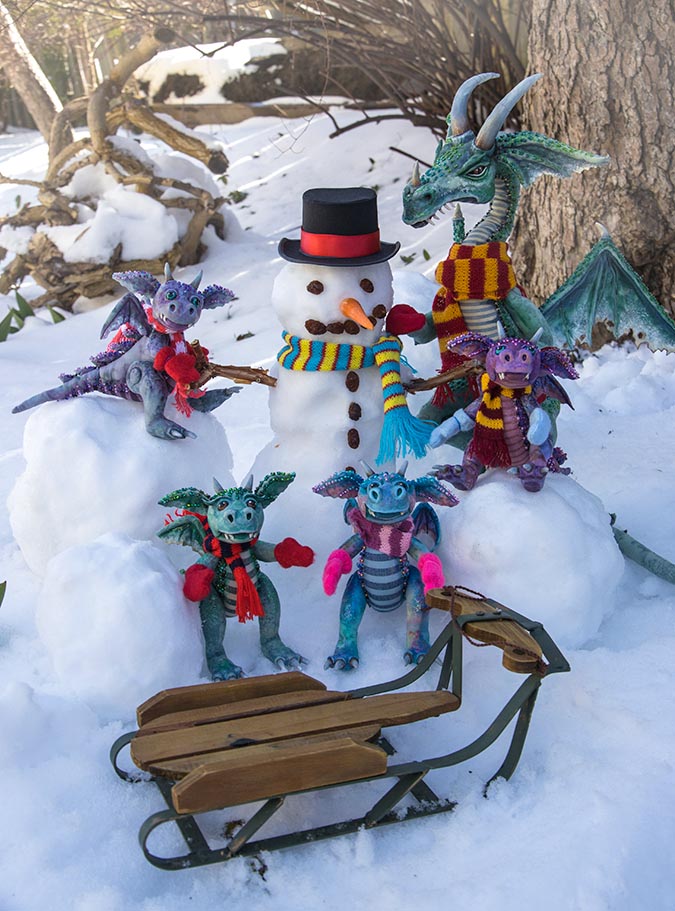 Yesterday much of North America experienced a solar eclipse, and several of my kids were out there taking it in as well... They had acquired a package of eclipse glasses... 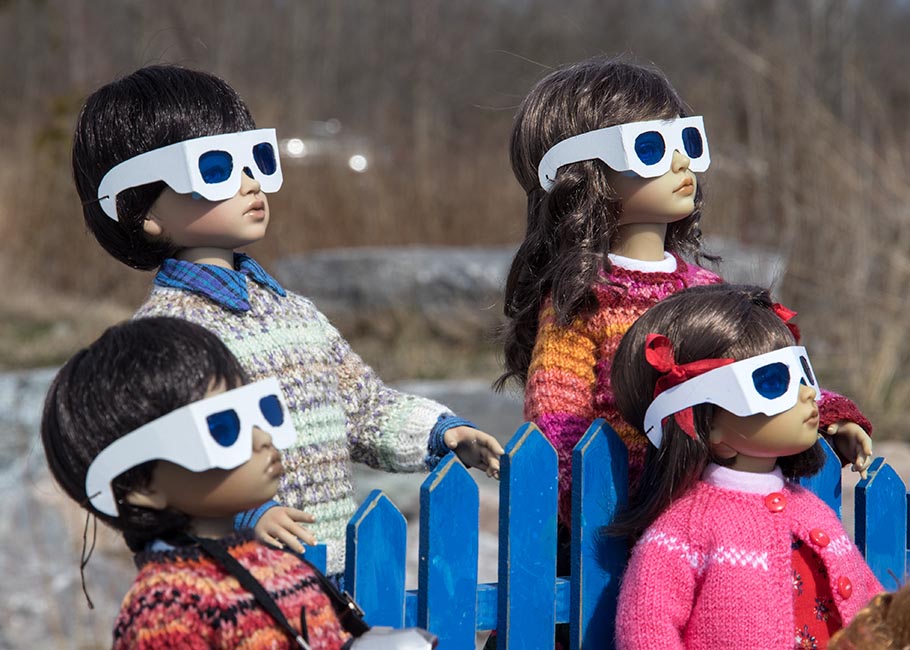 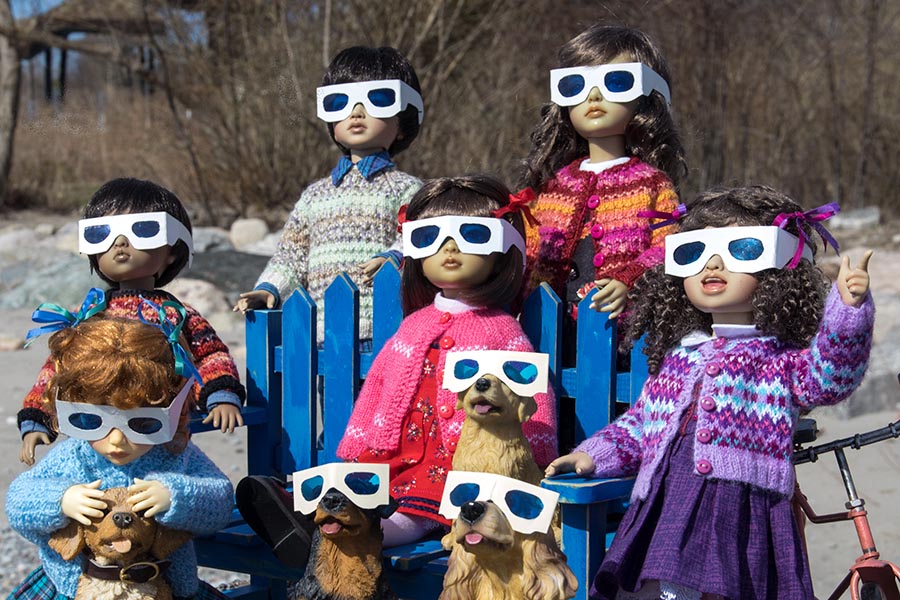 ...but they were one short. "Don't look, or you'll go blind." 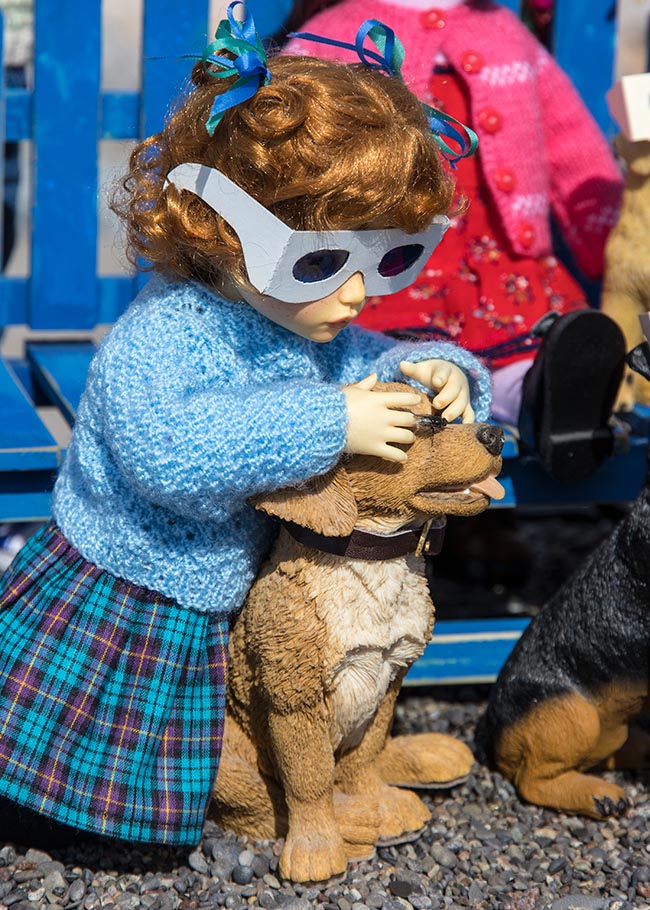 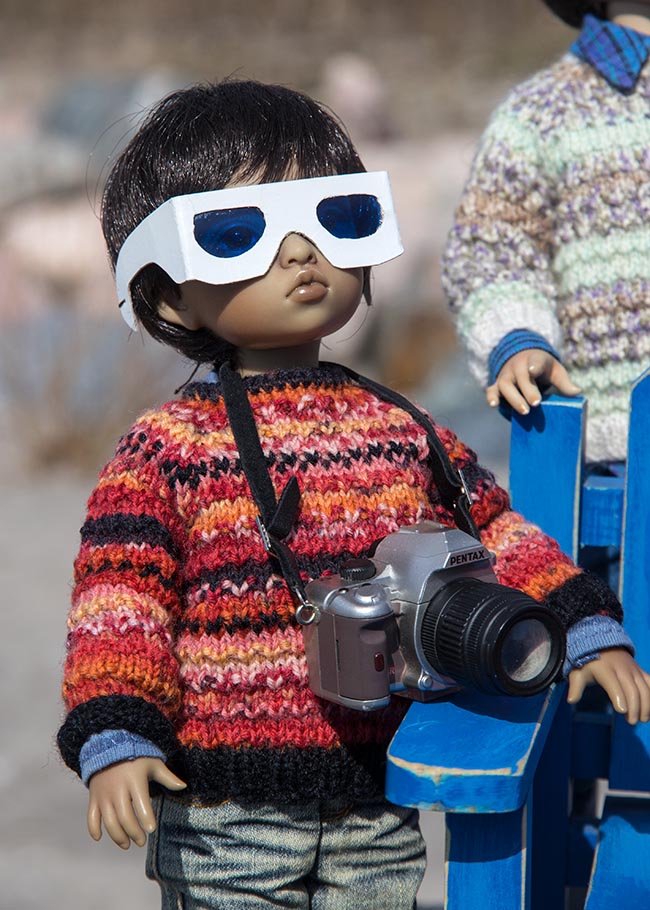 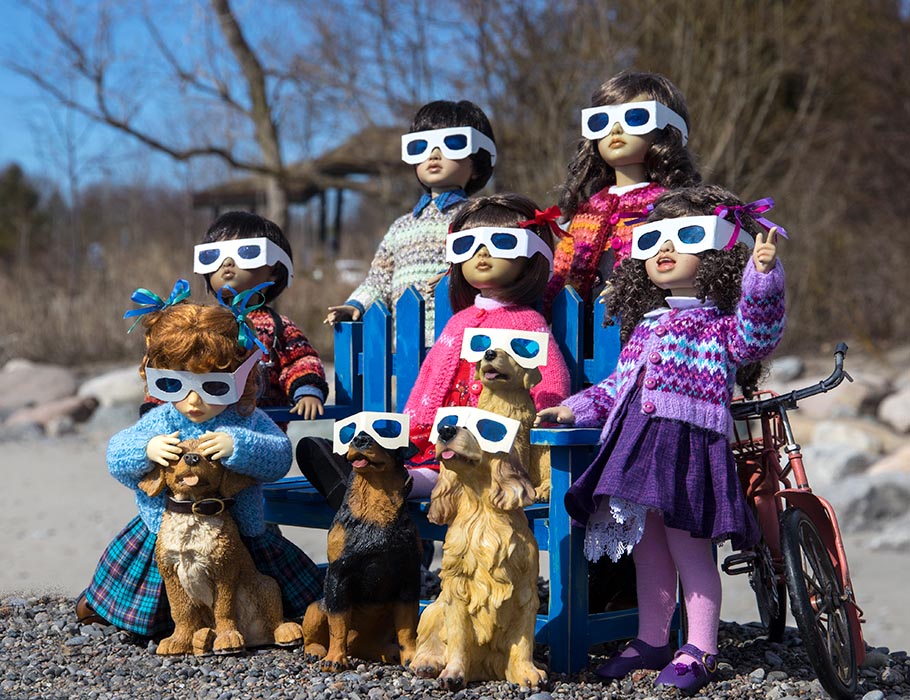 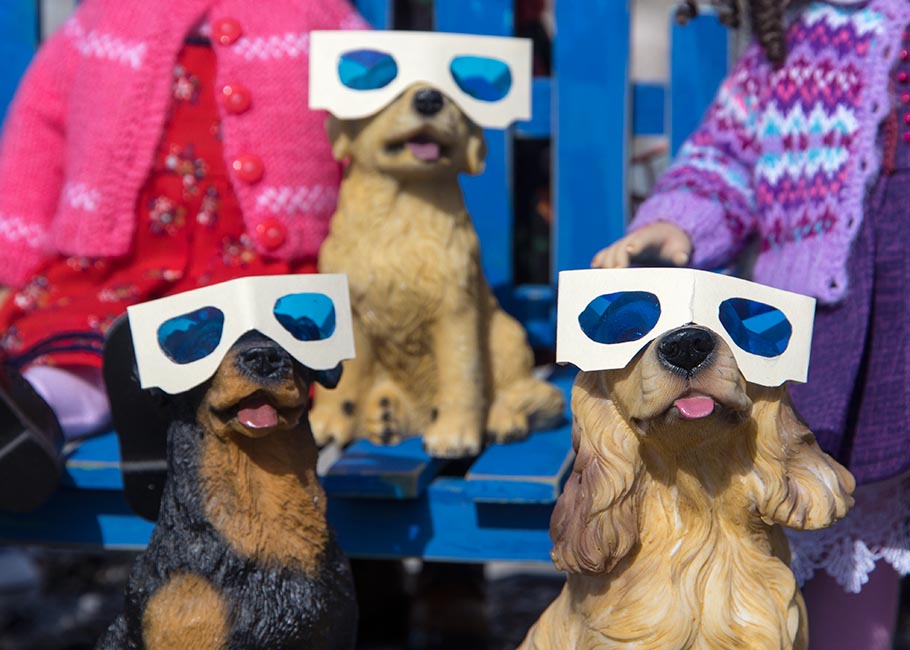 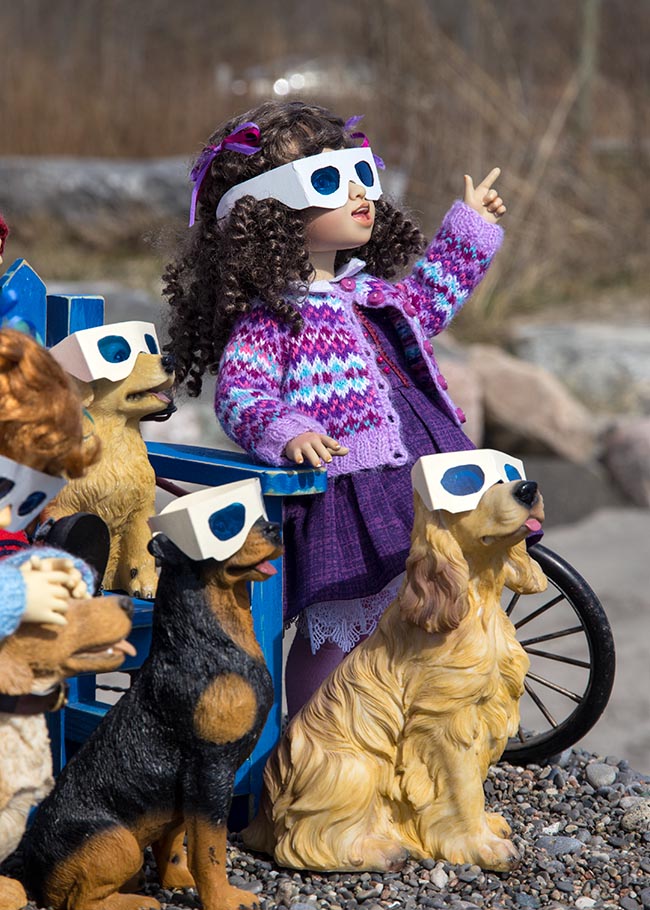 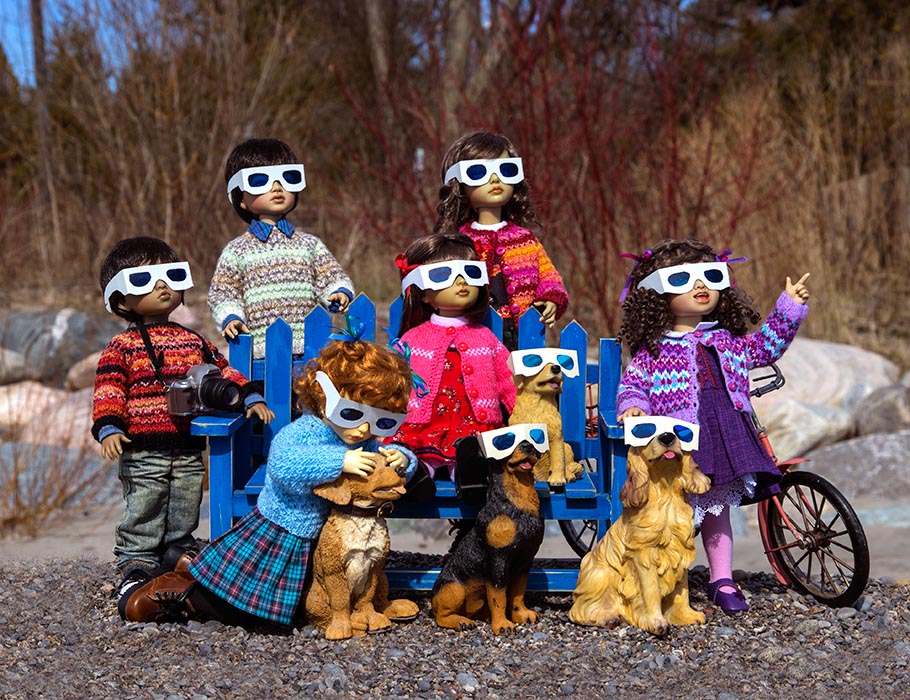 We were in the path of totality, but just as the big event was about to occur, the heavy clouds moved in. Fortunately we were still able to see the eclipse each time a hole appeared in the clouds.  It got dark as night, and the street lights came on... 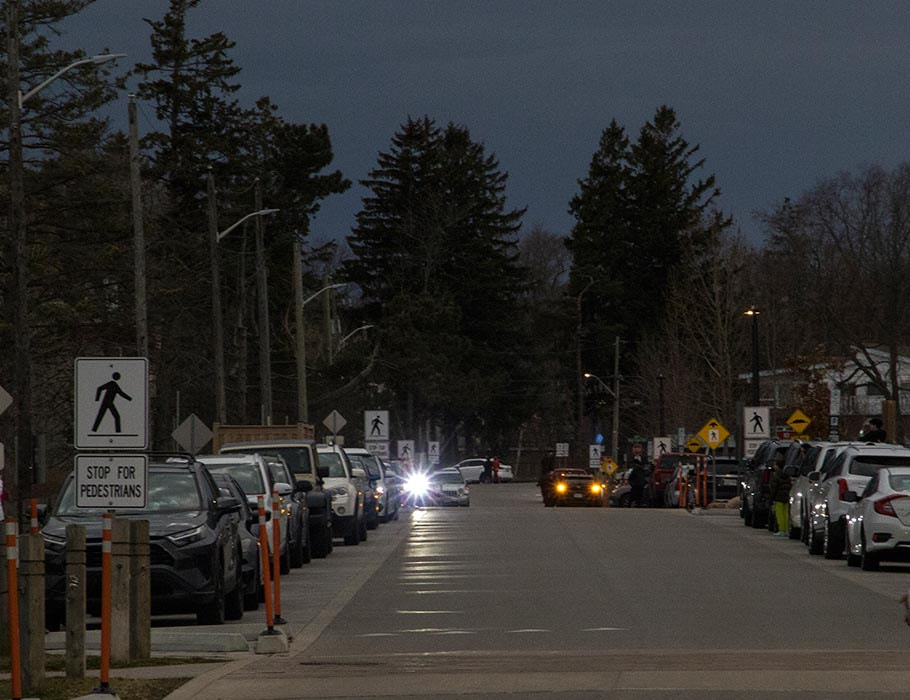 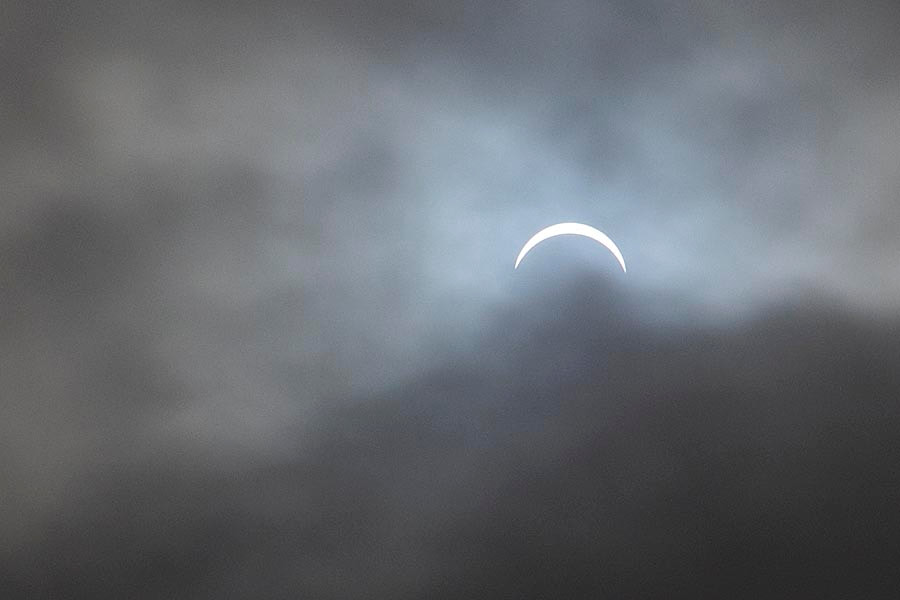 Then we watched the dark shadow of the moon pass to the east.... 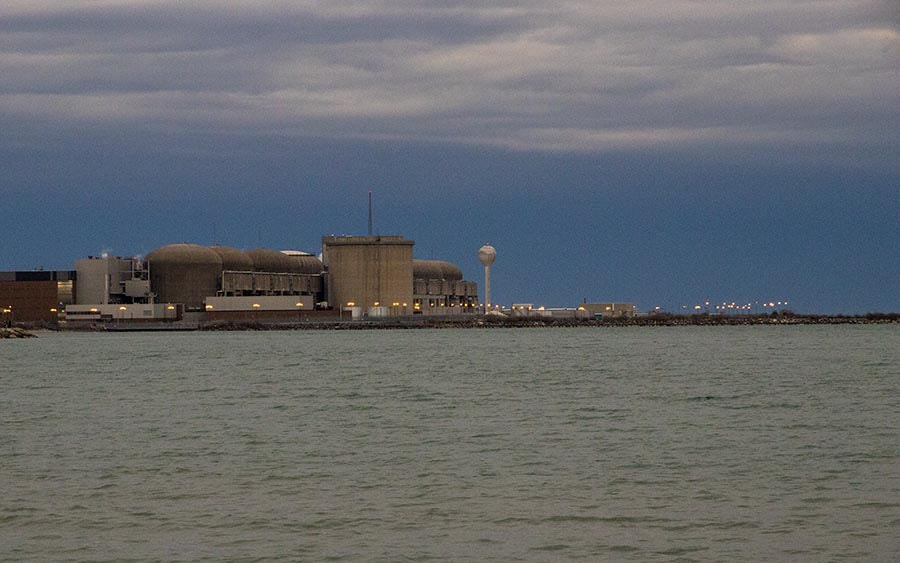 ...and the light return to the west... 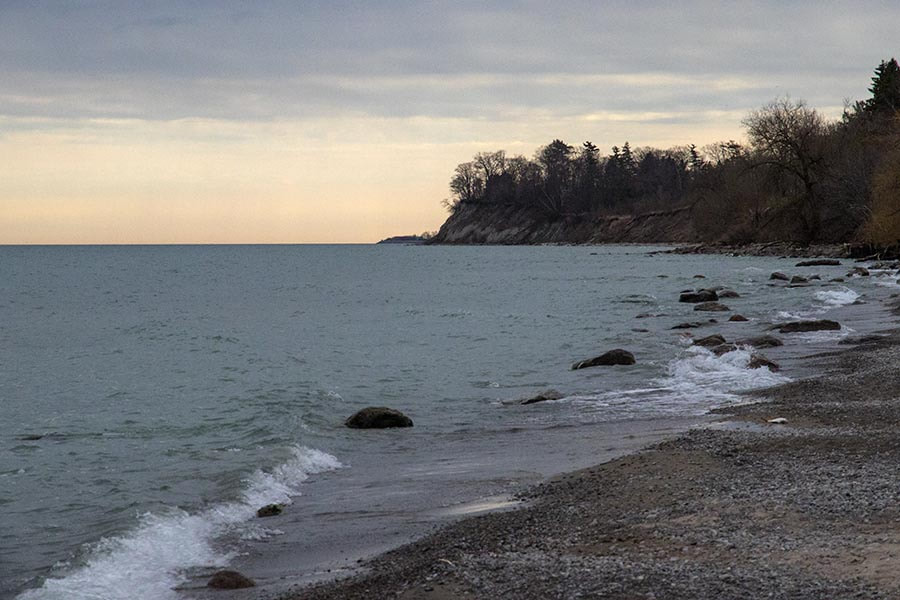 It was quite the experience!
Winston agreed to come out and give his kids a sleigh ride... 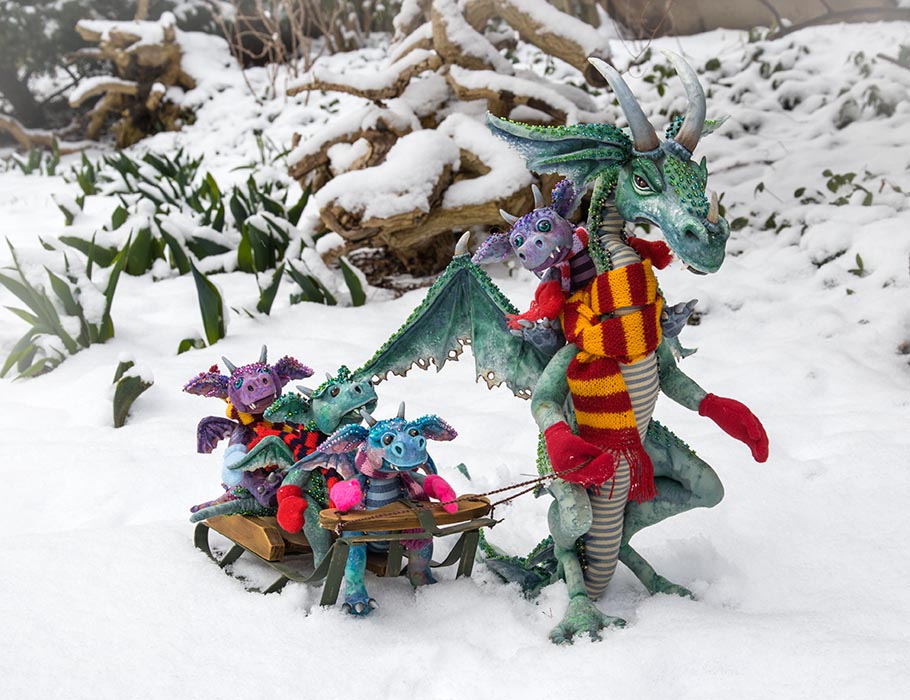 There was only room on the sleigh for three of them... 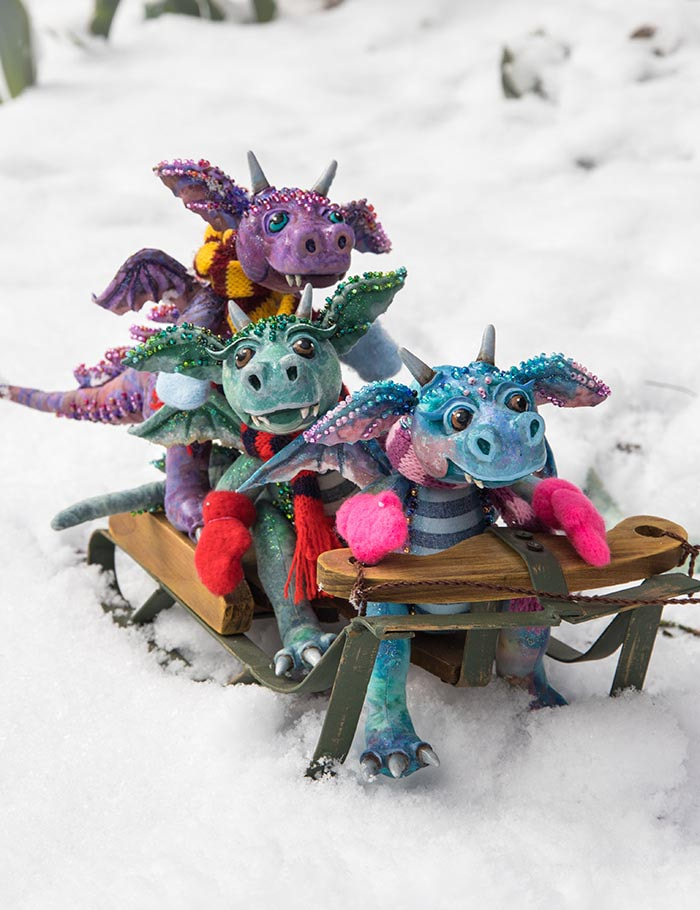 ...so Nuri got to ride piggy back... 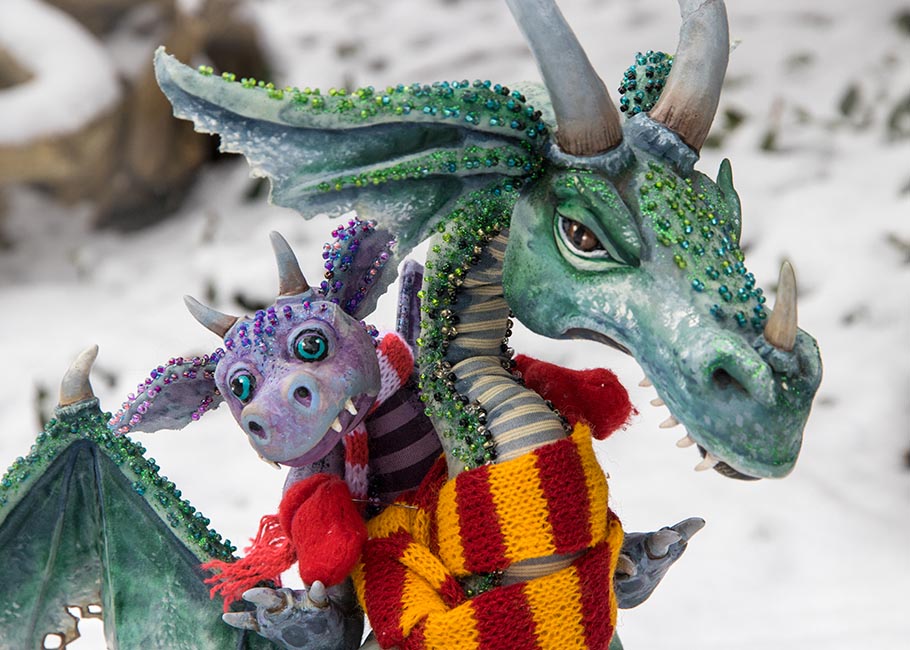 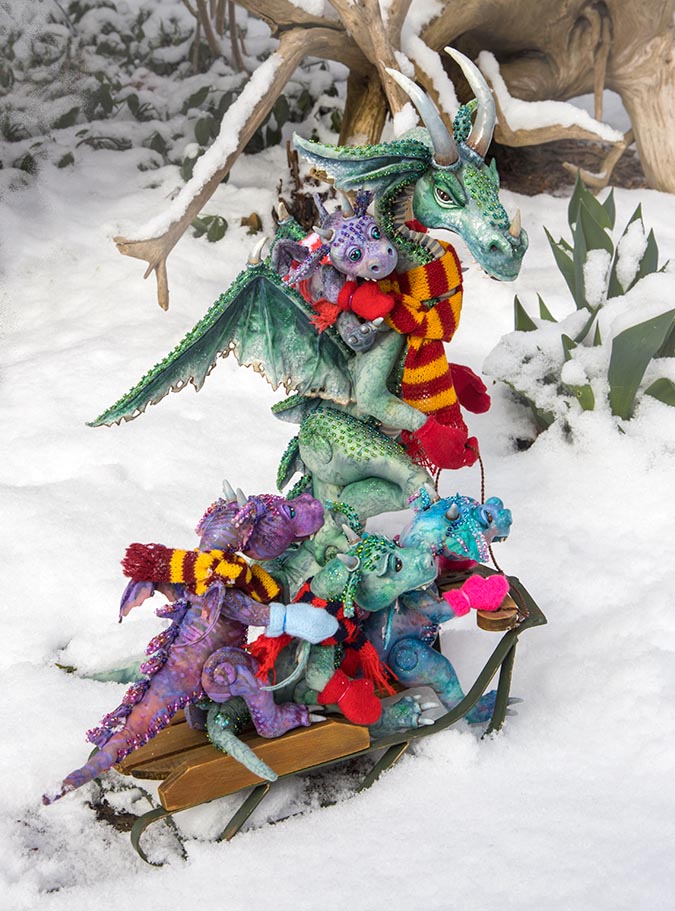 "Giddy-up Daddy!!" 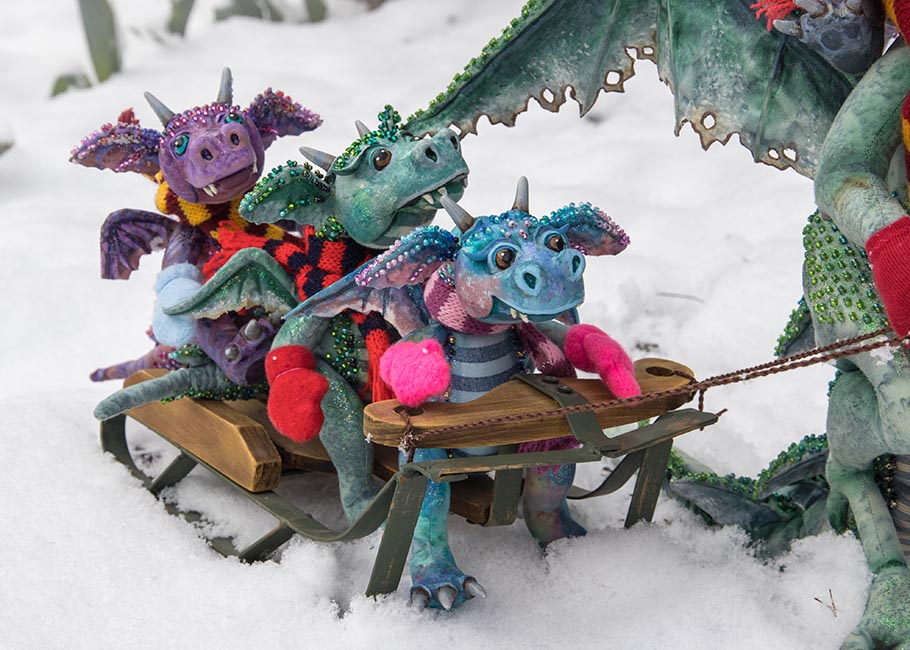 "Can't you go any faster??" 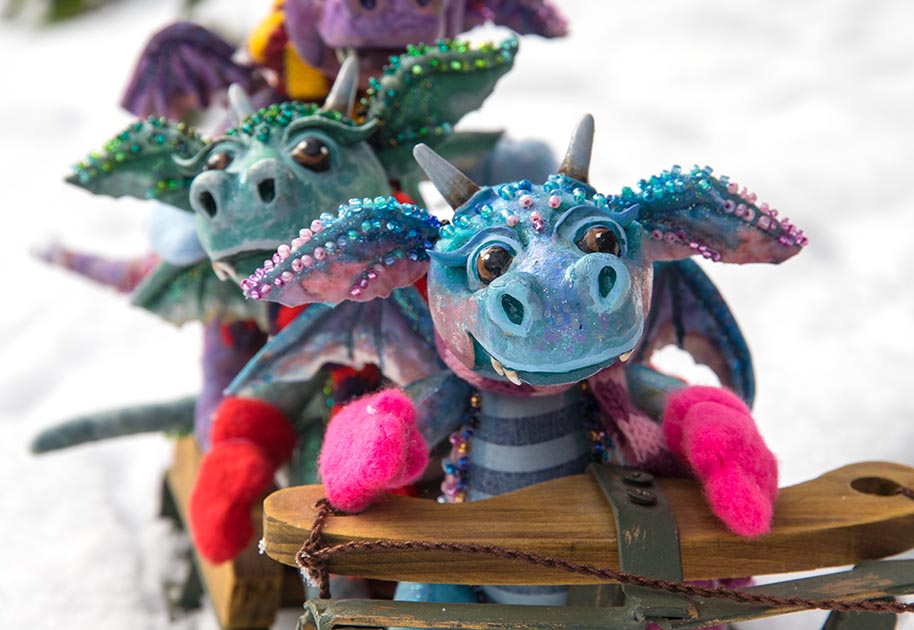 "Not if you plan on staying on the sleigh." 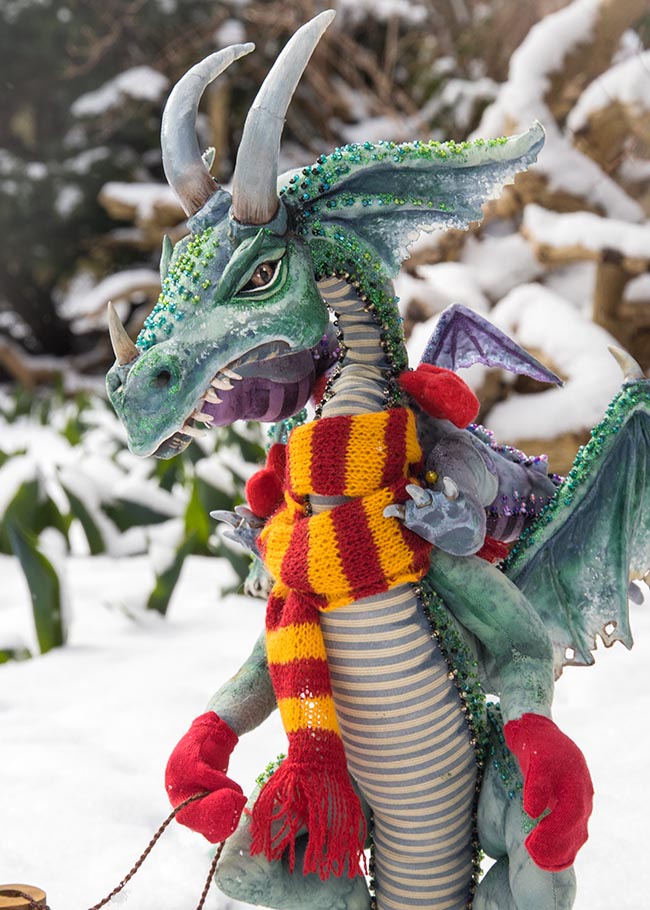 "This is your very first time in the snow, so we are going to take it easy today." 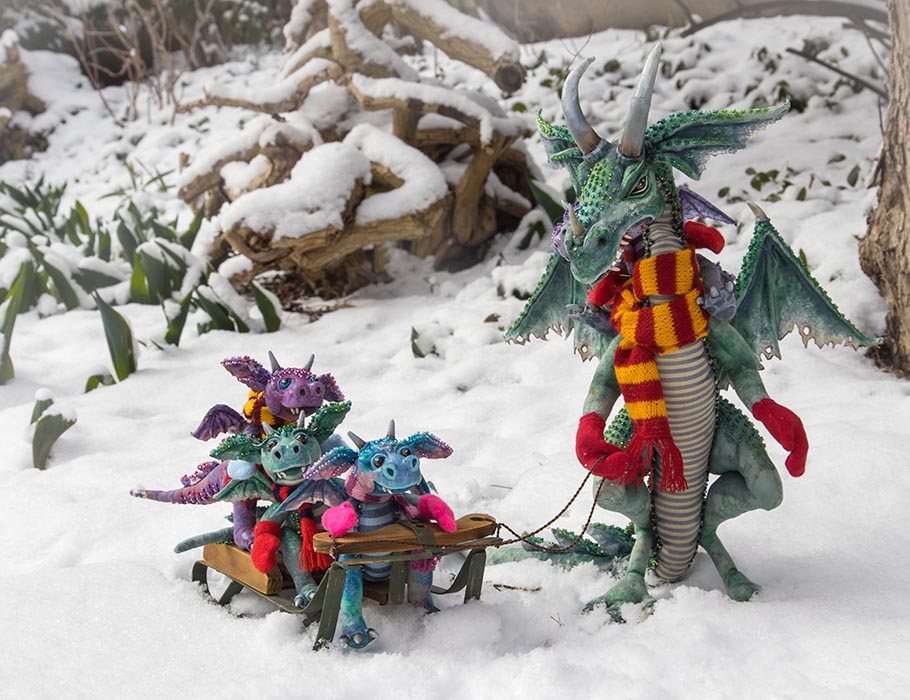 So, on they went.... 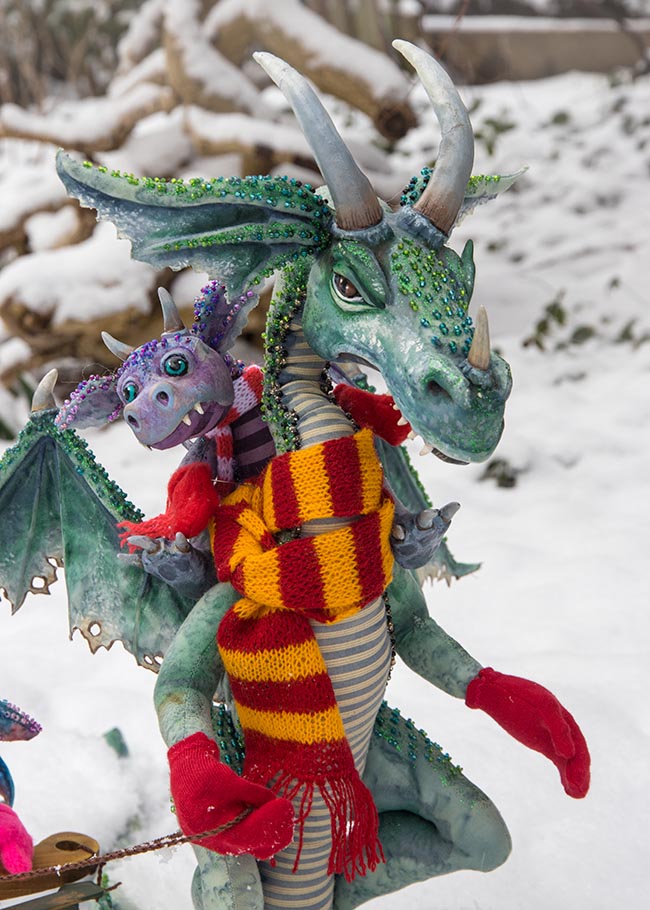 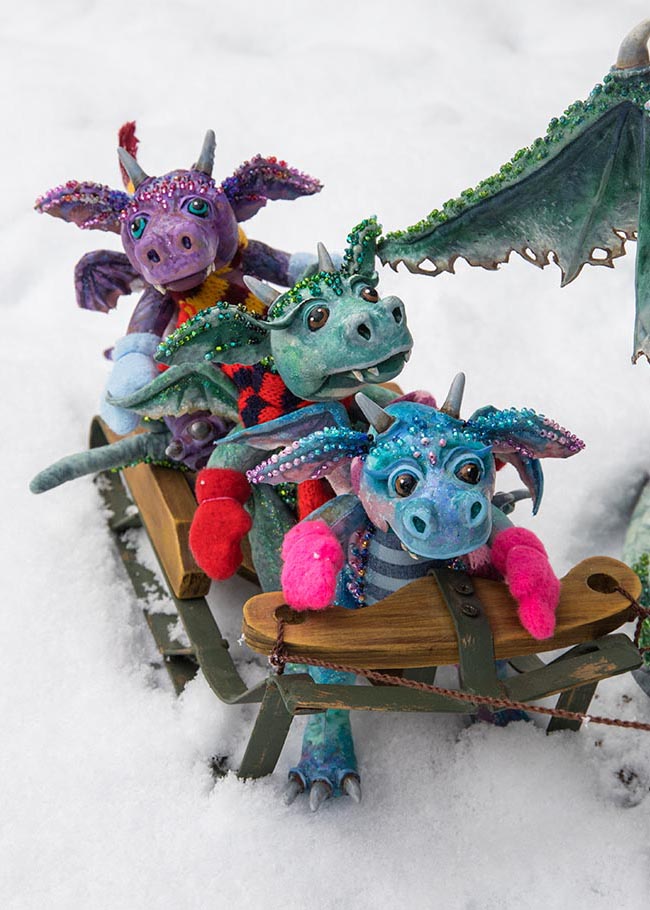 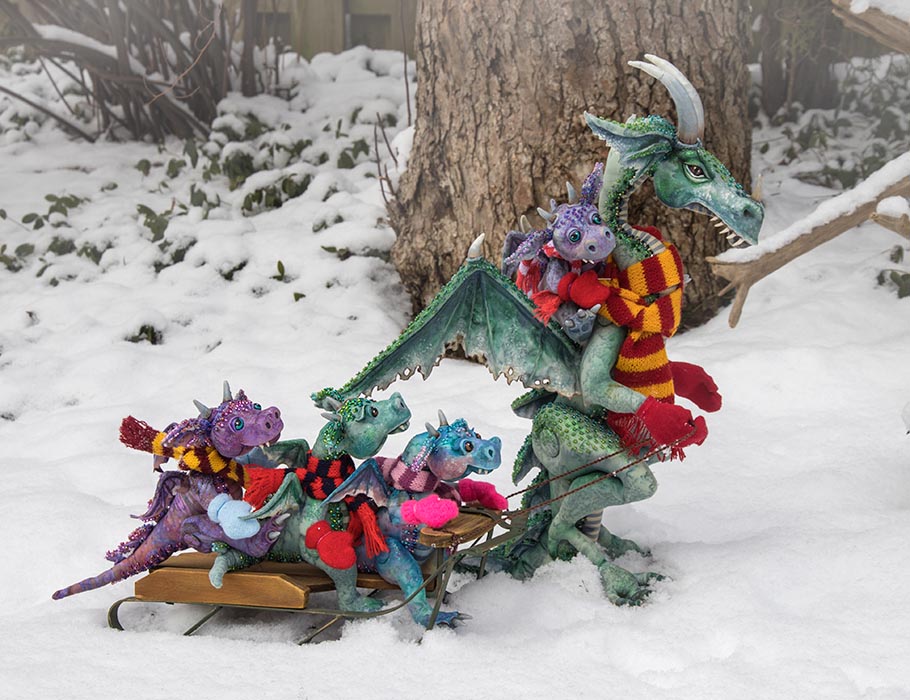 The little dragons had never seen snow before, and had been looking forward to it all winter. Then there was finally some in spring. So they put on their scarves and mitts and headed outside... 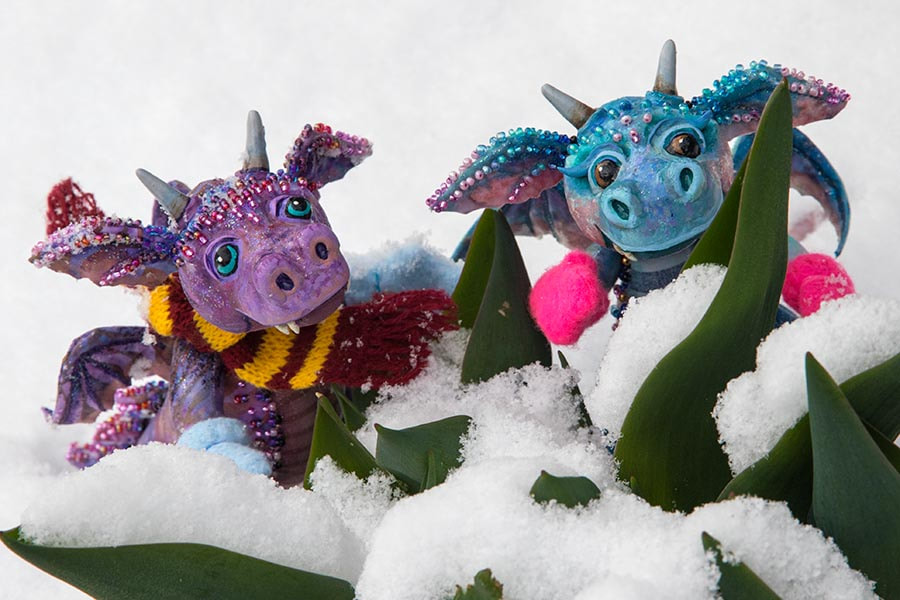  "Do you think Dad would take us for a sleigh ride?" 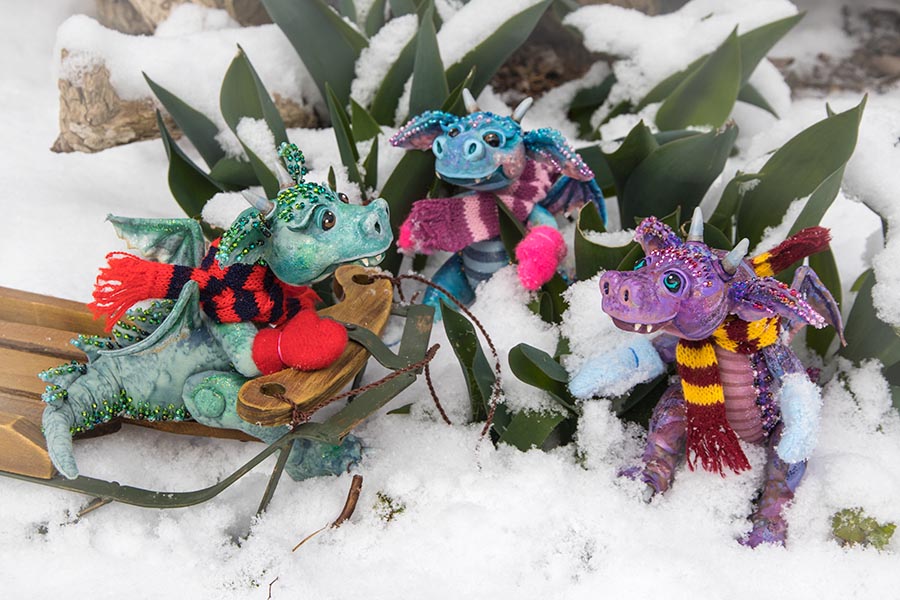 "I don't know..." 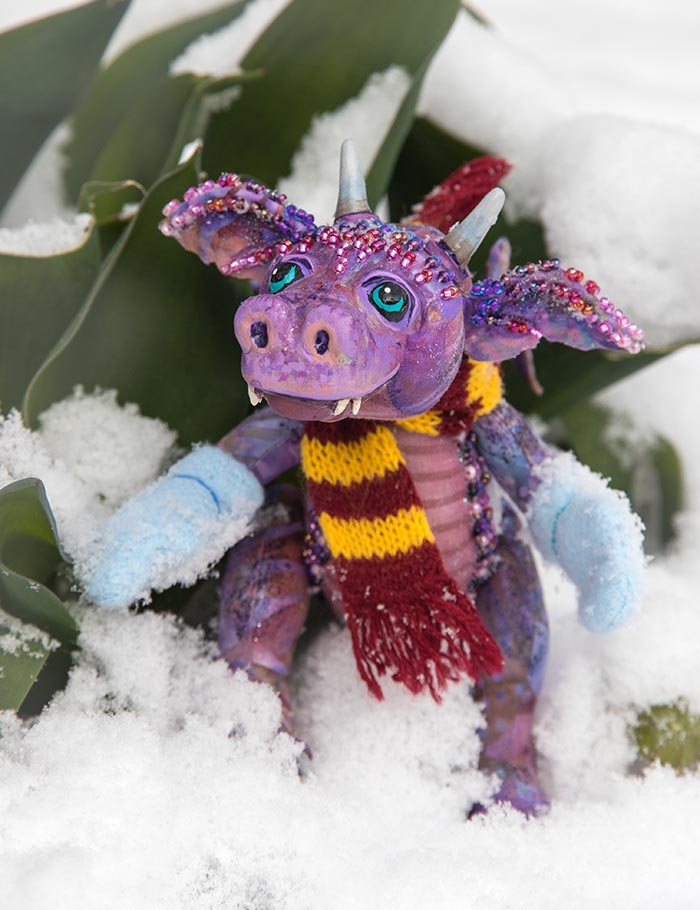 "Let's ask him." 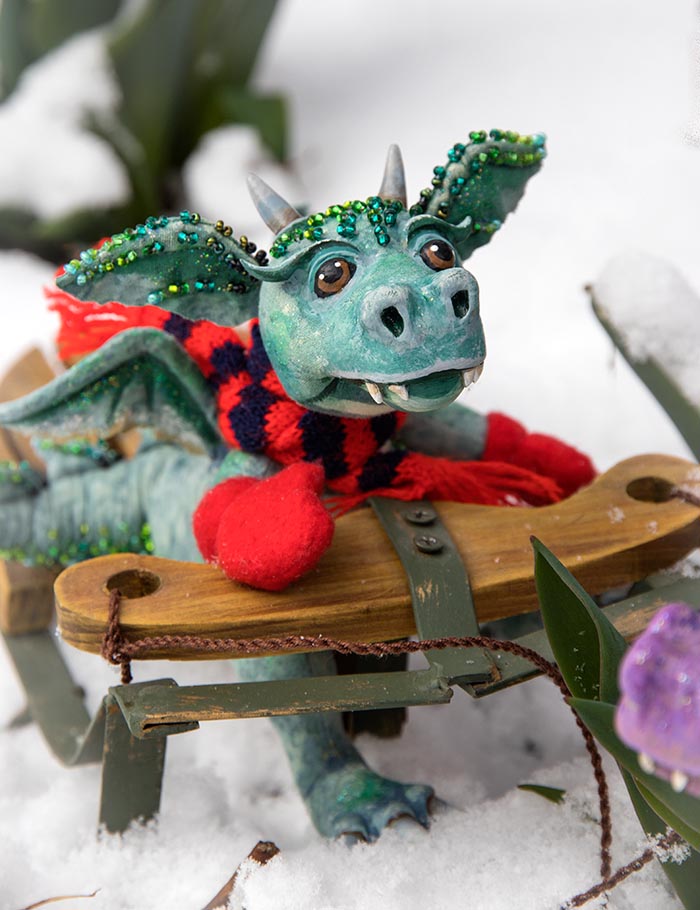 My newest book has arrived! It's the the story of Narae, a young artist, who is working towards her first solo art show. 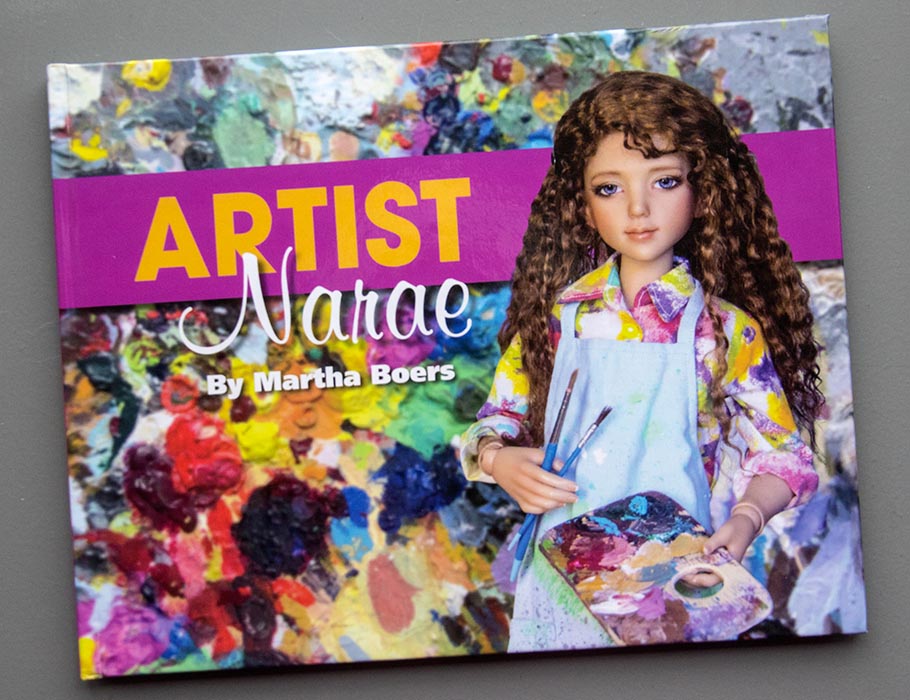 She acquires a studio space... 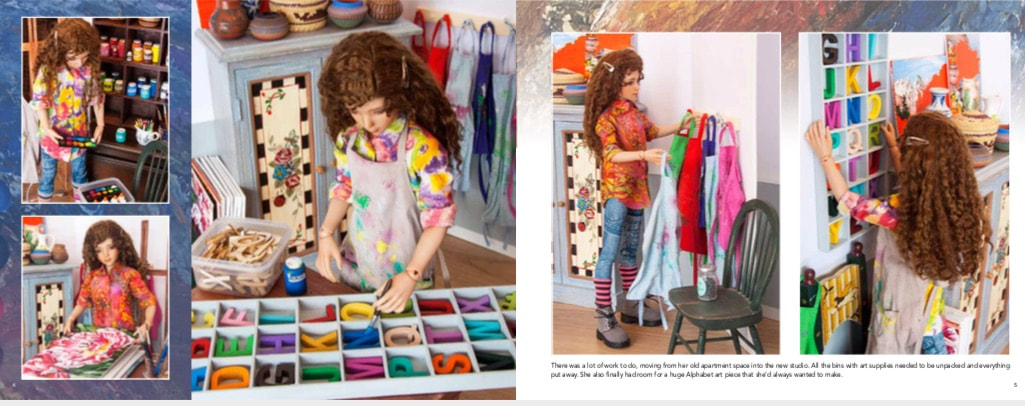 ...and decides to offer children's art classes to help pay her bills. 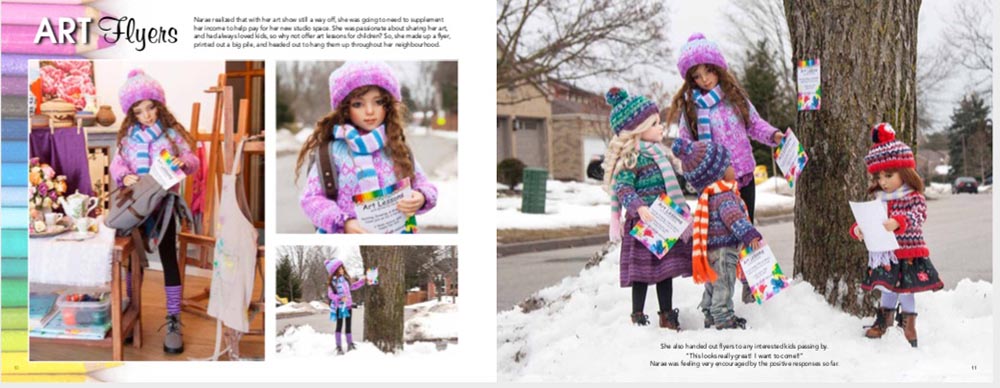 Then we follow along as she leads art classes for six weeks... 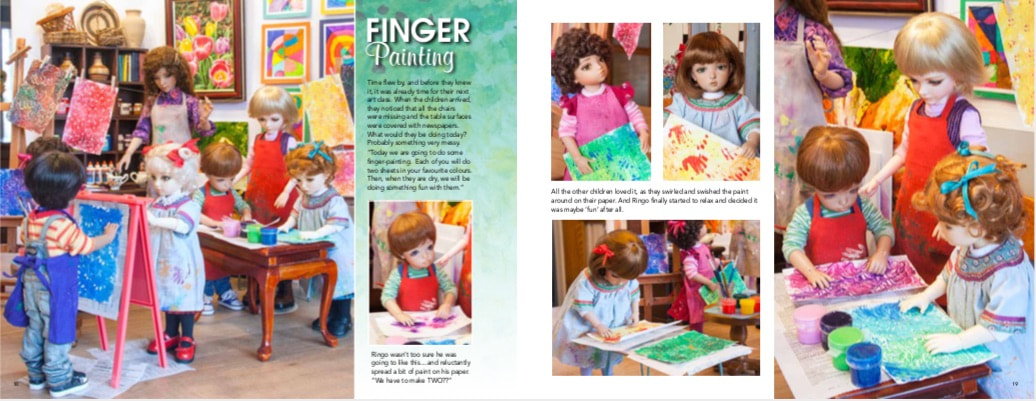 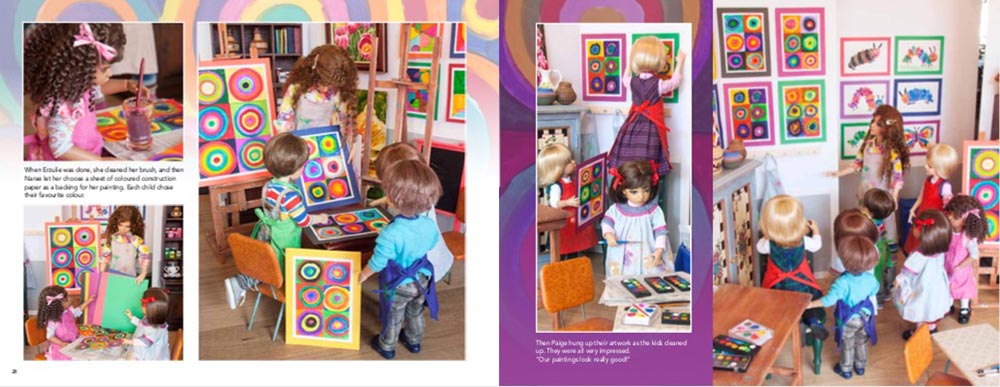 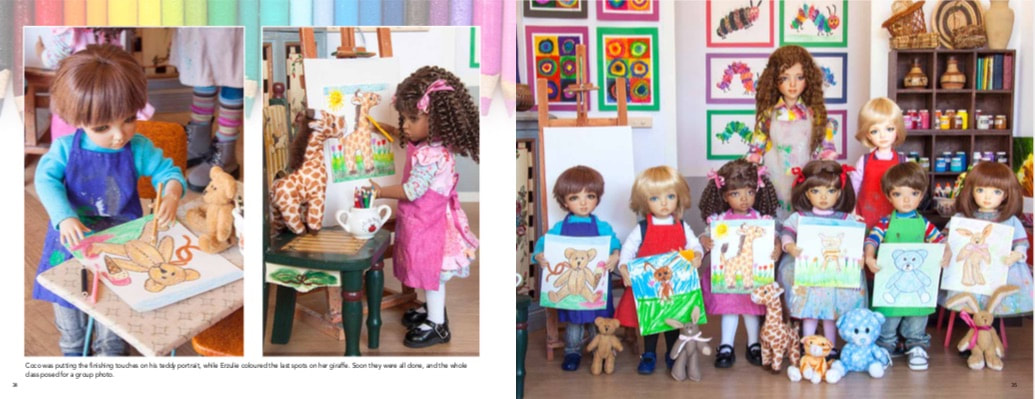 ...while also working on paintings of her own... 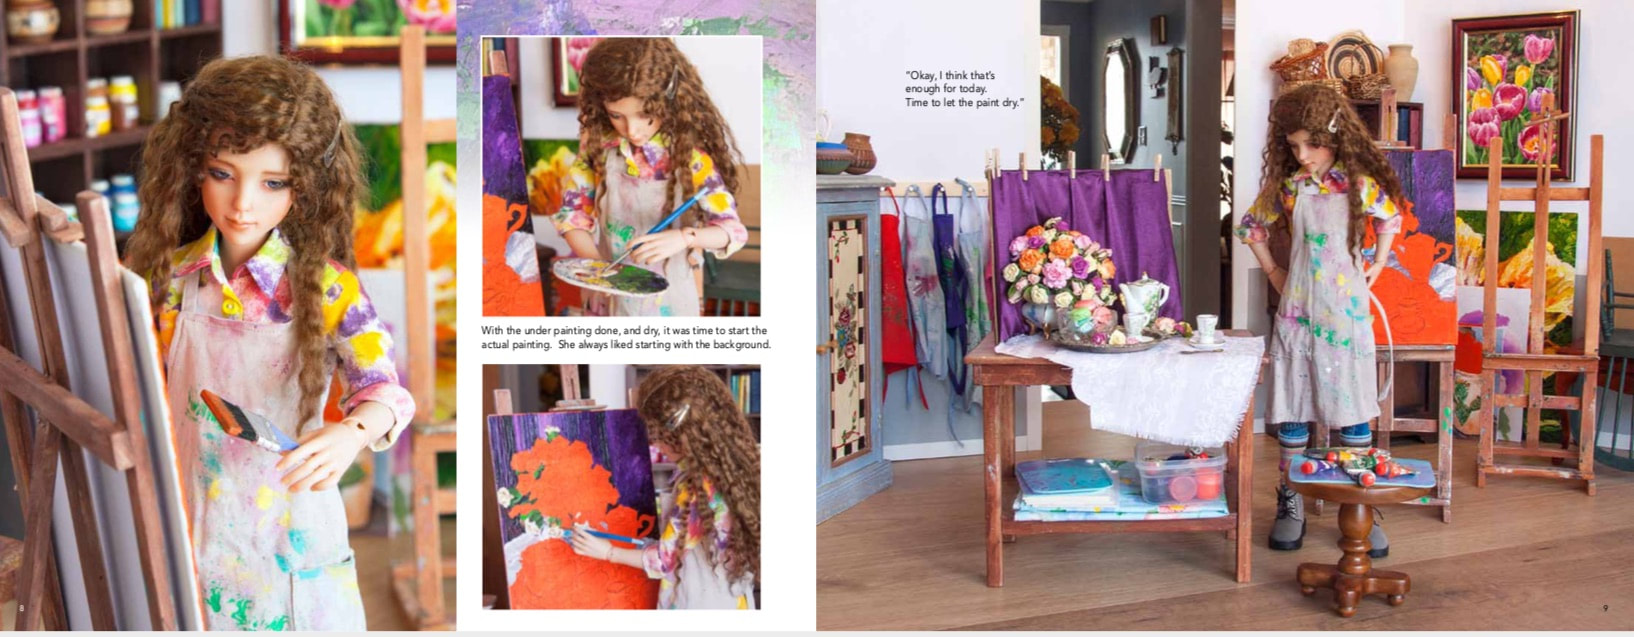 ...all leading up to her solo art show. 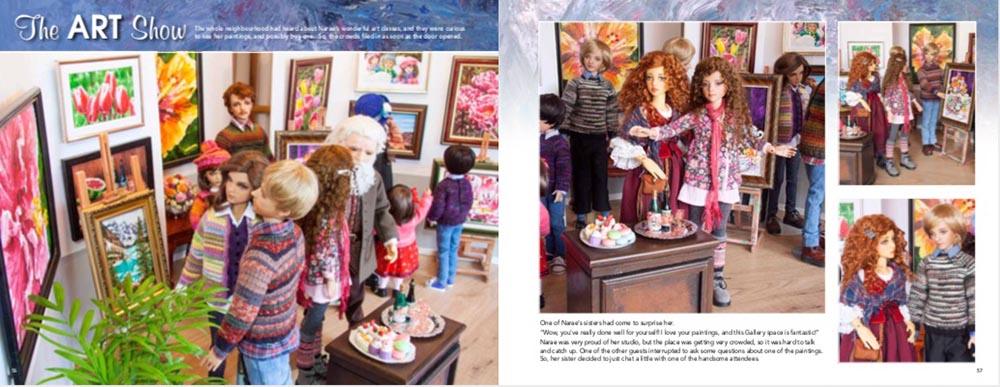 The book is in tribute to my sister Marianne, whose gift of an entire collection of tiny acrylic paintings inspired the original story. Then the children's art classes were inspired by some of my favourite real life projects from my years as a volunteer art teacher at the local school. Together they make for a wonderful, very colourful book. Artist Narae - $95. US plus shipping*As usual, in order to keep the price down to $95. US, the preorder will continue until the next time Mixbook has a half price sale. So if you'd like to reserve a copy, please send me an email - martha@marthaboers.com
|
AuthorMartha Boers is an award-winning Canadian doll maker and costumer specializing in fantasy and historical-style costumes. Archives
April 2024
|

 RSS Feed
