Make your own Textured Fairy Wings
Copyright © 2010 Martha Boers, All Rights Reserved
These wired wings are made by layering fabrics and trims between layers of tulle, then top-stitching
and embellishing with paint, beads and/or glitter.
and embellishing with paint, beads and/or glitter.
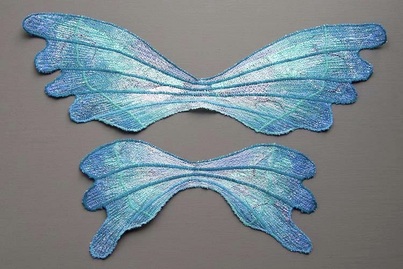
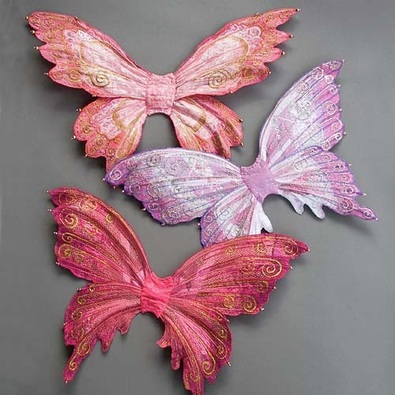 Three pairs of fairy wings |
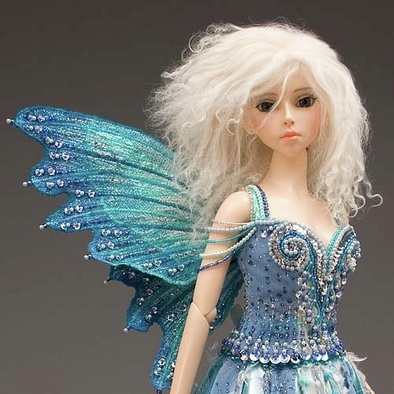 Wings on Ice Fairy Costume |
Instructions
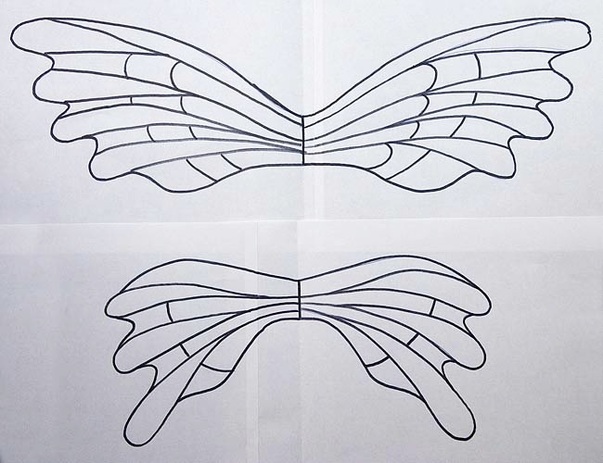
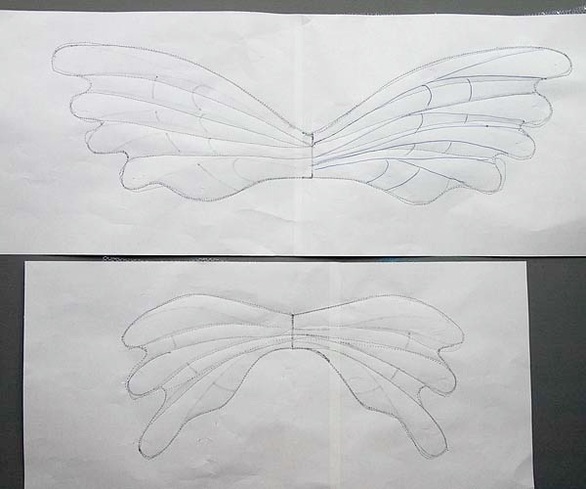
1. Start with an actual size detailed drawing of the wings you'd like to make. The wings I made using this technique had the top wings and the bottom wings each joined together as a single unit.
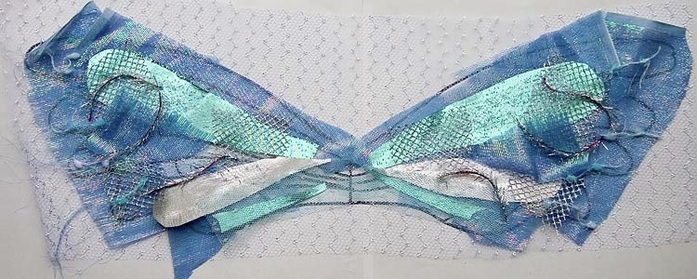
2. Cover the pattern with a layer of tulle. Cut scraps of fabric, yarn and lace in your chosen colour scheme, and layer the pieces on top of the tulle to create a balanced wing design.
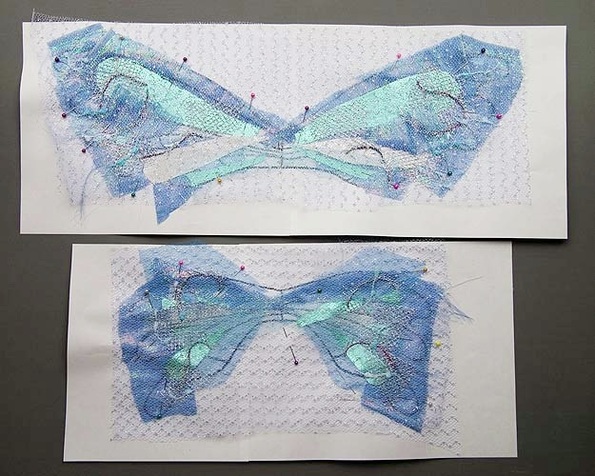
3. When you are happy with the placement of the scraps, place another layer of tulle over the entire wing. Pin through all the layers - including the paper. Sew across the wings along 'imaginary vein lines' from one outer wing edge to the opposite side, in order to hold the scraps in place between the tulle.
4. Turn the whole thing over, and sew the outer wing lines as drawn on the pattern. Notice that my 'vein lines' don't really match up with the veins on the pattern but that doesn't matter. Now remove all the paper from the backs of the wings
 5. Carefully cut away the excess tulle, leaving approximately 1/8" beyond the stitching line.
|
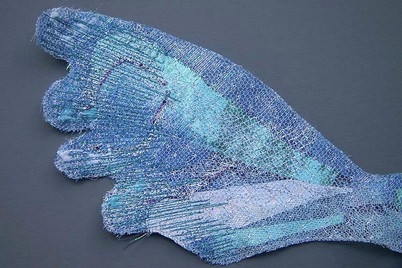 6. Using darkest colour thread, sew back and forth from outer edge of wing towards center as shown. Repeat for all four wing edges.
|
 7. Repeat stitching back and forth with progressively lighter colours of thread, layering and sewing closer towards the center of the wing.
|
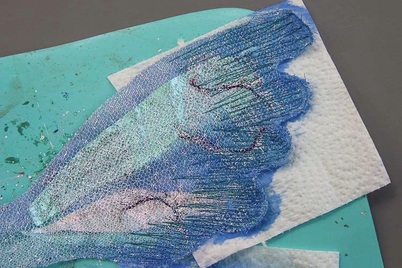 8. Dilute some acrylic paint in a darker shade of the wing colour. Brush onto outer edges of wings.
Let dry. |
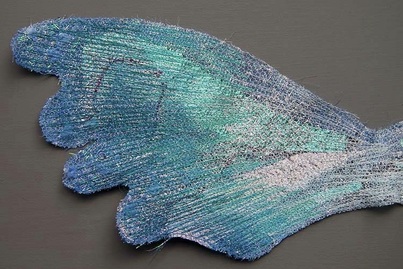
 9. Using lightest colour thread, satin stitch up wing as shown. Satin stitch along bottom edges of wings.
|
 10. Using progressively darker hues of your chosen colour, satin stitch around an outer wing bump, then all the way across to the corresponding bump on the other side, and up.
|
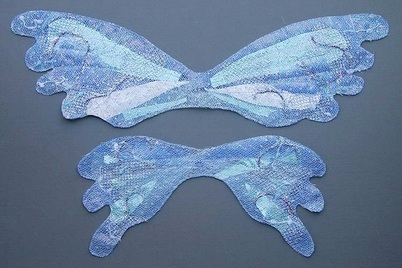
 11. Top and bottom wings with all the satin stitching completed.
|
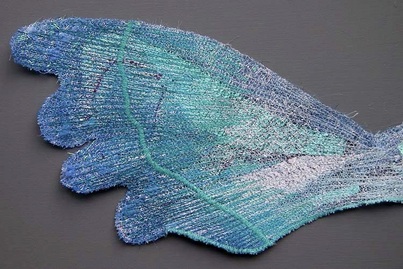
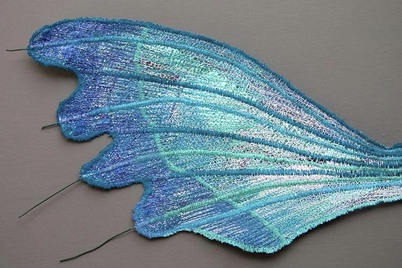 12. Cut lengths of sturdy wire to fit all the way across wings and extend about an inch on both ends. Carefully satin stitch over the wires from one end to the other side.
|
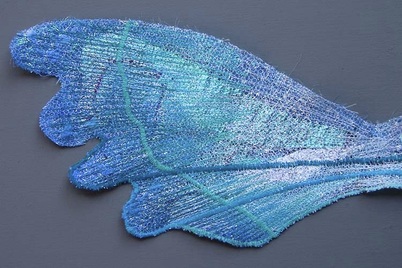
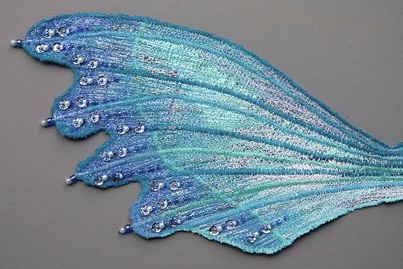 13. Cut wires to protrude 1/4" and glue beads onto wires. Embellish with beads and sequins.
|
 14. Sew wings onto back of costume
|
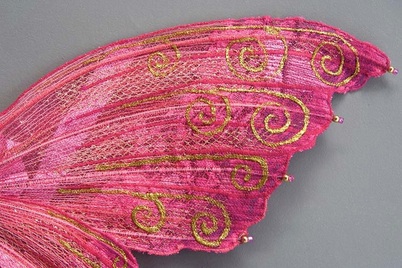 15. Instead of beading, you could choose to embellish the wings with glitter paint.
|
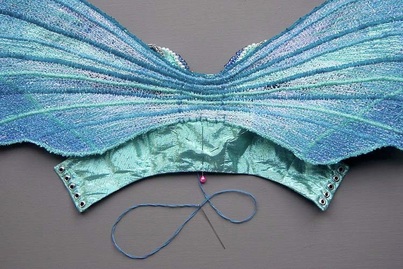
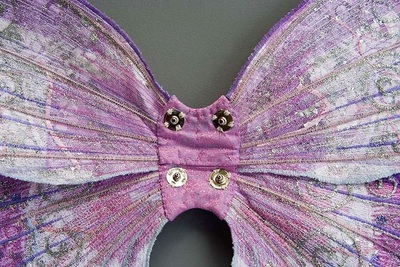 16. Instead of sewing the wings directly onto the back of the costume, another option is to wrap the centers of the wings together with fabric matching the costume bodice, and hand-stitch into place. Then sew four snap fasteners onto the wing and onto the back of the bodice.
|
 |
 |
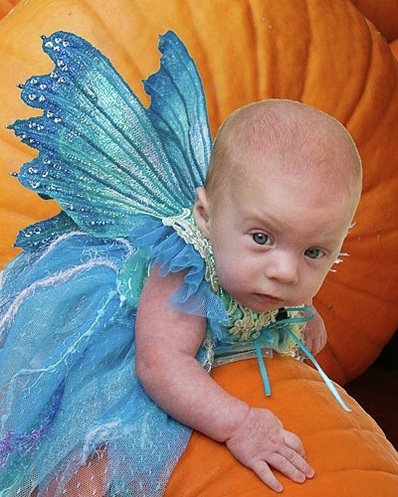
The wings also look great when taking 'fairy photos' of baby granddaughters!
Copyright © 2010 Martha Boers
All Rights Reserved
