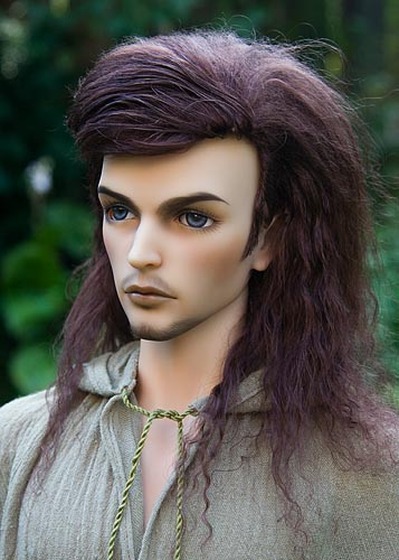
Make a Tibetan Lambskin Wig for your Iplehouse EID Guy
I wanted something a bit more masculine-looking for my Tedros, so came up with this pattern for a wig. Unfortunately the piece of lambskin I had was not big enough to cut my pattern out of in one piece, so I had to sew several pieces together. If you have a piece of Tibetan lambskin big enough, then this wig should be relatively easy. All you will need is some hair-styling skills, and then you'll have your own one-of-a-kind wig for your Iplehouse guy.
 |
 |
Making the Pattern
You can follow these instructions to make your own custom wig pattern, or skip right to the actual pattern.
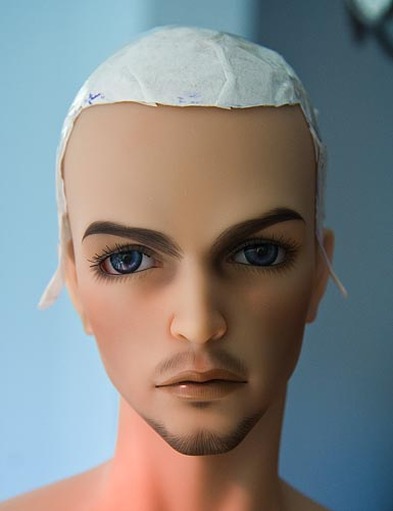
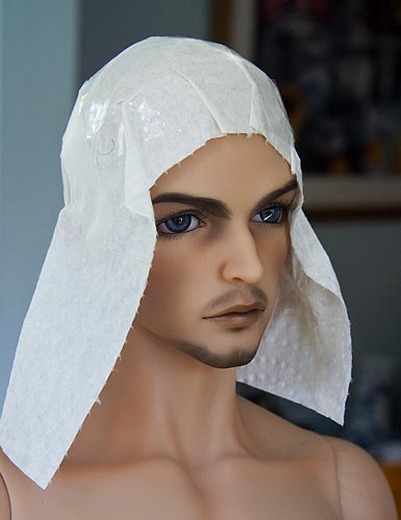 1. Cover doll's head with paper towel and wrap with tape to form head shape.
|
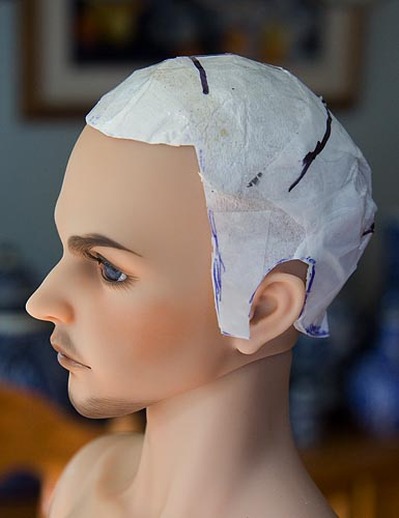
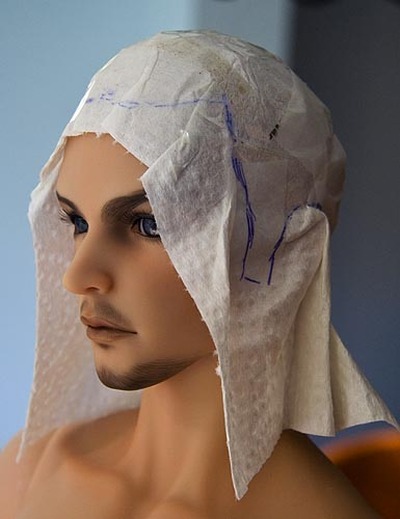 2. Draw hairline onto taped paper towel
|
 |
 |
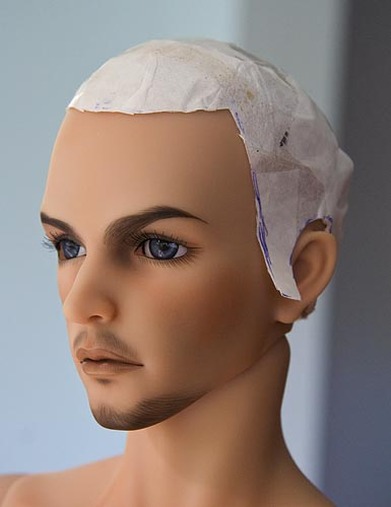
3. Cut out taped paper towel form along drawn hairline.
 |
 |
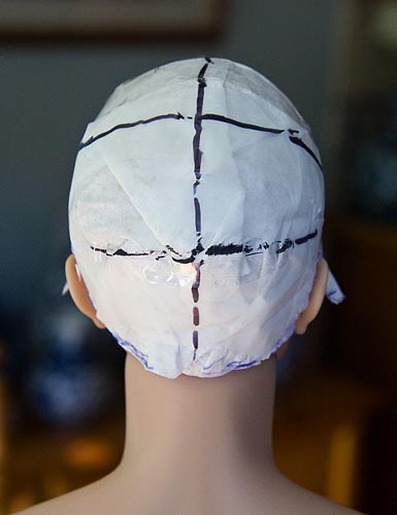
4. Draw shaping lines along center of wig, and three sets of dart lines radiating out from center line.
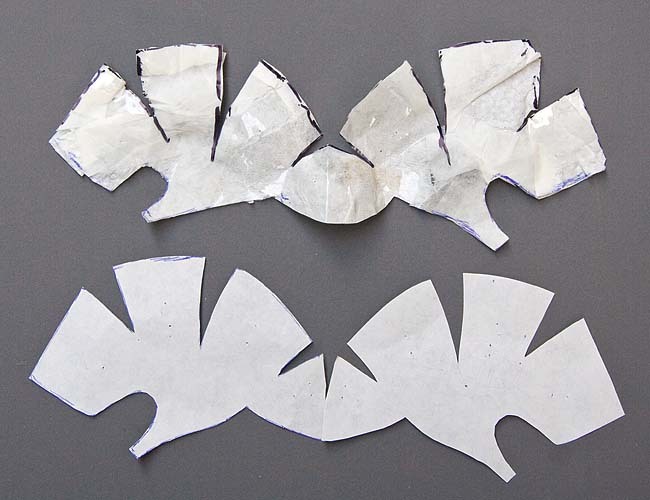
5. Remove paper towel form from head, and cut along marker lines. Flatten, fold along
center front and draw a symmetrical pattern onto folded white paper. Cut out.
*This is my first prototype pattern. Alterations were made to the final pattern.
center front and draw a symmetrical pattern onto folded white paper. Cut out.
*This is my first prototype pattern. Alterations were made to the final pattern.
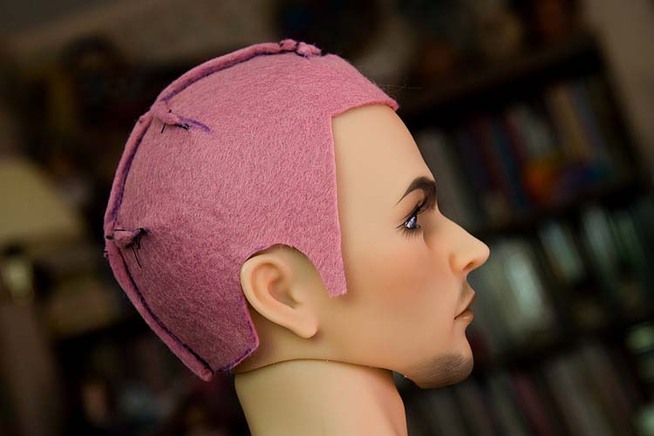
6. Make test wig cap from felt to check fit.
Making the Actual Wig
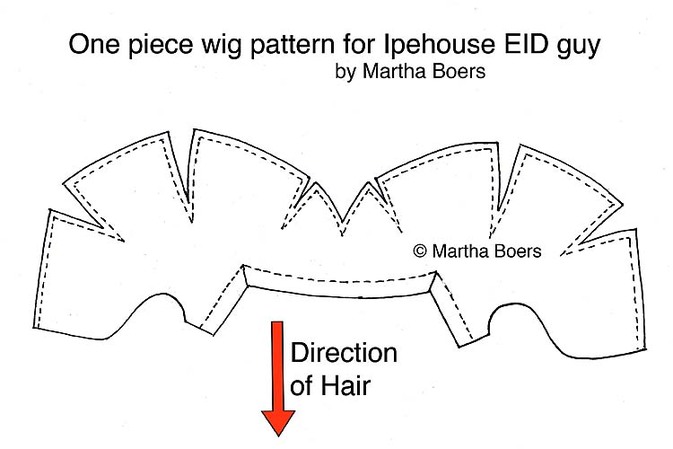
7. To download actual pattern pdf, click on pattern illustration above. Print and cut out pattern.
Draw arrow on pattern to remind you which direction the hair needs to go.
Make a test wig cap out of felt to check cap size on your doll.
Draw arrow on pattern to remind you which direction the hair needs to go.
Make a test wig cap out of felt to check cap size on your doll.
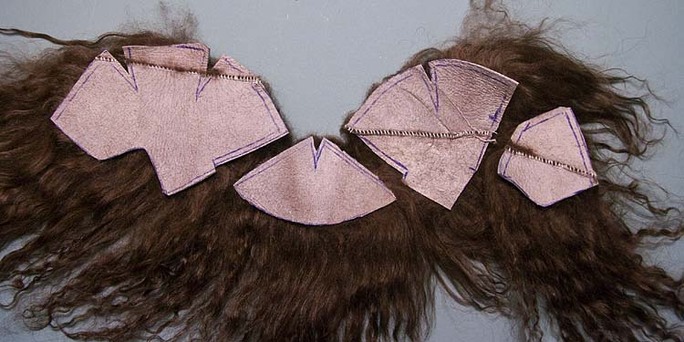
8. Trace pattern onto back side of lambskin. My lambskin was not big enough for the whole pattern, so
I had to cut the pattern into pieces - thereby totally negating the advantage of a one-piece pattern.
If you have the same problem, make sure to add seam allowances along every cut, in the pattern,
and be sure to align the pieces so the hair is going the same direction on all the pieces.
I had to cut the pattern into pieces - thereby totally negating the advantage of a one-piece pattern.
If you have the same problem, make sure to add seam allowances along every cut, in the pattern,
and be sure to align the pieces so the hair is going the same direction on all the pieces.
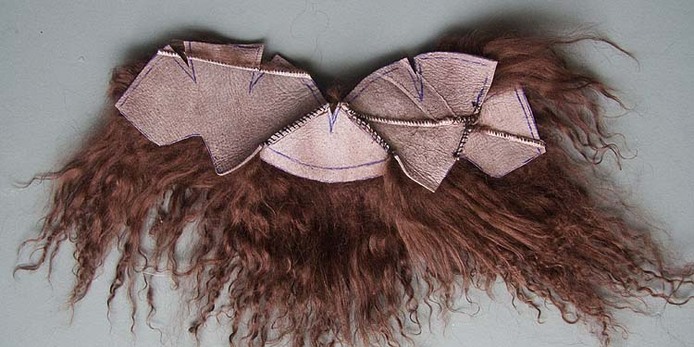
8a. All my pieces have been sewn together - first by hand, then a second time by machine.
This would have been a lot neater if it had been one piece!
This would have been a lot neater if it had been one piece!
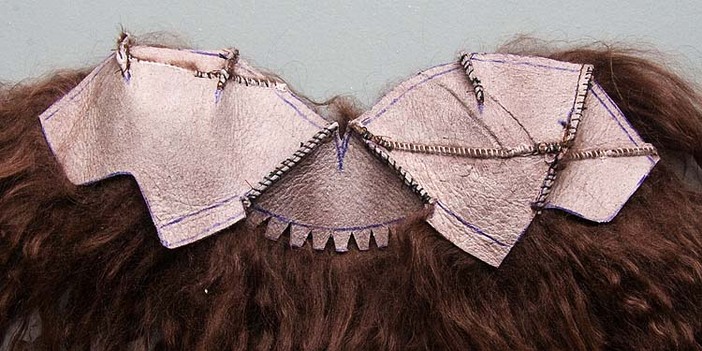
9. Sew the darts as shown - first by hand, then by machine.
Clip the front hairline as shown,
Clip the front hairline as shown,
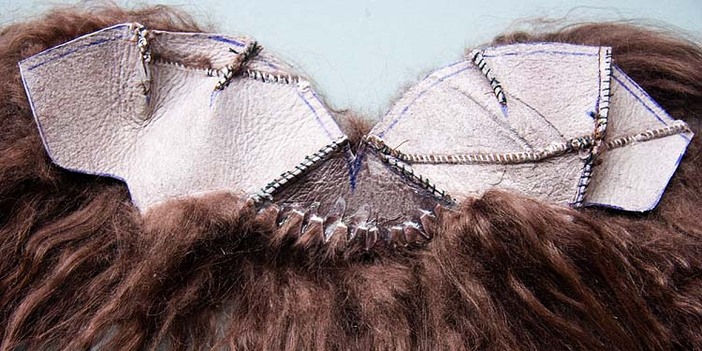
10. Using a thin layer of hot glue, glue back the sideburns and the clipped front hairline.
Fold wig along center front with right sides together, and sew center seam from front to back.
Fold wig along center front with right sides together, and sew center seam from front to back.
 |
 |
11. Turn wig right side out, and try on doll. If you like the fly-away, wild look, then your wig is now done.
Styling the Wig
I am no expert at hair-styling, but will share what I did to my wig.
 |
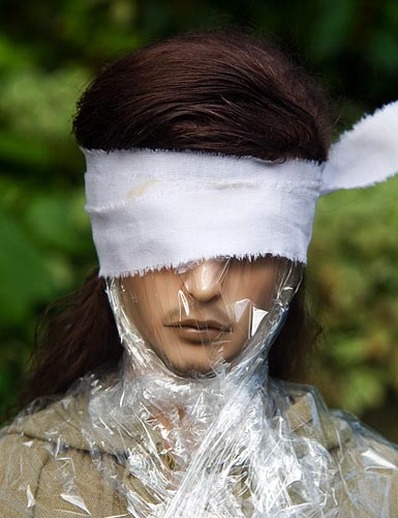 |
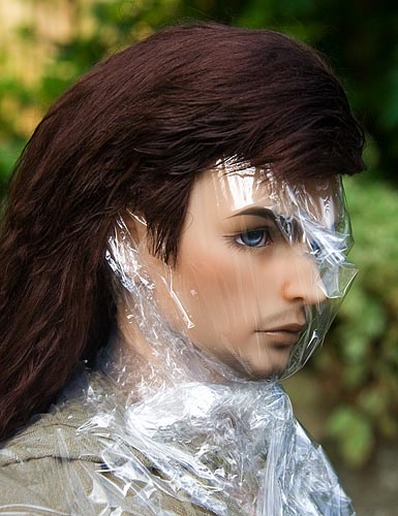
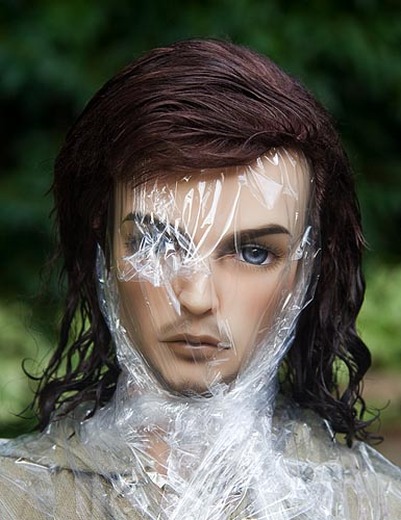
12. First I shampooed and conditioned the wig, then gently combed it out. I covered Tedros' head with plastic wrap and put the wig on him. I decided I wanted a part on his left side as the hair there was thicker and the skin would not show if I made the part there. I cut the hair shorter in front and at the side. I worked in some hair gel and did some more combing to get the hair to lie the direction I wanted it. After drying, the sideburns were trimmed some more, but they were not lying flat against his head, so I sprayed them with hair-spray and finger-shaped them, then wrapped a length of clean soft cloth around his head and let everything dry.
 |
 |
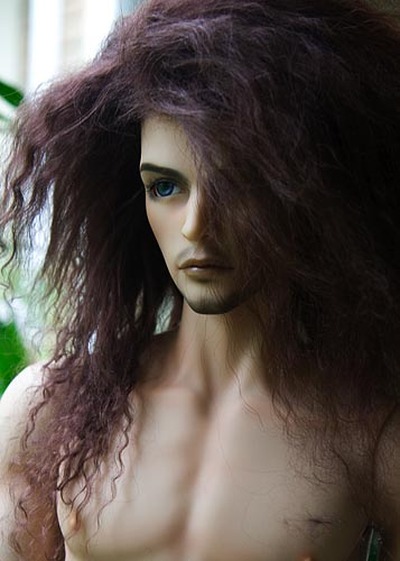
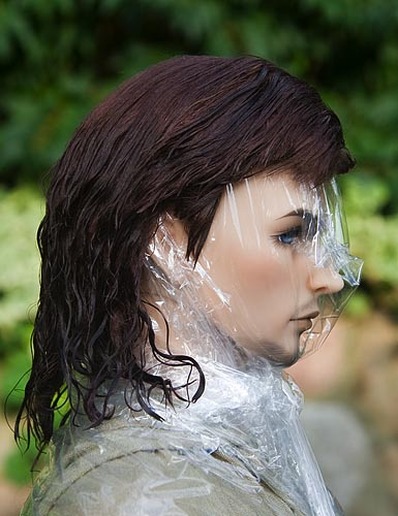
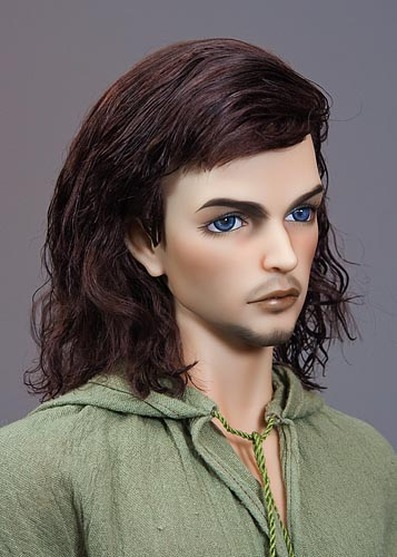
13. After the hair was thoroughly dry, I removed the cotton wrapping, and his sideburns were
nice and close against the side of his head. They needed a touch more trimming.
I decided I didn't really want the "Fabio" look, so decided to try some more styling.
nice and close against the side of his head. They needed a touch more trimming.
I decided I didn't really want the "Fabio" look, so decided to try some more styling.
 |
 |
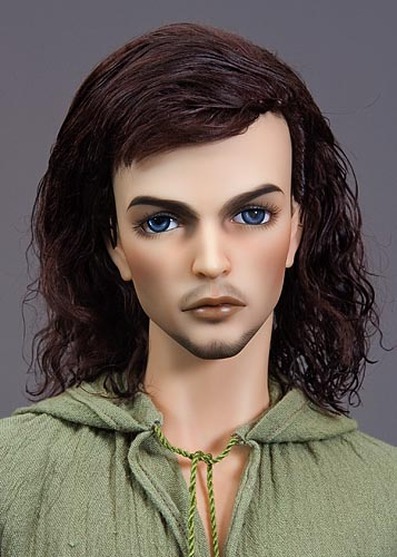
14. I covered Tedros head with a fresh layer of plastic wrap, and cut his hair some more. I spritzed the back with water and worked the mohair gently with my fingers to get the waves back. Let dry.
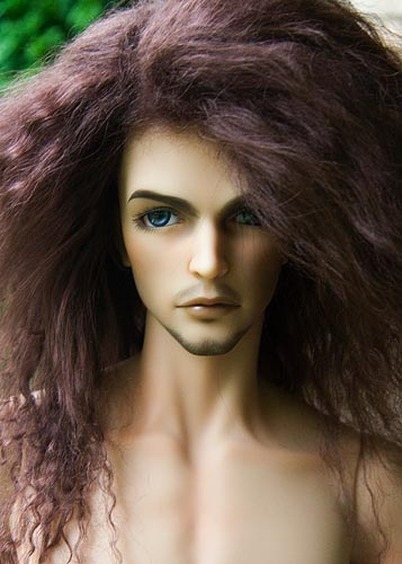
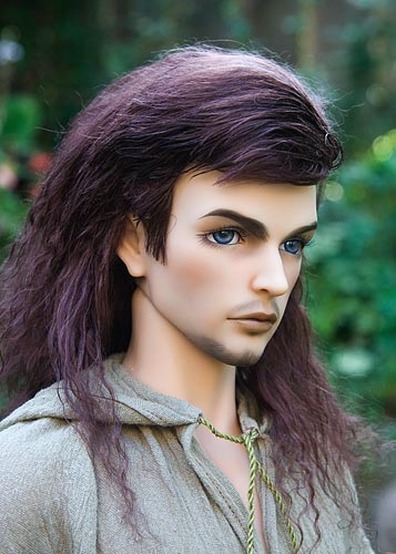
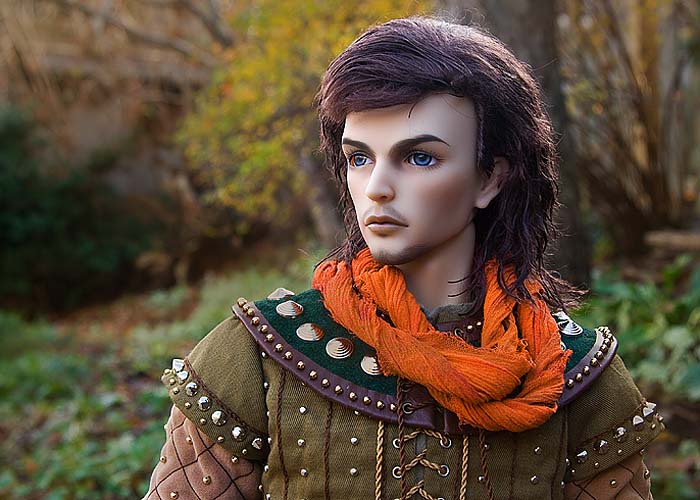
Finished Wig
 |
 |
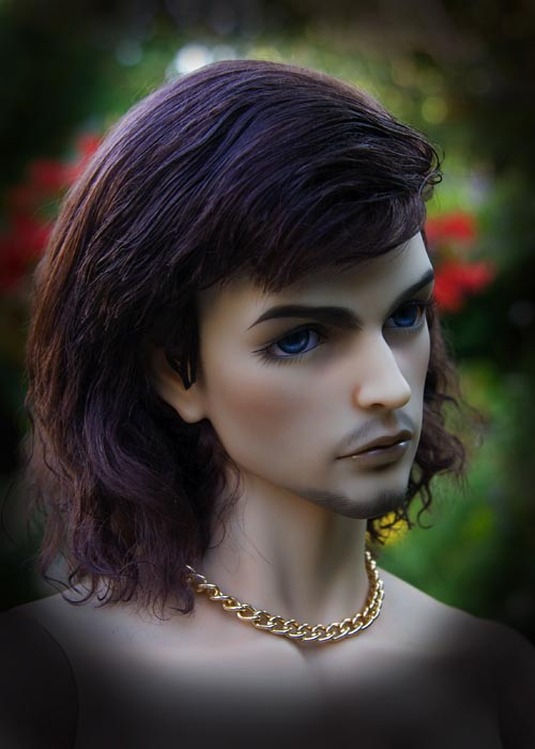
And a touch more thinning and trimming...
Copyright © 2011 Martha Boers
All Rights Reserved
All Rights Reserved
