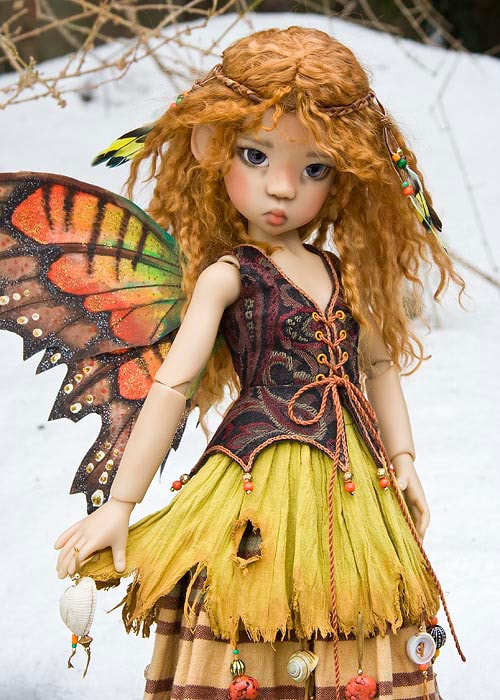
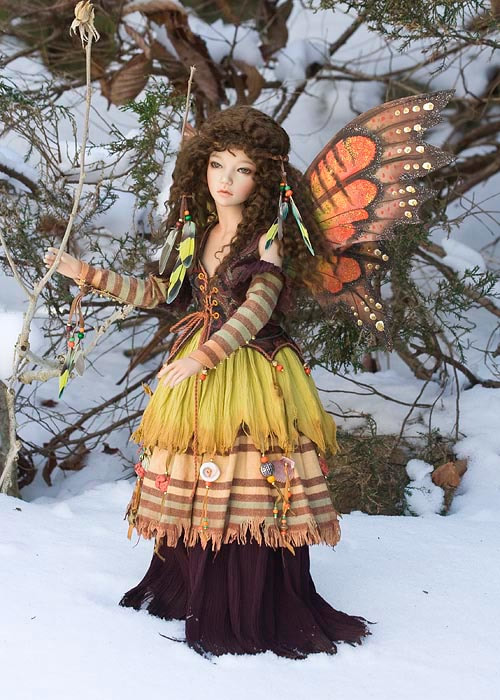
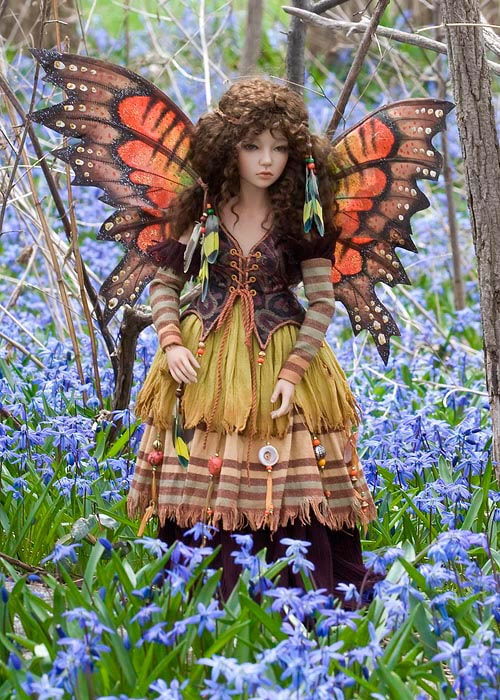
Make a Tattered & Stained Fairy Skirt
I have always thought fairies should have ragged skirts. After all, I doubt they would bother hemming the fabrics they find,
and with time the skirts would wear and tear, and become stained. I also figured they wouldn't bother with making pockets,
and that carrying bags around with them would be too cumbersome, so what better way to keep all those special found
treasures but to tie them onto their skirts?
and with time the skirts would wear and tear, and become stained. I also figured they wouldn't bother with making pockets,
and that carrying bags around with them would be too cumbersome, so what better way to keep all those special found
treasures but to tie them onto their skirts?
|
|
This tutorial reveals how I make my tattered fairy skirts. The instructions are for the tattering and staining of the skirt fabric, and do not include an actual skirt pattern.
Materials
- soft 100% cotton fabric in desired colour (I use cotton crinkle gauze)
- scissors
- acrylic folk art paint in a darker colour
- textile medium
- old brushes
- plastic tablecloth or placemat to work on
- iron
- silk ribbon in colours to match stained fabric. Must be silk ribbon (can substitute embroidery floss if silk ribbon is not available)
- assorted sized beads, shells, charms- matching thread
- sewing & beading needles
- thread
Instructions
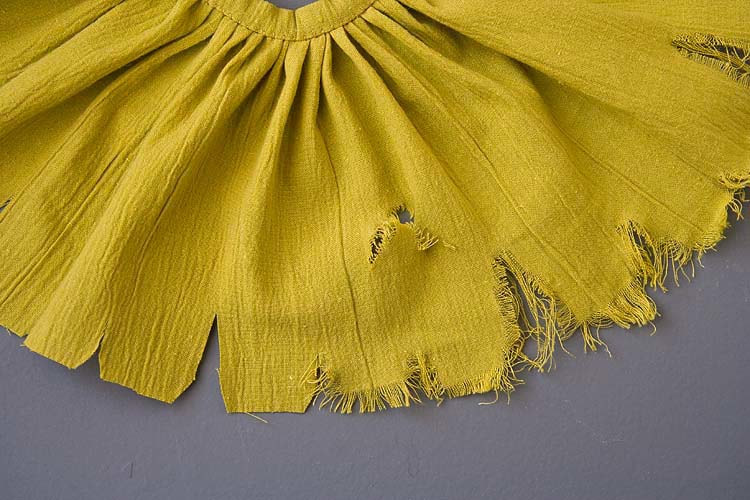
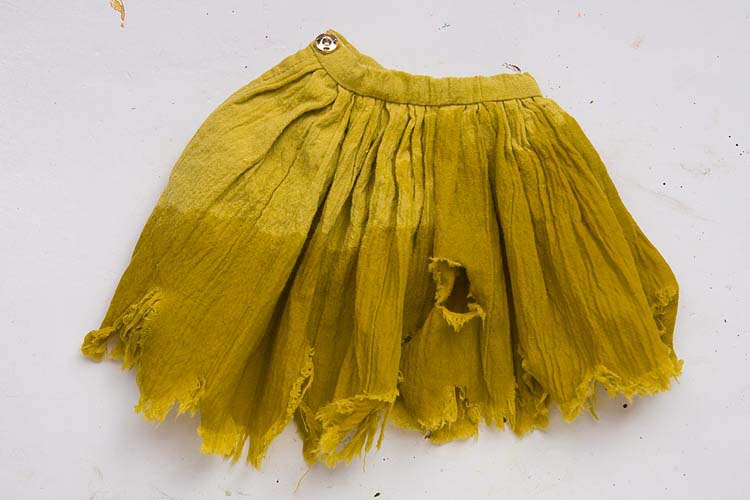
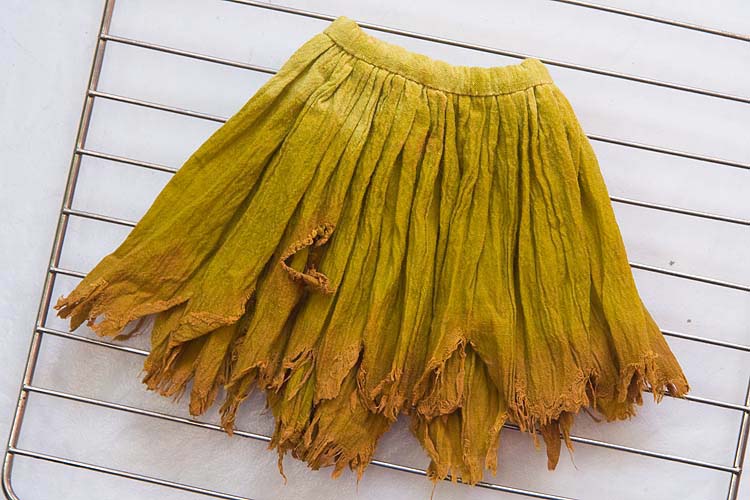
1. Cut fabric for skirt, making the back an inch longer than the front. Cut a waistband to fit your doll, and gather skirt fabric onto waistband. Finish skirt waistband and sew up the back seam. Clip the bottom of the skirt as shown alternating short, medium and long clips into the fabric and rounding off the corners a little. To make a 'hole', clip a small triangle into the fabric as shown.

2. Unravel the clipped edge by hand.
3. Optional - run the skirt with unraveled bottom through a wash and dry cycle with your laundry to soften the unraveled fibers.
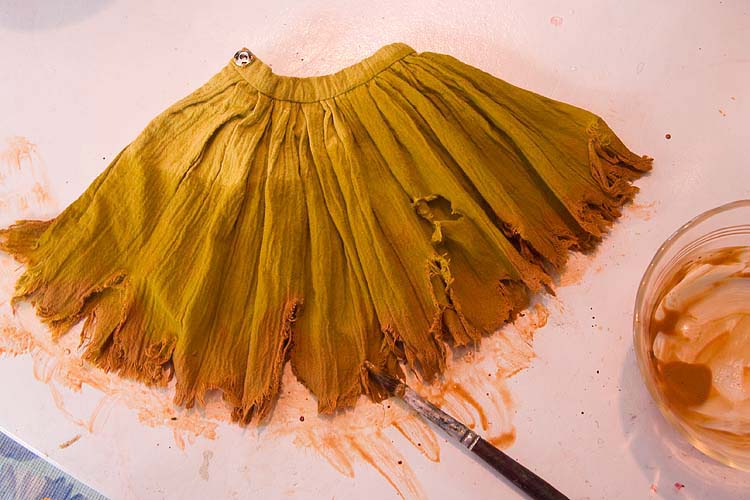
4. Wet the bottom half of the skirt
5. Choose a darker colour paint, mix with an equal part textile medium, and thin with water.
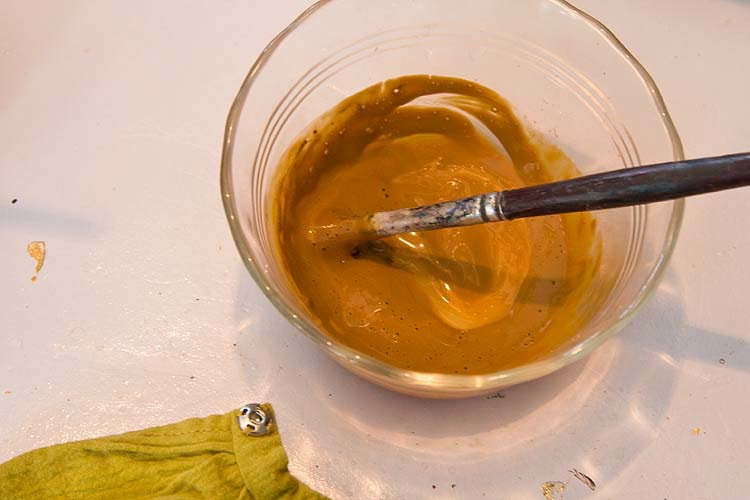
6. Work on a plastic tablecloth or place mat. With an old brush, work the diluted paint into all the wet ragged edges, and around any holes. Let air-dry completely - do not use forced heat as it will make the paint colour dry unevenly.
7. Heat-set the paint with an iron.
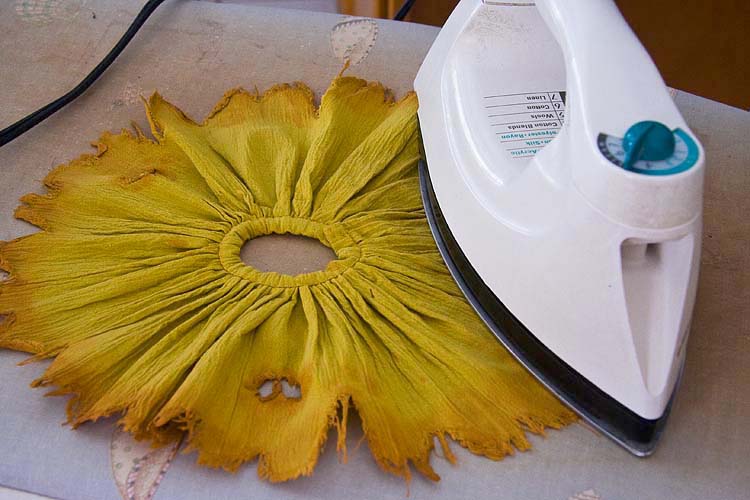
8. Wet the ironed hemline again to soften it and put the wrinkles back in. Let dry thoroughly.
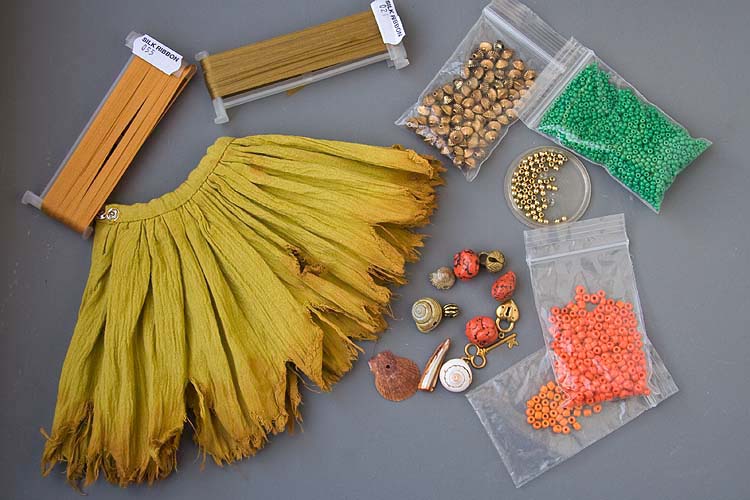
9. Gather matching-coloured silk ribbon, beads, shells, and assorted charms.
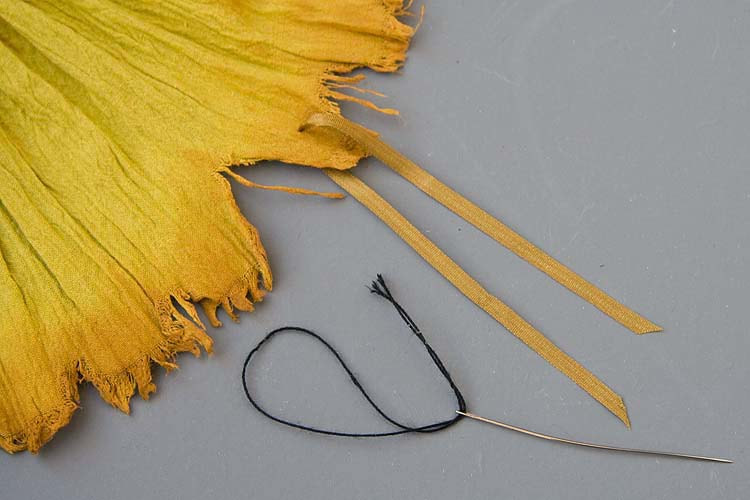
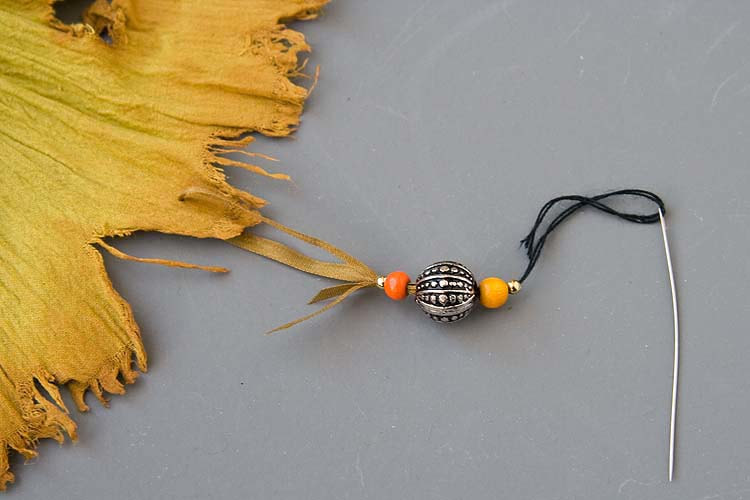
10. Thread silk ribbon through eye of a large needle and stitch through bottom of skirt edge. Then thread a needle, which will fit through the larger beads, with a double thread forming a loop.
11. Thread your desired beads onto the needle, and insert silk ribbon tails through loop in thread.
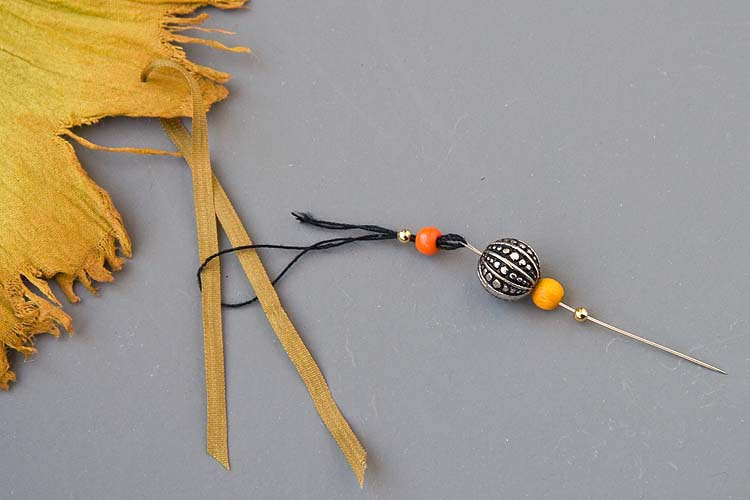
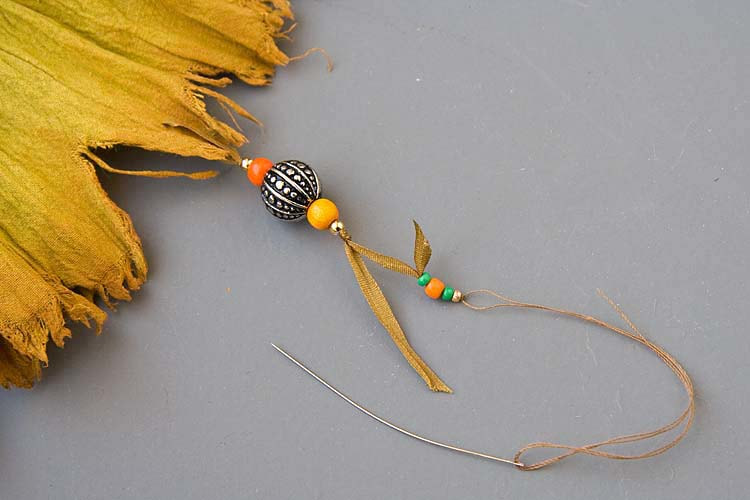
12. Carefully push beads down thread and onto ribbon. Pull silk ribbons all the way out the other end and tie into a knot to secure. *Tip - push beads all the way up to skirt as far as they will go, then tie a knot where you want it on the ribbon, and move beads back down into place.
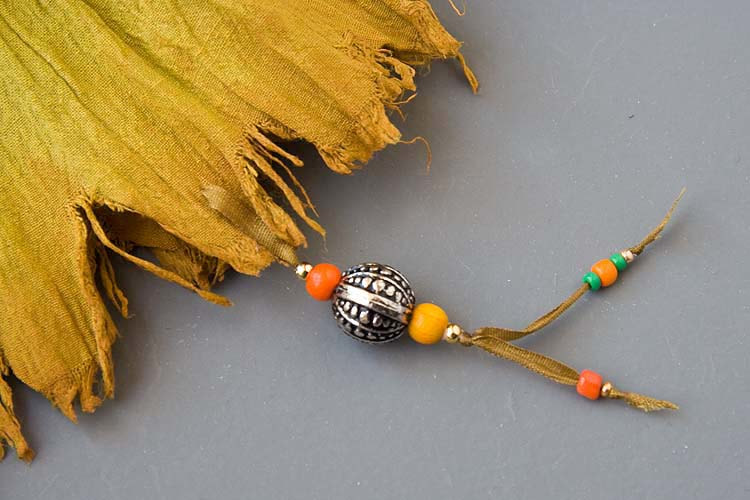
13. To add smaller seed beads to ends of ribbons, thread a double thread through a beading needle, pick up desired beads, and pull up onto ribbon as in step 12.
14. Tie knots below beads and secure with a small spot of glue.
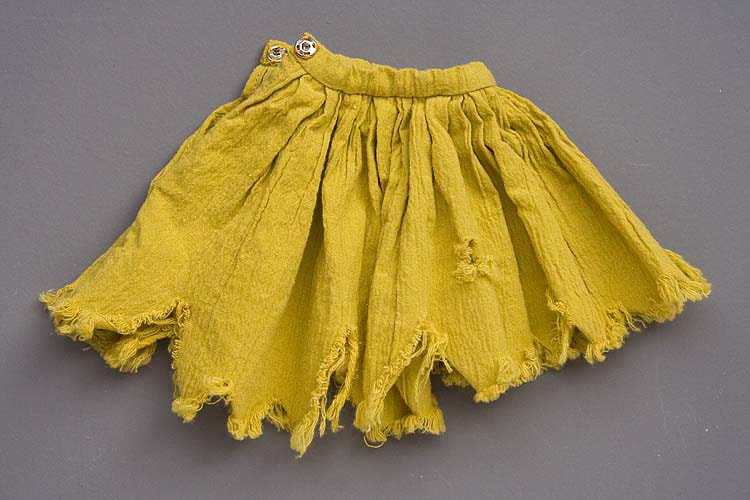
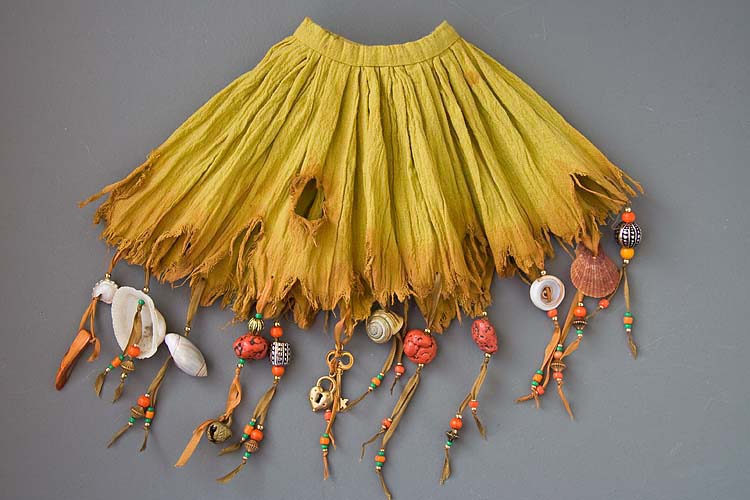
15. Finished skirt
Copyright © 2011 Martha Boers
All Rights Reserved
All Rights Reserved
