Slim MSD Shirt Pattern
Copyright © 2018 Martha Boers. All Rights Reserved. For personal use only
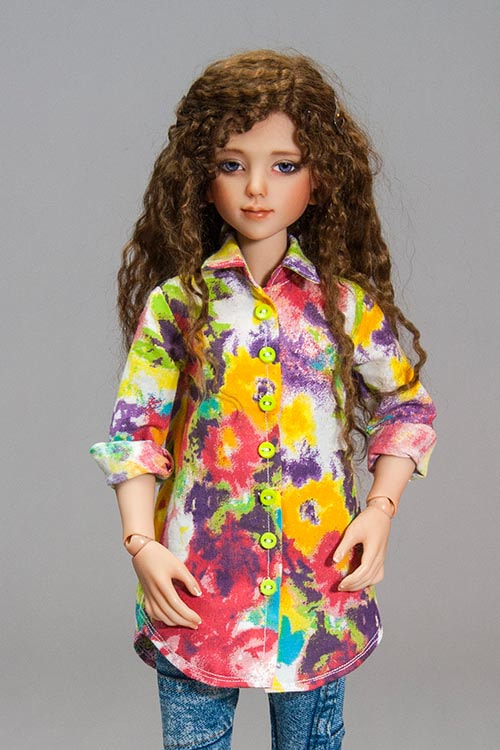
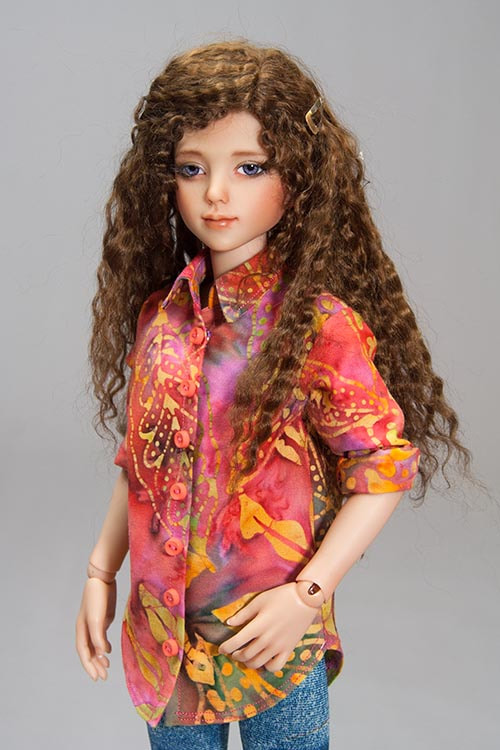
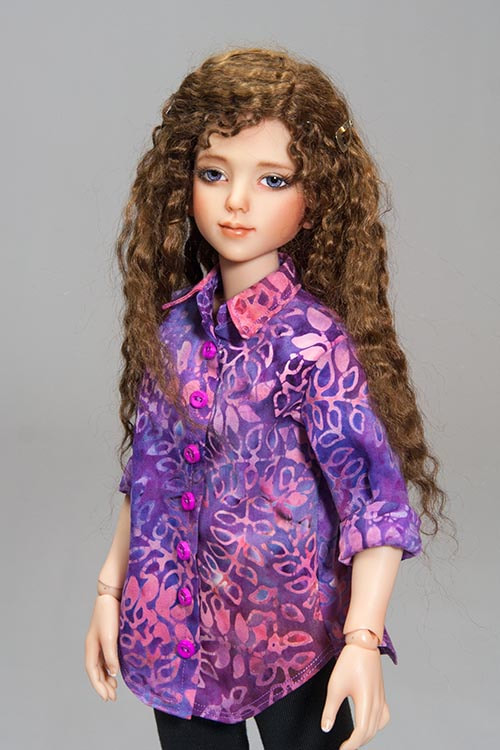
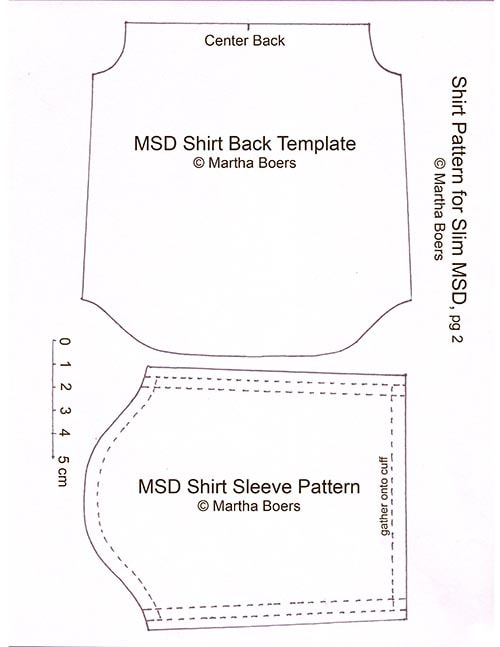
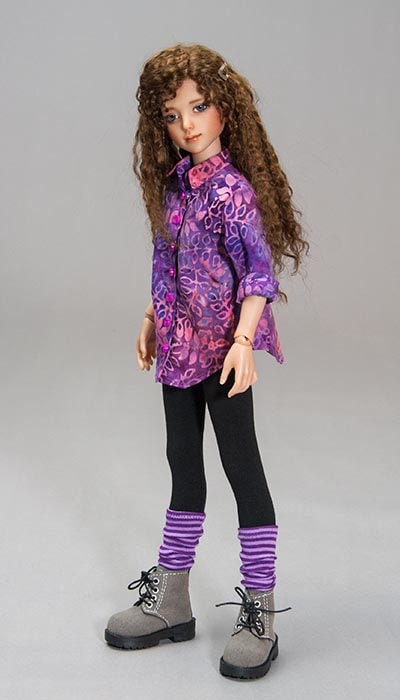
This pattern was designed to make a loose-fitting shirt that will fit a slim MSD, such as Narae
This pattern was designed to make a loose-fitting shirt that will fit a slim MSD, such as Narae
|
|
|
This pattern is basically the same as the JID Girl Shirt Pattern, but smaller to better fit a slim mini.
*Please read through the entire tutorial to familiarize yourself with the instructions before starting to make a shirt of your own
*Please read through the entire tutorial to familiarize yourself with the instructions before starting to make a shirt of your own
Patterns
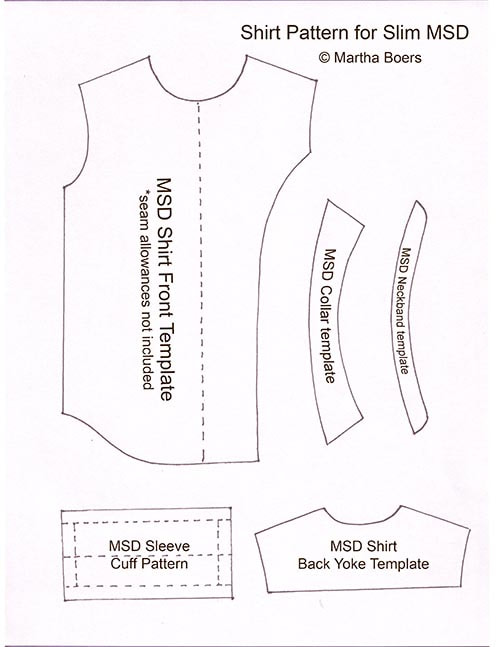
*Click on any of the pattern images below to download the pattern pdf
|
|
Materials
- shirt fabric - Fray Check
- sewing needles, pins, and matching thread - pen with disappearing ink
- sharp scissors - 12 small buttons
- small snap fasteners
- sewing needles, pins, and matching thread - pen with disappearing ink
- sharp scissors - 12 small buttons
- small snap fasteners
Instructions
1. Download pattern and Print it out. Cut out the pieces. Please note that there are two kinds of 'patterns' pieces. Some are traditional pattern pieces and have the seam allowances already drawn on. However, most of the main pieces are actually TEMPLATES, which need to be traced onto the wrong side of the fabric, and cut out ADDING a seam allowance as you cut. I find that by using templates, the traced line becomes the sewing line, and it's so much easier to see where to sew.
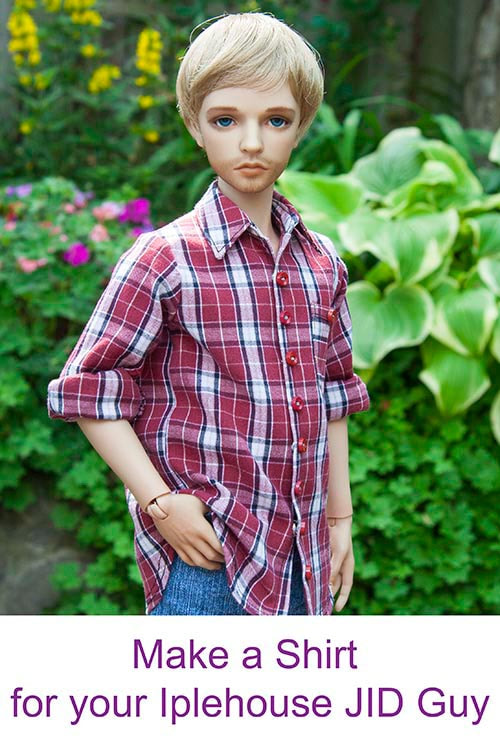
2. From here, the instructions are exactly the same as for the JID Guy's Shirt - click on photo below.
2. From here, the instructions are exactly the same as for the JID Guy's Shirt - click on photo below.
|
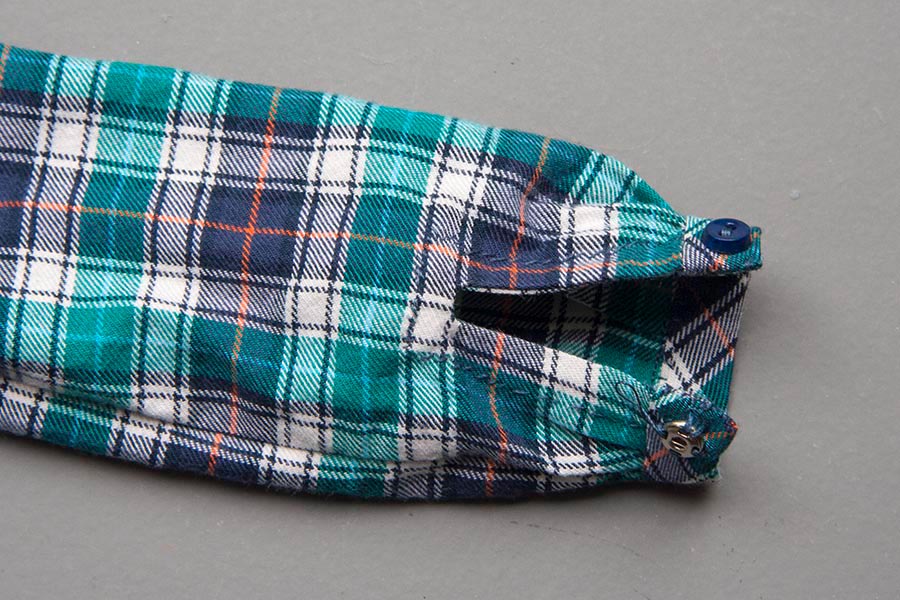
3. The main difference between the Girls and Guy's shirts is that the sleeve opening at the cuff is done differently. The girl's shirt has been done the easy way. The pattern for the Girl's sleeves is wider to allow for a rolled hem on both sides of the sleeve. This is to give both sides a finished edge.
*Note - the sleeves in the photo below only have one rolled side seam, because I cut the sleeve on the finished edge of the fabric, and didn't include the extra seam allowance there, since it wasn't needed.
*Note - the sleeves in the photo below only have one rolled side seam, because I cut the sleeve on the finished edge of the fabric, and didn't include the extra seam allowance there, since it wasn't needed.
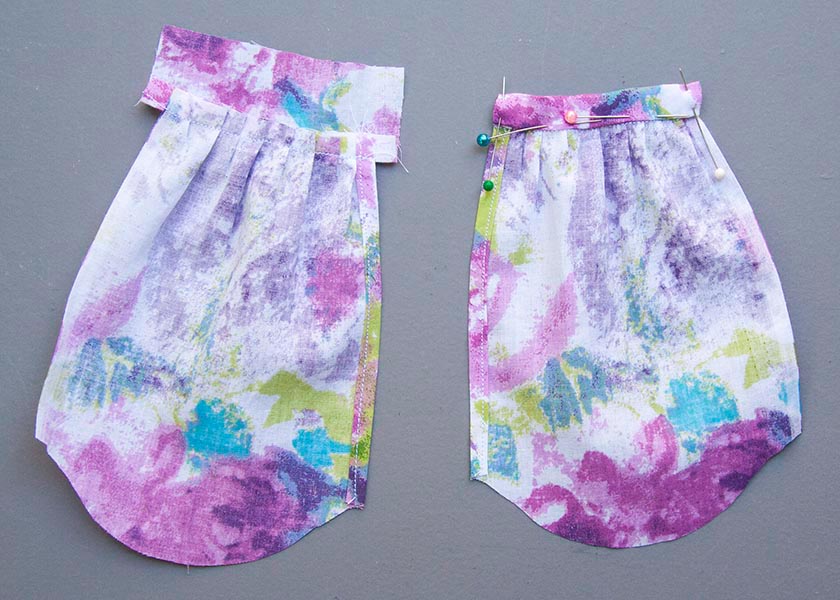
The sleeves can be gathered onto the cuffs and finished as shown, before sewing the sleeves into the armholes.
4. Later when sewing the underarm seam, you stop about an inch and a half from the cuff, leaving that end open.
4. Later when sewing the underarm seam, you stop about an inch and a half from the cuff, leaving that end open.
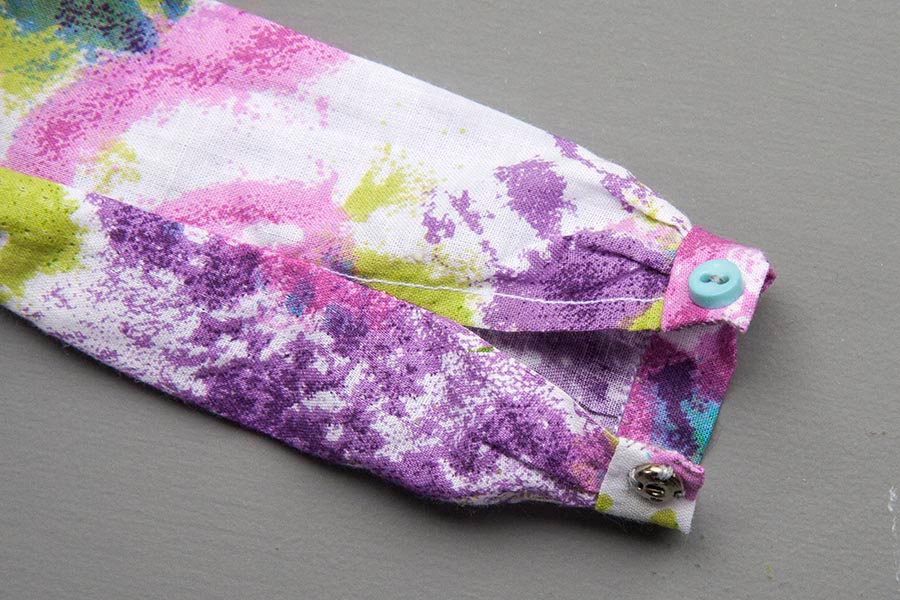
The sleeve opening will be in the side seam, instead of made separately in the back of the sleeve, as with the Guy's shirts
Alternate, Easier, Curved Bottom Hem
* Follow shirt instructions for Guy's shirt, to Step 23. You may choose to add pockets, as in step 24.
Alternate Step #25 - Instead of sewing the underarm seams first and struggling to make a smooth curved hem on the bottom, I found a nicer, easier way to do it, when i made the shirts for Narae. The bottom edges were Fray-checked, then zig-zagged. Then fold in the hem, and baste with a contrasting thread...
Alternate Step #25 - Instead of sewing the underarm seams first and struggling to make a smooth curved hem on the bottom, I found a nicer, easier way to do it, when i made the shirts for Narae. The bottom edges were Fray-checked, then zig-zagged. Then fold in the hem, and baste with a contrasting thread...
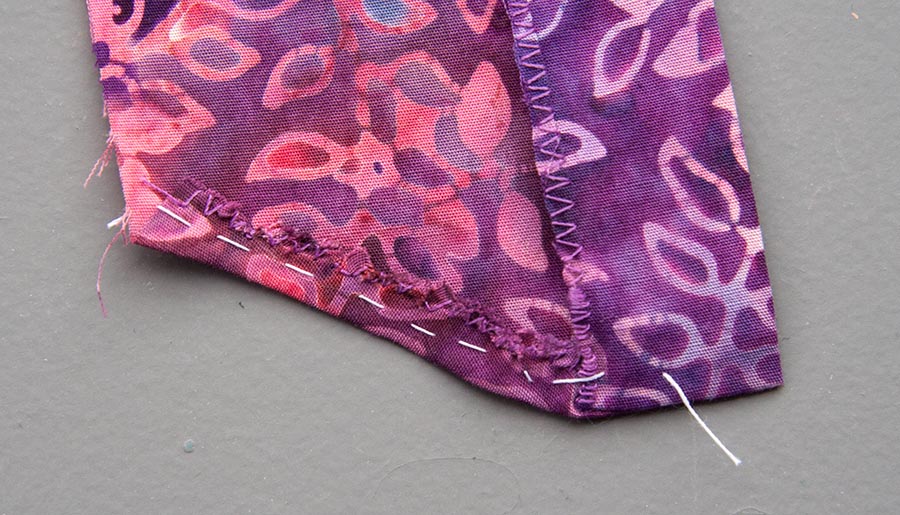
Fold in the back hem and baste.....
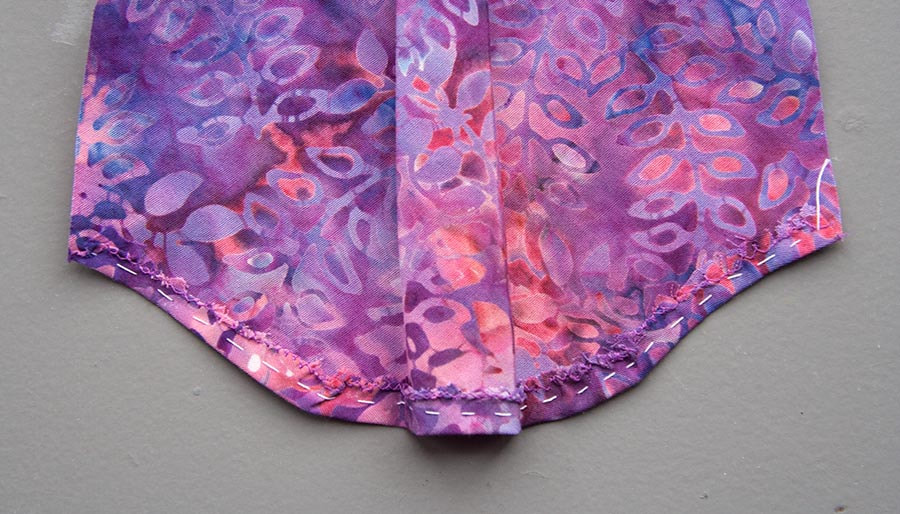
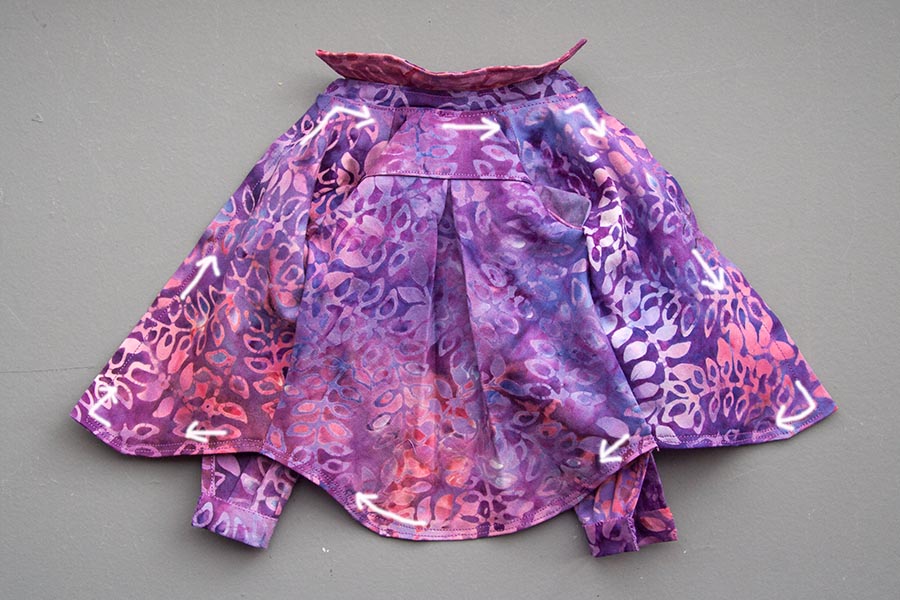
When all three sections have the hems basted, fold the shirt with right sides together, pinning along the bottom of the sleeves and along the underarms, matching the bottom shirt edges. Stitch the seam from bottom edge up to armpit, therm along sleeve, stopping about an inch and a half from the cuff. Clip at the underarm, then zig-zag the side seams.
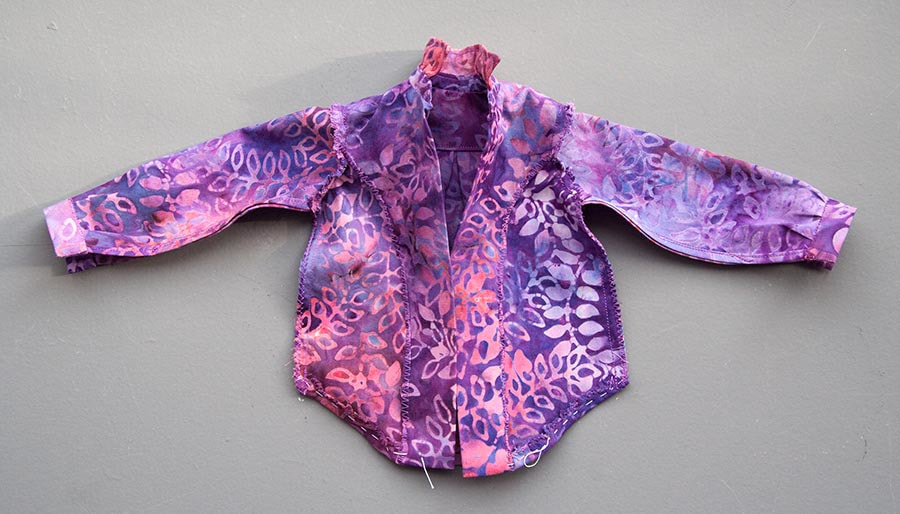
Turn shirt right-side-out, and press hem and side seams. Then using a matching thread, top-stitch all the way around the shirt edge following the direction of the arrows in the photo, top stitching about 1/4" from bottom and side edges to secure hem. Remove the basting thread, and sew on snaps and tiny buttons.
Copyright © 2018 Martha Boers
All Rights Reserved
All Rights Reserved
