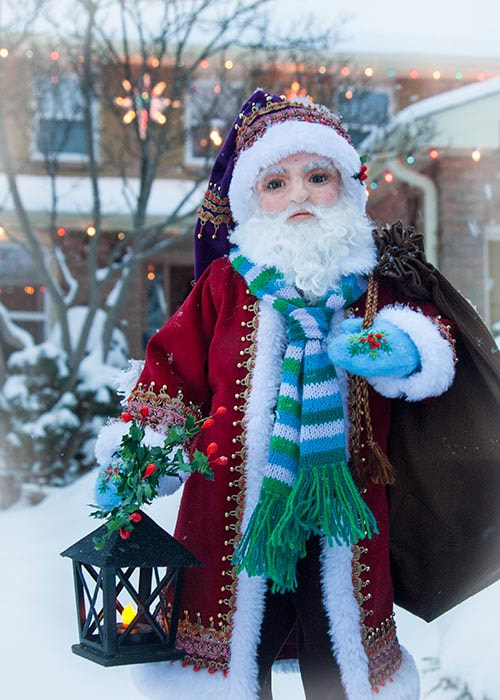
a Santa Costume for my Wizard
a Creative Journey
November 11/2017 - Well, with Halloween just behind us, I'm wasting no time getting into the Christmas spirit! It's time to transform my Wizard for his seasonal, moonlighting job, as a Santa.
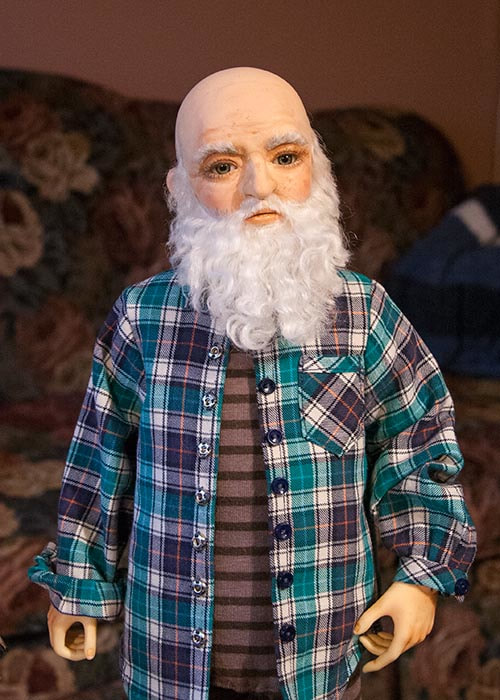
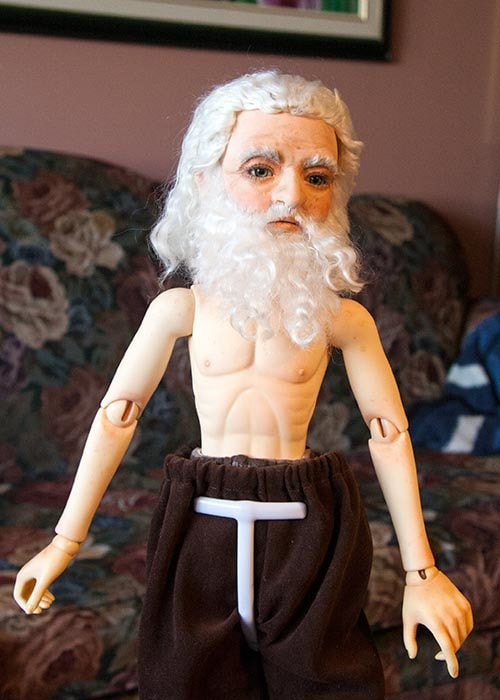
So he stripped down to his undies, and put on his 'fat suit'. I also decided to fine-tune his wig, so it's currently sitting on a heat register drying. I like to work from the inside out, so first thing on the agenda is some pants, and a shirt. I tried one of the JID guy's shirts on him, just to see how it fits, and where I have to alter the pattern to fit.....
So he stripped down to his undies, and put on his 'fat suit'. I also decided to fine-tune his wig, so it's currently sitting on a heat register drying. I like to work from the inside out, so first thing on the agenda is some pants, and a shirt. I tried one of the JID guy's shirts on him, just to see how it fits, and where I have to alter the pattern to fit.....
The shirt is not too bad a fit, although it won't close over his big belly.
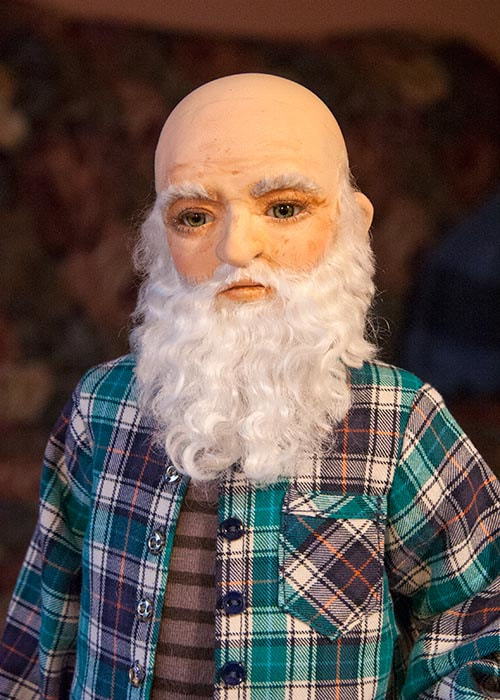
He just looks so different like this! He looks like he should be holding a beer. Or maybe an extra large coffee and a bag with some Tim Horton's, as a trucker heading back to his big rig.
He just looks so different like this! He looks like he should be holding a beer. Or maybe an extra large coffee and a bag with some Tim Horton's, as a trucker heading back to his big rig.
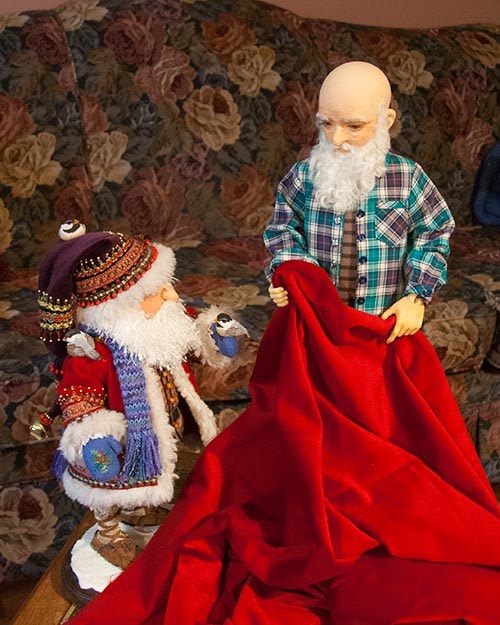
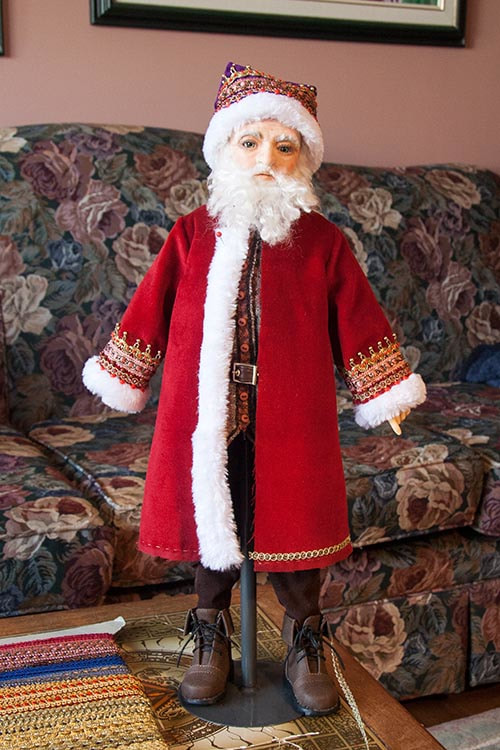
Anyway, I've decided to dress him much like my old cloth Santa figure. I'm not a big fan of the bright red, Coca Cola, department store Santa suits. I much prefer the more traditional, fur-trimmed, Victorian Father Christmas coats and hats, worn with some casual clothing underneath. "I want a red velvet coat just like your's!"
And that's what he shall have!
Test Hat & Fake Fur
November 6 - It's back to my Santa costume again today.
I had picked out the velvets I would need, and had designed a hat pattern - even made a test hat out of cotton. But I was stalled because I didn't have the right kind of fur for the trim. I didn't want to use real fur, and I had just a few scraps of white fake fur, and the pile was way too thick to use on the coat and hat. When making doll costumes it's important to keep 'scale' in mind. Obviously any fabrics available are meant for full-size human clothes and decor, but when making something for a doll - say a 1/4 scale figure - the fabric ideally needs to be in that same scale as well. And good luck with finding that!
So I needed a much thinner, softer, fake fur. I wanted to try the fabric store, knowing they'd probably not have the right thing either. Then it dawned on me - now that Halloween is over, all the stores are full of Christmas stuff - and that includes Santa hats. I know the Dollar stores always carried cheap hats with thin, white, fake fur around the bottom. So we went to Dollarama, and sure enough, they had lots of those hats, and the white fur around the edge had just the perfect look and feel to it. Plus it had just one seam down the back, so the fur was nice and long as well. So I bought two hats, and picked them apart.....
I've also redesigned the JID shirt pattern so it's roomier in the front. Now I just have to choose a fabric and cut it out.
Santa's Hat
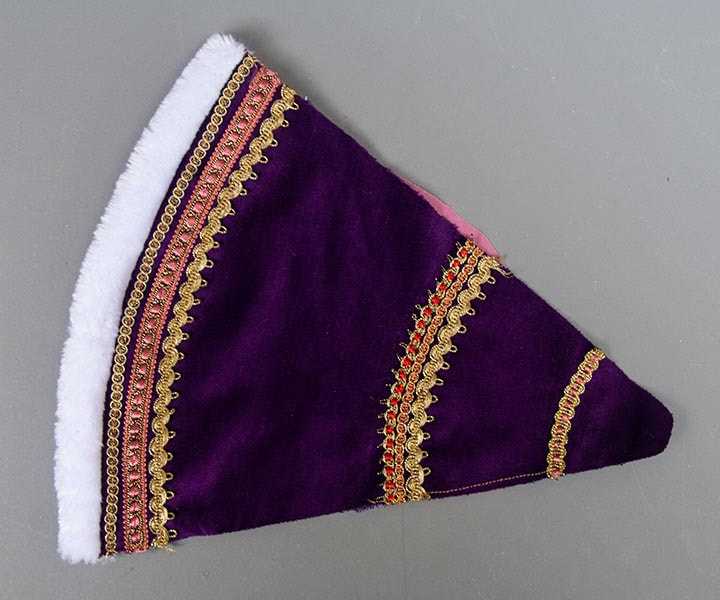
November 9 - It's been a rough week, so I'm nowhere near where I had wanted to be by now. But I have started. I finally cut out the dark purple for Santa's hat, and decided on the trims. Each row had to be basted by hand first because I'm working with velvet, and everything 'rides' if you don't.
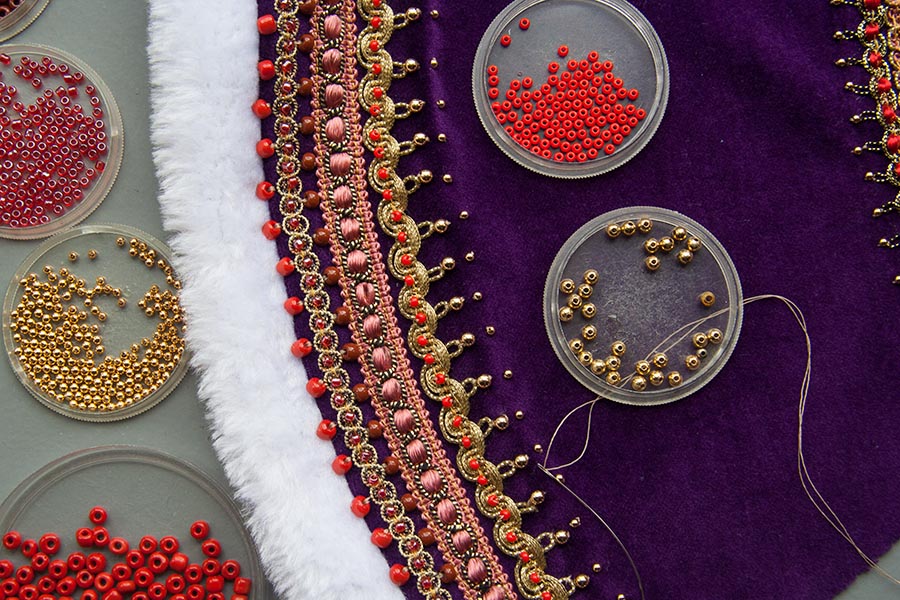
The next step is to do all the decorative beading. I can bead to about an inch from the edges, so it won't get in the way when I sew the hat seam.
I've decided that I'm going to go with my original plan of a separate shirt and vest, and in the fabrics I chose last winter. I've cut out some pants, but still have to cut out the shirt, and I need to design a vest pattern. But tomorrow is Friday again already, and that means cleaning up everything in my work spaces, for grandchildren on Saturday morning.
And I could be up to me ears in laundry tomorrow as well. Our dryer stopped working last week, and the laundry has been piling up. Hopefully be fixed tomorrow.
Beading a Hat
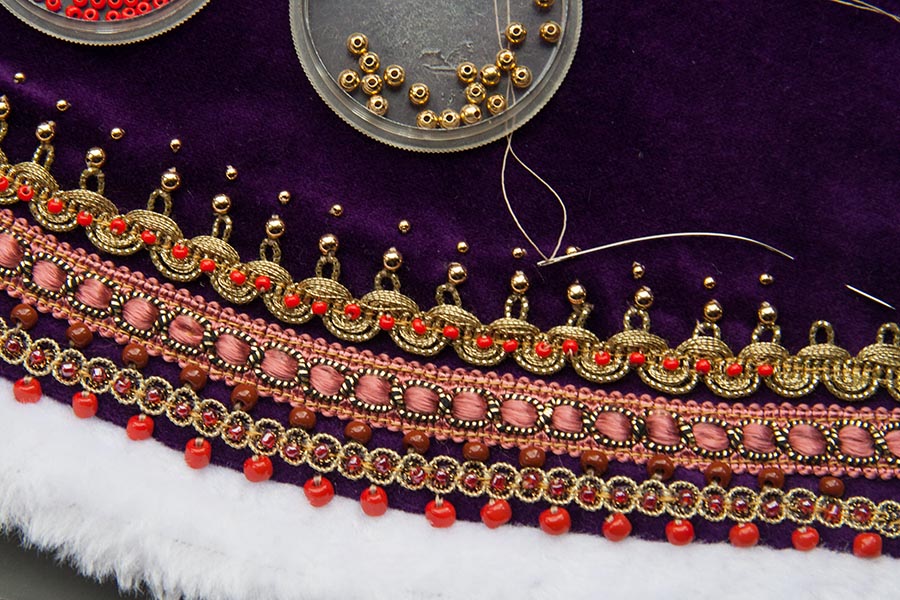
November 12 - I'm in the process of beading along the trims on my Santa's hat...
I can only go to about an inch away from the sides, so there won't be any beads in the way when i sew up the back hat seam. It doesn't go that fast. I've always loved beading, and was pretty fast back in the day, but now it's becoming a real challenge. The worst (other than threading the needle) are those tiny 2mm round gold beads. There's absolutely no way to see the holes in them.
He has a Hat!
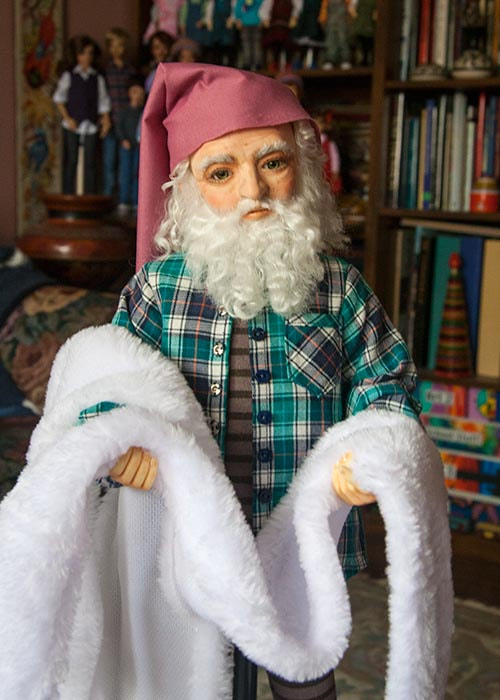
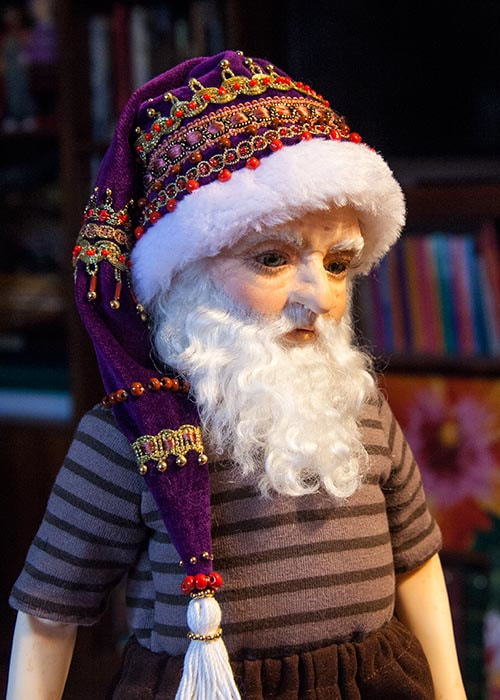
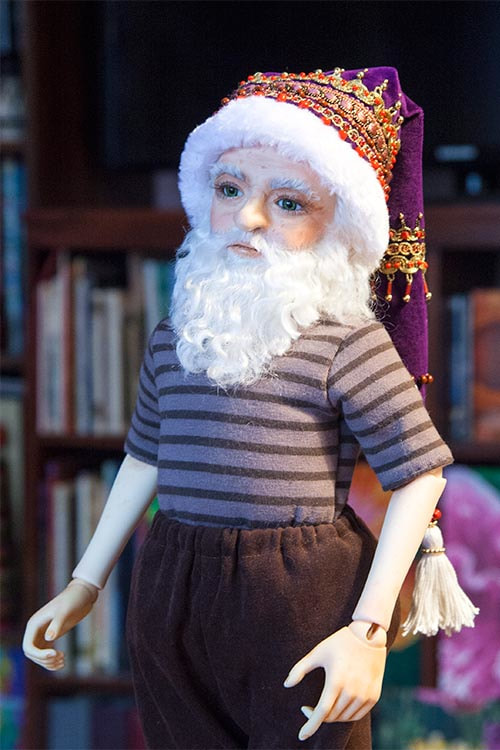
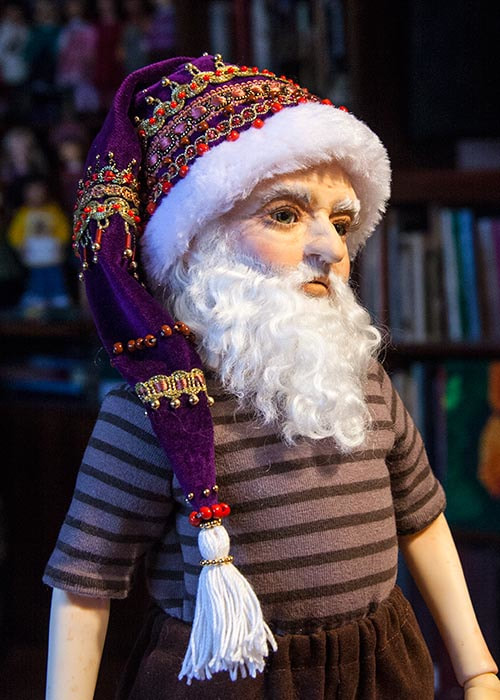
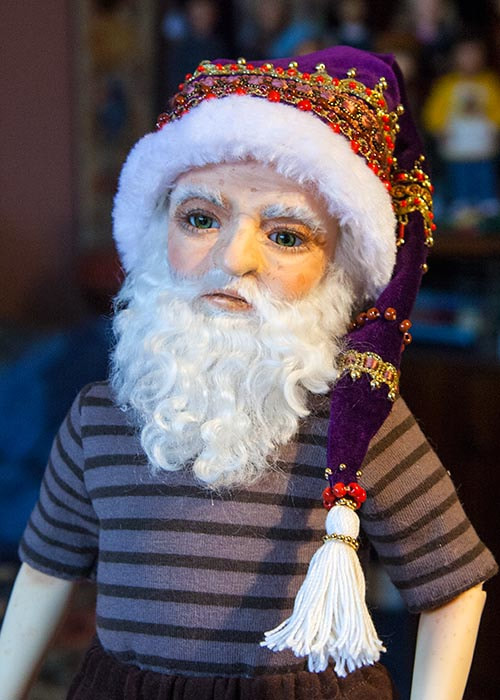
November 13 - I finished my Santa's hat this morning, and I love how he looks in it....so "Santa"...
I chose to add a tassel to the end of the hat, instead of a pompom. I felt it suited the overall look better. He also has some pants now - made of a soft, stretchy velour-type fabric. I just made them nice and wide at the top, with an elastic waist, and tapering down his legs so they'd fit into the tops of his boots. I figured he'd be wearing a vest overtop anyways, so there was no point in making a proper waistband - so now there's lots of room for all those cookies and milk.
Being the 'yo-yo' that I am, never being able to make up my mind, I've decided to make a one-piece top simulating a vest over a long-sleeve shirt. For sure this time (I've already cut it out).
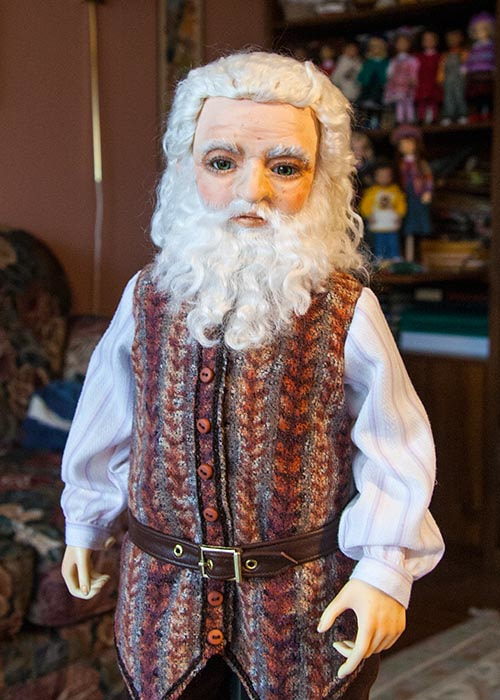
I was starting to think his neck was looking a bit short - or maybe it's his beard just making him look like he has a really short neck - but I want to reduce the amount of fabric on top of his shoulders, keeping it to a minimum. So combining the shirt and vest into one garment, means reducing a layer on his shoulders.
I was starting to think his neck was looking a bit short - or maybe it's his beard just making him look like he has a really short neck - but I want to reduce the amount of fabric on top of his shoulders, keeping it to a minimum. So combining the shirt and vest into one garment, means reducing a layer on his shoulders.
Ooooops...
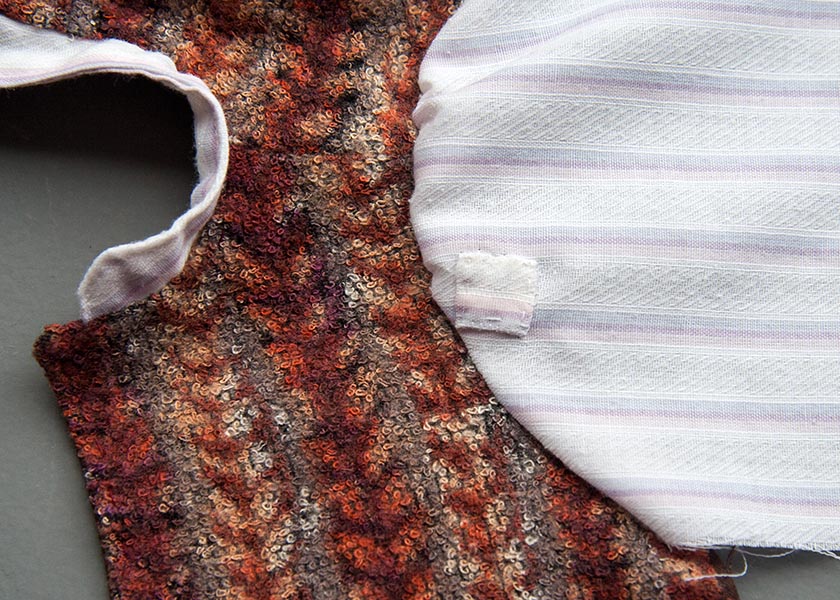
November 14 - Well, Santa's shirt/vest was coming along nicely, when I accidentally snipped a hole in the top of the sleeve while I was clipping the arm hole. So I tried to sew on a tiny patch to cover it up....
But I thought it looked awful. So I had to remove the sleeve and start a new one from scratch.
It's a setback, but I know I'll be happy I replaced the sleeve instead of just leaving that ugly patch.
It's a setback, but I know I'll be happy I replaced the sleeve instead of just leaving that ugly patch.
Santa's Vest
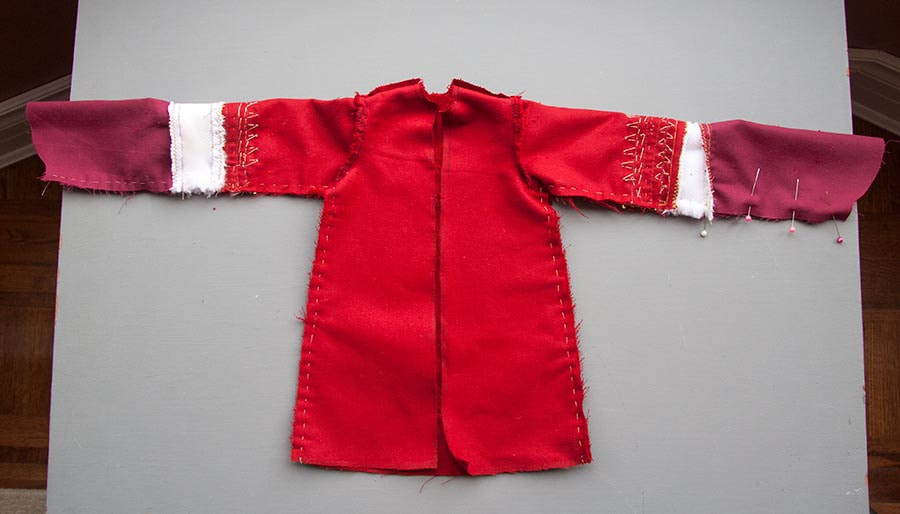
November 16 - So now my Santa has a shirt/vest.
I think it could still use a pocket (or two), so that's the next step.
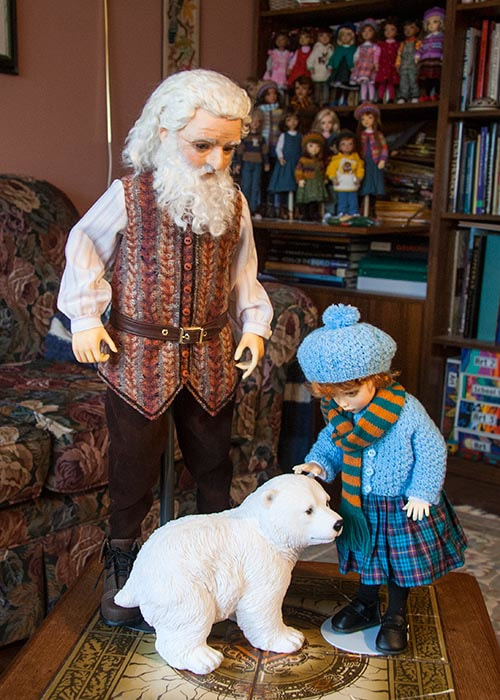
I also picked up a baby polar bear on the weekend. After all, every North Pole workshop needs a mascot
- someone to help and entertain all the elves....
I also picked up a baby polar bear on the weekend. After all, every North Pole workshop needs a mascot
- someone to help and entertain all the elves....
Beading the Coat Sleeves
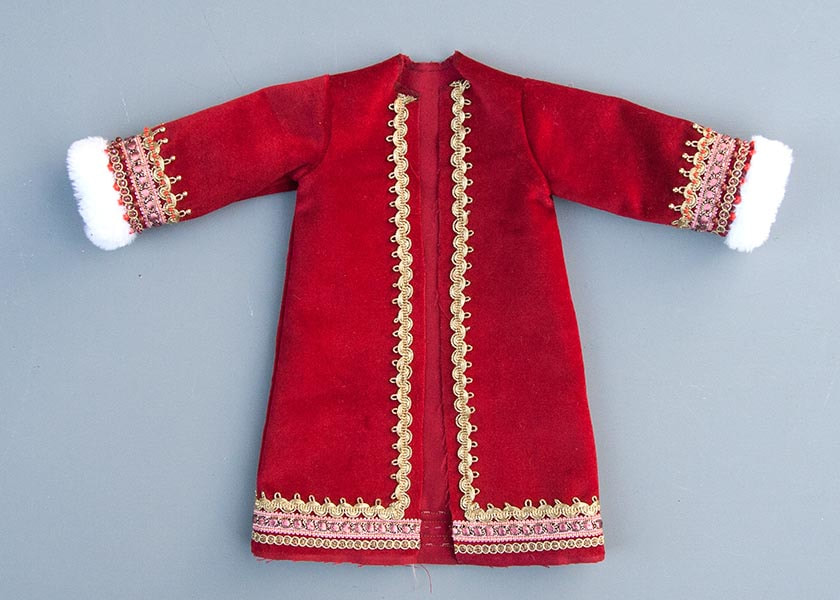
November 20 - I've designed Santa's coat pattern. It took me a while to figure out how to have a nice fur edge and a neat inside lining, but I think I've got it figured out.
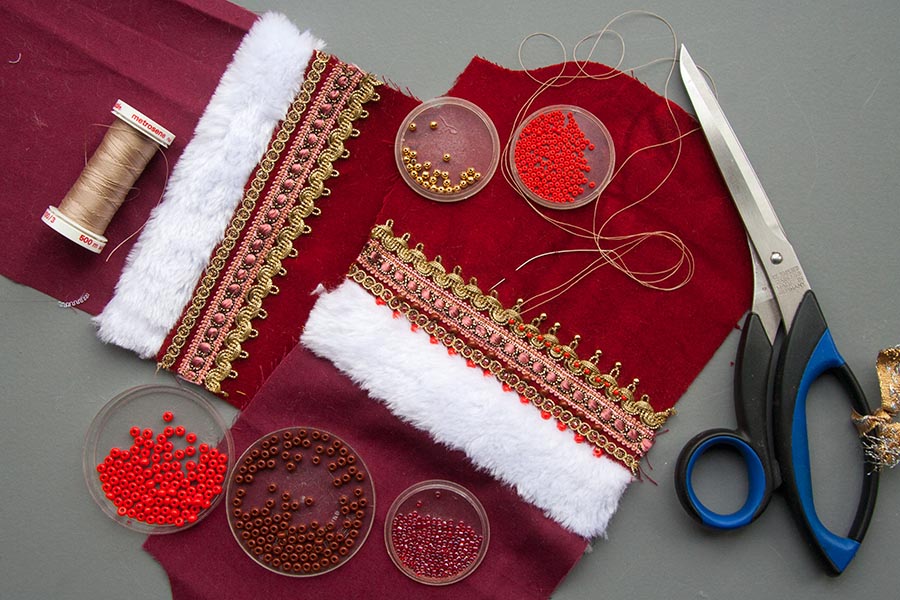
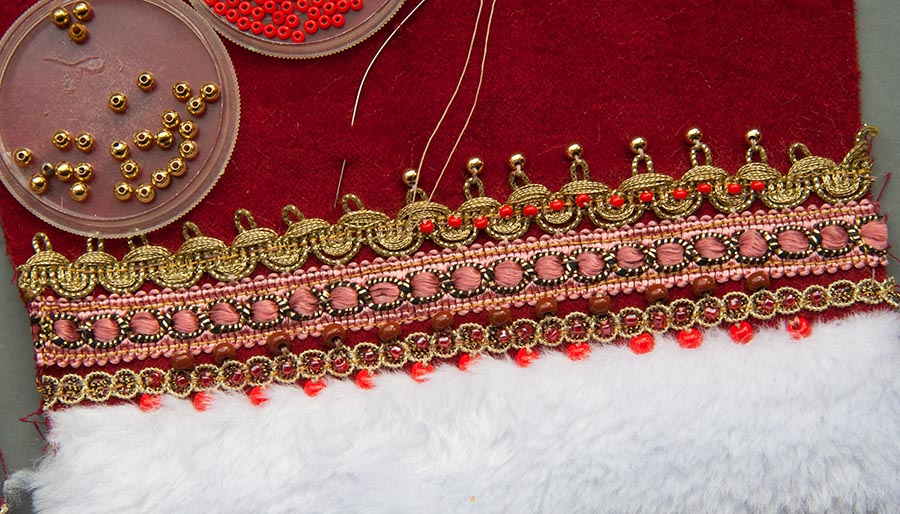
The sleeves need to be made first, so they can be sewn into the coat armhole before all the underarm seams get sewn. I cut out the sleeves, lining, and the fur cuffs, then basted on the trims, and basted the fur, then machine stitched everything. Now I'm doing the bead embellishments....
The sleeves need to be made first, so they can be sewn into the coat armhole before all the underarm seams get sewn. I cut out the sleeves, lining, and the fur cuffs, then basted on the trims, and basted the fur, then machine stitched everything. Now I'm doing the bead embellishments....
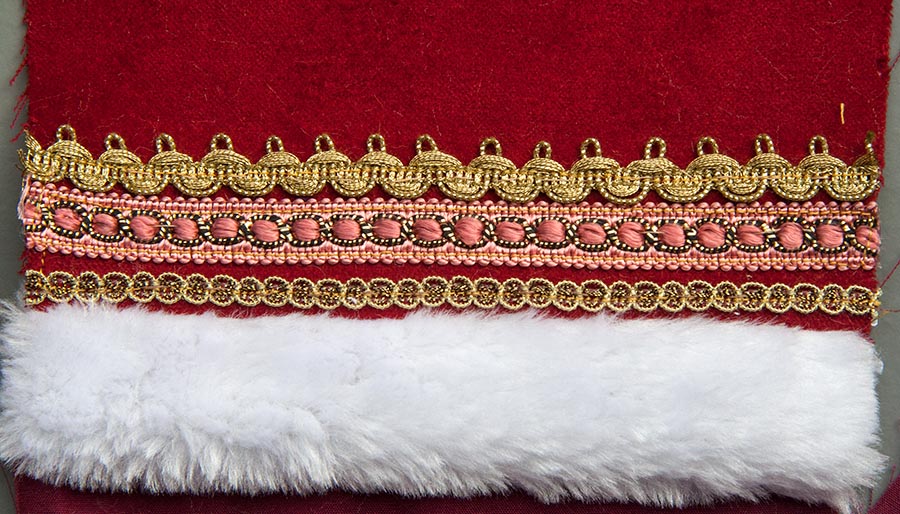
A closer look at the various rows of trims.
It's important when working with velvet, to always baste everything before machine sewing - so things don't ride.
It's important when working with velvet, to always baste everything before machine sewing - so things don't ride.
I stay away from the side seams because my sewing machine hates going over bumps.
I'll finish the ends near the seams after the sleeve seam is sewn.
I'll finish the ends near the seams after the sleeve seam is sewn.
Making More Work
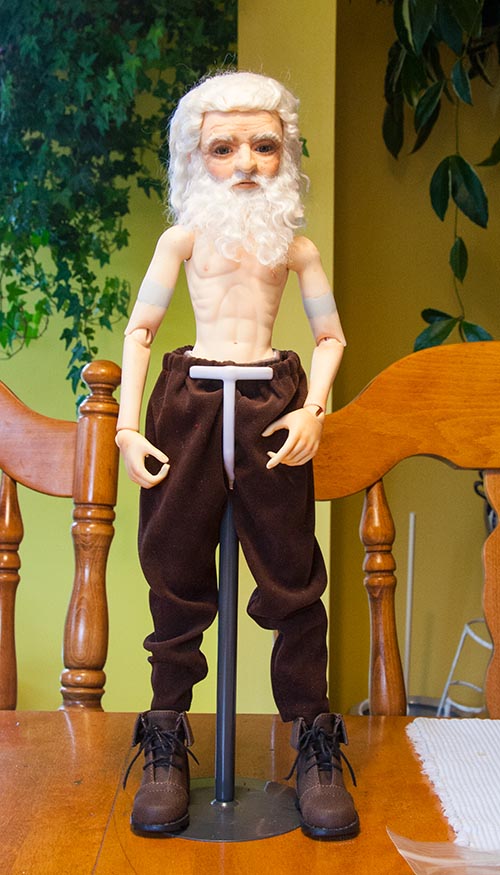
November 21 - The further I get on my Santa costume, the more I'm bothered by the doll's short arms. Specifically his short upper arms. His outside of his upper arms are the same length as his lower arms, and then there's still his hands. It already bothered me when he was wearing his Wizard costume.
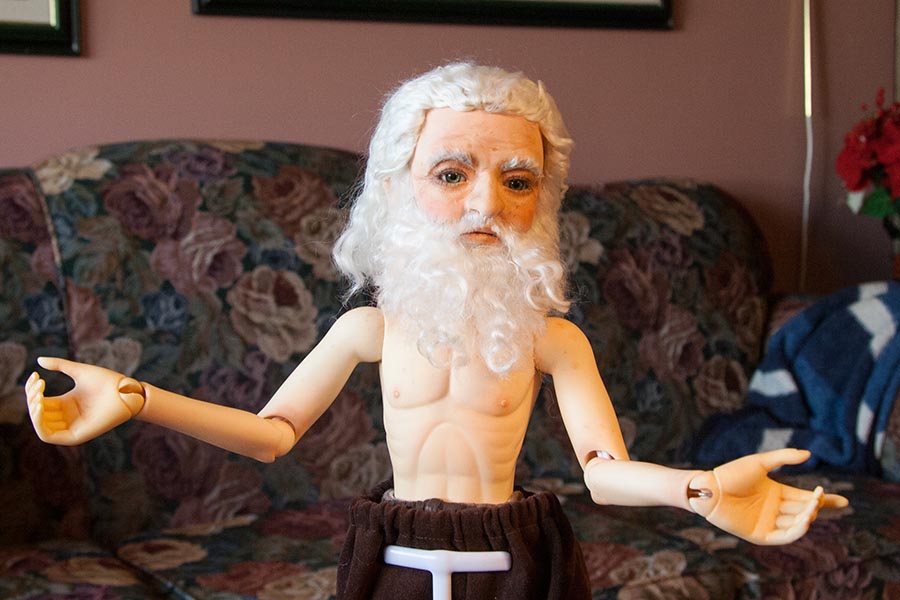
So I undressed him to take a closer look.......LOL...he looks so skinny without his fat suit.....
So I undressed him to take a closer look.......LOL...he looks so skinny without his fat suit.....
His elbows bend way too high compared to his body.
On a human, the upper arm is the length of the lower arm plus about half the hand length. So I've been thinking
of a way to lengthen his upper arms. But I was already quite far on his coat sleeves and did't really want to start over.
This morning I sewed the sleeves into the coat....
of a way to lengthen his upper arms. But I was already quite far on his coat sleeves and did't really want to start over.
This morning I sewed the sleeves into the coat....
After sewing the underarm and side seams and turning the coat right side out, I tried it on my guy
I had been afraid that if I lengthened his arms then the sleeves would be too short.
But I saw that was not the case, so that gives me the green light to go ahead and modify his upper arms.
In the meantime, I'm continuing with the embellishments on his coat. It's weird that even though both front pieces were exactly the same when i cut them, one is now shorter than the other. And even though I added lots of extra length to the trim that had to go up the front edges, one end still ended up too short. But I expect to eventually hide all that under a fur collar....
The next step is to add the fur edging and do all the beading.
Arm Extensions
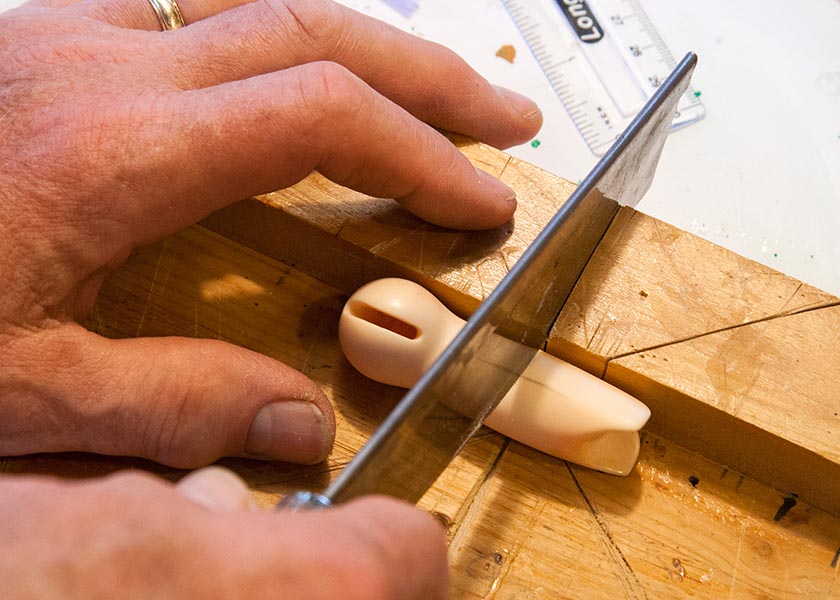
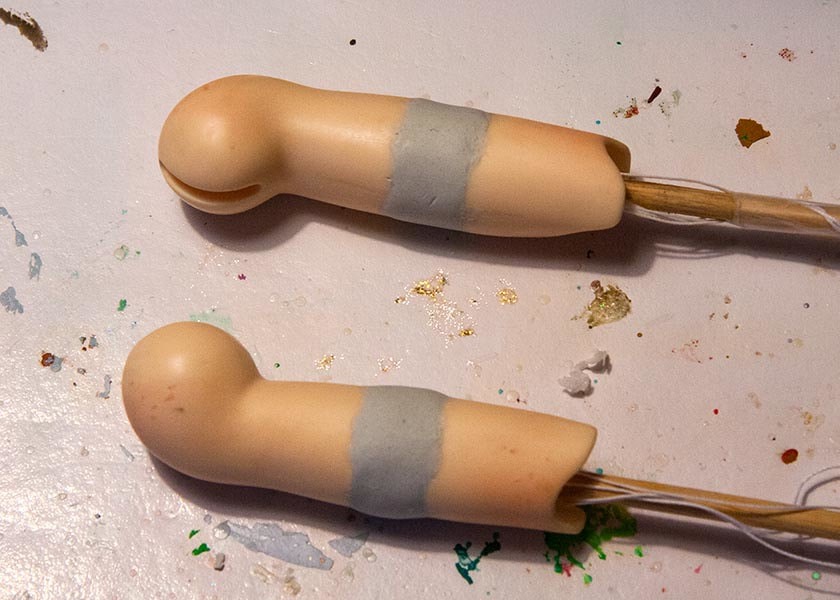
November 22 - So this morning I marked my Wizard's upper arms - so I'd know how the parts would line up after being cut
- and then Jan cut them.....
- and then Jan cut them.....
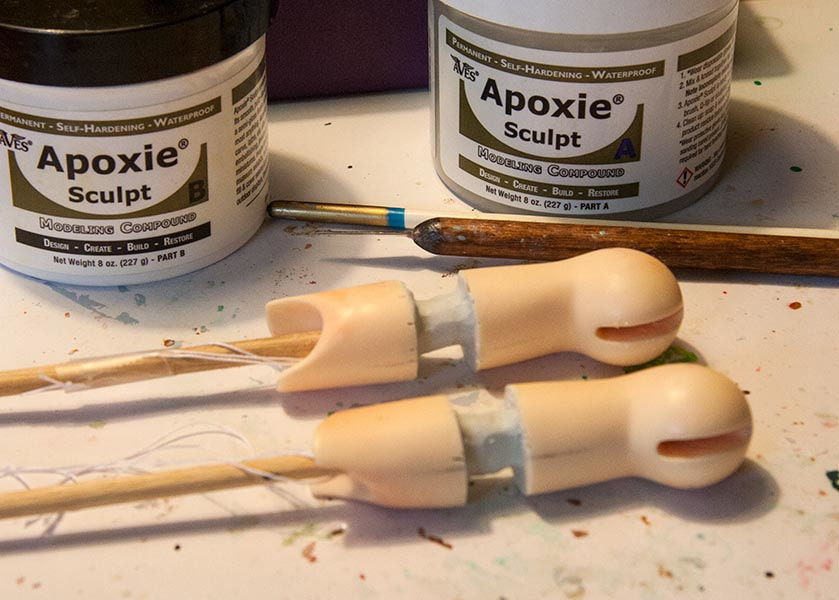
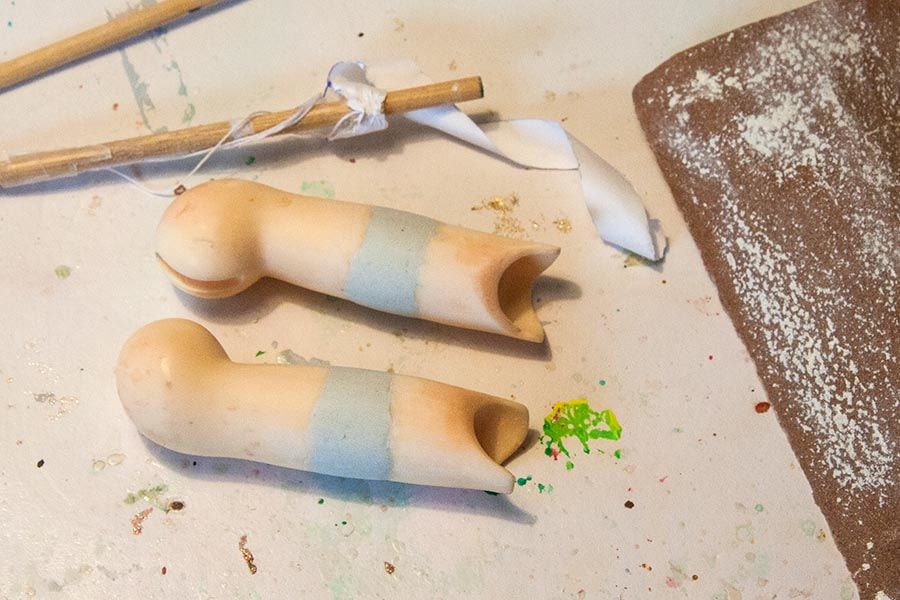
I used a 3/16 dowel to align the pieces, and cut two strips of paper just less than a centimetre wide, which I wrapped around the dowel between the two arm pieces, to a thickness matching the holes in the arms. Then i mixed up some Apoxie and partially filled the spaces....
Then later in the afternoon, I mixed up some more Apoxie to finish filling the spaces....
Once it's cured, I will sand the Apoxie so it's perfectly flush with the resin.
Santa's Arms
November 23 - This morning I sanded down the Apoxie additions. I probably should have removed the paint and sealer before starting this project, but quite honestly, don't know how to do that, so didn't even think about it. I did damage his paint job a little, but I'm not very concerned. He is what he is. The dowels with the rolled paper came out relatively easily...
His arm length is now much better. It was just a centimetre, but made a world of difference....
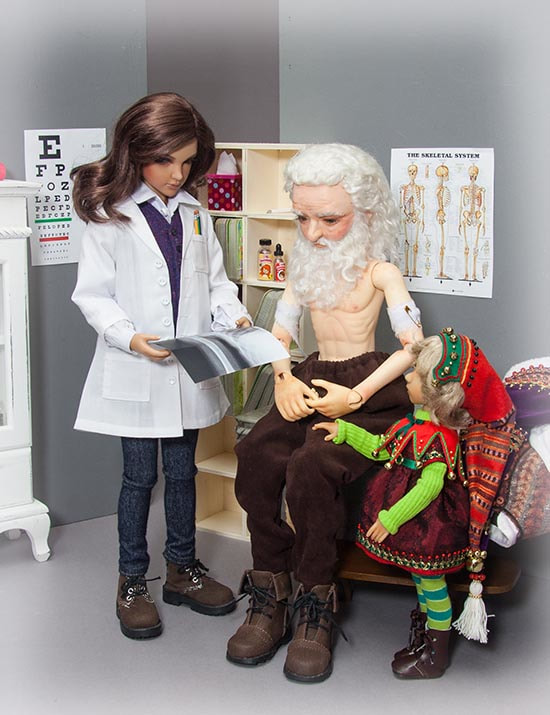
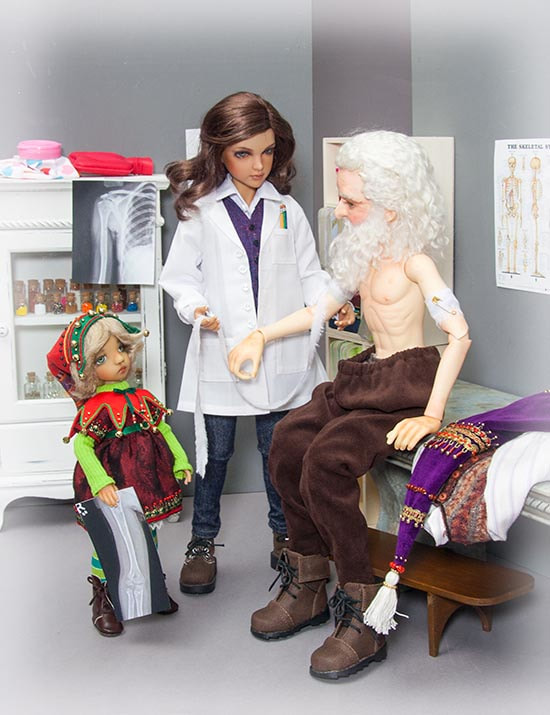
Then I had the idea to send him to his doctor, for a final checkup......
"Everything has healed very nicely." "Just take it easy for a few more days, and then you can resume all your normal activities."
So now I can get back to his coat....
Santa
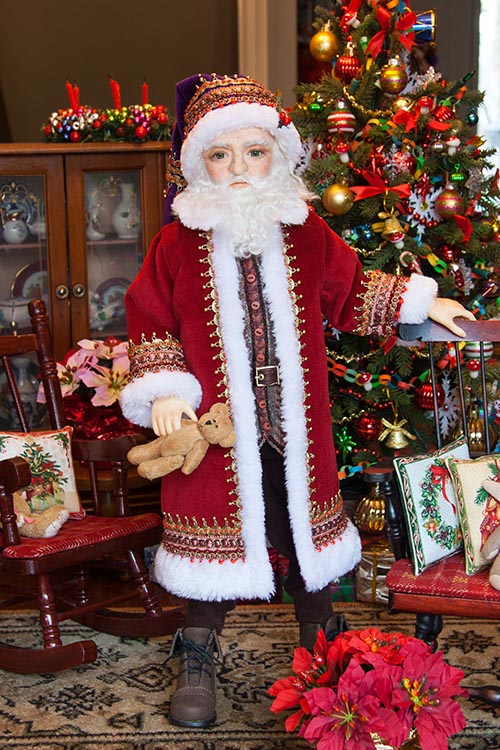
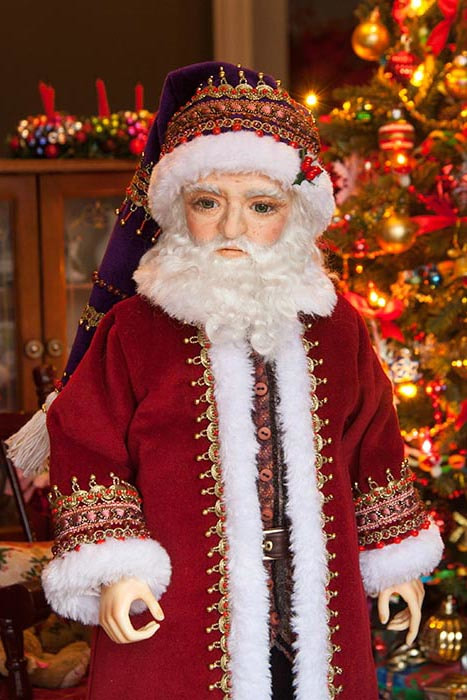
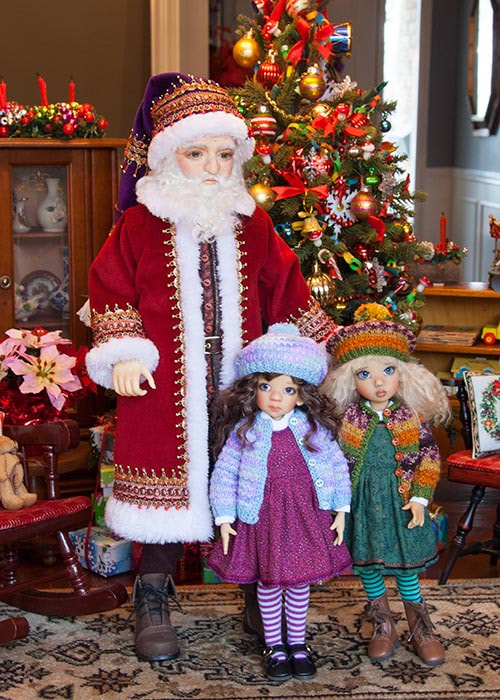
November 26 - I finally finished Santa's coat. Sewing in the lining was quite a chore. Some seams had to be picked and re-sewn several times. I decided the coat needed a collar, so had to piece that out of the leftover fake fur. Once it was sewn on, it was time for a few quick photos......
And since Tilie and Talyssa happened to be having their portraits taken at the same time, they were
lucky enough to be the very first to have their photo taken with Santa.....
lucky enough to be the very first to have their photo taken with Santa.....
I decided he needed a scarf and some mittens....and a big brown sack for his toys....so made him some...
Copyright © 2017 Martha Boers
All Rights Reserved
All Rights Reserved
