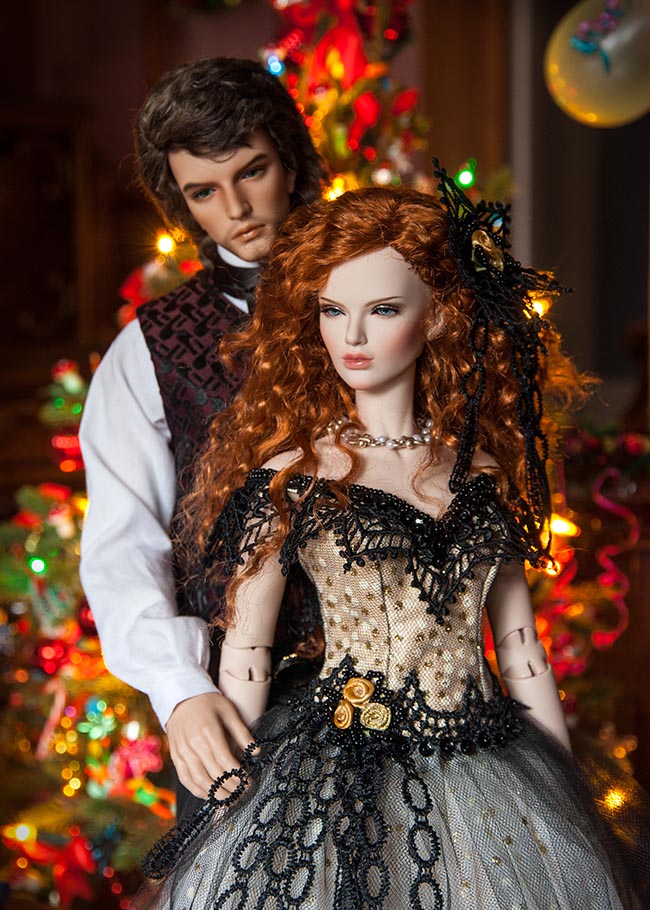
Rosie's Gown
a Simple Fashion Size Evening Gown Bodice
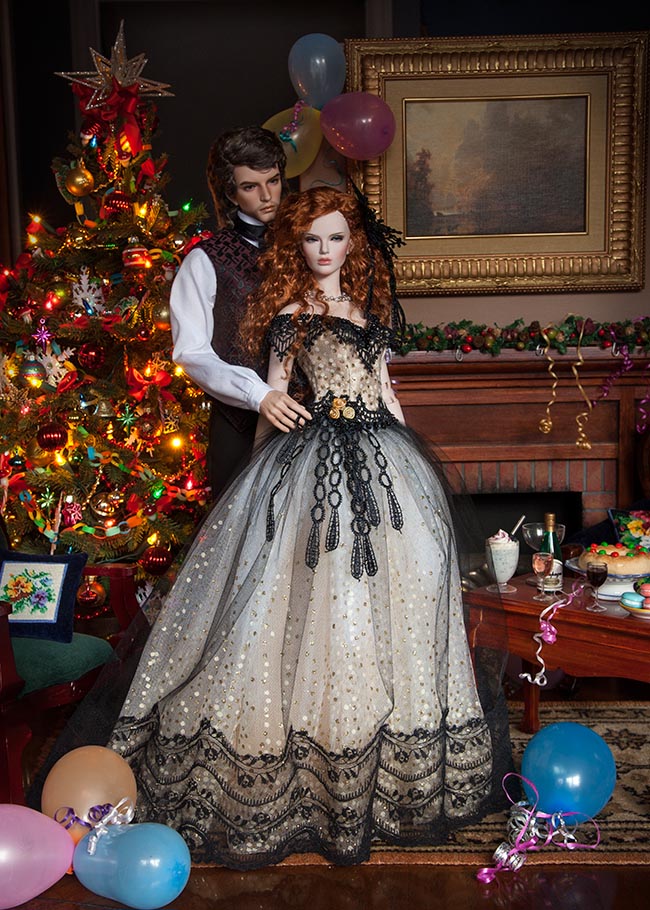
Designed to fit both an Iplehouse Slim FID with Medium bust, and a Slim Raccoon with Small bust.
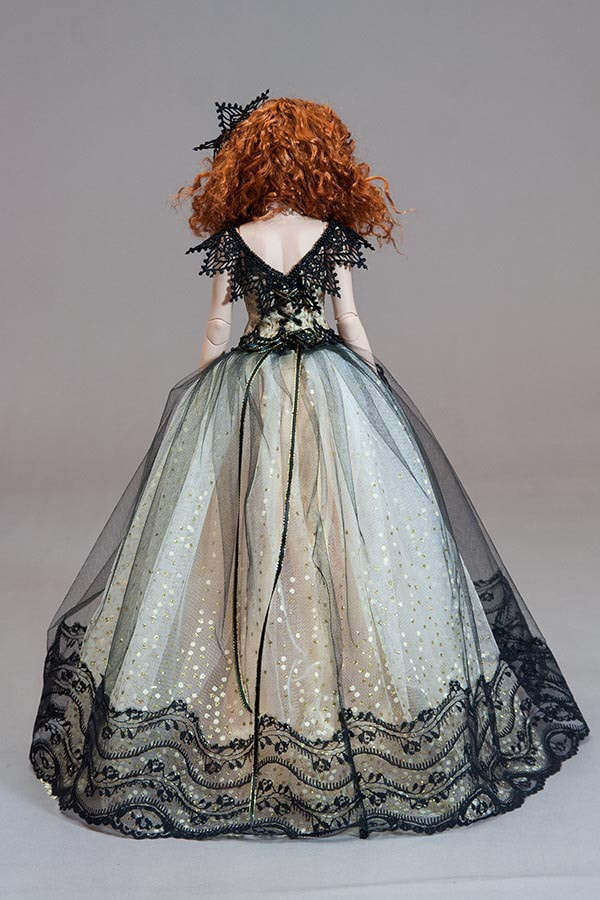
The bodice laces up the back, and the back edges will butt together for an Iplehouse FID, and overlap a bit for the Raccoon lady.
The bodice laces up the back, and the back edges will butt together for an Iplehouse FID, and overlap a bit for the Raccoon lady.
*This tutorial was put together after the gown was made, so does not have step by step photo instructions.
However, I will do my best to explain.
However, I will do my best to explain.
Inspiration
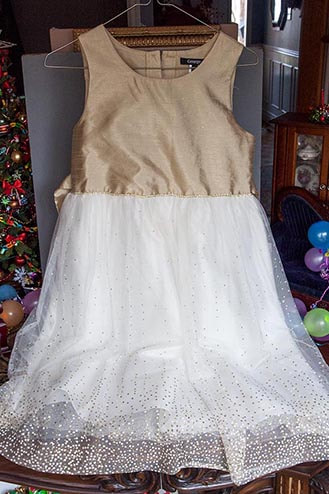
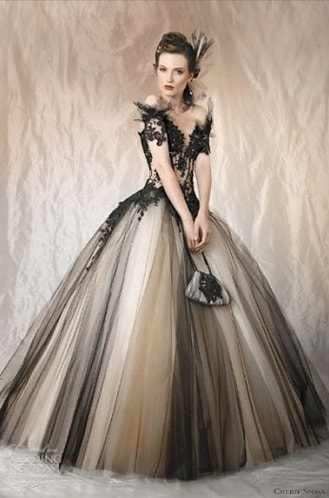
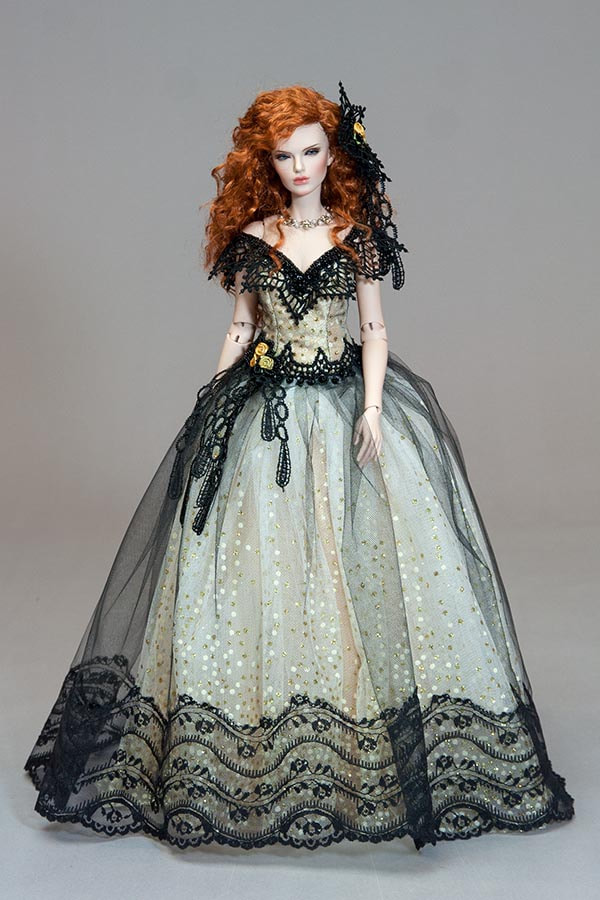
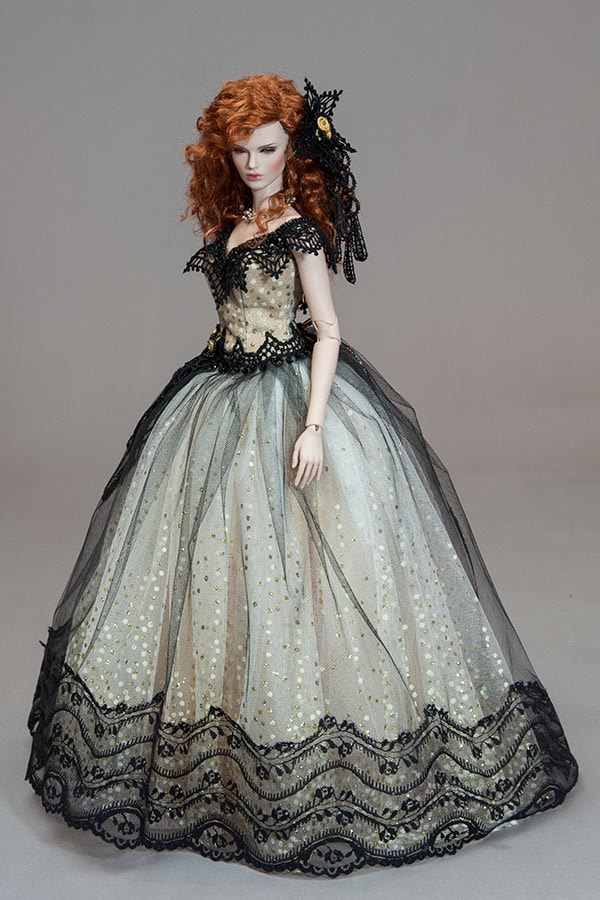
I needed a fast and easy evening gown for my Raccoon Rosie. I had recently purchased a fancy child's dress at the thrift shop for next to nothing, that I though could be reworked into a nice evening gown. I'd also seen a picture on Facebook of a lovely gown with black tulle overskirt and black lace trim, so decided to try make my own version for Rosie.
Having both Iplehouse and Raccoon dolls I didn't want to be restricted to having the gown only fit the slightly slimmer Raccoon girls, so I designed the pattern to fit both. The only difference in fit will be the way it will lace up the back. For an FID the back edges will butt together, while on a Raccoon lady they will overlap a little. The pattern is basically the same as the one for the bodice of Bianca's pink gown (in Just Patterns) except the bodice has been made shorter, and the back edges narrower for lacing
Pattern
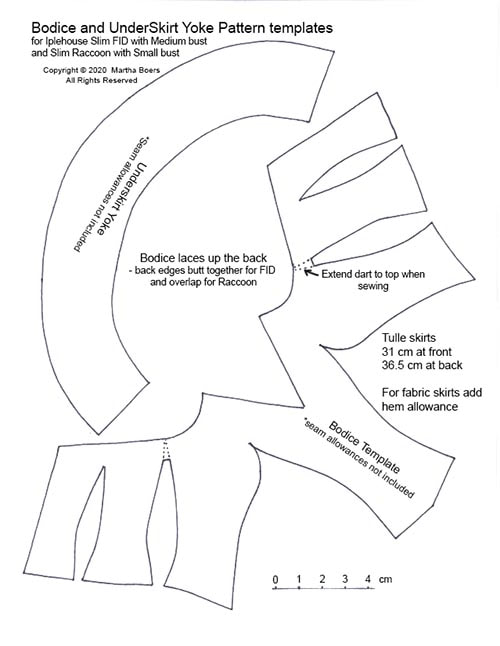
*To download the pattern pdf, click on pattern image below....
Instructions
*Please read through complete instructions before beginning
1. Print and cut out pattern templates. Note that they are templates which still need to have the seam allowances added. I find it's a lot easier to sew doll clothes when the actual stitch lines have been drawn onto the back of the fabrics.
2. Trace the templates onto the wrong side of some lightweight iron-on interfacing. Cut out roughly, leaving plenty of room for seam allowances. Press onto the wrong side of your chosen bodice fabric. Then cut out, adding whatever width of seam allowance you feel most comfortable with.
3. Now is the time to add any lace or tulle overlays. With the bodice cut out, and still flat, position any desired overlays. I had two - one of the gold and white spotty skirt fabric, and then another of black tulle. Baste along all the edges to secure, then trim the edges of the overlay to match the seam allowance.
4. Trace bodice template onto wrong side of lining fabric. Cut out, remembering to add seam allowances.
5. Sew all the darts in the main bodice and the lining. I always baste the two main front bust curve darts first before machine sewing them. It makes them more precise. Clip all the darts, and press. This is very important in order to get the bodice to curve properly.
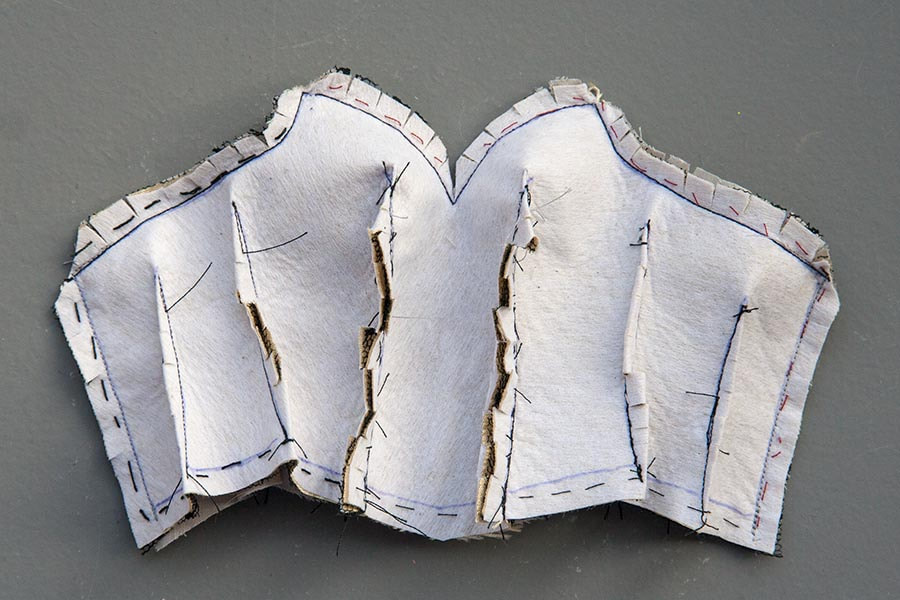
6. Pin the bodice and lining with right sides together, and sew up back seam, along top of bodice and down second back seam. Clip all curves and corners. *This is the first bodice I made, then rejected. Note all the clipping....
7. Turn bodice right side out, and press. This is what it should look like....
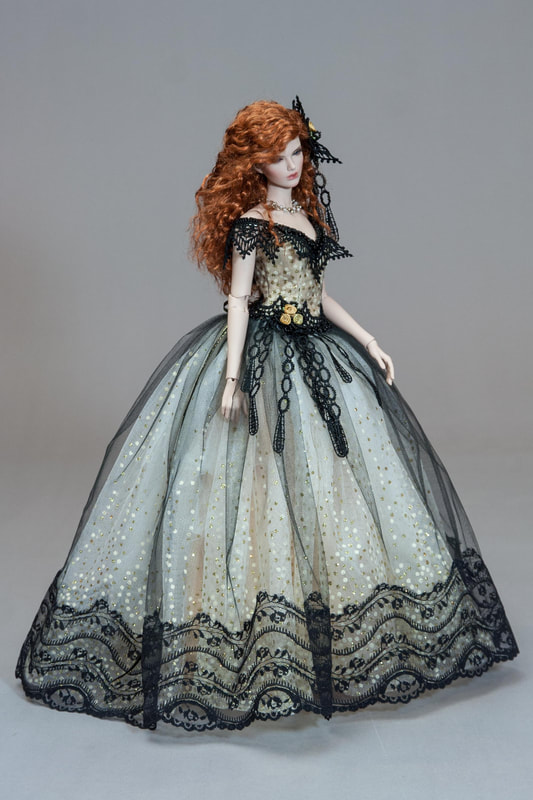
8. Time to attach the skirt(s). Rosie's gown has three layers of tulle skirts, worn over a gold satin underskirt.
Tulle skirt measurements; black tulle - 31 cm (12.25") long in the front, 36.5 cm (14.25")in the back, and 135 cm (53") wide
gold sparkle tulle - same lengths, but 162 cm (64") wide
cream tulle - same as above
I always pleat the skirt fabrics onto the bodice. It makes for less bulk than 'gathering'. Pleat each layer on one at a time, sew, then pleat on the next layer, and so on. When all the layers have been sewn onto the bodice, trim raw edge, and zig-zag edge.
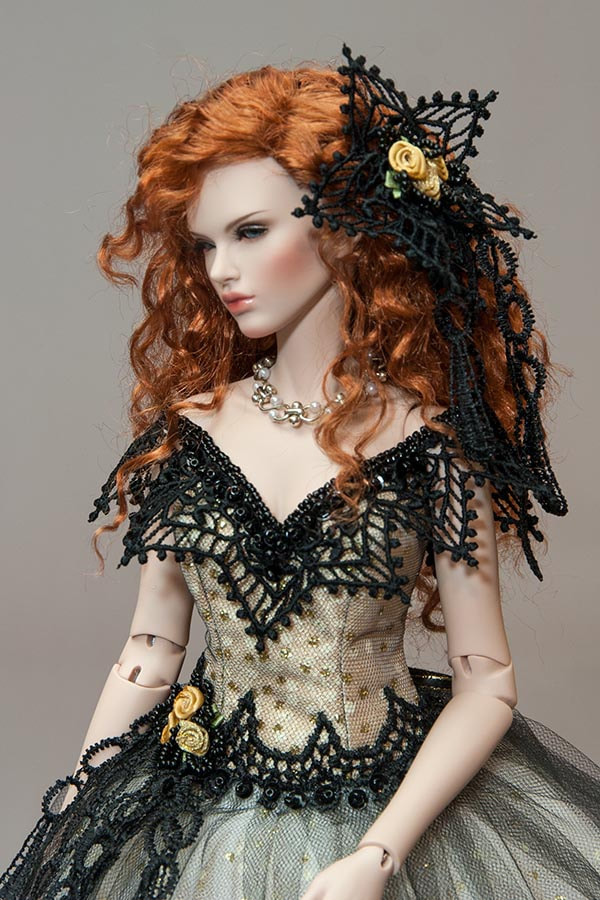
9. Now the real fun begins. Time to embellish your gown. I added ribbon shoulder straps to Rosie's bodice, then sewed on the black lace trim. I beaded the top edge using the picot beading stitch, added more beads and sequins along the top of the bodice, and added dangly black lace and ribbon roses. The black tulle overskirt was too stiff, and bouffant, so was a bit short, so I had to add some black lace trim to make it longer.
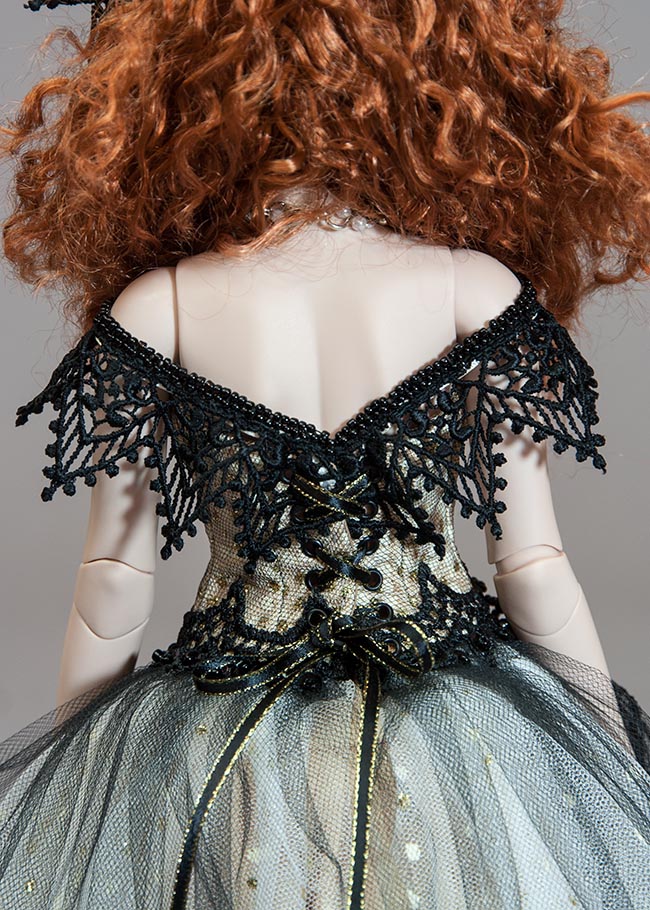
Then I inserted the eyelets up the back. The small metal eyelets I used are 5 mm across from outer edge to outer edge, with a 2.5 mm hole, purchased years ago when Michaels and the Dollar store had them in their scrapbooking section. Sorry, I can't recommend a current source. I've not seen them in stores for years. Maybe check online.
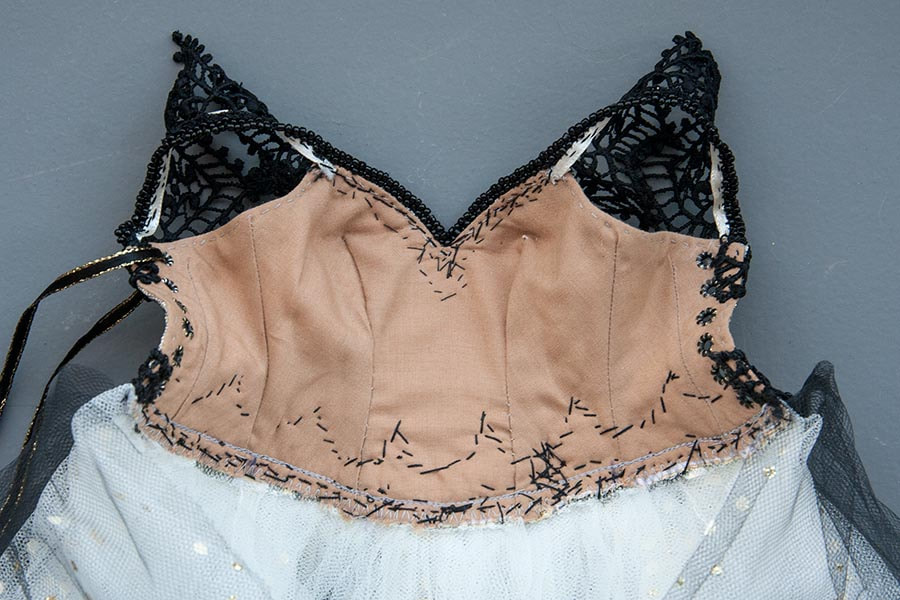
This is what the inside of Rosie's bodice looks like....
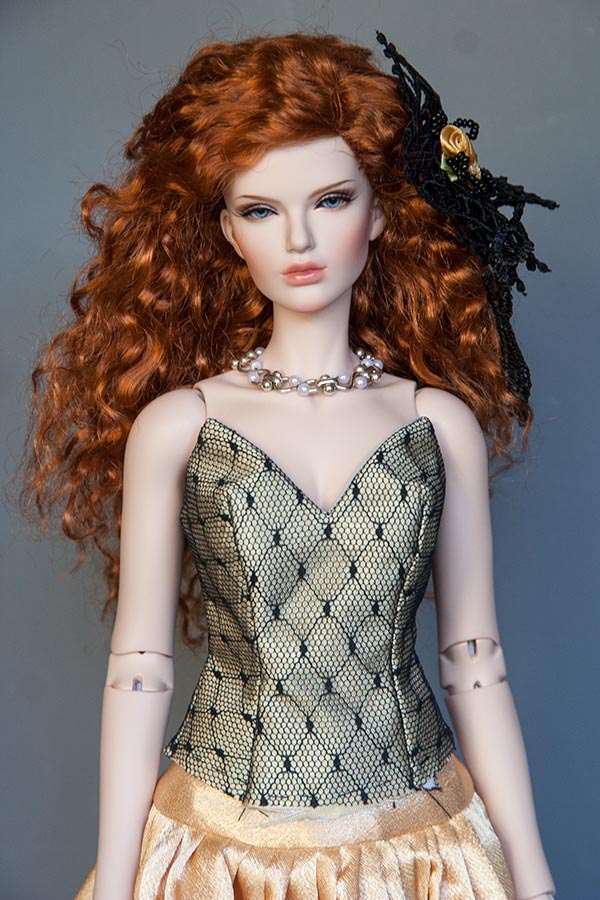
And the finished gown....
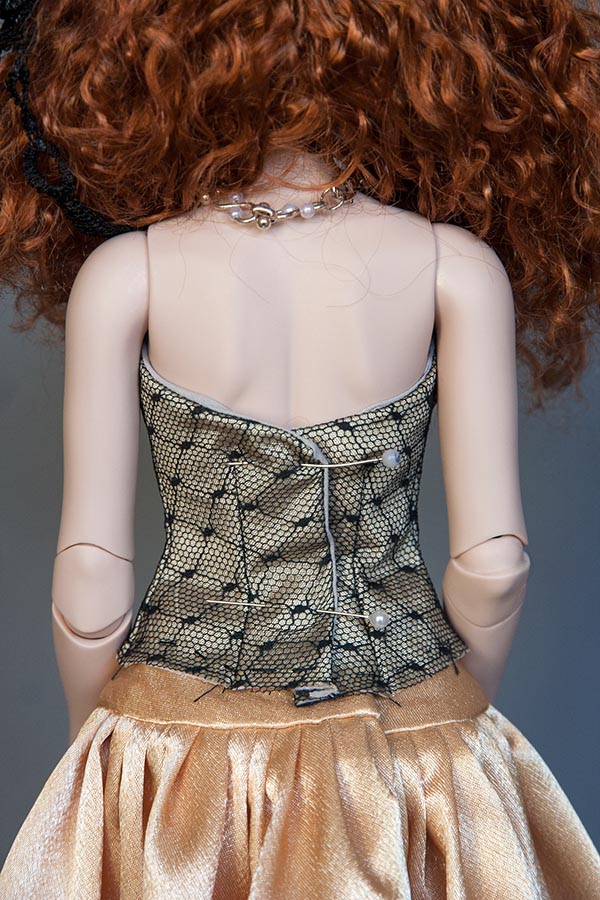
...and with eyelets, laced up the back. The bodice will overlap in the back a bit on a Raccoon lady,
so will need to be laced as shown below....
so will need to be laced as shown below....
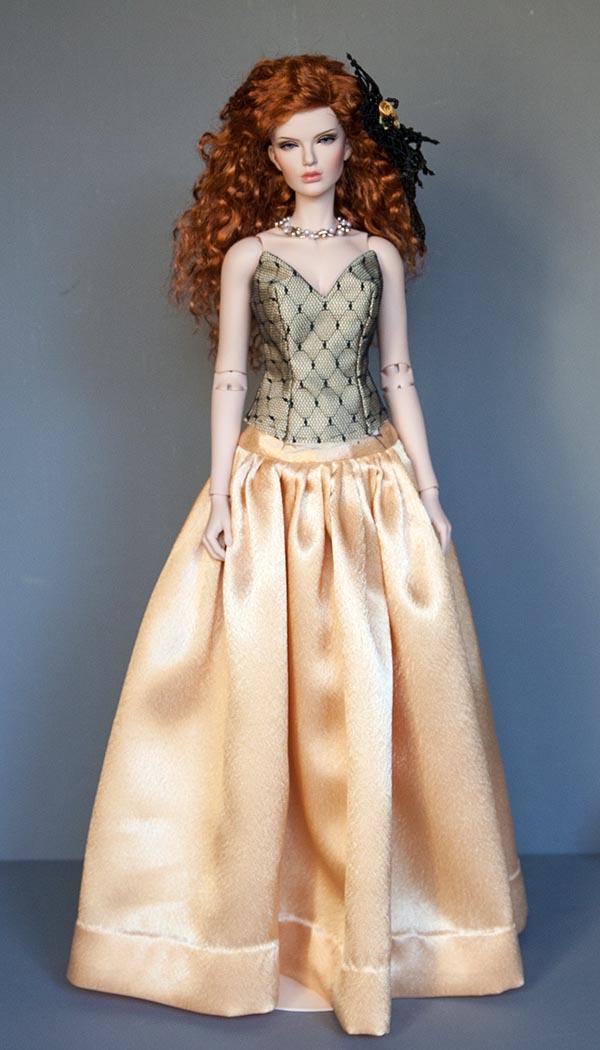
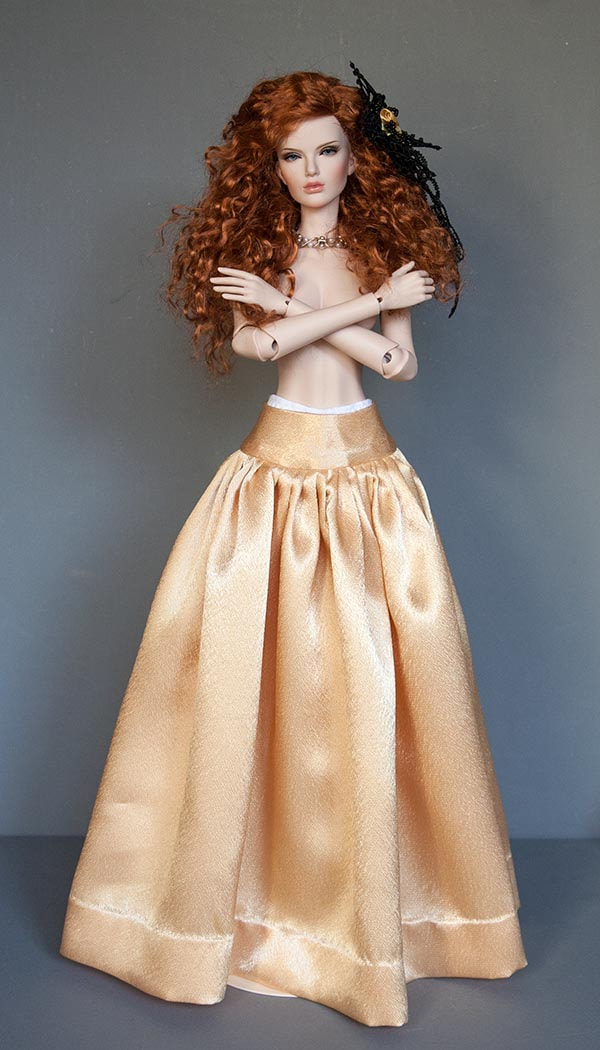
the Underskirt
It would have added too much bulk to add the final underskirt to the bodice, so it was sewn separately. I try keep the bulk down around the waist, so sew underskirts with a curved yoke, which sits nicely on the hips. The skirt gets pleated onto it.
To make the underskirt;
1. Trace skirt yoke template onto iron-on interfacing, cut out adding seam allowances, and press onto the wrong side of the skirt fabric.
2. Place with right sides together onto lining fabric, and cut out. Sew outer edges of yoke, up one back side, across the top, and down other back side. Clip corners and curve, and turn right side out. Press.
3. Cut out skirt. Rosies' satin skirt is 28 cm (11") in front and 30 cm (11 3/4") long in back, and 124 cm (49" wide) WITHOUT SEAM ALLOWANCES. So do remember to add the seam allowances, and enough for the hem. Sew rolled seams on both back edges, sew bottom of skirt opening together, and then hem skirt. Press.
4. Pleat the top of the skirt onto the yoke front, right sides together. Sew. Clip curve, Zig-zag edge. Turn lining curve under, and sew lining in place to cover raw edges at top of skirt. Press.
Have fun dressing your ladies!!
Copyright © 2020 Martha Boers
All Rights Reserved
All Rights Reserved
