Renaissance Hats
The hats and headdresses in this tutorial were designed to go with the gowns in the two Renaissance Gown Tutorials.
The patterns were designed to fit an 8/9" head circumference. They fit my Elfdolls, Iplehouse EIDs & SIDs, and Supia Rosy.
The patterns were designed to fit an 8/9" head circumference. They fit my Elfdolls, Iplehouse EIDs & SIDs, and Supia Rosy.
*Unfortunately I never took any under construction photos while making the various hats,
so I hope the instructions will be clear enough.
Please read throughout the instructions carefully, before beginning
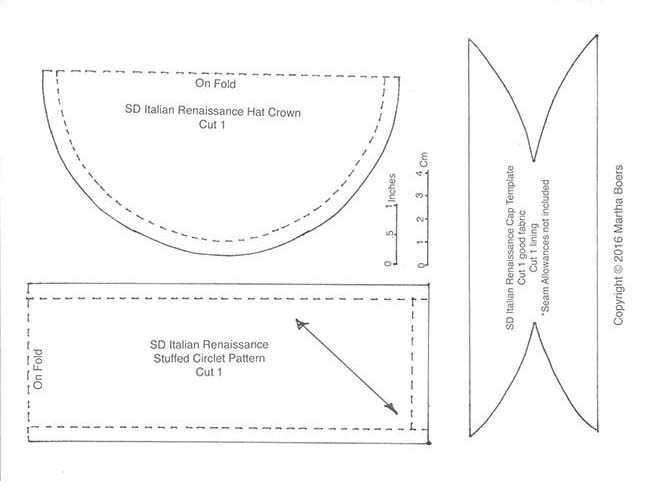
Pattern
The pattern pdf includes patterns for all three different hats. Click on pattern image to download pdf....
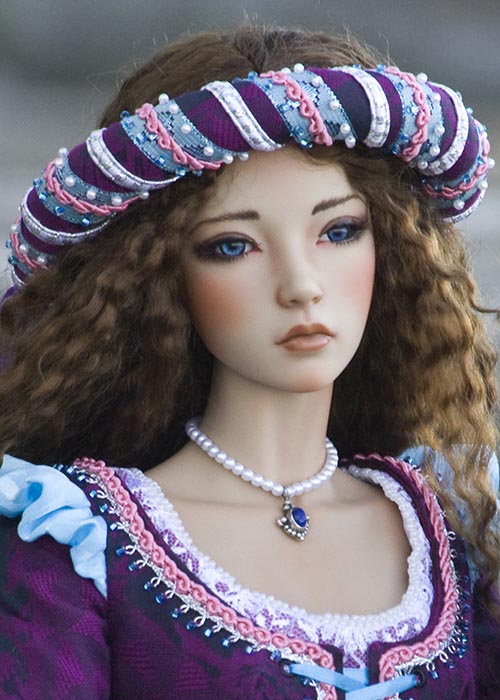
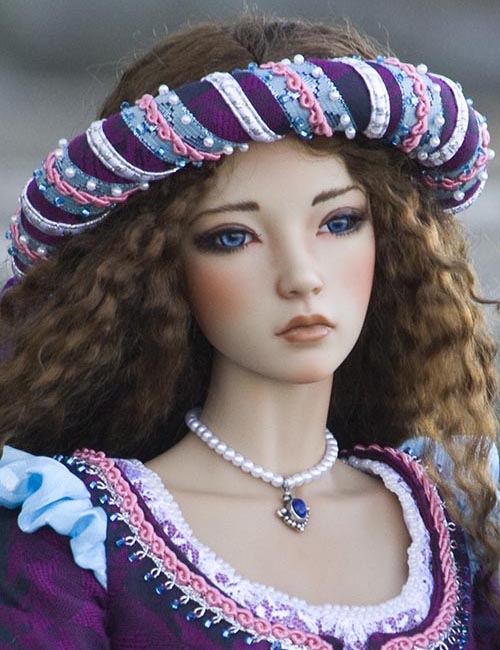
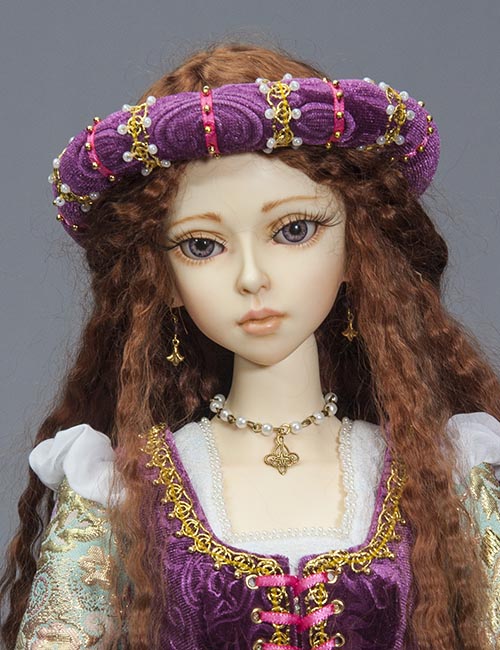
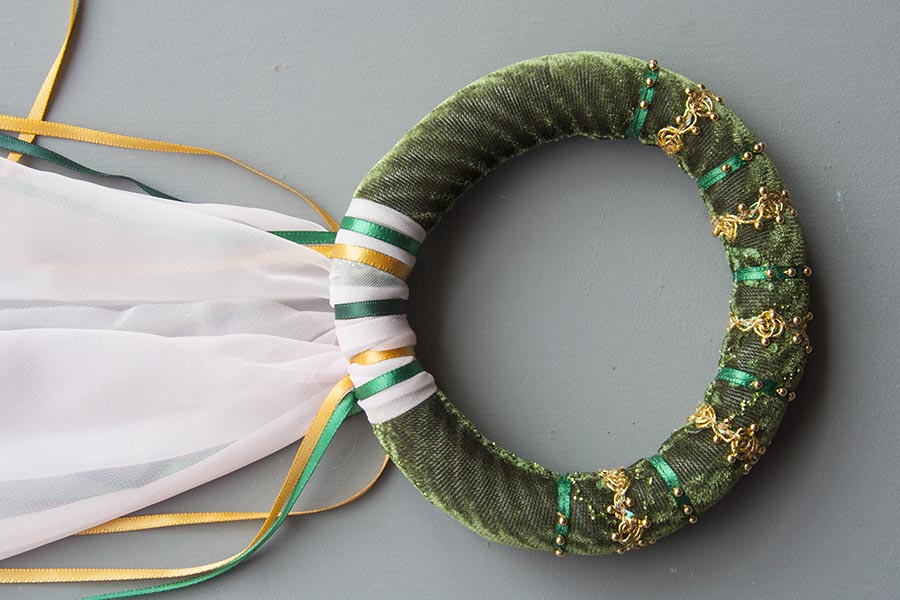
Stuffed Circlet
Instructions
1. Print and cut out the pattern.
2. Pin pattern onto folded fabric. Please note, that the pattern must be laid on the bias of woven fabrics, but can be laid along a
straight edge of velour, since velour is stretchy. Asa's circlet was cut on the bias, while the other two were not. Woven fabric
should have all the edges FrayChecked after cutting.
3. Notice that Rosy and Ryung's circlets have vertical trims, while Asa's is on an angle. The trims on Rosy and Ryungs circlets were
sewn onto the fabric immediately after cutting out the fabric, whereas Asa's trim was hand-stitched onto the stuffed circlet after
it was sewn together. The choice is yours - you can sew trims on by machine now, or wait until later and sew them on by hand.
4. Fold Circlet fabric lengthwise, with right sides together. Pin. If using Velour, you will need to hand-baste the seam, since Velour
has a 'nap'. Sew the seam. Zig-zag raw edge, and turn circlet tube right side out.
5. Lightly stuff the circlet with polyester fibrefill. Tuck the raw ends into the ends of the tube, and measure the circumference on the
doll's head (while wearing their wig) Match up the seams, and hand-sew the open ends together, adding a bit more stuffing before
sewing closed completely. Twist circlet so seam is on inside.
6. If you've chosen to wait with the trim, now is the time to sew it on. Add any beading if desired.
7. Attach a veil of nylon tricot at the back, by folding a corner over the circlet back seam, and stitching into place. Embellish by tying
on matching coloured ribbons, if desired.
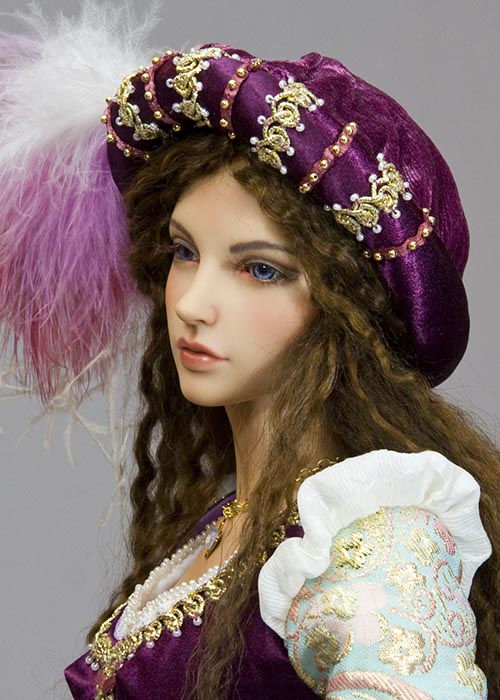
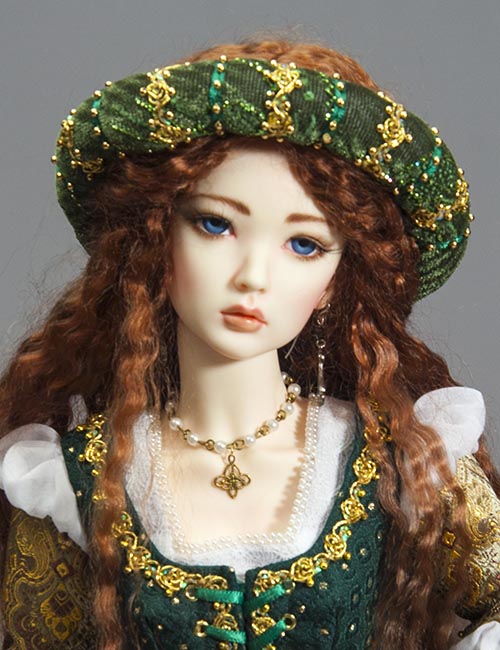
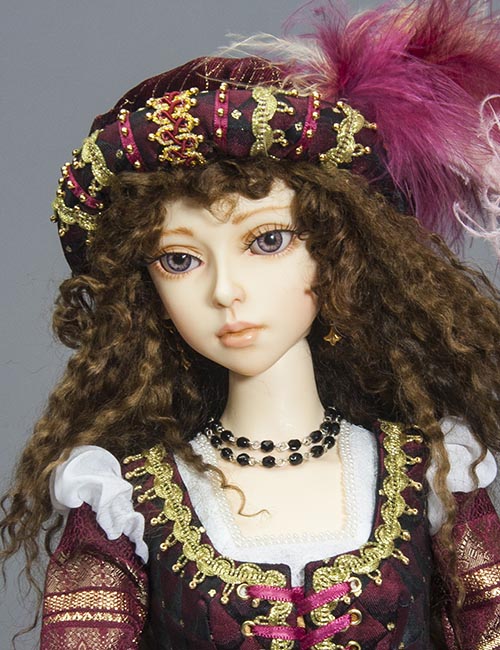
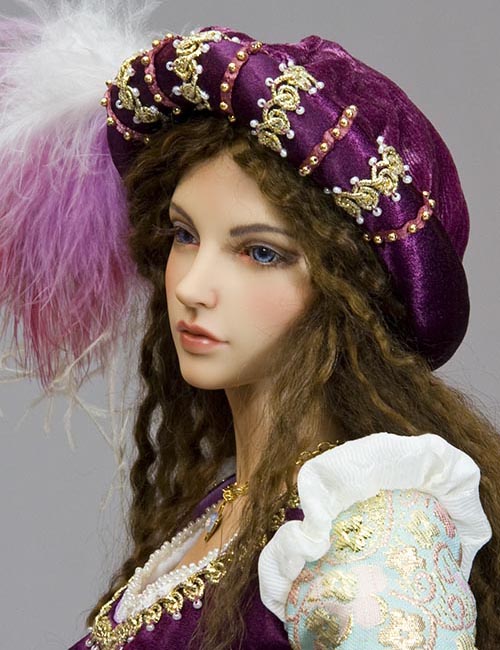
Renaissance Hat
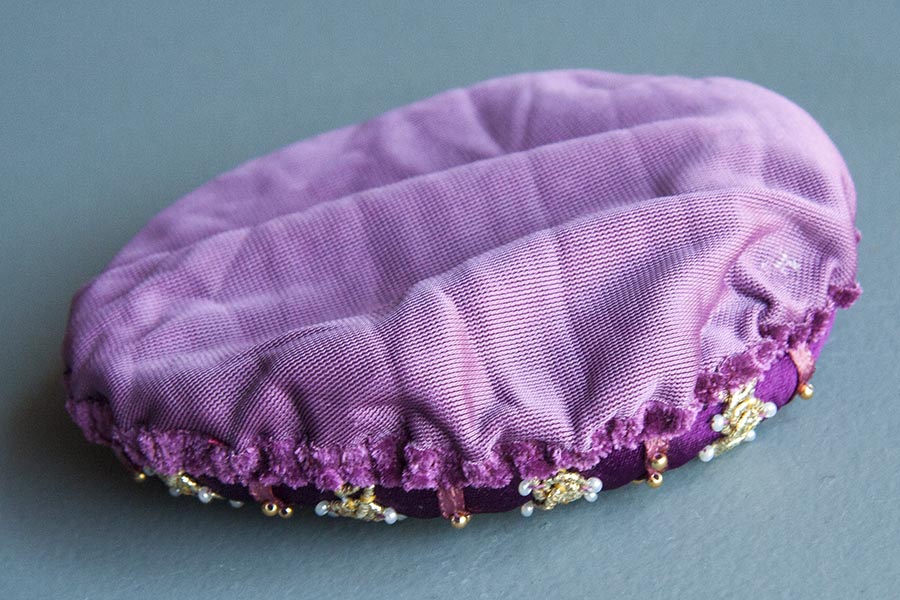
This hat has a soft circular crown, with a stuffed circlet brim
Instructions
1. Print and cut out the circlet and crown patterns. Then cut them out of fabric, remembering to cut woven fabrics on the bias.
Apply FrayCheck to edges of any woven fabrics
2. The first part of this hat requires making a stuffed circlet, as per instructions above, but omitting step #7 with the veil
3. Baste small hem around edge of crown circle.
4. To sew the crown onto circlet, twist the circlet so the seam is on the outside. Pin edge of crown with right side inward, against seam line of circlet. Ease to fit, and hand sew crown onto circlet brim at the seam. Turn hat right side out.
5. Embellish with feathers, attaching them with hot glue in-between brim and crown.
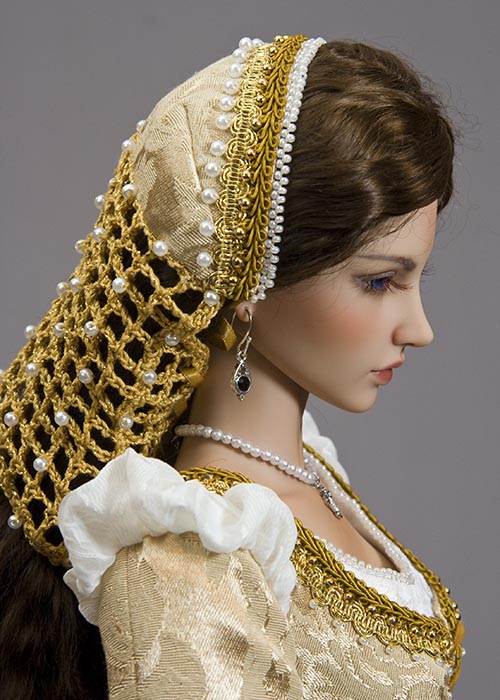
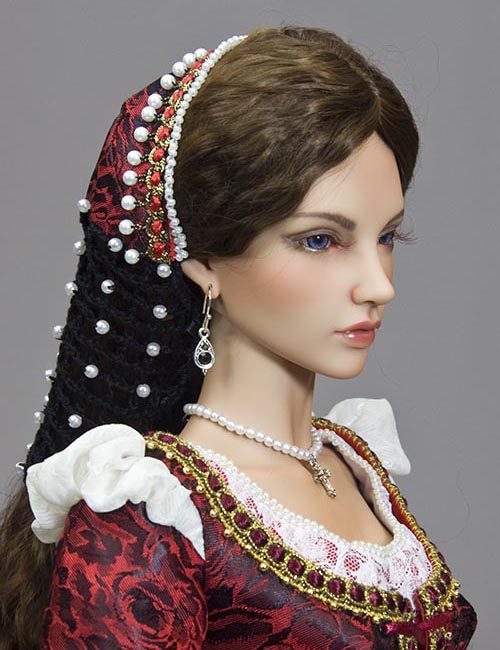
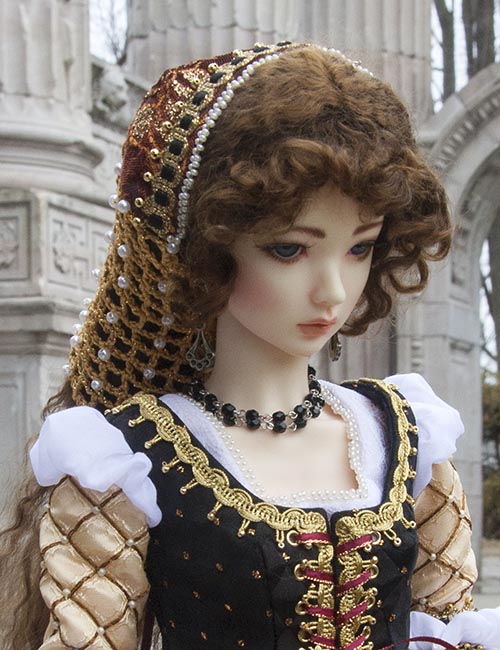
Cap with Snood
Instructions
1. Trace cap template onto iron-on interfacing. Add seam allowances and cut out. Iron onto wrong side of cap fabric. Trim edges,
and cut out lining.
2. Stitch darts on cap and lining. Pin lining and cap with right sides together. Stitch along just one of the long ends. Clip the seam
allowance, and press open. Stitch decorative braid along edge of good fabric side.
3. Pin the lining back down onto the cap with right sides together, and machine sew cap edges leaving a 1 1/2" opening in middle of the untrimmed long edge (sorry, I forgot to draw it on the template - the opening is for turning the cap right side out)
4. Clip the corners and side seams, and turn cap right side out through the opening. Hand sew the opening closed, and press.
5. Work an edge of picot beading along cap front, and embellish trim with additional beading if desired.
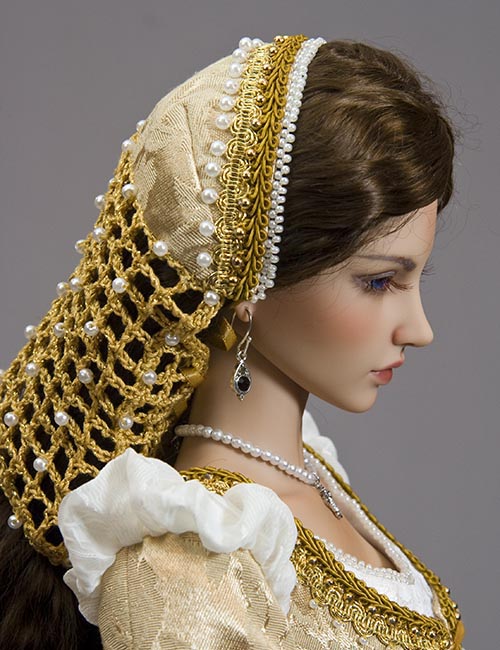
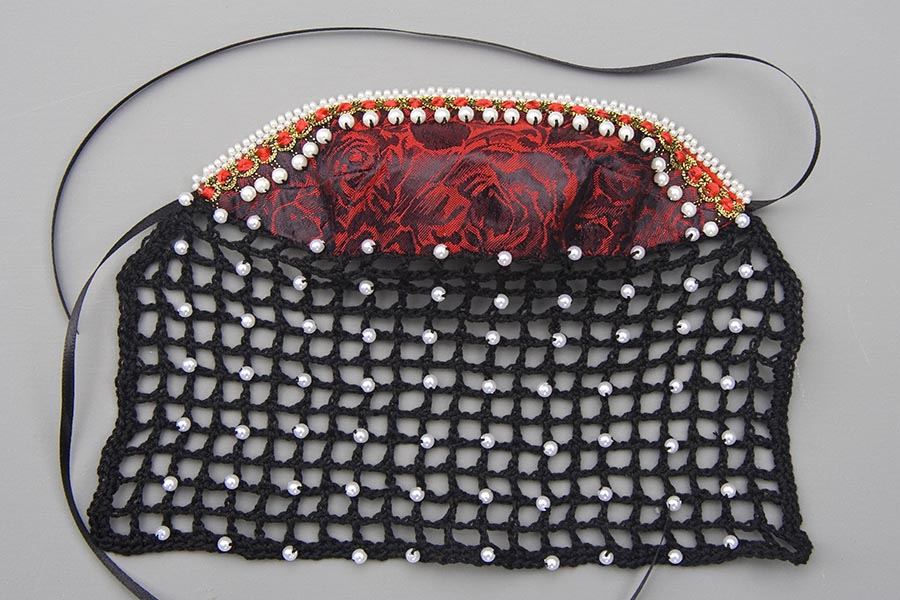
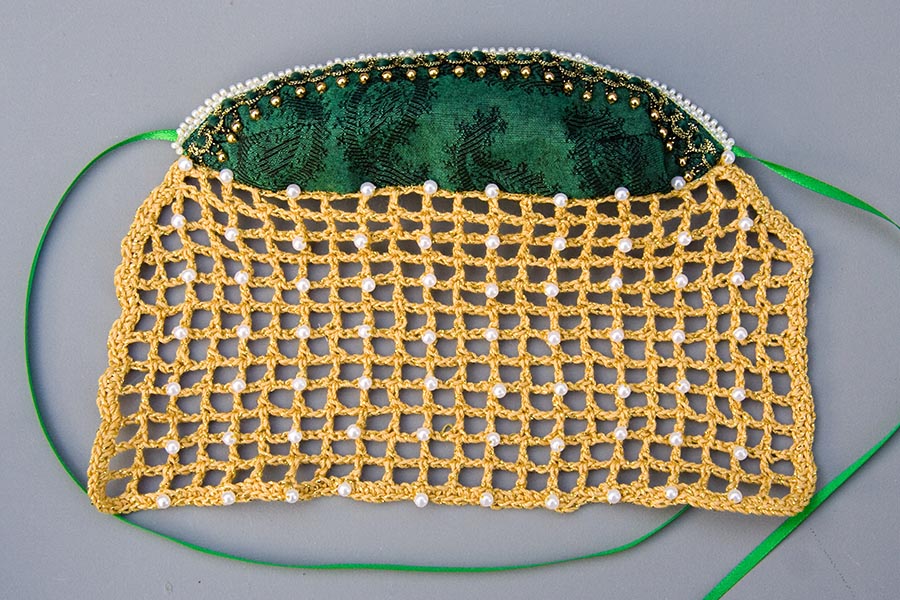
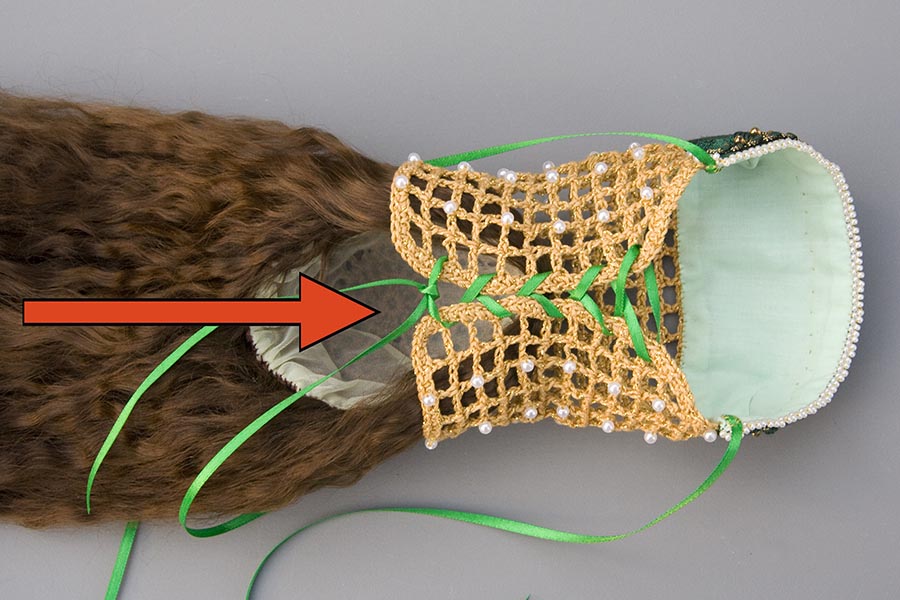
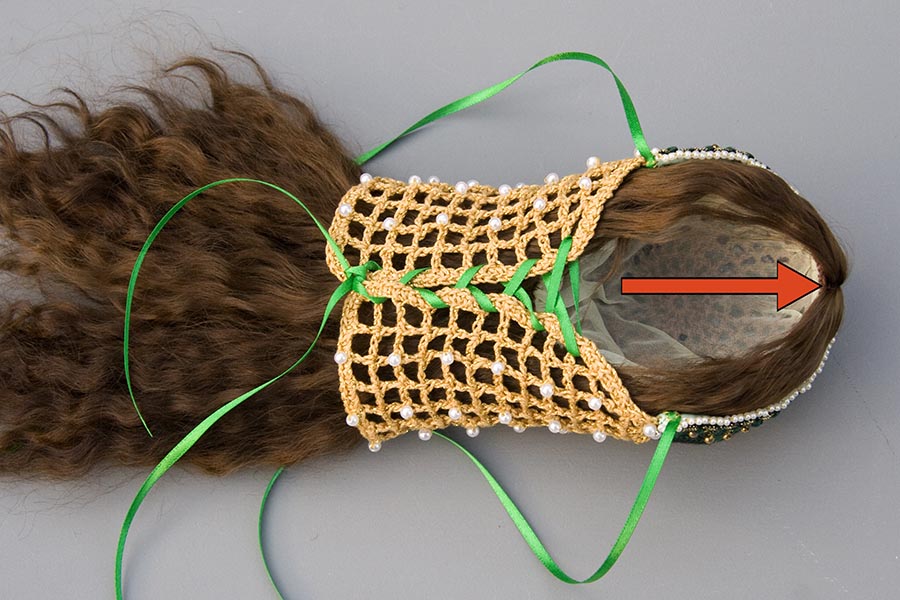
6. I crocheted a net 'snood' to sew onto the back edge of the cap. Unfortunately I'm not very skilled at translating my 'crochet instructions' into proper crochet instructions that the general public would understand. So I'm attaching two photos showing the crochet details in the hopes that anyone experienced with crocheting can figure it out.
I started by crocheting a row of 48 chain stitches to correspond to the back edge of the cap. 'Mesh' was made by double crochet with chain stitches in between. An extra space was added to each of the first three rows of mesh. After working 12 rows of the mesh, I worked a row of single crochet around the entire outside. Then with a matching thread, I sewed pearls at regular intervals.
Lengths of ribbon were sewn onto the sides of the cap, for tying at the back of the neck.
The snood is laced together with a long length of ribbon, which is tied in a knot. After experimenting with trying to put the cap and snood onto my doll, I finally found it easiest (and most successful) to slip the doll's wig up into the cap through the snood. This keeps all the hair neatly in place
The snood is laced together with a long length of ribbon, which is tied in a knot. After experimenting with trying to put the cap and snood onto my doll, I finally found it easiest (and most successful) to slip the doll's wig up into the cap through the snood. This keeps all the hair neatly in place
Pull the wig cap all the way through, and slightly passed the front edge of the cap. Secure the cap onto the wig with a pin.
Now put the wig onto the doll's head. When the wig is properly in position, remove the pin, and pull the cap back a little further. Insert pin again just to help keep it in place, and to prevent the cap from slipping. I found it took me several tries to master this technique, but it is the best way to put the cap on without making a mess of the hair.
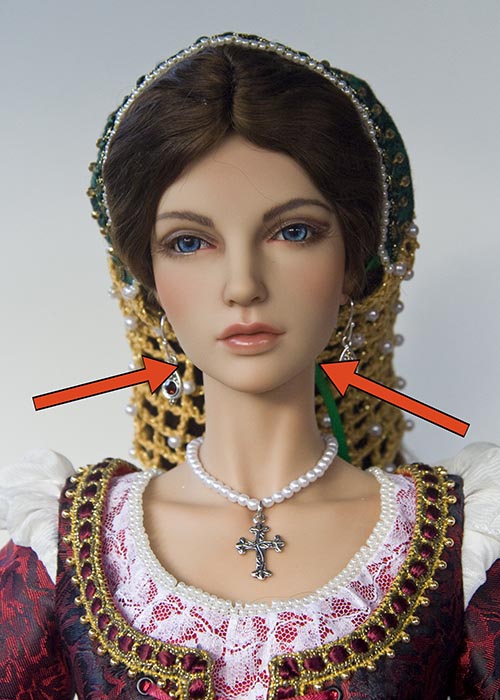
When you are happy with the placement, then tie the ribbons at the side of the cap under the hair at the back of the doll's neck.
When you are happy with the placement, then tie the ribbons at the side of the cap under the hair at the back of the doll's neck.
Copyright © 2016 Martha Boers
All Rights Reserved
