the Red Death, a Creative Journey
Ever since I made Christine's and the Phantom's costumes four years ago, I've wanted to make more for the series.
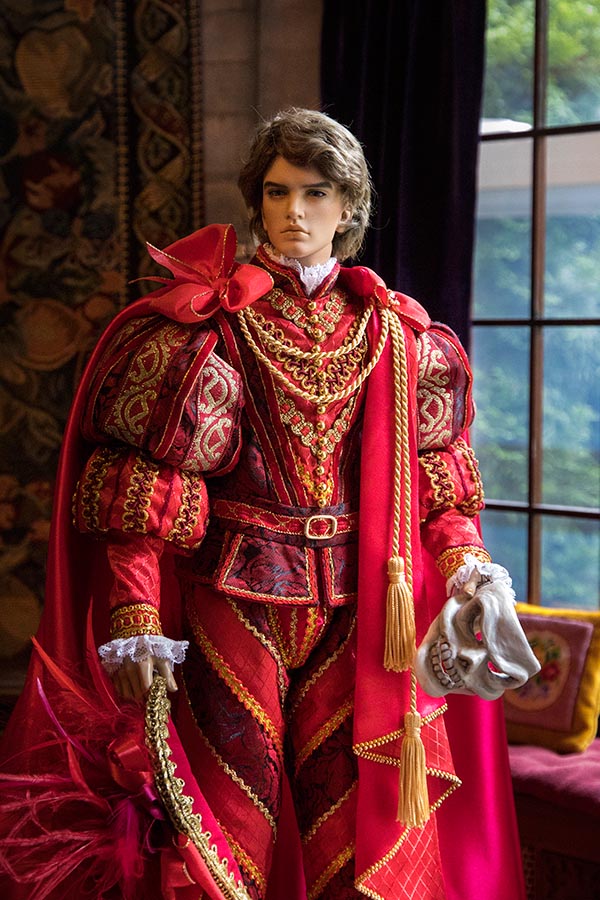
Most notably the Phantom as the Red Death in the New Year's Eve Masquerade scene. It was going to be my project for this year, to make the Red Death and several of the other Masquerade costumes for an eventual huge photo shoot. But life got in the way.
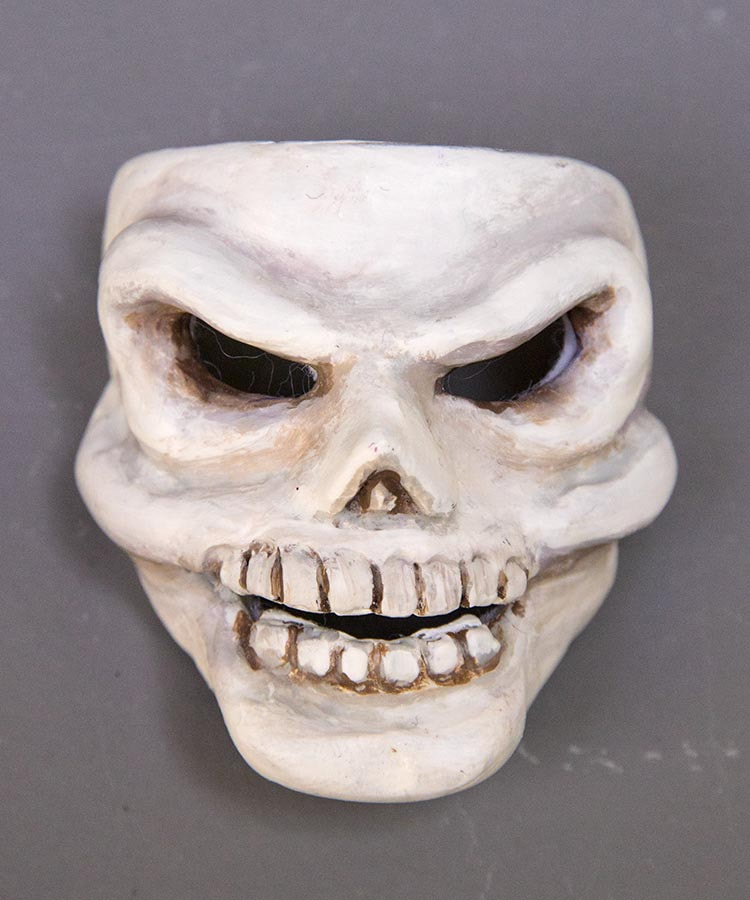
I did make his mask way back in early spring, using Baron's head for the model since he was going away for a repaint anyways. I'd made a Red Death mask way back when I made the first Phantom mask, but it was molded on Lawrence's head before he was painted, and I decided that even thought it looked good, it would fit too snug on anyone's face and I'd risk scratching their faceup.
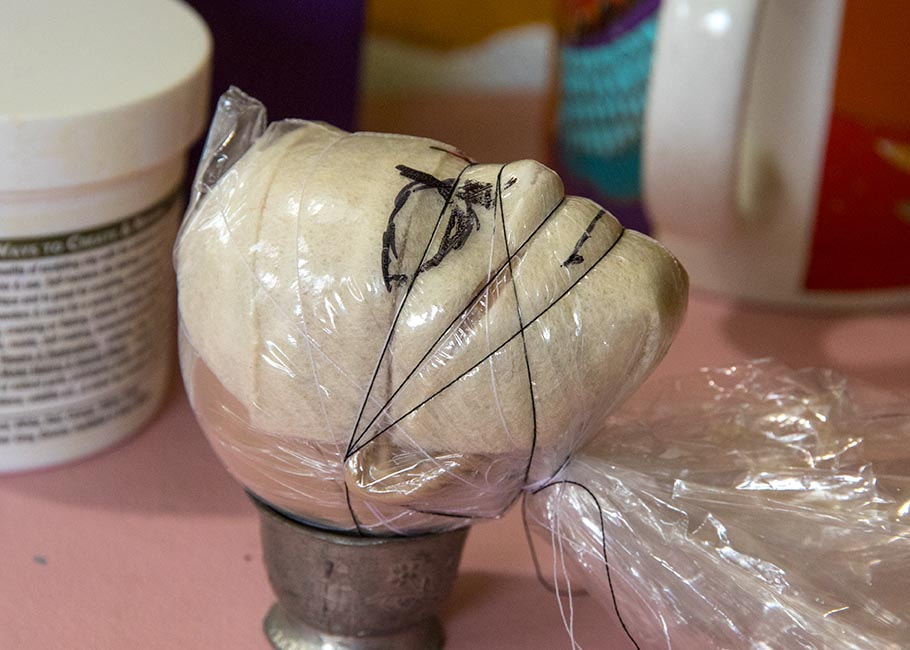
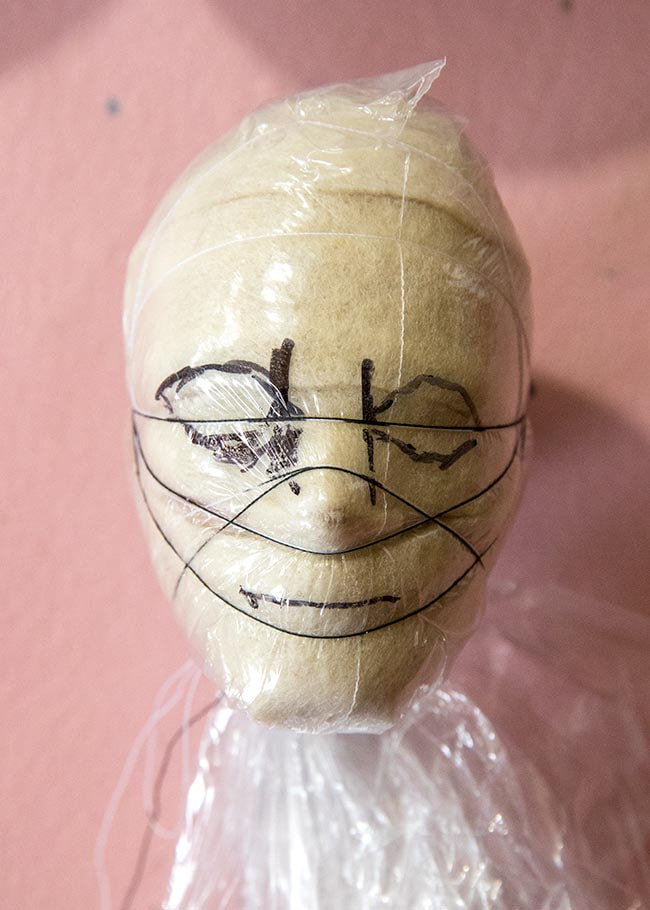
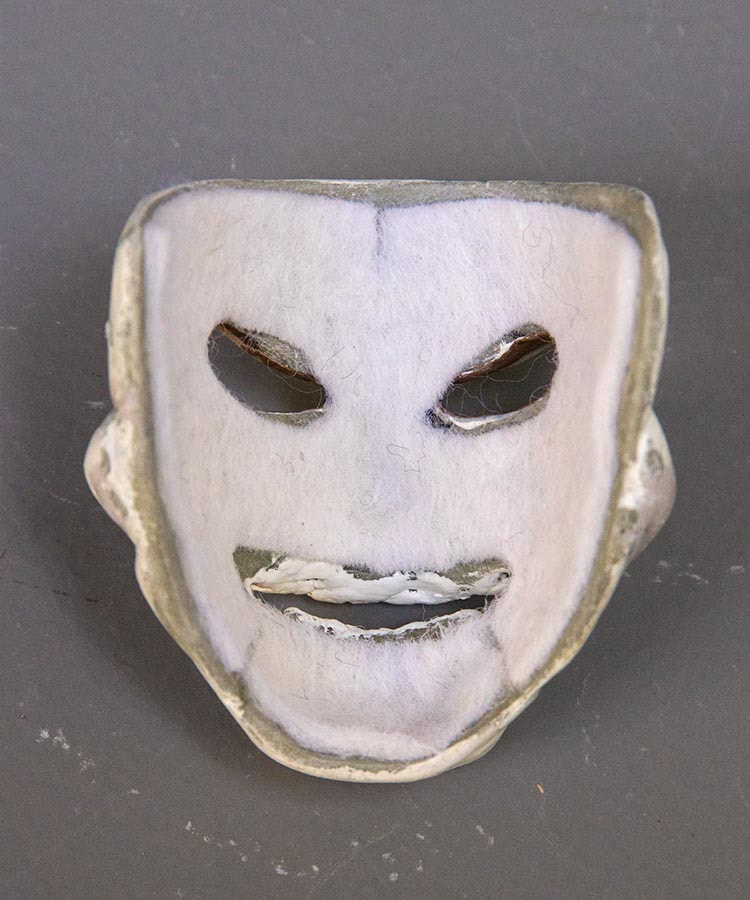
So I needed to make a new mask and this time I decided to consider faceup protection. The mask would need a felt lining to protect the doll's faceup. I couldn't just make a mask on a plastic wrapped head and add the felt afterwards since it would end up too small on the inside, so I needed to account for it when I sculpted the mask. So I covered Baron's head with a double layer of plastic wrap, then a layer of felt which had been trimmed so there would just be a single layer with no overlapping, and then I covered the felt with another double layer of plastic wrap. I tied it all down with strong thread....
...and drew on where the eyes and mouth should be...
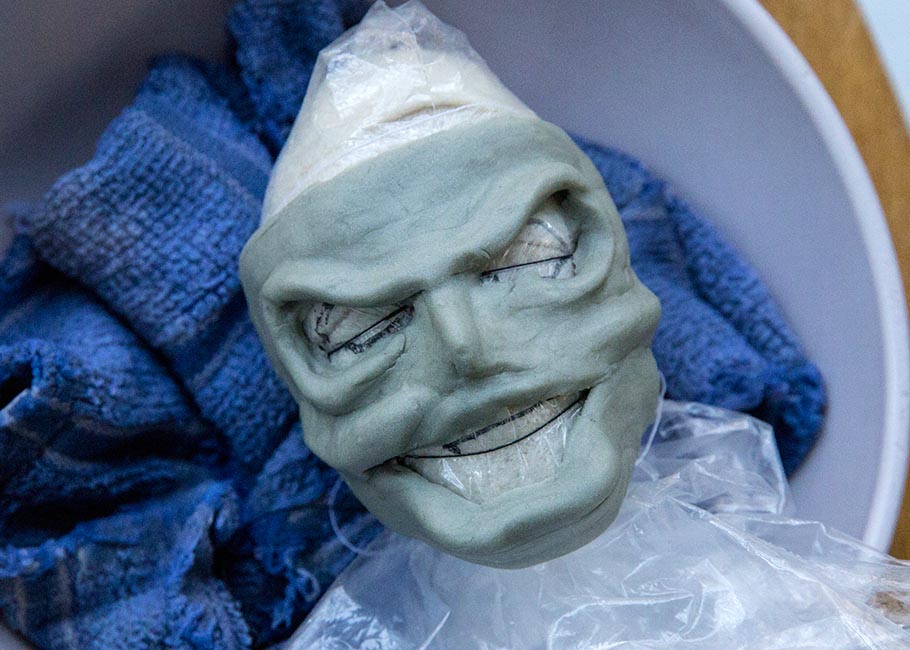
As much as I love the strength and durability of Apoxie after it cures, it can be a challenge to work with, so I first built uf the basic mask shape...
Then after adding the final layer, and letting it cure, I painted it. Then after removing the plastic wrap and felt from Baron's head, I glued the felt inside the mask...
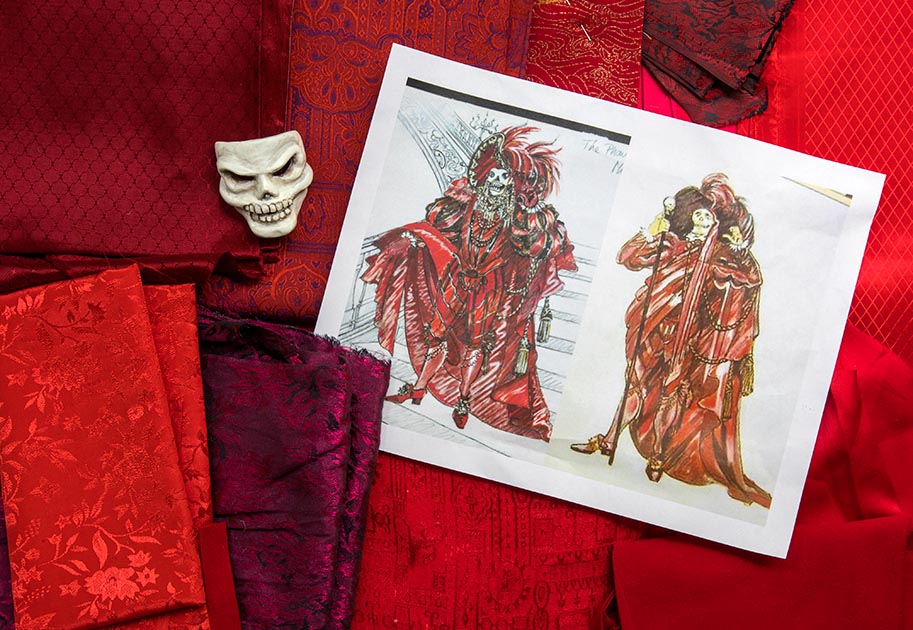
Then the mask lay around for several months. My sister and I were working on a new book to feature photos of all my Fantasy Doll costumes, and the spreads with the earlier Phantom costumes seriously needed something. It needed a photo of the Red Death! Finally, the push I needed to make the costume. So I printed out the original costume sketches for the Phantom stage production, and gathered every red satin and brocade fabric I had...
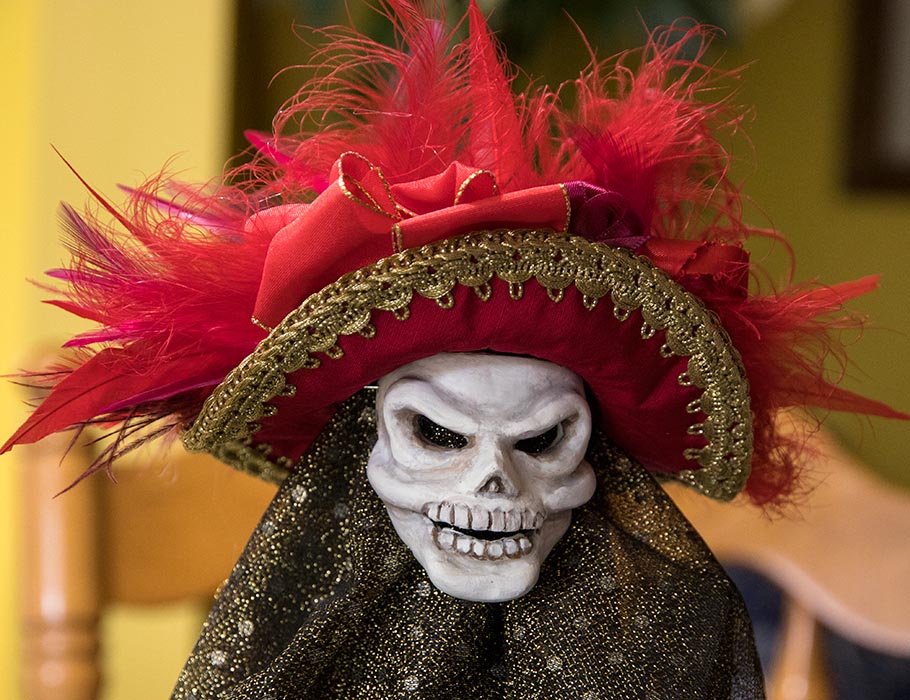
First, and easiest to make, was his big red hat...
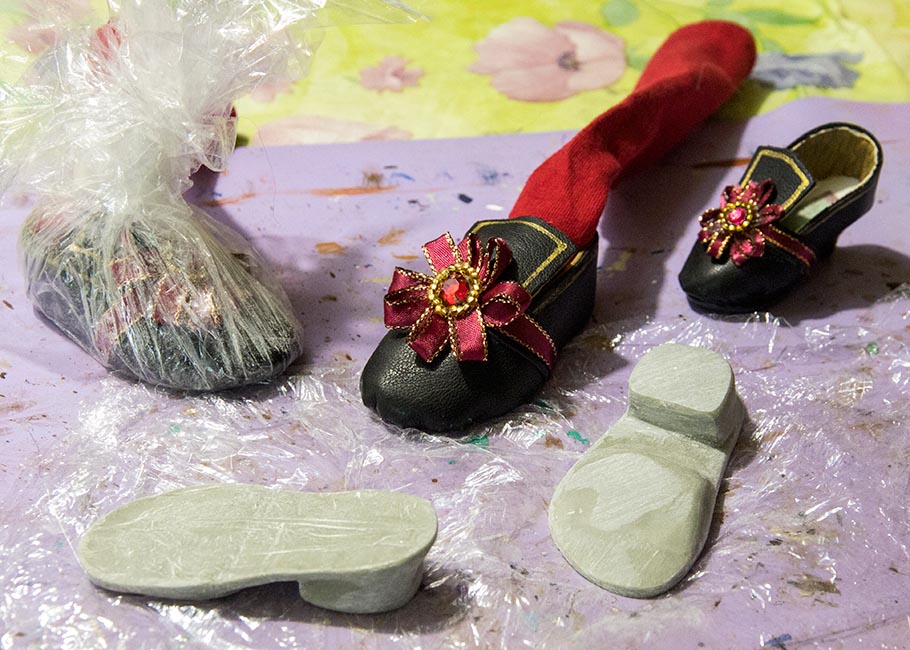
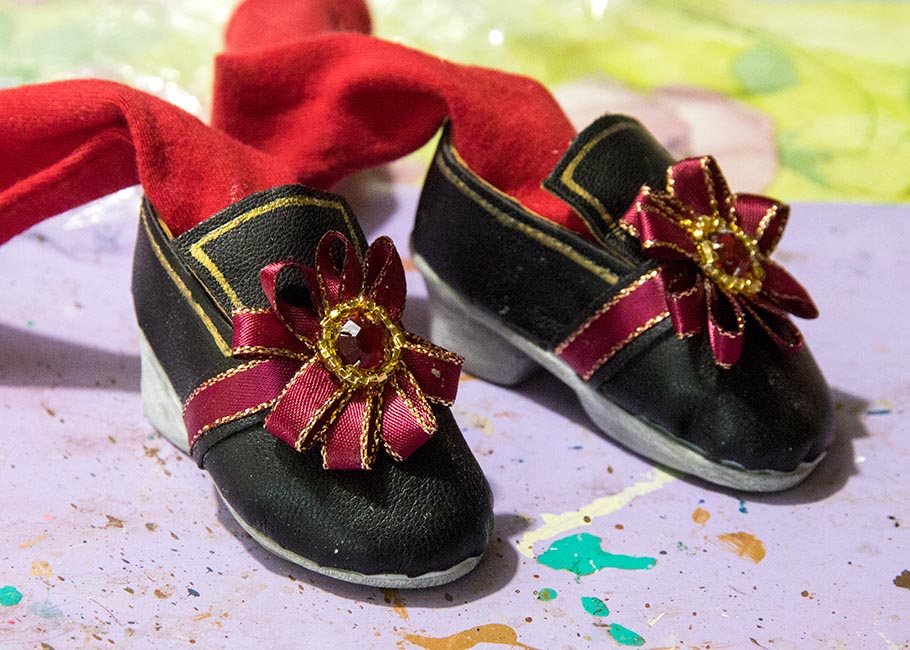
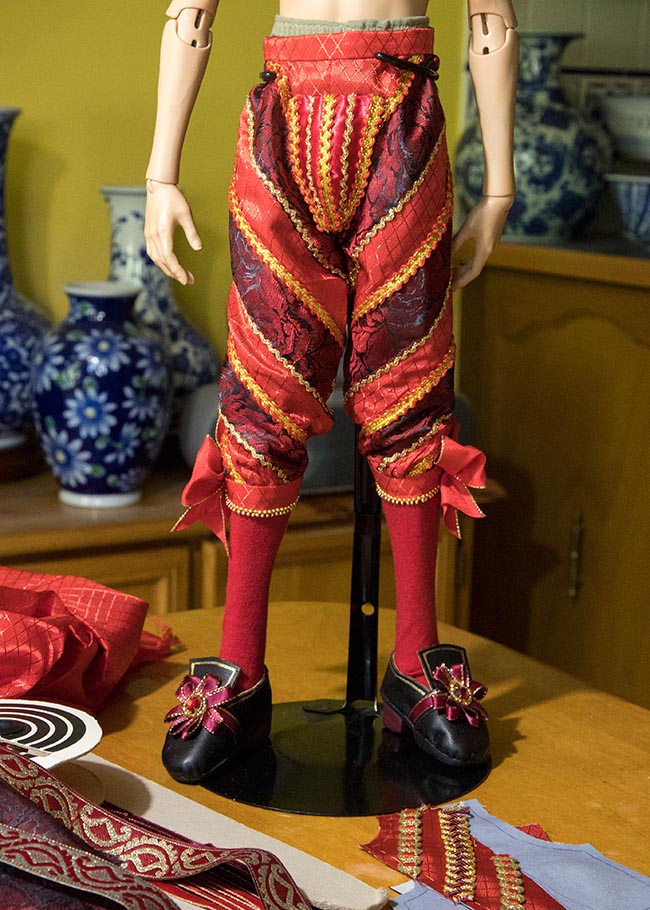
I was going to use Rex as my model and he'd need shoes before I could continue with the costume. I sewed some red stocking, then I removed Rex's feet, and inserted them into the stockings. I used Monica's shoe as the model for the Phantom's shoe, building the uppers out of leather. Then I covered them with a double layer of plastic wrap so I could make the soles out of Apoxie...
After the soles cured it took considerable sanding to make them nice and smooth. Then they were glued onto their respective shoe.
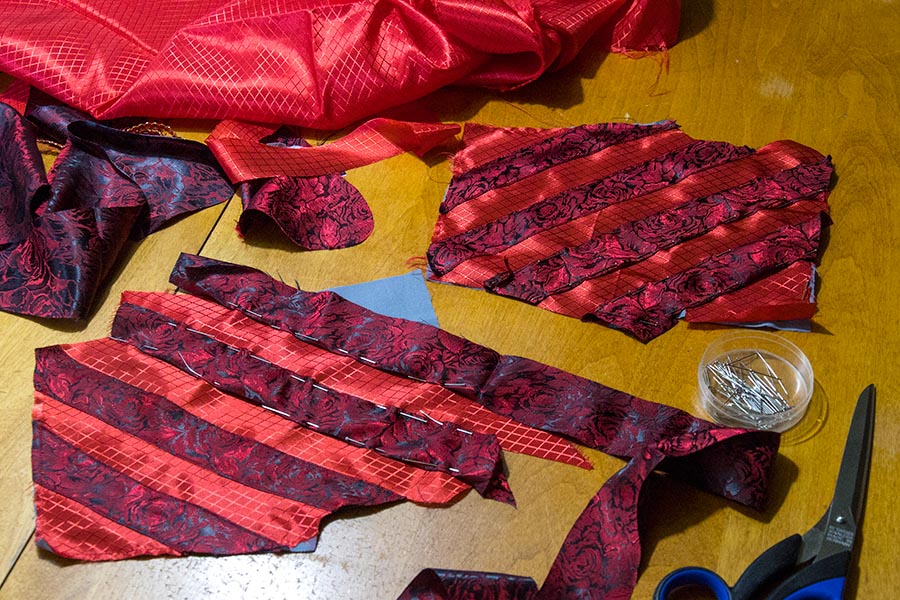
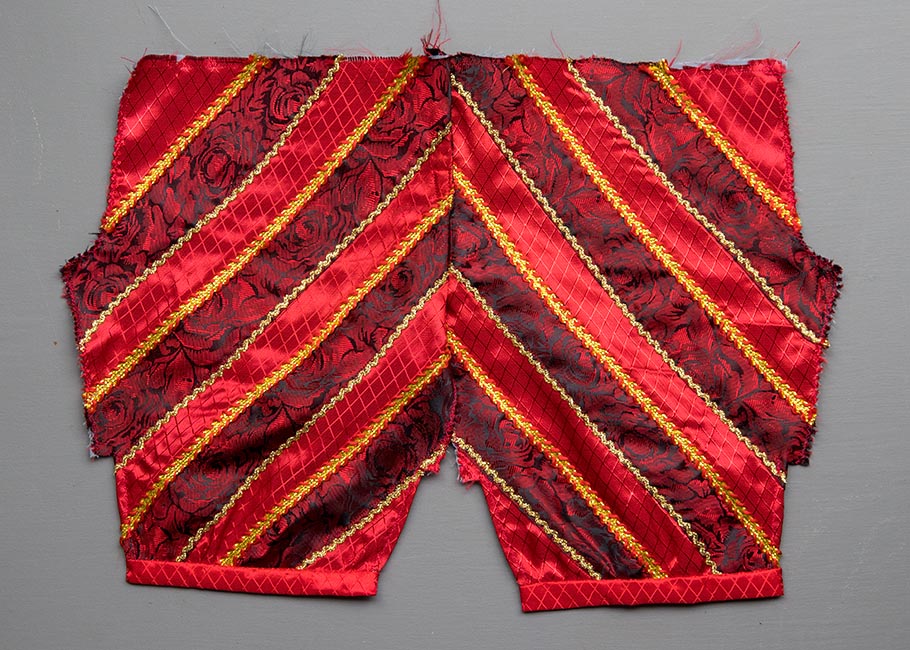
After the shoe soles were painted and varnished, I gave Rex his feet back, and I was ready to start on the pants. I chose a bright red and a darker brocade for the stripes of the pants, adding them in layers to a cotton base.
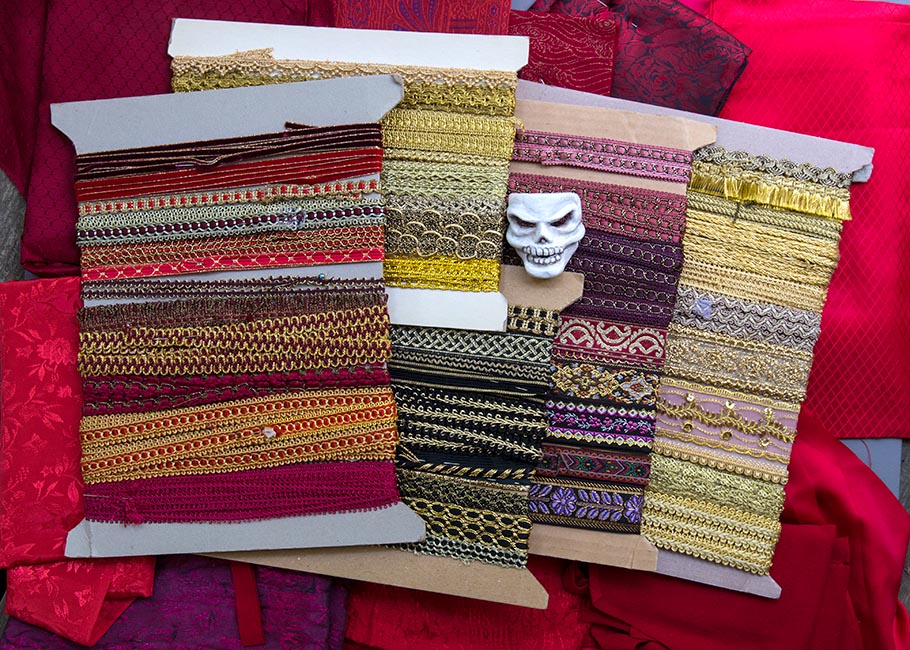
After stitching down all the fabric strips, gold trim was sewn over the edges, and finally the pants back opening was stitched. I did the back first so I could make a nice neat overlapping opening while the fabric was still flat.
After stitching down all the fabric strips, gold trim was sewn over the edges, and finally the pants back opening was stitched. I did the back first so I could make a nice neat overlapping opening while the fabric was still flat.
Next is the top, which needs to be built up in layers, along with some very elaborate sleeves. So that's what I need to start on next.
The Tunic
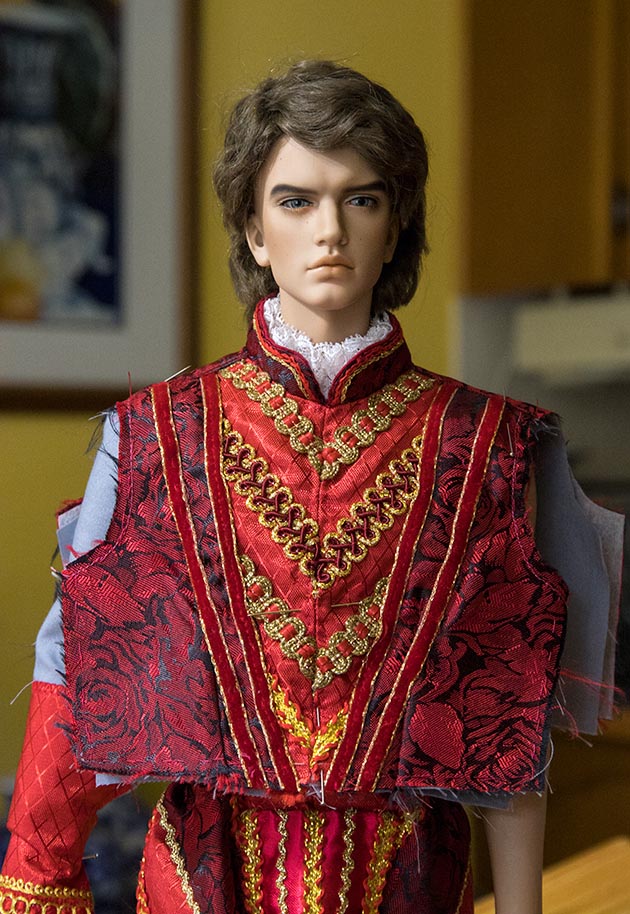
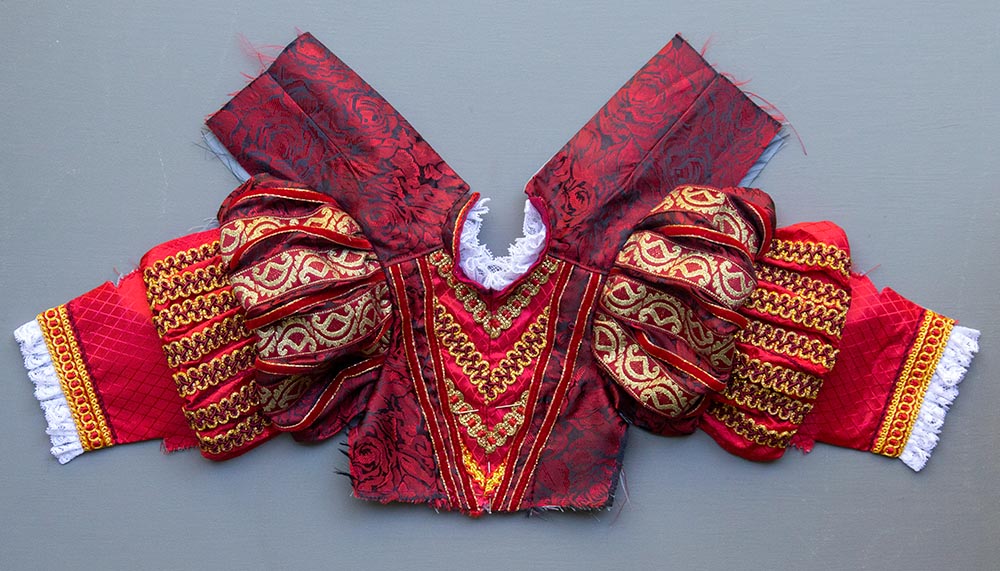
I've been continuing to work on the Phantom Red Death costume. His tunic required a lot of piecing of different fabrics and trims, each being hand-basted before being machine sewn. Normally a top like this would open in the front, but with it being so complex, and there being a huge cloak worn over it, I decided to make the opening at the back instead. I tried it on Rex to check the fit...
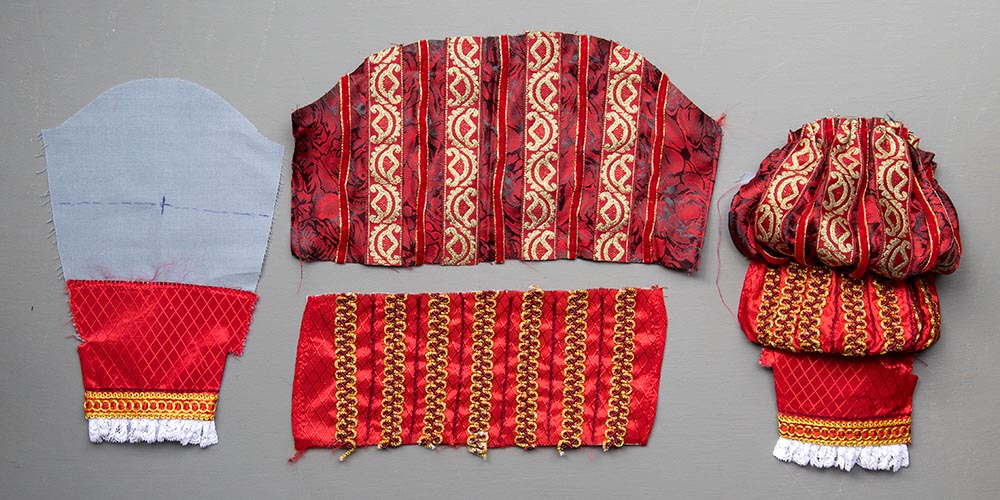
The next step was to make the sleeves. I built them up in layers, basting then machine stitching each row of gathers one at a time...
The completed sleeves sewn into the armholes...
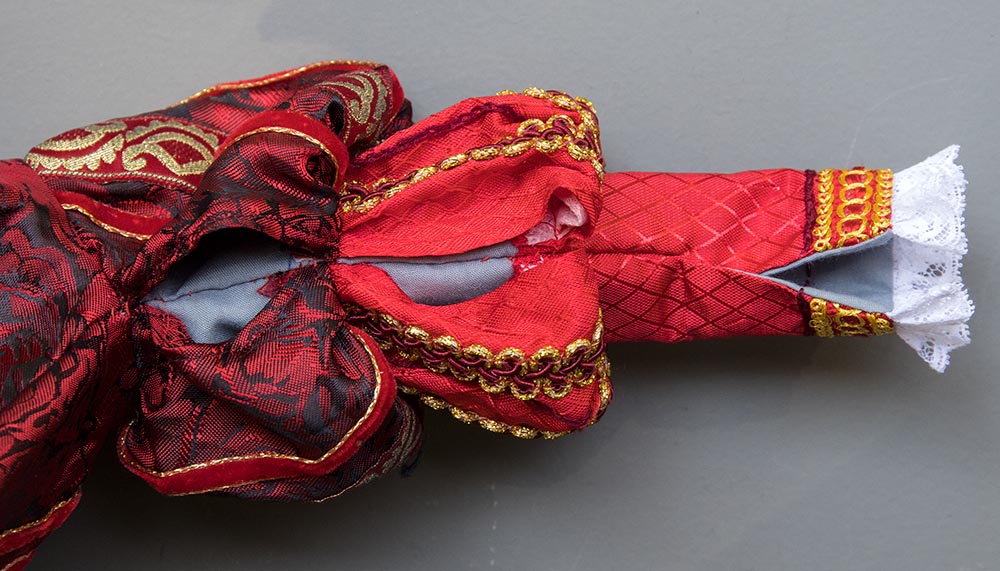
I have a special technique for when I make a top with huge puffed sleeves and there's an underarm seam. I always hem the edges of each puff before attaching them, and then sew each puff onto the sleeve lining just up to the side seam allowance. Then when I finally sew the underarm seams I make sure the puffs are folded deep inside the sleeve and so they don't get caught in the stitching. Then when the sleeve is turned right side out, the puff edges are loose and I'll line them up and stitch them together by hand....
Costume Fitting
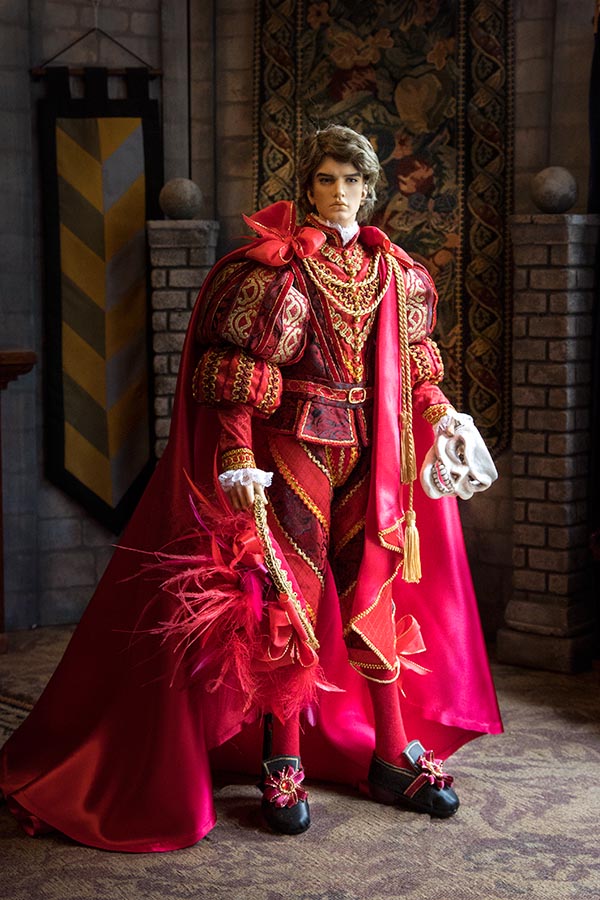
With the Phantom's costume finished, it was time for one last fitting before the performance.
Creating a Stage
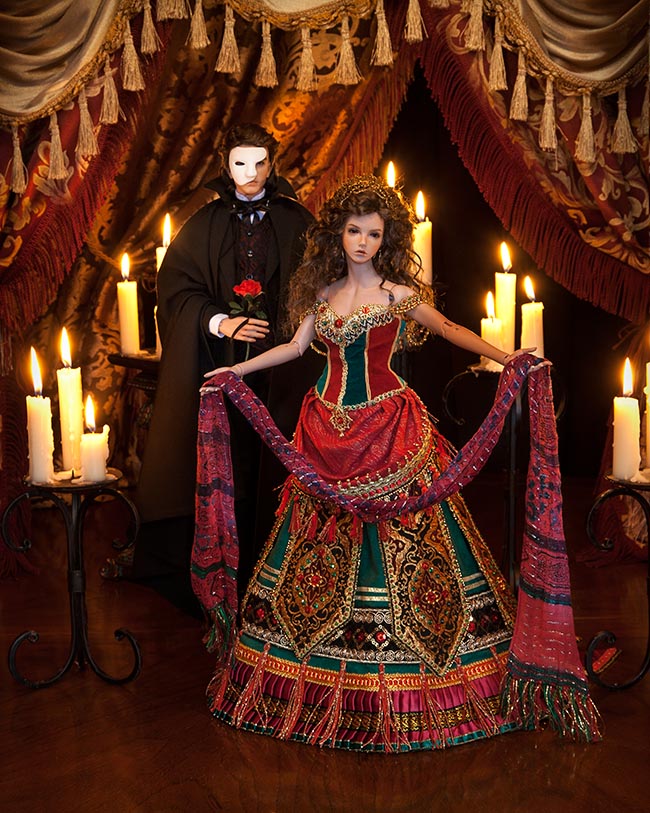
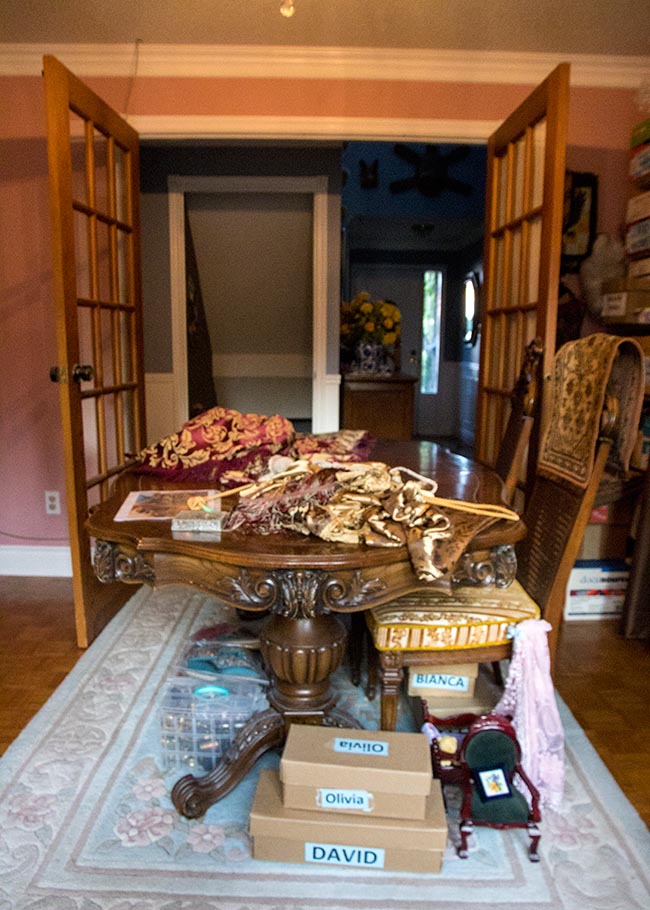
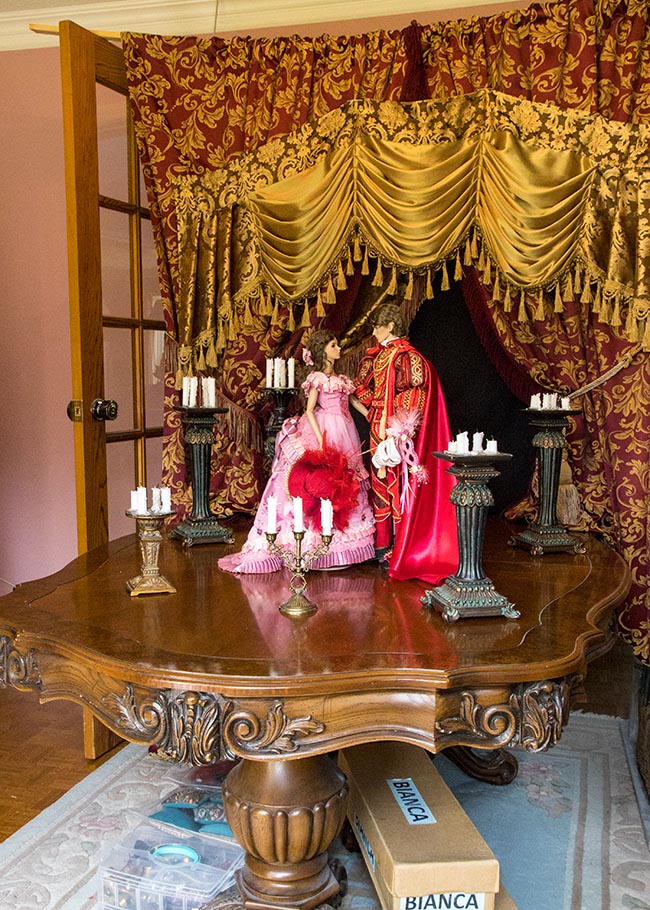
After finishing the Phantom, I needed to take photos of him. In the stage production he appears on a giant staircase in the middle of a New Year's Eve Masquerade ball, but that is beyond me, so I decided to recreate the same 'stage' set I used for the photos of Christine four years ago..
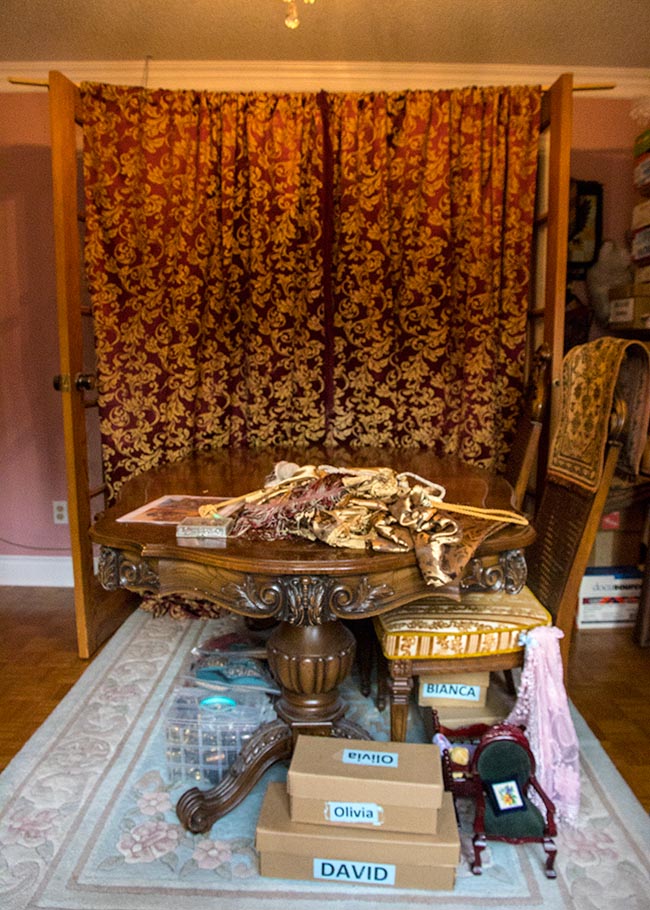
So I printed out some photos of it and we set to work. Jan hauled up the draperies we used last time, which I had originally found at Value Village. The French doors to the dining room were moved into position to support a beam for the drapes....
The long set of drapes were put up first...
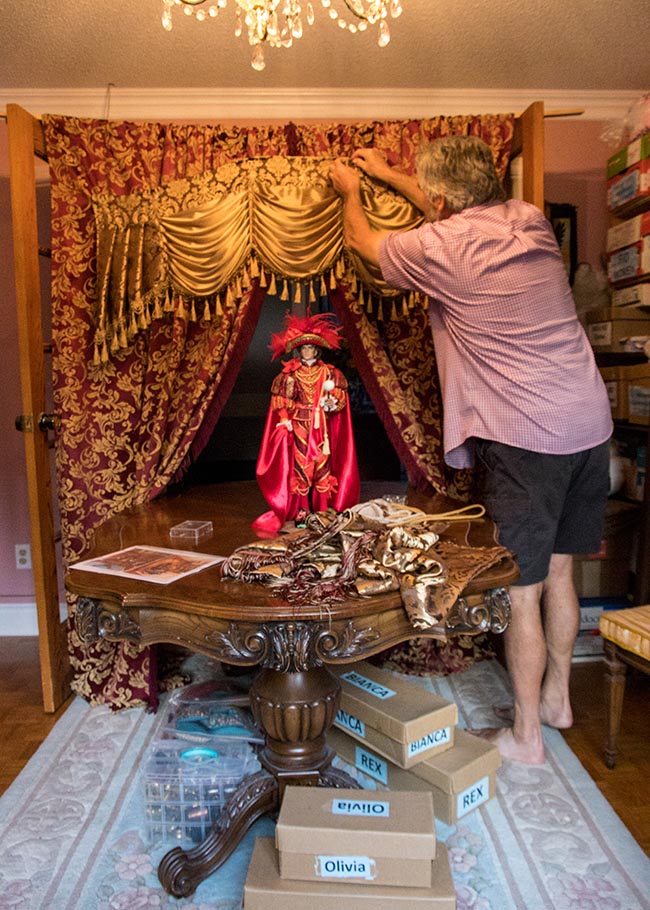
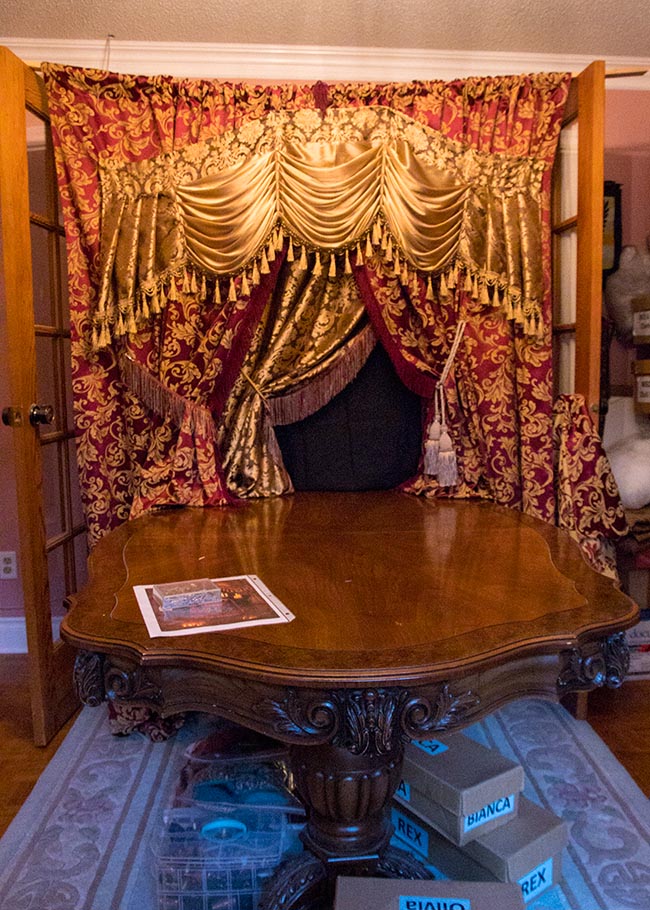
Then the valance was pinned in place, using Rex's height as a guide....
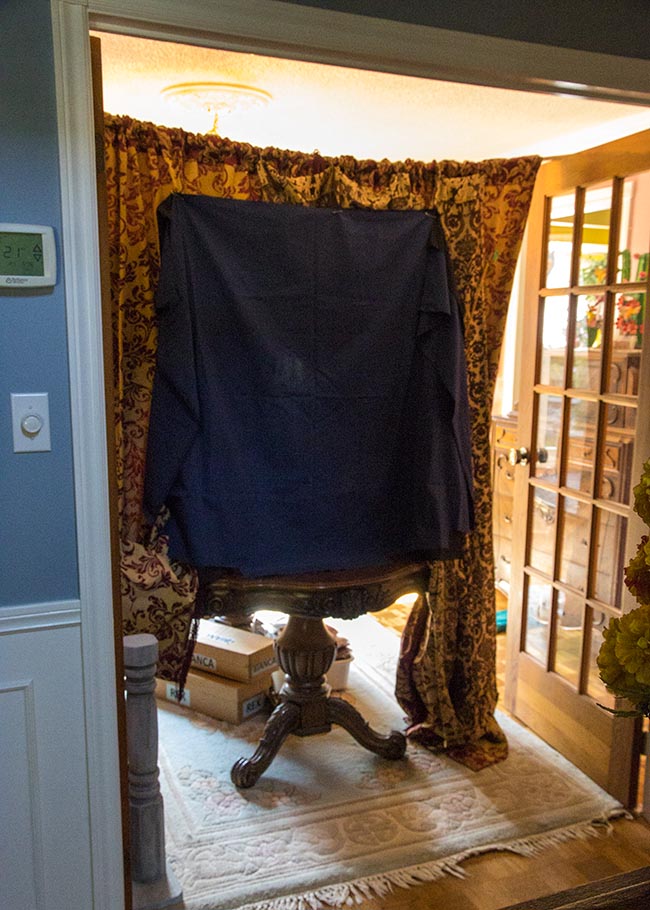
The drapes were tied back, and a second fringed drape was pinned in behind, and plain black fabric was pinned behind that to fill in the hole. This is the back view from the hall....
Now it just needed all the candle stands....
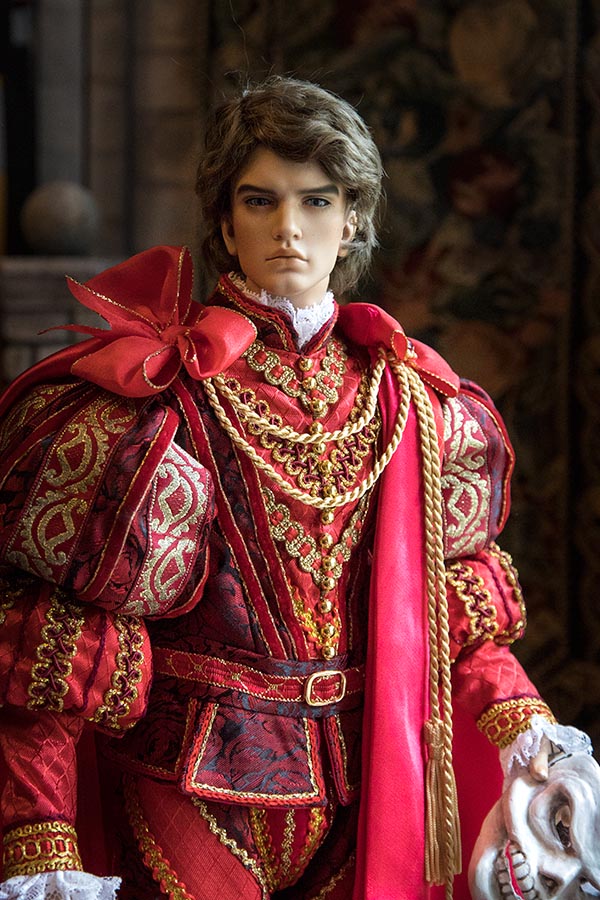
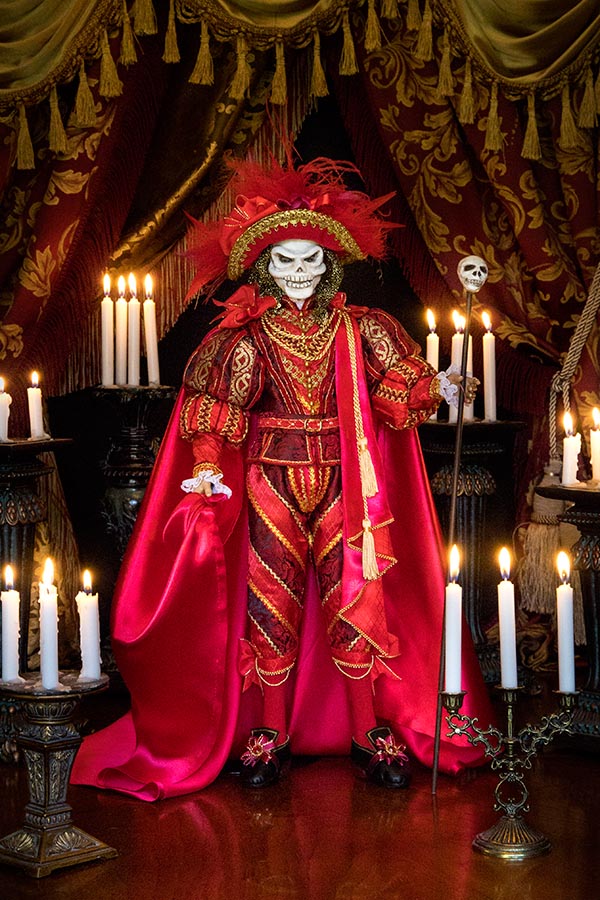
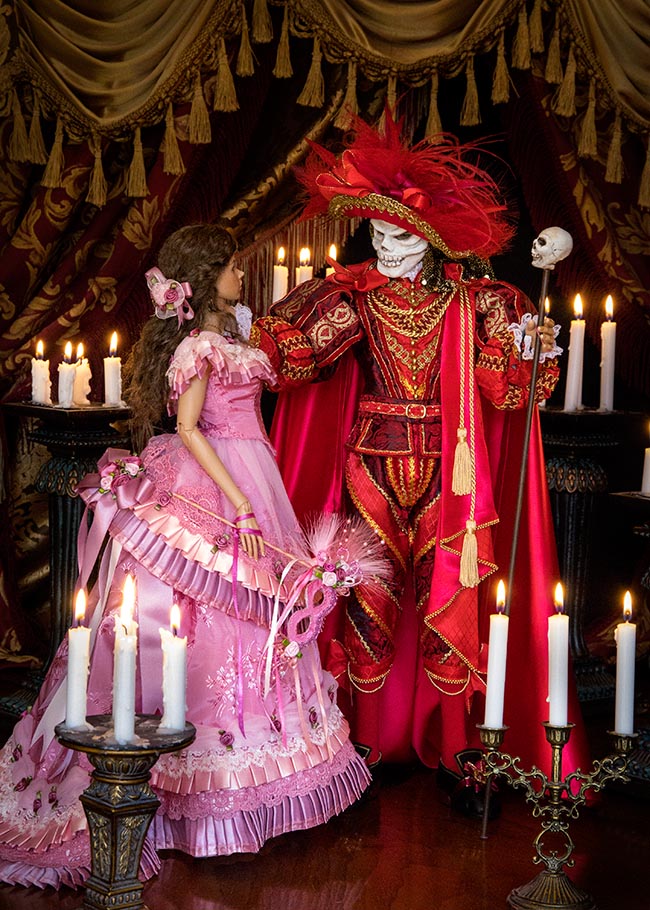
The Phantom as the Red Death....
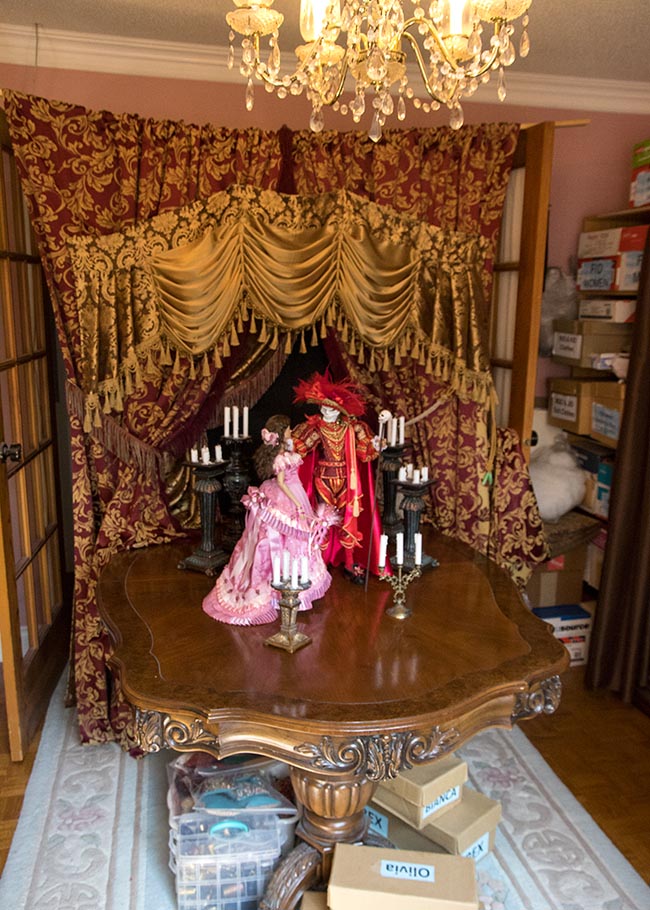
....and with Christine...
I would light all the candles, and then take the photos straight on, level with the doll's eyes. The photos were all taken in the morning or early afternoon before it got too bright out the dining room window. Then when the candles were lit, it created just the right dramatic lighting I needed....
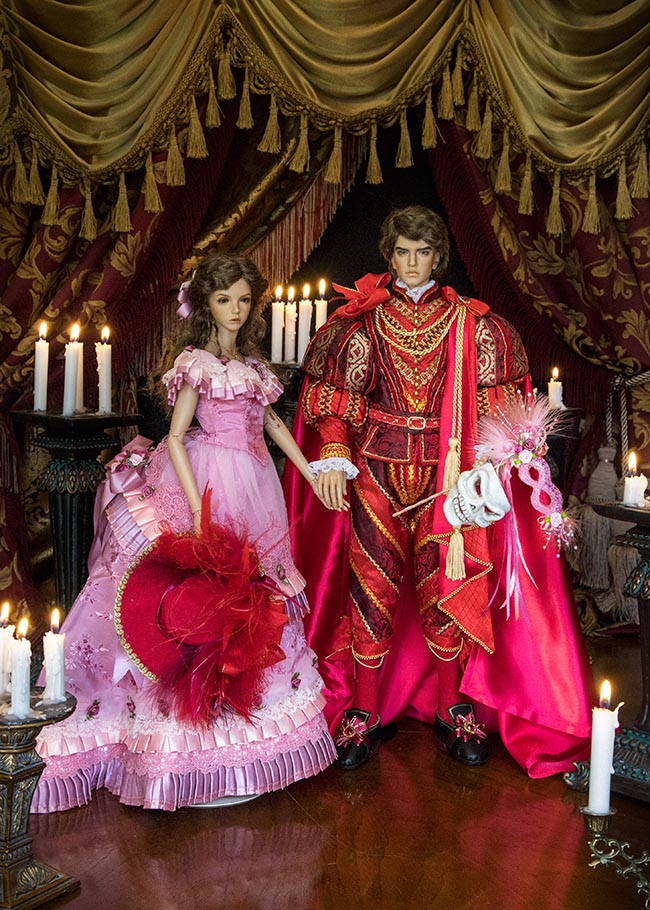
I'd blow out all the candles after every photo session, change the doll's poses, light the candles again, and take more photos. The candles aren't very big, so burn down too fast, plus it's a lot safer to work with the dolls when the candles aren't lit. I spent two days taking photos, and by the last scene with Rex and Bianca, the candles had become a lot shorter....
The final shot of the two of them...
The key thing to remember when photographing dolls is to always take the photos straight at their eye level. Doesn't matter how tall or tiny they are, if you want the dolls to look 'real', the photos should always be taken straight on at the doll's eye level.
Copyright © 2023 Martha Boers
All Rights Reserved
