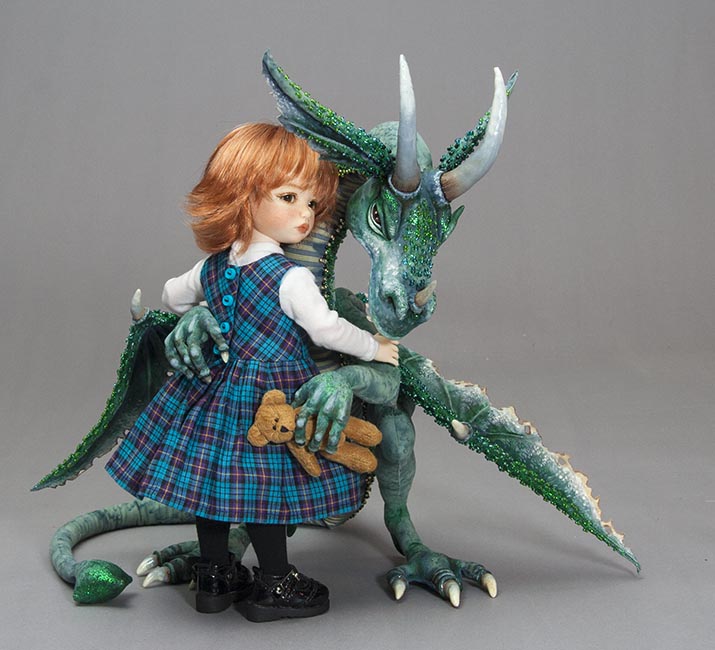
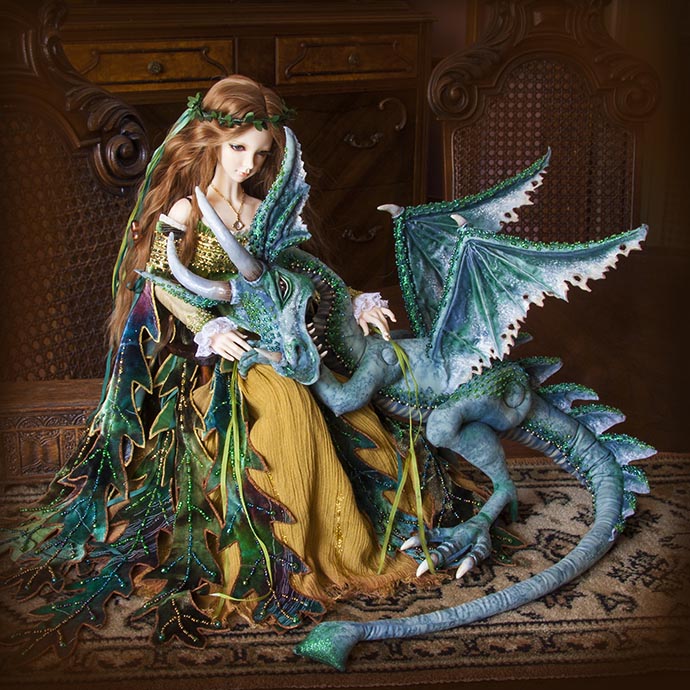
A Posable Dragon - A Creative Journey
This tutorial is meant to share how I made my posable cloth dragon. It does not include patterns, nor does it go into step-by-step detail. It's just meant to share techniques, and possibly give the viewer ideas on how to create their own unique dragon.
I've wanted to have a dragon as a 'photo prop' for my dolls for quite some time. I wanted a dragon that looks something like the ones my sister sculpted out of Paperclay, but I wanted a more lightweight dragon, that would be able to pose, and that wouldn't be too delicate to just 'toss in the car' to go on photo shoots. However, I'm not a big fan of sculpting, and much prefer to work with cloth.
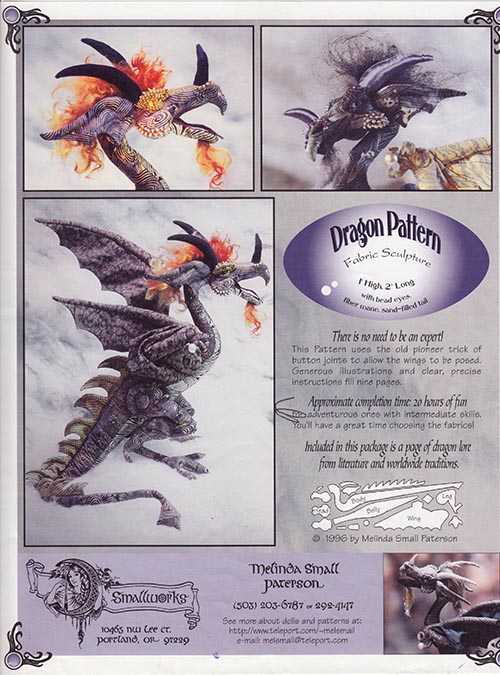
I thought I might be able to start with a dragon pattern I bought many years ago, when I attended the International Doll Art Festival in Santa Fe New Mexico. It's a cloth dragon designed by Melinda Small Patterson, of Smallworks design.
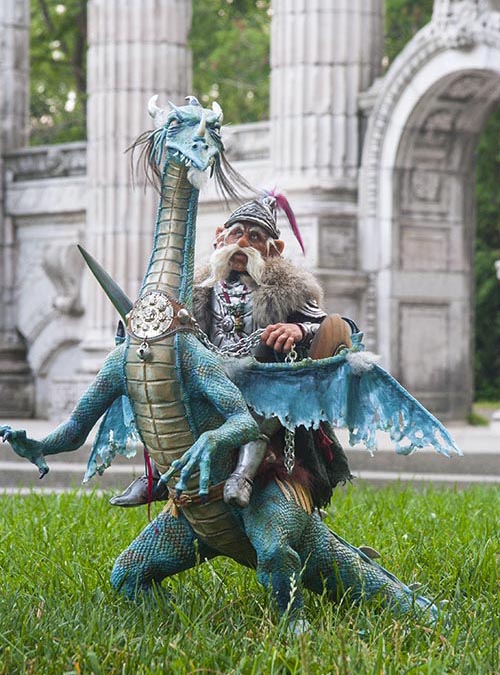
But how to turn this..... .........into this?
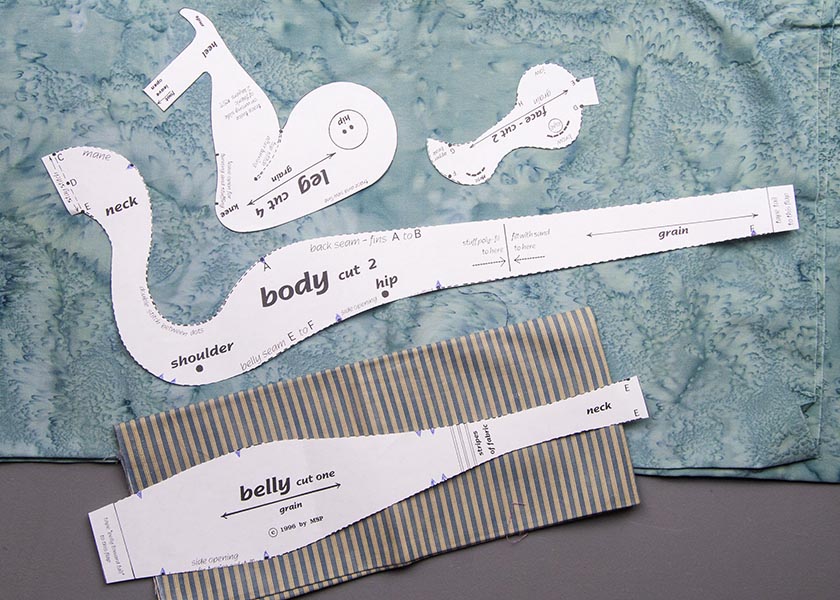
I wanted a more 'realistic' looking dragon, and not a 'toy', so chose some dull turquoise 'salt-dye' fabric for the body, and a blue and cream stripe for the under-belly. I cut out the patterns and proceeded to trace everything onto the fabric, then cut everything out.
The pattern included options for either an open or closed mouth, and I chose the closed mouth, thinking it would be more useful, since I didn't want him to always look like he was attacking or trying to scare someone off. I did adjust the head patterns so the cheeks wouldn't be quite as extreme. It wasn't until I had all the parts sewn and stuffed that I decided to take photos....
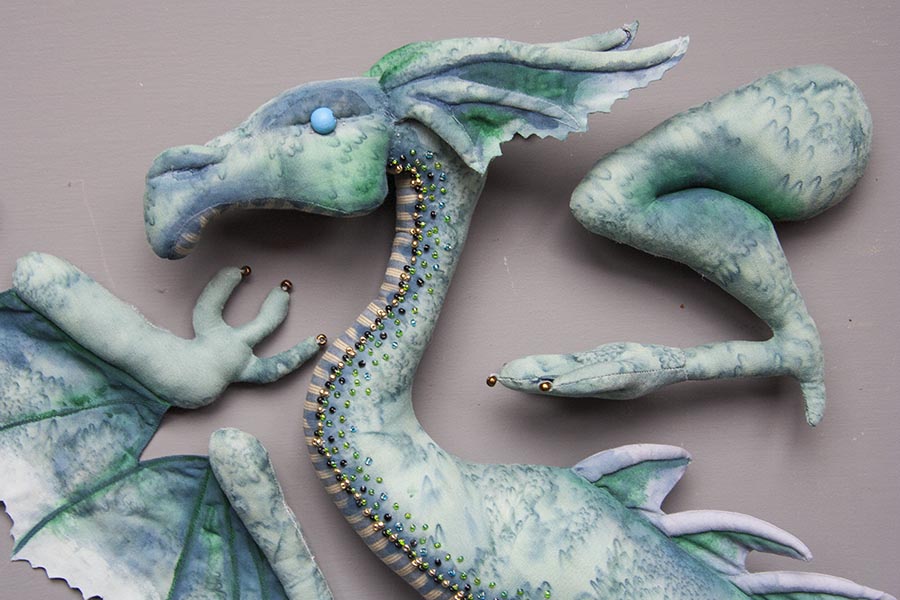
I wasn't sure about the wing/arm design or if it would work for what I had in mind, but went ahead with it anyways. I was planning on sculpting details onto the cloth parts with Aves Apoxie, so sewed beads onto the tips of all the fingers and toes, to serve as anchors for the Apoxie. I'm not the biggest fan of 'soft-sculpture' but did the basic sculpturing as best as I could, and sewed in two beads for eyes. I did some painting to enhance the details, and beaded along the two body seams....
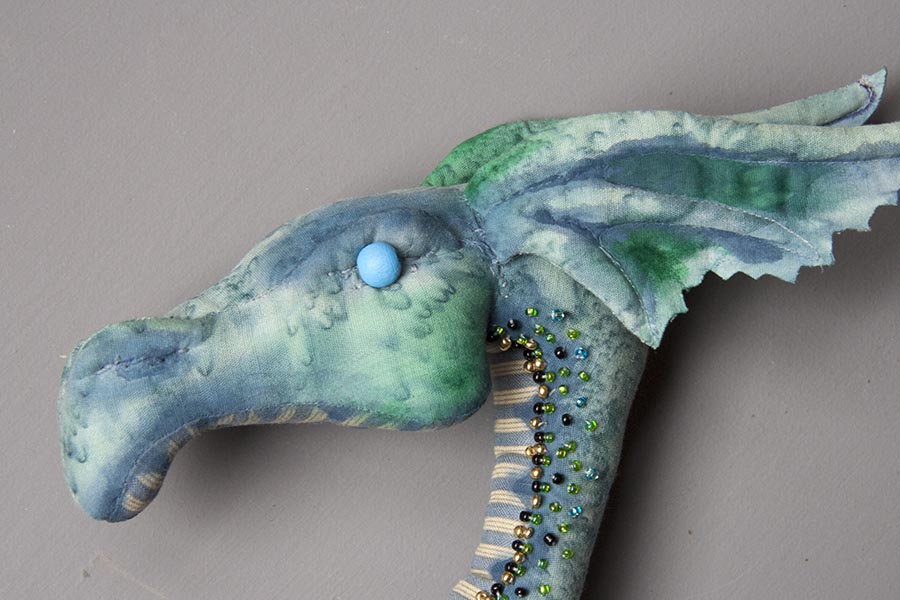
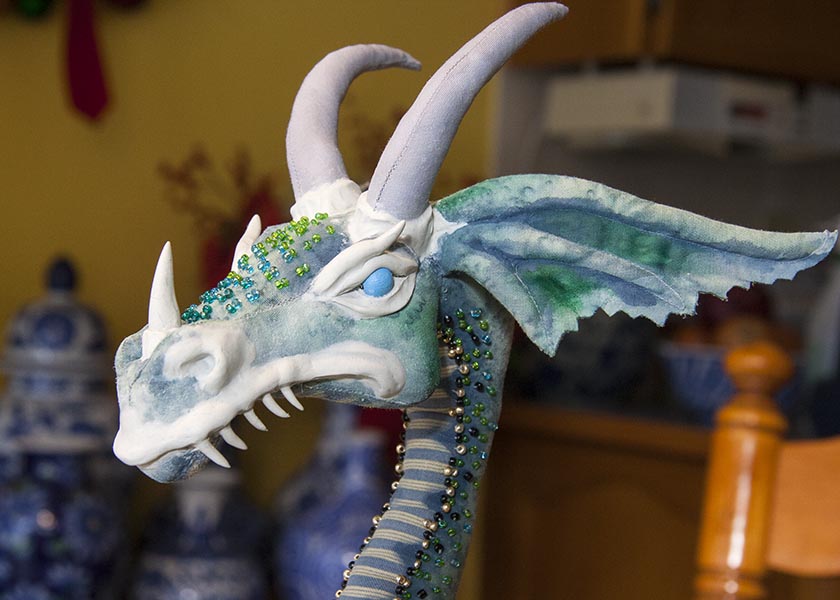
A closer look at the head....
I continued with the painting on the arms, legs and wings. I used thinned down folk art acrylic paints.
I made two fabric horns as per the pattern, sewed them on, and beaded the dragon's forehead.
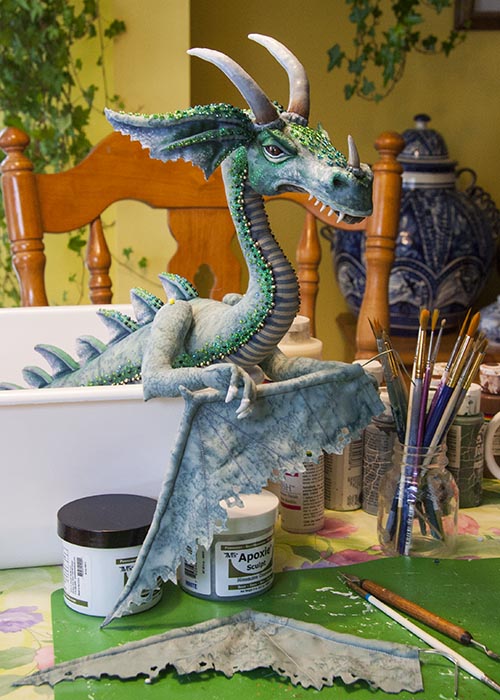
It was time to start the detail sculpting. In order to not make a mess, I only mixed up very small amounts of the Apoxy at any one time, so things could harden before I added more. The first things I sculpted were the areas around his eyes, and the first layer of his nostrils. I'd wet the fabric, smear some white glue on it, then add the Apoxie, smoothing it into the fabric. I made the fangs and horns separately and let them cure before building up the dragon's mouth. The claws on the ends of the toes were sculpted first, allowed to cure, and then the fingertips were sculpted around them.
It was time to start the detail sculpting. In order to not make a mess, I only mixed up very small amounts of the Apoxy at any one time, so things could harden before I added more. The first things I sculpted were the areas around his eyes, and the first layer of his nostrils. I'd wet the fabric, smear some white glue on it, then add the Apoxie, smoothing it into the fabric. I made the fangs and horns separately and let them cure before building up the dragon's mouth. The claws on the ends of the toes were sculpted first, allowed to cure, and then the fingertips were sculpted around them.
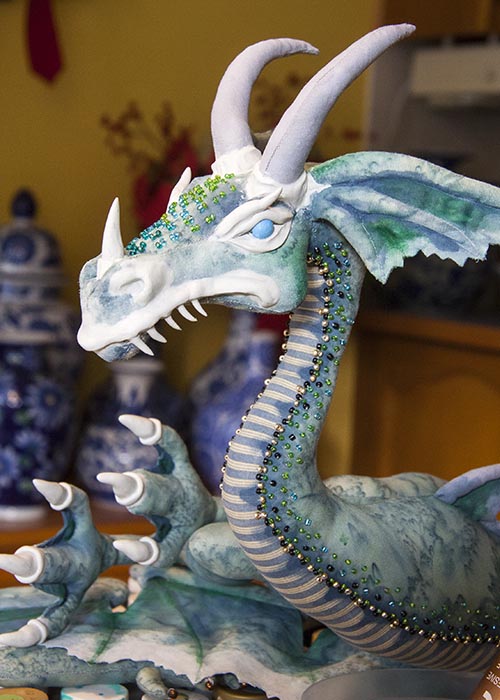
A closer look at just his head....
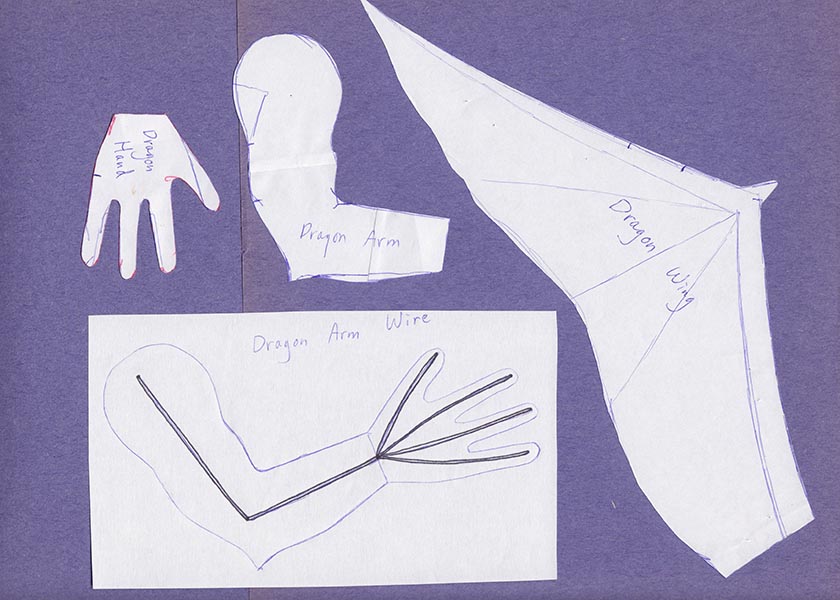
At this point I finally decided the arm-wing design of the Smallworks pattern was too 'toyish', and wasn't going to match what I'd done to the head. So I had to draw up some new patterns for separate arms and wings. Wings weren't a challenge since I'd made dragon wings many times in the past for my sister's dragons. But the arms were a little harder. I made the hands separate - just like the feet of the Smallworks foot pattern, so the silhouette of the hands would be at a ninety degree angle to the silhouette of the arms. (Sorry, but I'm not going to provide a pdf with full size patterns, but just a scan of the pattern templates.
I decided to just make the arms separate and attach them with button joints like the legs. But the wings needed something a little different in order to make them sturdy and poseable.
1. With right sides together, and the body ends of the wings folded out 3/8", I machine stitched just along the top of the wing. Clipped the edge, turned the wing right side out and pressed it.
2. Drew on the pocket and vein lines, and top-stitched them, leaving a 1/4" wide opening along the body edge of the wing.
3. Bent a double wire to fit into the wing, letting it extend the thickness of the dragon's body, and bending down to go the pocket length down the dragon's body on the other side.
4. Glued the bottom edges of the wing closed, and cut a ragged edge with hole.
5. Inserted the wire into the wings and carefully stuffed the entire upper edge firmly.
At this point I started adding the Apoxie claws to the ends of the fingers.
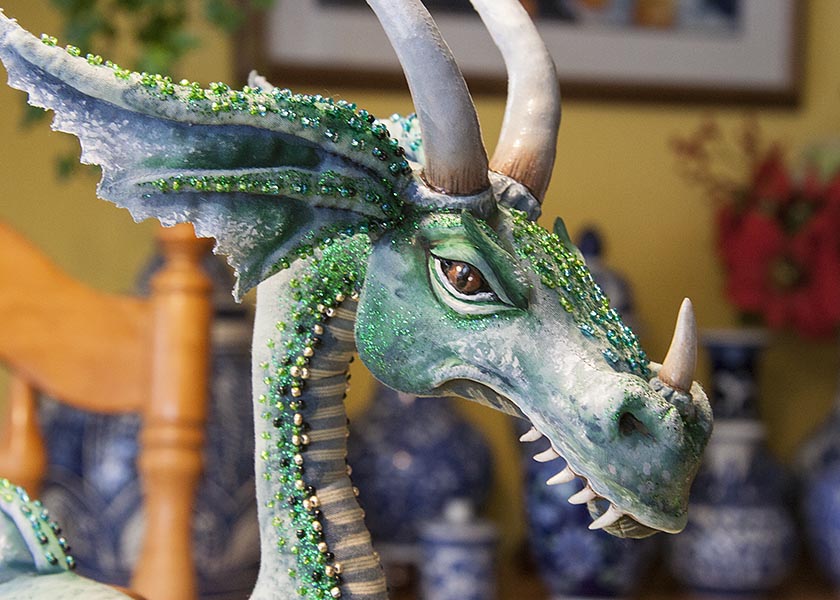
Time to paint the head.
"Hurry up and finish the rest of me!"
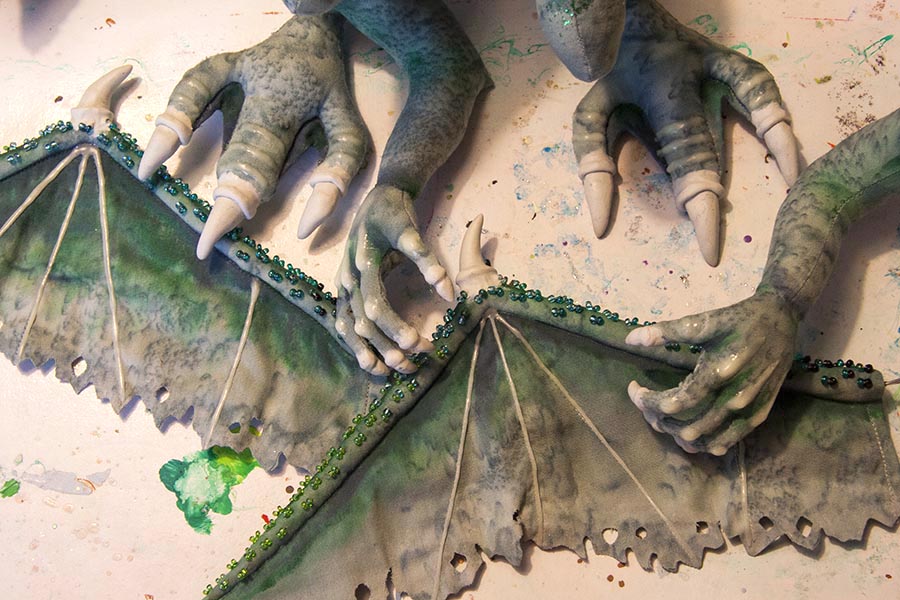
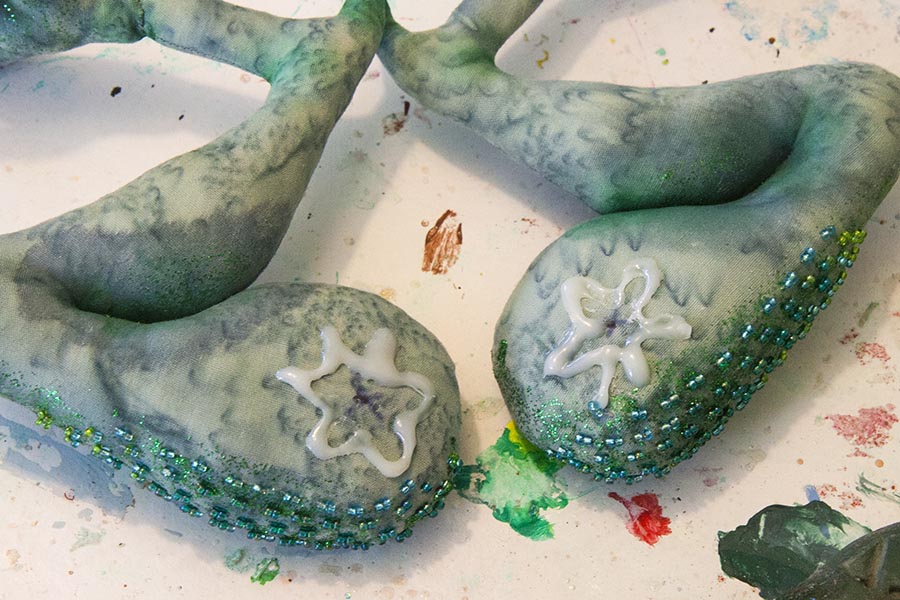
Before painting the hands and feet, I had to find some 3-D fabric paint for 'knuckles' and wing veins. I ended up using 3-D Glow-in-the-dark paint, because it came the closest colour-wise. I squirted on the paint, and smoothed the edges with a soft brush...
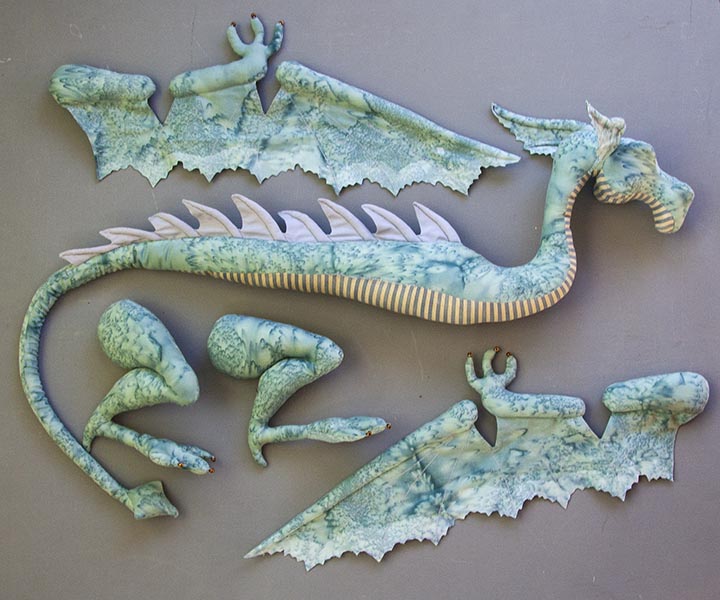
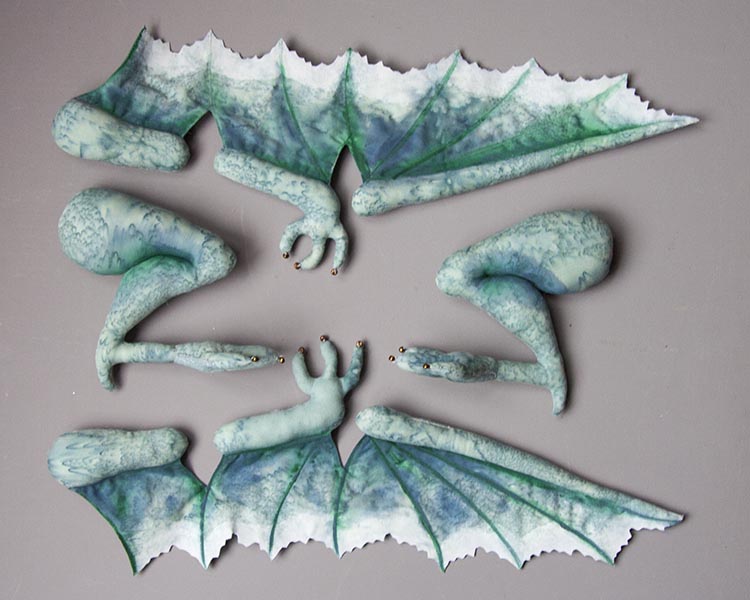
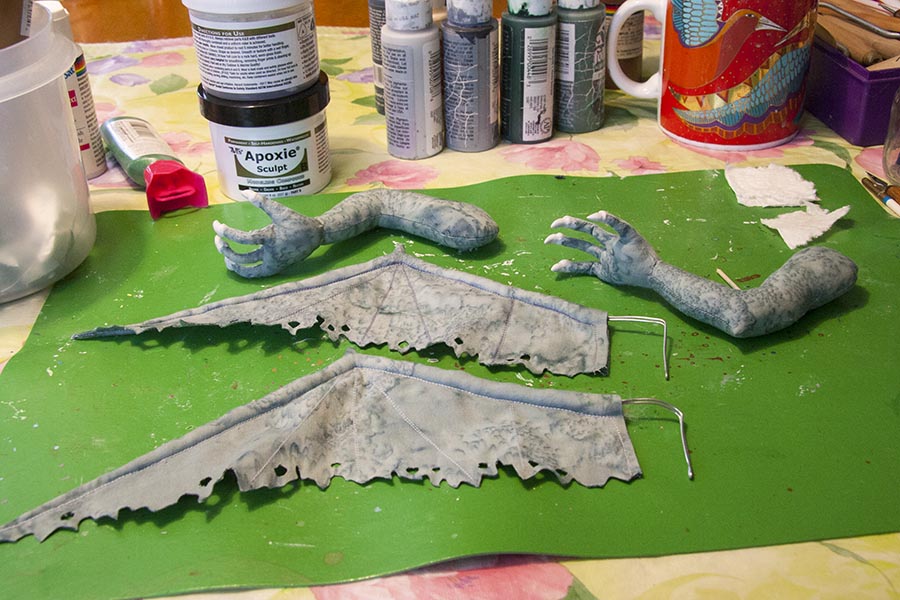
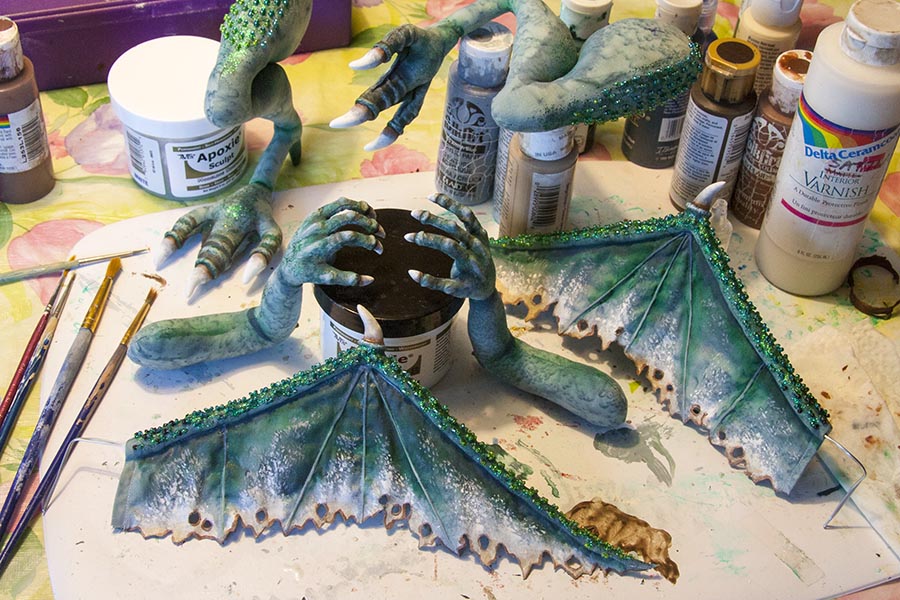
The finished body parts, ready to put together....
I marked where the button joints had to go, and attached the legs, but they weren't sturdy enough.
So I took them back off, and glue-sueded the inside thighs around the joint, and also the body.....
So I took them back off, and glue-sueded the inside thighs around the joint, and also the body.....
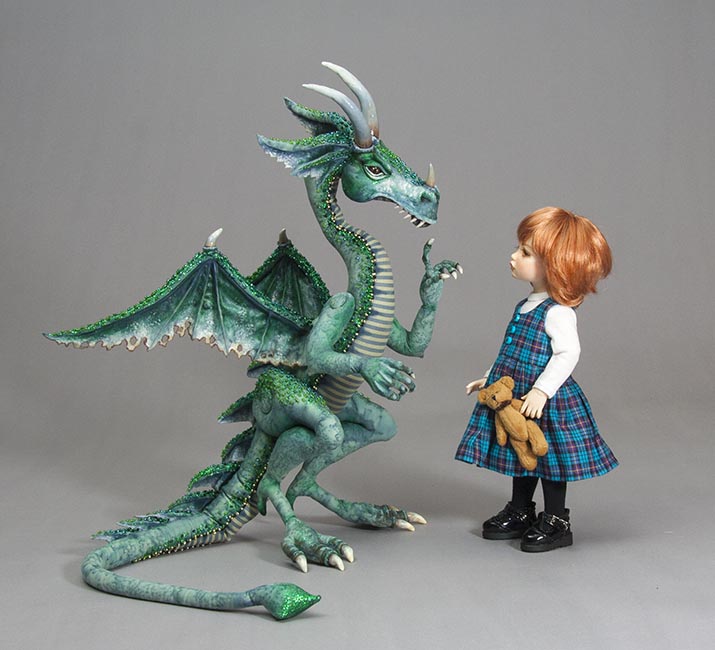
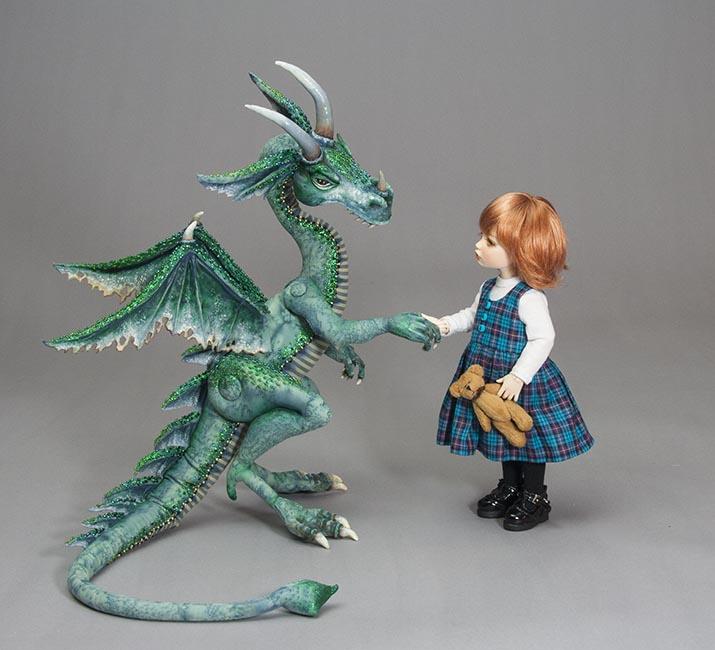
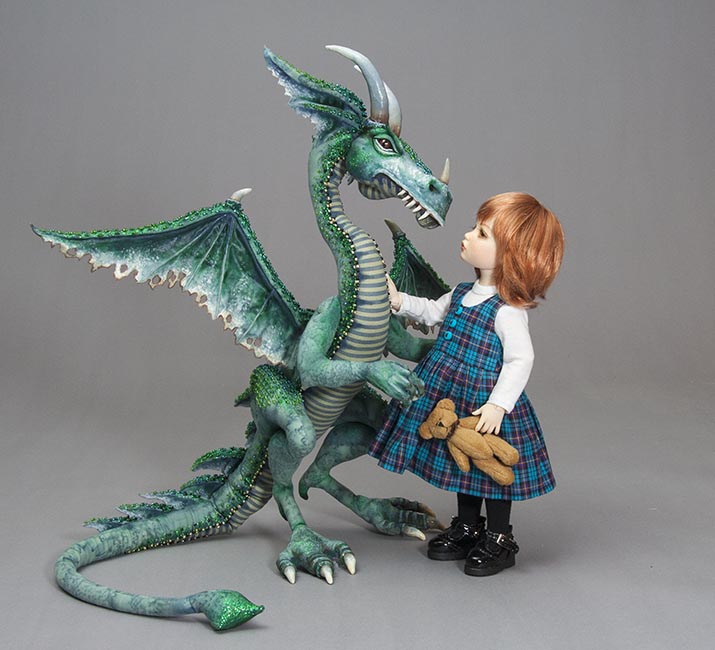
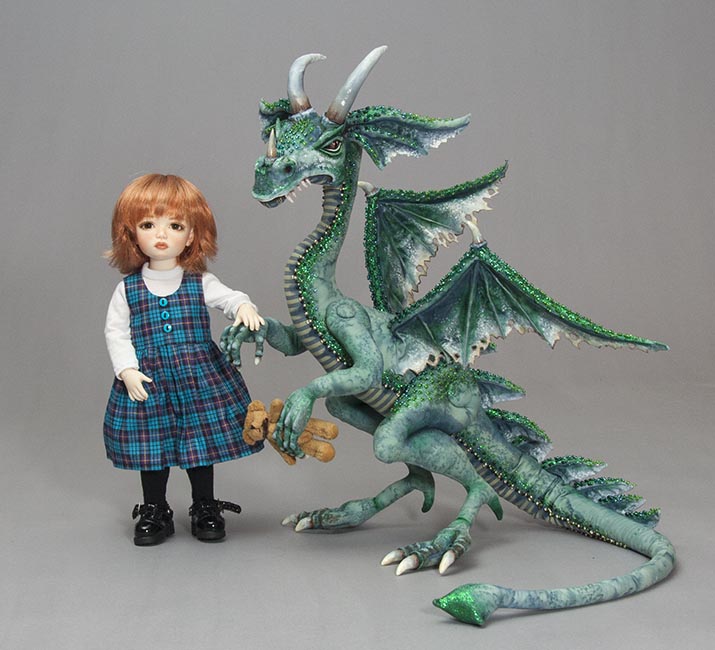
After covering the button joints with matching fabric circles, the dragon was finished, and ready to play with....
Things I'd Change Next Time
1. Change the neck so it's not such an 'S' curve, so it can be posed better without risking popping the seams
2. Use something other than sand to fill the tail, as the end is too full, and the tail is too stiff to bend
3. Make less of a bend in the elbows, so the arm can be bent open more
4. Wire the legs into the body in some way, since the button joint makes him sag down onto his haunches - even with the glue
5. Make individual 'fins' on the back, instead of all in one strip as per the original pattern.
6. Open up the bend at the knee, so the legs can be straightened a bit.
Copyright © 2016 Martha Boers
All Rights Reserved
All Rights Reserved
