MSD Lab Coat Pattern Tutorial
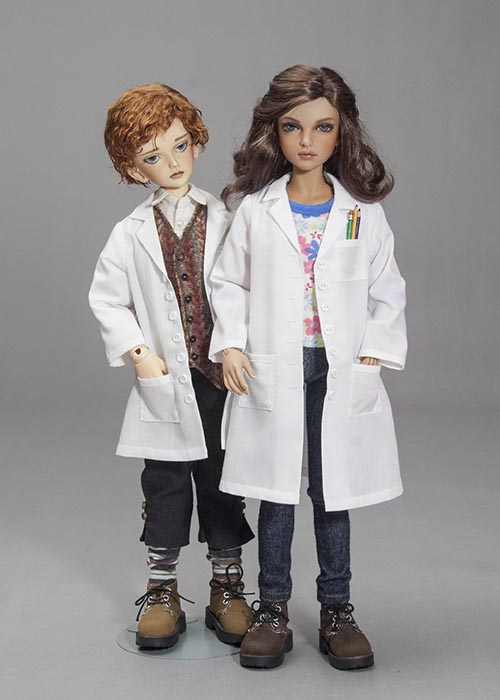
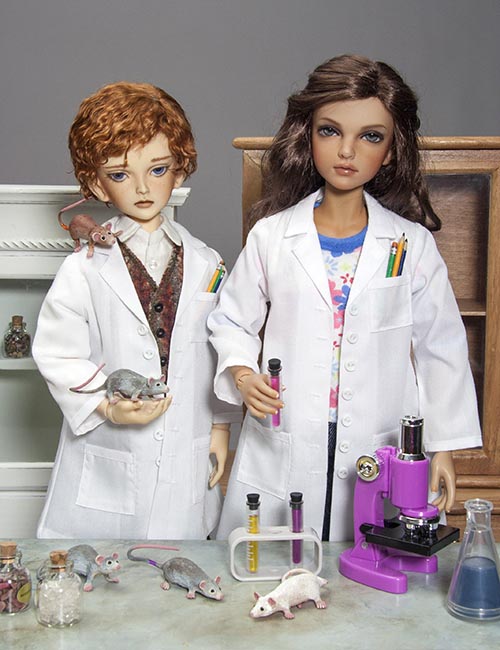
This pattern was designed to fit an Iplehouse JID, but also fits other, smaller MSDs, such as my Doll Leaves Maya.
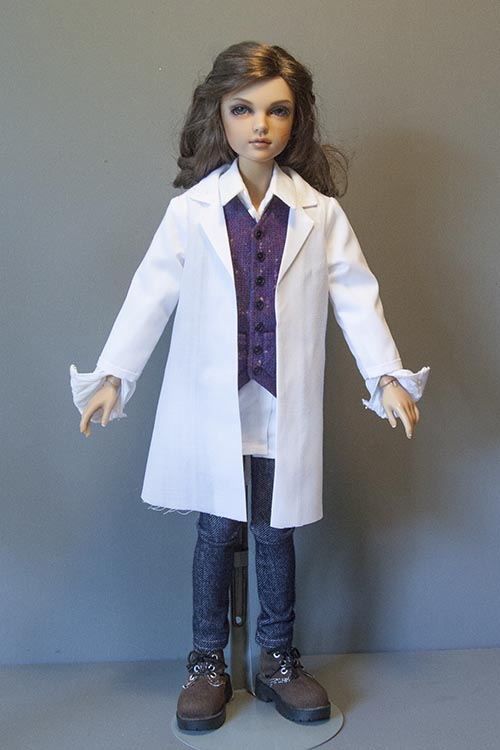
*Note, the first lab coat I made (and used for the steps in the Instruction photo) ended up being too short, yet too wide in the back. So I reworked my pattern, made the back narrower, and lengthened the sleeves and coat bottom. Then, because I don't like to waste things, I made the back of the first coat narrower, to match the pattern, and Maya is wearing it in this photo.
*Note, the first lab coat I made (and used for the steps in the Instruction photo) ended up being too short, yet too wide in the back. So I reworked my pattern, made the back narrower, and lengthened the sleeves and coat bottom. Then, because I don't like to waste things, I made the back of the first coat narrower, to match the pattern, and Maya is wearing it in this photo.
Pattern
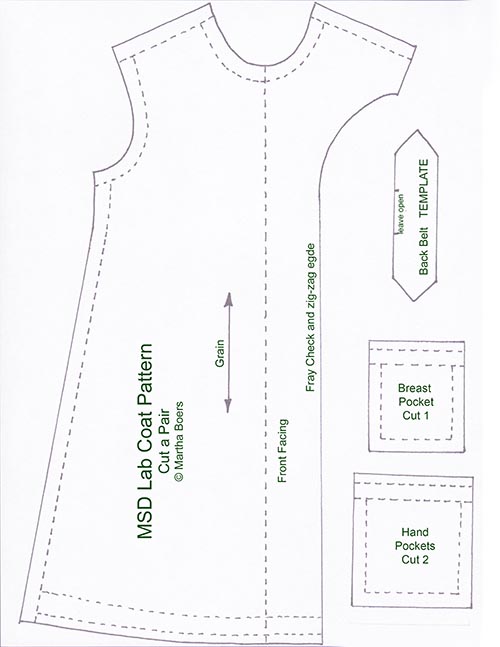
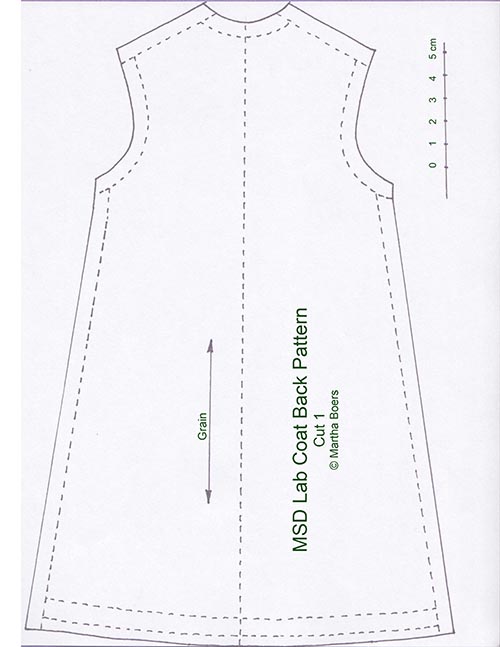
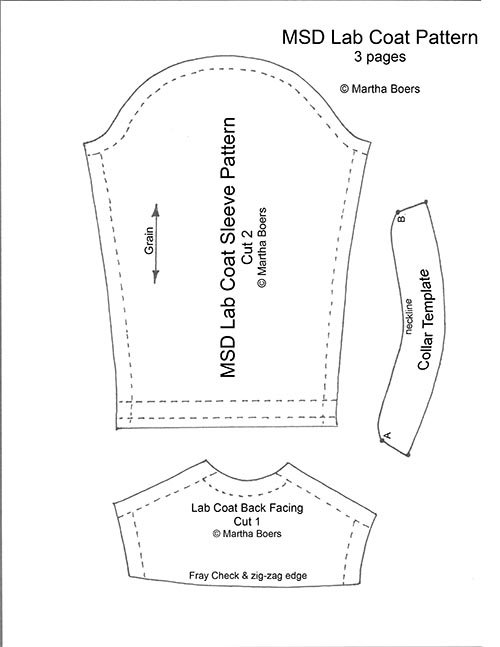
*Click on any of the pattern pages below, to download the pattern pdf
Materials
- white cotton fabric
- tiny white buttons
- Fray Check
- white thread
- pins, needles
- snap fasteners (optional)
- tiny white buttons
- Fray Check
- white thread
- pins, needles
- snap fasteners (optional)
Instructions
1. Download pdf and print out pattern. The pattern goes right to the edge of the paper, so the seam allowances on the coat front and
back pages may not print out. Just draw them back in. Pin patterns onto fabric and cut out. *Note that the collar piece is a
TEMPLATE without seam allowances, and must be traced onto a double layer of fabric, with a pencil, or pen with disappearing ink.
Then cut it out adding the seam allowances.
2. Apply Fray Check to bottom edge of back facing, and to curved edges of front facings. When dry, zig-zag the edges.
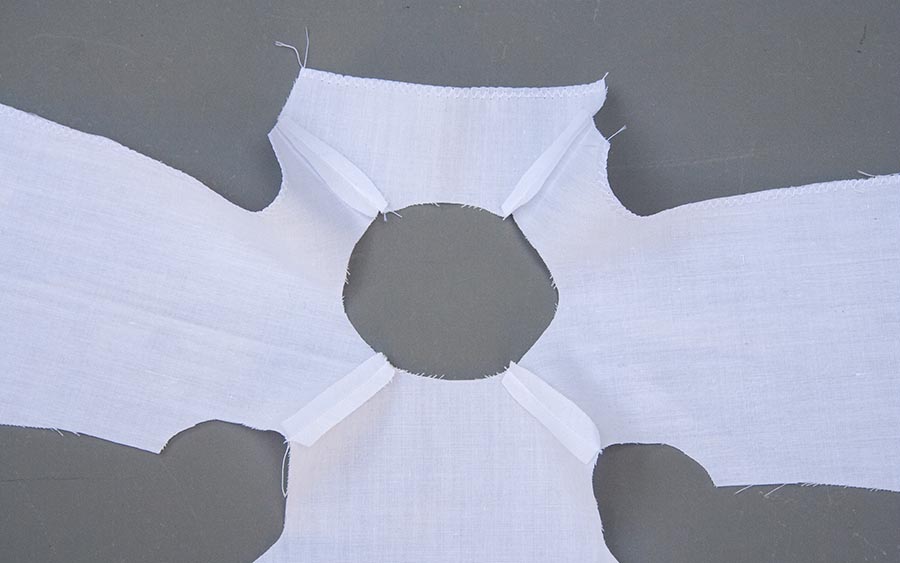
3. With right sides together, pin, then sew, the shoulder seams together, with the coat front shoulders to coat back shoulders, and
back facing to front facings as shown. Press seams open.
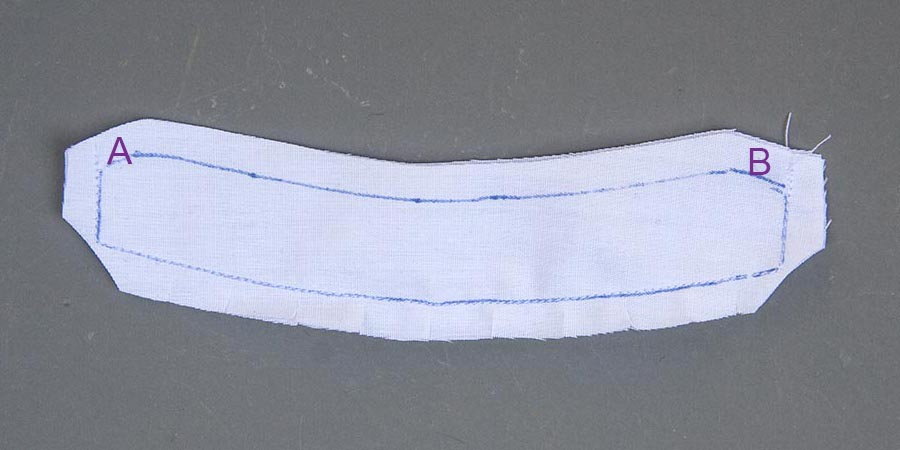
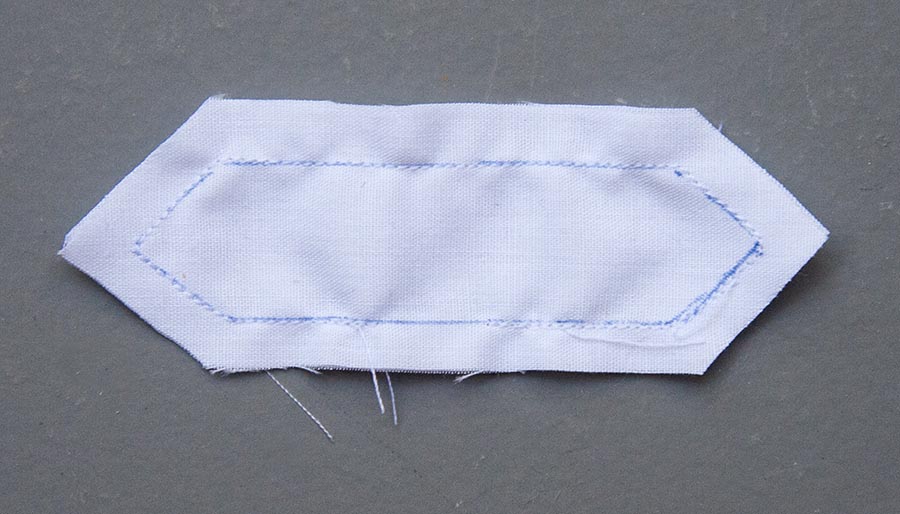
4. Prepare collar. Note that the collar 'pattern' is a TEMPLATE without seam allowances, and must be traced onto a double layer of
fabric, with a pencil, or pen with disappearing ink. Then cut it out adding the seam allowances.
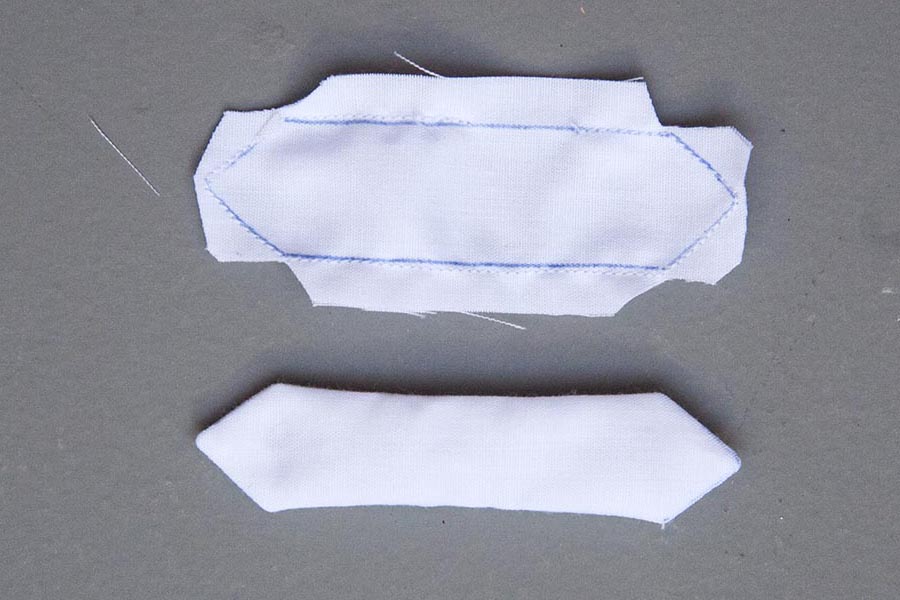
Stitch around the outer edge of the collar from A to B. Clip corners, and outer curve.
fabric, with a pencil, or pen with disappearing ink. Then cut it out adding the seam allowances.
Stitch around the outer edge of the collar from A to B. Clip corners, and outer curve.
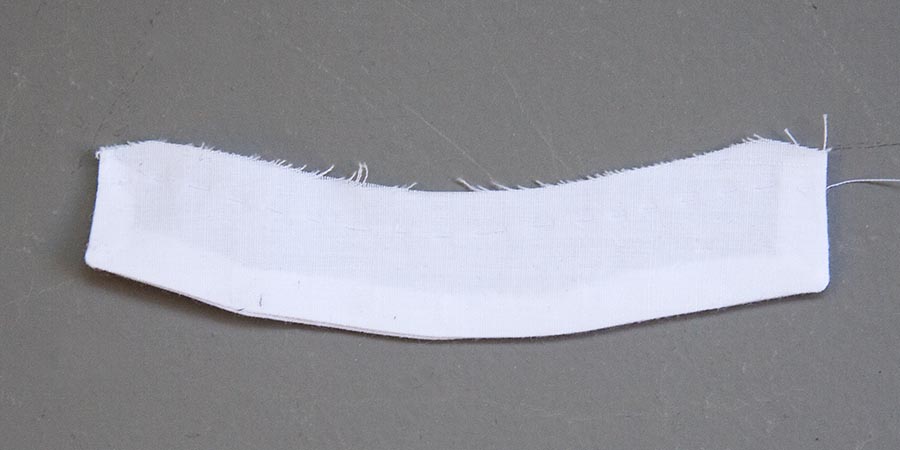
5. Turn collar right side out, and press...
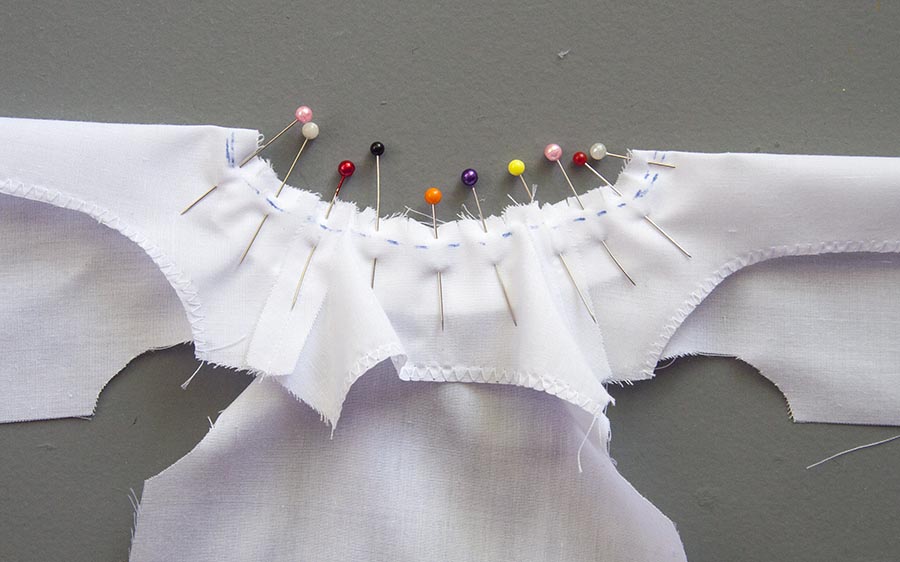
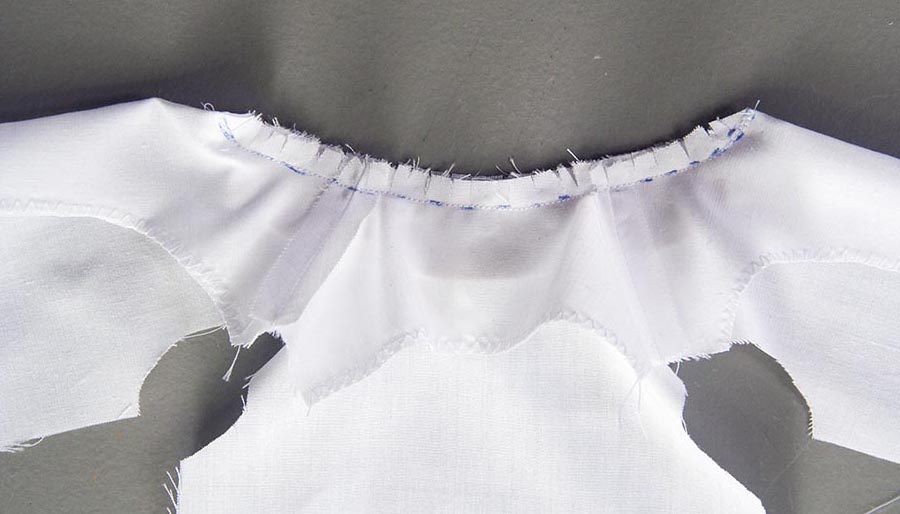
6. With right sides together, fold the coat facing onto the coat, matching up the shoulder seams. Pin the collar in place between the
coat and facing, making sure to position the collar equal distance from both folded edges. Baste and clip partway to seam line.
coat and facing, making sure to position the collar equal distance from both folded edges. Baste and clip partway to seam line.
7. Machine stitch, and clip curve almost to stitching line. *Partial clipping makes the curve easier to sew.
8. Turn right the coat side out and press collar, and front edges. With shoulder seams matching, baste the shoulder facing in place onto the coat inside.
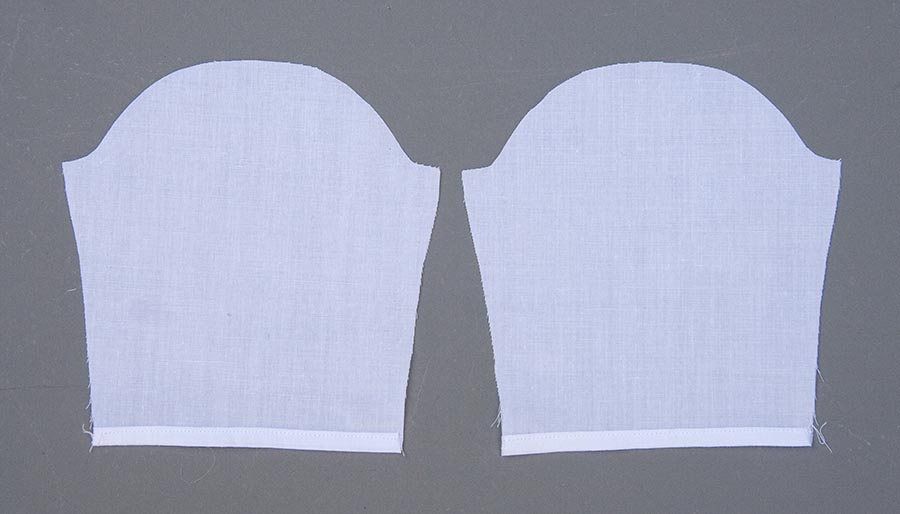
9. Hem the bottom of the sleeves. I did a rolled hem to the outside. Press.
9. Hem the bottom of the sleeves. I did a rolled hem to the outside. Press.
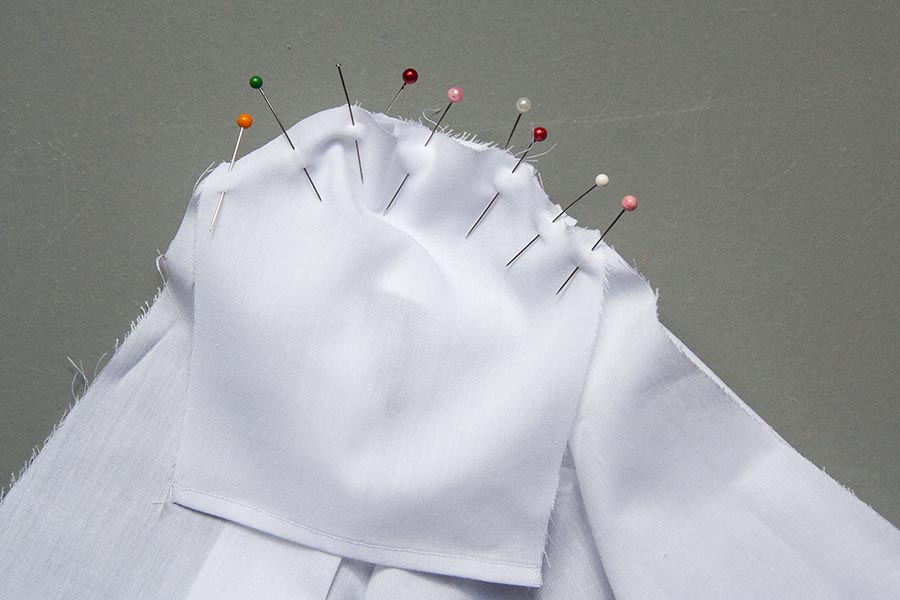
10. With right sides together, pin sleeves into armholes. Baste in place.
11. Machine stitch sleeve tops. Clip curves, then zig-zag edges. *It works better to clip first, and then zig zag. The edge may end up looking a bit messy, but at least it will turn right side out properly. And that's what counts.
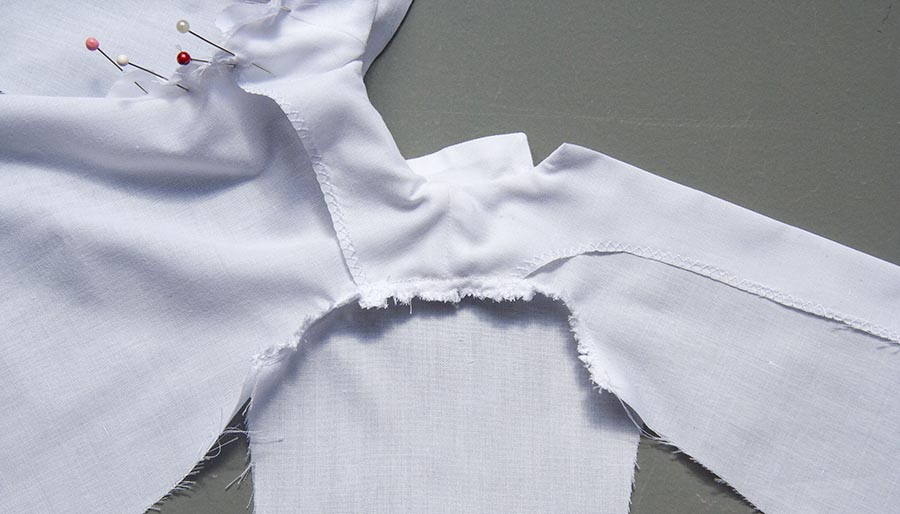
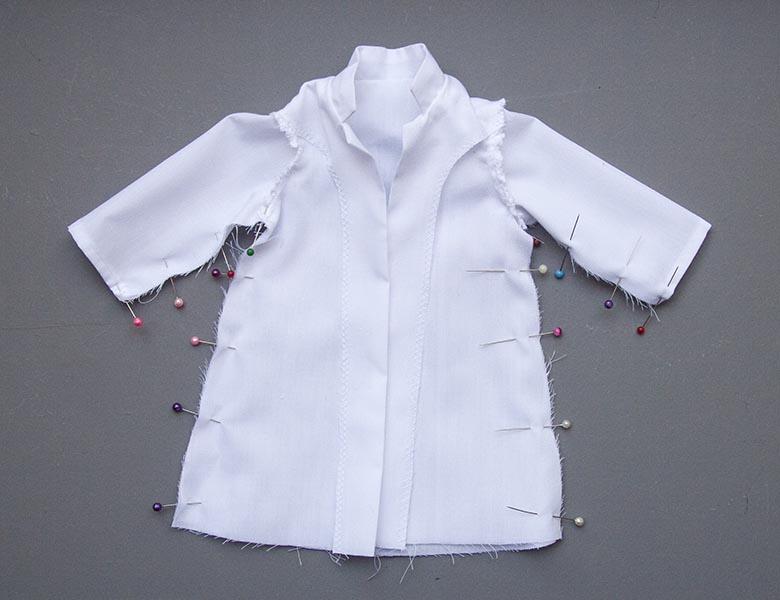
12. Fold coat at shoulders with right sides together, matching sleeve and underarm seams. Pin, then machine stitch. Clip at underarms, and zig-zag the seams.
At this point I tried the coat on my Leona. The sleeves were too short, and the back of the coat was too wide. The coat could also
be longer. But, not wanting to waste my efforts, I took in the back, making it narrower, and decided to finish. This lab coat could be for a 'student', as I'm told that the length of one's lab coat is determined by how many years one studied to be worthy of one.
be longer. But, not wanting to waste my efforts, I took in the back, making it narrower, and decided to finish. This lab coat could be for a 'student', as I'm told that the length of one's lab coat is determined by how many years one studied to be worthy of one.
So I reworked the patterns with the changes, and made a new, second lab coat. The pdf is the reworked pattern.
And all further instructional photos are with the new revised version.
And all further instructional photos are with the new revised version.
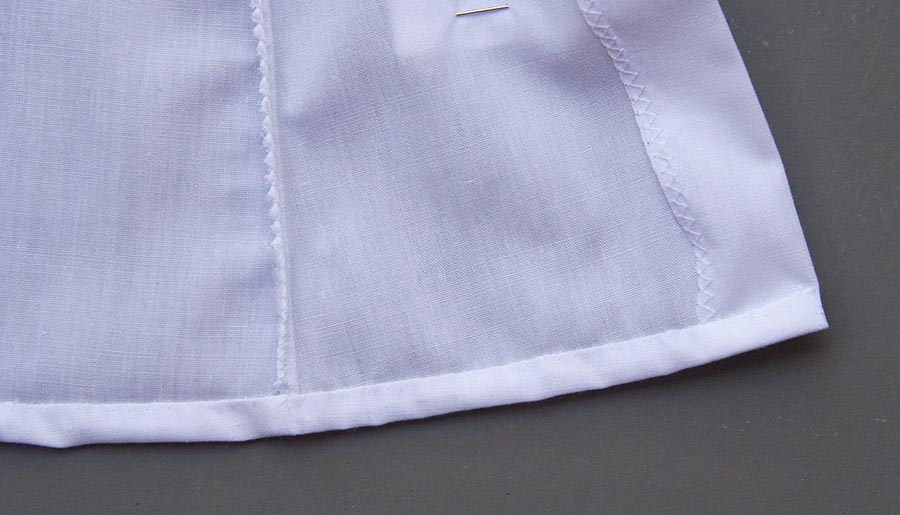
13. Hem the bottom of the coat. I did a double fold to the inside, and hand-stitched the hem. Press.
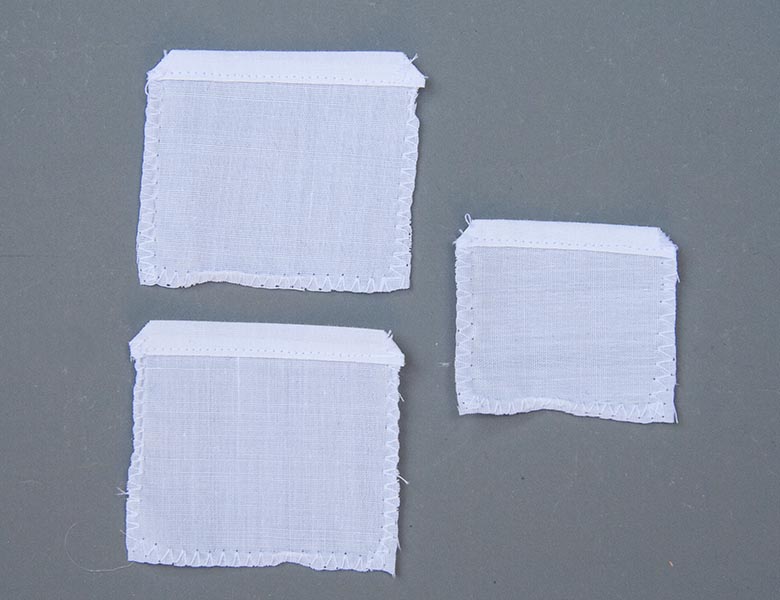
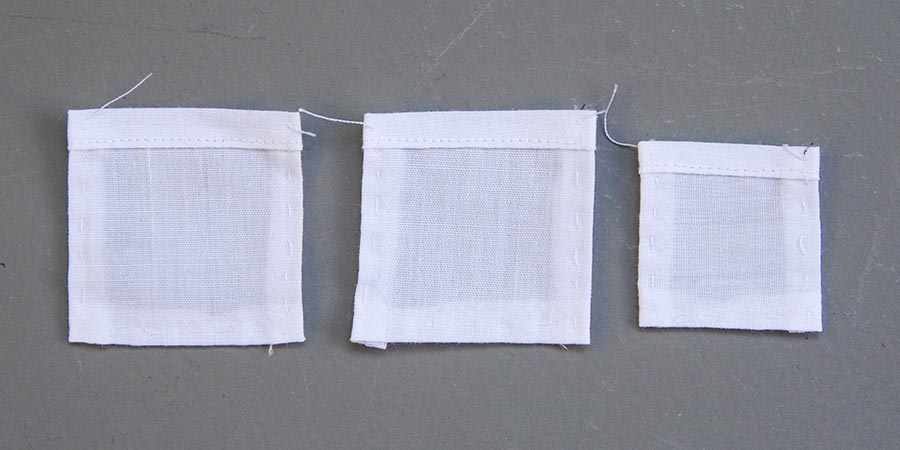
14. Cut out the three pockets - one for the left breast, and two for the hands. Apply Fray Check on all the edges. Let dry.
Machine stitch a rolled hem (to the good side) at the top, and zig-zag the other three edges. Press.
Machine stitch a rolled hem (to the good side) at the top, and zig-zag the other three edges. Press.
15. Clip the two top corners, fold back all the pocket edges along their seam lines, and hand-baste. Press.
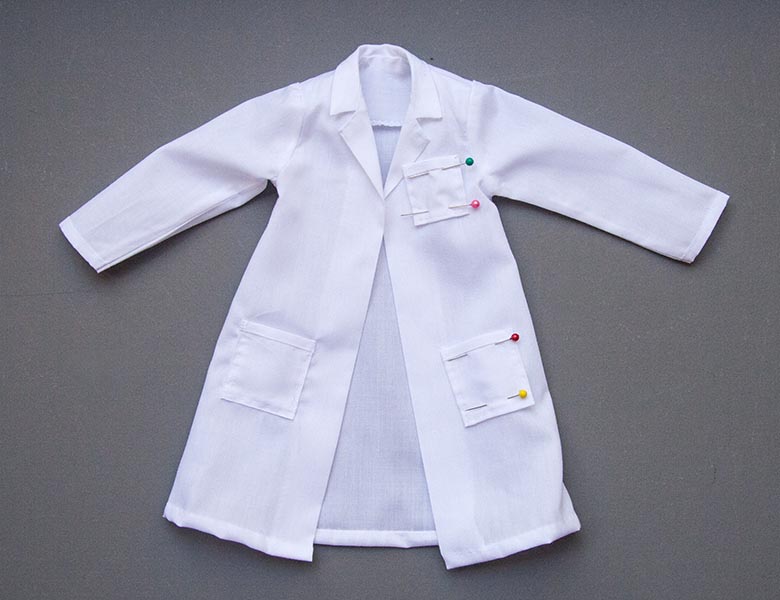
16. Position the pockets on the coat, and pin into place.
17. Machine stitch the pockets onto the coat.
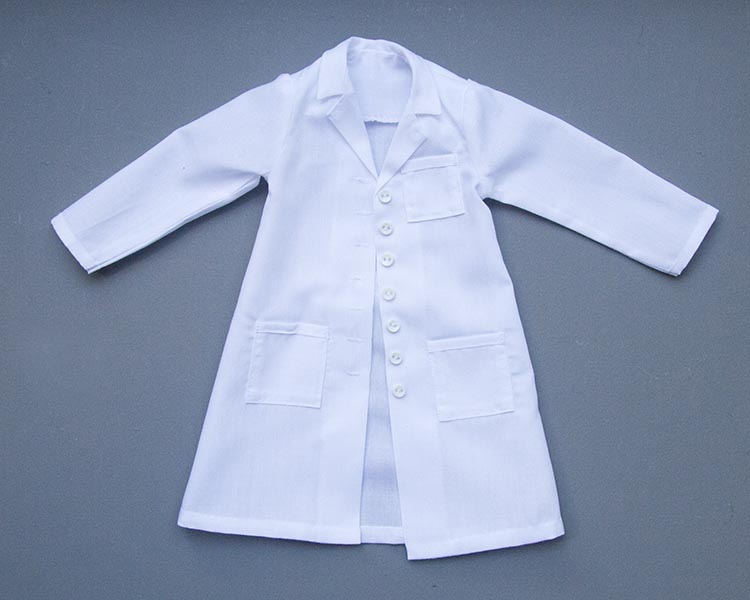
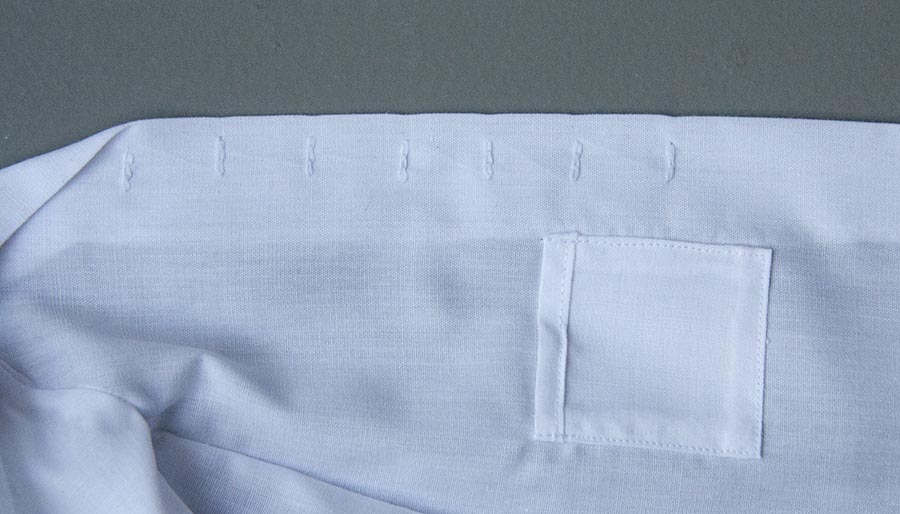
I wanted my lab coat to be worn open, so I chose to sew buttons down one side, and hand-stitched fake 'buttonholes' on the
opposite side. You can do the same, or you can try make tiny button holes, or if your coat will always be worn closed, you can
add snap fasteners.
I wanted my lab coat to be worn open, so I chose to sew buttons down one side, and hand-stitched fake 'buttonholes' on the
opposite side. You can do the same, or you can try make tiny button holes, or if your coat will always be worn closed, you can
add snap fasteners.
18. *Optional - make back 'belt'. The 'pattern' is a TEMPLATE, so needs to be traced onto double layer fabric with a pencil or disappearing ink. Cut out adding a seam allowance. Stitch along the tracing line, leaving about 1 centimetre open in the middle of one long side (for turning right side out)
19. Clip away corners, and turn right side out through opening. Press. Hand-sew opening closed.
20. Position at waist on back of coat, and stitch in place with two buttons. (picture coming) And you are done!
Copyright © 2016 Martha Boers
All Rights Reserved
All Rights Reserved
