Even More Behind the Scenes
The final album of behind the scenes tricks and tips from 2021
North of Superior
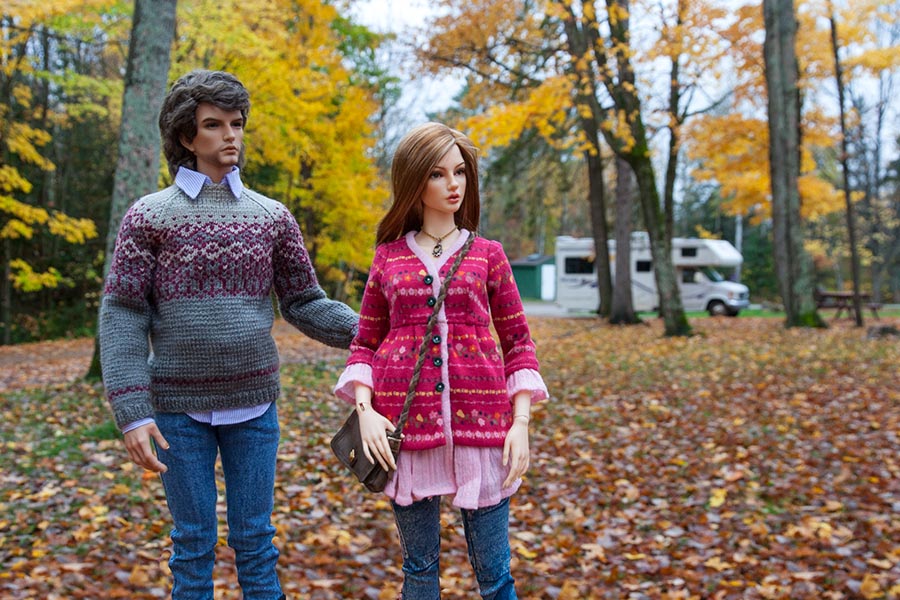
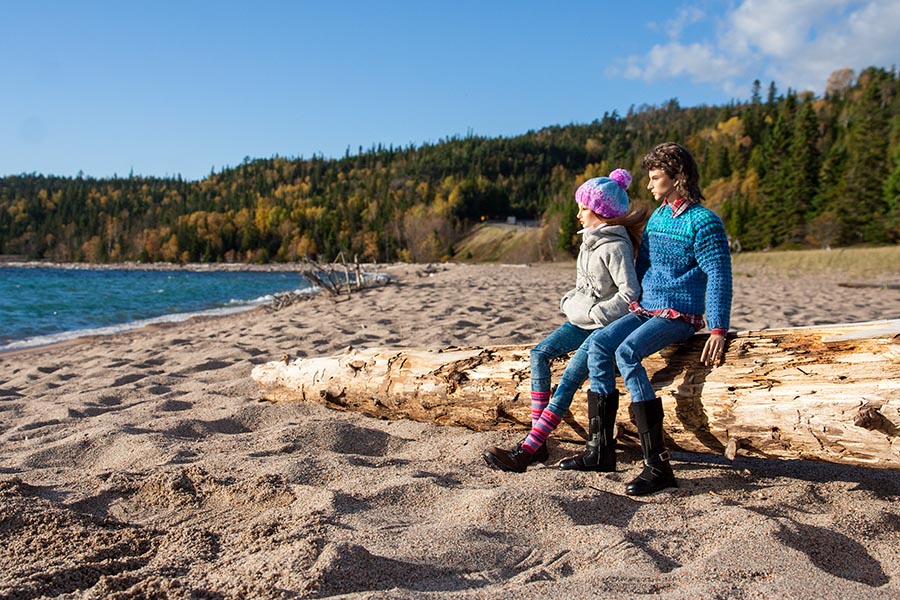
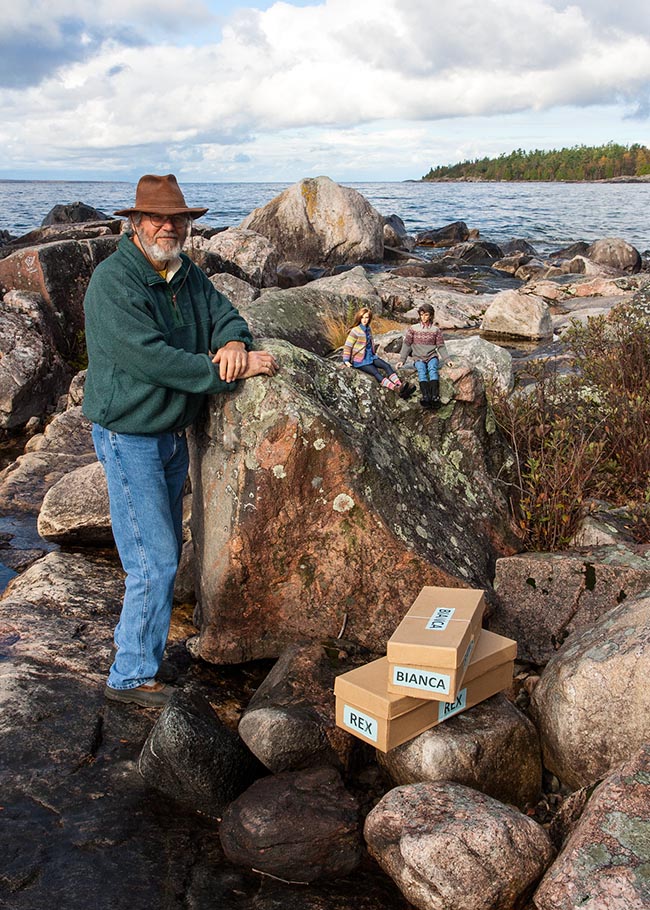
Time to share how some of the photos on Baron and Naomi's trip up north were taken. Due to all the scenes being out in the real world, I needed to use forced perspective to make the dolls look like they actually belonged there. With forced perspective the photos have to be taken straight at the doll's eye level, which means either raising the dolls up so their eye level is at the same level as an adult human's, or getting down on the ground to shoot straight at the doll's eye level.
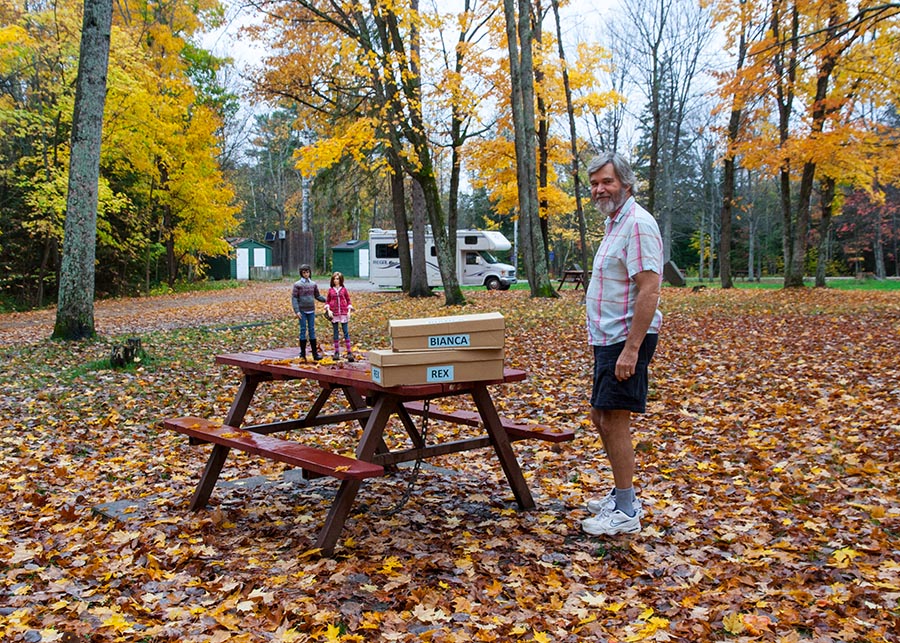
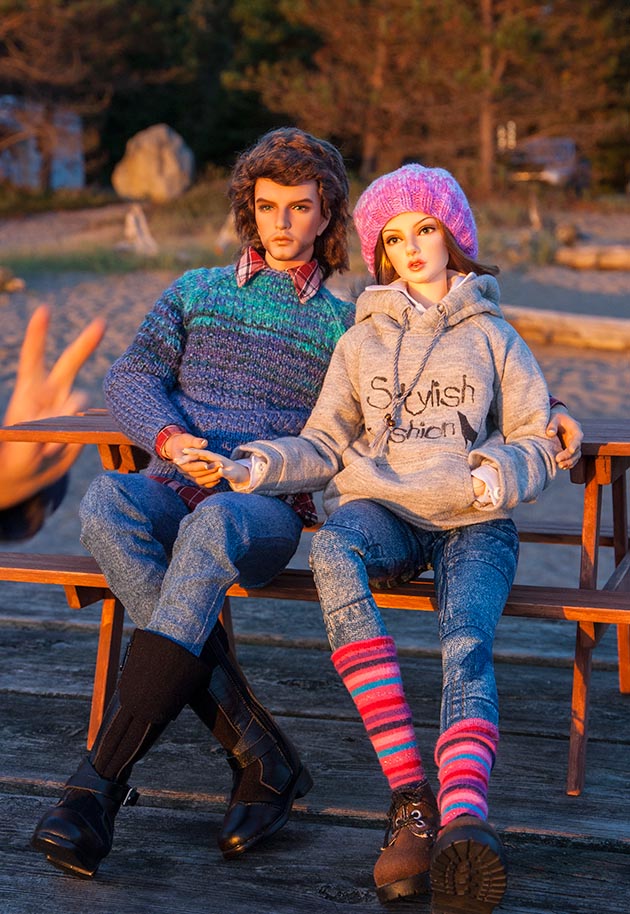
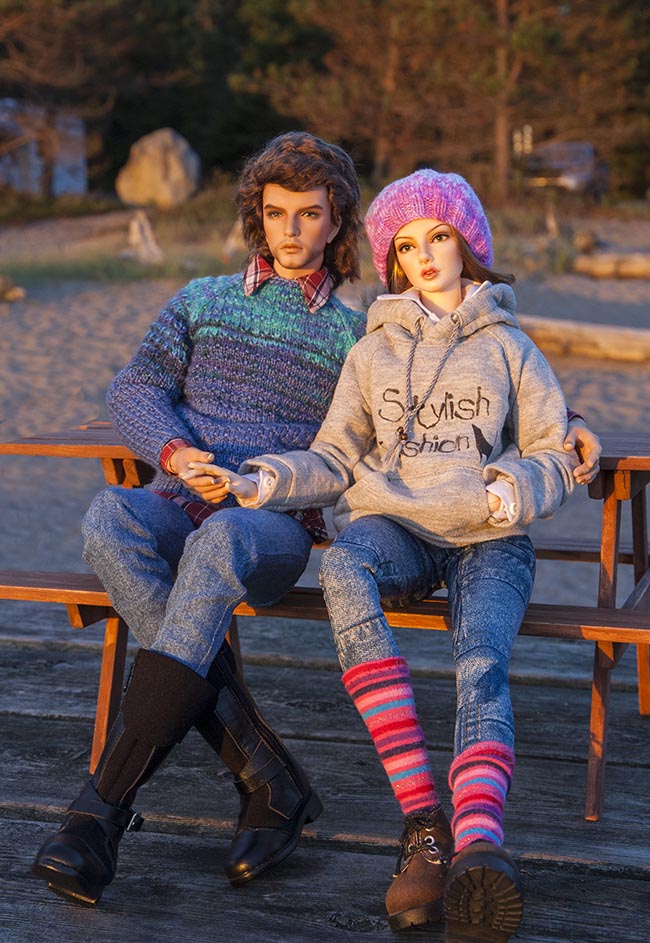
But due to all the rain and my major back pain, most of the photos ended up being taken either hand held, or with them posing on a picnic table.....like at Serpent River....
But due to all the rain and my major back pain, most of the photos ended up being taken either hand held, or with them posing on a picnic table.....like at Serpent River....
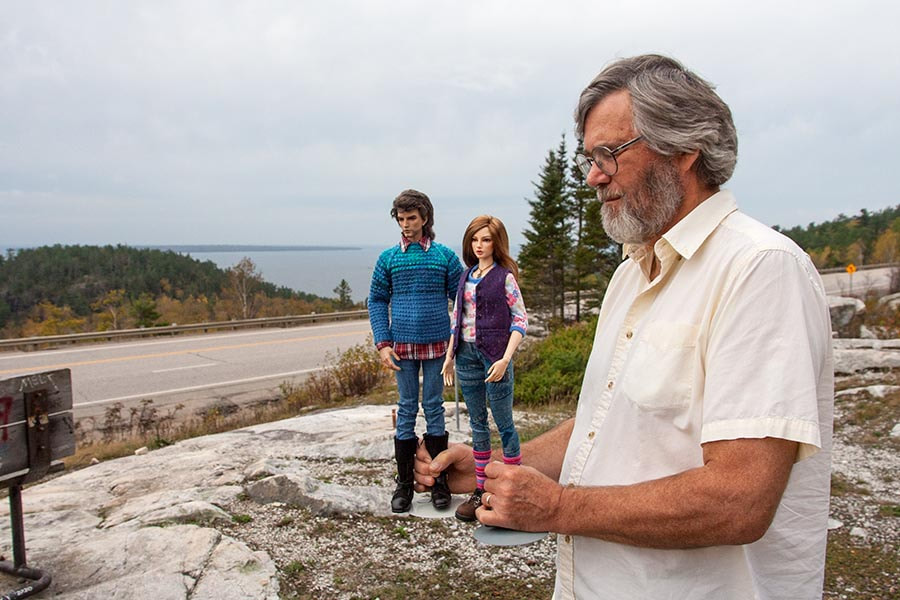
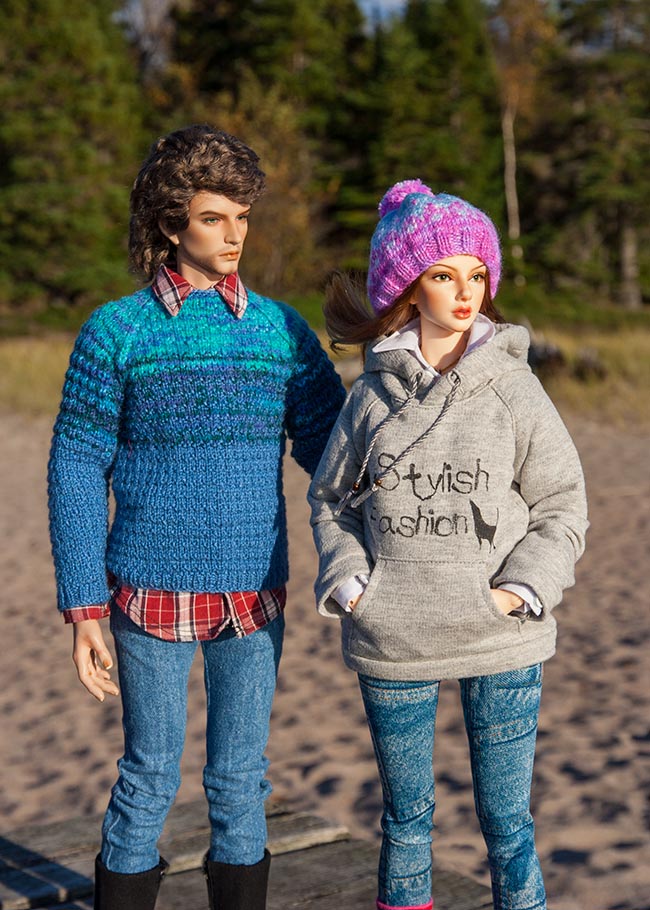
Hand held at the Agawa Bay Lookout....

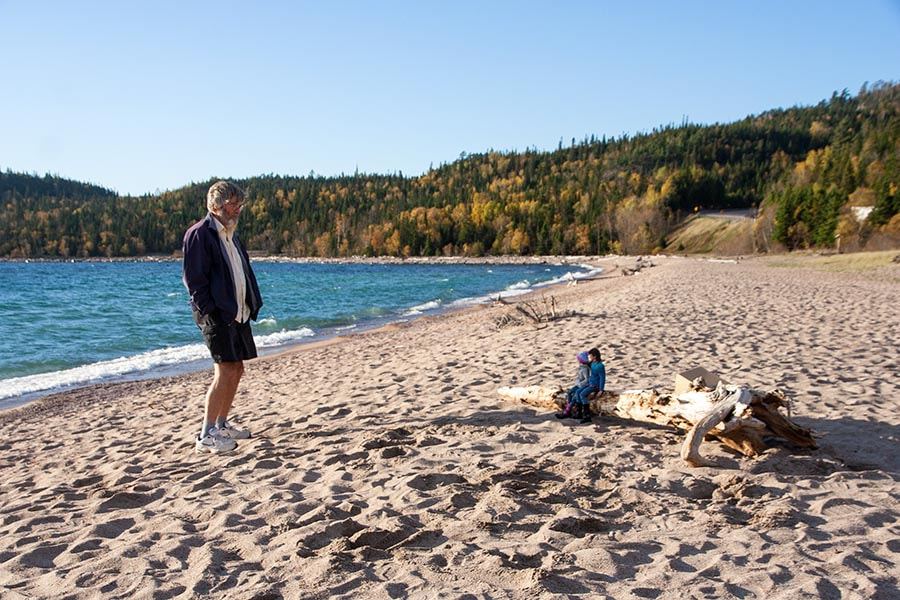
Jan shading the dolls, waiting for me to get down - one of the few times I actually did - at Old Woman Bay.....
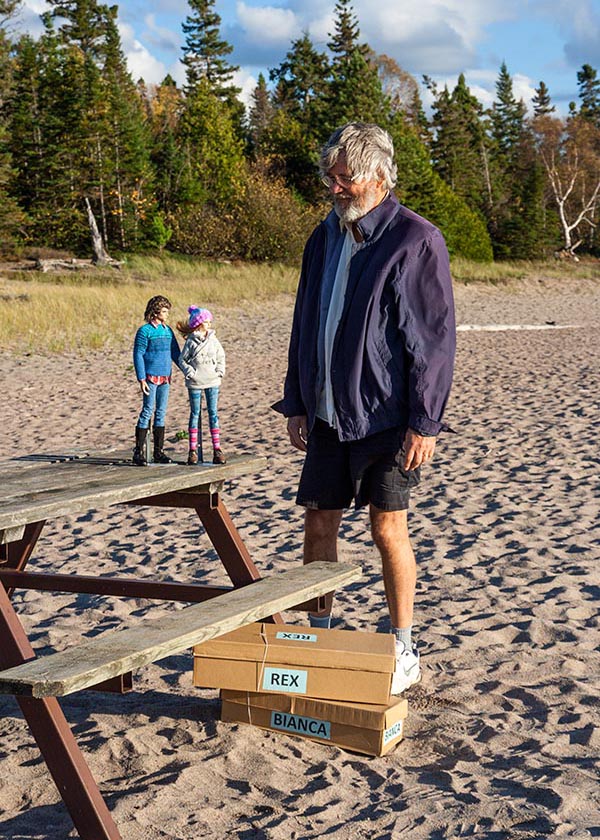
Standing on a picnic table....
|
|

Chaperoning as the dolls watch the sun set.....
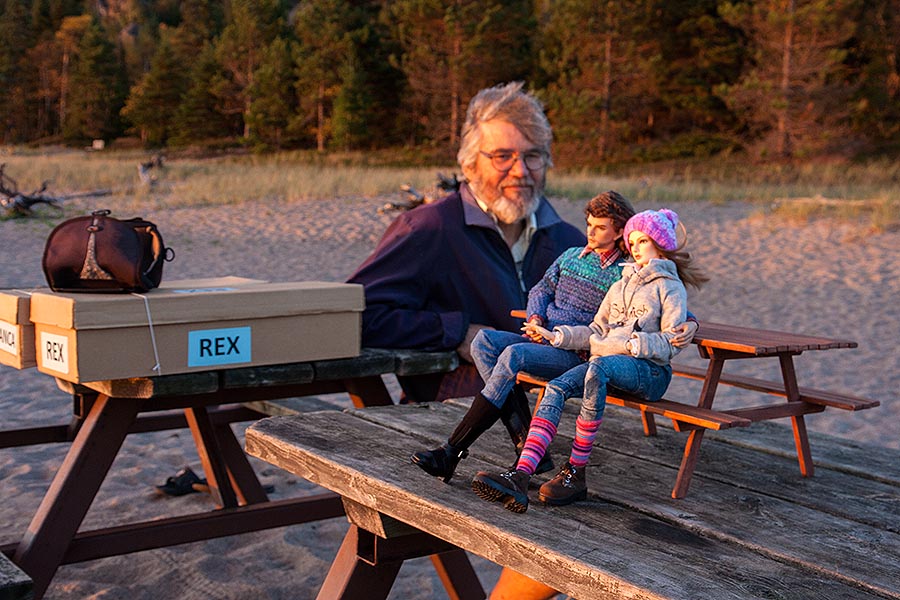
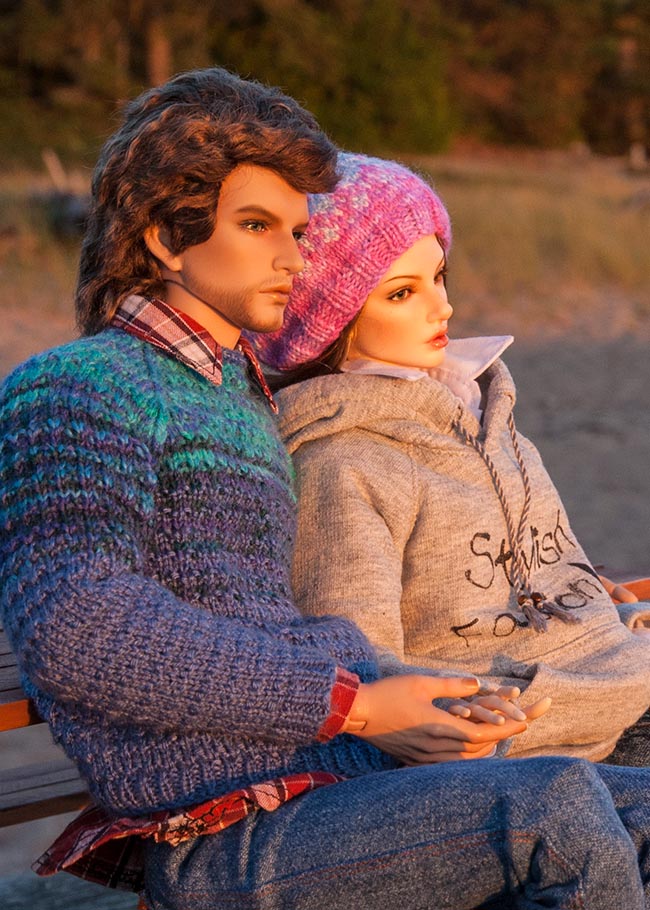
...and a little photo bombing.....which I had to remove.....
|
|
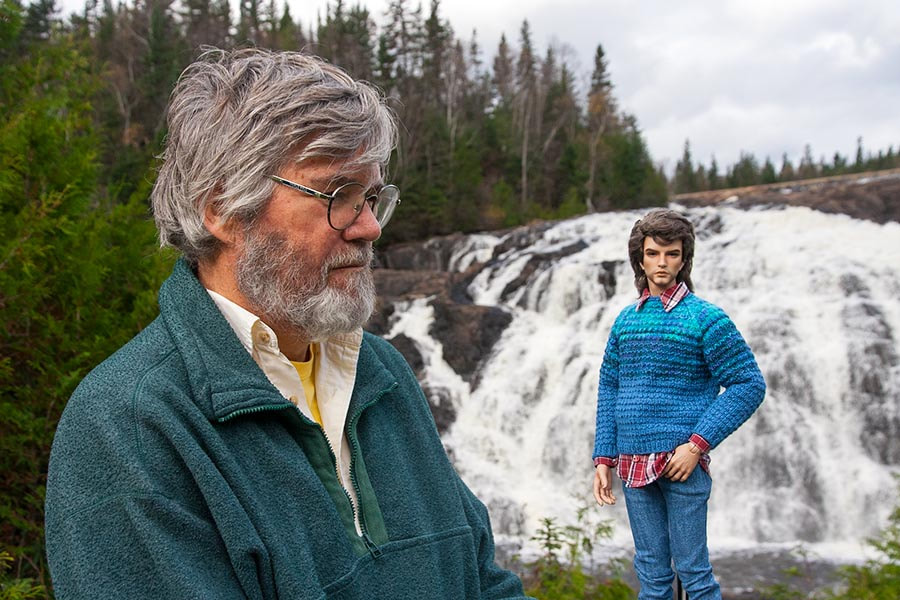
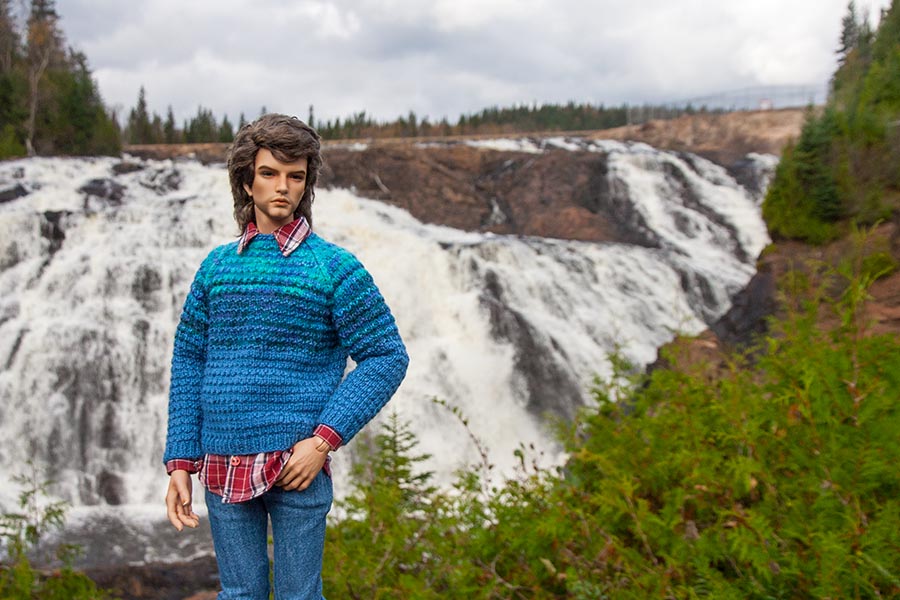
My two guys at Magpie High Falls....
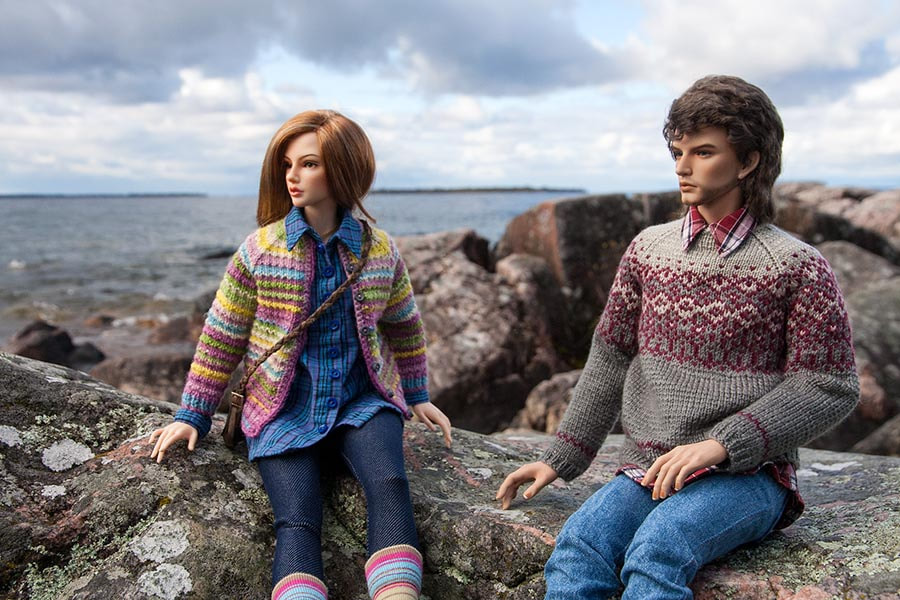
Enjoying the scenery at Katharine Cove....
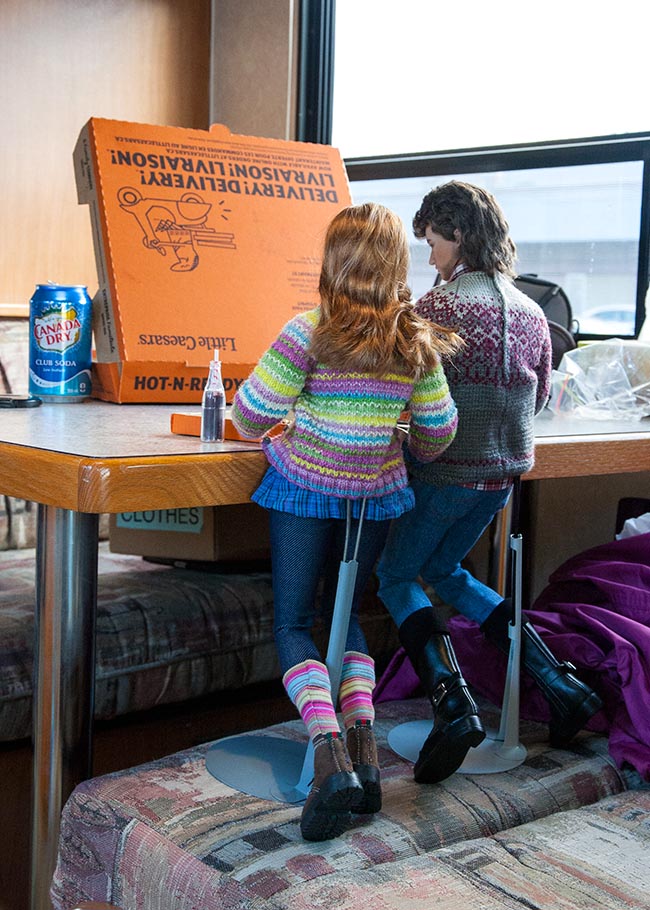
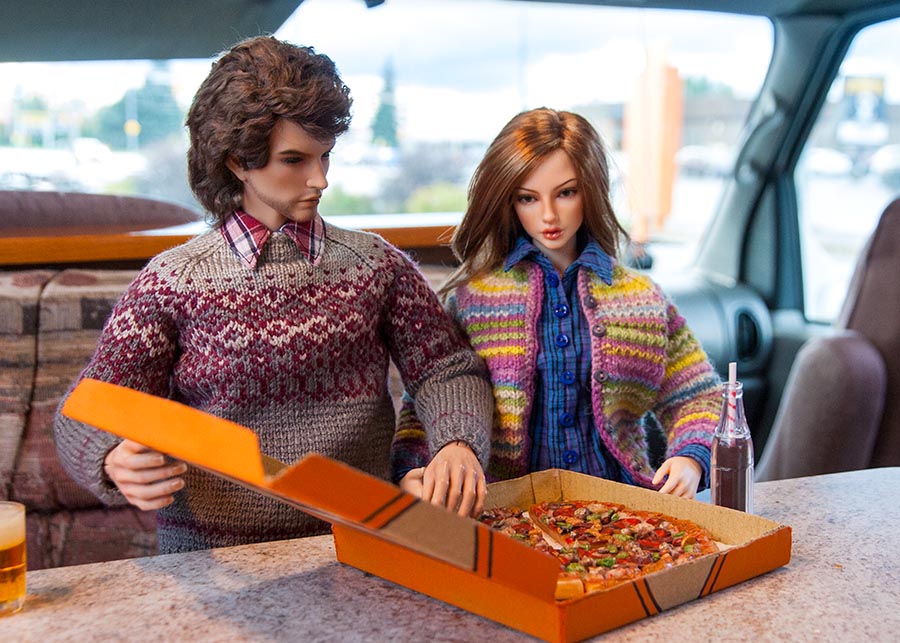
Enjoying pizza in the RV..
..supported by stands to make them the right height for the table....
..supported by stands to make them the right height for the table....
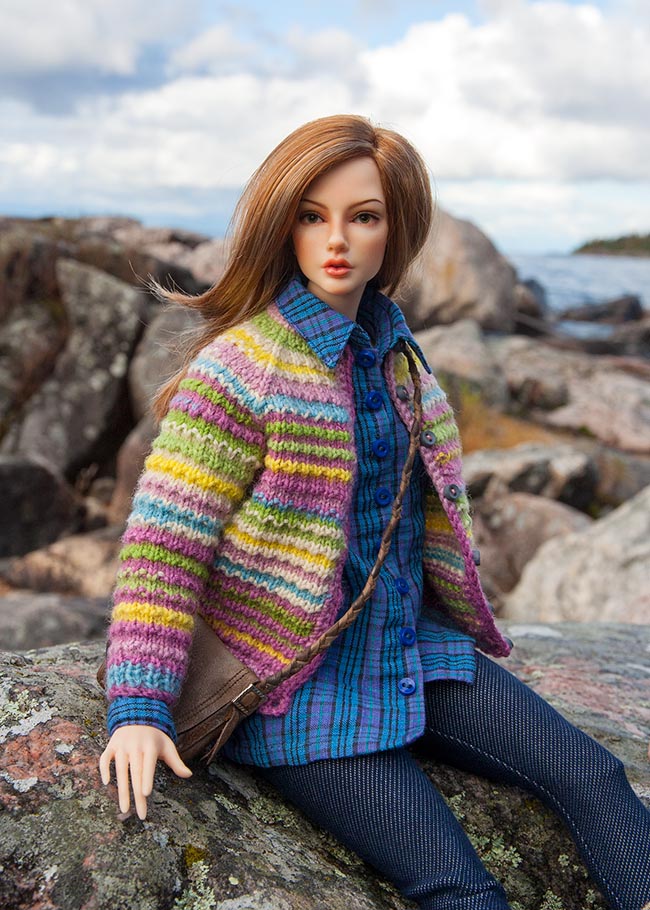
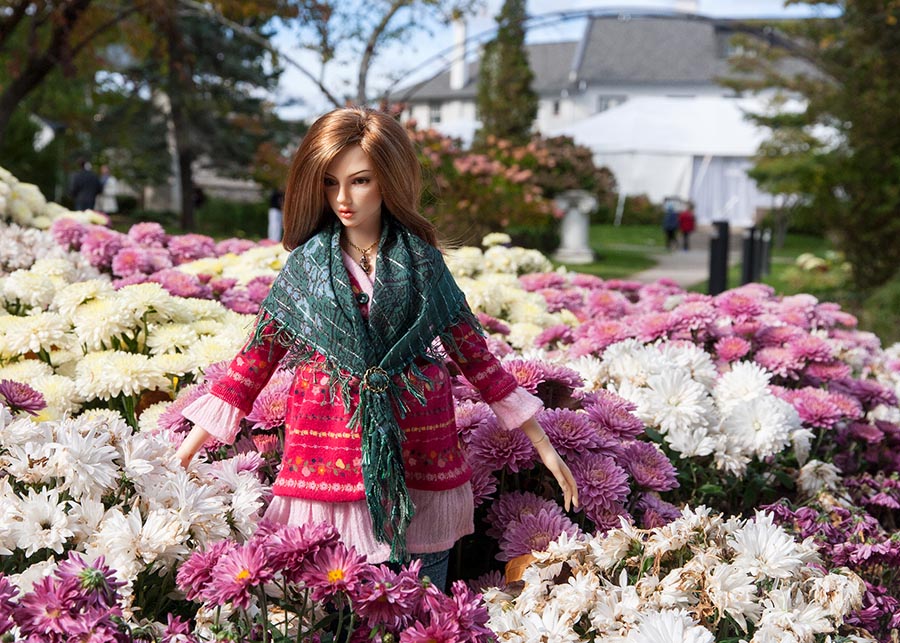
And one last photo of Naomi in a garden full of mums, which were totally the wrong scale to look believable....
Shooting the Soldier and Death
I've always loved Jim Henson's Storyteller series, so way back in the early nineties I made several sculpted dolls depicting some of my favourite characters; Sapsorrow, the Princess from the Three Ravens, the Storyteller himself, and then my sister and I worked together to recreate the scene from the Soldier and Death where the soldier is playing cards with thirteen little devils.
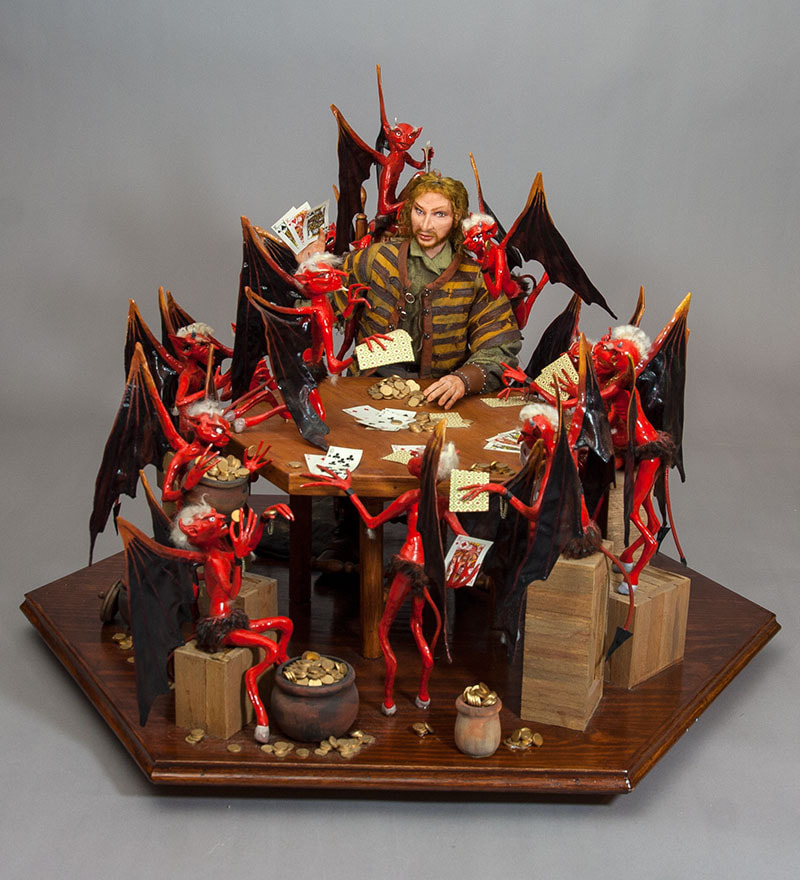
This is the entire piece with the original Soldier....
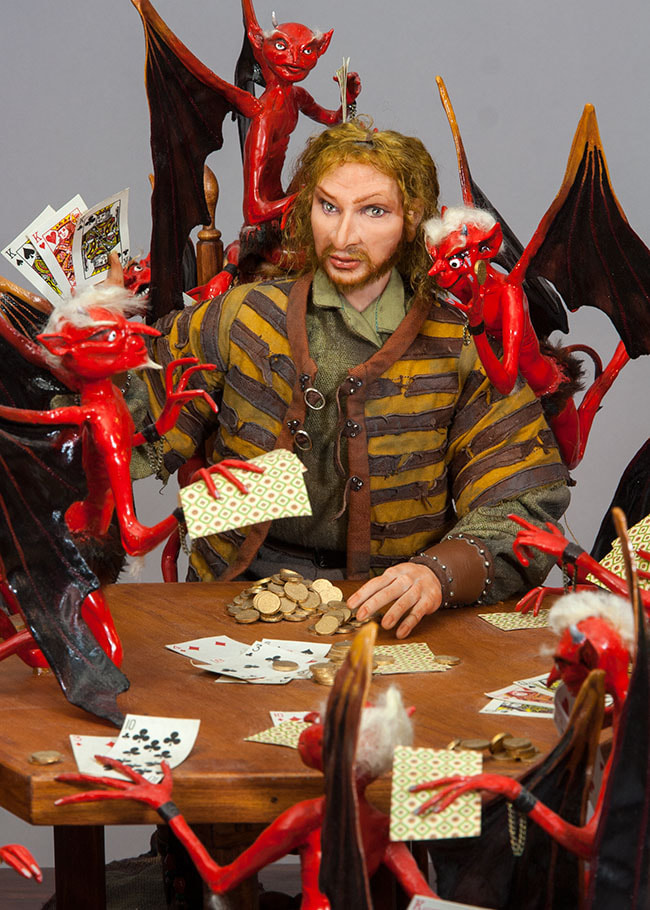
For some time I've been wondering if it would work to replace the Soldier with one of my FIDs. After all they are the same size. So I chose Lawrence to play the role of the Soldier.
I set up a 'haunted palace interior', but needed a main light source from above, so stuffed a string of Christmas tree lights into a funnel, and suspended it from the chandelier....
I set up a 'haunted palace interior', but needed a main light source from above, so stuffed a string of Christmas tree lights into a funnel, and suspended it from the chandelier....
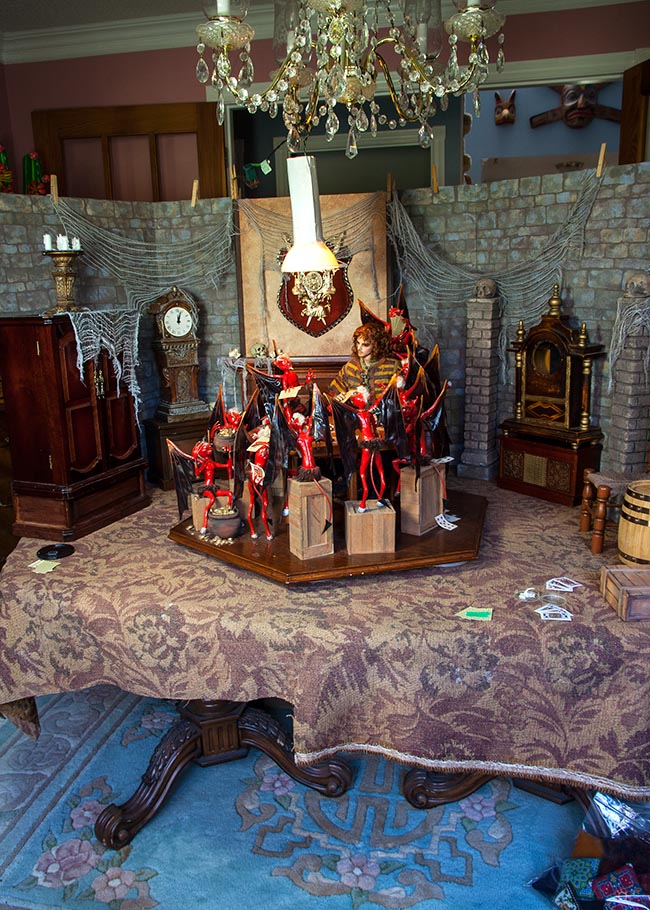
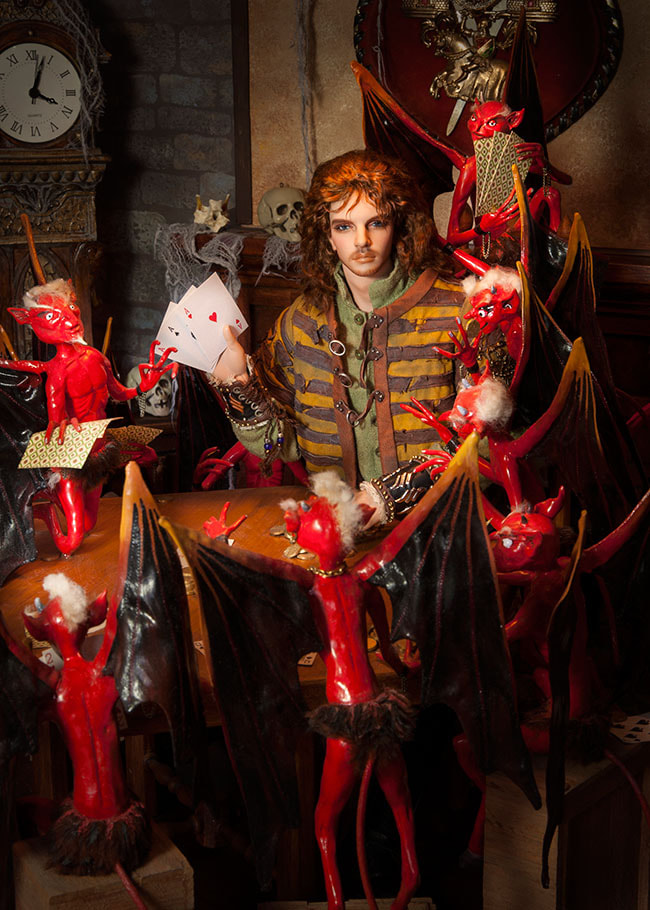
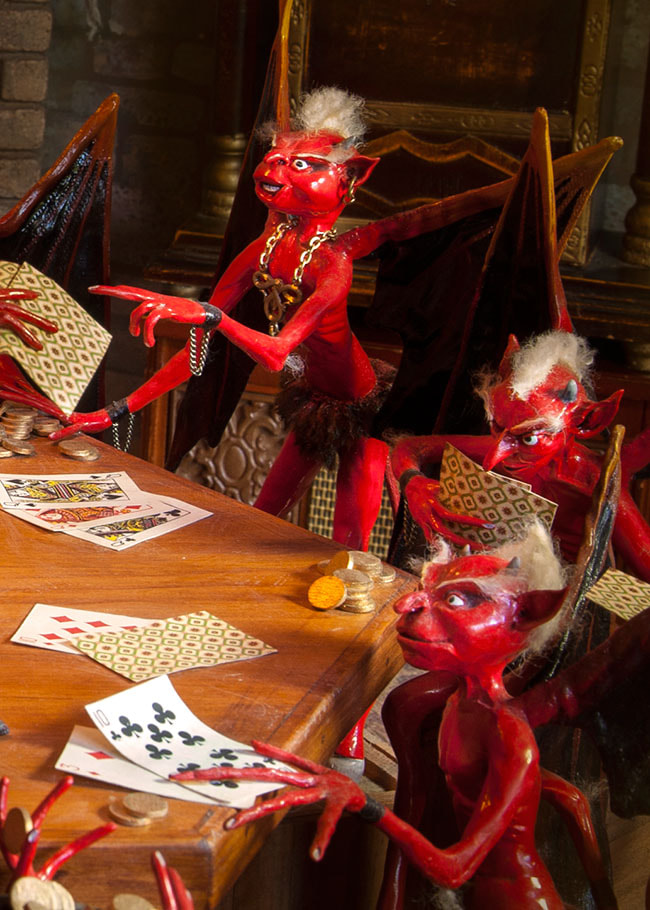
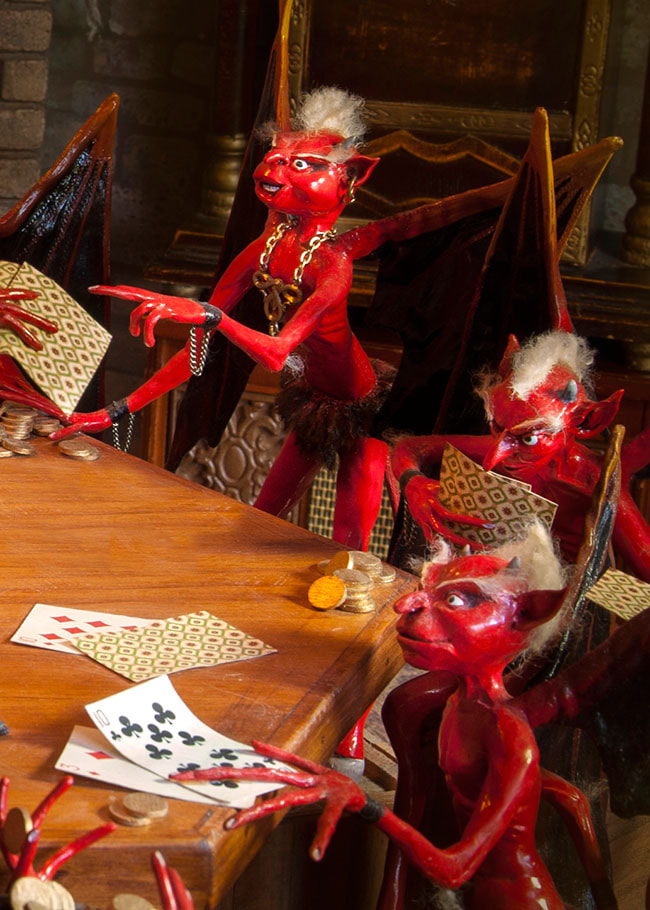
There were thirteen devils on the piece and eleven of them were permanently attached so it took some creative camera angles to take the photos...
It was handy that there were two loose devils, since they could be moved around...
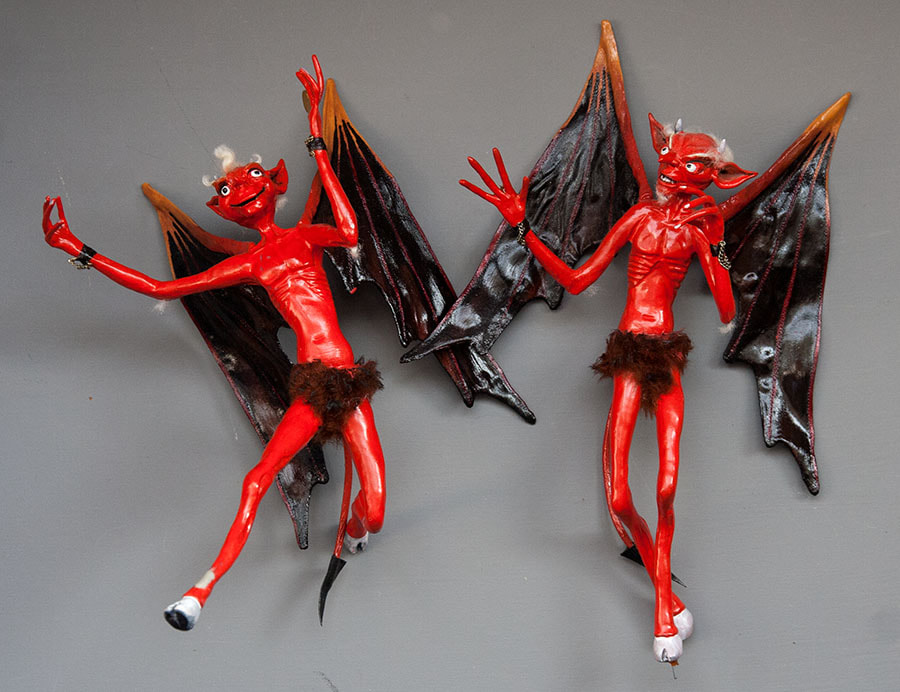
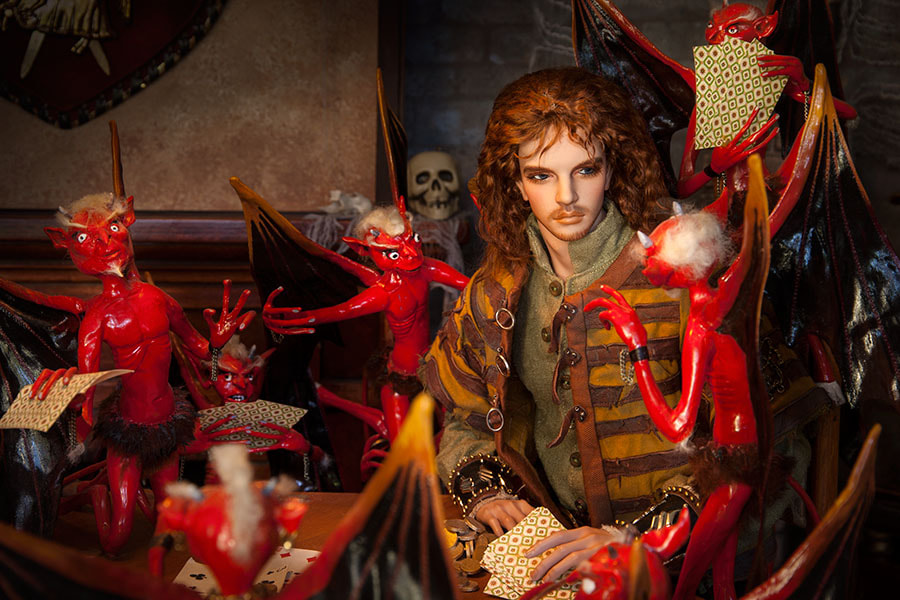
Then combined with Lawrence's posability it helped give the impression that the devils were moving as well....even though only two actually were....
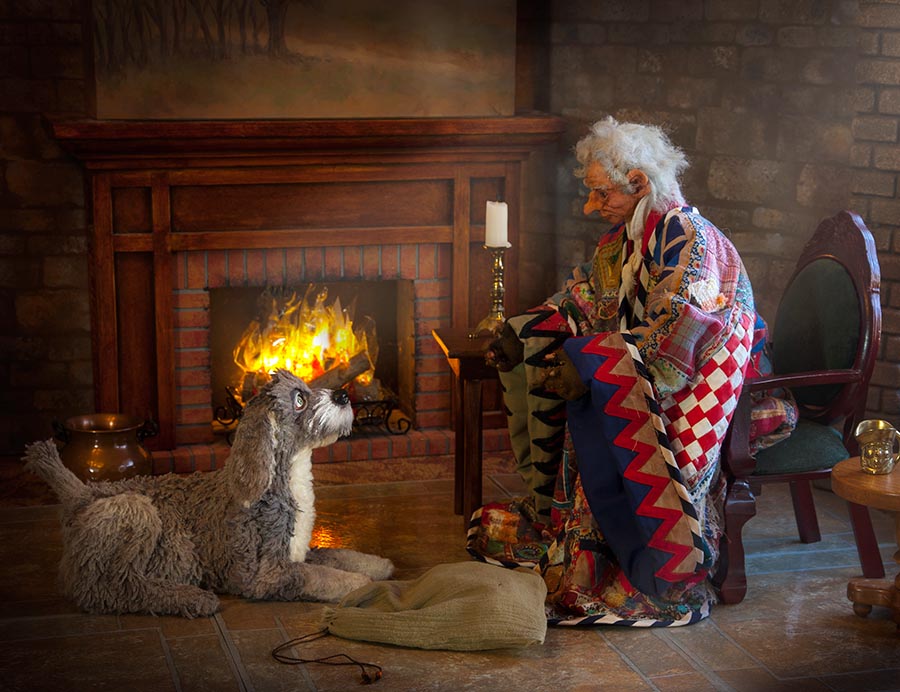
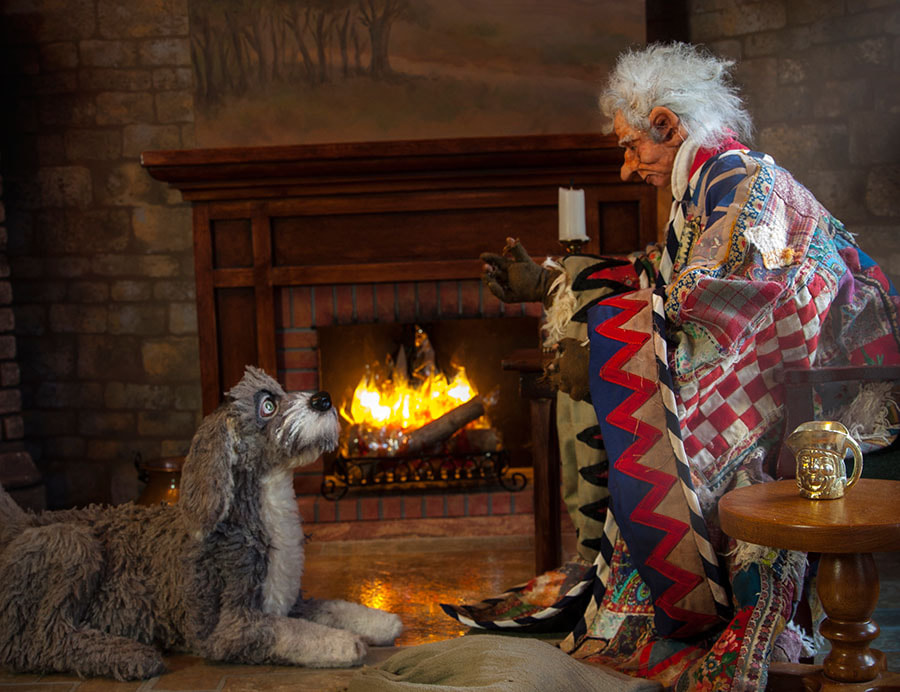
Of course then one thing led to another, and I thought I'd tackle more of the story by using my Storyteller. I removed him from his base and posed him in the only fancy chair I had...
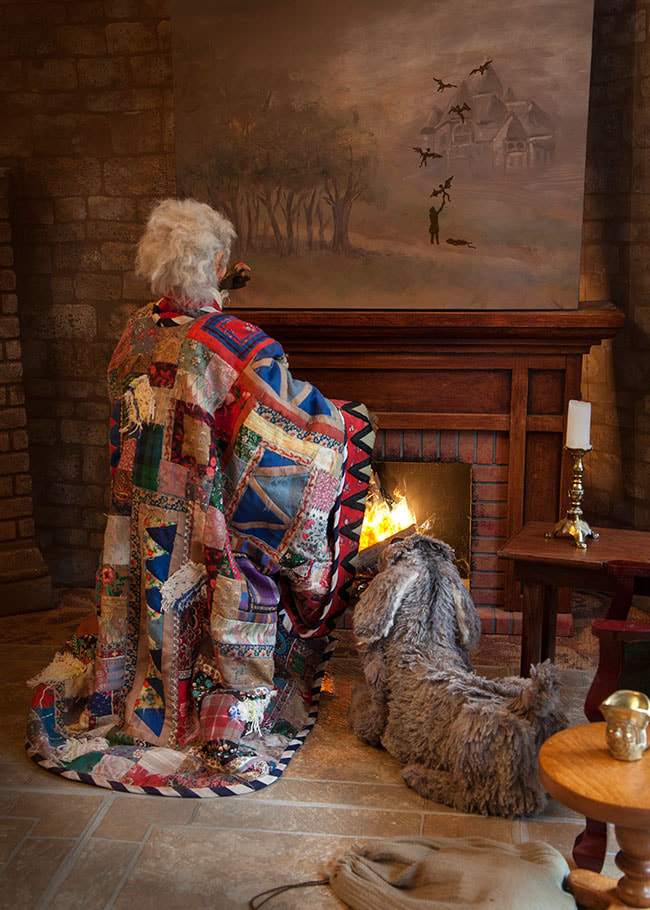
In the real Storyteller episodes, parts of the story appear as silhouettes on the scene above the fireplace, so I took a look at the original video and painted two of the backgrounds into one painting on a bristol board surround. It was challenging to make the scene look dark and dull enough.
Then after processing the photos, I'd draw in the little figures in Photoshop...
Then after processing the photos, I'd draw in the little figures in Photoshop...

|
|
Then I decided to include the beginning of the story when the Soldier first arrives in the palace. But I couldn't show the whole room since the devils were permanently attached to the table, and I didn't have a bare identical one. So I had to fake it by using a much smaller rectangular table that had the same colour of wood finish....and then took a close in shot....
I took photos of the two loose devils arriving at midnight, and made sure to move the clock hands so they were at the right time. But I didn't notice that the photo of the Soldier hearing the devils arrive still had the clock hands at the time when he first arrived. So I had to fix it. There's always so many details to pay attention to...
|
|
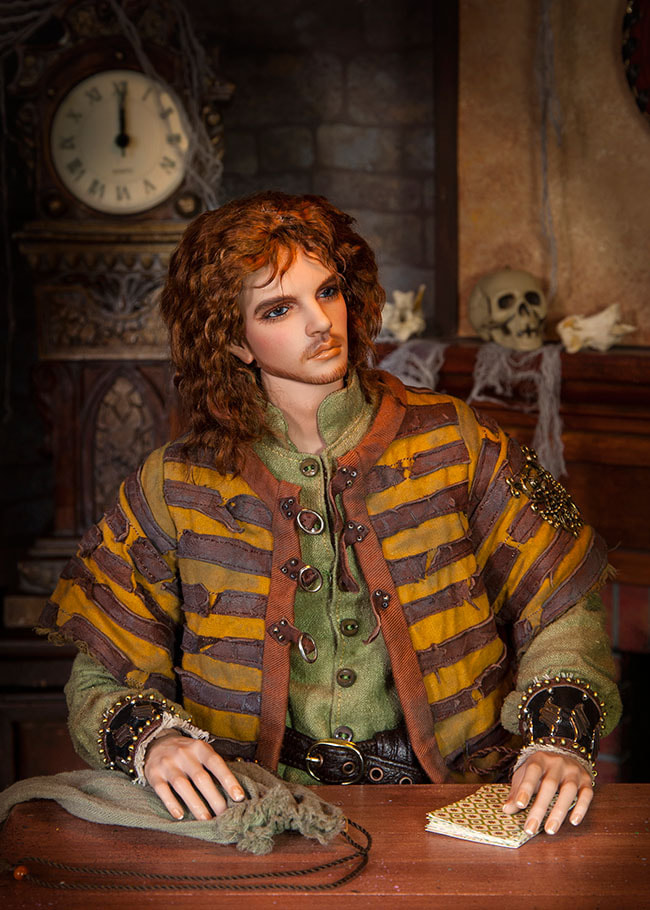
With so much going on in the scene it's hard to make sure everything in the background makes sense. There was another scene where the clock was in the background, and I had to fix the hands on the clock again....to help show the passing of time.....
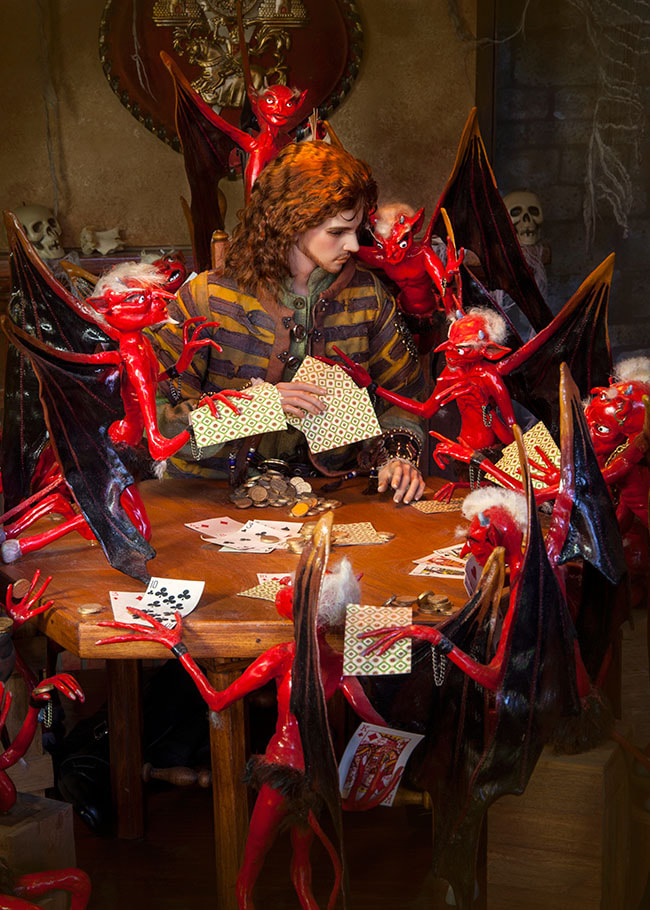
There was another oversight involving the cards, which I didn't catch right away either. The original cards on the piece were all permanently attached, so I needed to make some new ones. The original cards were made in the days long before colour printing. My sister scanned in the red cards, and it was only possible to print them in black and white, so she took them to a copy shop where the b&w cards were photocopied in red. Then we hand coloured the face cards, and I attached peel-back vinyl dollhouse flooring to the backs.
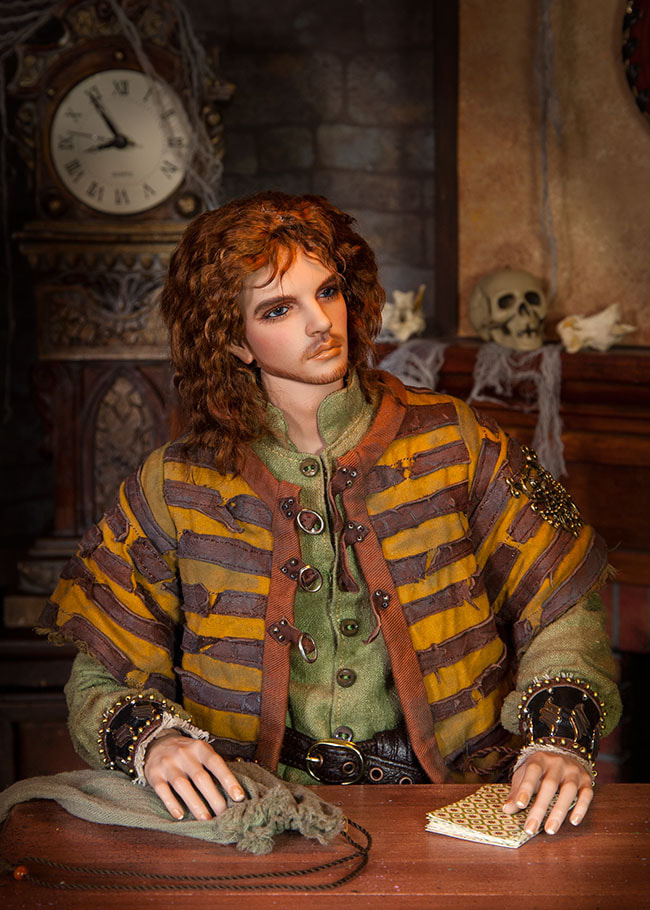
Well, I did have a small deck of cards, but they were too big, so I just took out all the face cards and aces, photographed them, shrank them to the same size as the devil's cards, and I was surprised I still had a sheet of that very same peel-off backing. So the new cards matched!
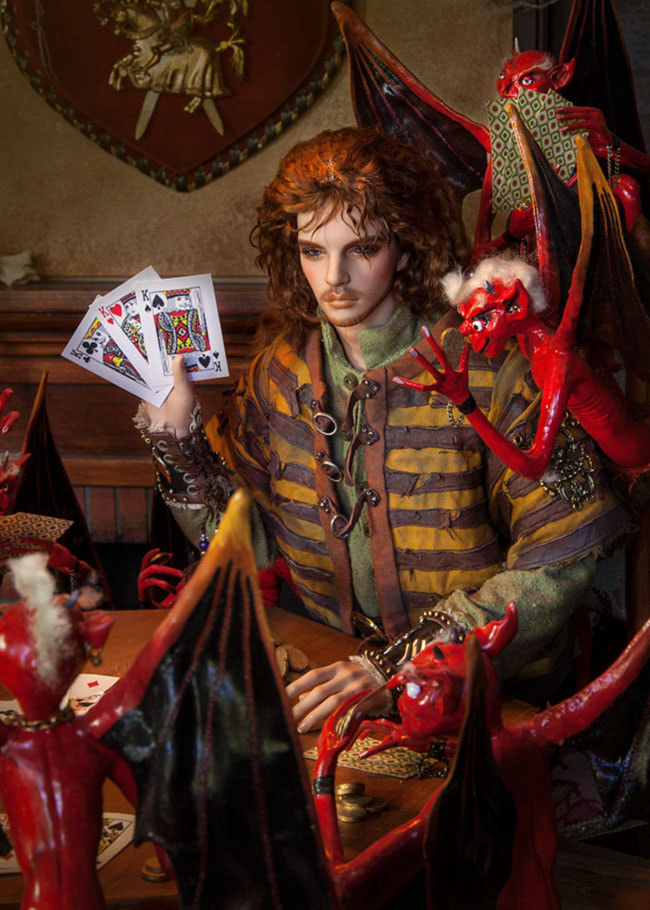
But for variety, I gave Lawrence a whole series of different winning hands, and one time it was all queens....
Well, I did have a small deck of cards, but they were too big, so I just took out all the face cards and aces, photographed them, shrank them to the same size as the devil's cards, and I was surprised I still had a sheet of that very same peel-off backing. So the new cards matched!
But for variety, I gave Lawrence a whole series of different winning hands, and one time it was all queens....
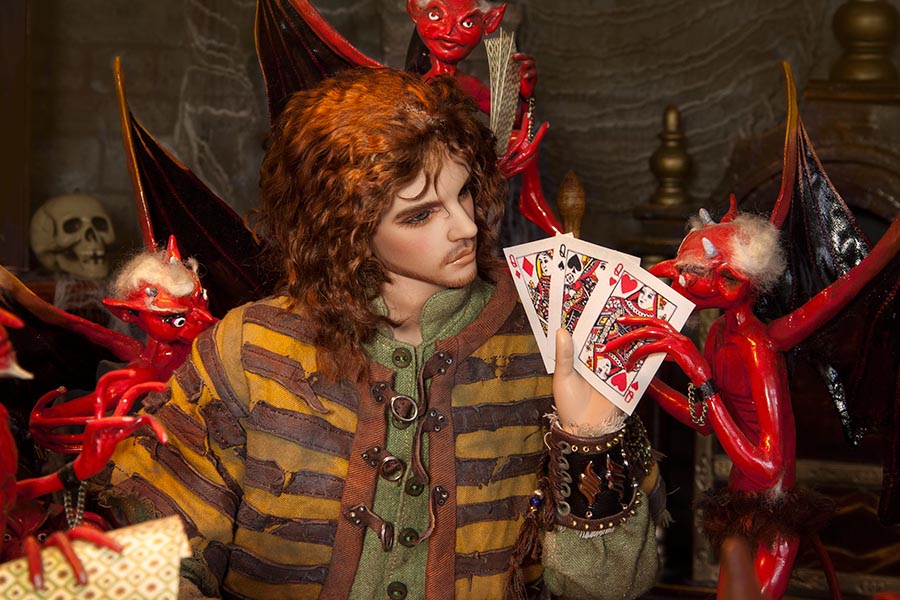
It's the scene where the devils are asking if he's cheating, and it never dawned on me that the accusing devil also had three queens glued permanently on the table in from of him (no wonder he's asking!) But I couldn't have that, so I had to remove them in Photoshop....
|
|
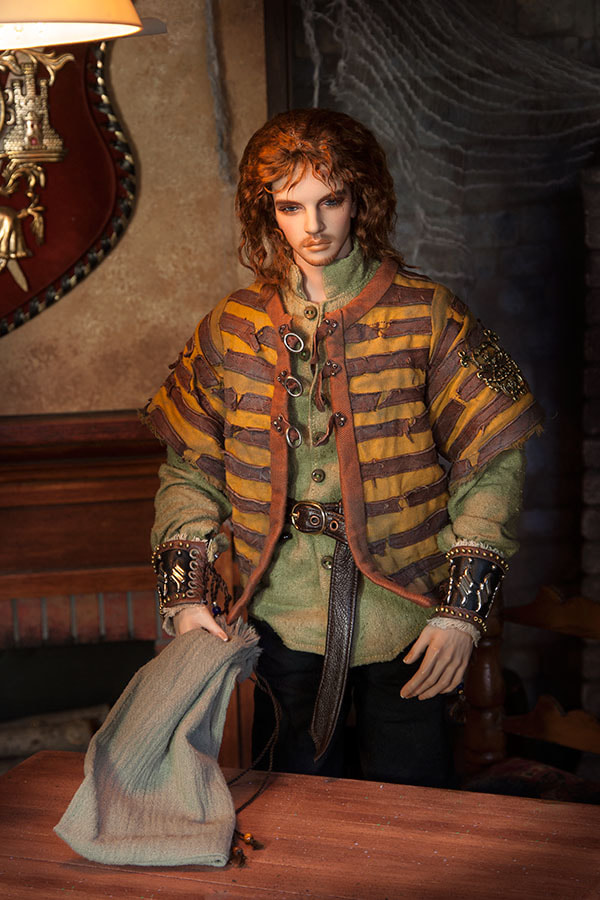
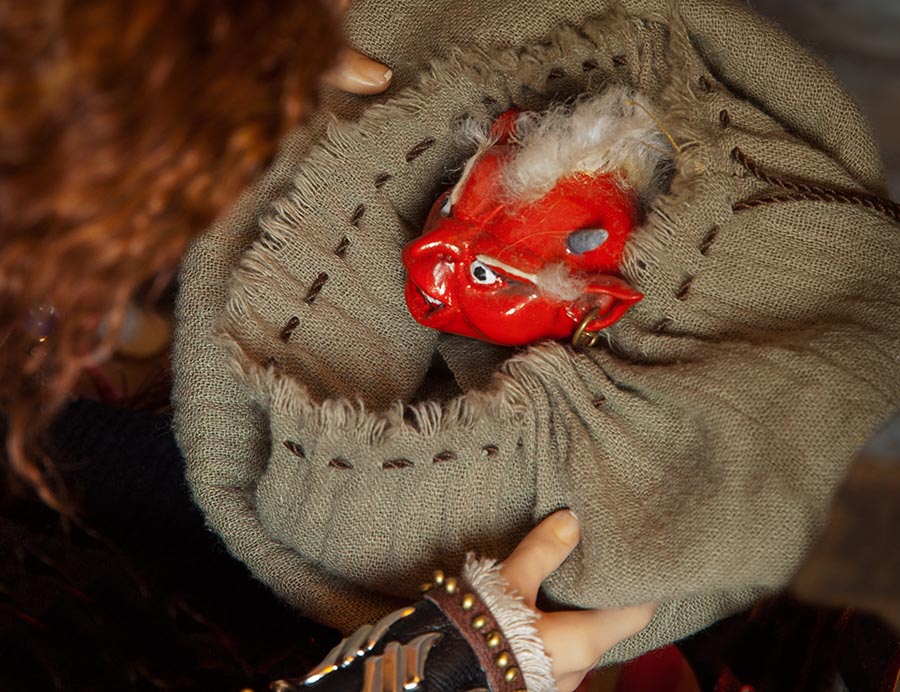
To fill out the story even more I decided to try take some photos of the Soldier opening the sack with the devils inside. Well, I wanted one of my favourite devils to be 'in the sack', so cut the bottom out of the sack so it could fit around him. Then Lawrence, who had already been changed back into his usual outfit, had to sprawl unceremoniously across the table.....
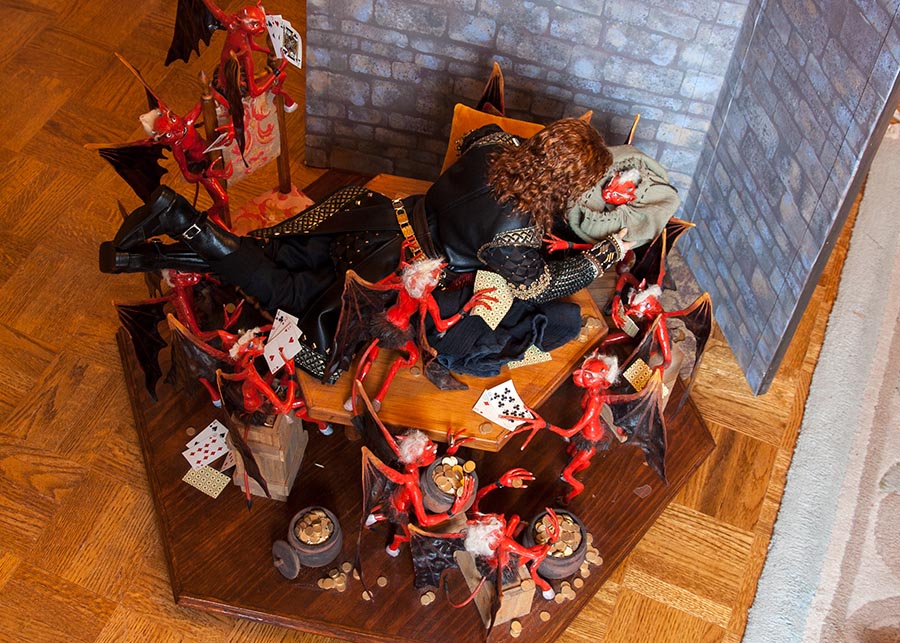
.....in order for his hands to be in position....and I had to place the set on the floor so I could take the photo from above.....
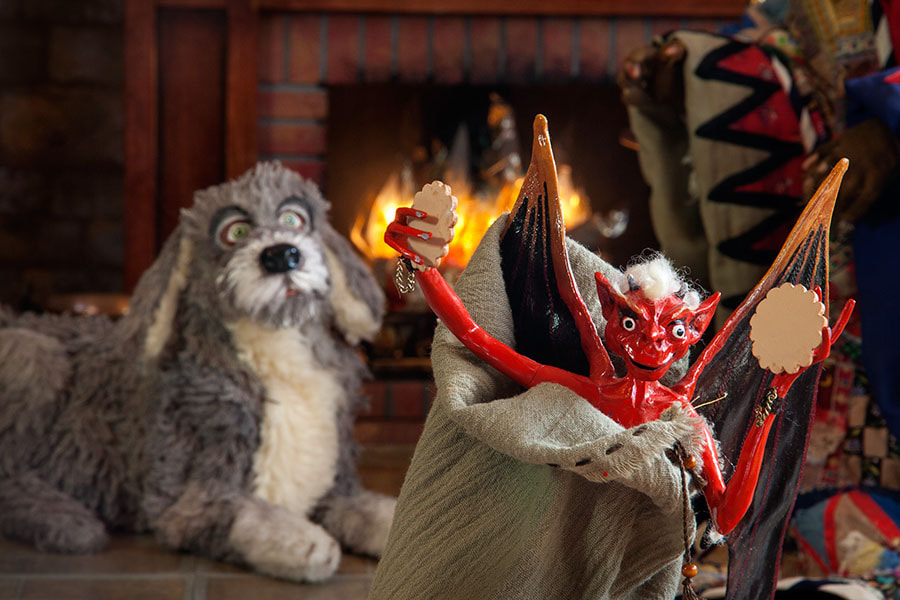
Then for the end of the story, I wanted to do the same thing as in the original video and have a devil come out of the sack that the Storyteller tosses across the room. I'd already resewn the bottom of the sack, so had to cut it again. Then I used a tiny stand to support the fleeing devil....
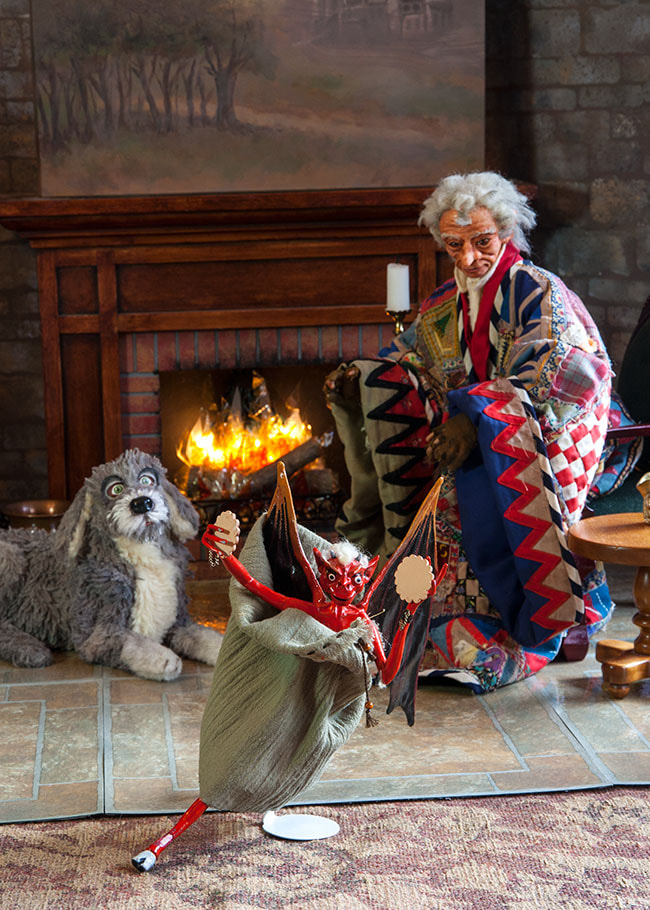
...and then took the photo in close....
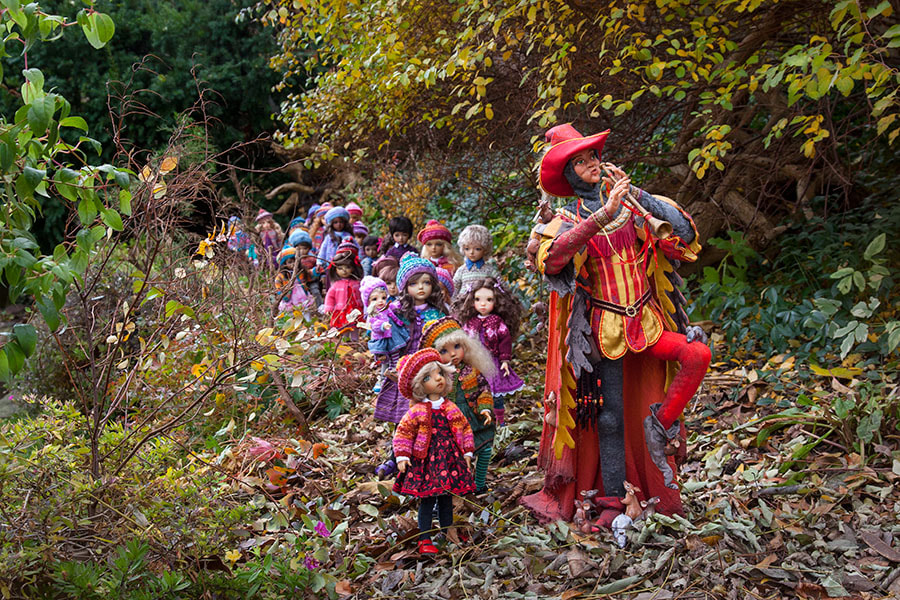
the Pied Piper
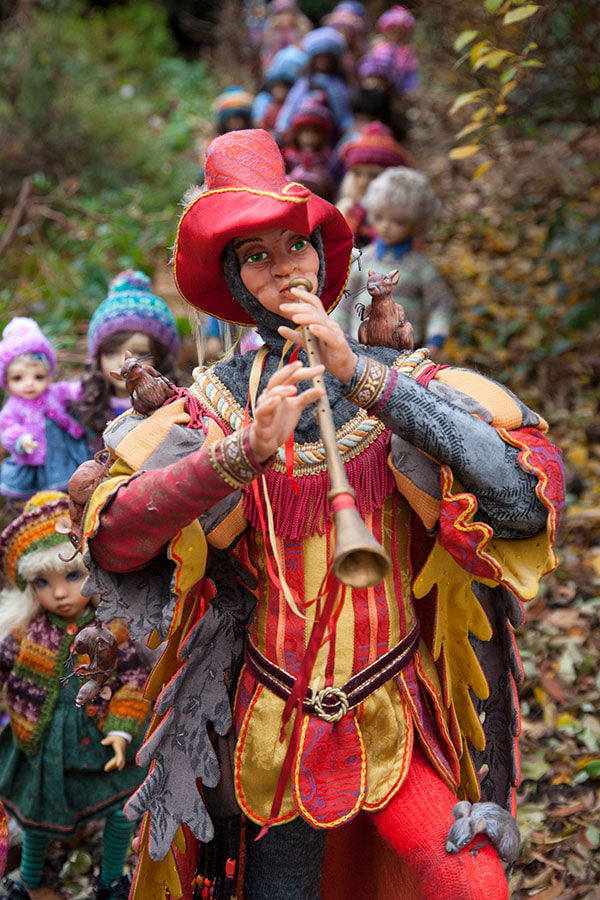
Continuing on with using my old art dolls with my BJDs, there's my Pied Piper. I made him way back in 1991. My sister and I spent a Sunday sculpting all the rats, which are all over him.
I've often thought it would make an interesting photo having all my little children following him somewhere, like through the woods or up a hill. But it was just too daunting a task to even consider taking that many dolls out on location.
Then this week with all the plants cut down in the upper garden, I wondered if I might be able to pull it off in my own backyard. So I took the Pied Piper out of the display case and stood him in the middle of a bunch of BIDs, some in Fantasy/Medieval costumes and some in modern clothes. Which suited him better? Jan suggested the Fantasy/Medieval ones. It was a fairy tale after all. But I only have the eight Royal children, and an additional eight more suitable costumes. That wouldn't make much of a crowd. On the other hand I had 30 children in contemporary clothes. So contemporary it would be.
I set up some benches with baskets of million bells along the rock wall in places where the wall would be visible, sprinkled small locust leaves over the dirt, and poked in some pruned branches for extra 'trees'. Then it was time to take all the dolls out and position them.
I had a dozen wire 'poke-in-the-ground' doll stands, which I used for the six KIDs, the boys, and the small dolls that would be up front. All the rest were supported with chopsticks up their skirts. Altogether there were 15 BIDs, 6 KIDs, 8 KW Tinies, and baby Sena. There could have been 8 more dolls (the royal children) but I was too lazy to change them into contemporary clothes.
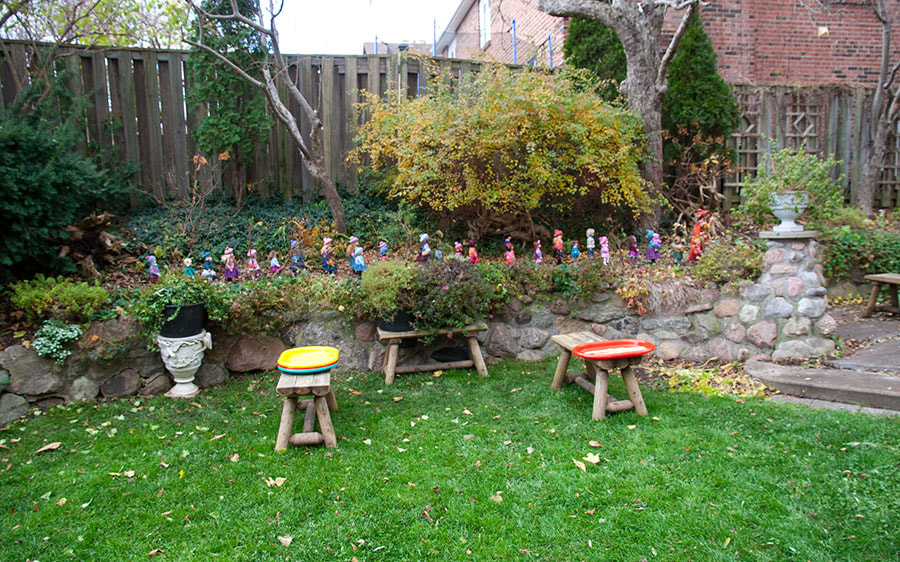
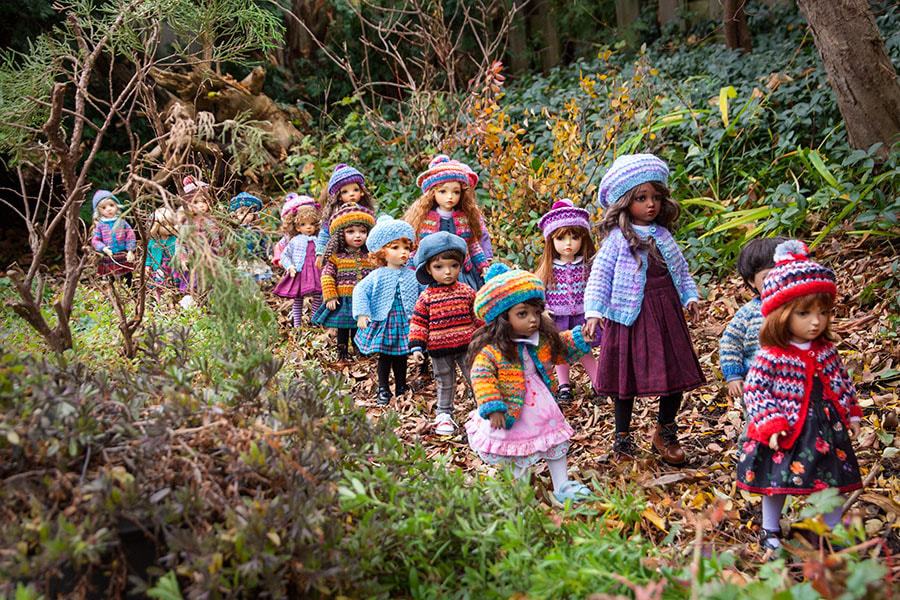
I had made sure not to space the children too close together, so most of their faces could be seen when I took the photos.
Then I took all the photos from the patio.....
Then I took all the photos from the patio.....
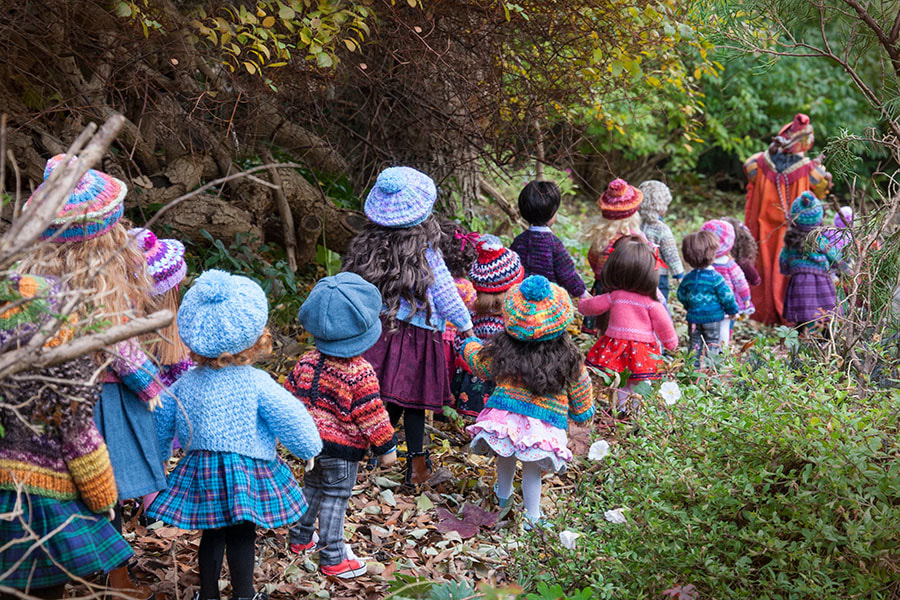
Then one final photo taken on the grass from the rear of the line....
Owen Makes Dinner
November 5th was 'Men make Dinner Day', so Owen thought he'd take over making dinner for Leona. I set up his 'kitchen counter' on a box on my kitchen counter, so his eyes would be roughly at the level mine are....
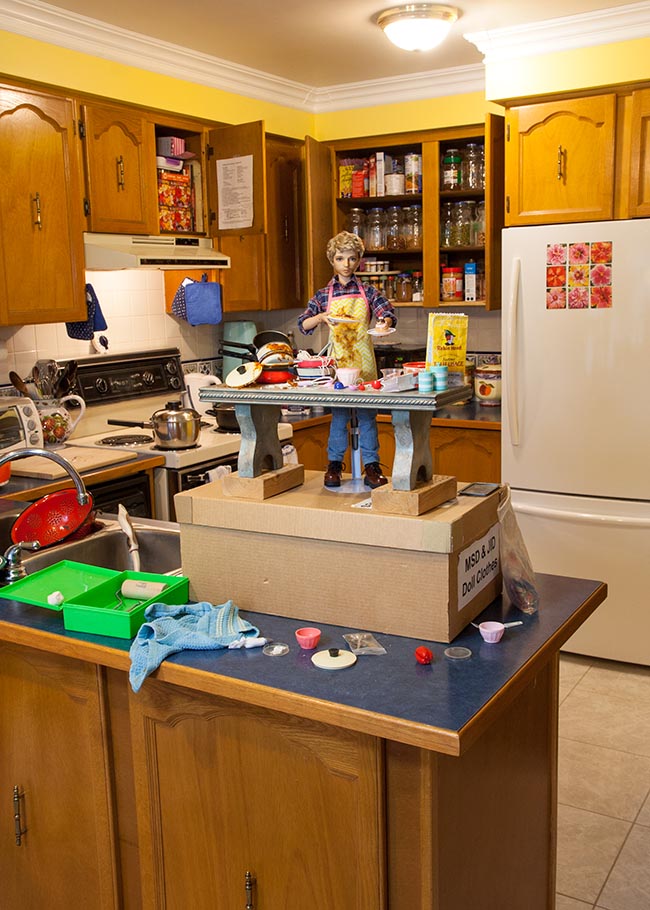
While he was busy, Jan kept coming into the kitchen for stuff....
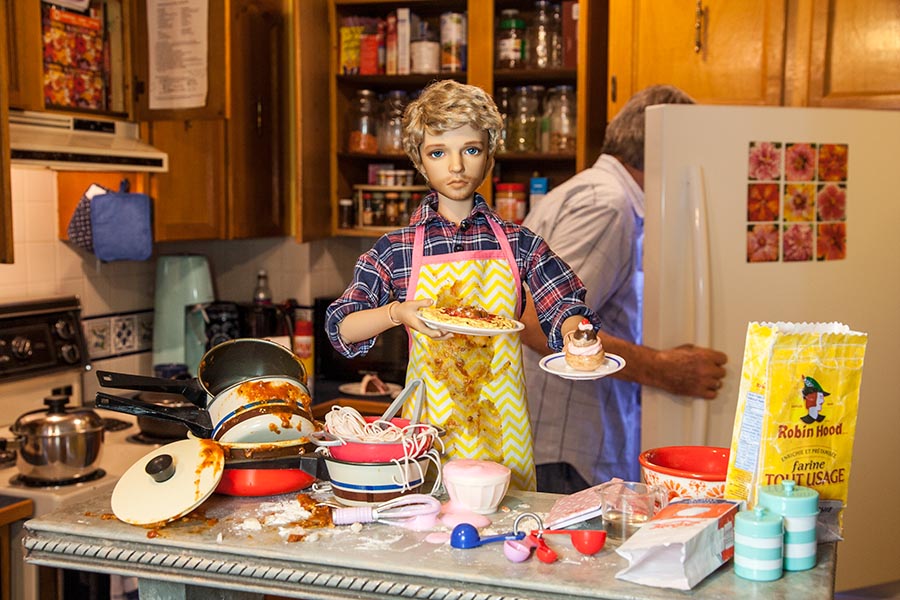
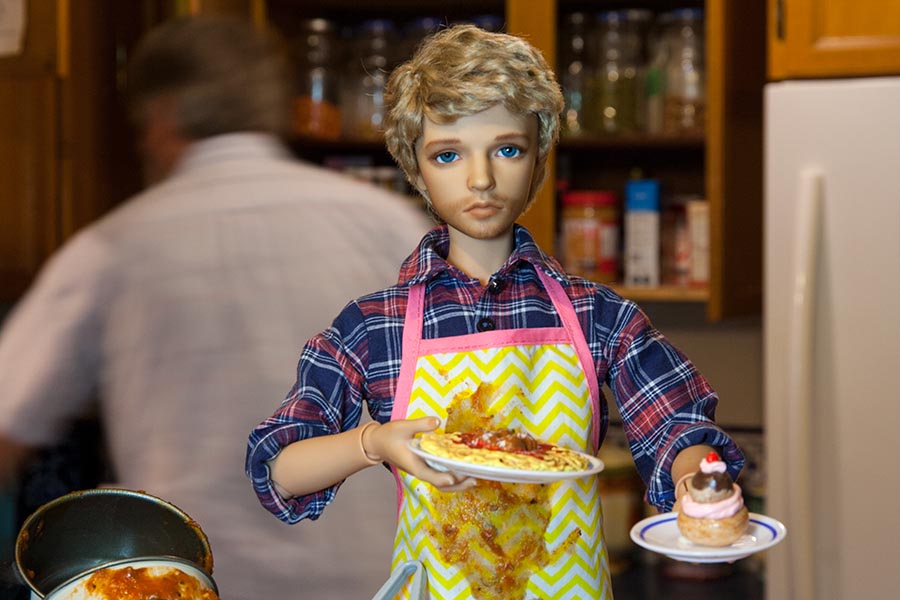
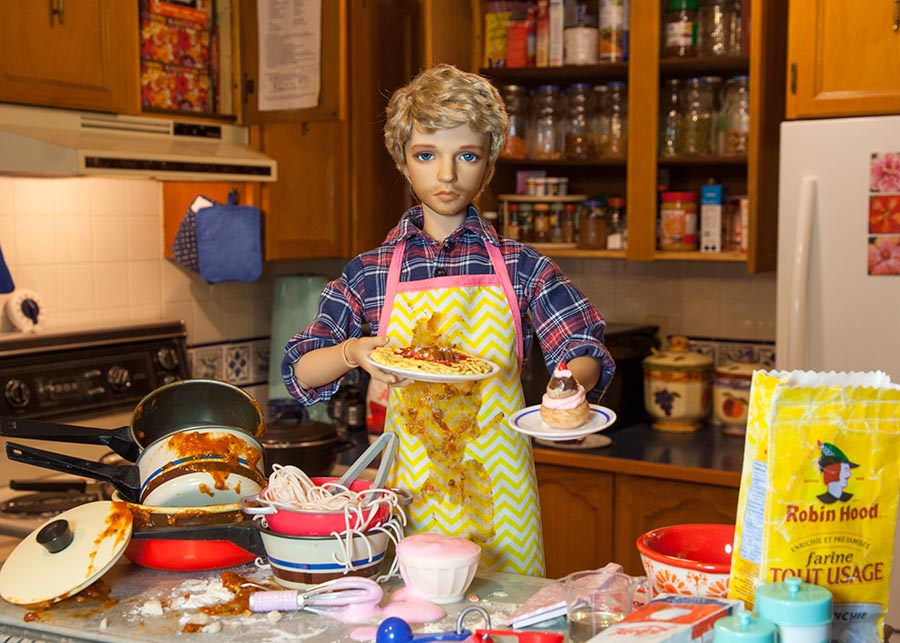
But I finally got a good picture....
A New Camera
On December 2nd I got a new camera. My old one had been acting up for years, but I hate change so just kept getting used to all the issues. It was seventeen years old, which was downright prehistoric in digital camera terms.
First I tried out a Canon SL3, but I didn't like it, so returned it, and got a Rebel T8i instead.
First I tried out a Canon SL3, but I didn't like it, so returned it, and got a Rebel T8i instead.

I replaced the kit lens with the one on my old camera, which is a much better lens. It will take some getting used to, and I hope to eventually learn how to use some of the new functions. Every camera is different and I've noticed that my photos are a slightly different colour, and the darks are much darker, but it is what it is for now.
A 'Real' Fire
When I was working on the Storyteller photos, I decided that I wanted a 'fire' in the fireplace. I obviously couldn't have a real one, and it was beyond my skill level to Photoshop one in. I personally prefer when everything is actually there in a set, with no need for adding stuff in Photoshop.
So I took some coloured cellophane, and cut it into 'flame' strips, and hot glued them to some of the logs in the fireplace. Then I tied a string of 'warm white' Christmas lights together, and lowered them down into the back of the fireplace so they'd shine through the cellophane. It worked reasonably well....
So I took some coloured cellophane, and cut it into 'flame' strips, and hot glued them to some of the logs in the fireplace. Then I tied a string of 'warm white' Christmas lights together, and lowered them down into the back of the fireplace so they'd shine through the cellophane. It worked reasonably well....
I felt the fire still needed a Biot of work, especially with Christmas photos coming up, so bought a battery operated string with ten tiny lights at the dollar store. I trimmed down some fo the wider cellophane 'flames' and inserted the ten tiny lights under and between the logs, using hot glue...
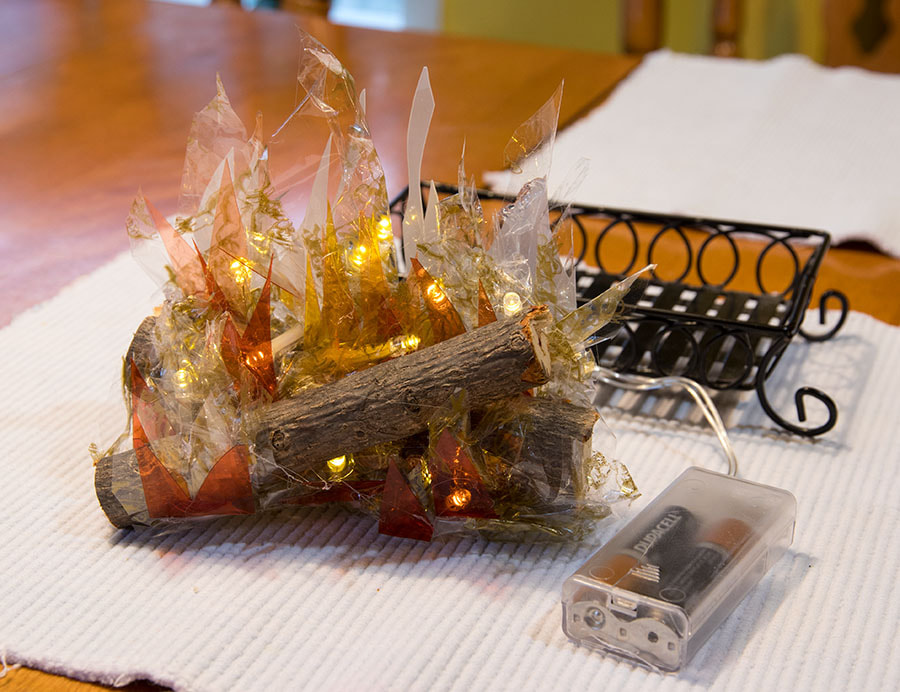
The battery pack fit well behind the log and flame unit in the grill....
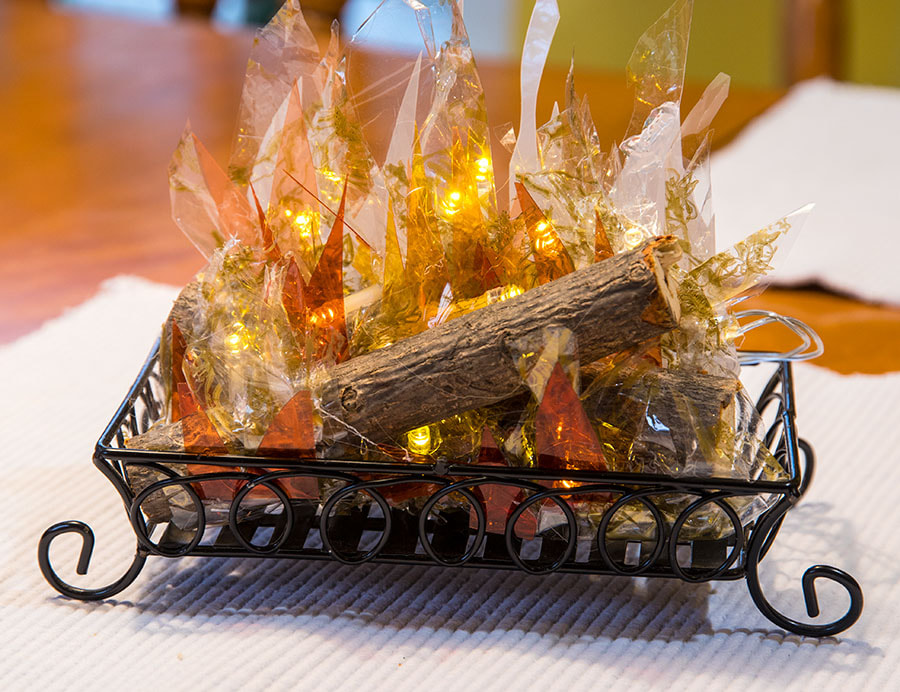
Then back in the fireplace with just the tiny battery operated lights....
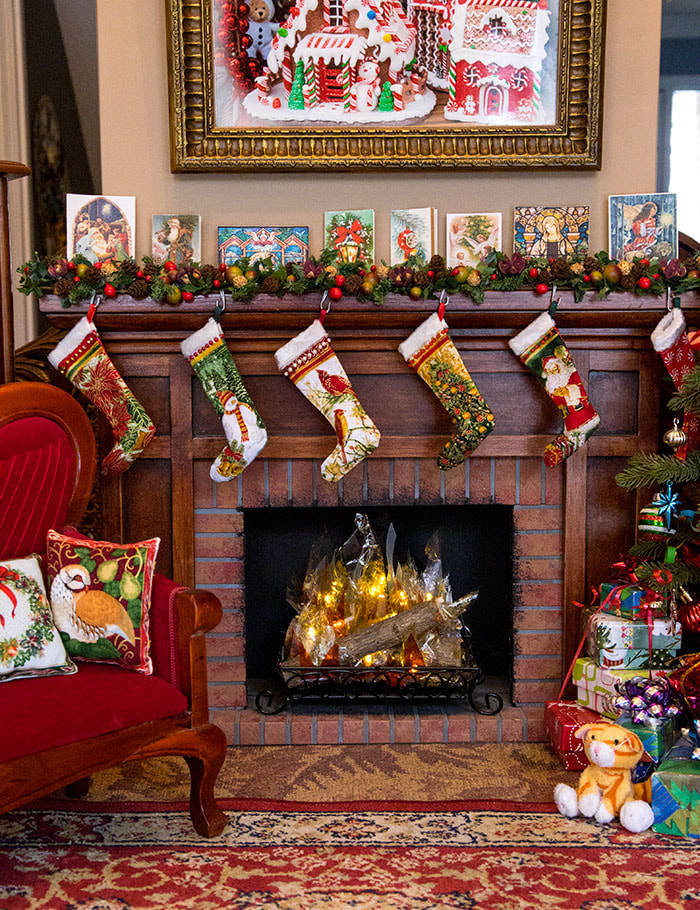
I felt that they weren't quite enough, so turned on the dangling string of Christmas lights as well. The larger lights give much bigger, brighter light, but at least there's some 'embers' in the bottom of the grill now.....
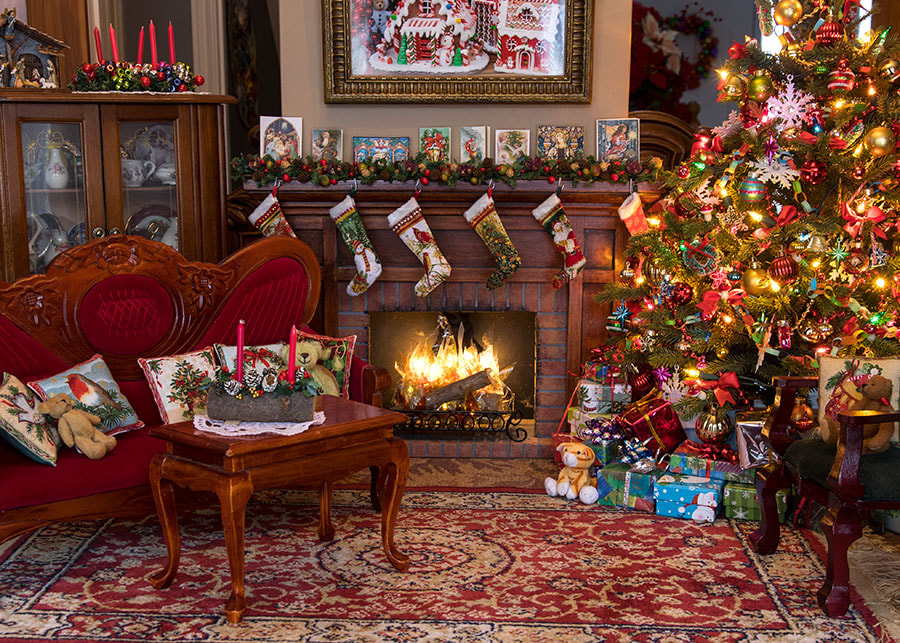
...and the whole thing works really well in the background....

Castle Renovations
I started out the month of December taking lots of new 'Special Days' photos, with plans to photograph the ones for later in the month in Medieval times. However....I've wanted to make new castle walls for some time, and decided I wasn't going to set up the castle interior with the old walls, but to wait until I'd made new ones. Well, that took a little longer than expected.
I make my walls out of foam core. A single sheet is not big enough, so we've been making the basic walls out of a full sheet and half sheet attached together.
Now, foam core will warp when it's painted. The first two sets of walls we made were fine. I thought it was because I painted the backs as well, so any warp from the first layer of paint on the front would be counteracted by a coat of paint on the back.
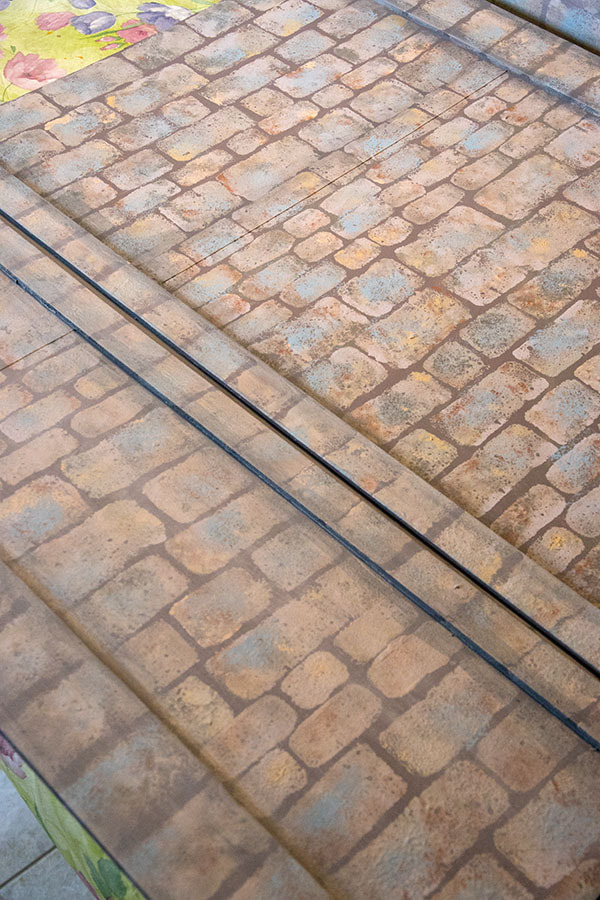
But we learned after making the castle walls that there was more to it than that. The first two sets of walls had been made by attaching the half sheet of foam core below the full sheet and then scoring the fold along both. See the example on the left....
I make my walls out of foam core. A single sheet is not big enough, so we've been making the basic walls out of a full sheet and half sheet attached together.
Now, foam core will warp when it's painted. The first two sets of walls we made were fine. I thought it was because I painted the backs as well, so any warp from the first layer of paint on the front would be counteracted by a coat of paint on the back.
But we learned after making the castle walls that there was more to it than that. The first two sets of walls had been made by attaching the half sheet of foam core below the full sheet and then scoring the fold along both. See the example on the left....
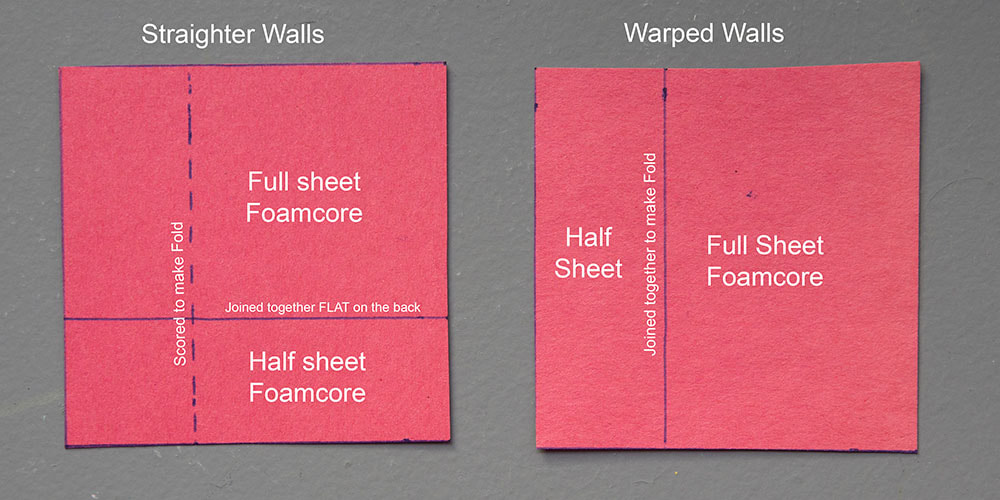
But, when making the castle walls, we thought it would seem easier, and more logical to just attach the half sheet to the full sheet along the fold. But when it was painted, the walls warped very badly, and no amount of paint on the back helped at all. Jan put strips of wood on the back to try straighten the walls, but with no luck. I've used the warped walls for a couple of years now, but they drive me crazy. Especially since there isn't a lot of space in my dining room to take full width shots, so I have to use my wide angle lens, and that warps the walls even more.
Then it dawned on us that the warping had to do with the basic design. So when we made the walls for the Wood Cutter's cottage a year ago, we went back to the old method, and the walls turned out nice and straight. So I've wanted to make a new set of straight castle walls, but had been putting it off. It is a lot of work after all.
So Jan made the new foam core castle walls the same way all my straight walls were made, and added some foam core strips which I wanted to portray 'pillars'. After doing the underpainting it was clear that we were back on track. There was hardly any warping. Just a tiny bit, which a coat of diluted paint on the back totally solved. Then it was time to stamp on the stonework.
I squirted different earth tone colours of paint onto a plate and used cut out sponge rectangles for the different sizes of stone. I started by stamping the 'pillars' first. Then made my way up the wall....
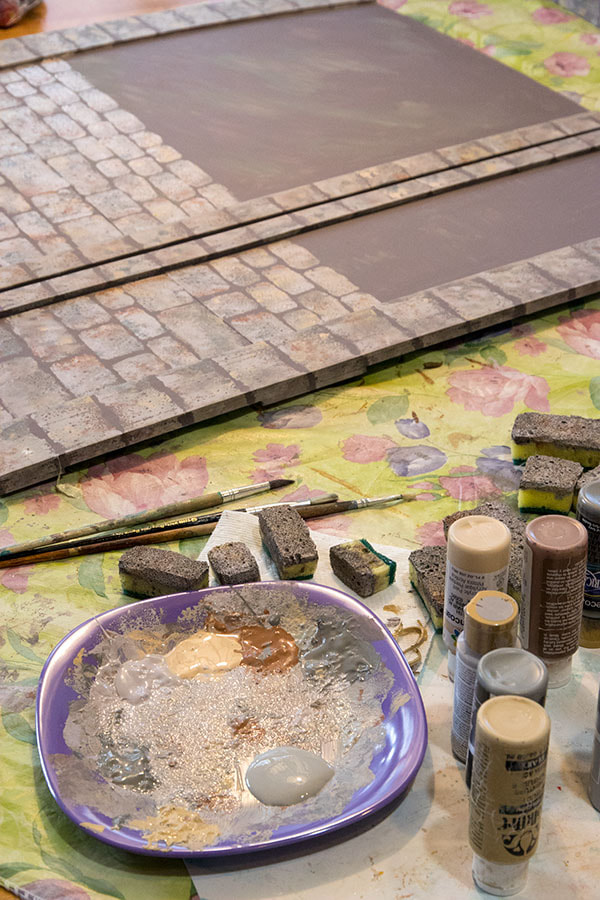
After the stonework dried I did some shading....
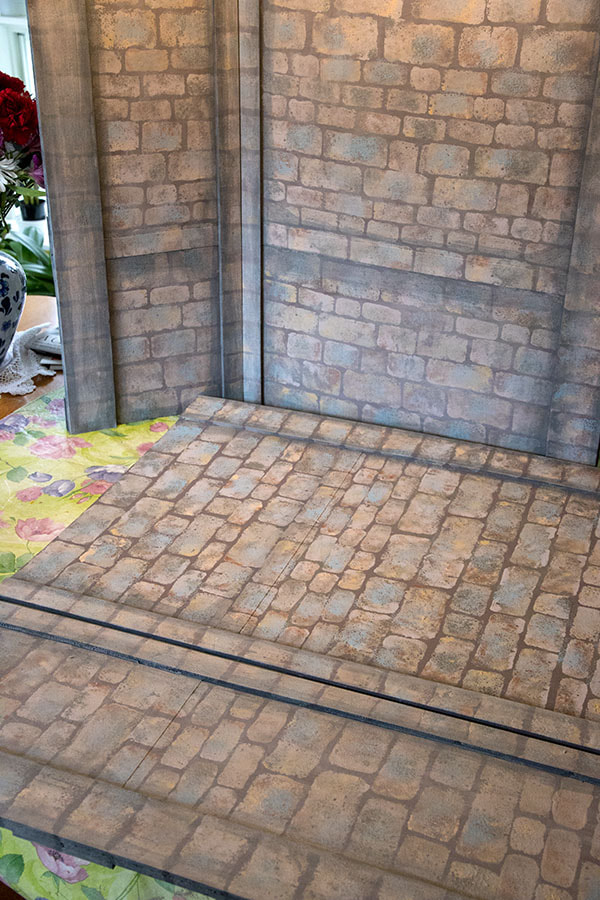
...and then overpainted everything with a coat of very diluted gray paint. The idea is to soften the look of the stone, as the camera will highlight all the details. The unmuted walls might look nicer to the casual observer, but the camera will make the details stand out way too much. So they need to be softened....
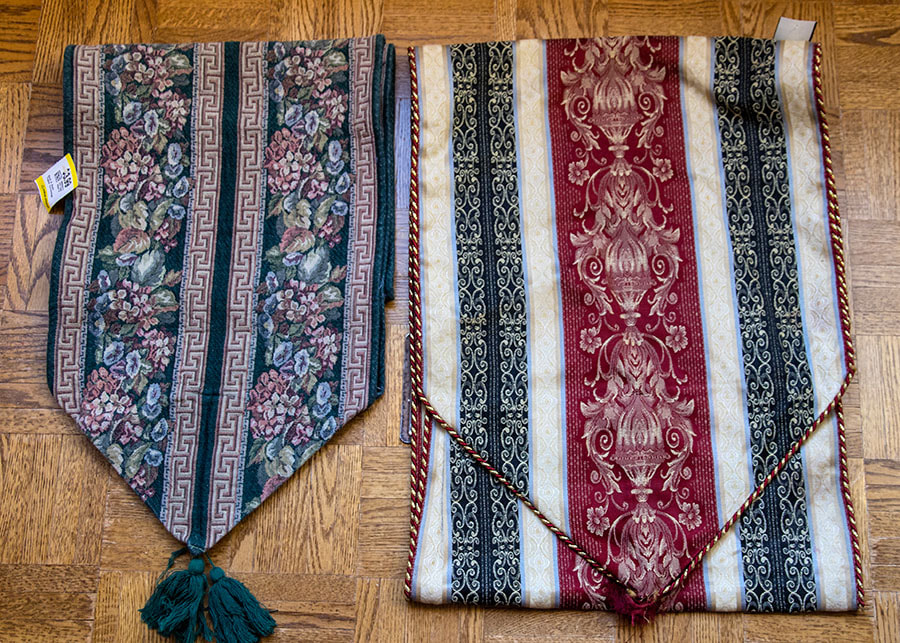
So now I have two new, nice straight castle walls. But I also want to make some new festive wallhangings. I picked up two table runners at Value Village last week. The one with the red pattern will make nice festive wallhangings for Christmas, while the floral tapestry one will make nice wallhangings for Naomi's dress shop whenever I get to that.....
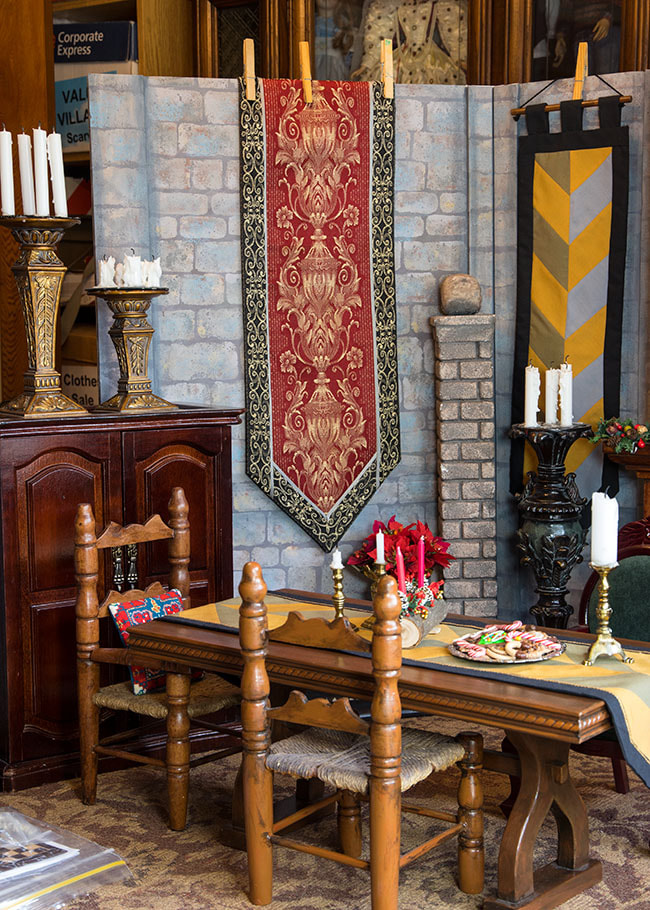
I cut the black strips off and stitched them up against the red central panels, and framing the points at the bottom, and used clothes pins to attached to the tops of the new walls....
|
|
Copyright © 2021 Martha Boers
All Rights Reserved
