Making Somewhere in Time
Sharing some of my behind the scene 'secrets' in setting up the scenes for some of the photos, and also the making of some of the props for my 'Somewhere in Time' story.
Miho Finds Baby Baron
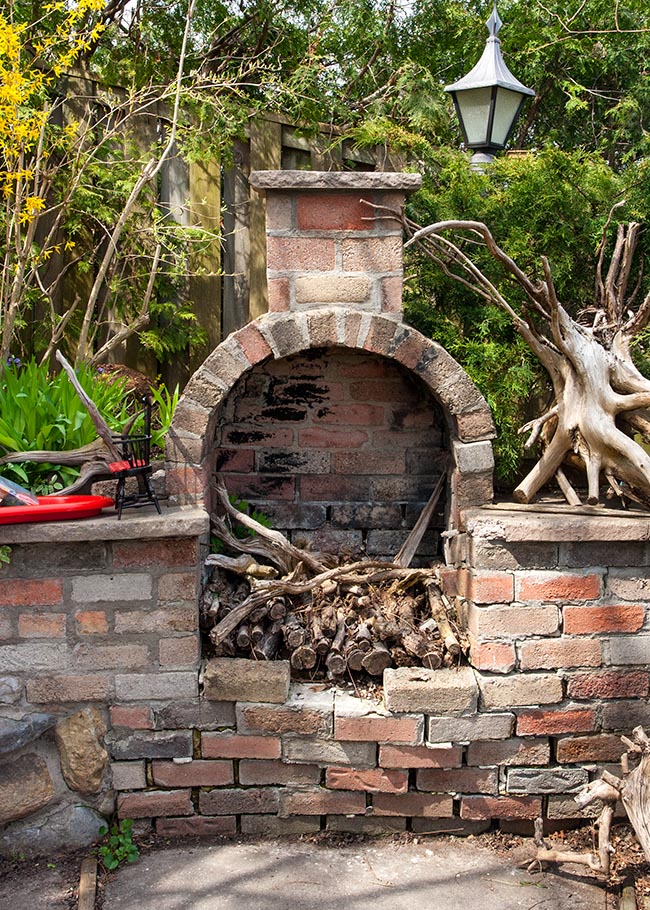
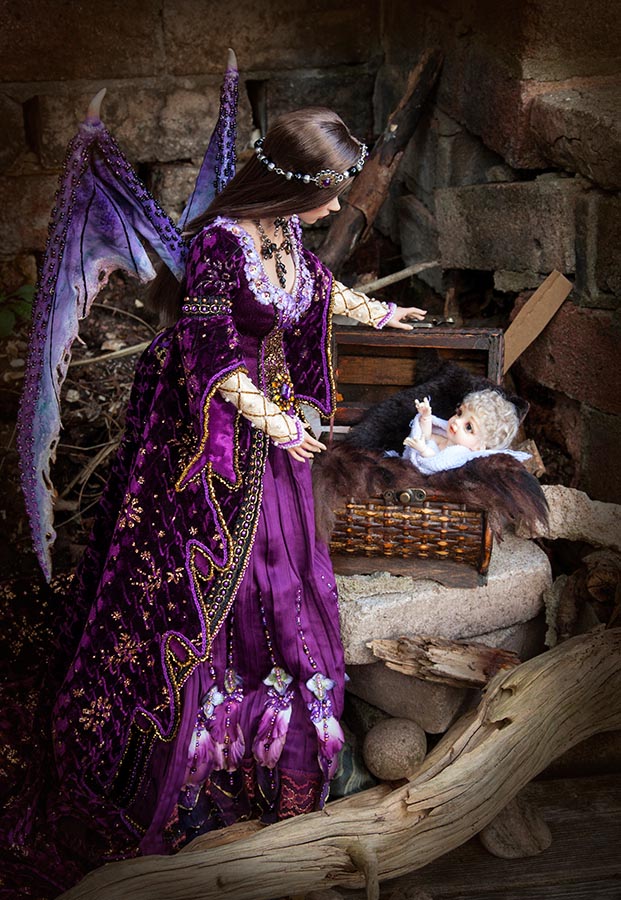
When I was shooting the scene with Miho discovering baby Baron in the 'ruins' of his destroyed home, I used our crumbling brick fireplace. The interior, not used in years, was a total mess, with crumbling burnt bricks, and plenty of debris.... the perfect setting.....
So I put a bench in front for Miho to stand on, hid her stand with some driftwood and stones, and placed the chest with the baby in the 'wreckage'.....
Picking Flowers
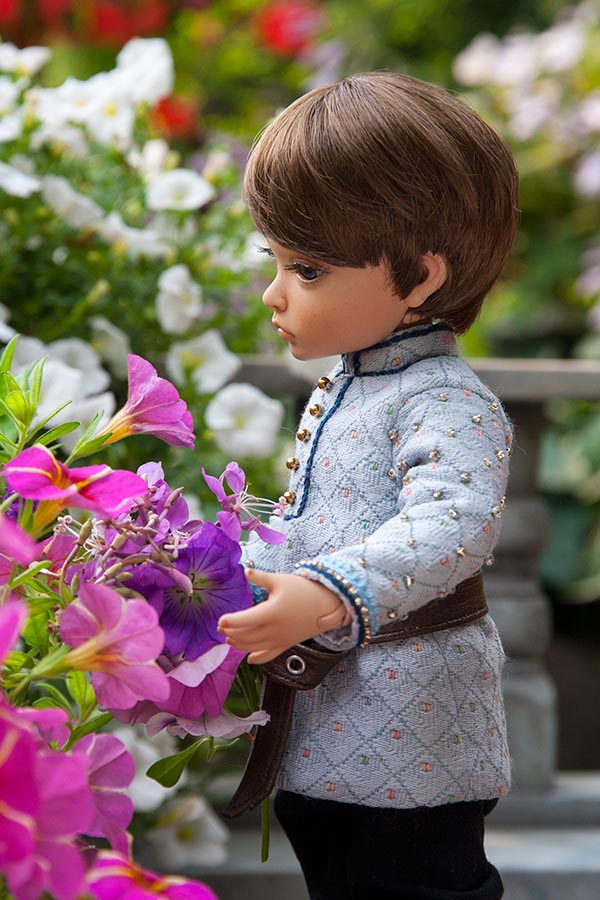
I had already taken a photo of Baron as a little boy picking flowers in his Mother's garden....
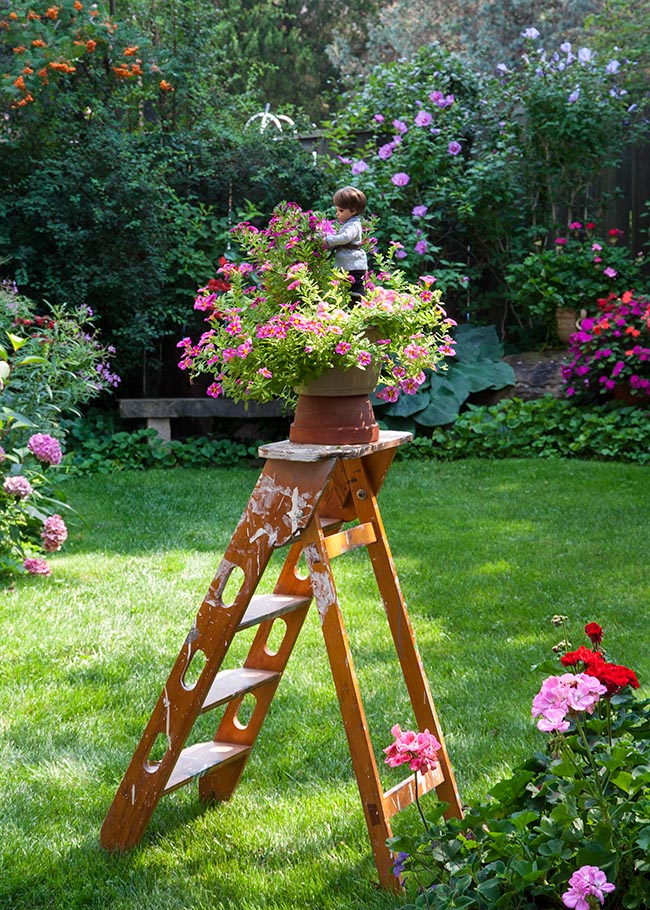
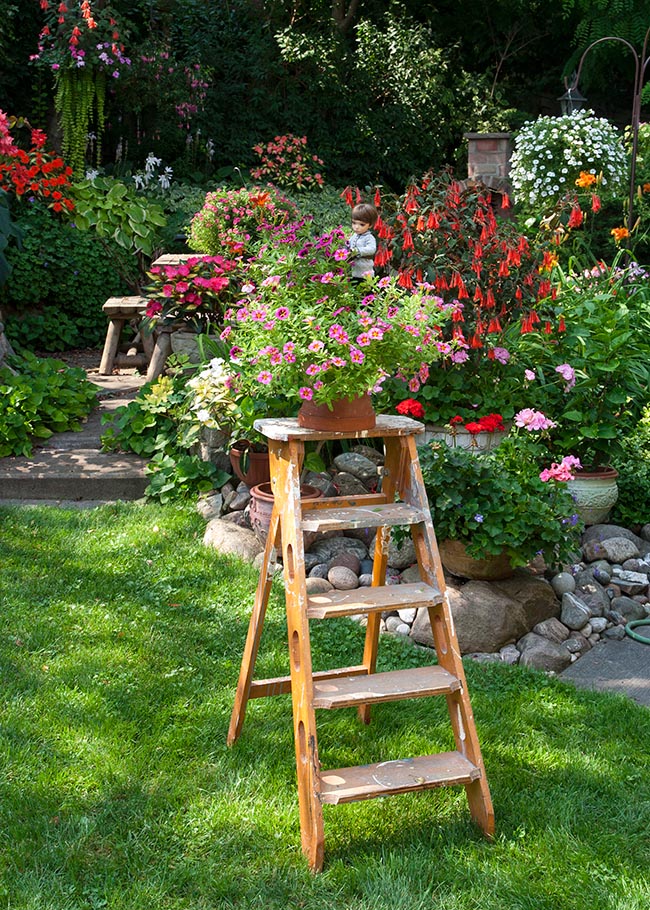
But I wanted something better, where it looked more like he was IN the flowers. I didn't feel like setting up the 'palace garden' on the patio table again, so thought of another way. I used an old wooden stepladder, placed it in the middle of the back lawn, put a pot of million bells on top, and posed Eric (little Baron) in it - with the help of one of my 'poke-in-the- ground' wire supports...
Then I took the photo so that my garden was in the background....
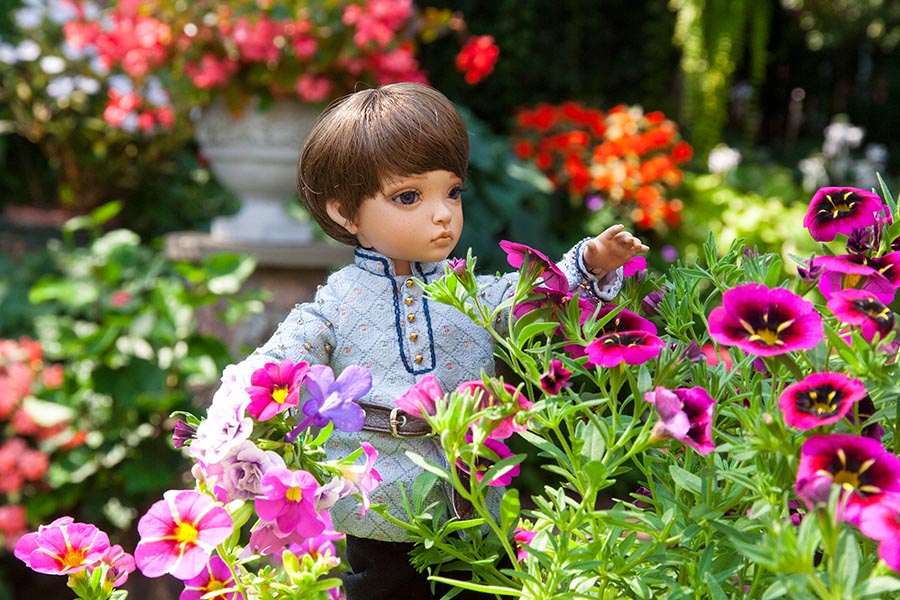
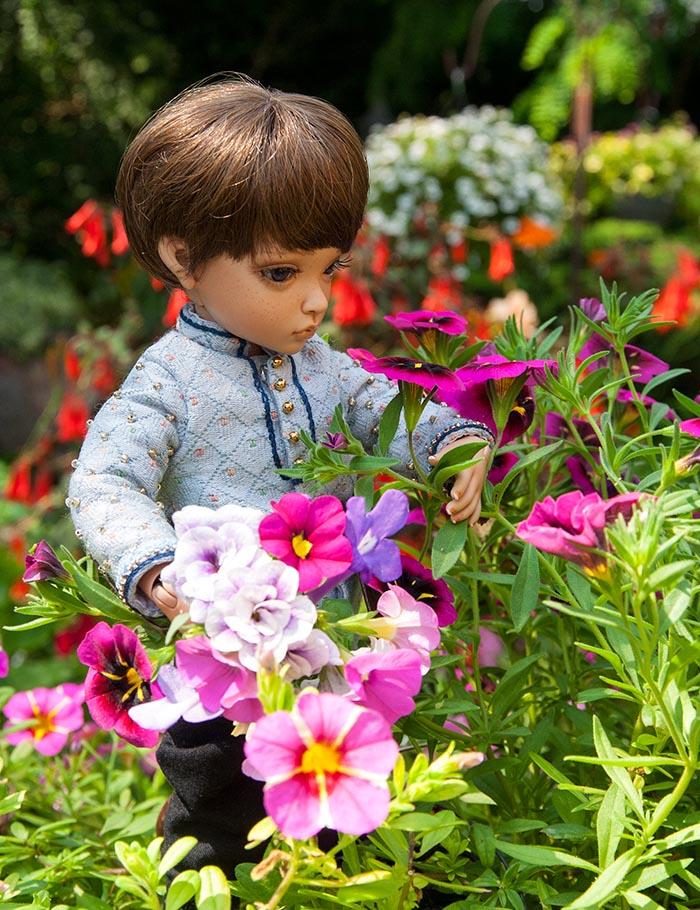
...and got a much better photos of Baron picking flowers....
Boys with Horses
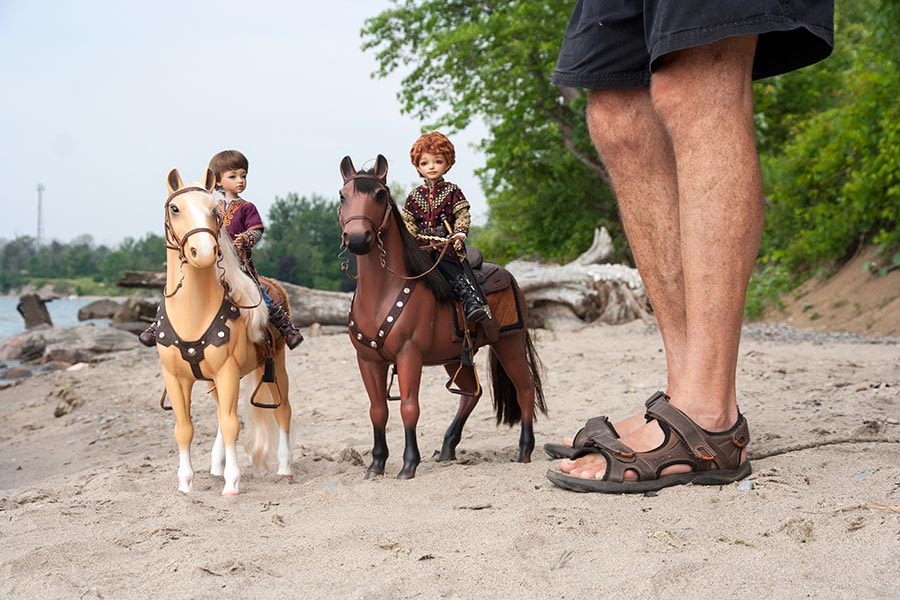
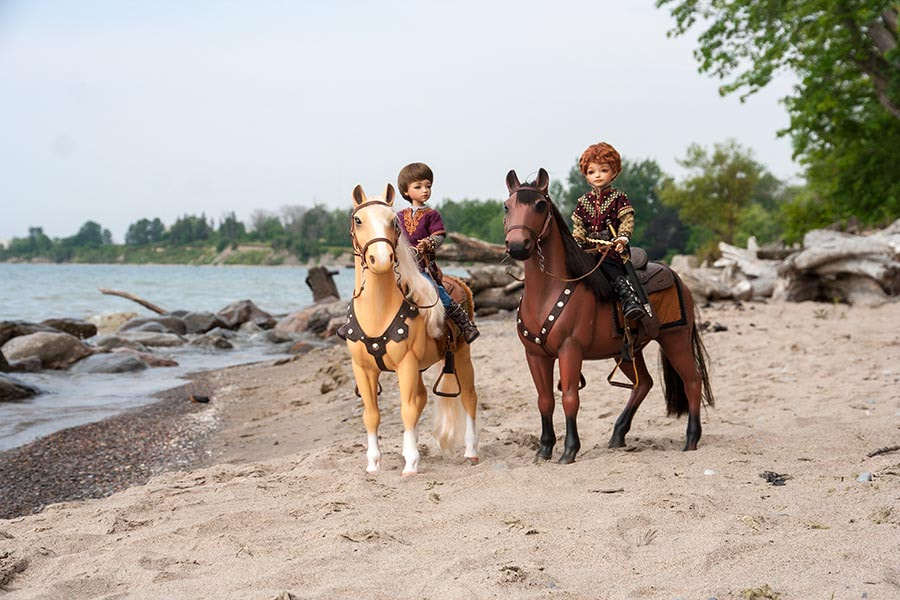
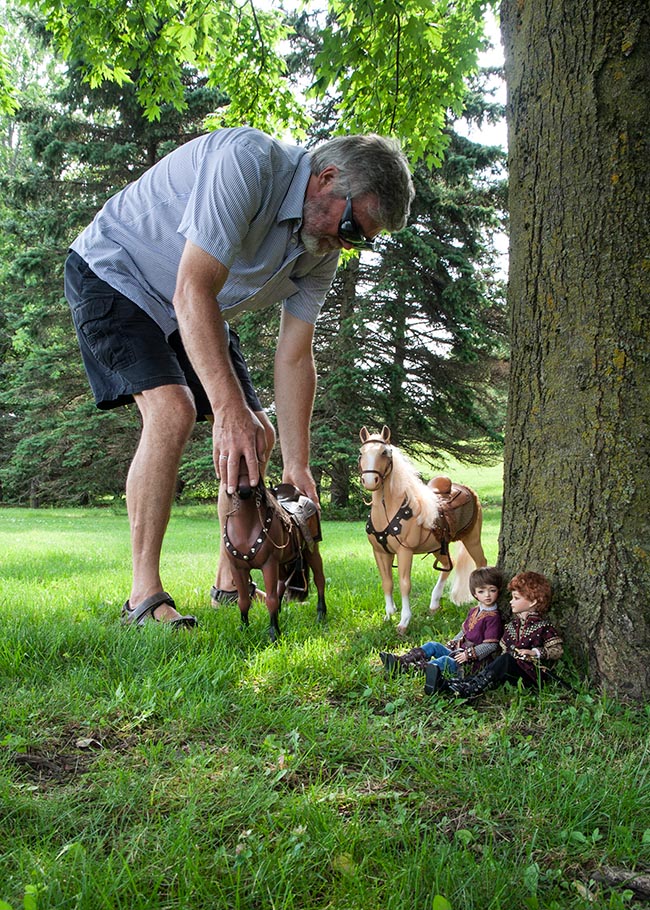
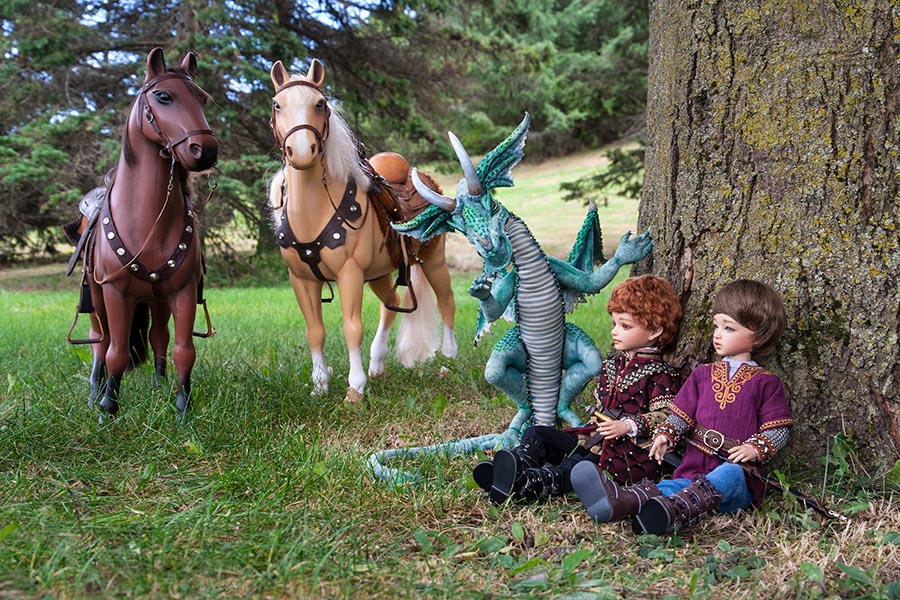
It was a very hot day when we went down to the lake early one morning for some photos of young Baron and Lawrence with their horses. Once I'm down on the ground, I need Jan to make any fine adjustments. And while I'm waiting, I'll sometimes take a photo.....
One of the final photos, with the tower removed in the background .....
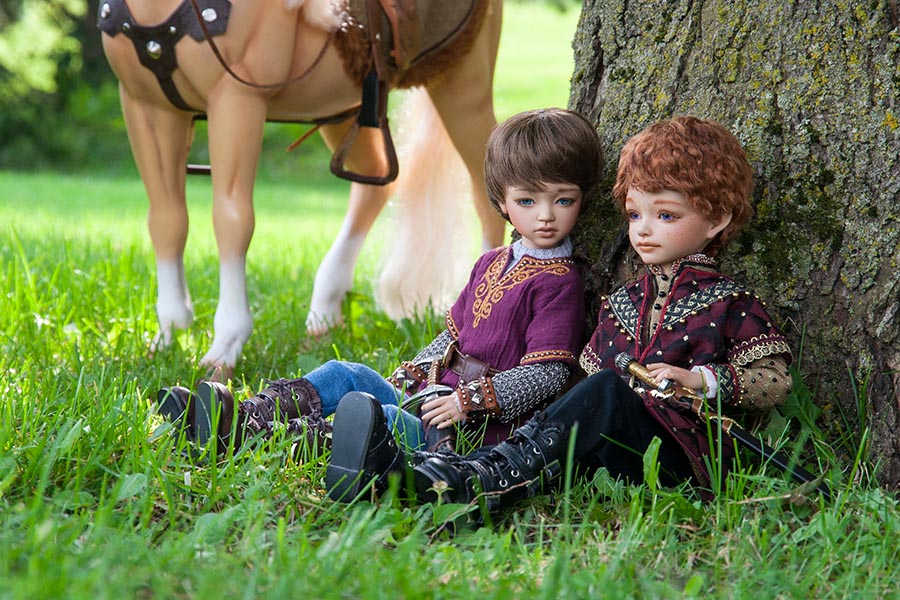
Leaving the lake, I thought the grove of trees outside the water treatment plant would make a decent 'shady wooded meadow', so we parked and I set up there under one of the trees. Since I was down flat on the ground, I needed Jan to adjust the horses a bit....
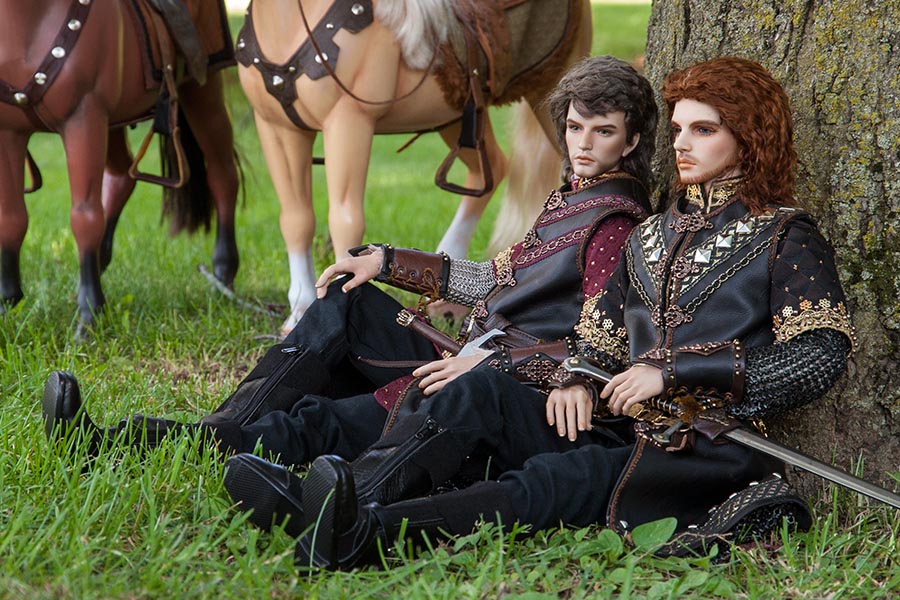
We went back a week later to take the adult version under the same tree...
...and again six weeks after that for a photo of the boys with Winston....
the King's Bedroom
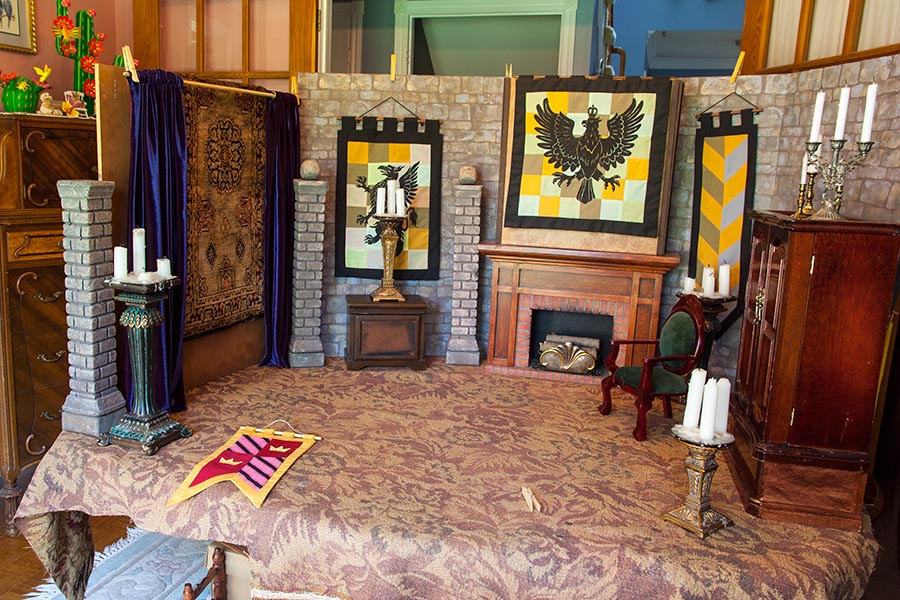
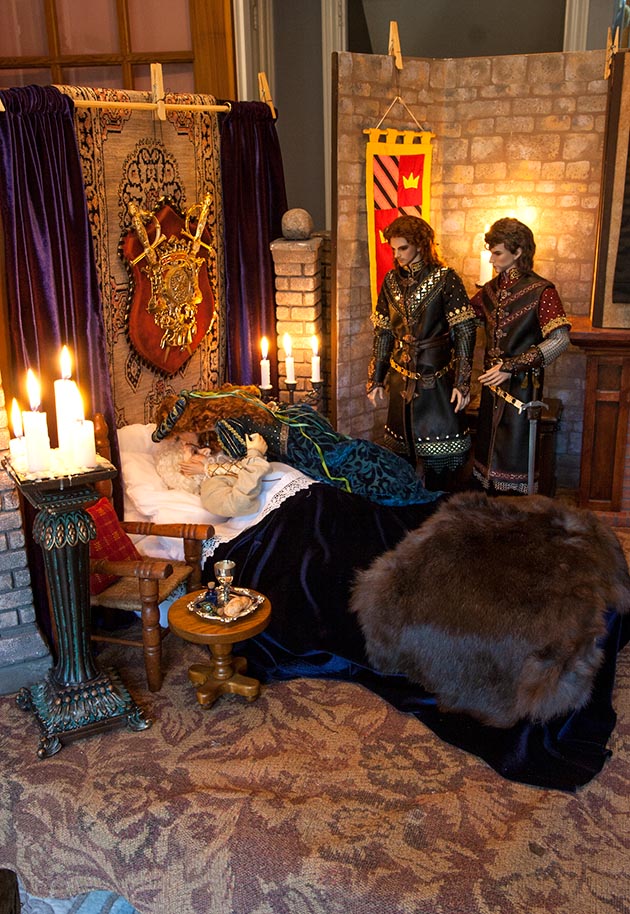
For 'the Death of the Old King' I needed a royal bedroom. There had been another bedroom earlier in the story - Naomi's room in Miho's castle....
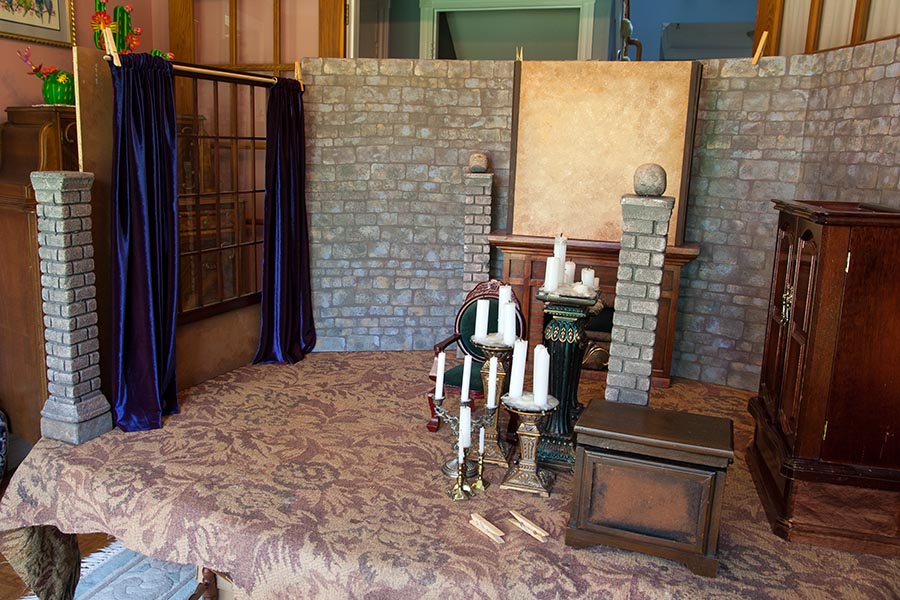
For the scenes with the Old King, I needed to set up a totally different looking bedroom, using pretty much the same props and furniture. So I started by switching the window wall to the other side of the dining room table to replace the wardrobe that usually stands there......
I hung the fine gray carpet over the window, just like in the previous bedroom, then chose some wall hangings. They could be the generic ones every noble family owned, as well as the Royal Eagle and Griffin wallhangings that would later be passed down to Lawrence and Miho....
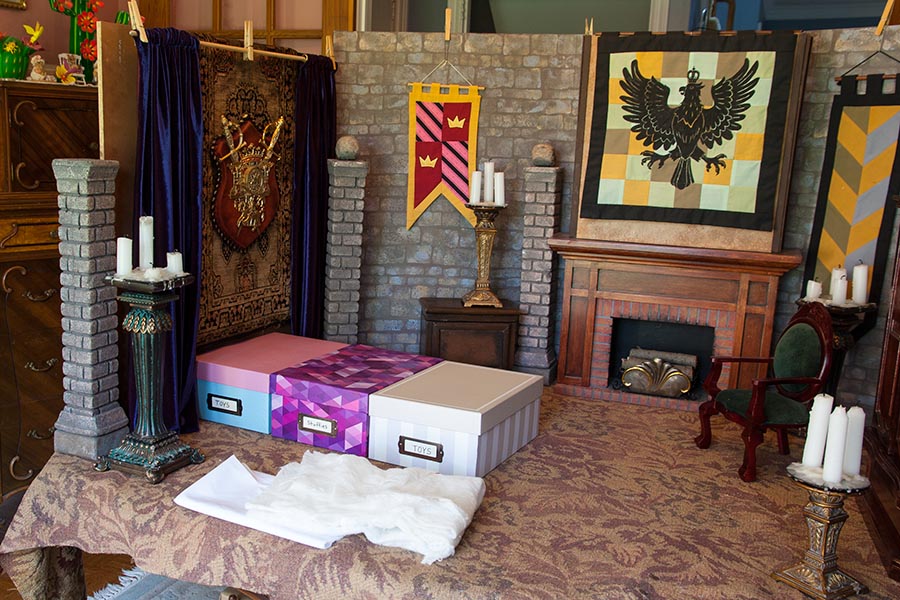
For Naomi's bed I had used three prop storage boxes laid side by side. When I had made her bed I tried covering the boxes with the fabric 'bedding' but it looked way too angular, so I covered the boxes with some quilt batting to soften the edges. I did the same here, then covered the batting with some white cotton. I also changed some wall hangings....
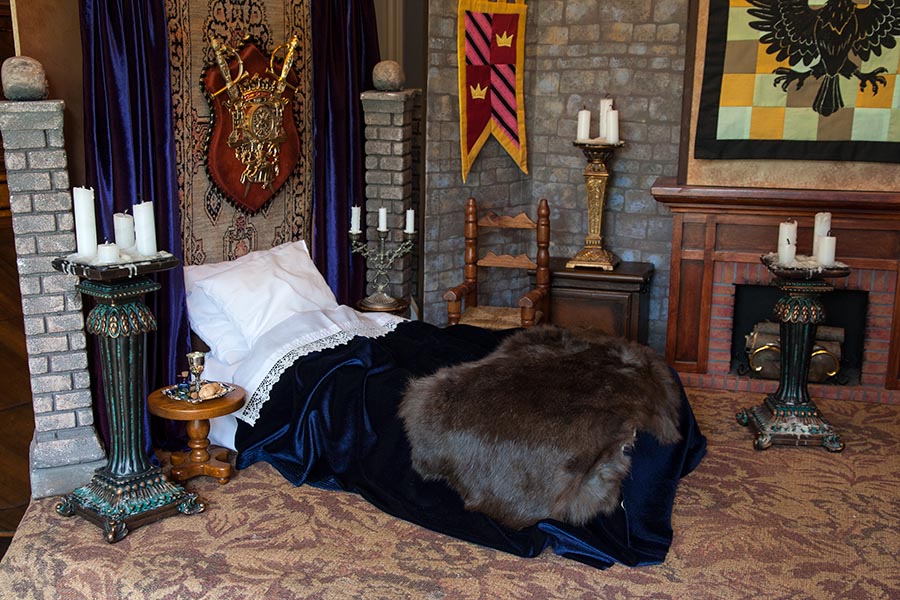
I decided that I needed more space on the far side of the bed - enough room for something to support a candelabra, and a chair for someone to sit on - so changed the walls yet again.
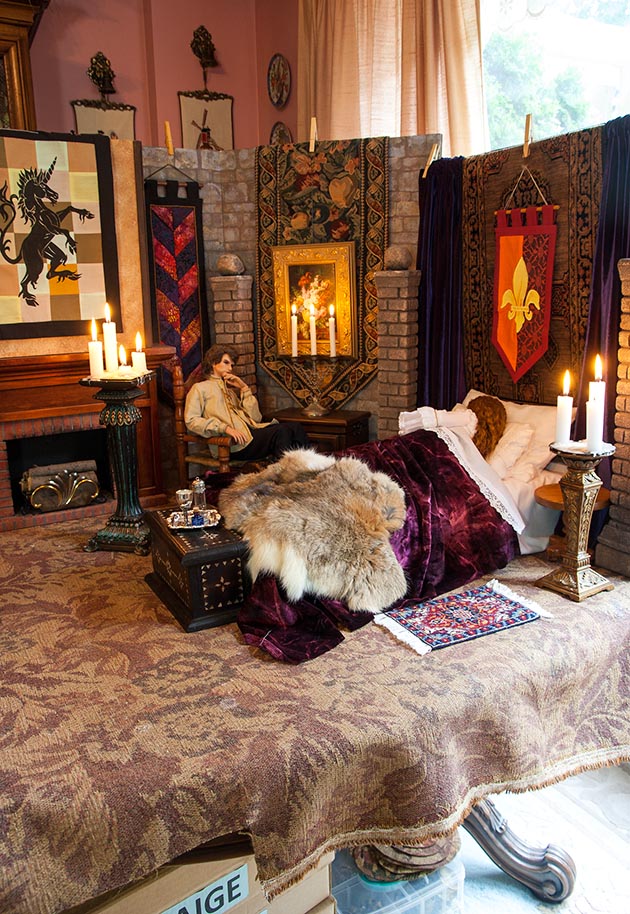
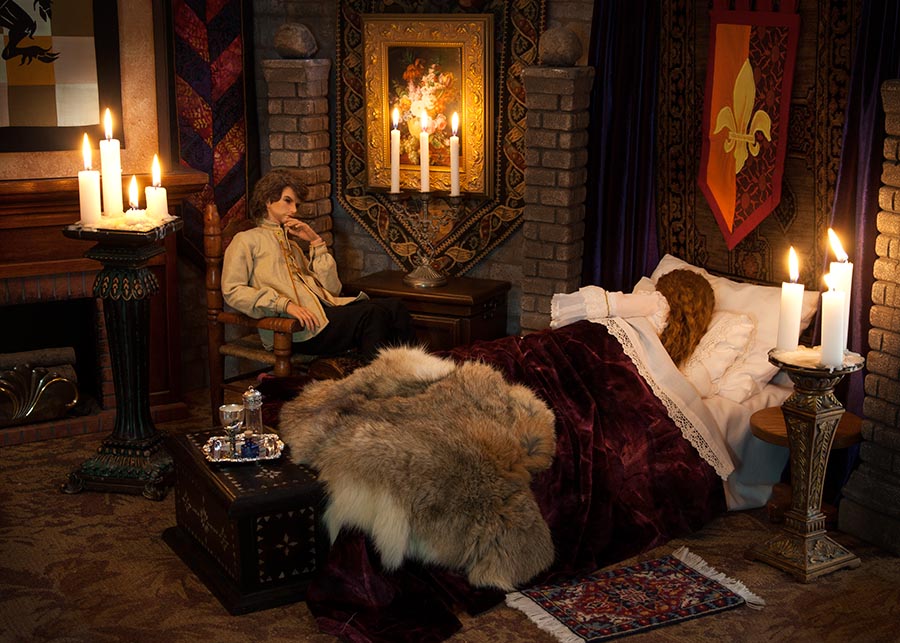
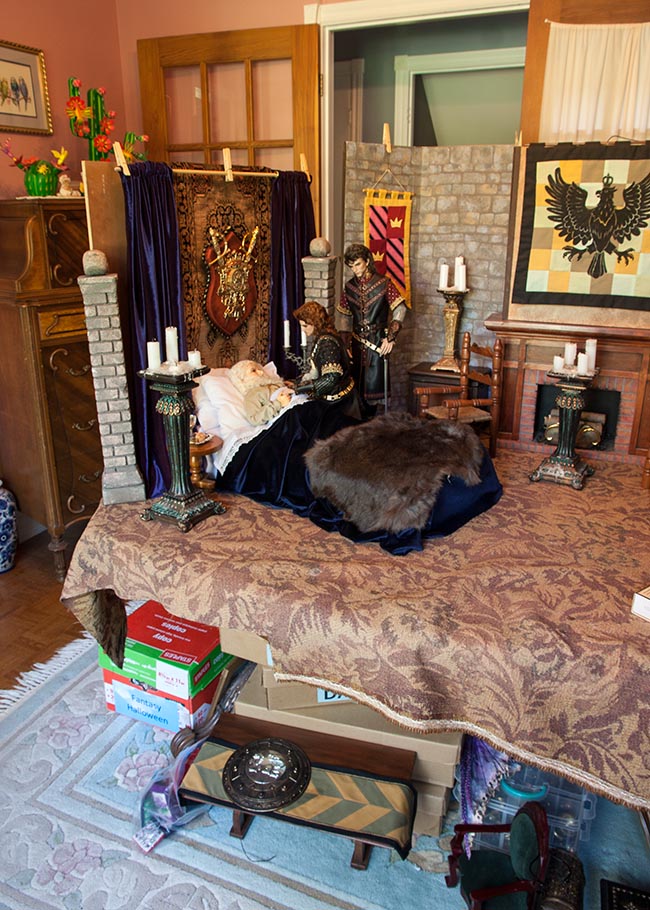
I made the bed with the lace-edged sheet and pillowcase set that was made two years ago for the Victorian story about Baby Sena's arrival. Then I chose a different coloured velour, and a darker rabbit fur than the ones I'd used for Naomi's room, for the covers. Finally, I put in another bedside table with some food, drink, and meds for the King. I was ready to add the dolls....
I made the bed with the lace-edged sheet and pillowcase set that was made two years ago for the Victorian story about Baby Sena's arrival. Then I chose a different coloured velour, and a darker rabbit fur than the ones I'd used for Naomi's room, for the covers. Finally, I put in another bedside table with some food, drink, and meds for the King. I was ready to add the dolls....
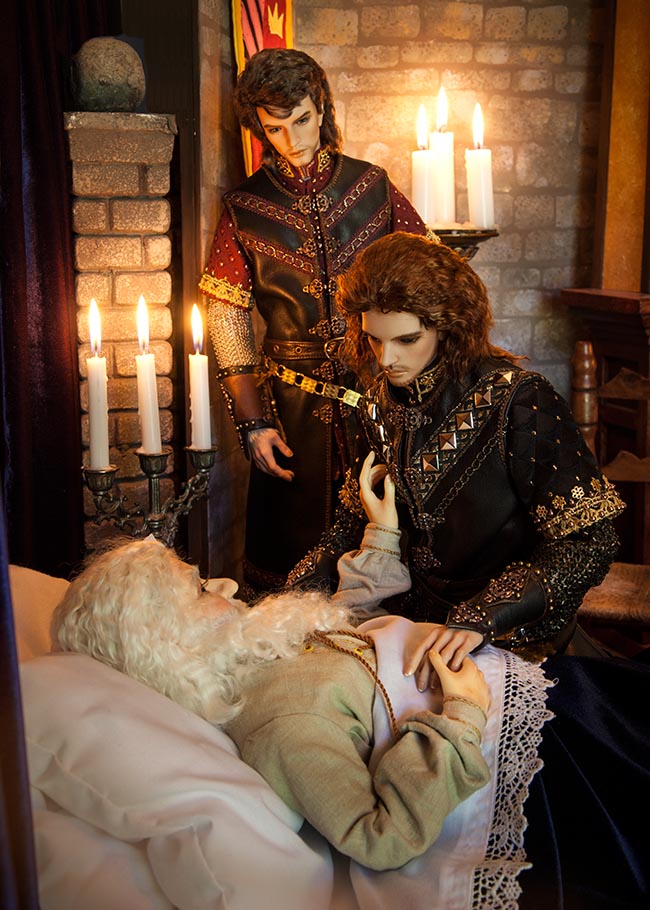
One of the final scenes with the characters in place....
Then, with the candles lit, the room took on the proper atmosphere....
The scene with Grace saying good-bye to her Father....
Making a Throne
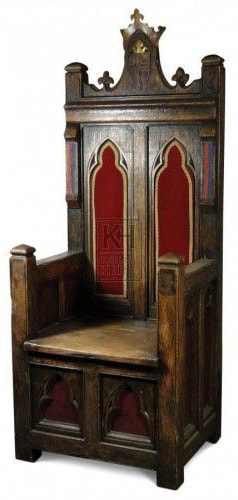
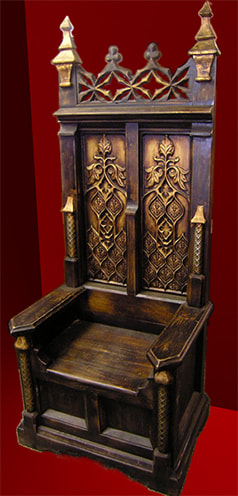
I wanted to photograph Lawrence's coronation, but needed a real throne. In the past I'd used the fancy chair with the green velvet upholstery, but I wanted Lawrence to have something more appropriate. So I looked up some images of Medieval thrones that I liked.....
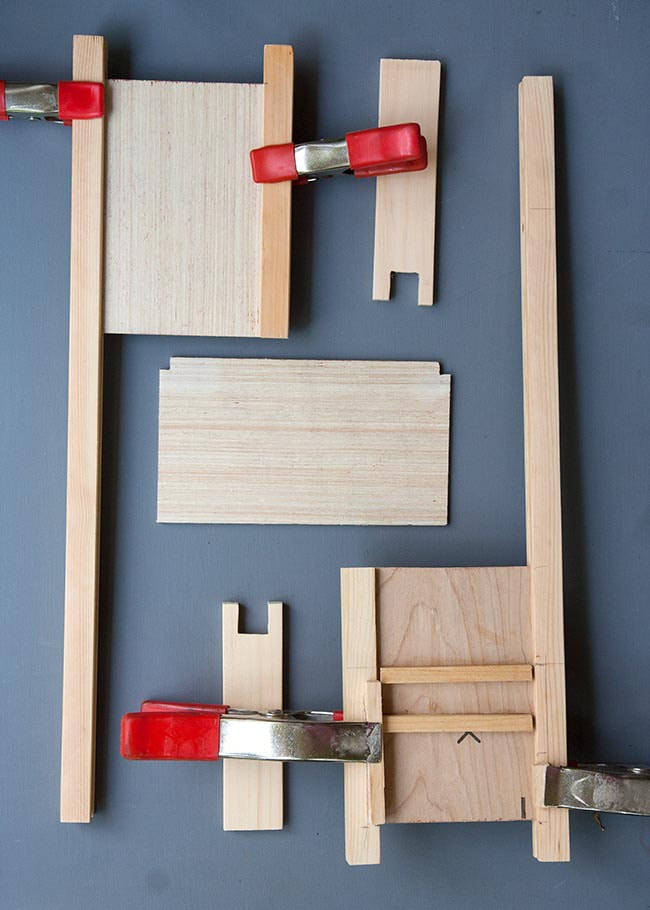
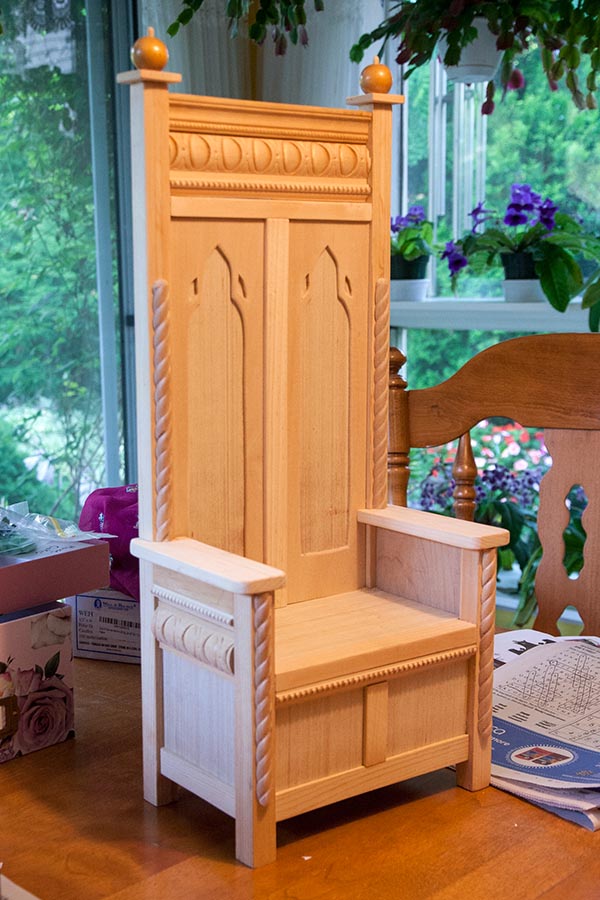
I asked Jan if he could make me a throne something like that, and he was a bit reluctant at first, knowing the details of the throne on the left would be pretty much impossible. But he was willing to try. So he drew up some plans and started by cutting the corner posts out of 3/4 x 3/4" pine, and cutting channels in them for the 1/4" thick panels....
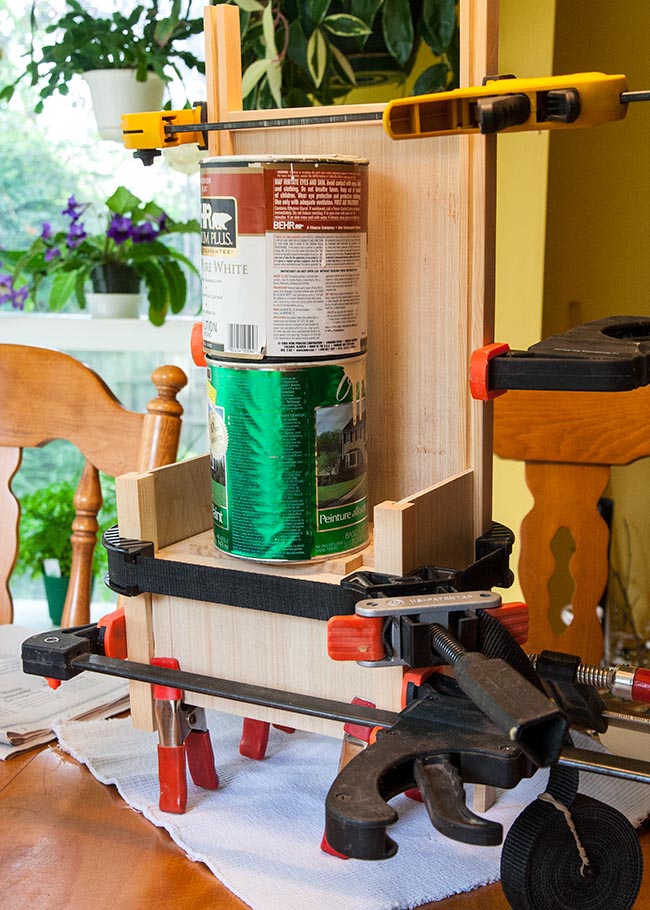
The whole basic seat would be put together using only glue, so needed to be clamped together and weighted at every stage....until it dried.....
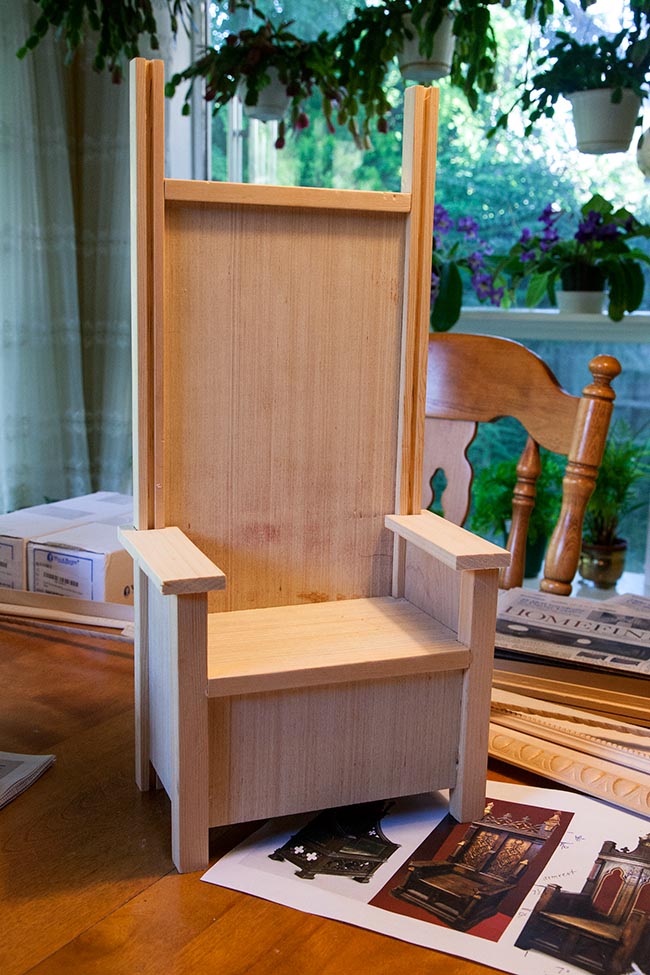
The basic throne, ready for embellishment.....
We had gone to Michaels for a 1/8" thick birch paneling for the decorative panels in the back of the seat, and to Home Depot for some fine mouldings to mimic the fine carvings.
I drew the back panel designs on the birch, and Jan cut out them out and glued them in place, along with 1/8" and 1/4" thick strips to create the look of the panelled sections.
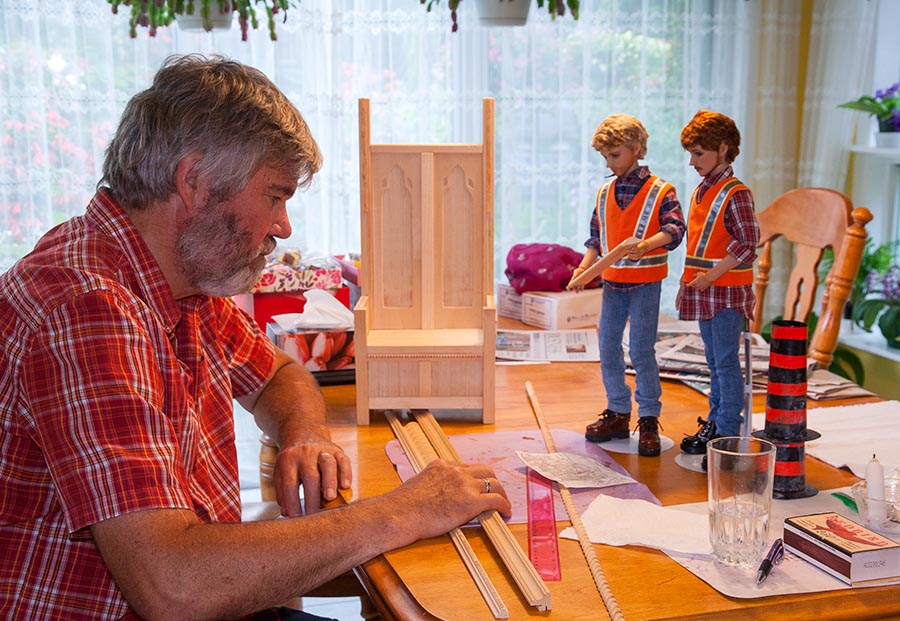
My two 'Little Workers' were standing on the kitchen table while he was pondering how to attach the trims I'd chosen for the top, and I just had to take a photo.....
The finished throne with all the trims in place....
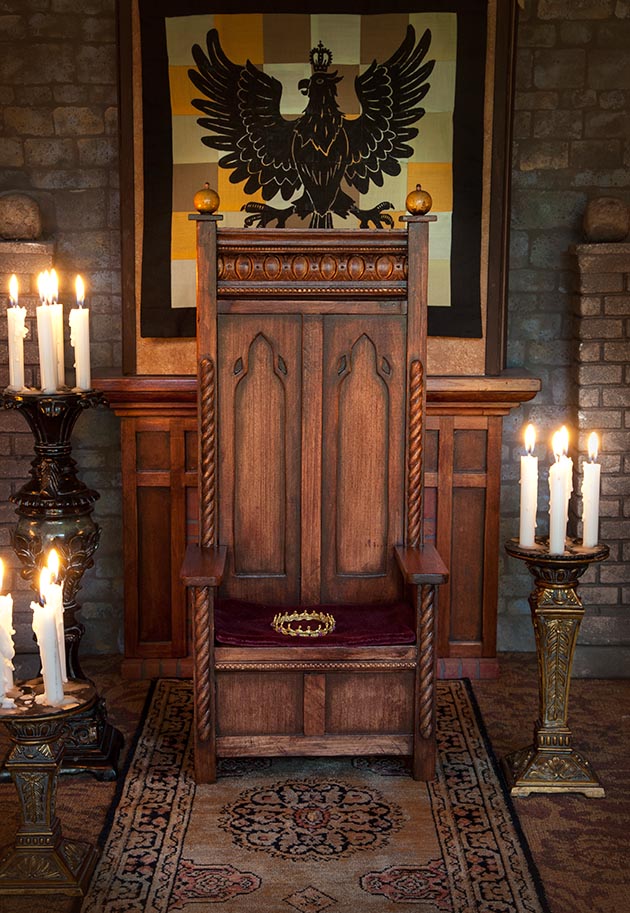
Jan stained the throne, and I added shading to highlight the trims, and make it look more realistic. And I sewed a cushion seat...
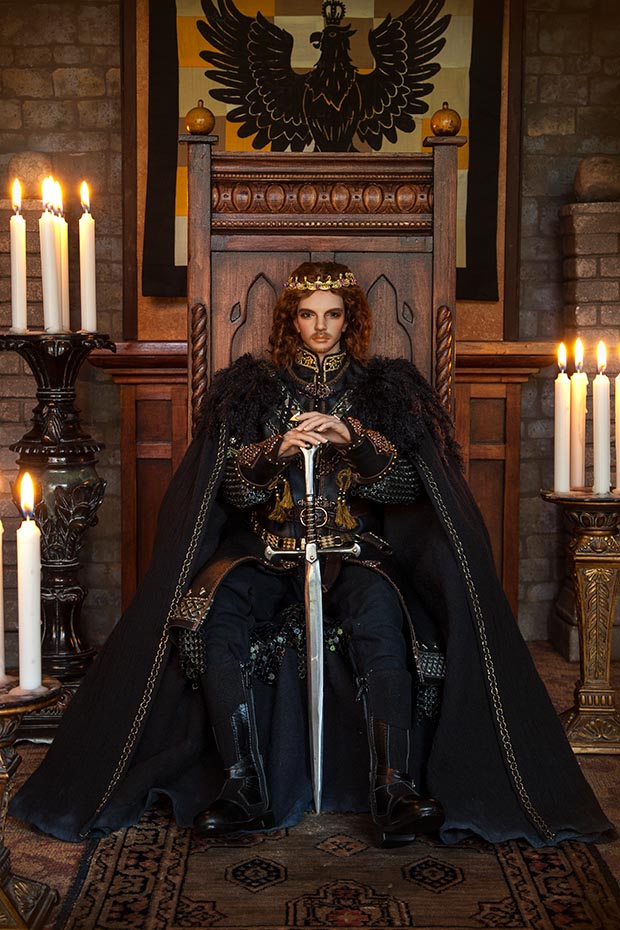
I took the first photos of Lawrence on his new throne....
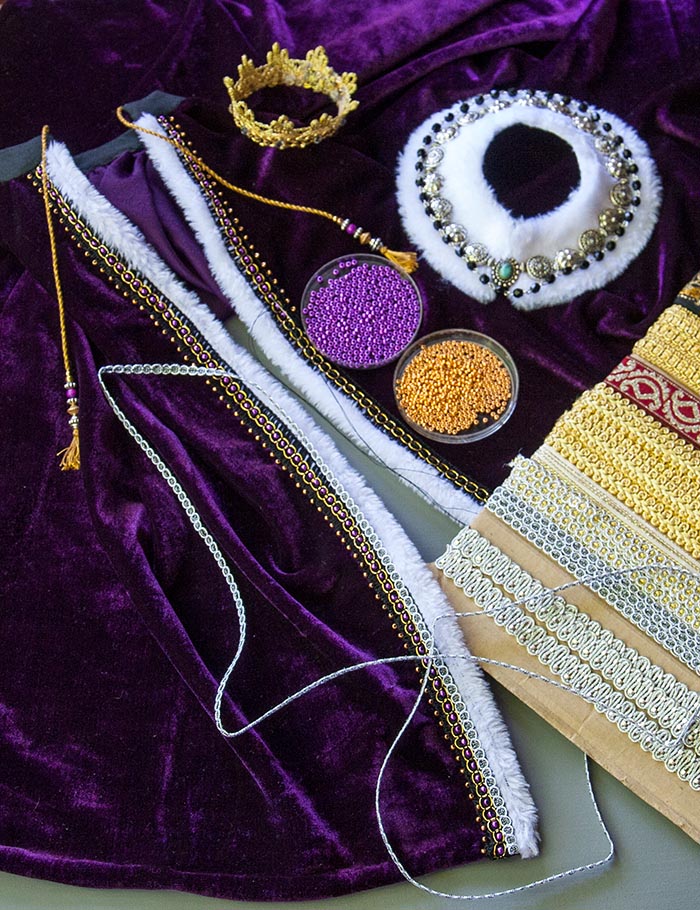
While the throne was under construction, I worked on the coronation robes, and embellishing an existing crown.....
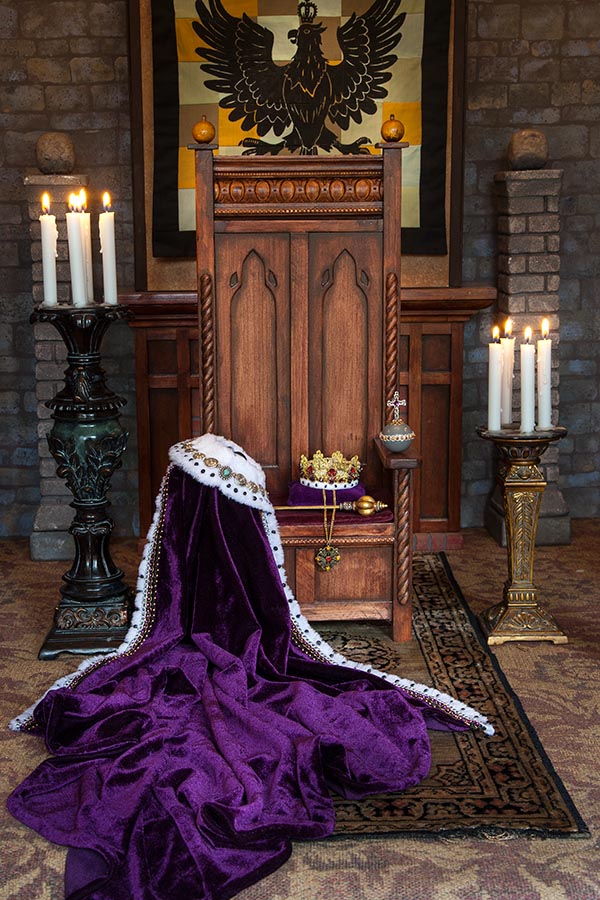
The throne with the completed royal robe, crown, orb and sceptre....
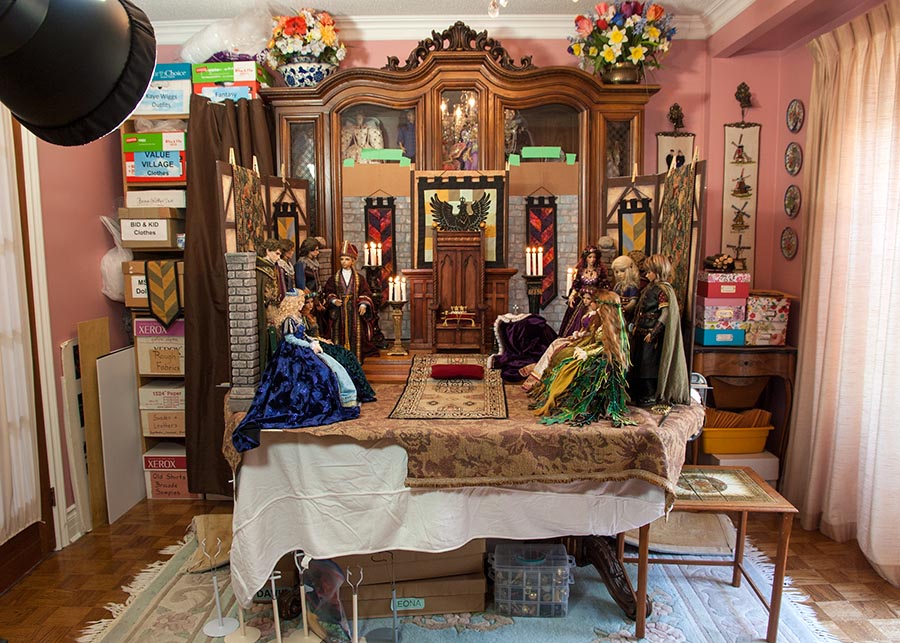
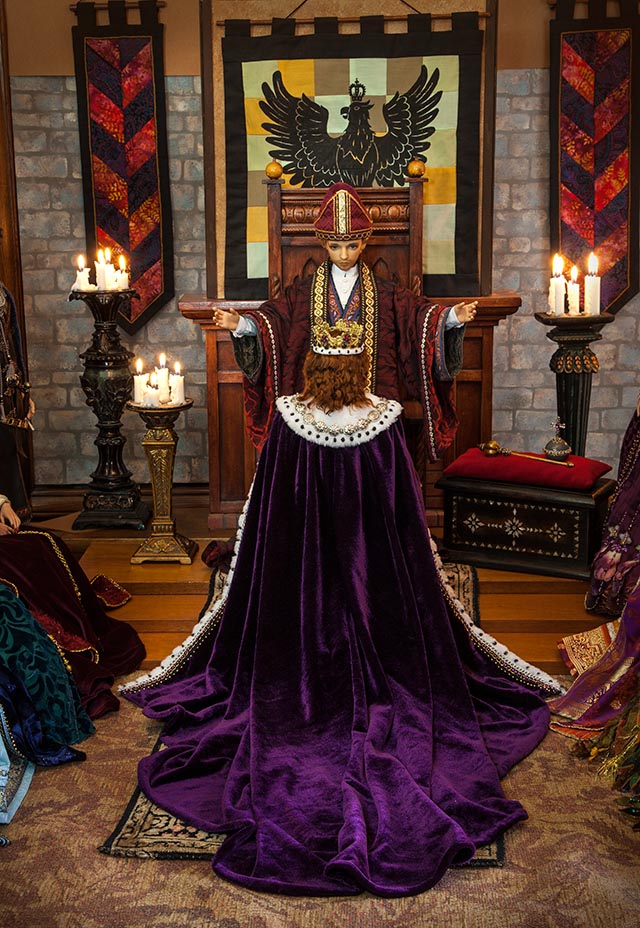
Then it was finally time to tackle Lawrence's coronation. I had been struggling with how to do it for weeks already. I wanted a suitably regal interior, and had been eyeing the bottom of the dining room china cabinet, which I'd used once before. But I needed wide shots and from several different angles, and couldn't figure out how to possibly do that. Plus it would be way too difficult to try shooting it all down on the floor. So, after weeks of trying to figure out how to create a suitable interior, I finally decided to just 'go with the flow' and see what I could put together on top of the dining room table.
I figured if I couldn't use the bottom, I'd use the top. The table was pushed width-wise right up against the china cabinet. I needed the table width-wise so the space would be wide enough to accommodate guests on both sides without interfering with what was happening in the middle.
The cabinet door frames would make nice architectural details, but the glass was too shiny. So I cut two panels out of bristol board and painted them with 'stonework', then taped them over the glass. My two bi-fold 'stone' foam core walls were way too warped to use for this setting, so I used the 'cottage' interior walls instead. I figured they'd be mostly hidden by tapestries anyways. The dias and steps were made by layering some old wooden shelving. And my trusty fireplace served as architectural backing for the throne.
I added decorations and seating, and the guests started arriving.....seven fun size dolls, three JIDs, and three MSDs....
I took a few photos and decided the tops of the wallhangings were all too low, so raised them all.
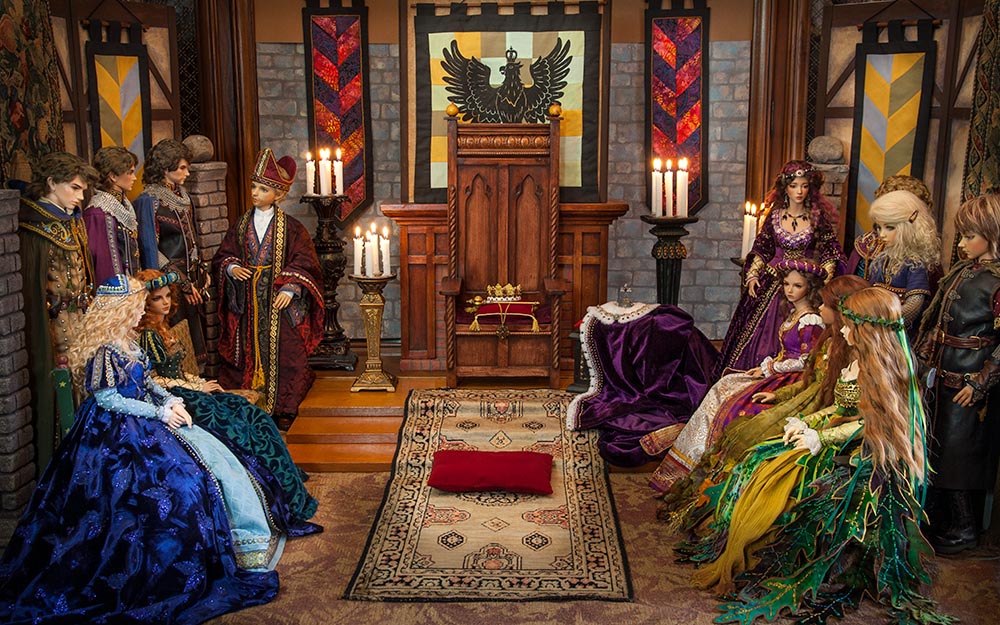
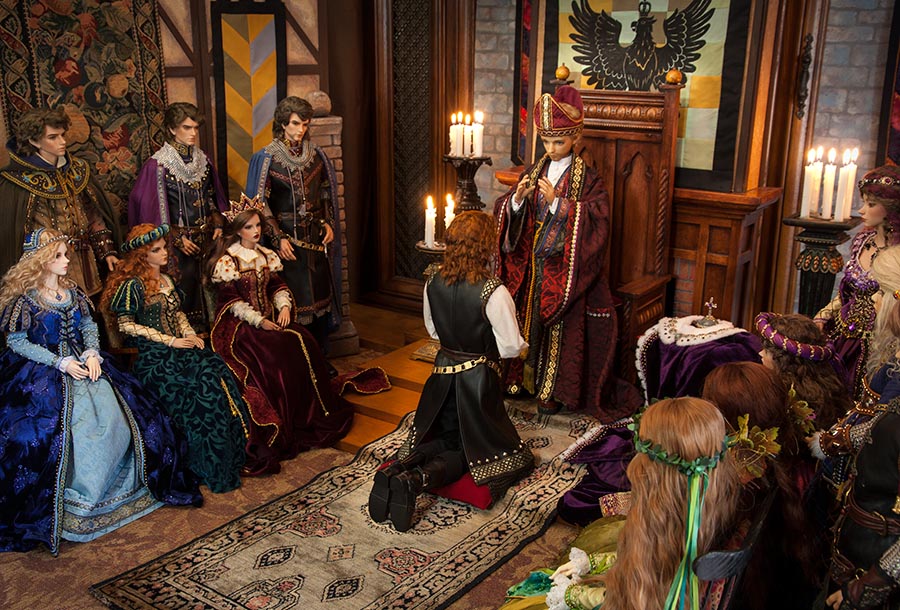
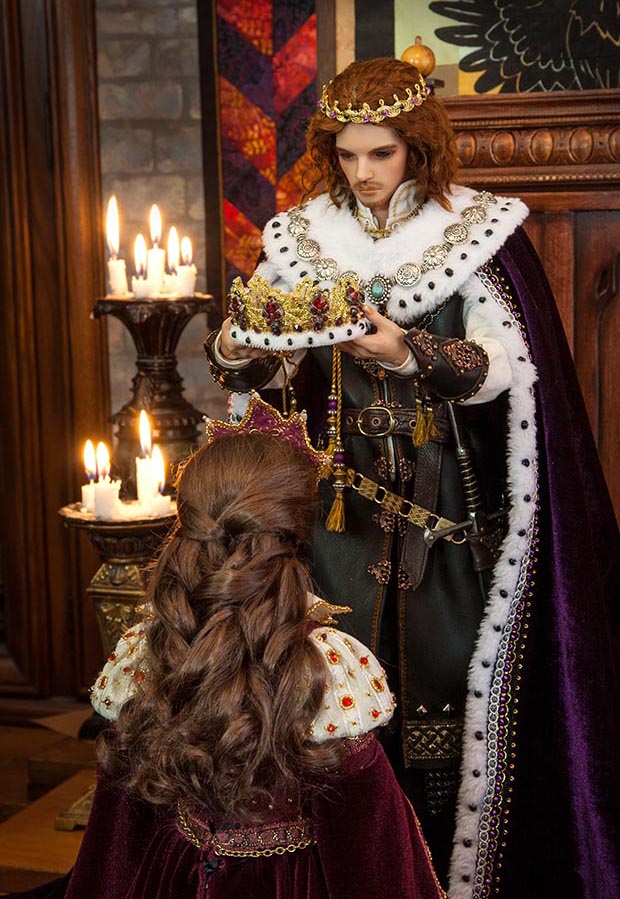
I was finally ready for the ceremony to begin....
I was finally ready for the ceremony to begin....
The set worked beautifully....
Tea in the Garden
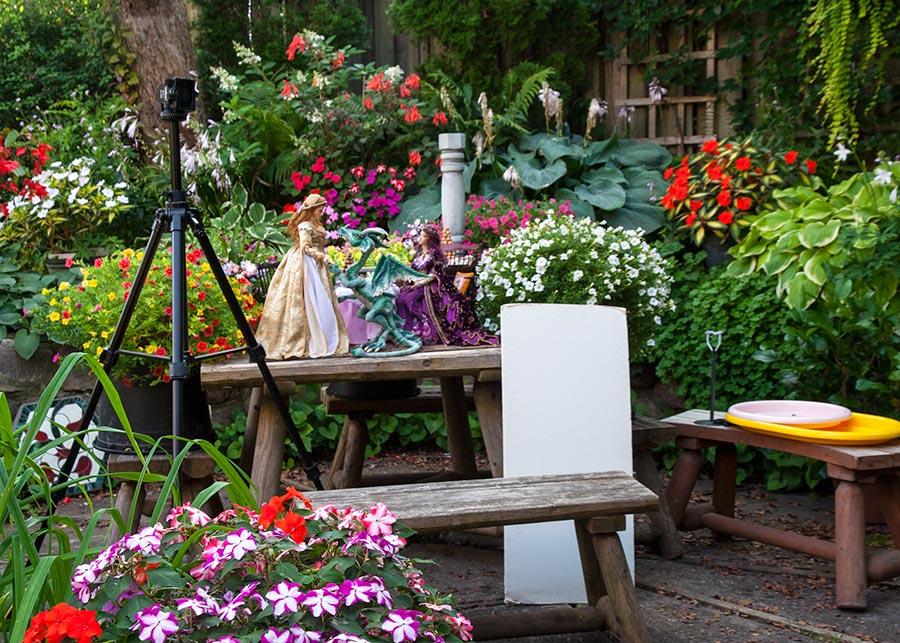
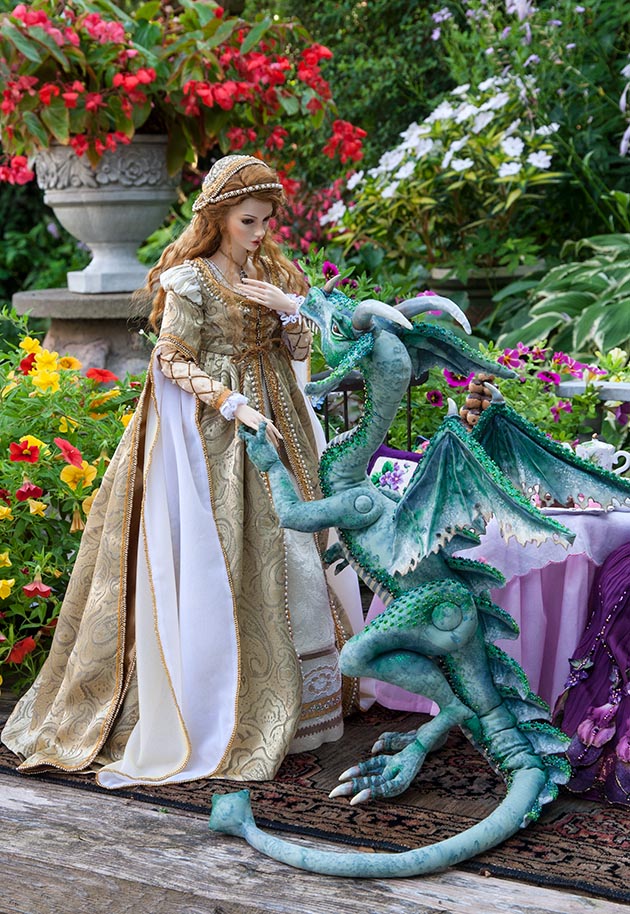
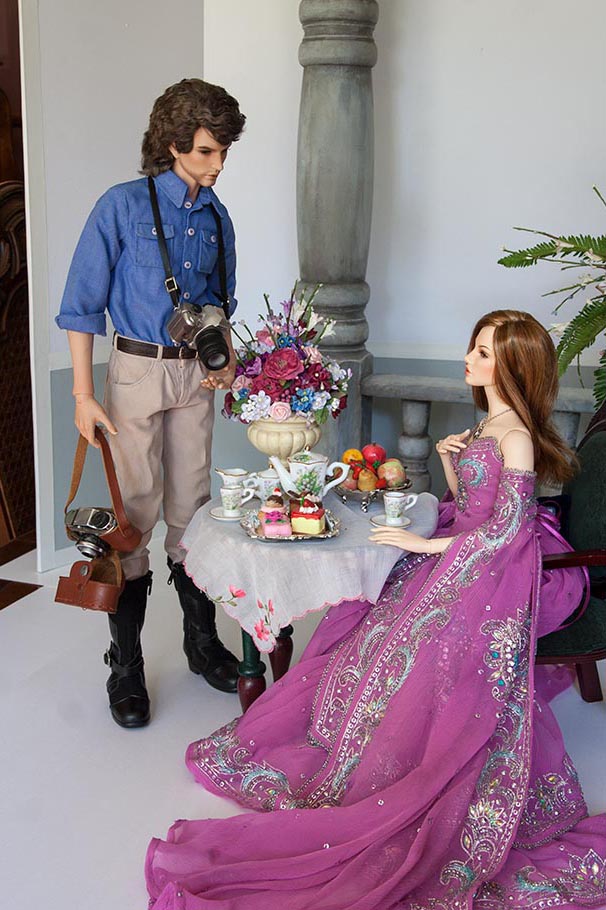
Miho's castle garden was always set up on the patio table. I'd surround the set with baskets of million bells, which have small scale flowers the perfect size for a royal garden. Or any garden. I set up the scenes facing north with the big concrete urns to the south, making sure there are no huge out of scale plants in the background - like that giant hosta to the right of the pillar. Because the light is strongest coming in from one side, I need to use a white card to bounce light into the doll's faces to offset the dark shadows.
If I take the photos close to the dolls, then the big urn in the background looks better in scale, like one that might actually be found in a royal garden...
Making a Dragon Fly
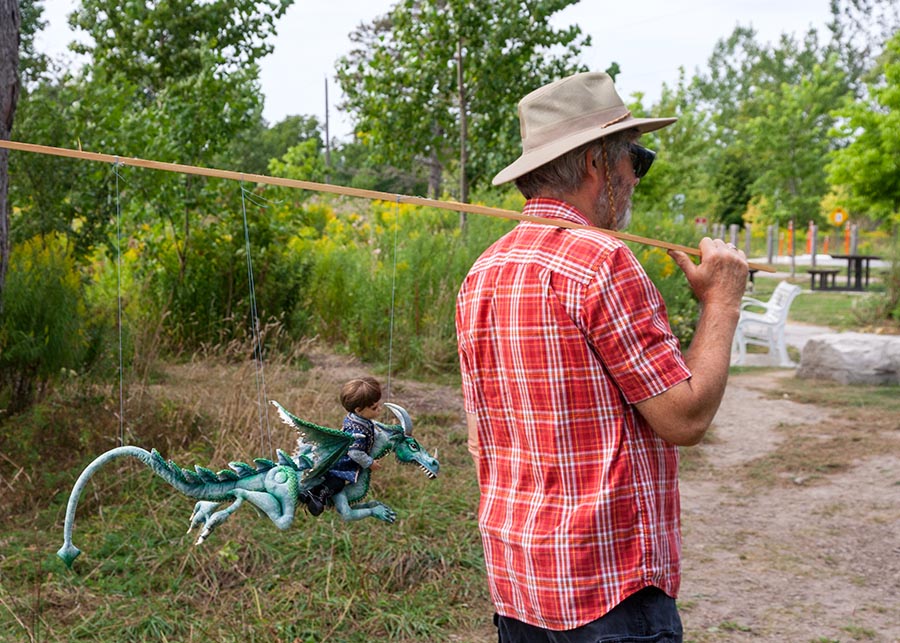
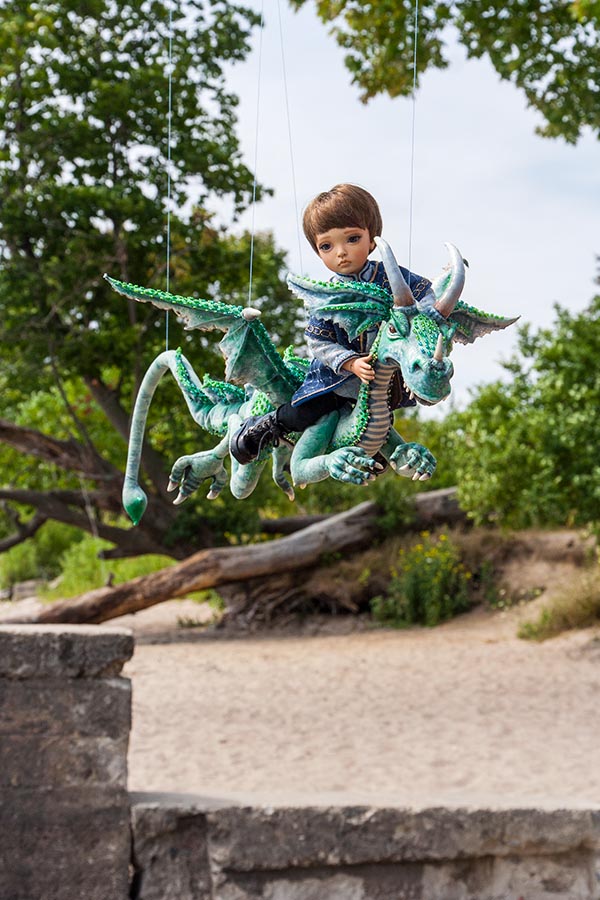
So many people asked how I had made Winston 'fly' in the flashbacks with young Baron. Easy. With strings. I strung him up with four strings - one attached to his head, two to his hips, and one to his tail - and tied those to a long wooden rod.
I tried to fit 'little Baron' on his back seated below Winston's wings, but his arms were way too short to hold Winston around his neck, so he had to sit above the wings. I actually stitched 'Baron's hands onto Winston's neck, to help hold him in place so he wouldn't accidentally fall off.
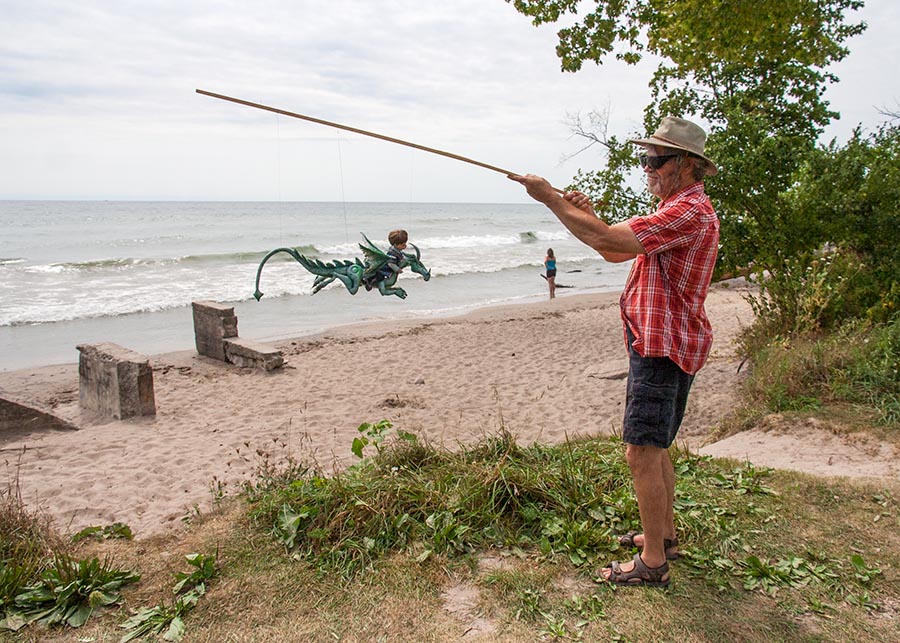
Then we headed down to the lake....
Jan held the rod out where I instructed, so Winston would be in the right position for the photos....
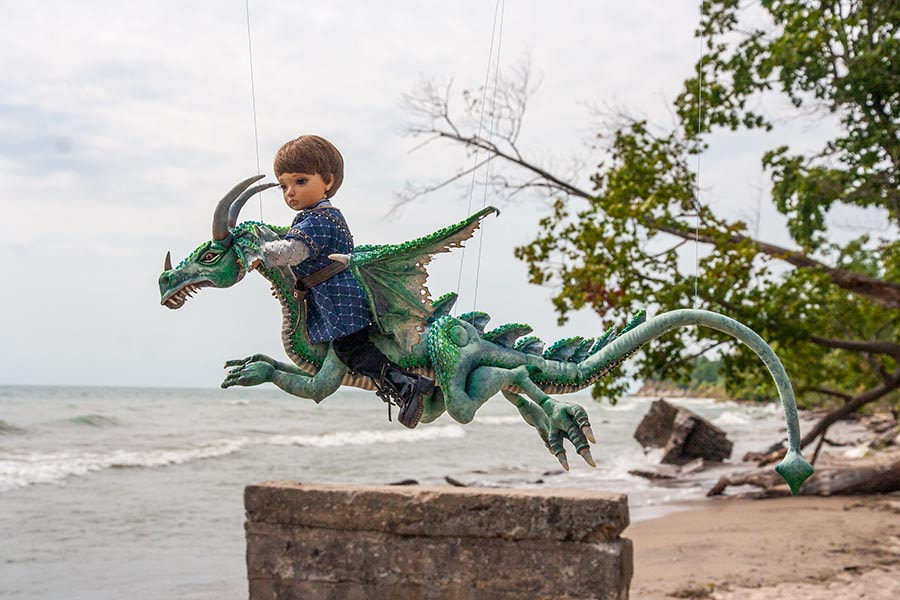
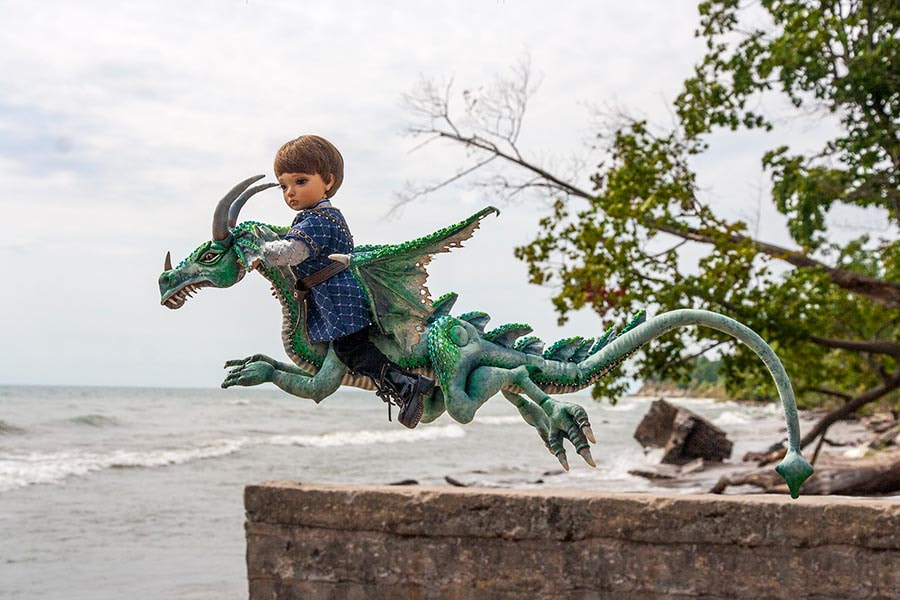
This was one of my favourite photos, taken over the concrete ruins protruding on the beach....
I removed the strings in Photoshop, and extended the concrete wall. I also shortened one of Winston's horns, so it didn't look like he was poking Baron's eye.....
Here's another of the other original photos with the strings still showing....
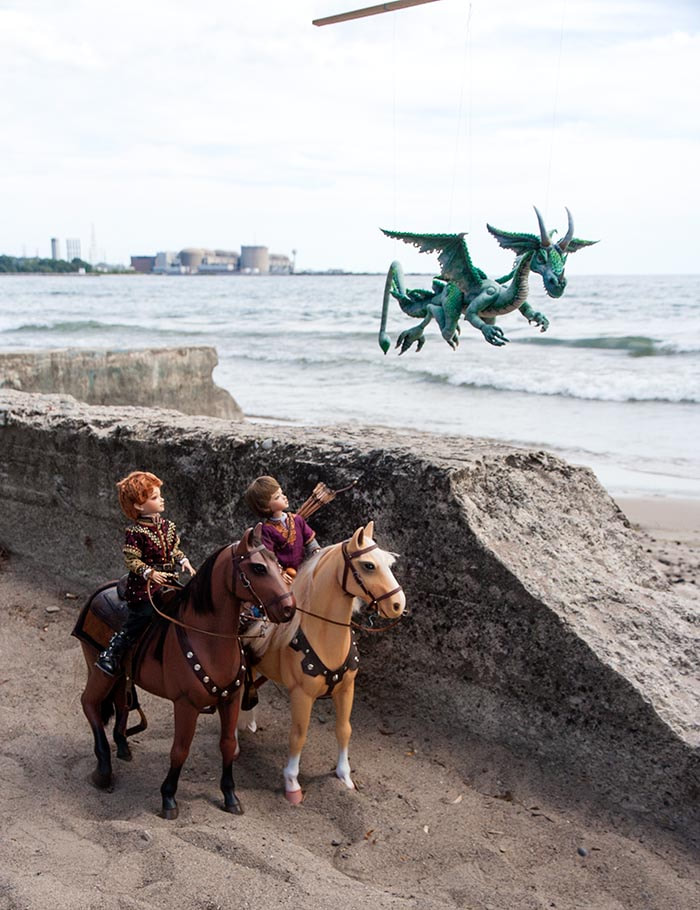
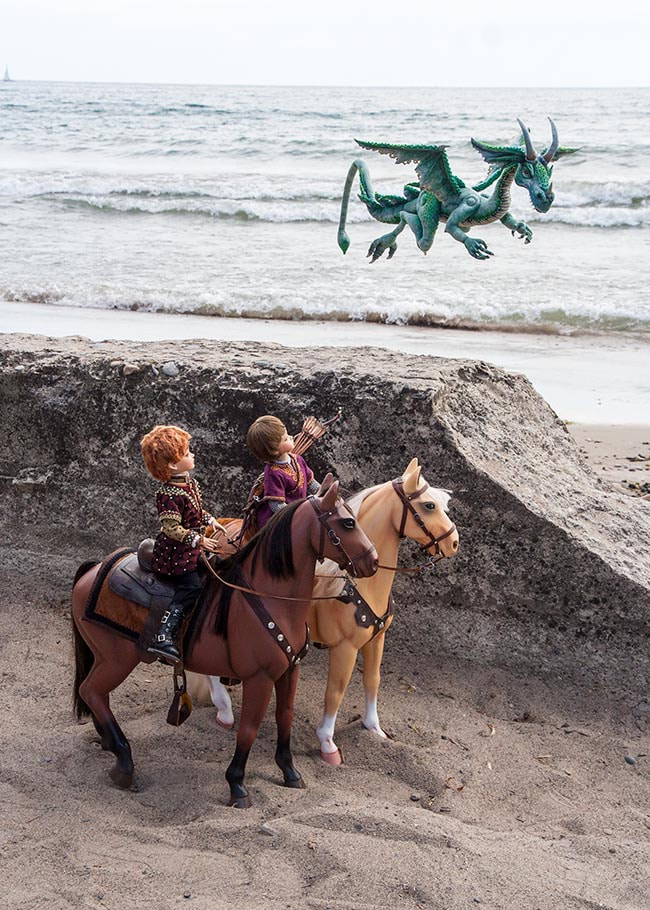
We went to the lake a second time, with the two older boys, and that time I wanted to take the photos in the other direction so they'd be different, but when taking photos facing east I always have to be careful to pay attention that the nuclear plant isn't in the background.
It wasn't sunny, so the strings barely showed up - although you can see the end of the rod....
It wasn't sunny, so the strings barely showed up - although you can see the end of the rod....
I ended up taking the final photo turned a bit so the nuclear plant wasn't showing....
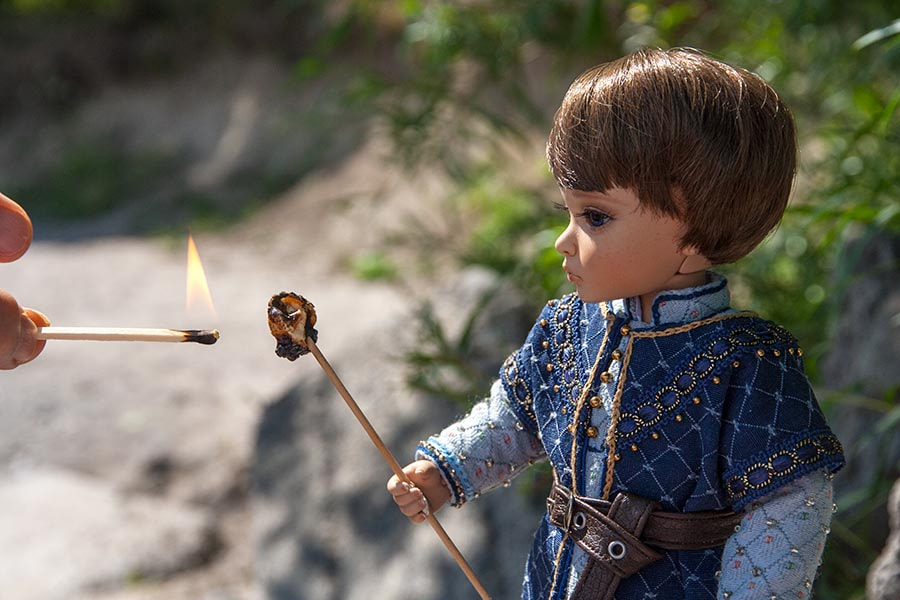
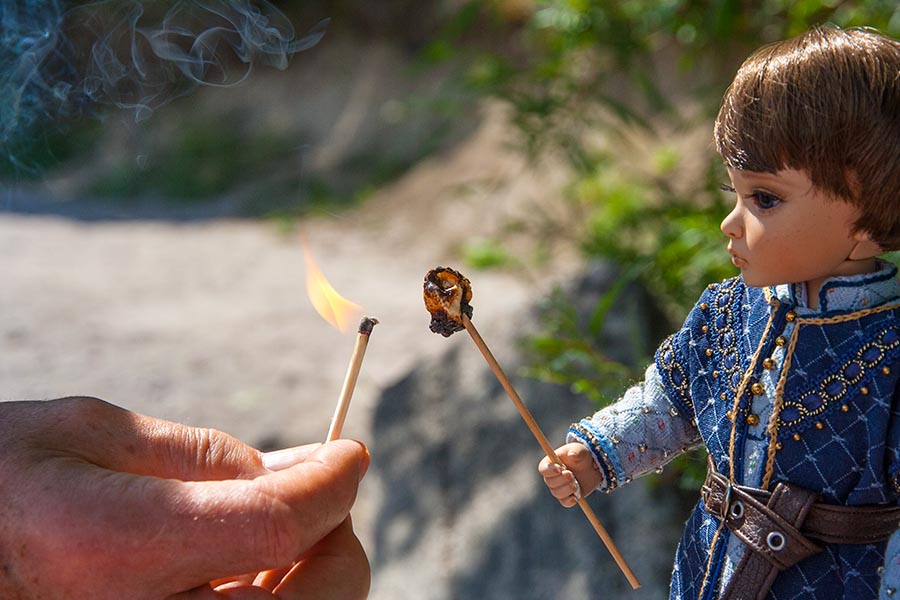
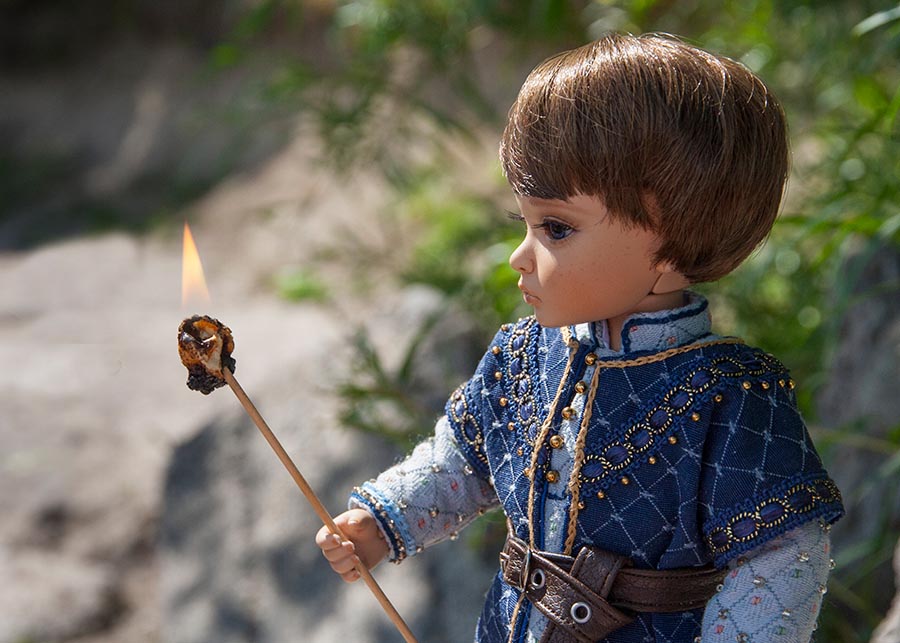
And while we were at the beach that second time, I also took the photos of Baron and Winston 'roasting' marshmallows. I had pre-burned the marshmallow on Baron's stick for the final scene, and Jan lit a match and held it close for the photo, so the flame would have the same background as the marshmallow. I took photos of several lit matches, since it was windy, in hopes that I'd capture at least one nice flame...
allowing me to easily 'clone' it into place afterwards.....
Baron Playing Cards
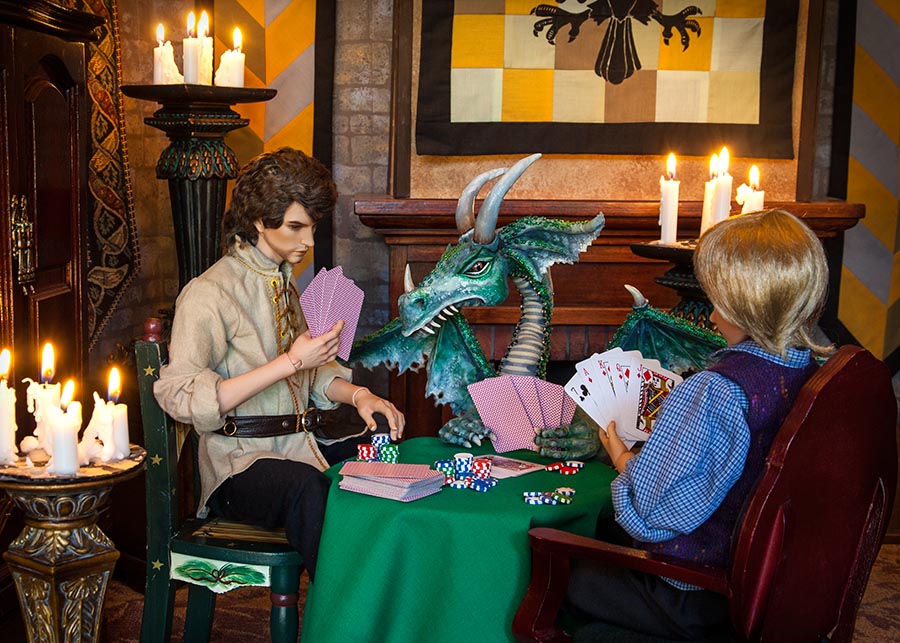
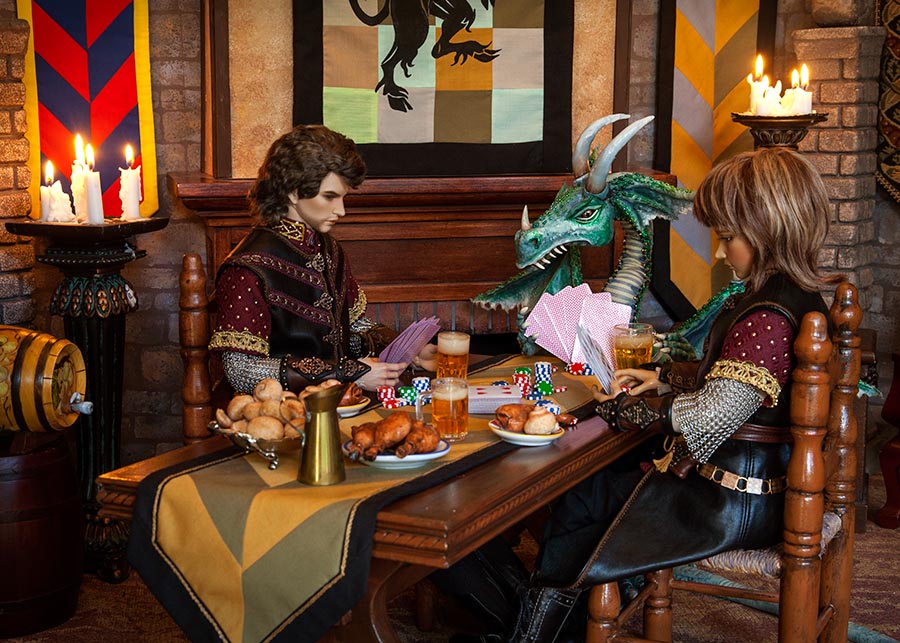
I wanted some scenes of Baron's lonely single life, so wanted a scene with him playing cards on a Saturday night with the other single guys who didn't have a date. I first set up a scene with Baron in his casual shirt, with Winston and Narin....
I had forgotten to give them glasses of beer, and it also looked too much like the inside of Miho's castle, and I wanted it to look more like a Tavern with casks of ale. I also didn't like Narin's outfit. So I decided to use Kyle instead, since he has a knight outfit similar to Baron's, so they look like they work in the same place. Then with all the extra accessories I needed a bigger table too...
Baron in the Modern World
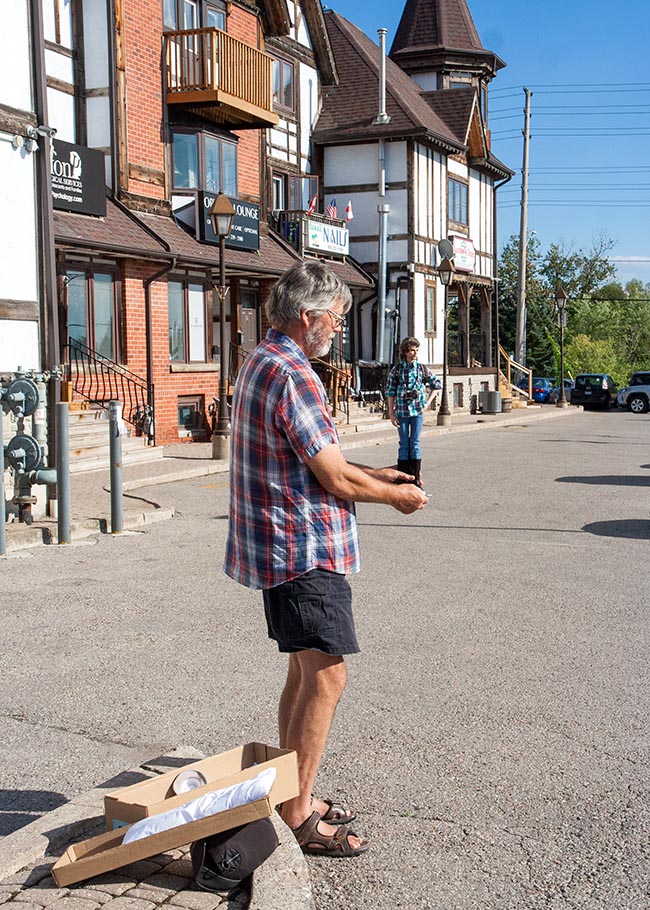
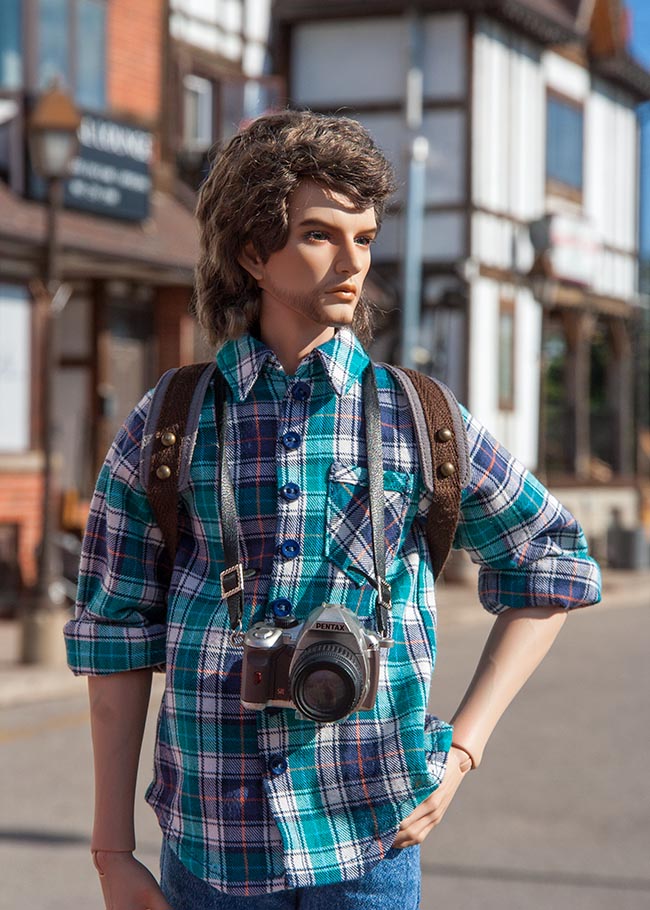
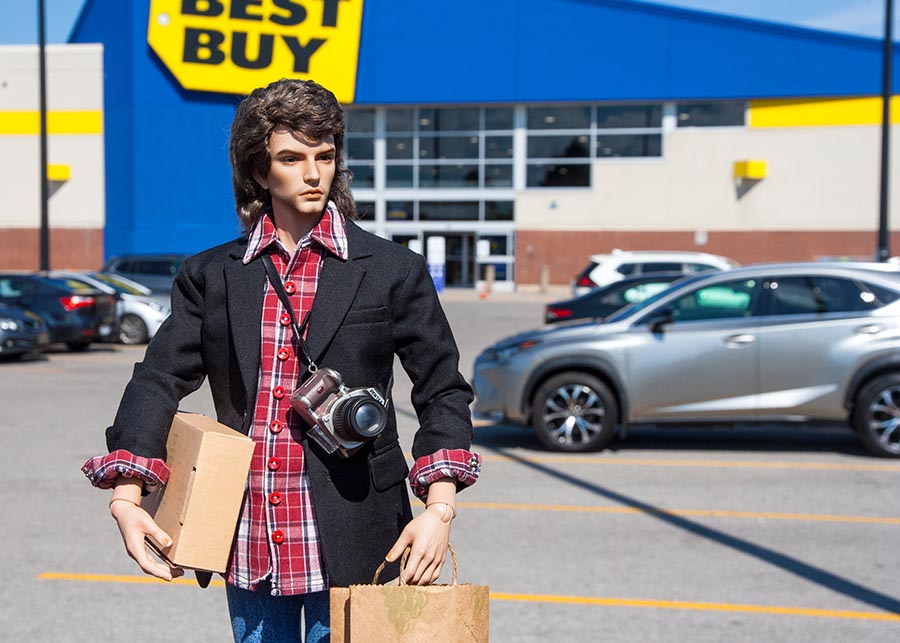
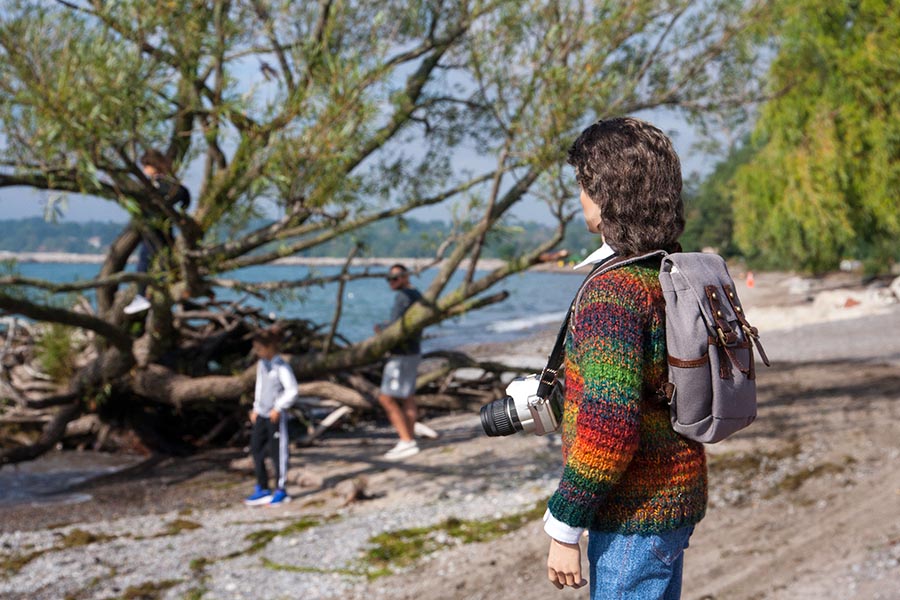
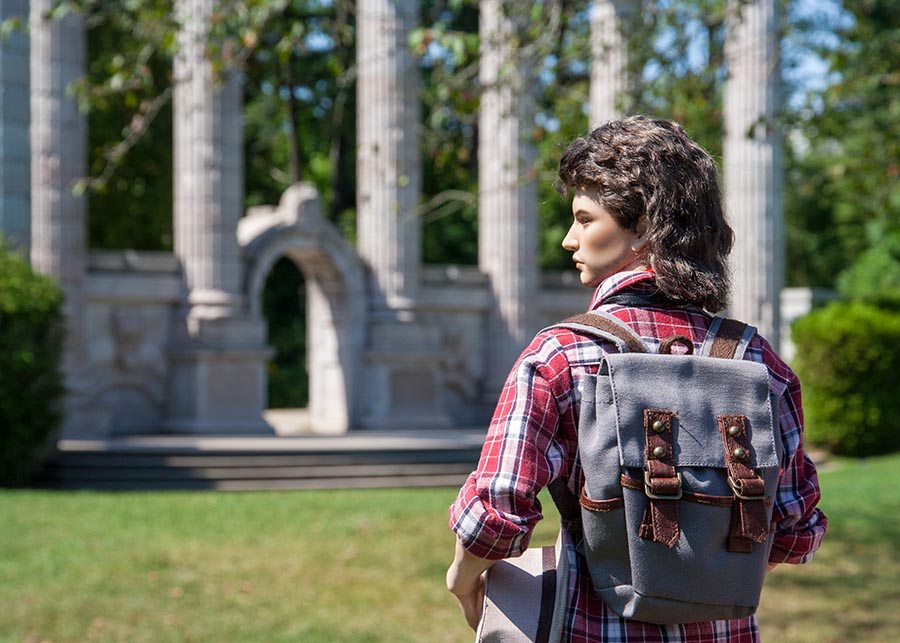
For the photos of Baron out and about in the modern world, we went to various places in town, and Jan would hold Baron where I'd direct him, so I could take a photo using forced perspective to make it look like he really fit in to our full size world....
I took photos of Baron being held in the Best Buy parking lot...
...at the lake....
...and at the Ruins Garden...
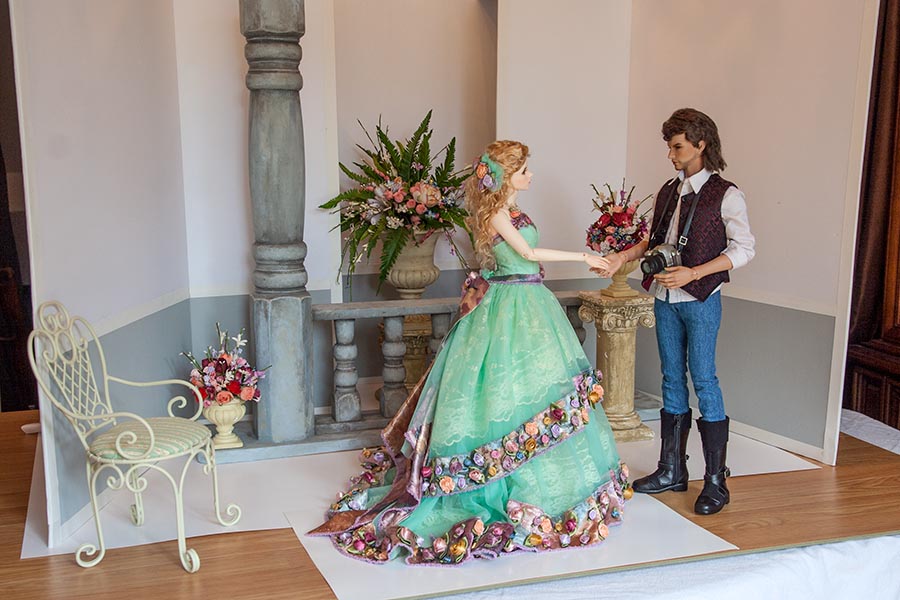
To make him taking photos in a studio environment look more believable I made sure to let the edges of the sets show....
Narnia
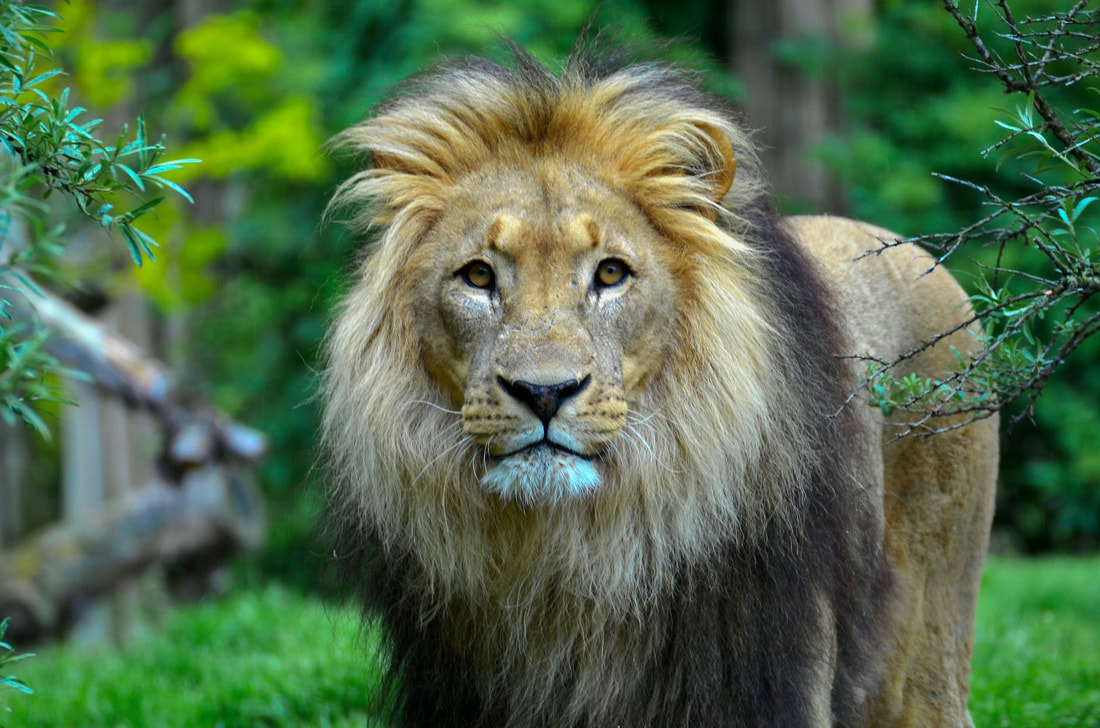
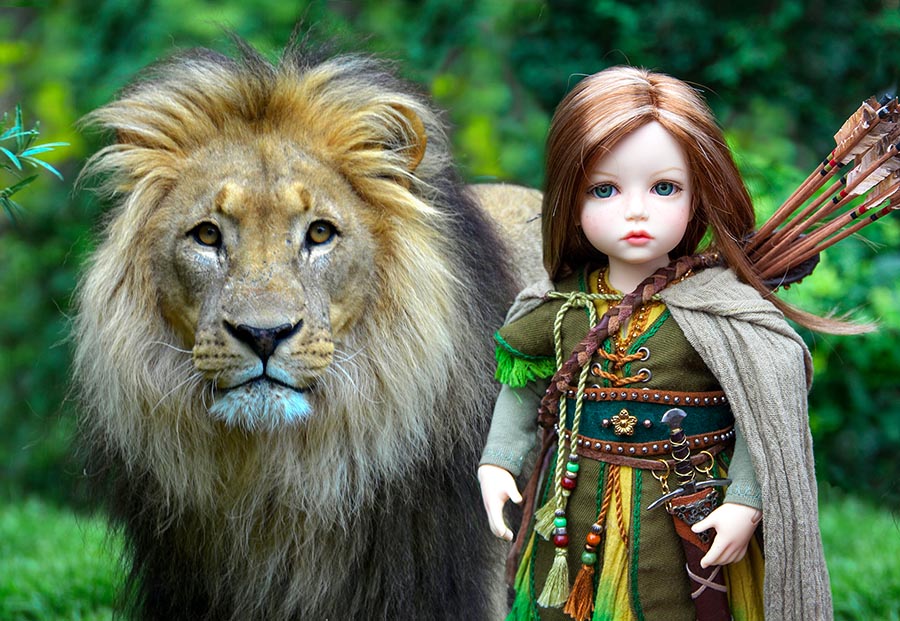
I wanted to illustrate Naomi's childhood imagination, and had been able to recreate scenes from several stories, but then I got the idea to try something from 'the Lion, the Witch, and the Wardrobe'. I had a suitable costume for Olivia, but needed a lion. So I looked online for e FREE image of a lion with a background that would work and found this one....
So, on a day with similar lighting to the lion photo, I asked Jan hold her up in the backyard in front of a similar nondescript, green foliage background...and I took the photo at a small depth of field so the background would be fuzzy....
Then using layers in Photoshop, I superimposed the picture of Olivia (playing young Naomi) over the photo of the lion....
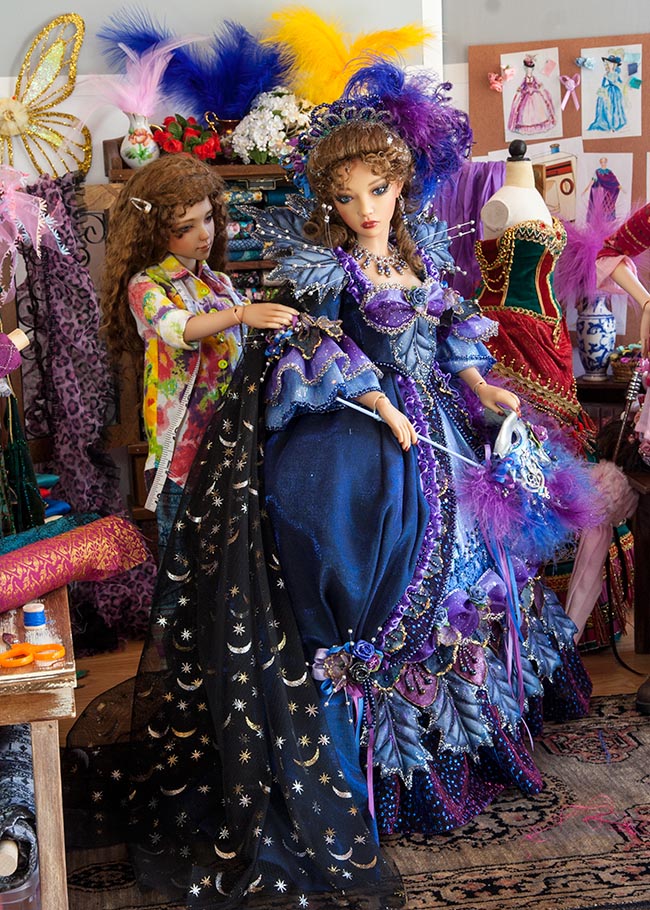
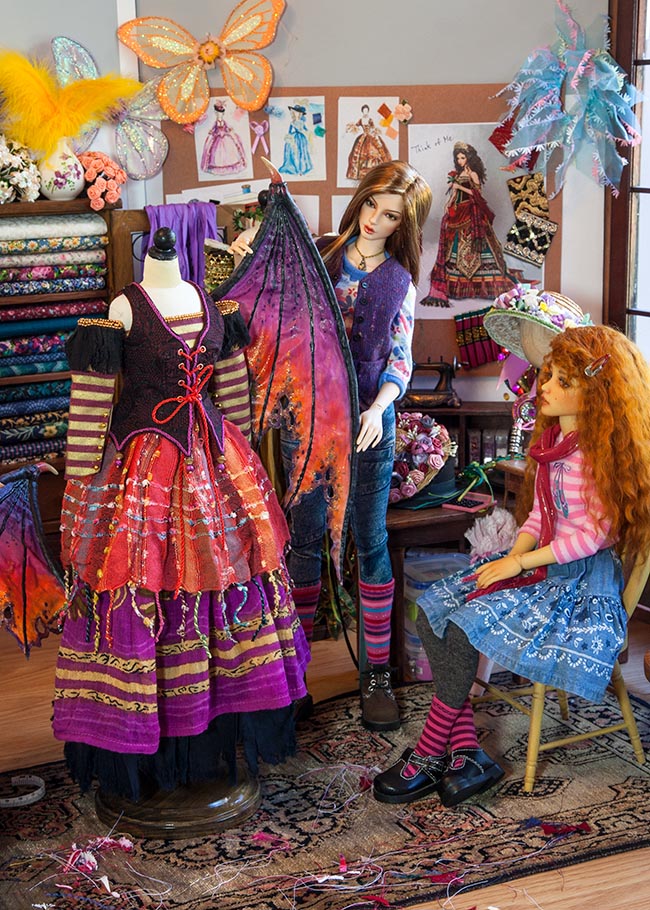
Naomi's Costume Shop
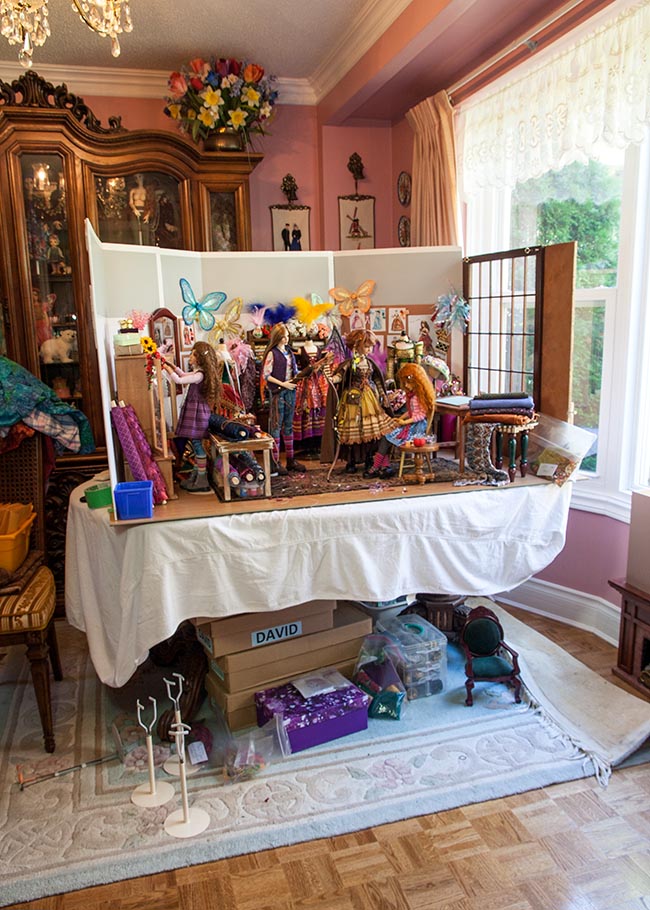
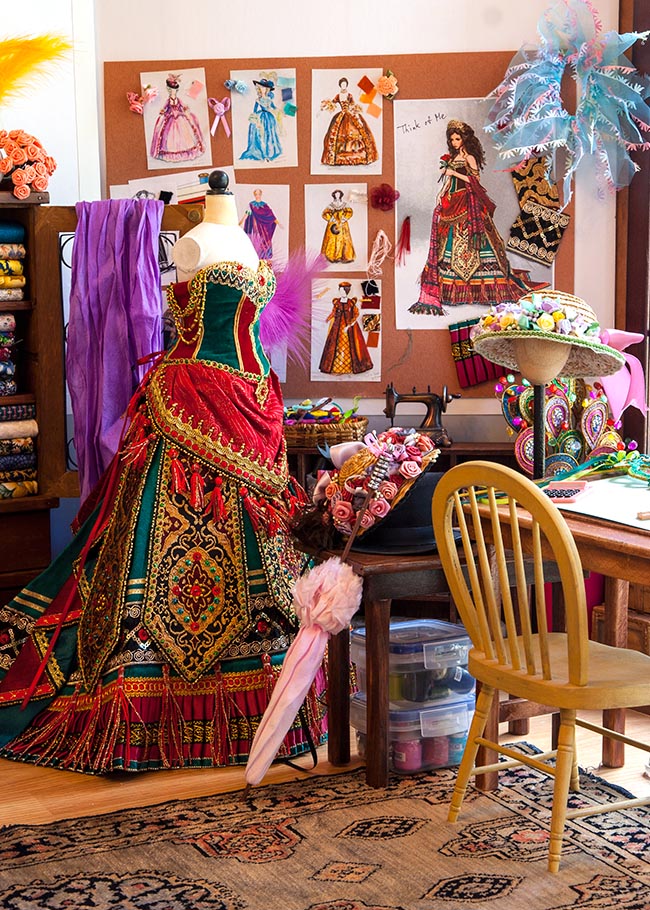
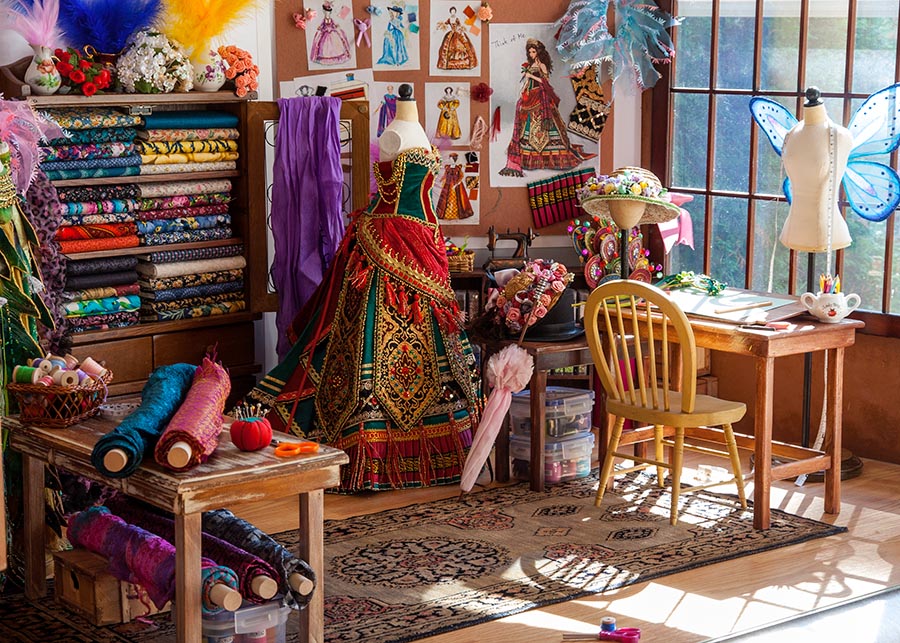
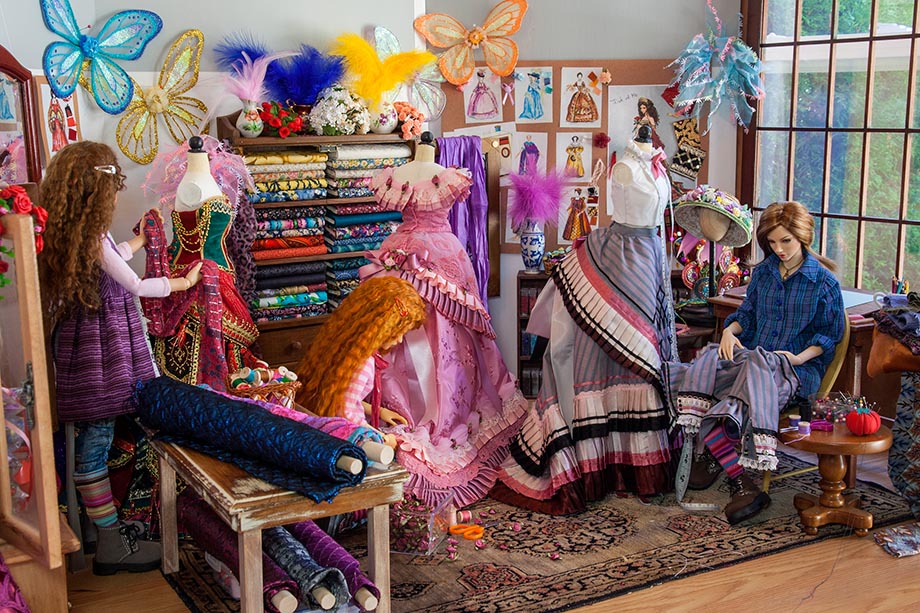
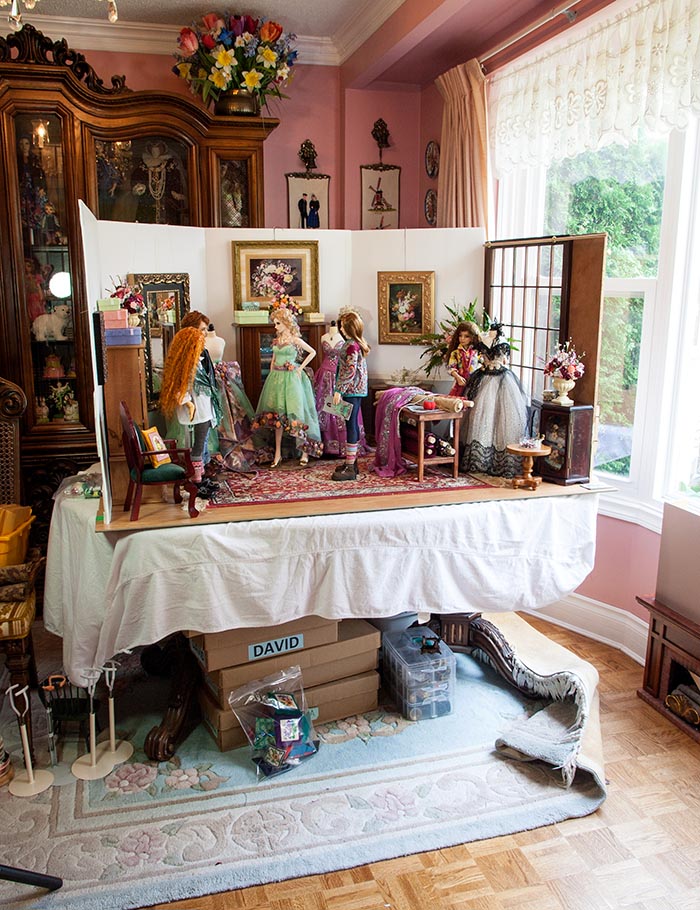
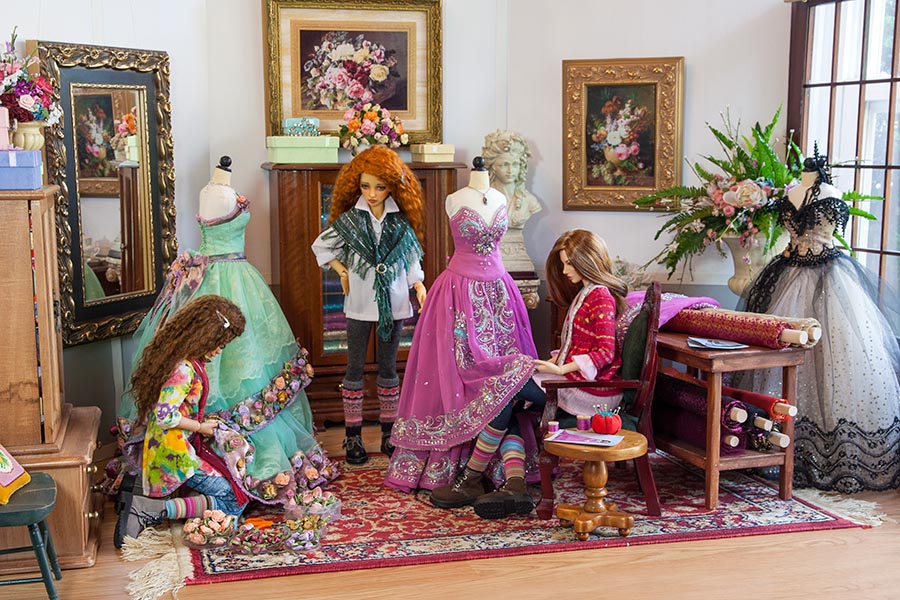
I wanted to show scenes from Naomi's life as a costumer and fashion designer. I only needed a few photos of her costume shop, but it still had to look believable. I figured it would have been in an industrial type space with big windows for light, so set it up on the dining room table pushed into the bay window. I wanted a wooden floor, so covered the table with a protective flannel sheet, and Jan laid out some wood flooring.
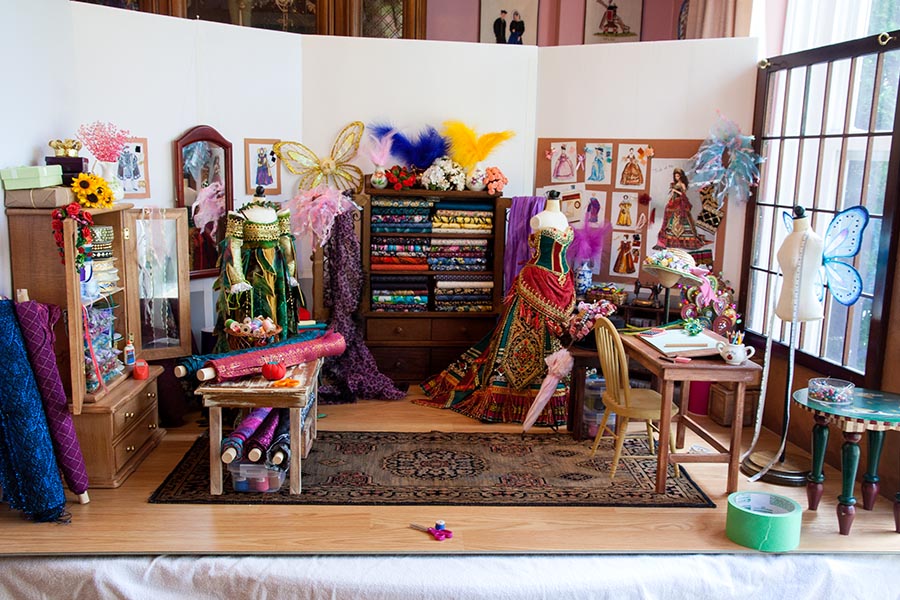
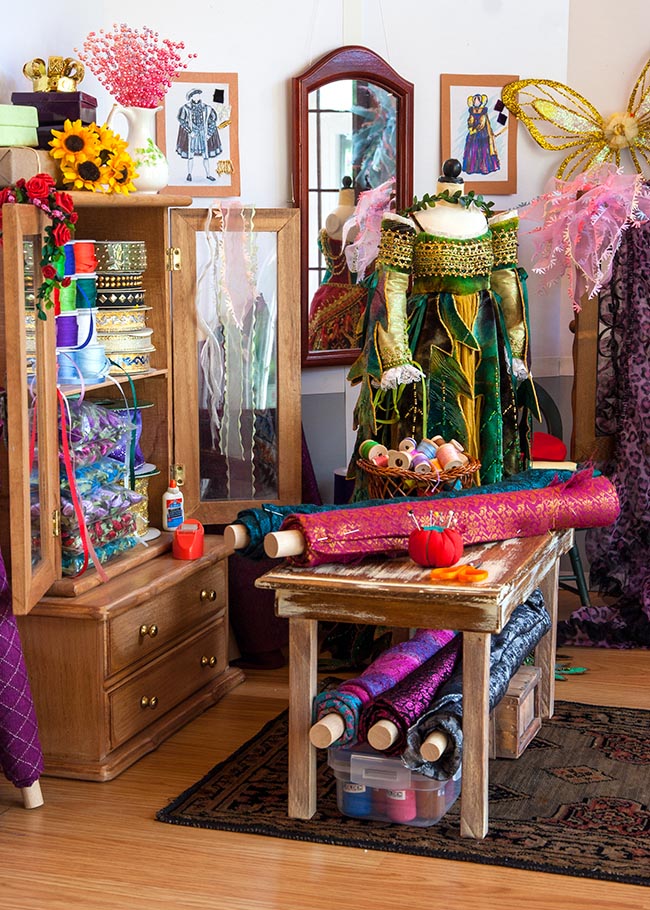
I needed to fill the space with all manner of costuming supplies. The cupboard on the back wall always has bolts of fabric inside from a Christmas story a few years back. I didn't think it was worth my time and effort to make rolled cardboard tubes for additional bolts of fabric, so just rolled and pinned fancy fabrics around wooden dowels. I made a 'cork board' out of brown construction paper, and glued shrunken versions of my own costume sketches from Theatre School onto it. I even glued fabric and trim swatches to many of them. I need a mirror but I only had one small one. We did go looking for a bigger one, but couldn't find anything suitable, so the smaller mirror had to do. Then I filled the space with all manner of supplies - fabric flowers, rolls of ribbon, feathers, wings, hats, and actual sewing supplies. I didn't have a modern sewing machine, and didn't feel like paying for an Our Generation Sewing Accessory set, just for the sewing machine, but the space was too small for the actual sewing anyways - it was likely done in an adjoining room - so I did without. But Naomi did have her grandmother's old sewing machine on display on a back shelf.
It was the most complex and most work of any set that I'd ever put together....
It was the most complex and most work of any set that I'd ever put together....
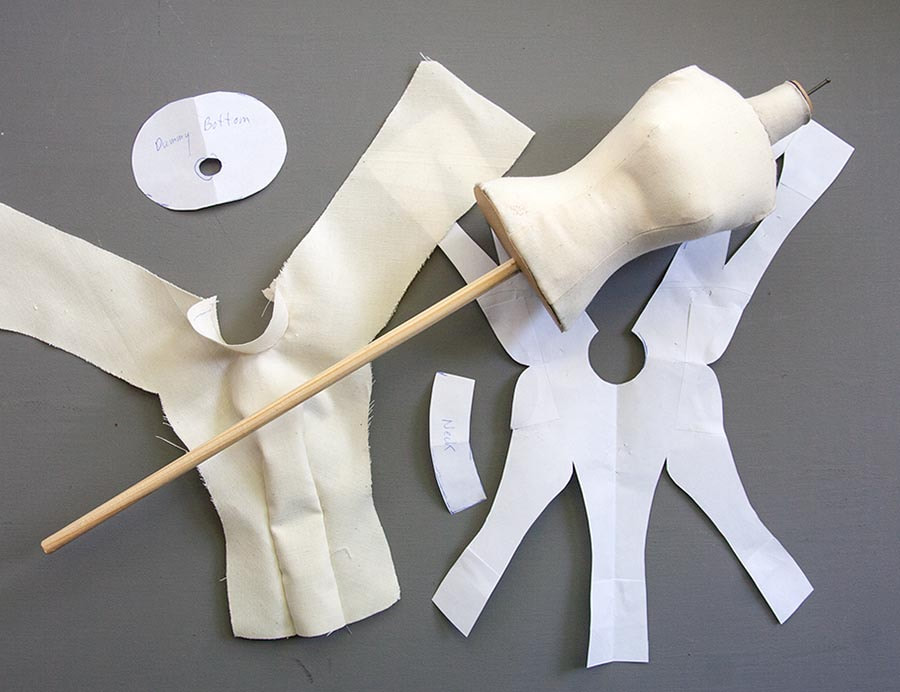
Every costume and fashion house needs dressmaker dummies, so I had made three based off the Slim Iplehouse FID body, since that's the size the outfits I was going to put on them were....
I put Christine's Phantom costume on one of them...
...and my Limhwa Lily donated her Spring Goddess costume for another dummy...
I loved the whole setup, and it looked so real with the sun coming in the window....
The set was so inspiring that I got totally carried away, changing the costumes on the dummies, as well as the lady's outfits, and I took dozens of photos. I only needed a handful for the story, so the entire set will be put into their own separate album.
Then for Naomi's High Fashion Showroom I needed a much more elegant space, so I took apart the costume workshop, removed everything, and set up an entirely new set....
This time it was all about 'elegance', with new carpet, new artwork, a new bigger mirror, and expensive fabrics neatly folded into glass cabinets, and on bolts. The actual cutting and sewing were done next door, although finishing could be done in the showroom...
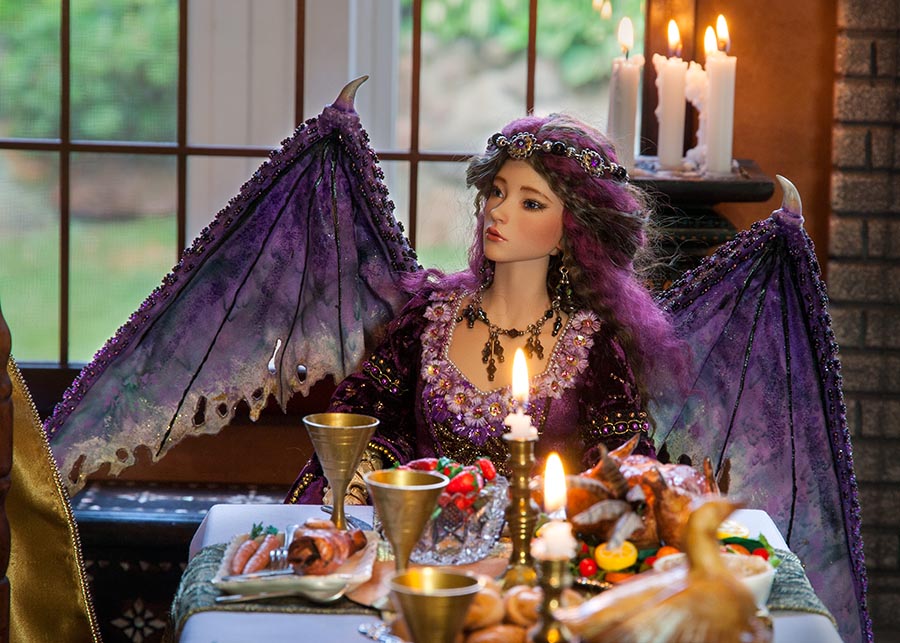
The Dinner Scene
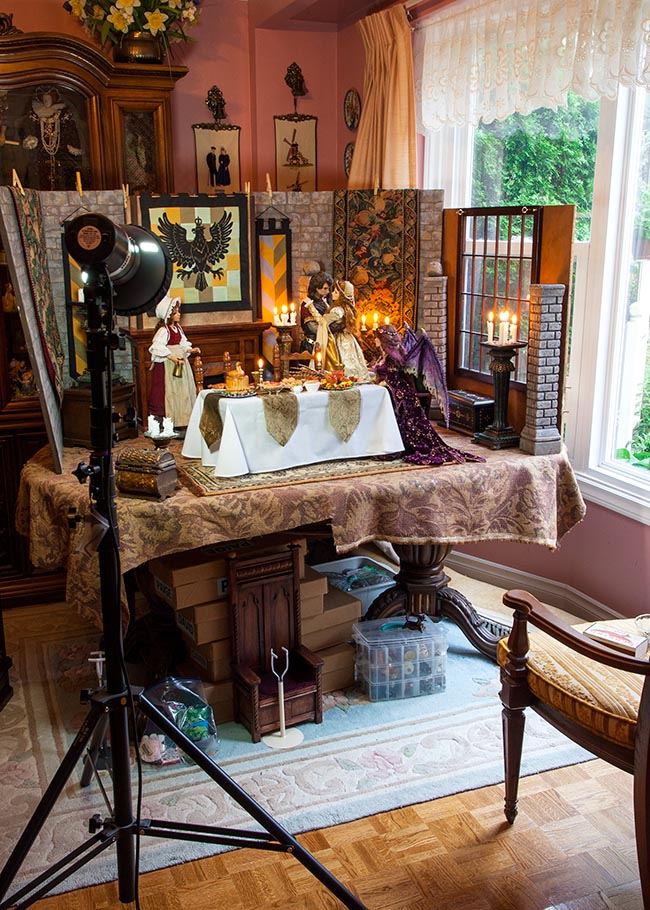
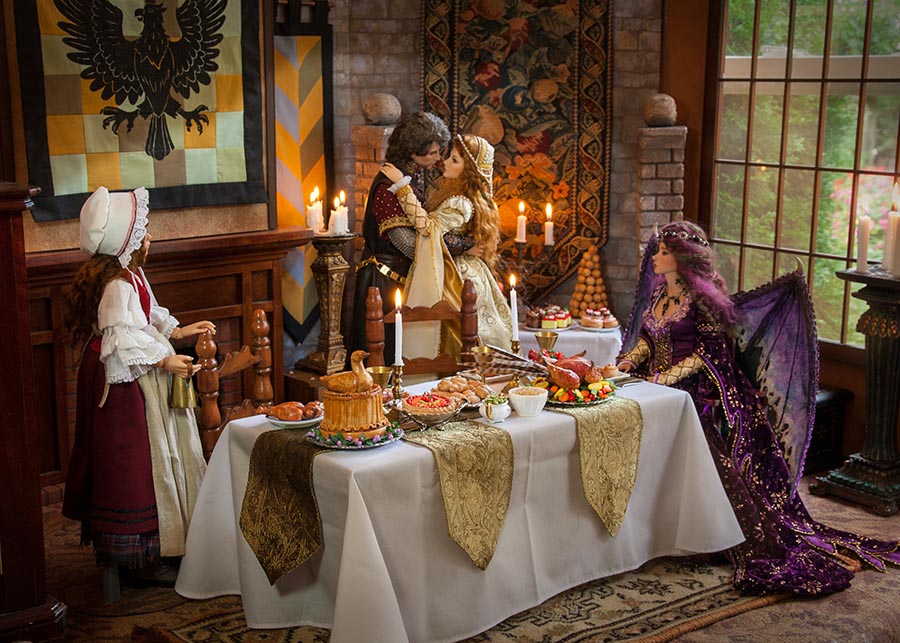
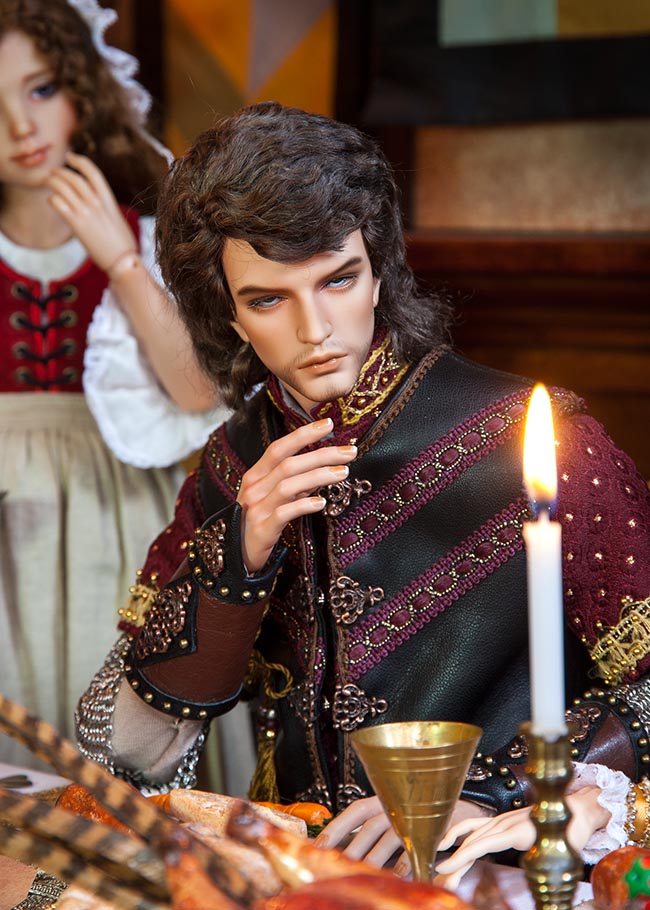
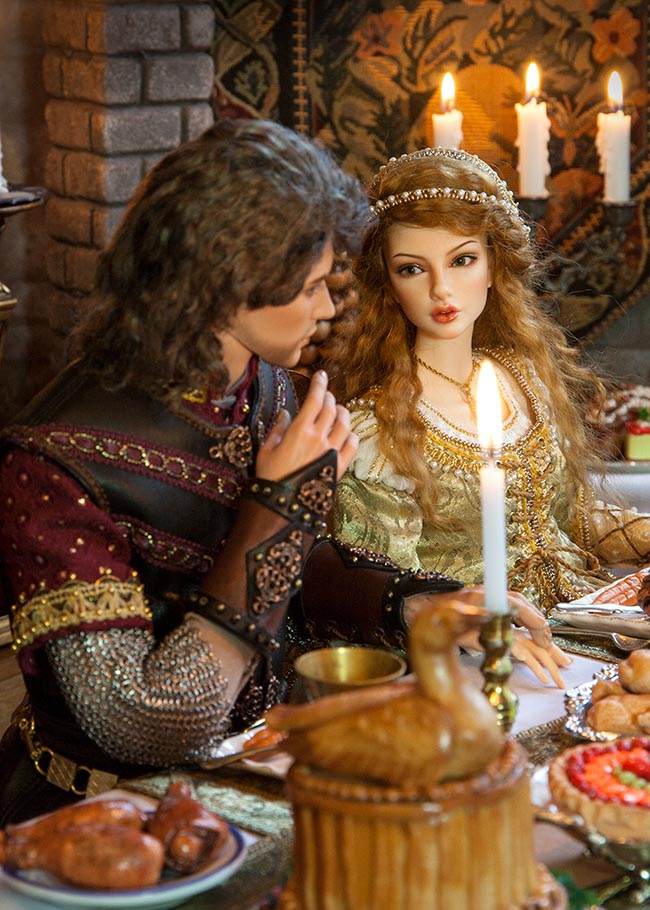
I like the effect of light coming in through the window, so set up a castle interior with a window at one end, and pushed the table into the bay window so the light from outside could shine into the set....
The burning candles would create atmosphere for the more interior shots, and the photography light would help illuminate the foreground and eliminate shadows from the window lighting...
The window would make a nice background for Miho who was seated in front of it. I didn't worry about the real window frames showing, since they could be explained away by being part of the exterior architecture of her castle...
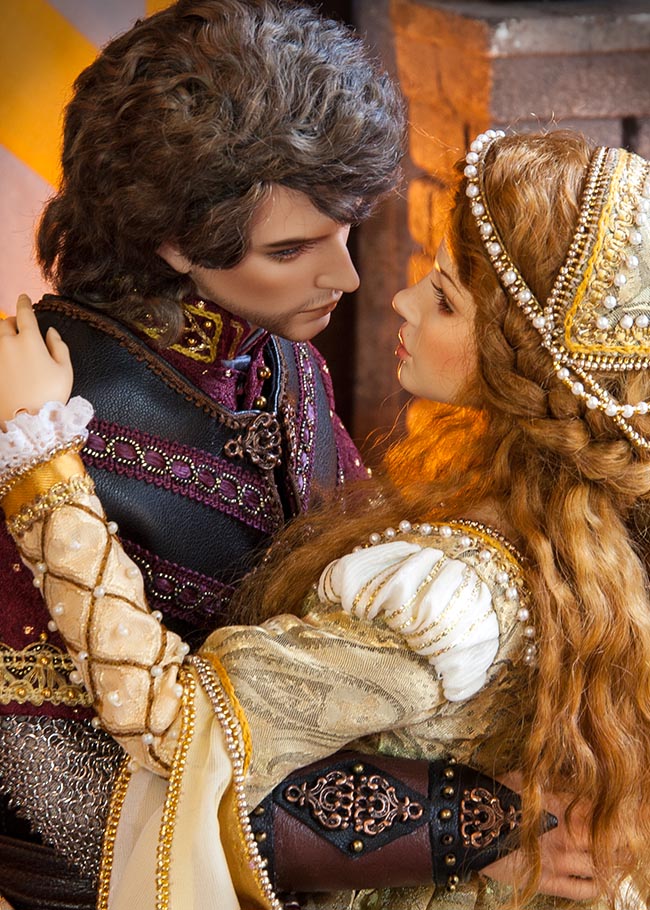
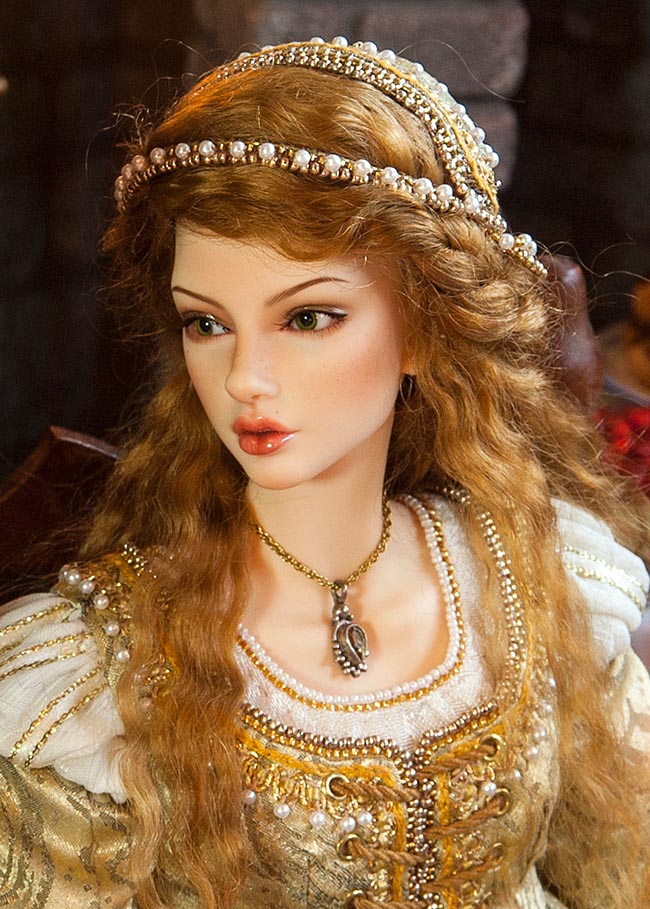
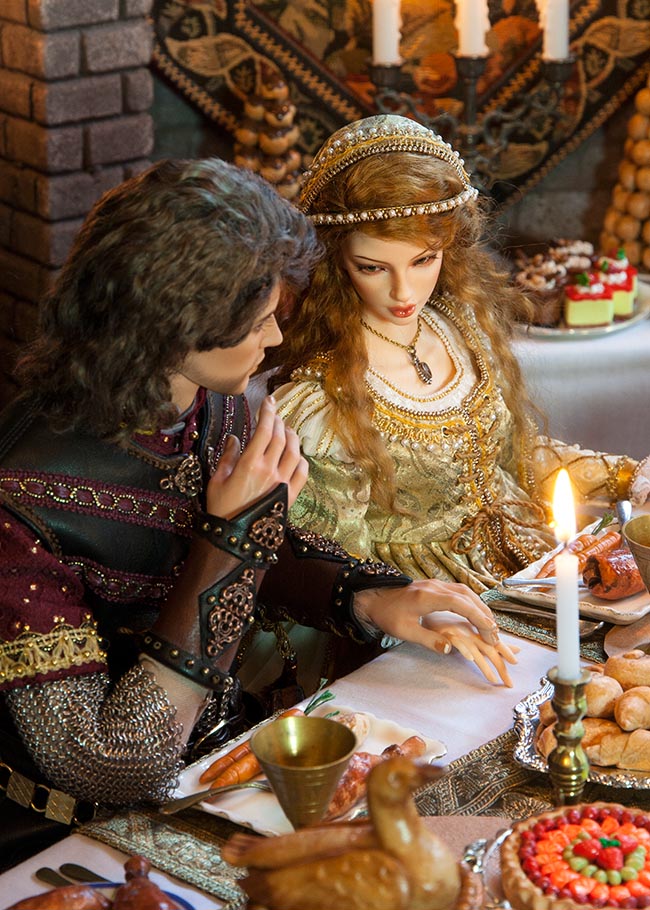
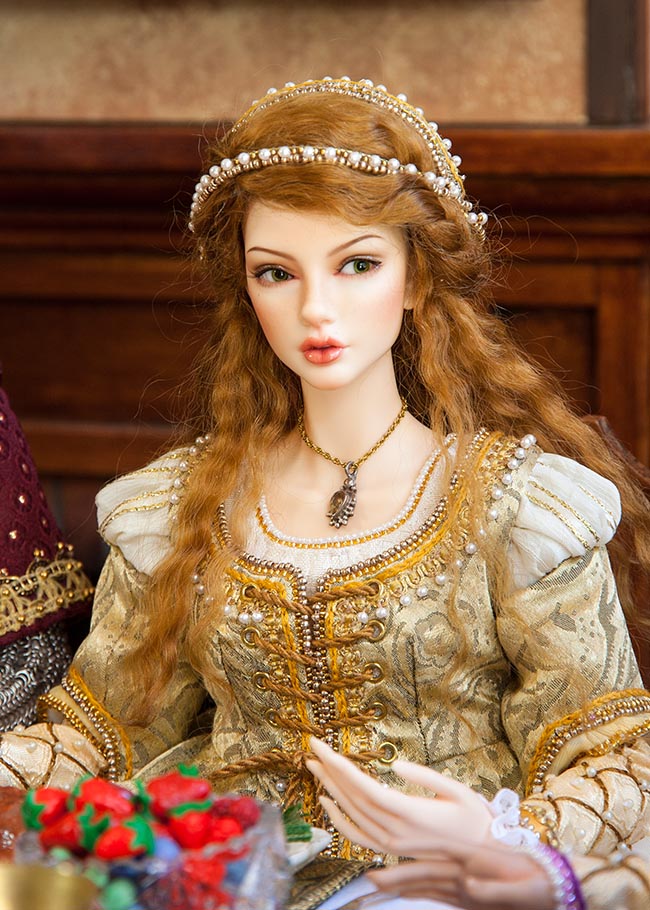
The final dinner scene was shot five weeks before it was actually posted, but it was the only 'conversation' series in the story where I actually knew what the dolls were going to be talking about. And this time there would not be any flashbacks - just the three of them talking. So I put a lot of effort into posing, including changing eye positions. Naomi was especially expressive...
I took 178 photos over a three day period, so I'd have as much choice as possible for whatever the characters might be saying...
Finally...
All in all it was the longest, most complex story to date. There were 131 different scenes in 68 sets at home, and an additional 13 trips out to shoot on location. I also used some older, existing photos for Baron's back story.
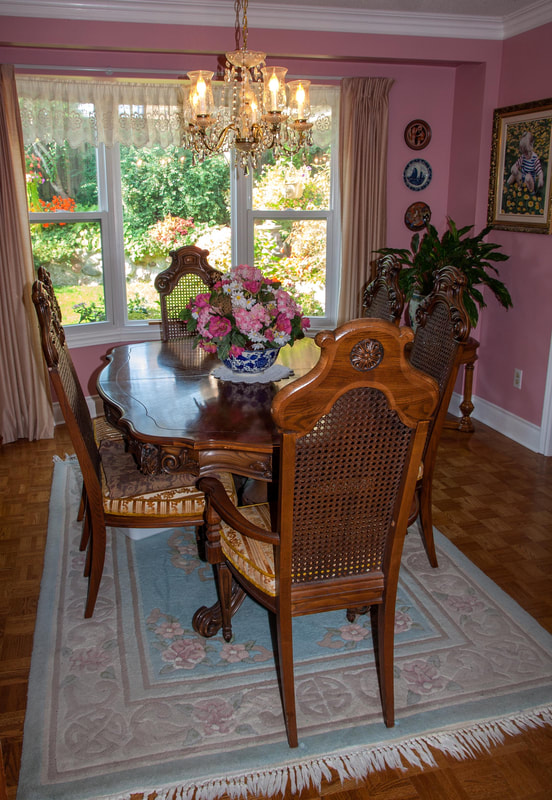
Now that it's all over, my photo studio thinks it's a dining room again....
Now that it's all over, my photo studio thinks it's a dining room again....
However Baron and Naomi's story is long from over. In fact it's just begun.
We are sure to see more of them in the future.
To revisit the story....
We are sure to see more of them in the future.
To revisit the story....
Somewhere in Time
Copyright © 2021 Martha Boers
All Rights Reserved
