Make a Leather Bag
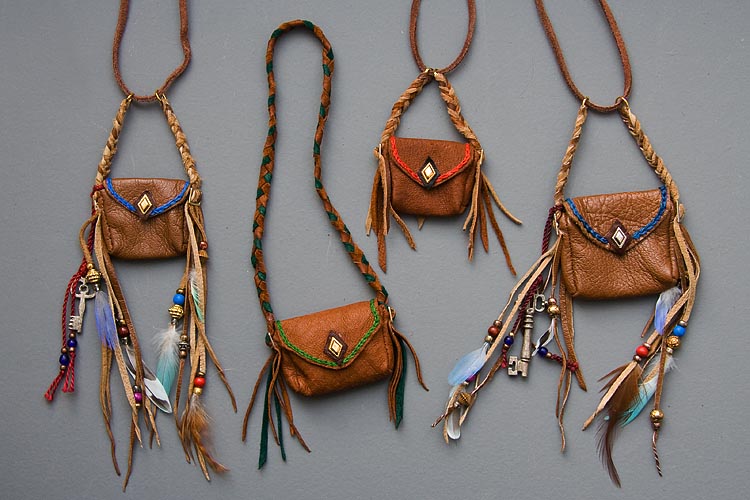
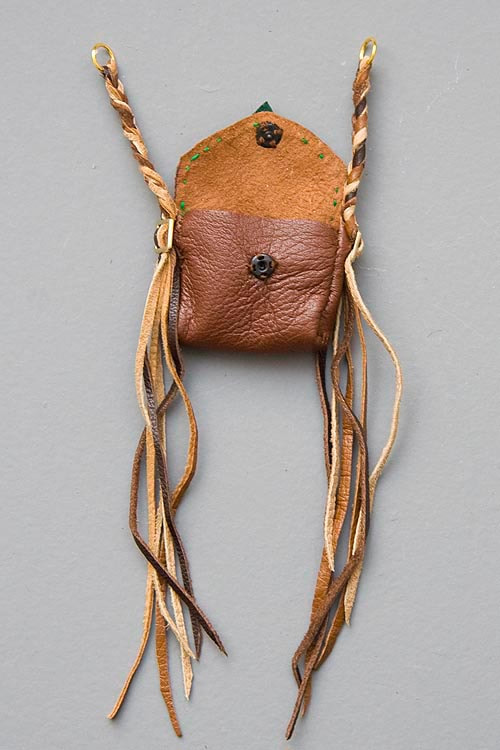
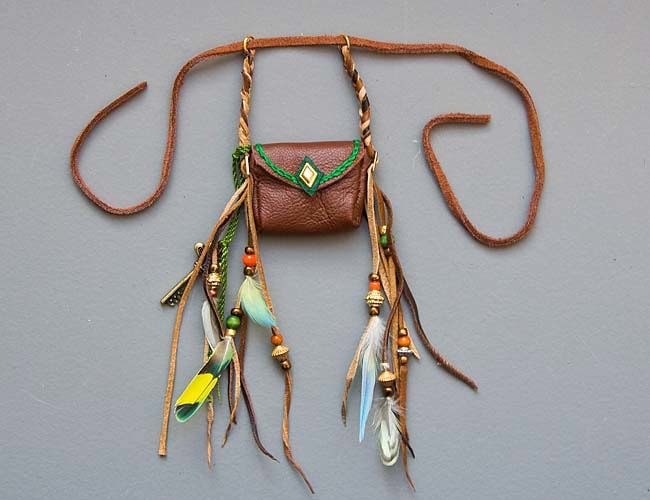
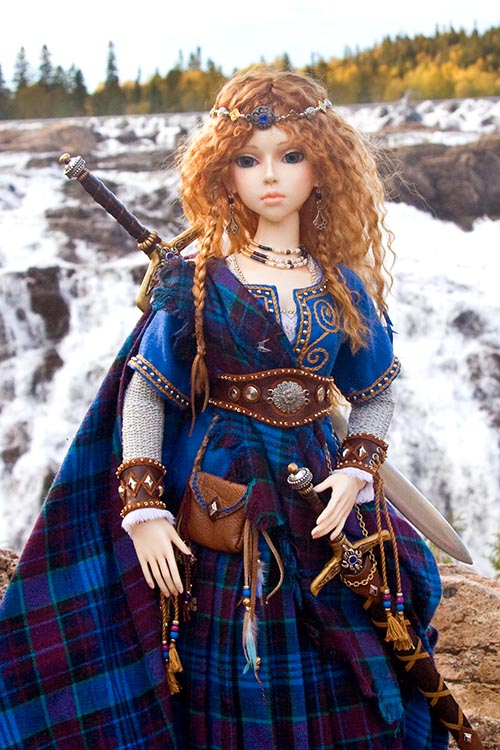
This is a very versatile, easy to make, bag pattern. Several of my dolls have a variation of this bag. Fantasy characters have bags which hang from a waistband, and are embellished with long streamers trimmed with beads and feathers. More realistic characters have simpler versions with braided shoulder straps. All you need is the basic bag pattern and you can add any kind of handle, straps, or embellishments.
Materials
*sizes and lengths will depend on size of bag being made
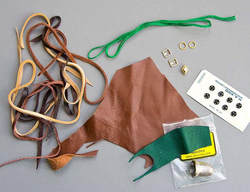
- leather scraps for main bag, trim, and longer strips for straps or handle
- sharp needle - preferably a "glover's needle" specially made to sew leather
- thimble
- matching coloured thread
- embroidery thread
- small snap fastener
- two tiny buckles
- 2 jump rings
- decorative stud
- white glue
- sharp needle - preferably a "glover's needle" specially made to sew leather
- thimble
- matching coloured thread
- embroidery thread
- small snap fastener
- two tiny buckles
- 2 jump rings
- decorative stud
- white glue
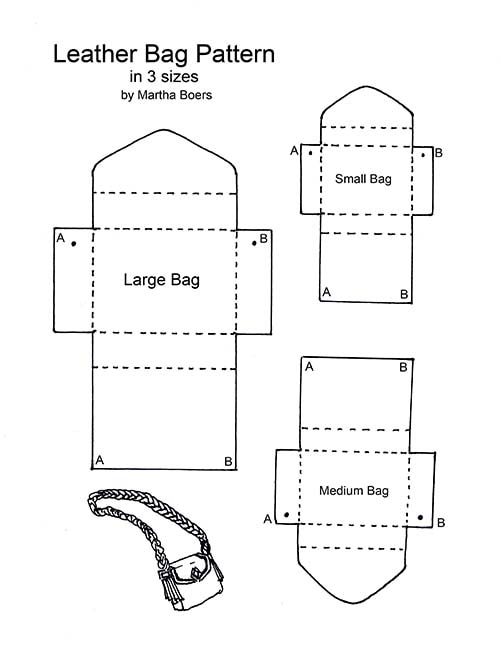
Pattern
Click on pattern image to download pattern pdf
Instructions
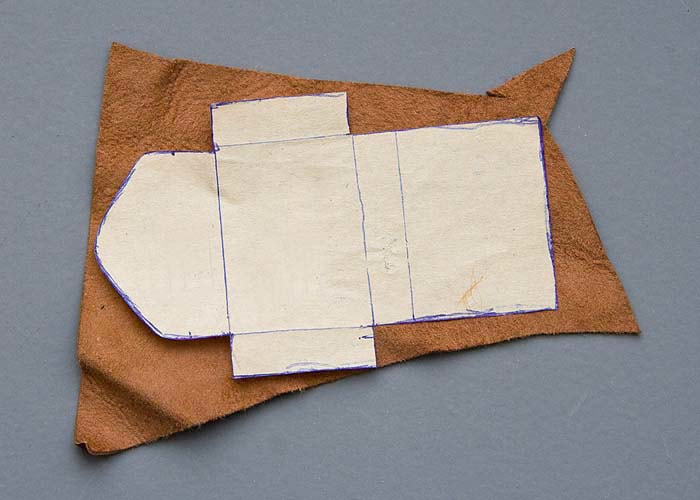
1. Print out pattern pdf, cut out pattern, and trace onto back of leather. Cut out.
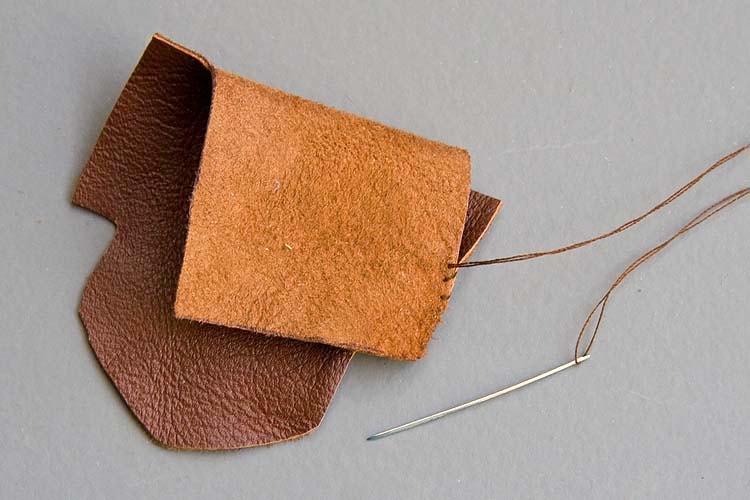
2. Thread a sharp needle - preferably a glover's needle - with double thread and knot. With right sides together sew the bag side starting at point "A" matching up the two "A" points on pattern. Sew down seam and across bottom. You may find a thimble comes in very handy when sewing leather. Repeat for other side starting at point "B" and working downward.
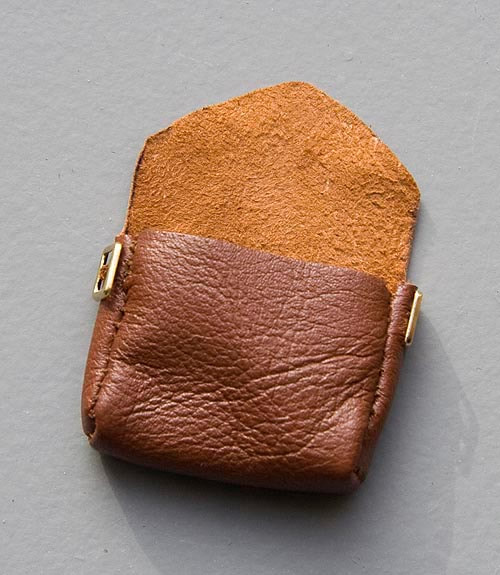
3. Turn bag right side out, and sew tiny buckles onto upper sides of bag (large dot on pattern)
4. For a bag which will be suspended off a leather tie around the waist, measure distance below the waist you want your bag to hang, then add some extra depending on whether you want long streamers or just short ones. Double that measurement, and cut out narrow leather strips that long. The width of your leather strips will depend on how big a bag you are making. For my sample, which is the medium sized bag, I cut 6 strips each a little wider than 1/16".
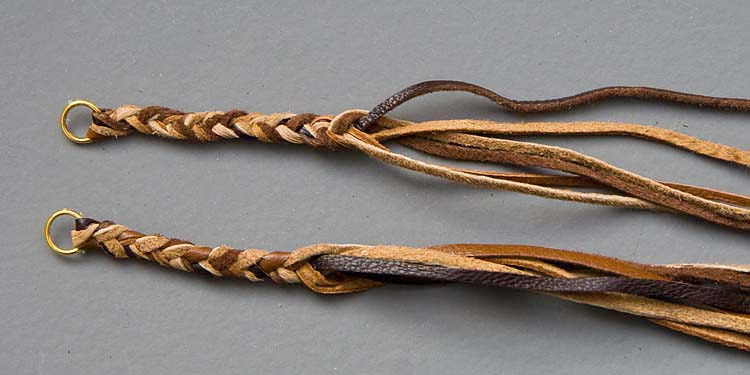
Thread three narrow strips through each jump-ring and braid using two strips of leather in each of the three strands of the braid. Stop when you've reached the length you want the straps to be, and secure with a paper clip.
*If you want a one-piece handle, or a long strap to go over the shoulder, measure the length of leather strips needed, add several extra inches, then cut three strips about 1/8" wide. Braid and secure ends with paper clips.
5. Thread leather strips through buckle, and secure with a small spot of glue. Sew on a small snap closure.
Embellishments for Fantasy Bag
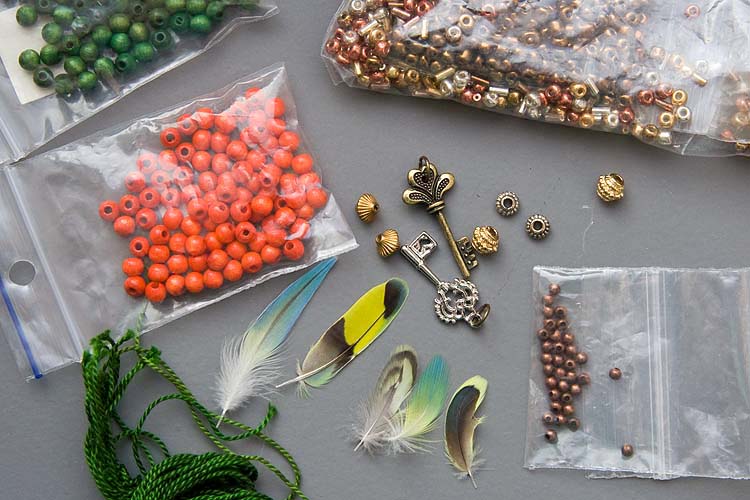
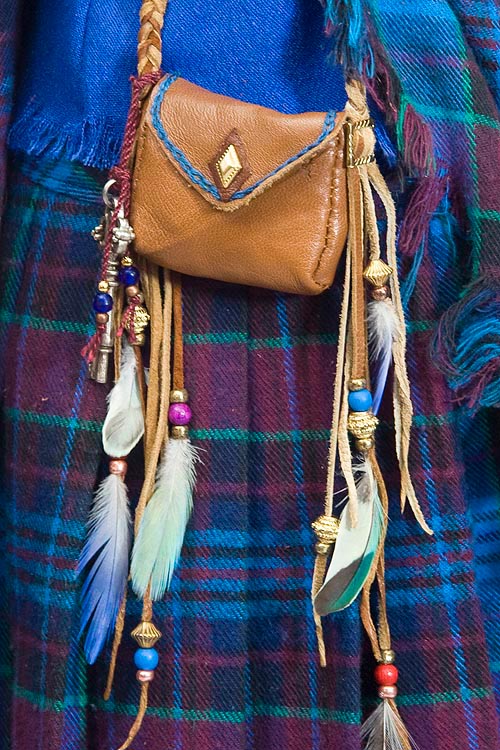
You can decorate a fantasy bag with anything you like. I'm using embroidery floss, in green to match the doll's costume, assorted beads, a key charm, a fancy stud to act as a "clasp", and some tiny feathers from a budgie.
- Using a chain stitch, embroider a decorative line along the top front edge of the bag.
- I created a "clasp" by gluing on a stud which is backed by a small piece of leather. *Tip - always insert the stud into the leather scrap first, then cut it out afterwards, leaving a nice margin all the way around.
- to thread beads onto the leather fringe, make sure the leather strips are thin enough and cut into a tapered point at the ends, and that the bead holes are big enough. Then wet your fingers and roll the ends of the leather between your fingers to make a fine, round point. Thread through desired beads, adding a bit of glue to the final bead so it doesn't come off. To add feathers, push the beads about 1/4" above where you want them, dip feather shaft into white glue, push onto leather strip, and push beads back down to cover feather shaft and glue.
Copyright © 2013 Martha Boers
All Rights Reserved
All Rights Reserved
