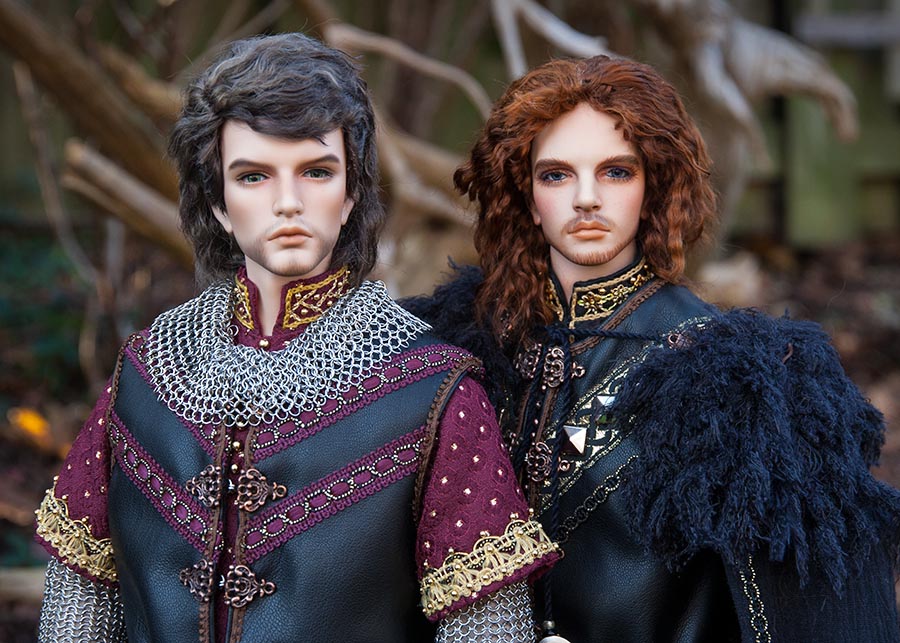
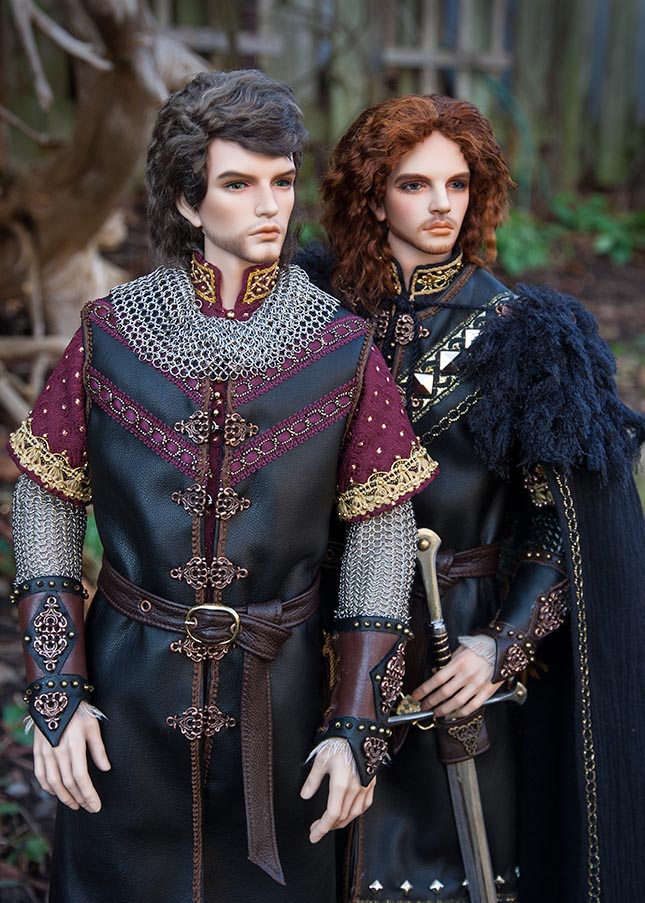
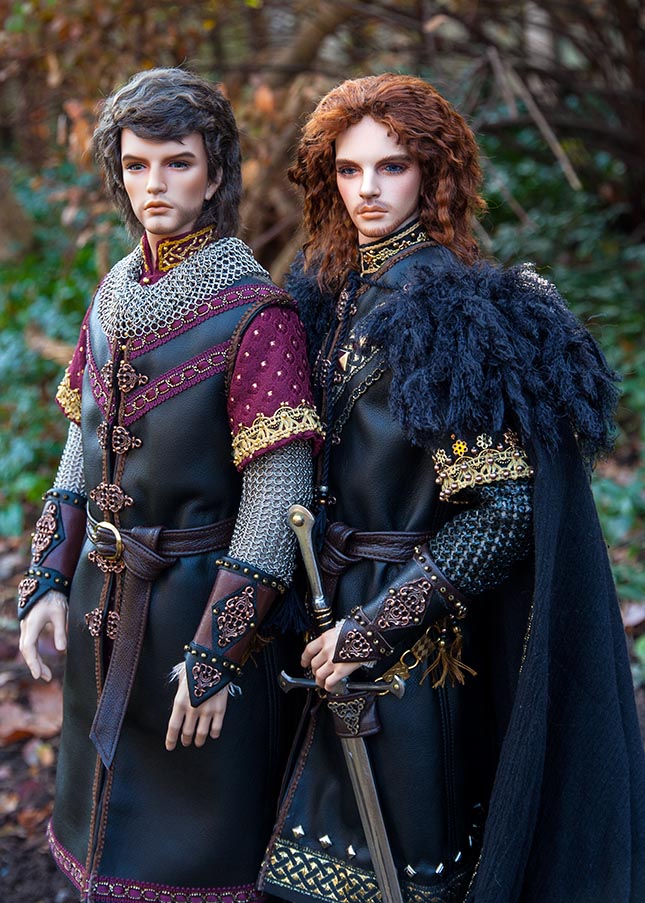
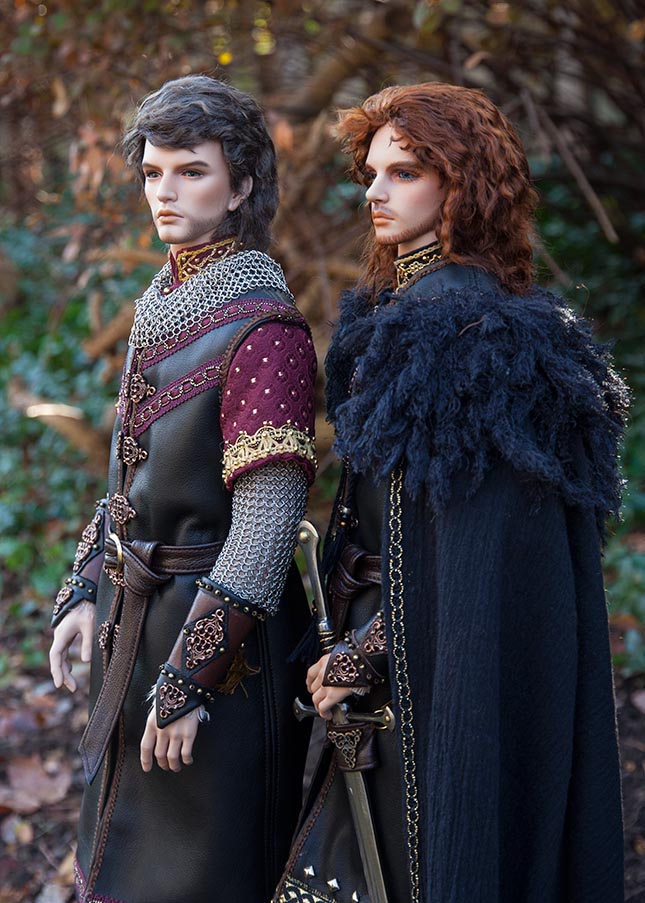
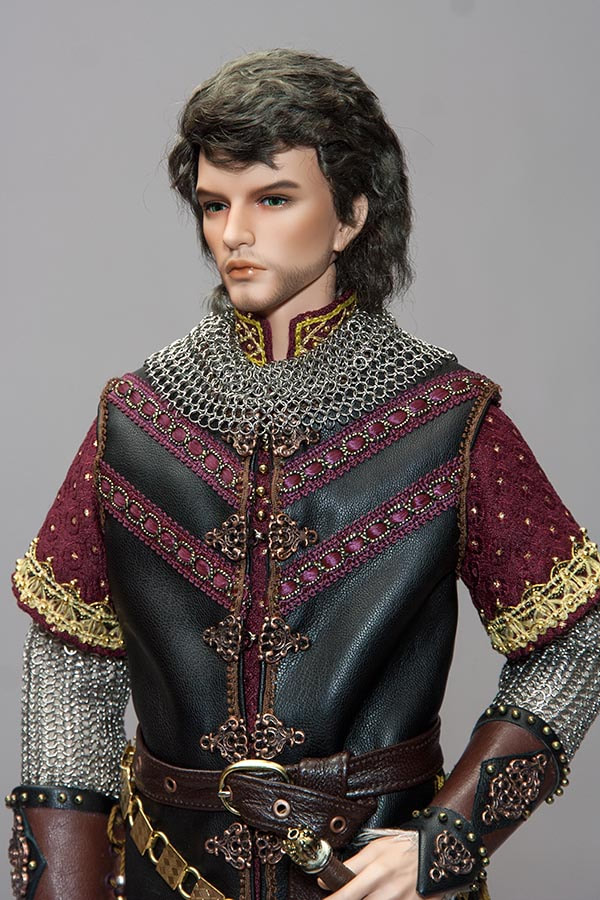
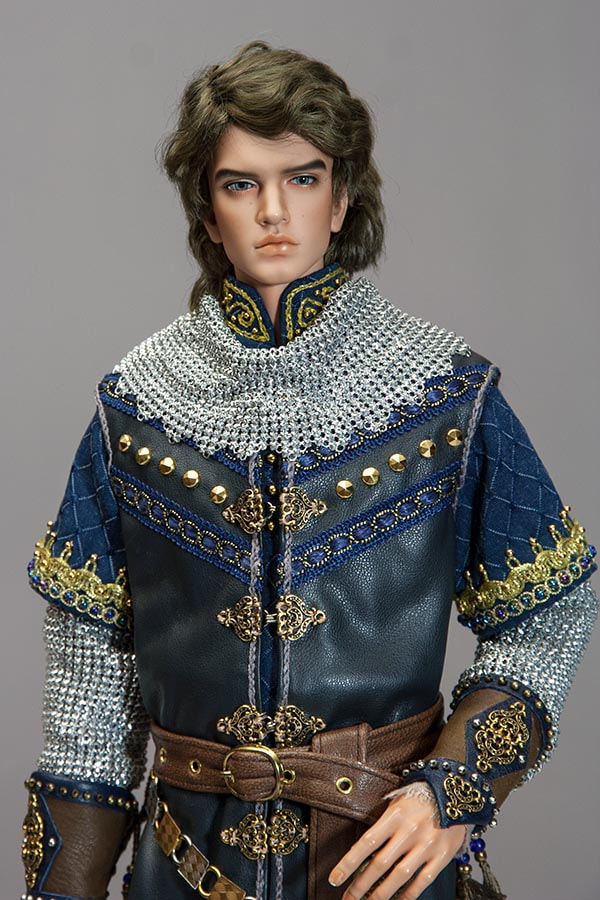
Lawrence & Baron's Fantasy Knight Costumes
Showcasing the making of their outfits as a Creative Journey
* also includes pattern pdf at the very end
* also includes pattern pdf at the very end
Getting Started
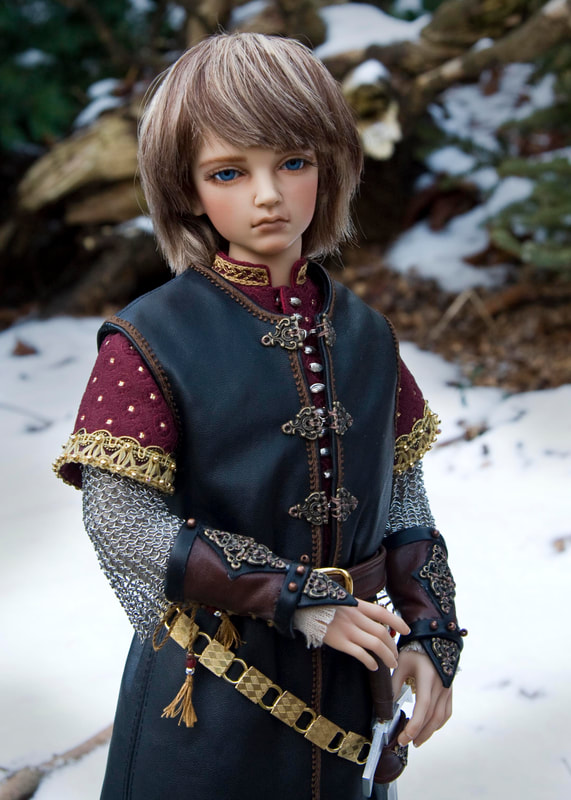
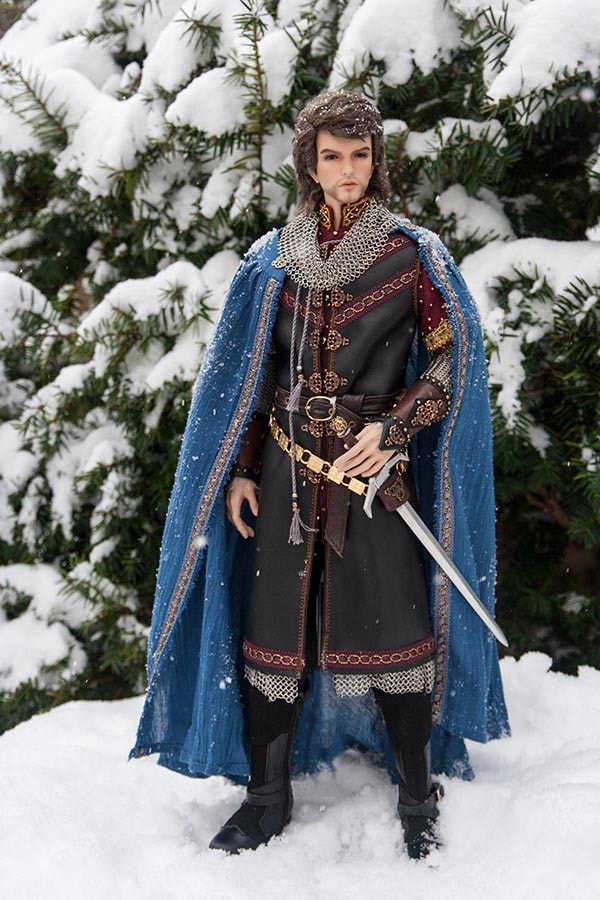
It was the first week of November, and I was finally free to start on Lawrence and Baron's costumes. I really liked my JID Kyle's costume, which was inspired by Boromir in LOTR, and I wanted to make something similar for Baron.
Then because it's always easier if I can build on existing patterns, I took Kyle's Boromir outfit, and tried it on Baron....
The red tunic was a bit snug, and the collar and sleeves were way too short. The black leather tunic fit just fine. He had a definite air of 'nobility' about him. I think he'd look amazing in something similar. Unfortunately (or maybe it's a good thing) the metal filagree I used on Kyle's outfit is no longer available, at least not in bronze.
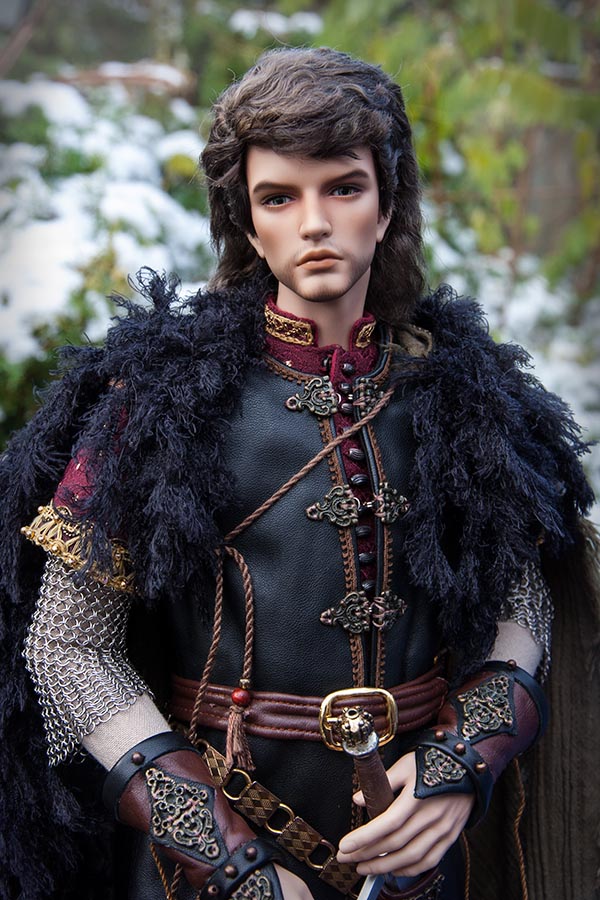
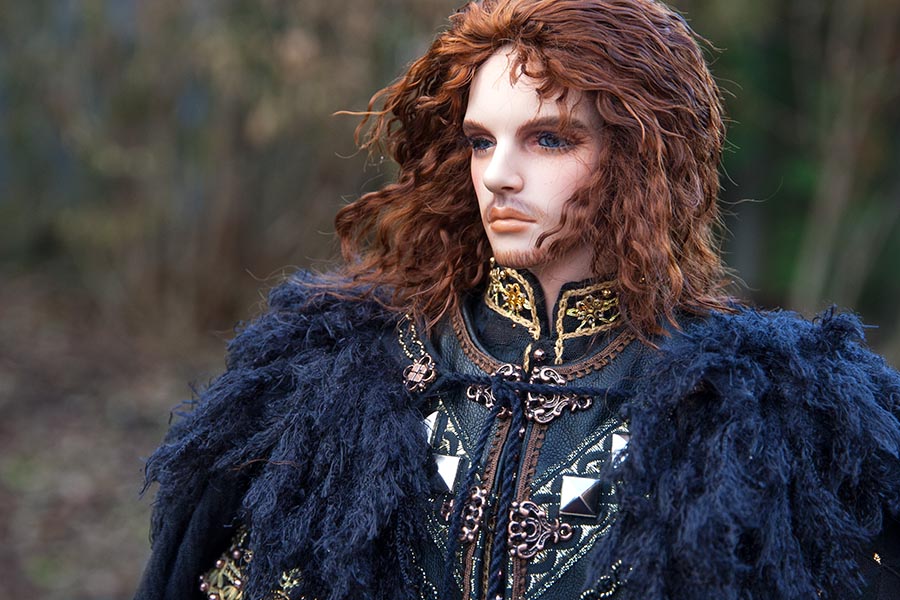
So then it was Lawrence's turn. He has the FID Muscle body, so his arms were way too massive to fit into the red tunic. But he could wear the black leather tunic, and wrist guards. I pinned on the furry velour I bought earlier this week, and because I figured he'd really need a longer wig, I let him borrow Baron's for a few photos.
Lawrence definitely had the more 'rugged' look. I liked the longer hair, but it would need to be auburn to match his facial hair....
So I was thinking, with Baron looking a bit more 'elegant', he should get a variation of the Boromir outfit, and Lawrence can get something more rugged like from Game of Thrones...
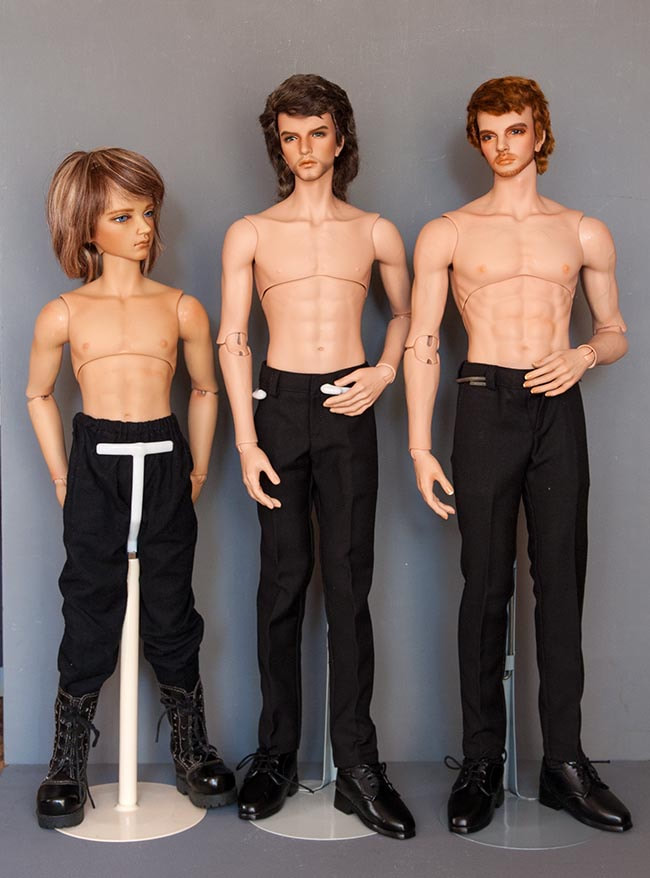
And since I had three topless guys standing there, I thought it was the perfect opportunity to take a comparison photo. Kyle is a JID with the original JID Muscle body. Baron is an FID with the FID Model body. And Lawrence is an FID with the original FID Muscle body. It's easy to see why Baron will fit into some of my JID outfits, but Lawrence won't. That guy is huge!
Tunic Envy
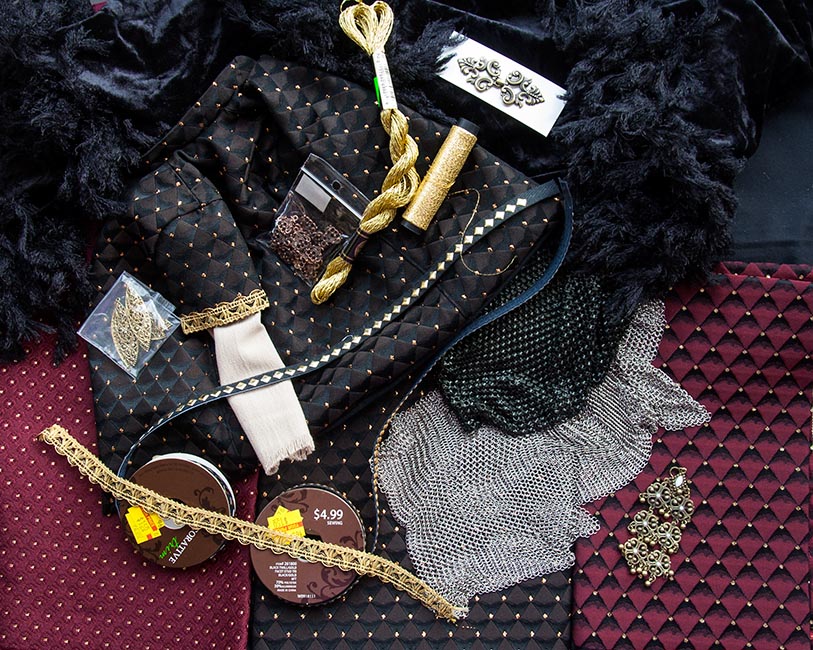
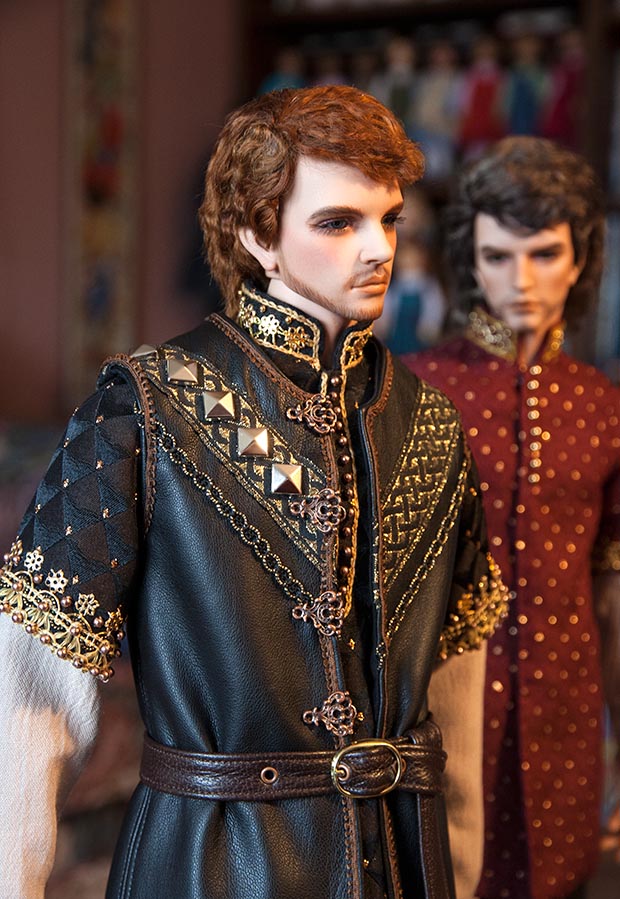
I was working on Lawrence's Fantasy hero costume, and redrafted Kyle's Boromir patterns to fit Lawrence. His would be mostly black with gold accents. I had chainmail in silver and black, but wanted to wait to see which looked best. It was coming along, although not as fast as I'd like, because I couldn't wait to see it done. Then Baron would get something similar in red and black....
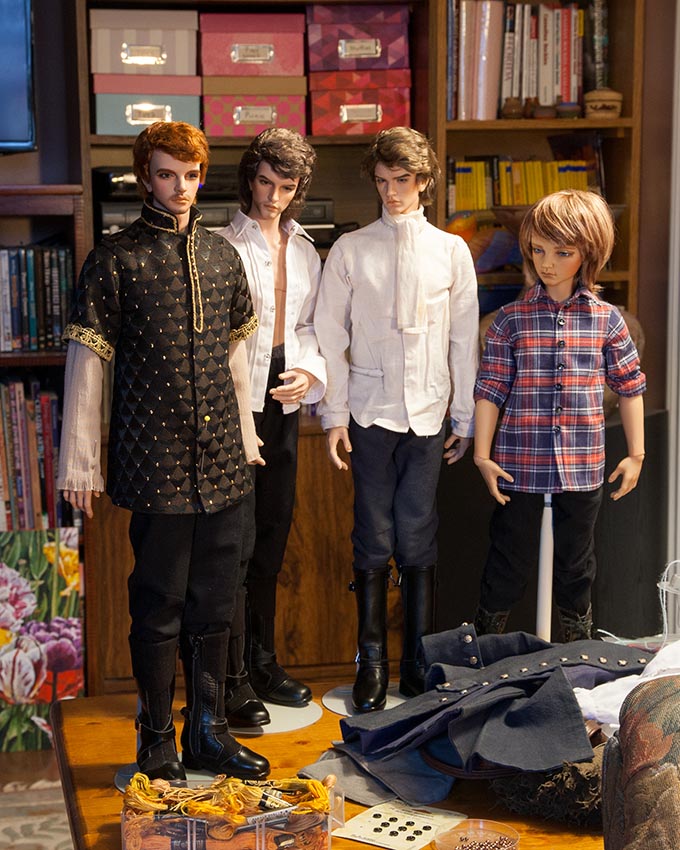
So then I had four guys standing in my work space. Kyle was there because I needed his clothes, and I found him a shirt to wear in the meantime - can't have dolls standing around topless when it's so cold outside. Same thing with Rex - I needed his coat and vest to help me judge fit in order to draft patterns in FID size for the other two. And Baron was not so patiently waiting his turn.
Lawrence's tunic was coming along nicely, so I thought I'd take a photo....
Lawrence's tunic was coming along nicely, so I thought I'd take a photo....
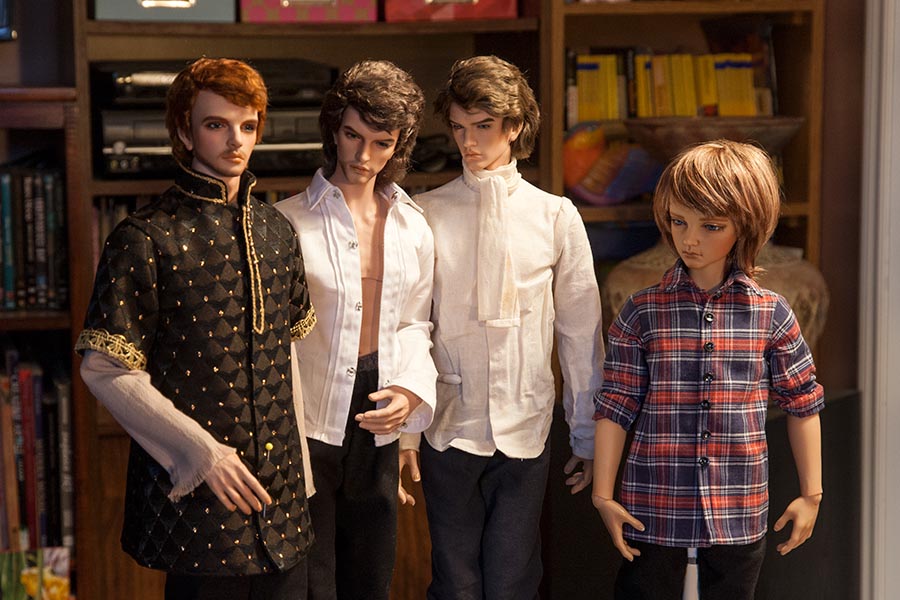
LOL But Rex and Baron looked like they were critically checking out Lawrence's tunic.
Patience guys, it's just a preliminary fitting, and is nowhere near done yet....
Patience guys, it's just a preliminary fitting, and is nowhere near done yet....
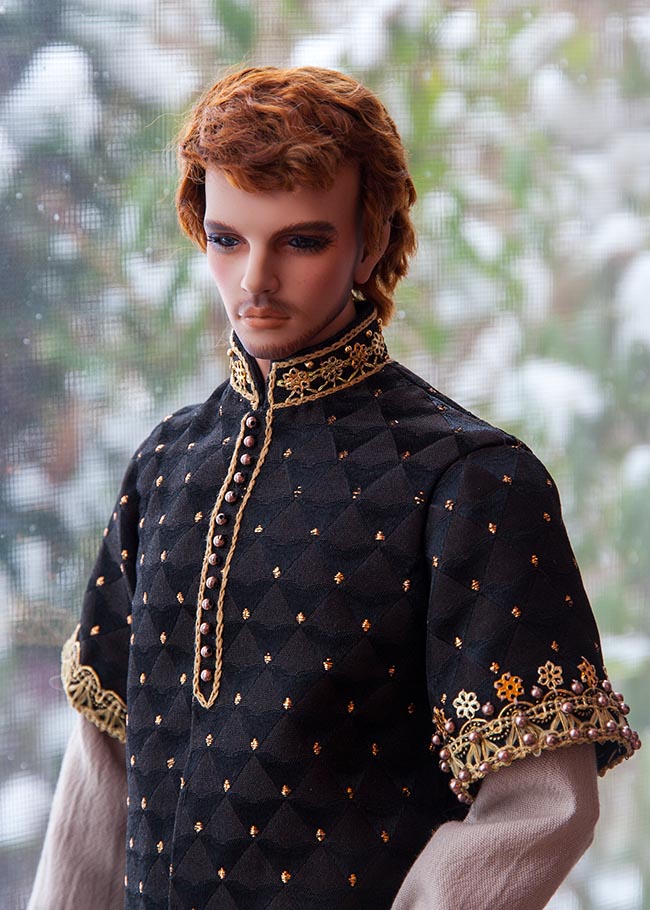
Lawrence's Tunic
The work on Lawrence's tunic was going rather slow. I forgot just how long detailed handwork takes.
I finished the details on one sleeve then couldn't decide whether I liked it or not, whether it was too much, if I should do the other sleeve the same, or just rip it all off.
I finished the details on one sleeve then couldn't decide whether I liked it or not, whether it was too much, if I should do the other sleeve the same, or just rip it all off.
But when I put Kyle's leather tunic on over top, and held the black chainmail over the protective beige under-sleeve, it looked just fine. So, decision made, I embellished the collar with the same tiny medallions....
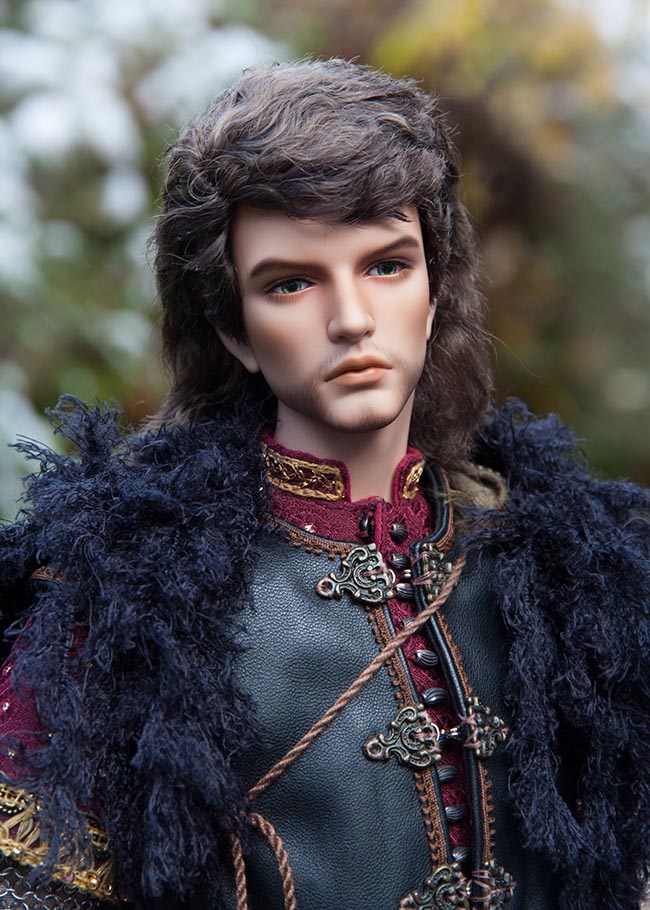
I also made some slight changes to his faceup. He looked fine in real life, but his facial hair photographs way too orange. I had the same problem with one of my KID wigs, so ended up making a new one. But redoing his faceup again isn't an option. Then I remembered that the way to dull down a colour is to add some of the opposite colour. Blue is the opposite of orange, so I did some light blushing of his facial hair with navy blue. So now it photographs a darker brown and not so orange. Much better!
I really liked how his tunic looked under Kyle's leather tunic, but did't want to photograph Lawrence with it on, since so many people just assume it's his finished outfit. I'll get to it after I make the second, wine red tunic for Baron. I figure it's more motivating to work on the two outfits in tandem, as opposed to finishing them one at a time. I know there's a good chance that after finishing one, I wouldn't want to start all over with a second.
So the next morning I reworked the tunic pattern to fit a smaller Model body, and cut it out...
So the next morning I reworked the tunic pattern to fit a smaller Model body, and cut it out...
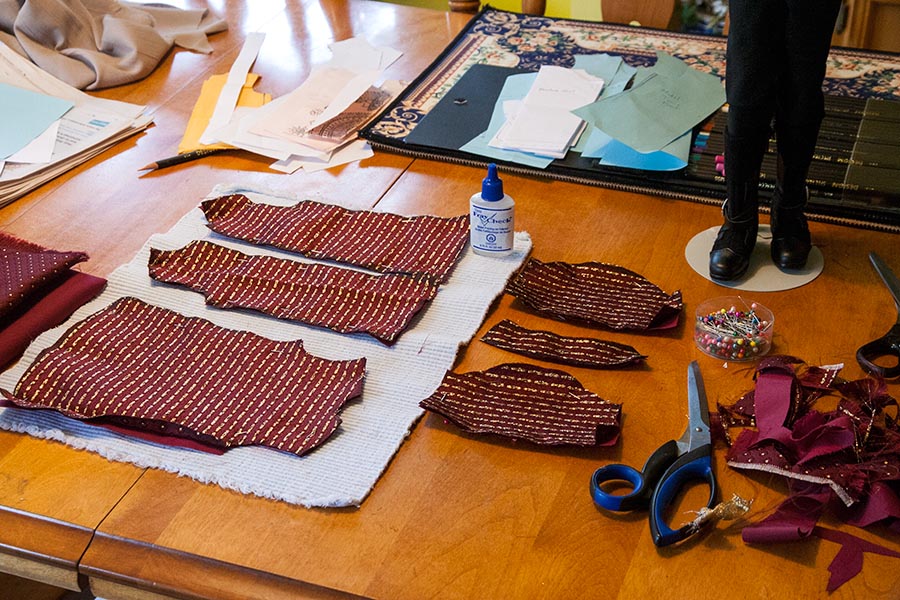
The fabric frayed really badly, so I used Fray Check around all the edges. I was waiting to start sewing it together, because I still had to finish Lawrence's second sleeve.....
Slow Progress
The costumes for Baron and Lawrence had stalled. I was having nothing but problems trying to sew the black leather that I bought recently at Michaels. It seemed thin enough at the time, but it turned out that it's a bit thicker than the leathers I usually use. But I was determined to try.
I just cut out one tunic, intending to see how it would turn out before starting the second one. I usually prefer to do them all at once if I'm working on more than one of something, but with the leather seeming to be too thick, and Baron and Lawrence being different sizes, I thought I would be better off doing just the one first.
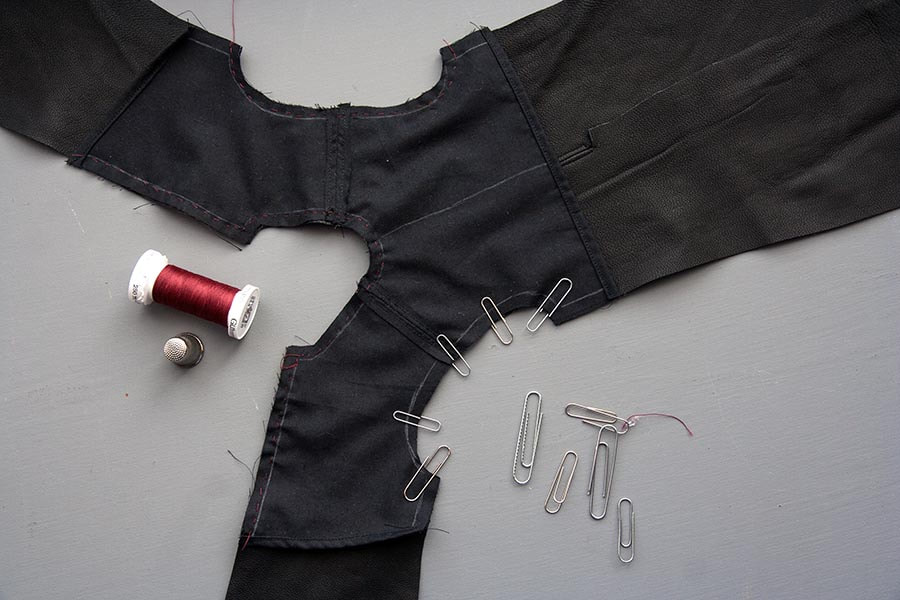
I had to use chalk to trace the pattern templates onto the back of the leather. When I tried sewing it on my machine the stitches just weren't catching, and the leather was slipping. All I got was a row of holes through the leather. I tried another of the three leather needles I had, and then the thread broke after just two stitches. I guess there must be some sharpness inside the needle eye.
I thought it might help if I basted the leather pieces together first, which took some time. Then I tried the last leather sewing machine needle, and it sewed just fine. So I basted on the black cotton facing, and because you can't exactly use pins when working with leather, I used paper clips....
I used a contrasting colour thread so I could see it better to remove it afterwards. After I sewed everything on the machine and turned it right side out, it became clear that the leather really was too thick. The shoulder seams especially were way too bulky, and it had been hard enough to hand sew through two layers of leather, and would be even harder through four. So it was time to give up and move on to something else - either a thinner leather, or some faux leather.
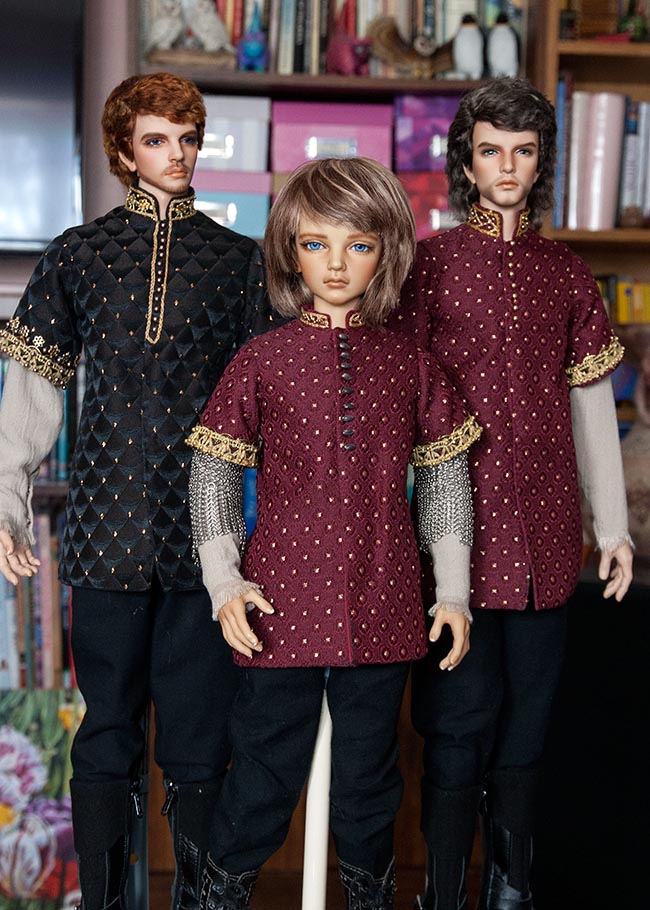
In the meantime Baron and Lawrence did have their brocade tunics almost finished.
In the meantime Baron and Lawrence did have their brocade tunics almost finished.
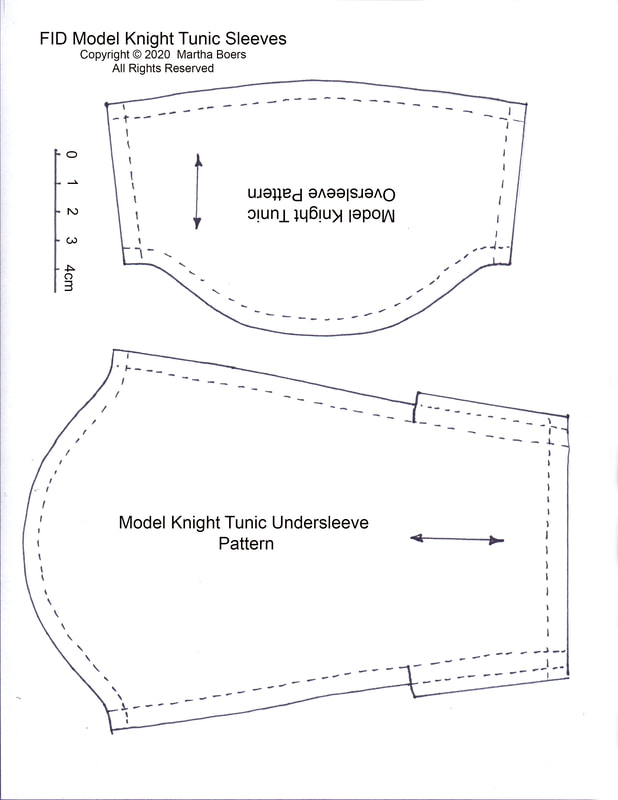
They still needed their chainmail sleeves, but then I was thinking, because the black chainmail I wanted to use for Lawrence was rather stiff and didn't much like being bent - as when an elbow bends - I might be better off sewing a leather strip around the top of the chainmail sleeve and having it attach with snap fasteners to the under-sleeve, up under the brocade over-sleeve, so he didn't always have to wear the chainmail.
Anyways, I was hoping to get some black leather or faux leather soon so I could continue.....
Anyways, I was hoping to get some black leather or faux leather soon so I could continue.....
Lawrence's Surcoat
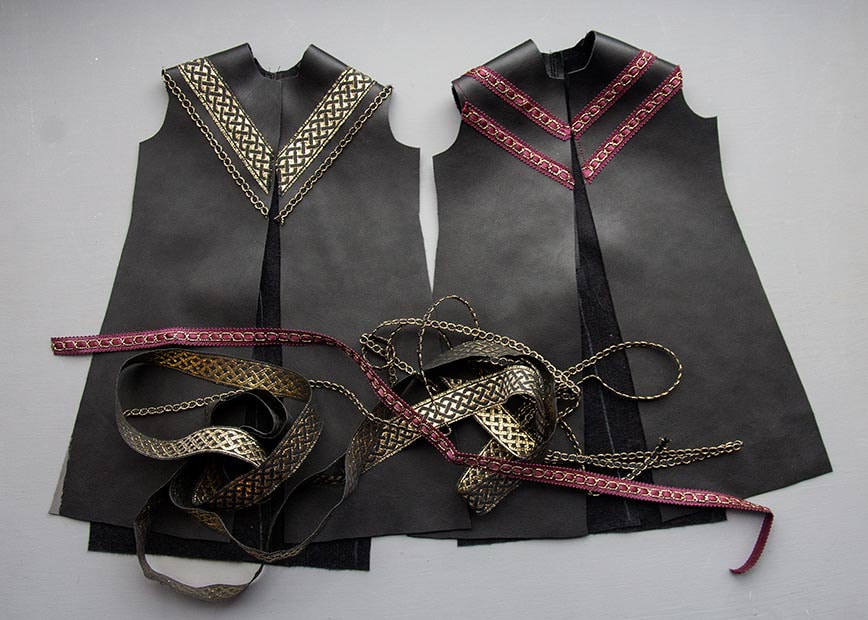
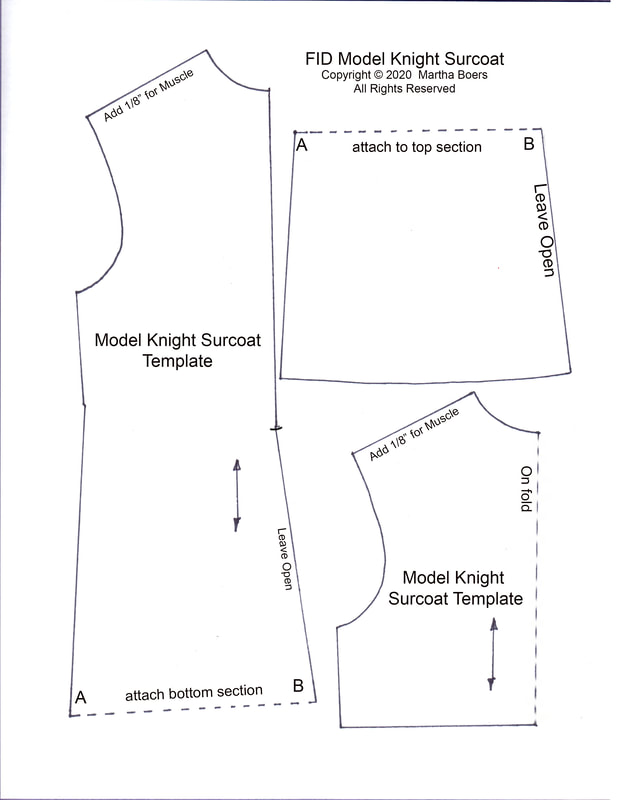
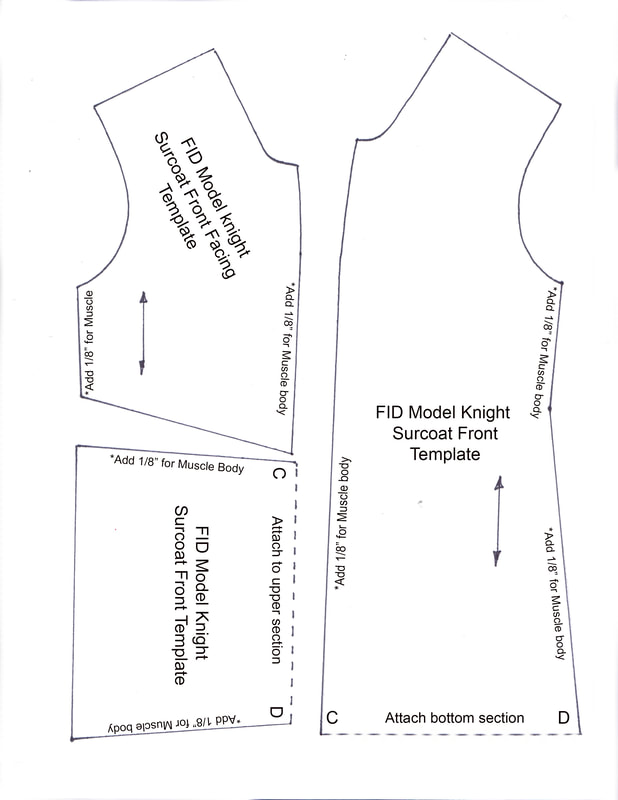
I was finally able to go to the fabric store and check out their faux leather. It looked perfect to me, and bonus, it was even on half price! So I got half a metre. I cut out two new surcoats, sewed the shoulder seams and sewed on the respective trims. The trims came out of my ever-shrinking stash, and it looked like I would have enough of the ones I wanted to use. Just barely.
After both surcoats were sewn together, I decided to focus primarily on Lawrence's surcoat....
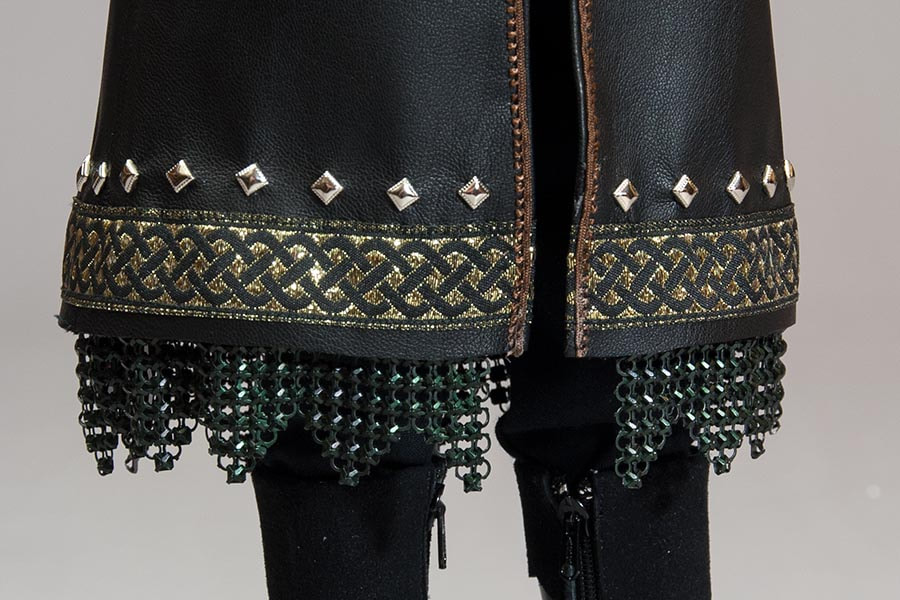
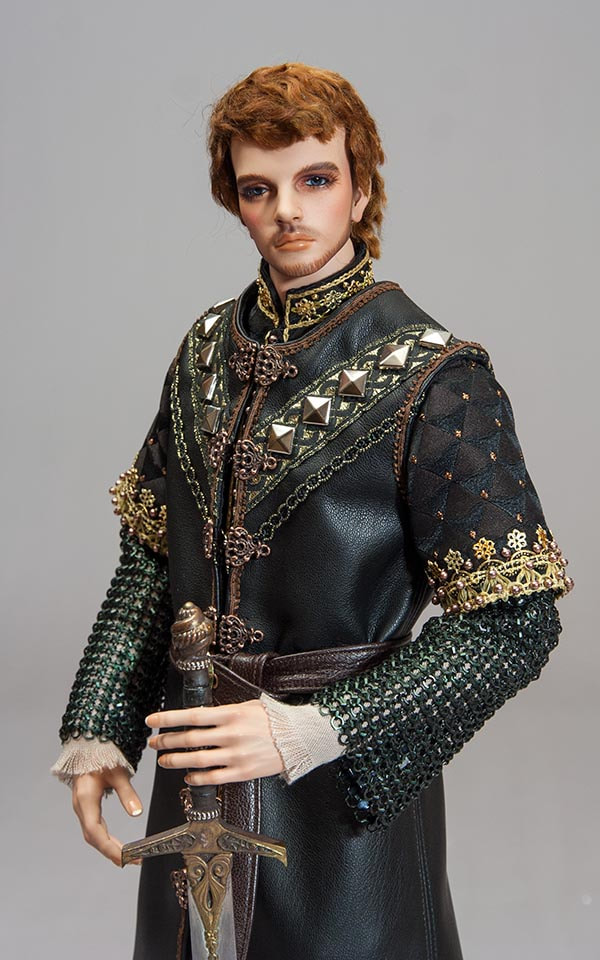
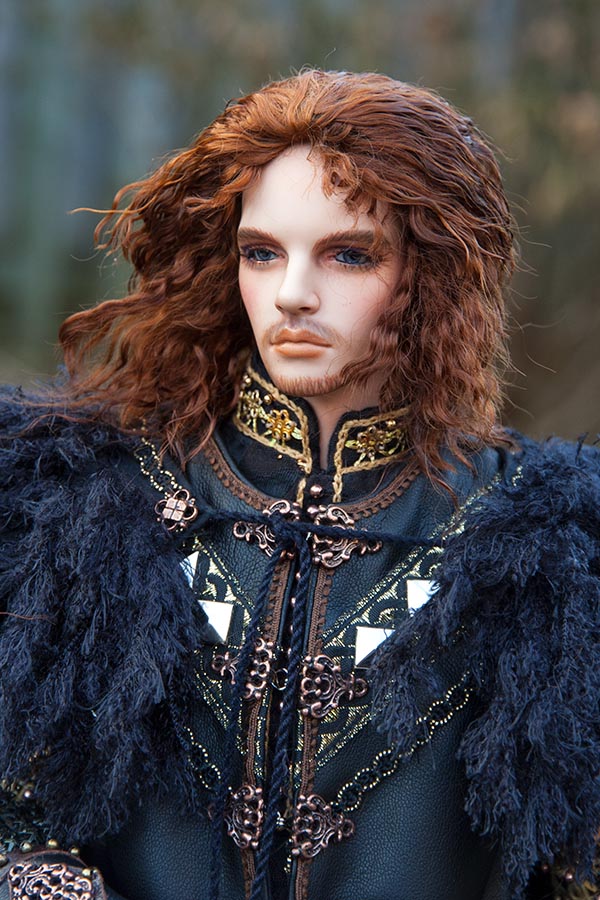
I hand-stitched the brown picot edging all the way around, and started sewing the filagree with hook fasteners underneath down one front edge. I also thought the gold trim needed 'something', and I had some silver studs the perfect size.
Then came the hard part - sewing the hooks and filagree on the opposite side in exactly the right places. And then it would be time for the chainmail. Unfortunately the black mail I wanted to use for Lawrence's outfit did not seem to have the same flexibility as the stainless steel mail - It looked like he wouldn't be able to bend his elbows - so both outfits would need the stainless steel one. I just had to figure out how to make four sleeves and a collar fit out of the two pieces of chainmail I had.
Then came the hard part - sewing the hooks and filagree on the opposite side in exactly the right places. And then it would be time for the chainmail. Unfortunately the black mail I wanted to use for Lawrence's outfit did not seem to have the same flexibility as the stainless steel mail - It looked like he wouldn't be able to bend his elbows - so both outfits would need the stainless steel one. I just had to figure out how to make four sleeves and a collar fit out of the two pieces of chainmail I had.
Chainmail Dilemma
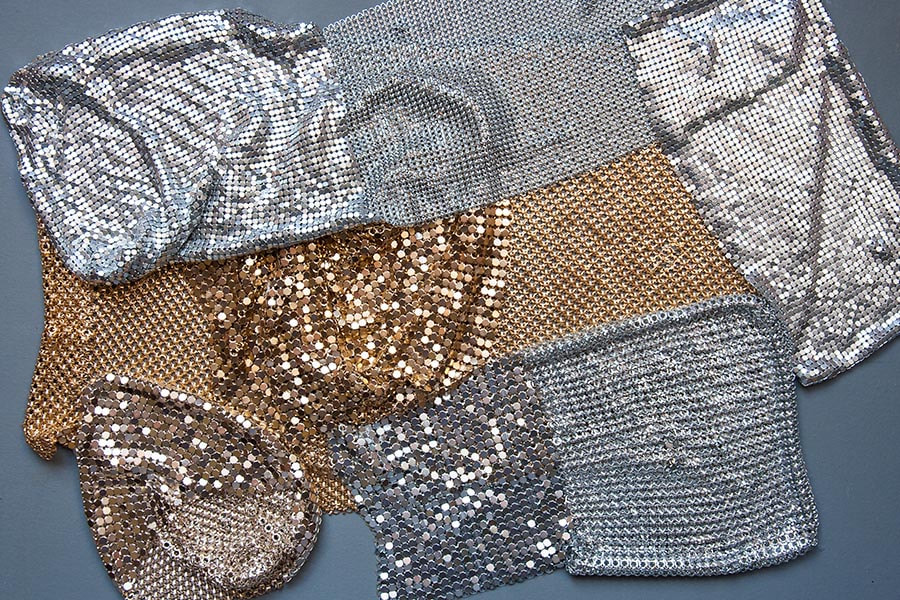
I had some stainless steel chainmail from a butcher's glove one of my sons gave me several years ago. And I had been buying chainmail clutch purses at Vale Village and taking them apart. They have rows of shiny metal circles on the right side, but I was more interested in the wrong side, which looked more like traditional chain mail. I'd only seen it in silver and golds.....
But right when I was starting to get inspired to start these costumes, I came across a clutch purse with black chain mail, and of course I had to get it. I thought it would be nice for Lawrence's outfit, which I had envisioned all in black and gold.
Surcoat and Chainmail
I was all excited about Lawrence's costume and was making good progress on it.
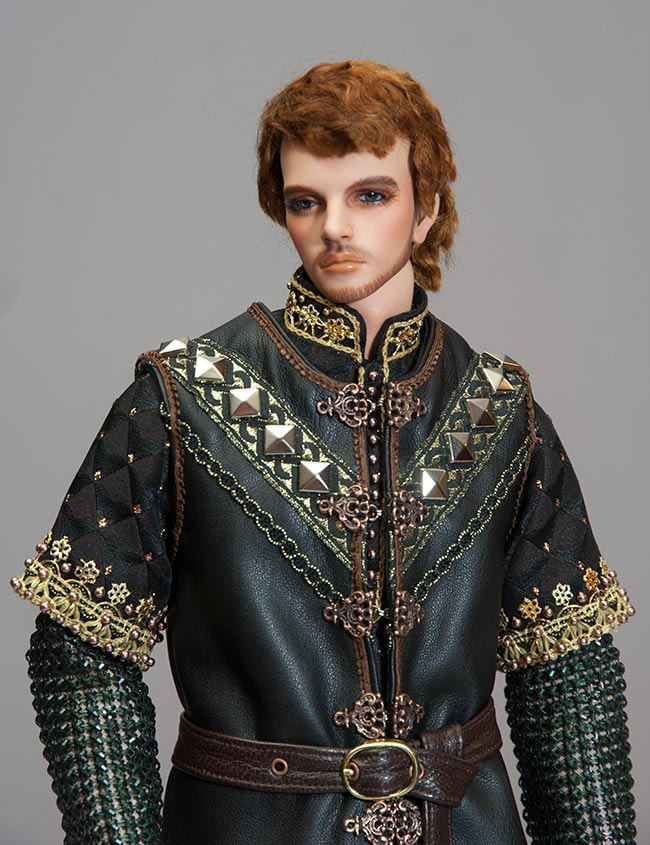
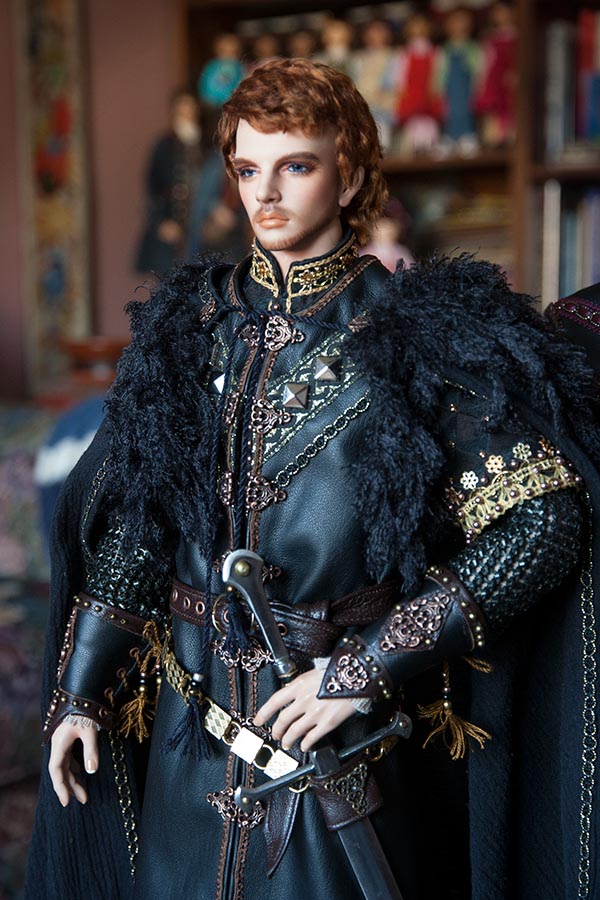
I had really wanted to use the black chainmail, so thought I'd just try and make one sleeve and see how it worked. It worked perfectly! It was way more flexible than I had expected, so I could use it after all. So I made another chainmail sleeve and sewed them onto the under sleeve, up under the over sleeve.....
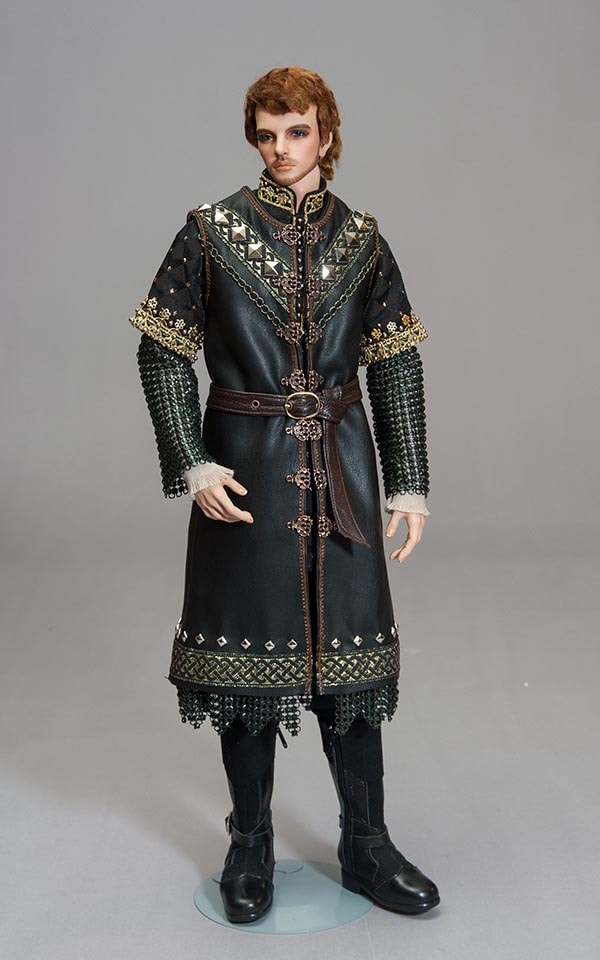
After making the sleeves, I had enough left over to make some hang out from under his surcoat. At first it was just a flat strip, but it seemed a touch too long, so I removed parts of it and turned it into a pointed edge.....
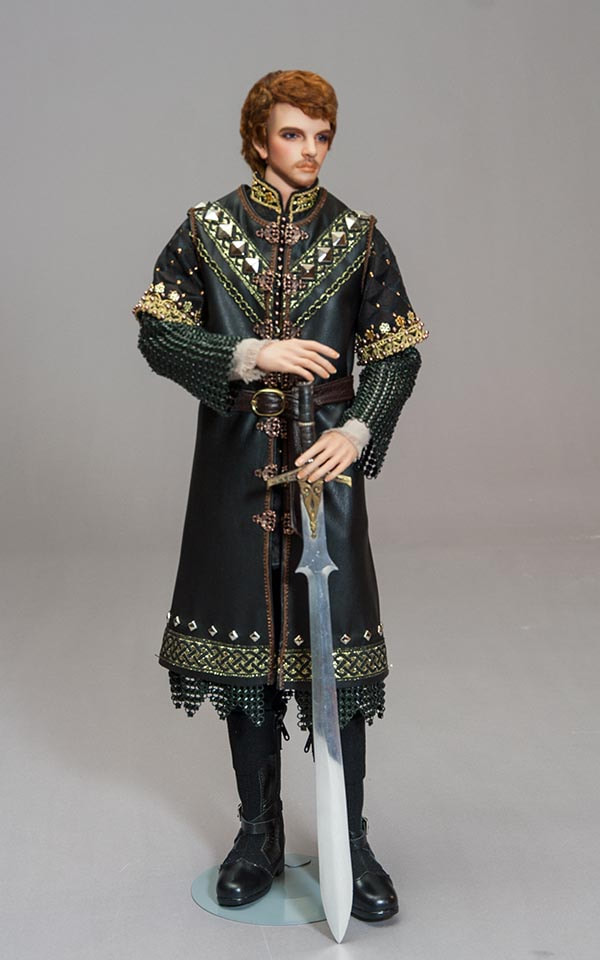
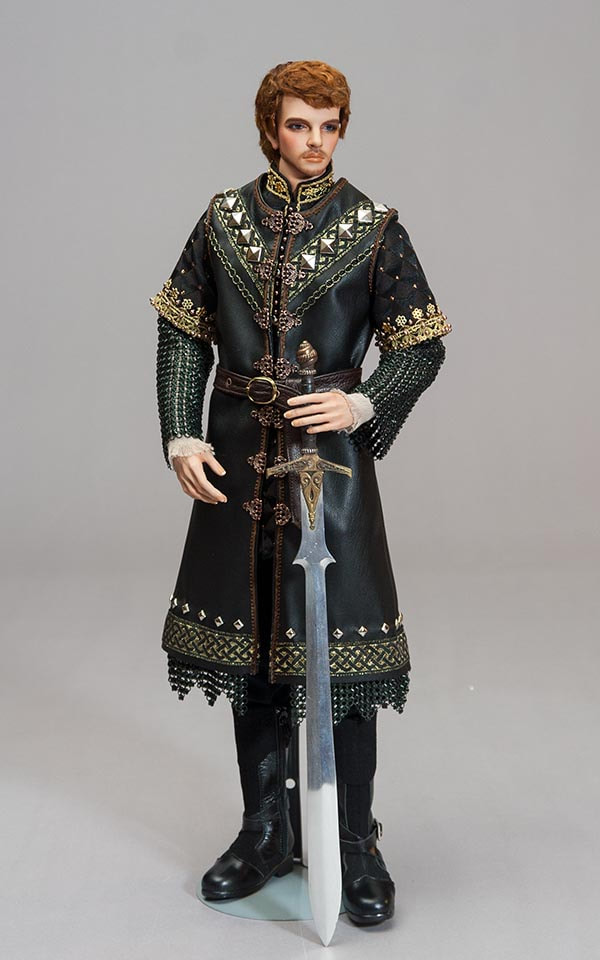
I wanted to see him with a sword, so borrowed one from Macbeth, in the display case. I figure he wouldn't mind, as long as I gave it back. Then to help show off all the details of his outfit so far, I took these photos in the studio....
Wrist Guards
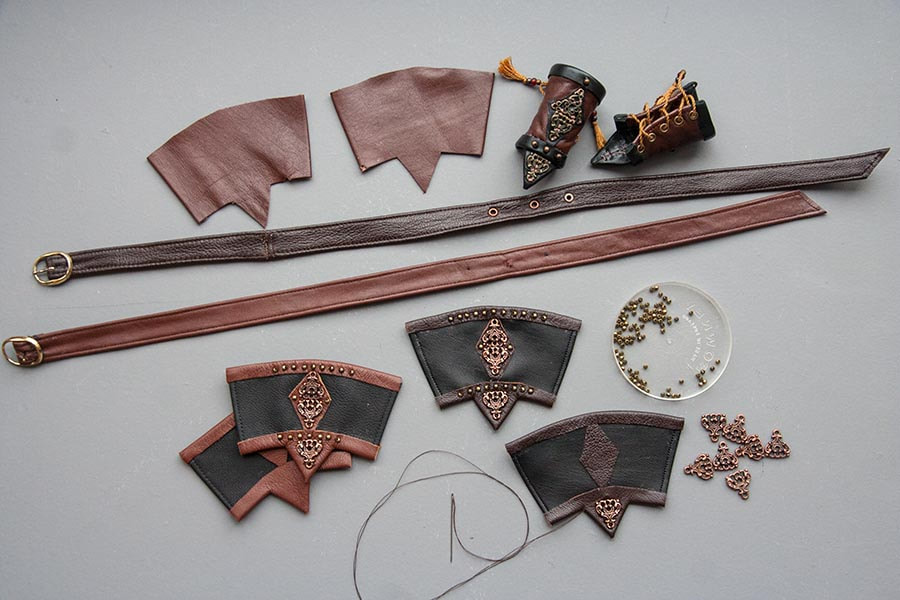
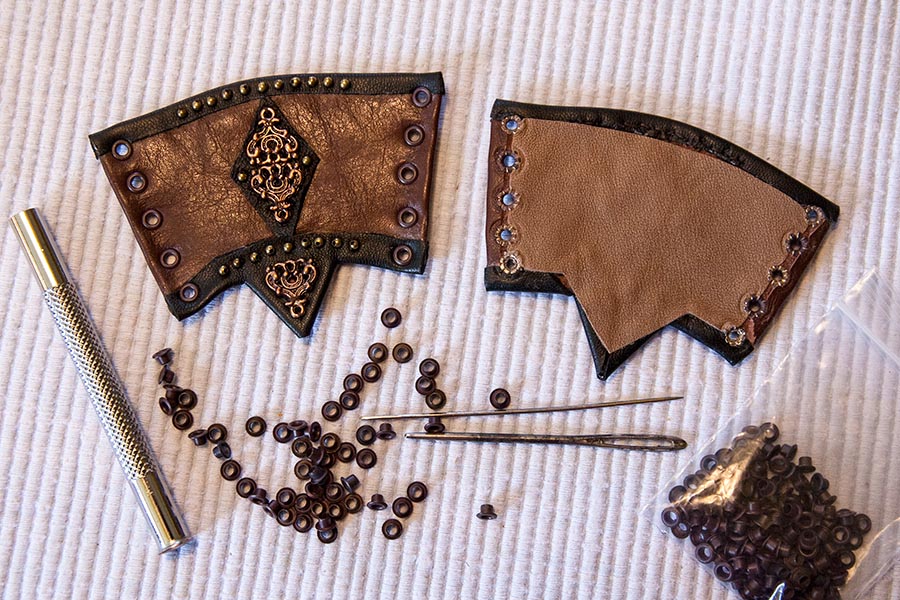
I was working on his wrist guards, but changed my mind twice. The ones Kyle has have black edges on a medium brown background, but when I tried them on Lawrence, it didn't look good to have the black edging against the black chainmail. So I switched the colours. I even made a lighter brown belt to match. But they just looked too 'orange', and very much the colour of his hair (my camera blows out anything orange) and stood out way too much. So I started all over again with a darker brown edging, and the original belt. Plus I'd used the thicker black leather that time, and it was very difficult to sew, so I cut the next pair out of the black faux leather. I worried that the dye might stain the resin if it touched Lawrence's hands, so I glued a very thin layer of beige leather on the insides before setting the eyelets.
I just wished the metal filagree pieces I was using were brass instead of copper, since my camera makes them look rather 'orange', but it's all I had, and I can't get the other anymore.
So they will just have to do. I may consider toning them down by 'antiquing' them with some paint. I'll decide later.
So they will just have to do. I may consider toning them down by 'antiquing' them with some paint. I'll decide later.
One Done, Another to Go
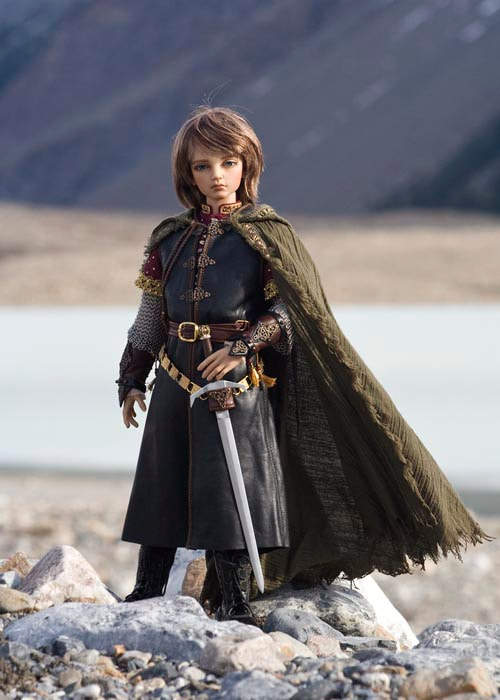
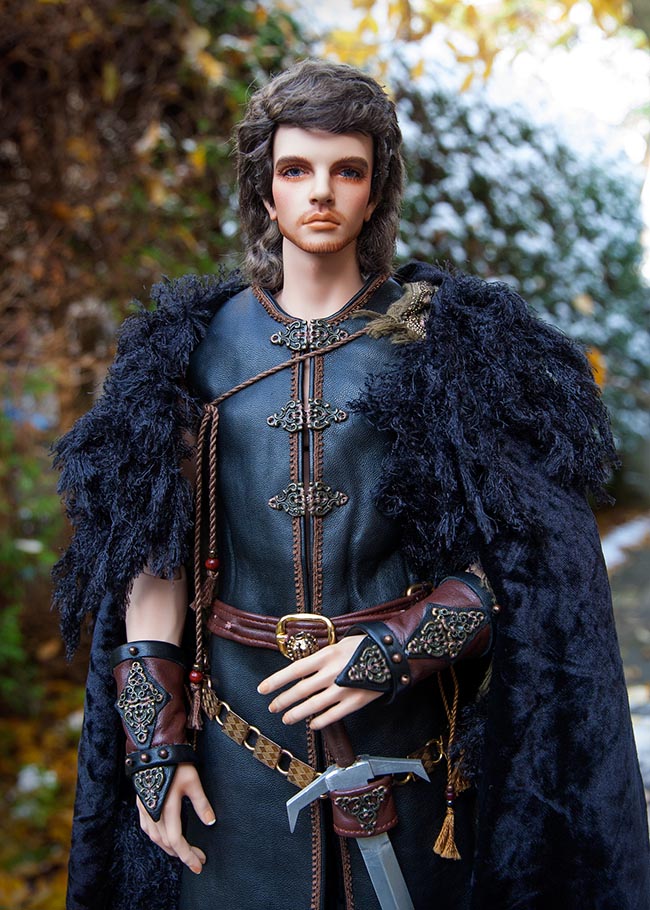
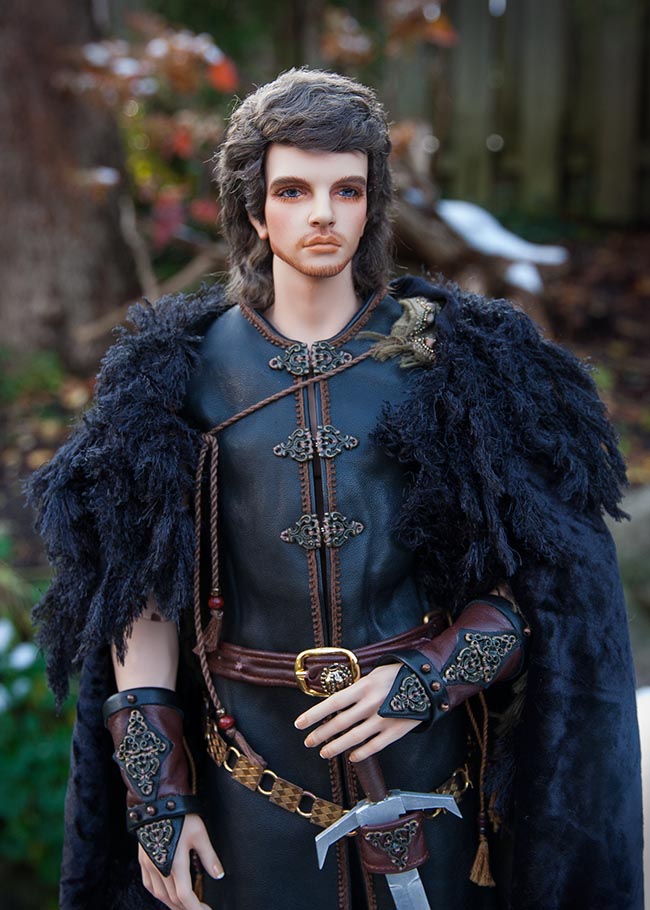
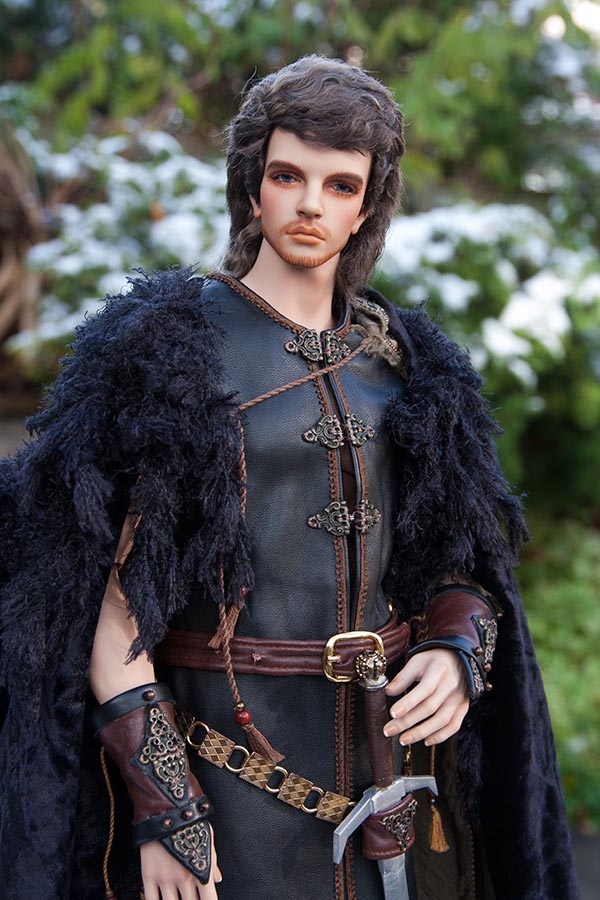
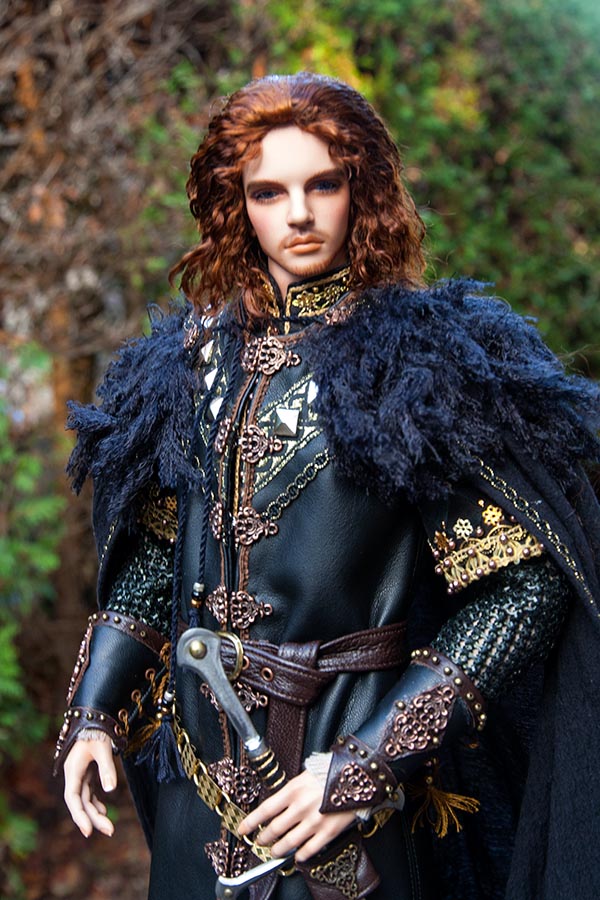
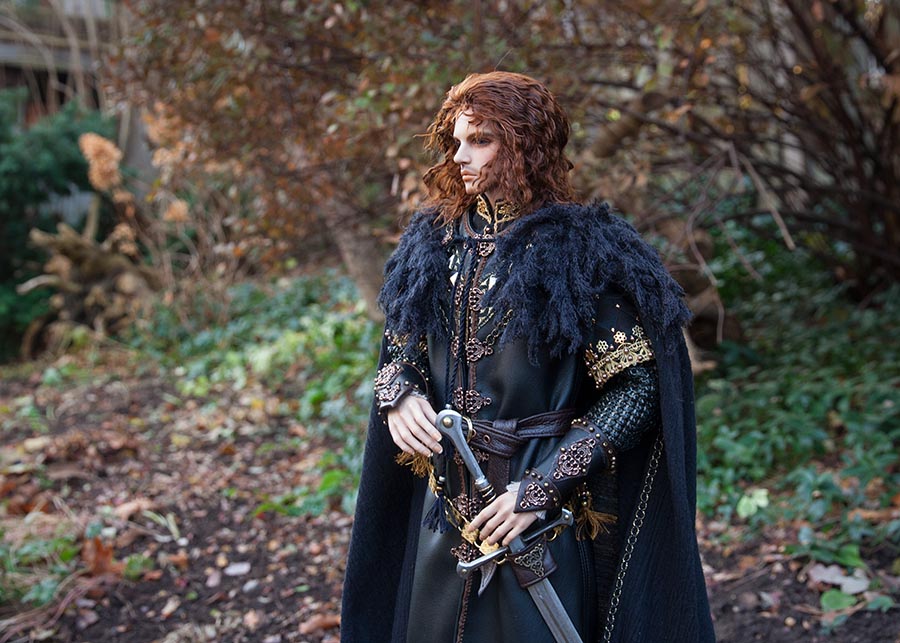
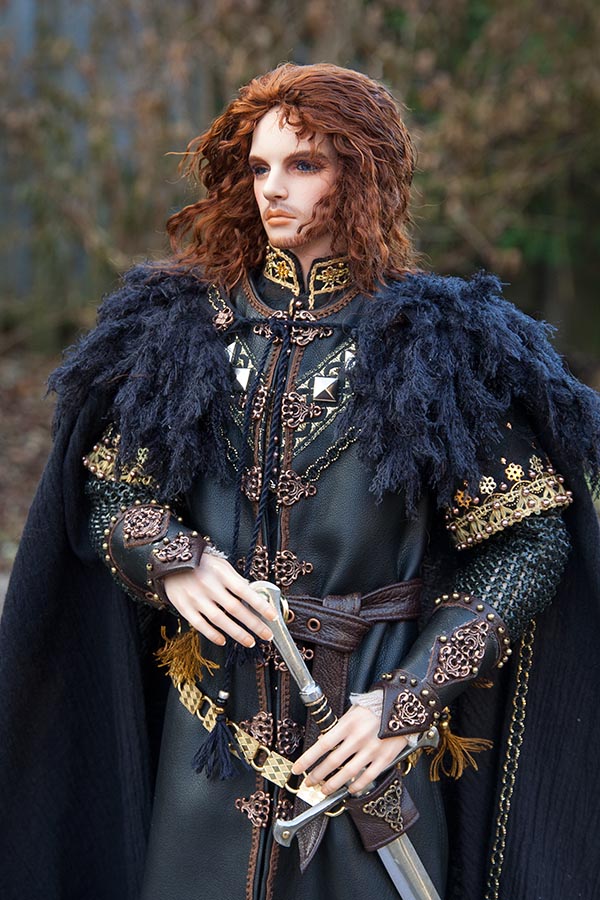
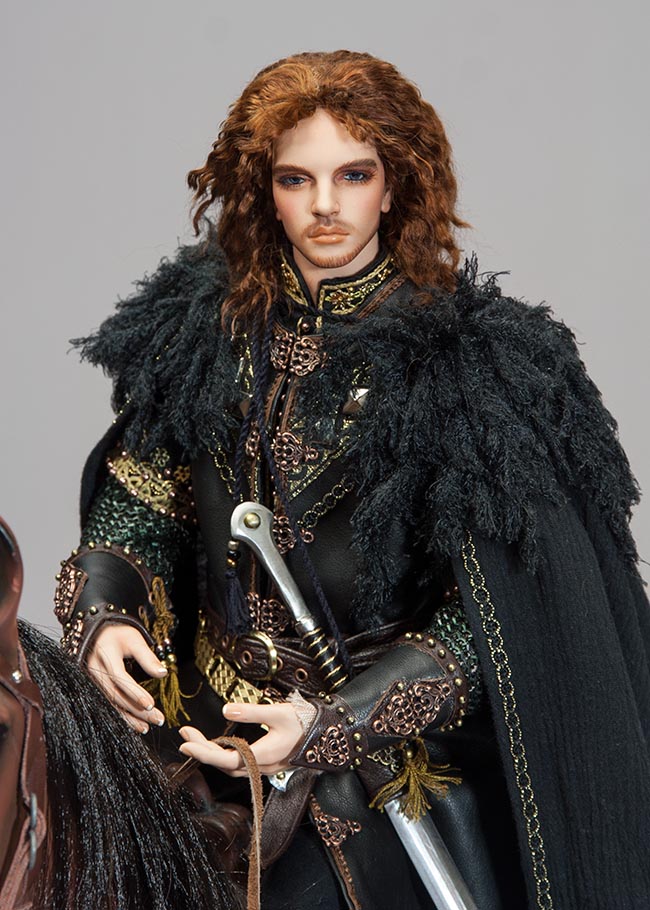
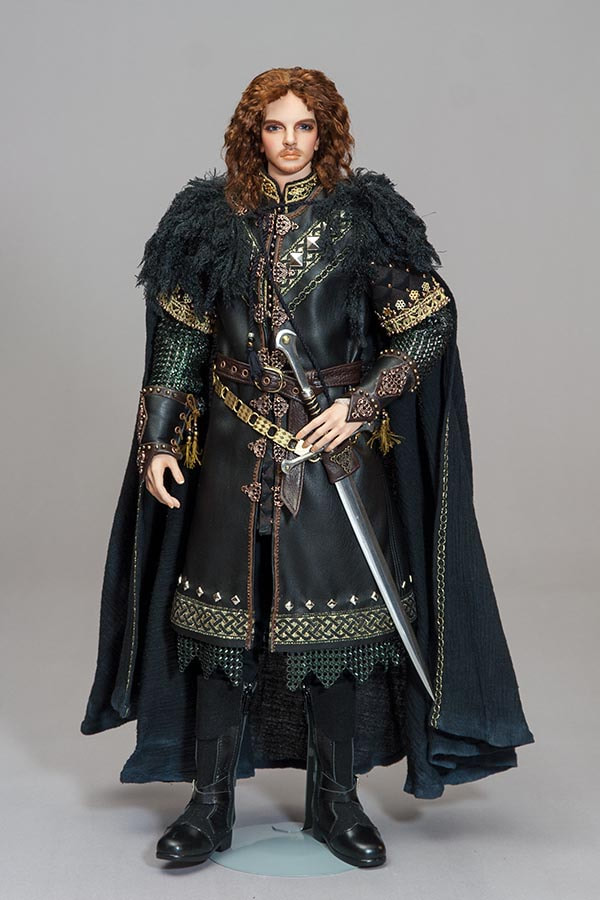
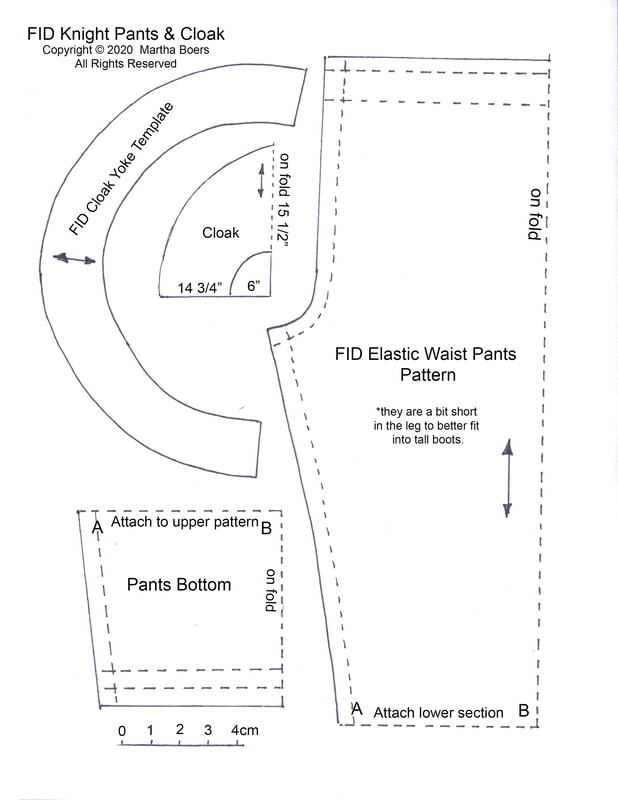
Lawrence's outfit was finally finished. I made his wrist guards, a cloak, and a belt for his sword.
The sword was made by Mason Leggee, who forged it from a big nail.....
The sword was made by Mason Leggee, who forged it from a big nail.....
And now that Lawrence was done, I could continue with Baron....
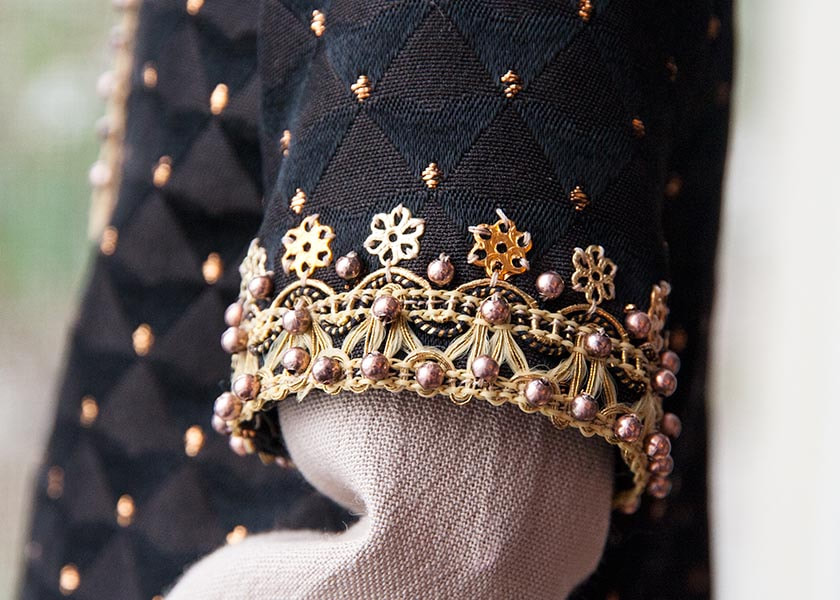
I hand-stitched the brown picot trim around the front edges. It's not perfect, and I couldn't get the one longest piece to fit all the way around, so I inserted a shorter piece towards the top where the metal filagree will cover the joins....
Another Wig for Lawrence
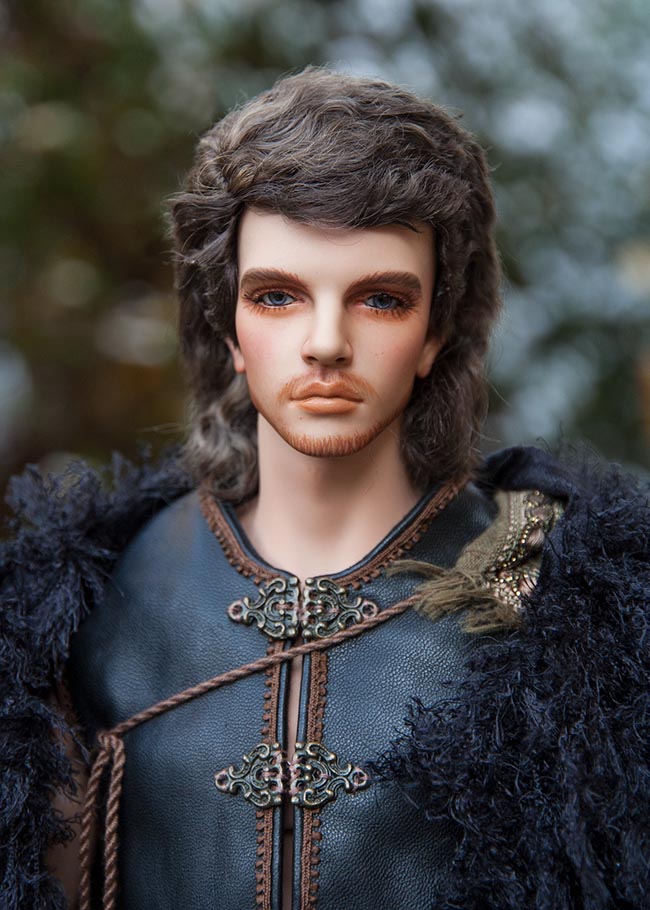
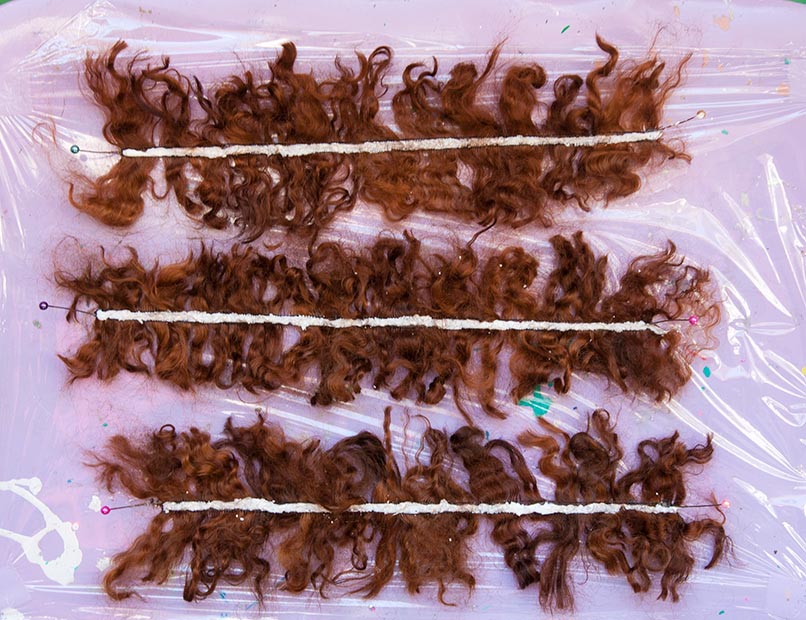
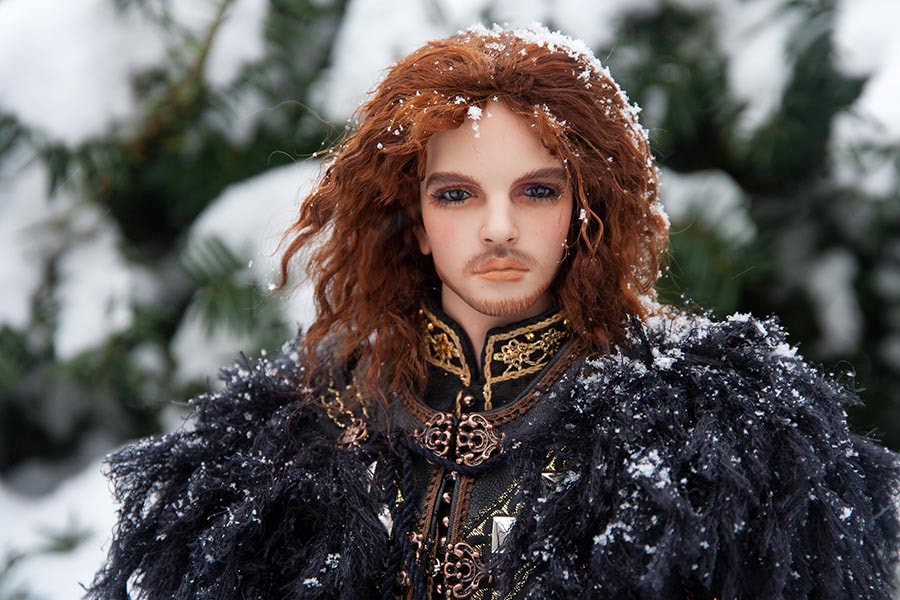
I had envisioned Lawrence as a rugged character much like some from Game of Thrones, so wanted a longer wig. I sewed the fringes from the same mohair that I'd used for his other wig. It's the same 'Dark Antique Brown' from a goat named Pharaoh....
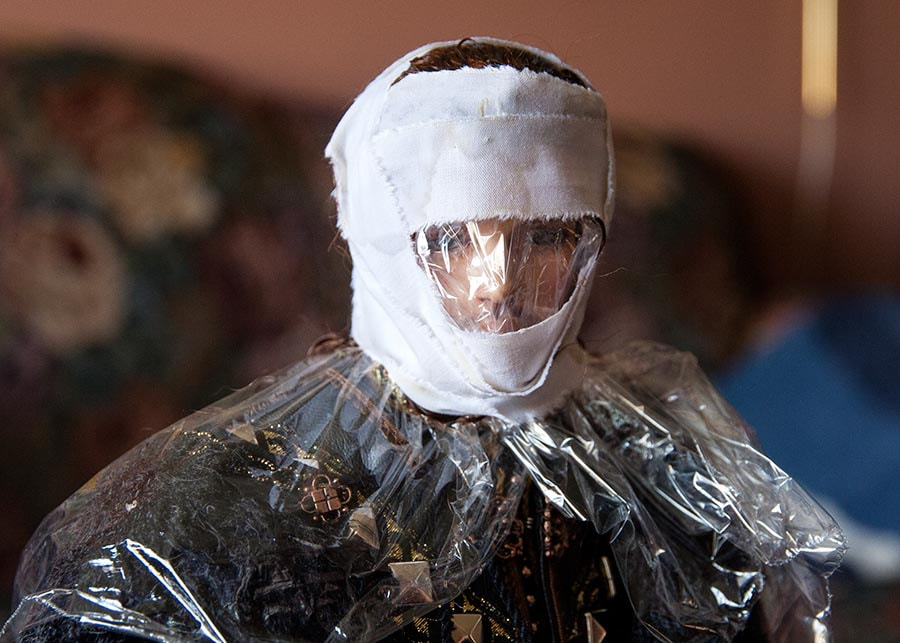
I find making wigs very stressful, and this one was especially so, since I knew pretty much what I wanted it to look like, and I wanted it to be perfect. So I glued all the wefts onto the wig cap, combed and styled it with hair gel, then wrapped it with cotton strips to help hold the style in place as it dried. (note he has plastic wrap over his head to protect him from the hair gel)
I'm not very patient when it comes to letting wigs dry, so unwrapped him after a few hours, and started fussing with the wig again. I find it's best to stop when it looks half decent, and continue at a later time. After all, if one cuts too much off, it can't be put back on.
So I took him outside for some photos....
So I took him outside for some photos....
Then the wind caught him....
Chainmail & Wrist Guards
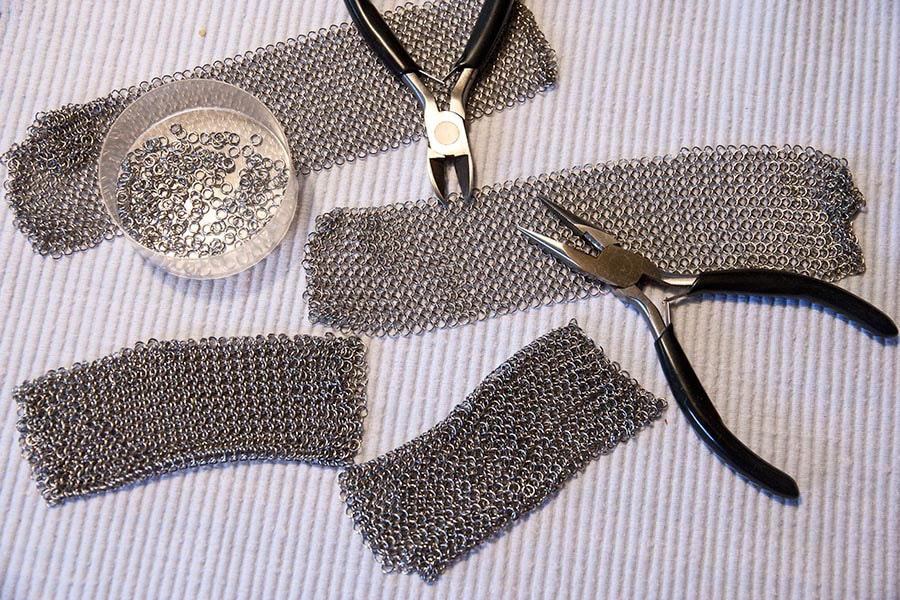
It was time to make Baron'e chainmail. I had pieces from a stainless steel butcher's glove that one of my sons gave me many years ago. Two sets of fingers had already been cut off and opened up to make chainmail sleeves on two other costumes. But this time I'd have to cut and reattach the mail to make the sleeves.
I bought some packages of jump-rings at Micheals in hopes that I'd be able to do a decent job putting the mail back together. I tried several times to follow the traditional chainmail pattern but just couldn't do it. Each tiny jump-ring needs to go through four other rings. In the end I just decided to loop the rings on opposite sides together with the new jump rings....
I bought some packages of jump-rings at Micheals in hopes that I'd be able to do a decent job putting the mail back together. I tried several times to follow the traditional chainmail pattern but just couldn't do it. Each tiny jump-ring needs to go through four other rings. In the end I just decided to loop the rings on opposite sides together with the new jump rings....
The piece I wanted around Baron's neck was even more challenging. I didn't have a long enough piece, so had to attach two pieces together, but the 'looping' method didn't look very good, so I undid it and ended up just sewing the ends together with silver thread. One thing for sure, the other mail, like I used for Lawrence, was infinitely easier to work with.
Once the sleeves were sewn over the under sleeves, it was time to tackle the wrist guards. The ones I had started several days earlier, using the thicker black leather, were way too hard to sew through - even with a leather needle. Plus they were a bit too wide. So I ended up starting over yet again. After gluing on the black edges, and doing the beading, I glued a very thin beige leather on the inside to prevent any dye from potentially discolouring Baron's hands....
Once the sleeves were sewn over the under sleeves, it was time to tackle the wrist guards. The ones I had started several days earlier, using the thicker black leather, were way too hard to sew through - even with a leather needle. Plus they were a bit too wide. So I ended up starting over yet again. After gluing on the black edges, and doing the beading, I glued a very thin beige leather on the inside to prevent any dye from potentially discolouring Baron's hands....
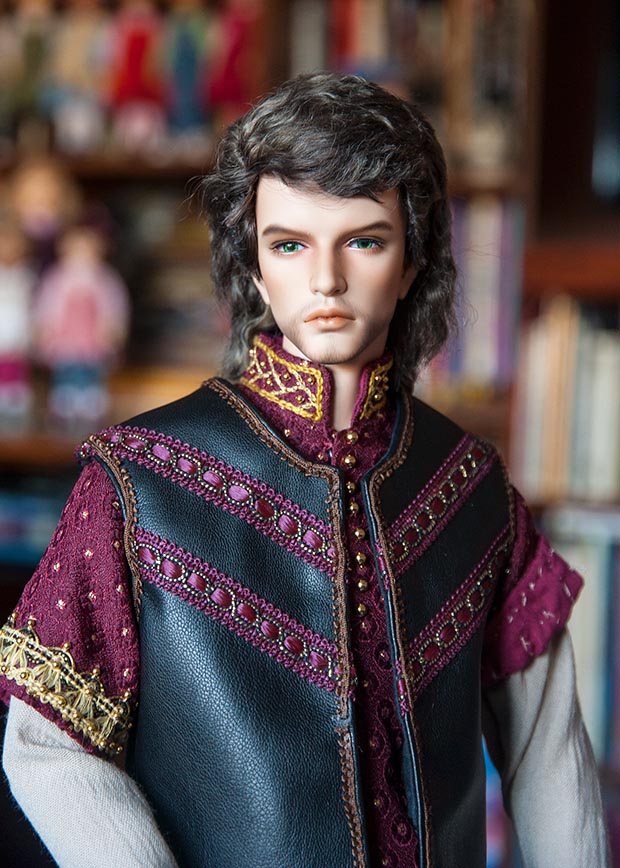
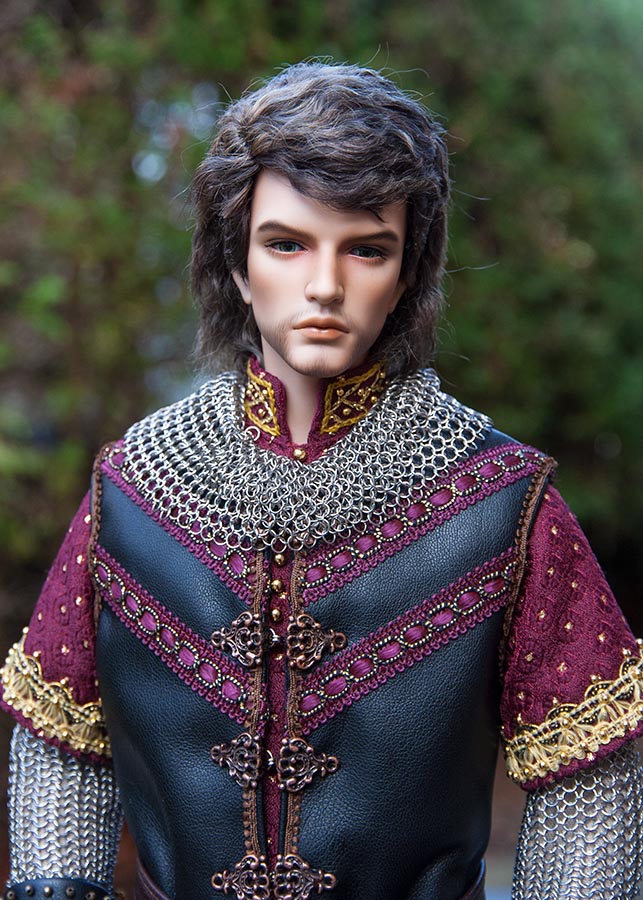
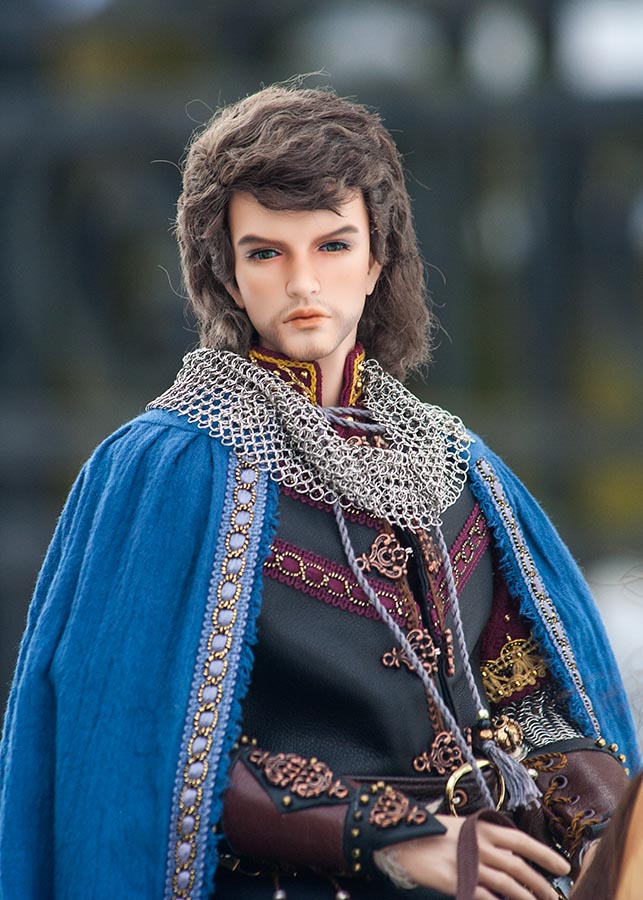
With Baron's chainmail and wrist-guards finished, it was time to take a photo....
Two Guys
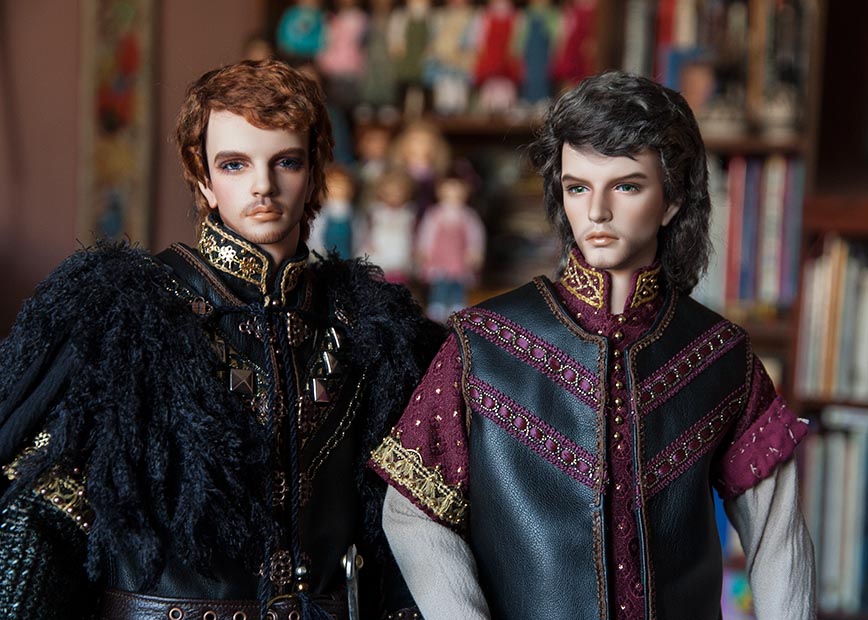
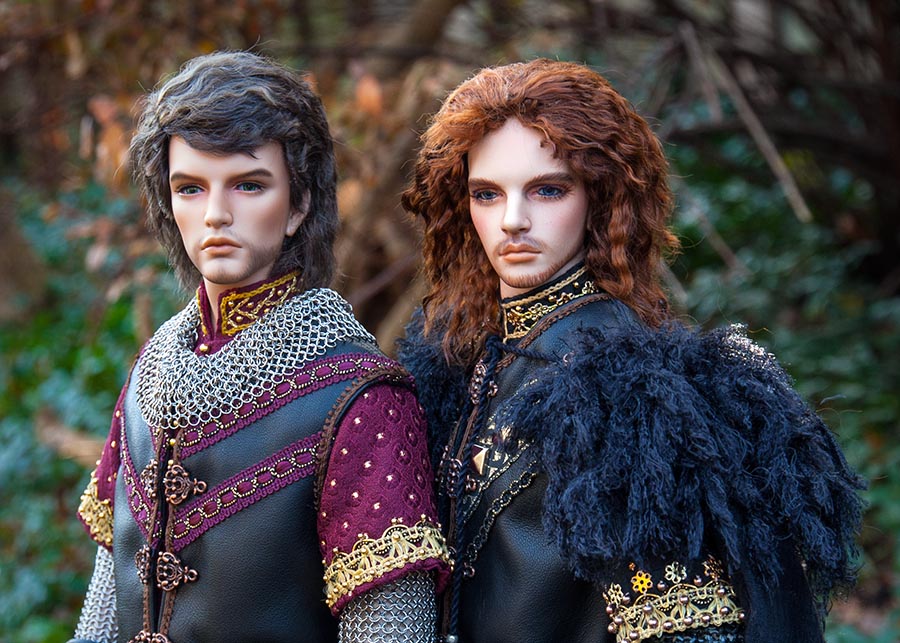
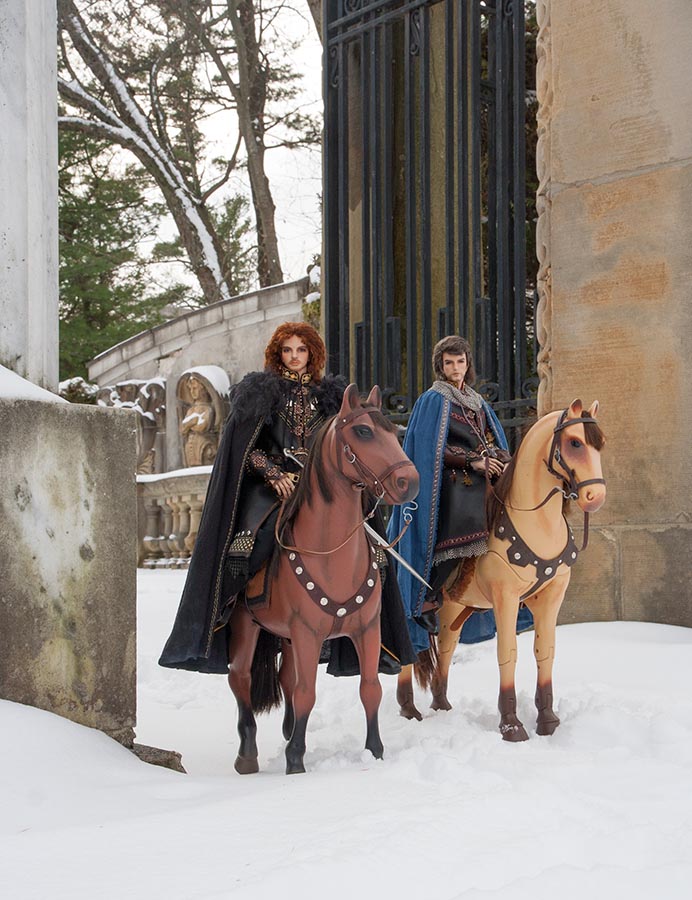
Then some more photos with both of them together.....
Studio Photos
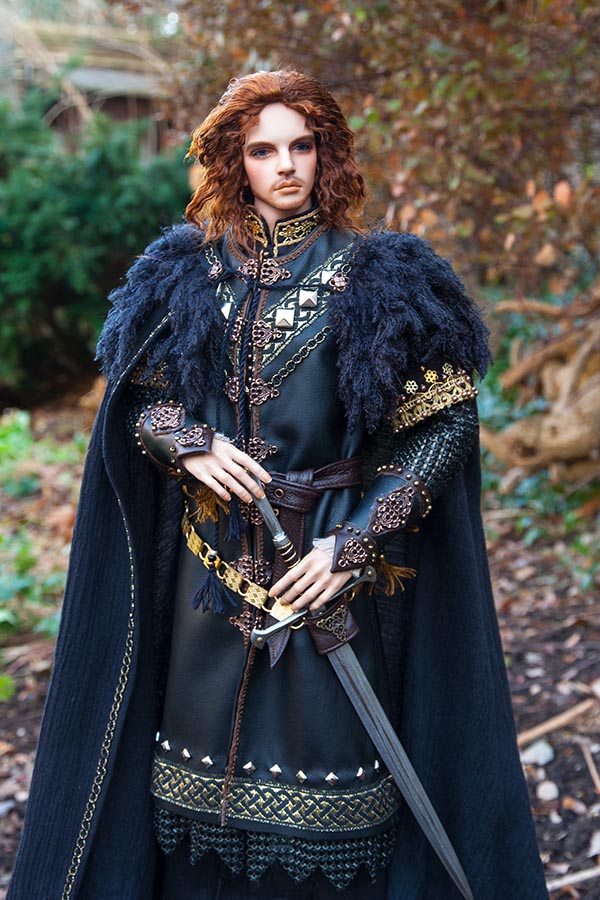
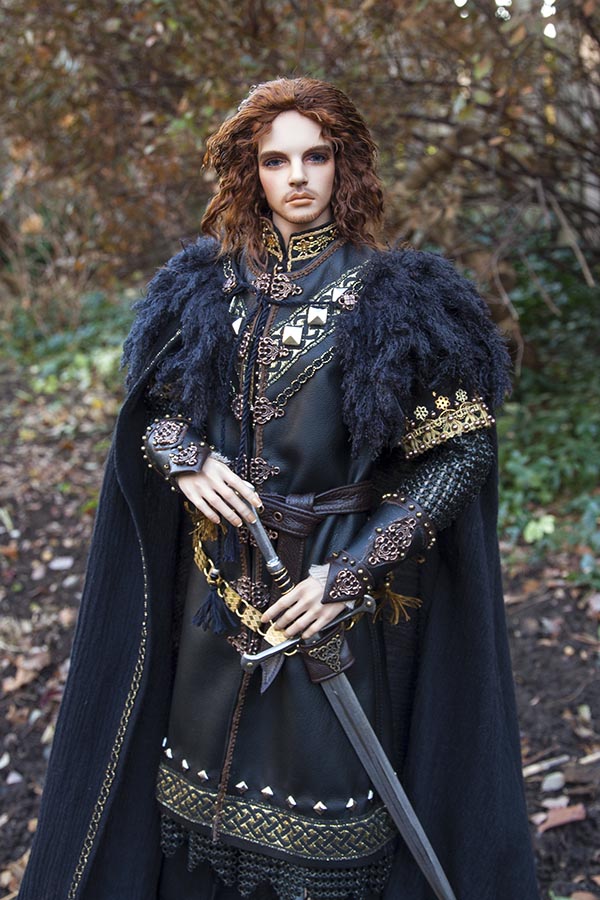
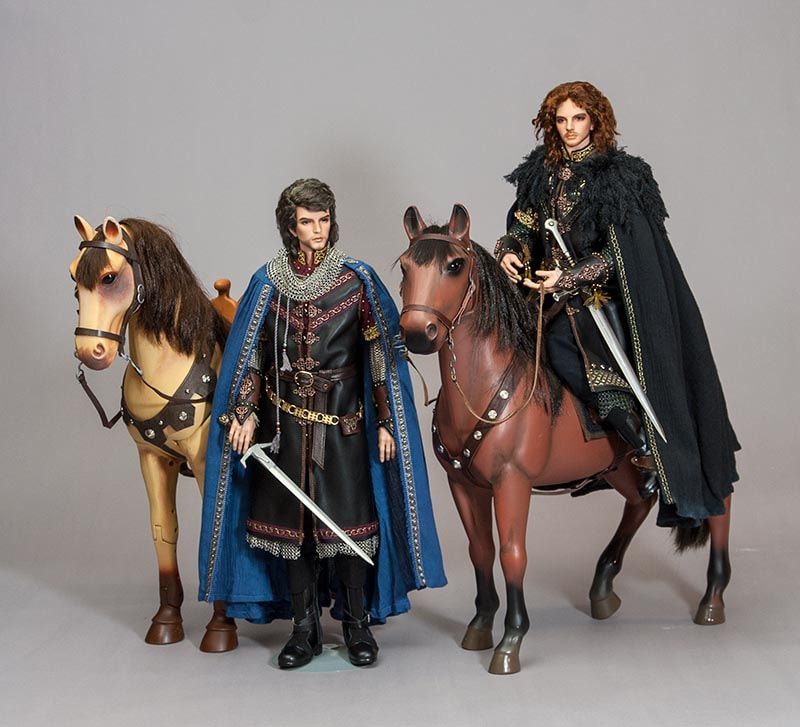
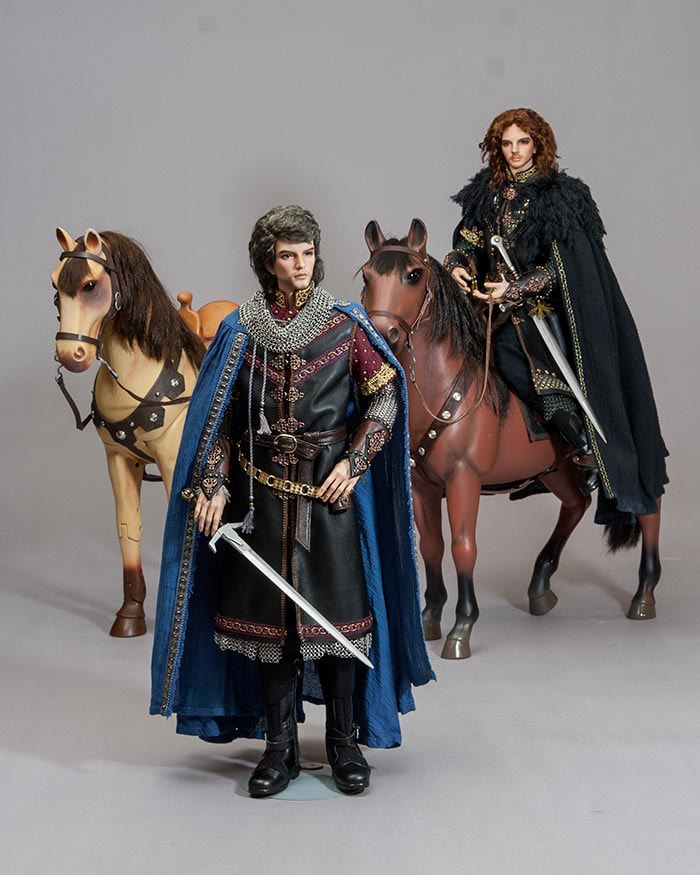
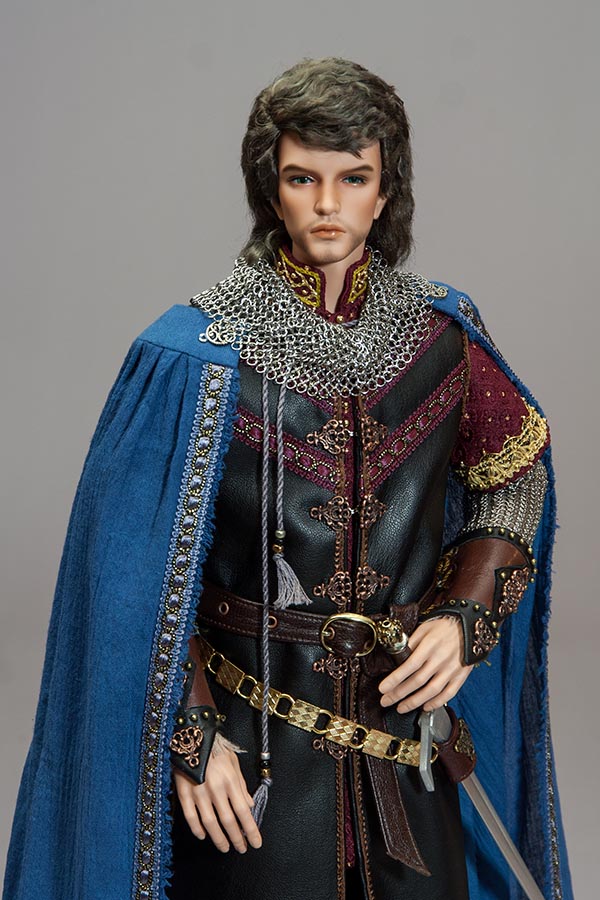
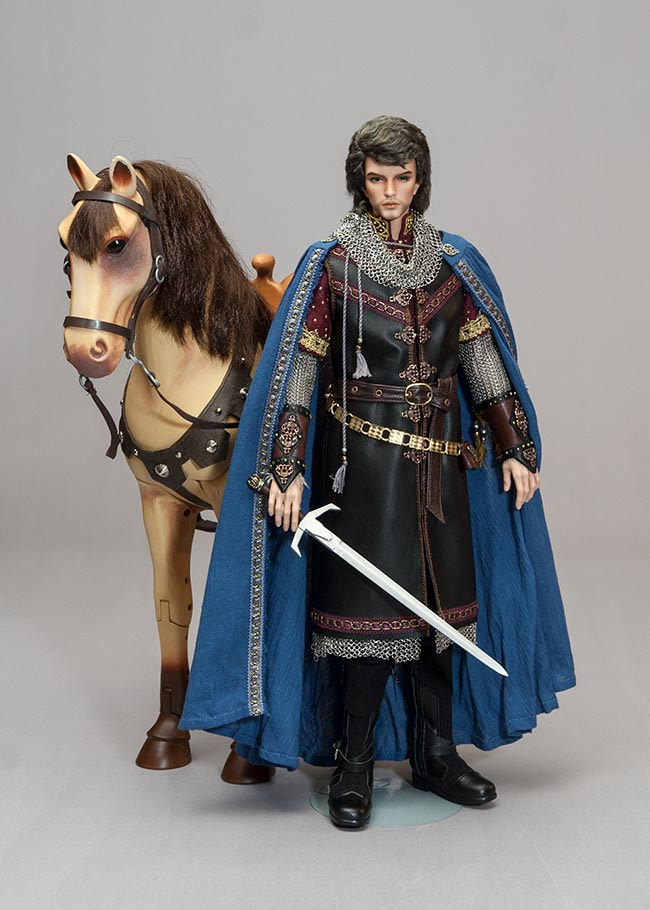
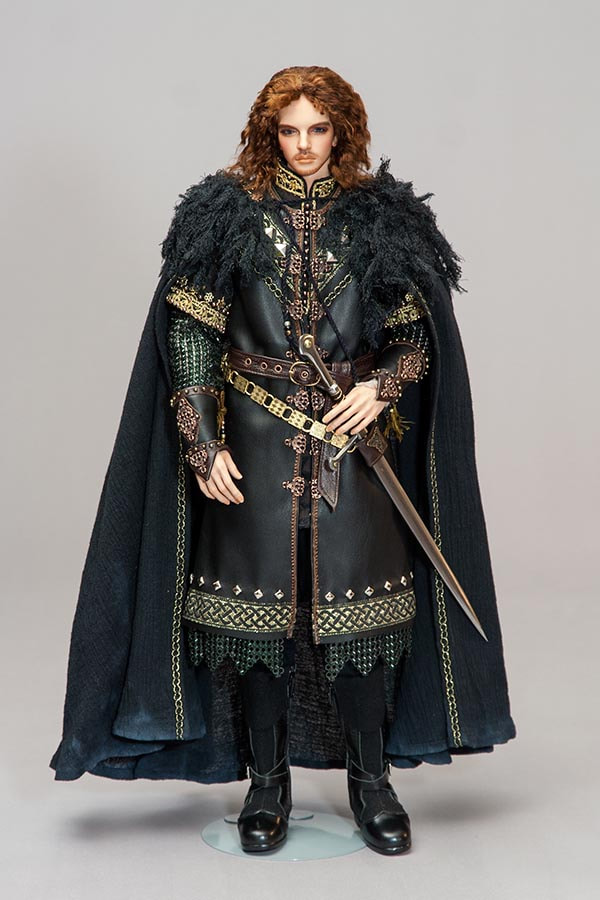
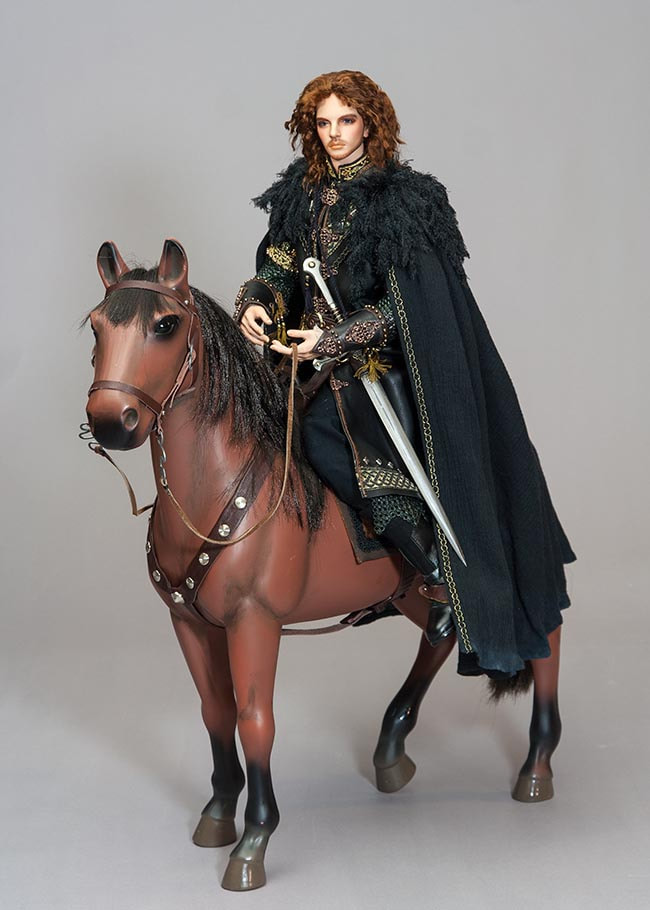
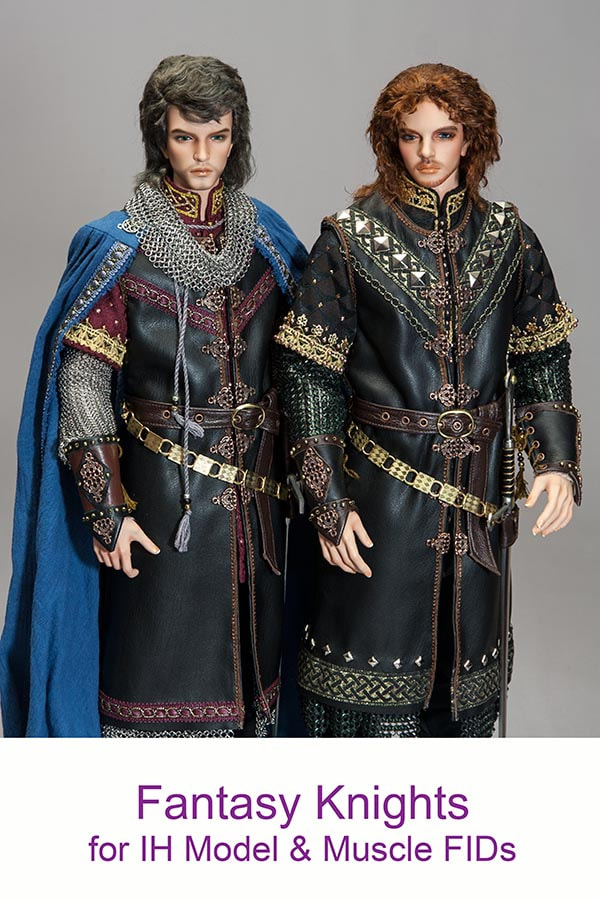
After three long weeks of struggling, and often redoing stuff, my Lawrence and Baron were finally finished. Yay! So down to the studio they went for some photos....
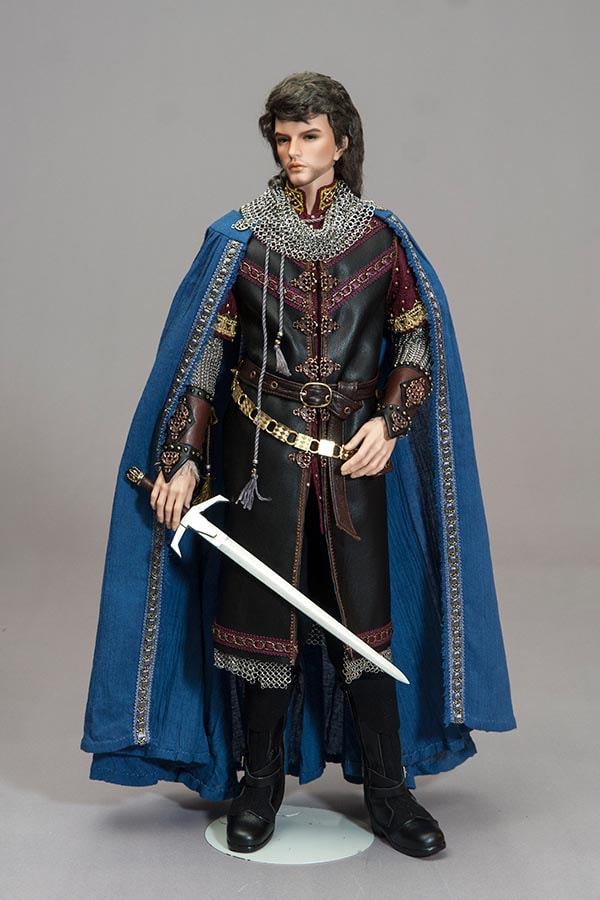
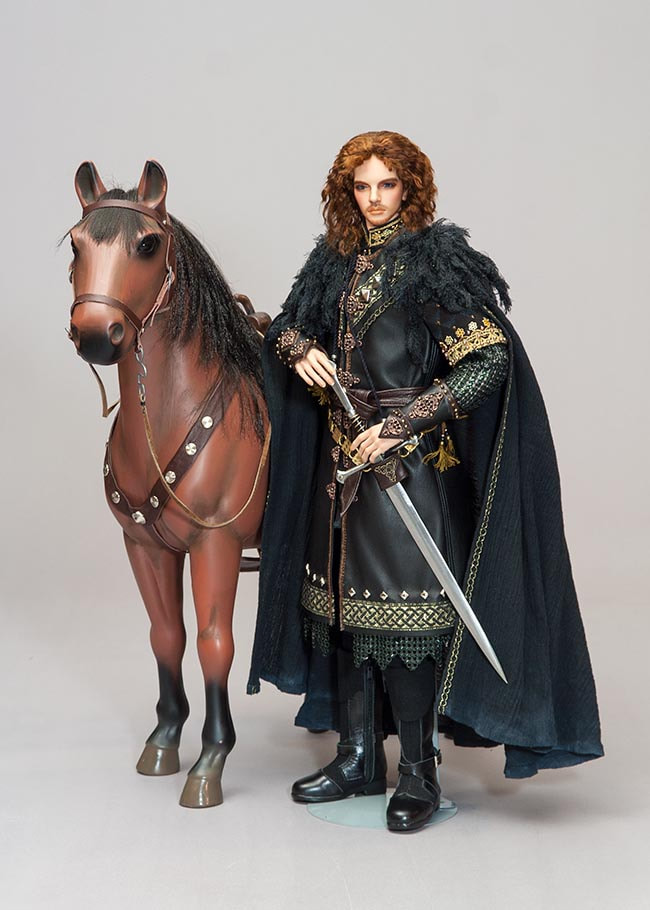
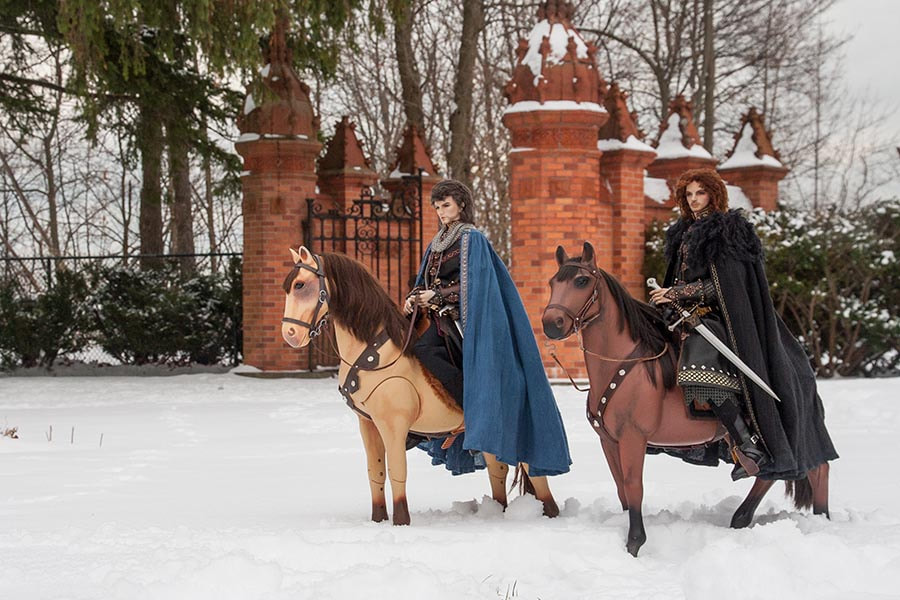
I had first made Baron a black cloak, which just fit out of the last piece of black crinkle gauze and the last bit of trim. But it turned out way too long, even though I had measured carefully. It also looked too much like Lawrence's (except for his fur). So I tried some other colours, and this dull blue (it's actually a lot duller than in the photos) was the only one that looked good with his outfit. So I made it up, and it also ended up too long. So I cut the bottoms off of both cloaks and hand-hemmed them a second time - a whole two metres along the bottoms of each.
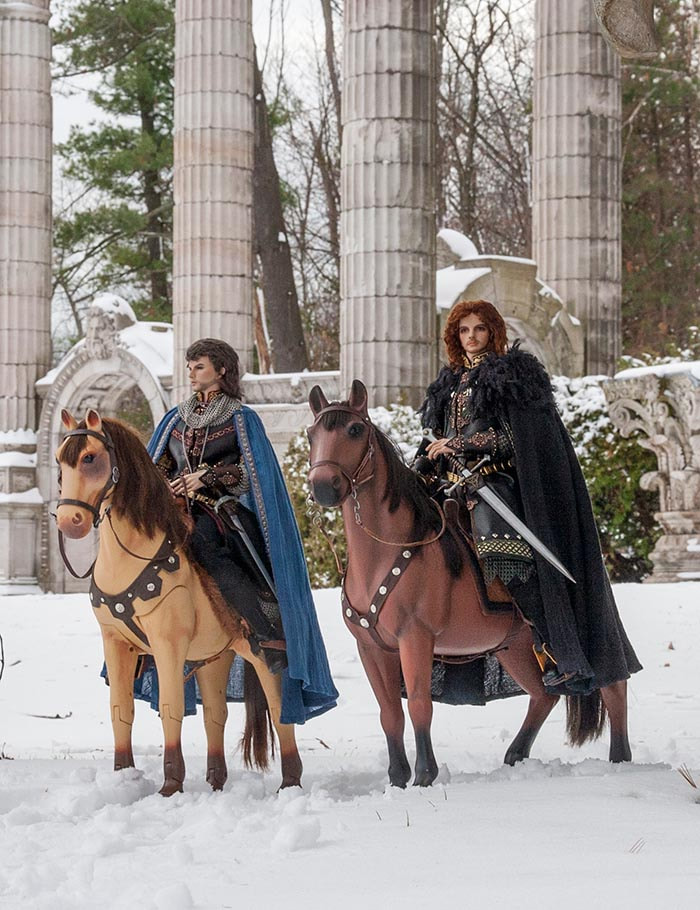
Baron can actually hold his sword since it's lightweight aluminum, made by Vaughan Tyrer many years ago...
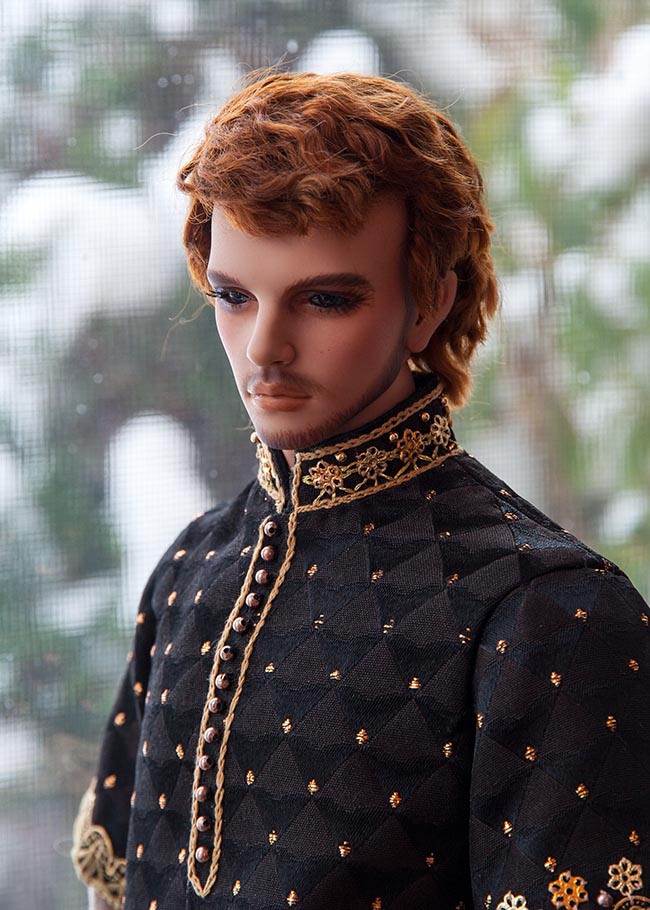
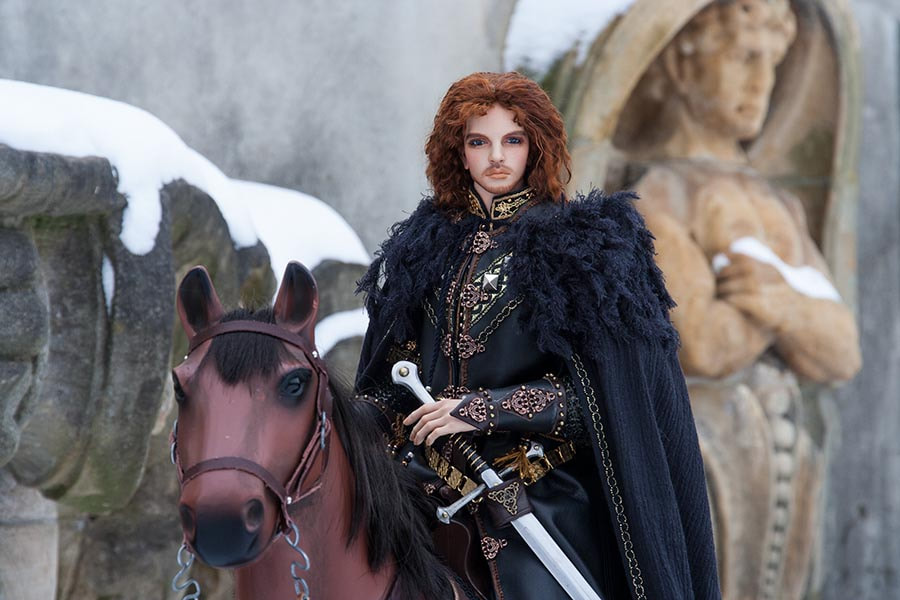
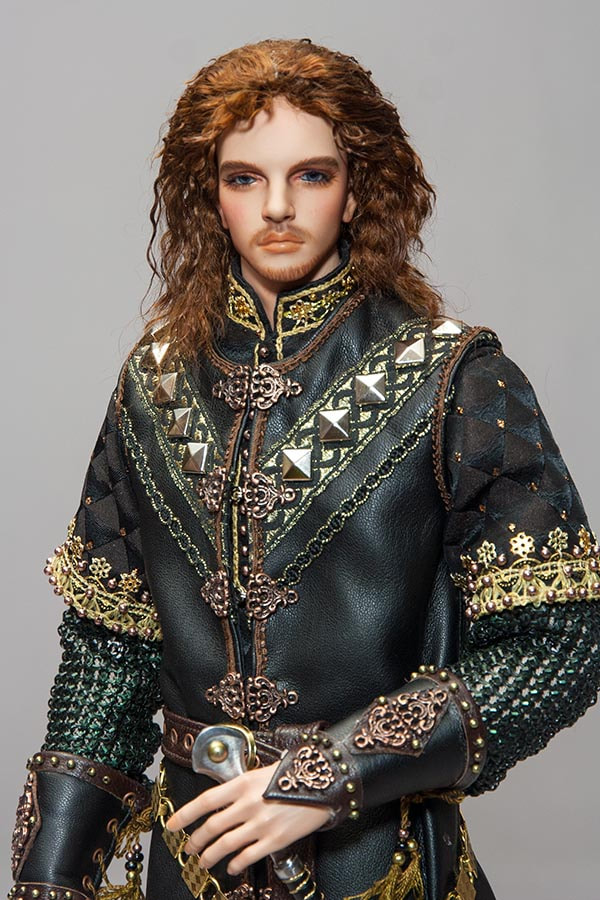
Lawrence looked magnificent...
I was really happy with Lawrence. It had taken almost three years to get him the way I'd always imagined he could be, and several times during that period I was tempted to give up and try sell him. Now I'm so glad I persevered....
Lawrence can't hold his sword. It's forged from a steel nail by Mason Leggee, and is way too heavy. You'd think with Lawrence having the 'Muscle' body, he'd be stronger, but no, apparently not.
I had also always worried that his muscle body with the big wide shoulders would make him look too 'pin-headed', but it turned out not to be the case. I think the bigger hair helped as well.....
Now with them both finished, I just had to wait for some suitable weather to photograph them in outside.
In the Snow
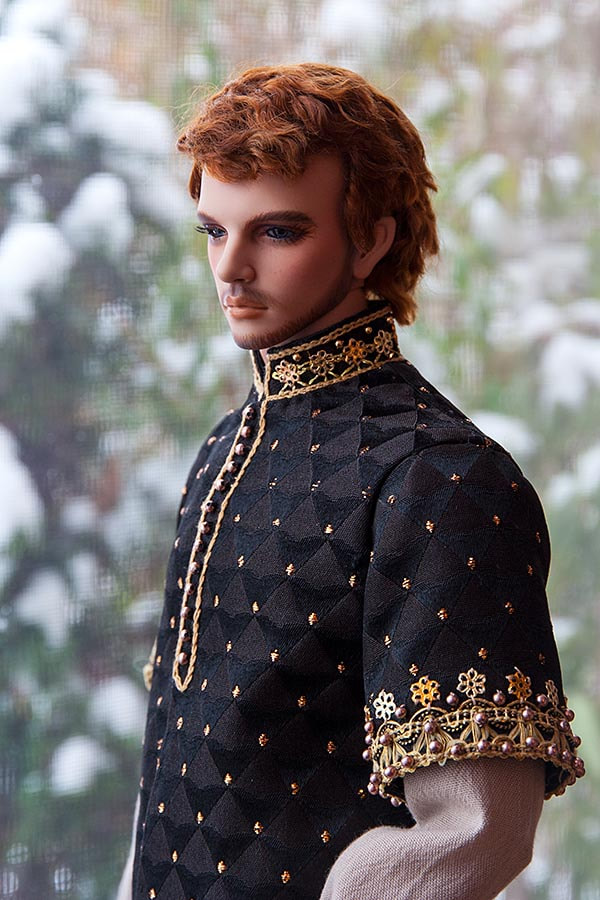
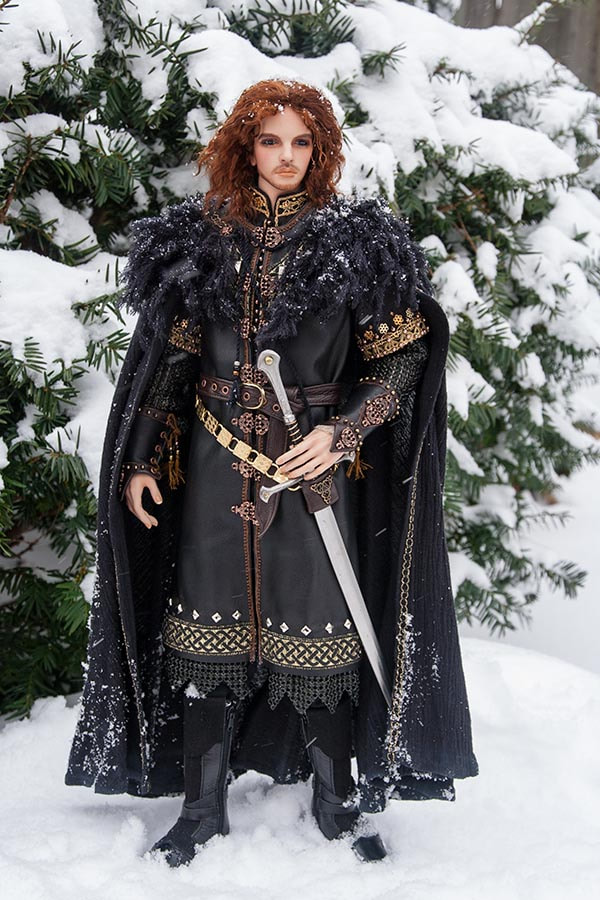
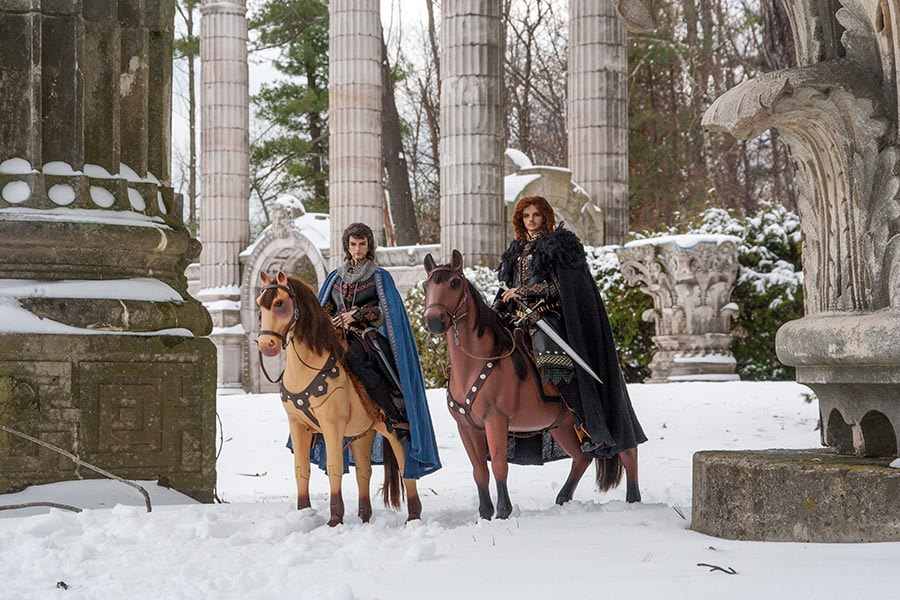
A few photos taken in my backyard on a snowy day....
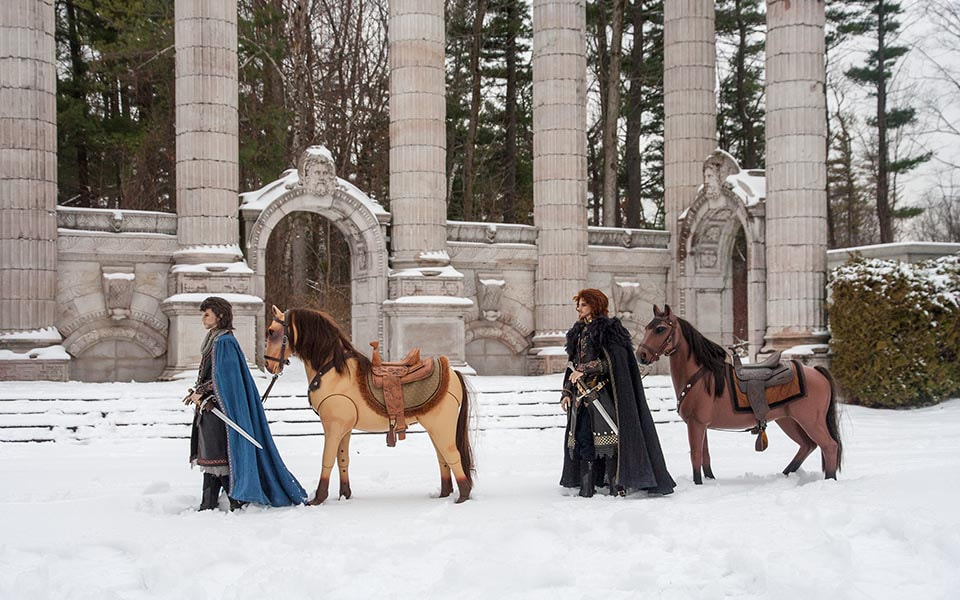
At the Guildwood Park Ruins Garden....
Just the Patterns
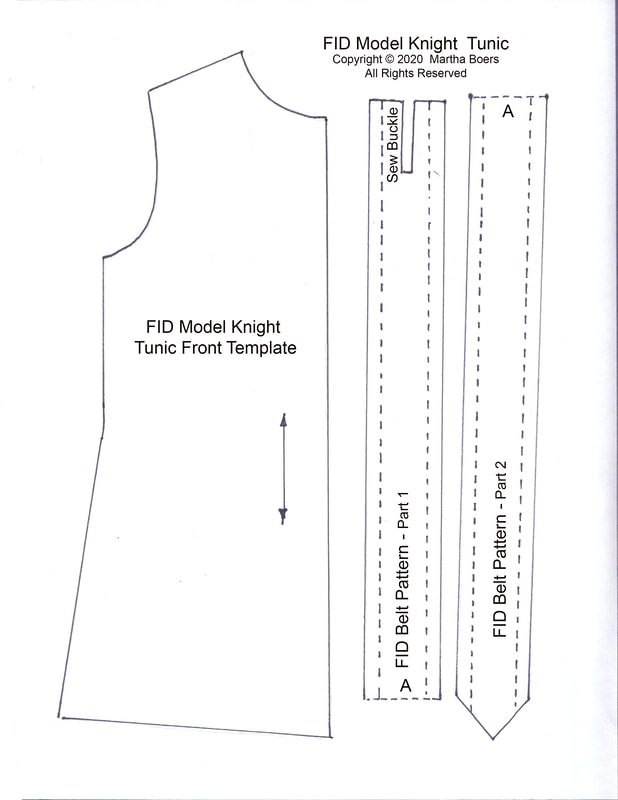
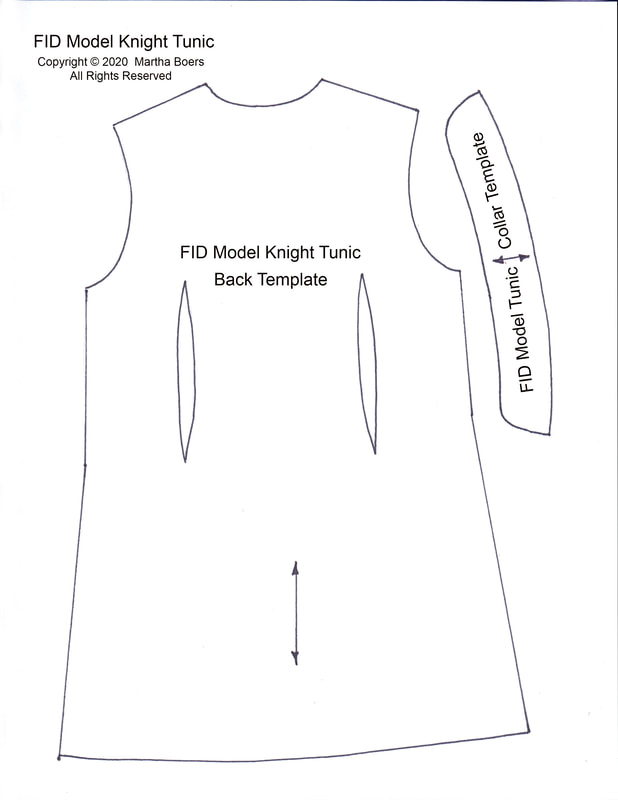
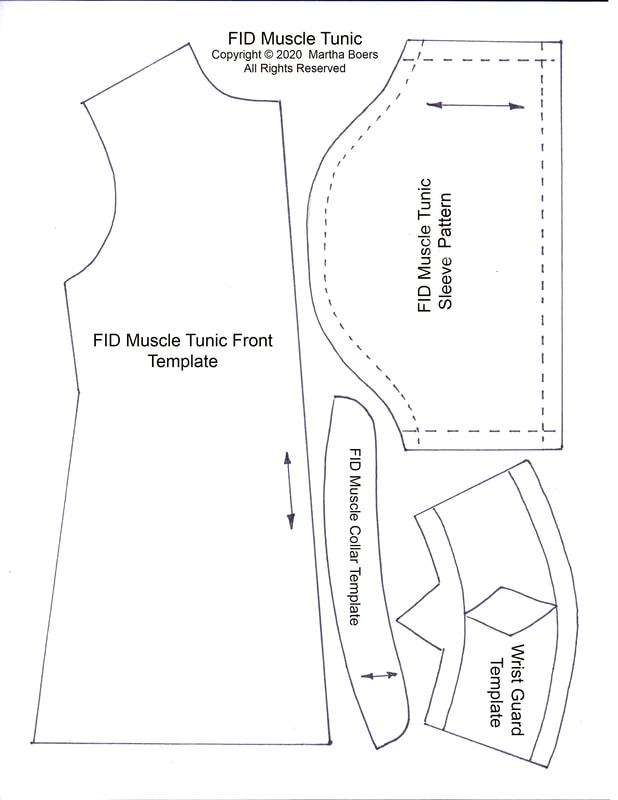
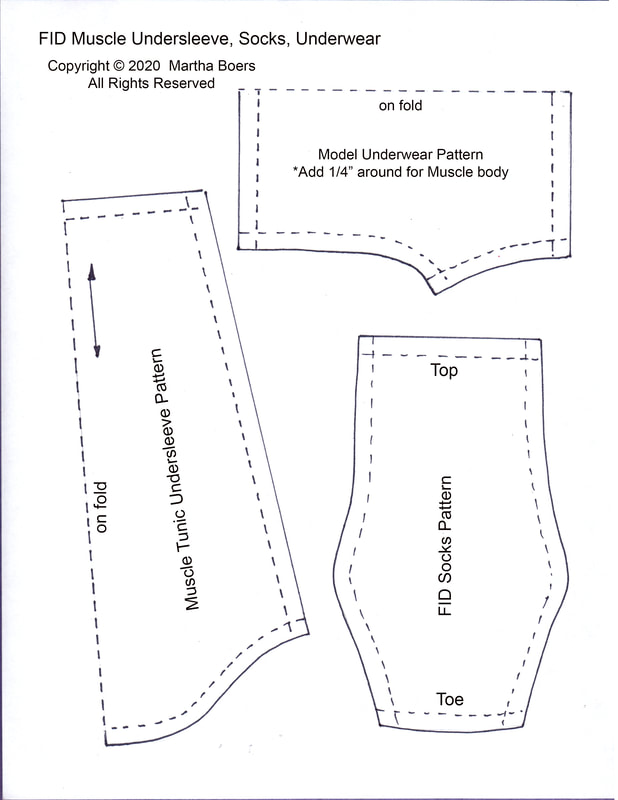
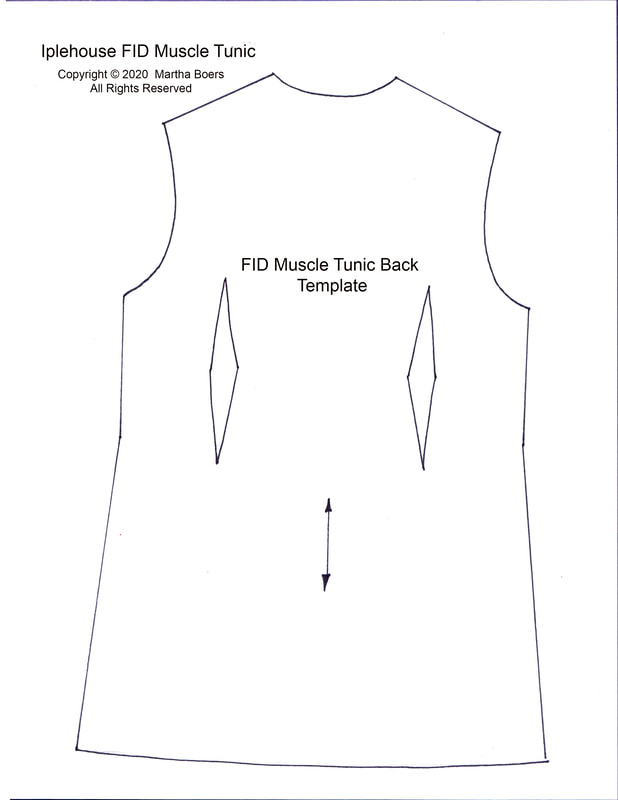
I created a pdf with all the patterns and templates for the knight costumes for both sizes of Iplehouse FID guys.
Click on the image below to download the pdf....
Click on the image below to download the pdf....
The pdf includes the following nine pages. Note, those marked 'Pattern' include seam allowances. Those marked 'Template' are meant to be traced onto the wrong side of your fabric. The traced lines become the sewing lines. Remember to add seam allowances.
*Note - on centre page below, the smaller 'Model Knight Surcoat Template' on the bottom right is the back LINING piece.
Three Fantasy Knights
Copyright © 2019 Martha Boers
All Rights Reserved
