Horse Stuff
So, let's talk horses. First of all I want to say that I'm no horse nut, so please forgive me if everything isn't truly 'authentic'.
But I will share where I got my horses, and what I did to them to make them look as 'realistic' as possible, to use in photos with my dolls. At least in my eyes. Only two were purchased new, and the rest were secondhand discount store finds, in need of a lot of work, especially to their saddles, and most needed new bridles. So I put together this Tutorial in hopes it would help inspire others.
But I will share where I got my horses, and what I did to them to make them look as 'realistic' as possible, to use in photos with my dolls. At least in my eyes. Only two were purchased new, and the rest were secondhand discount store finds, in need of a lot of work, especially to their saddles, and most needed new bridles. So I put together this Tutorial in hopes it would help inspire others.
the Beginning
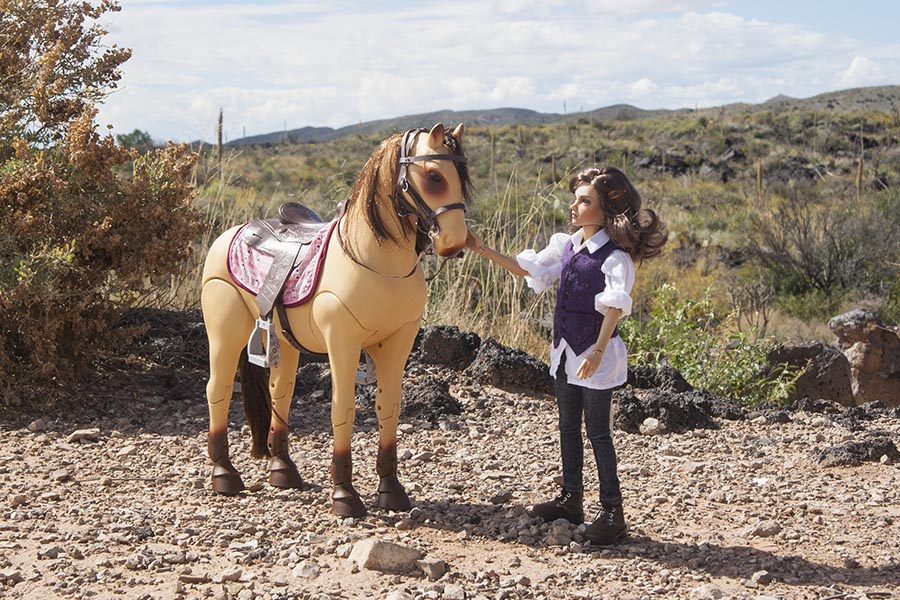
I bought my very first Our Generation horse in a Target in Albuquerque, on a trip to the South West back in 2015. I chose the poseable Morgan horse, thinking it would be handy to have him be able to pose. He came with a nice 'Western style' saddle, and brown plastic bridle, which lseemed reasonably realistic.
He was the perfect size for my Iplehouse JIDs, but it turned out that he wasn't especially 'posable'.
He was the only horse I had for several years....
He was the only horse I had for several years....
He wasn't posable.....
...but he was still a great photo prop....
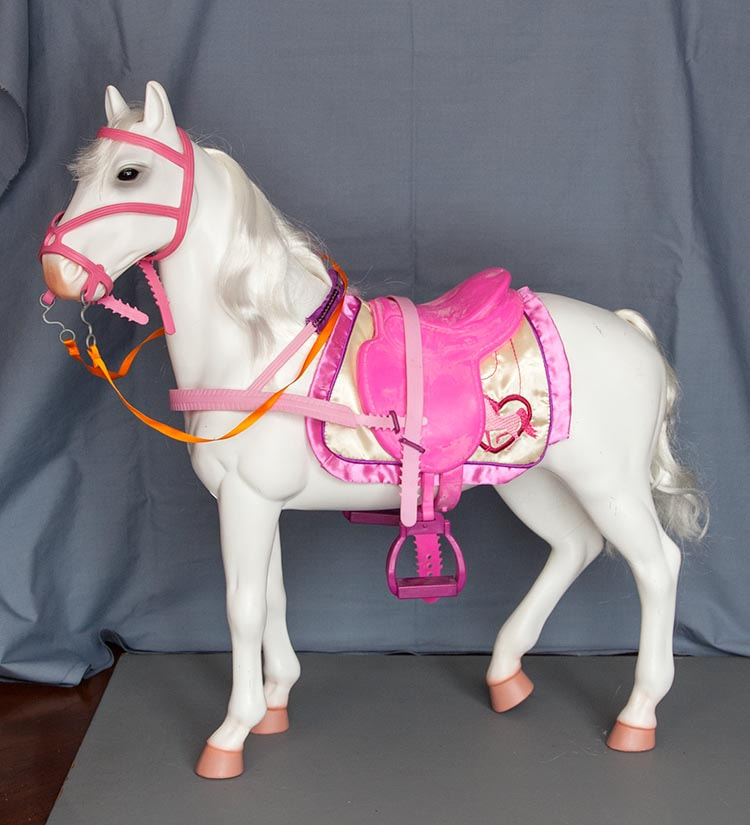
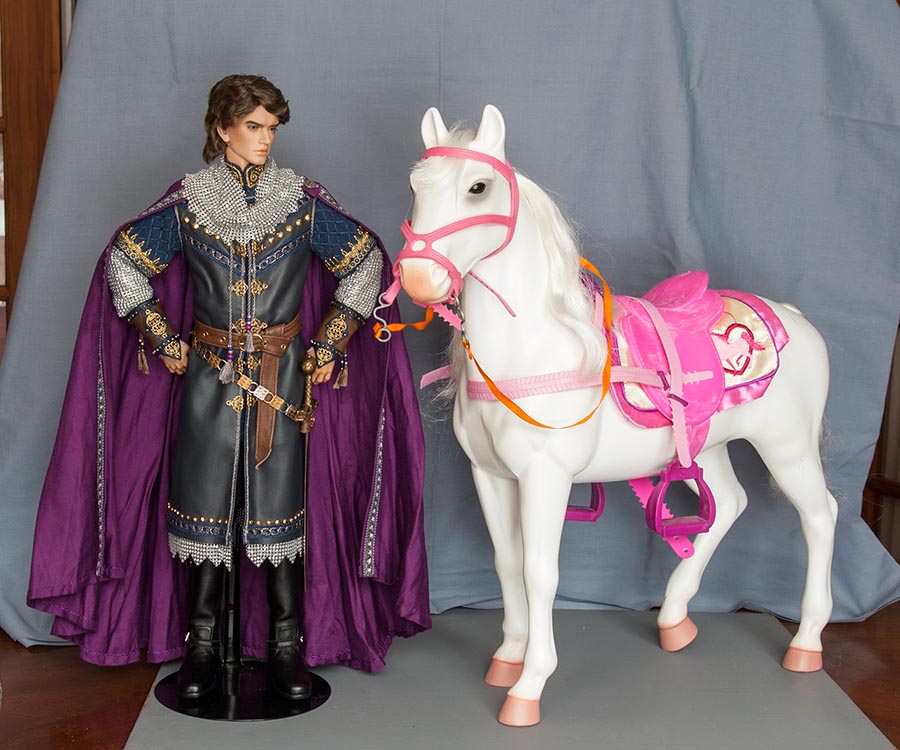
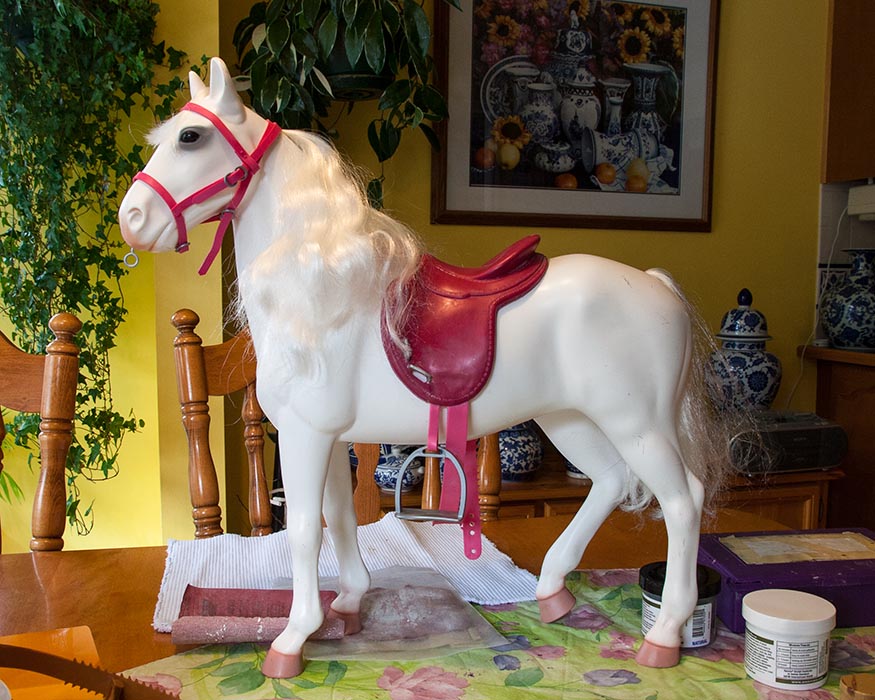
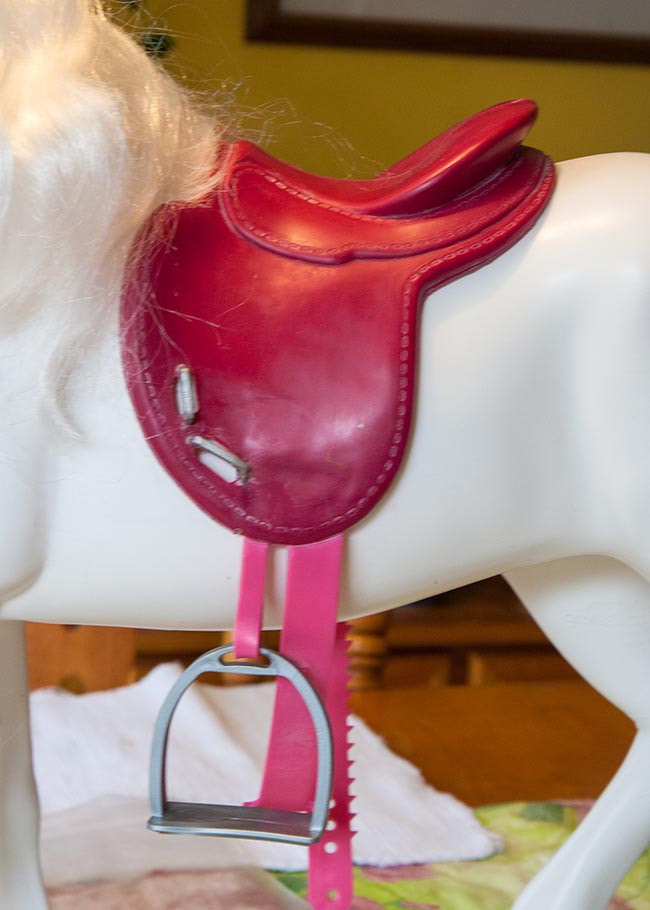
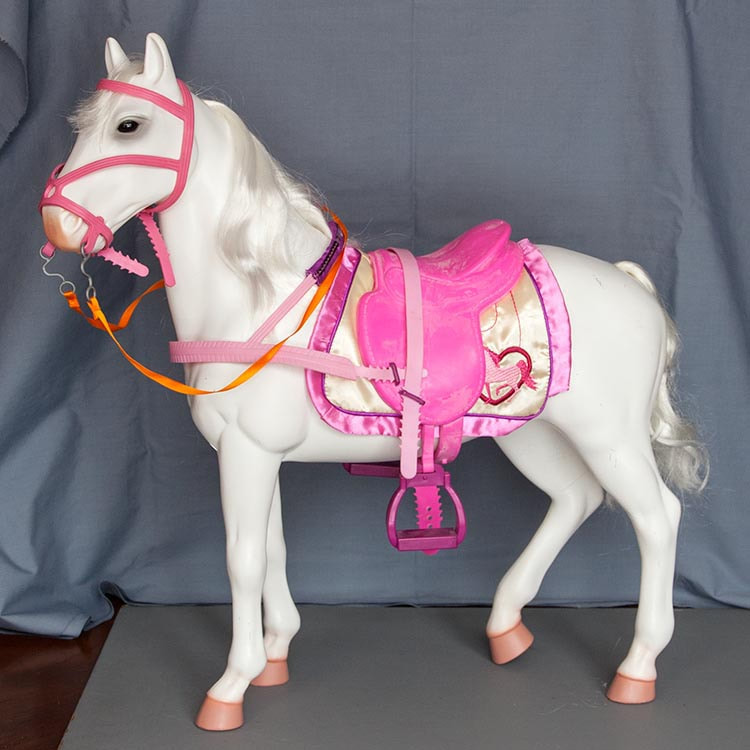
We would occasionally go to Value Village, which is a secondhand discount store, and they sometimes had an Our Generation horse for a few dollars. It was usually a white one, with a bright pink 'English style' saddle and tack.....
Bright pink might appeal to little girls, but it wouldn't do for my dolls.....
"You've got to be kidding??"
"You've got to be kidding??"
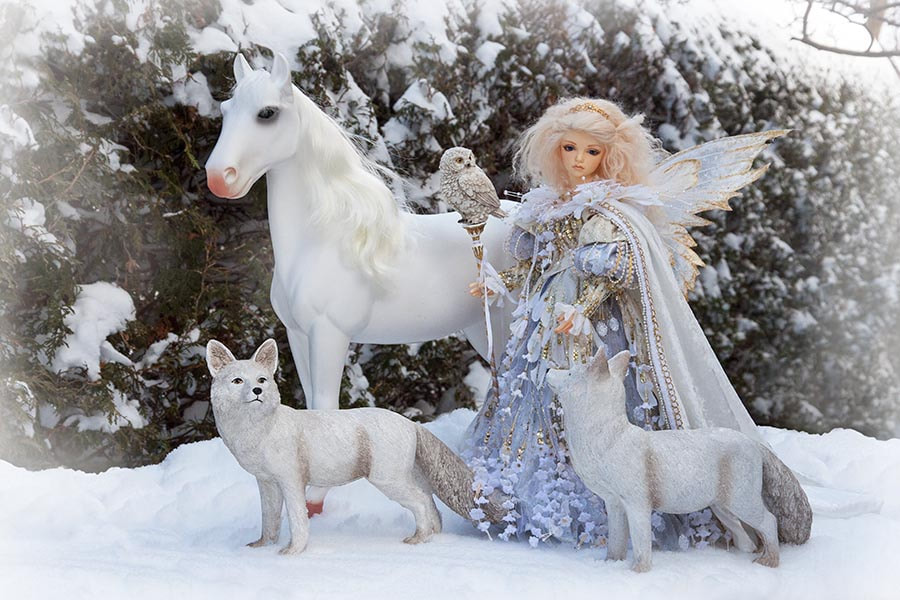
But without all that pink tack, they still worked in photos....
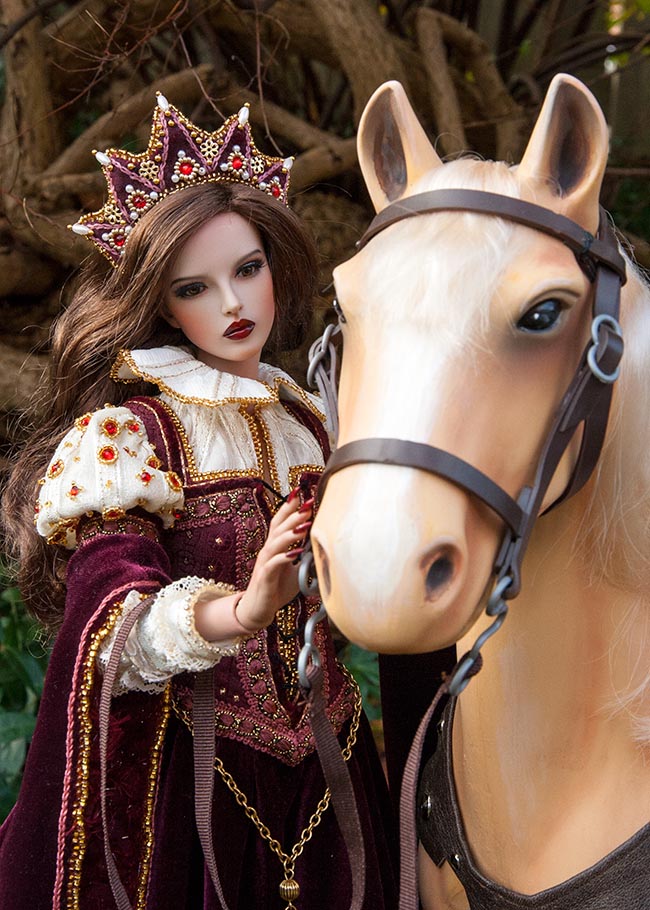
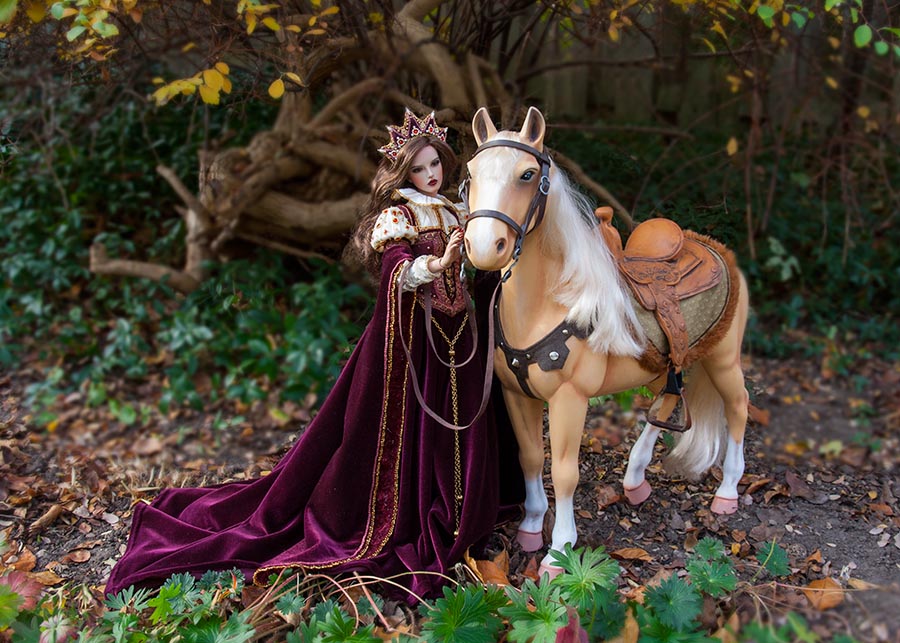
As my collection of used horses grew, so did the collection of various saddles and bridles. Some were pretty good. I did eventually find a horse with another decent saddle. I ended up painting a pink plastic bridle wine red with acrylic paint.
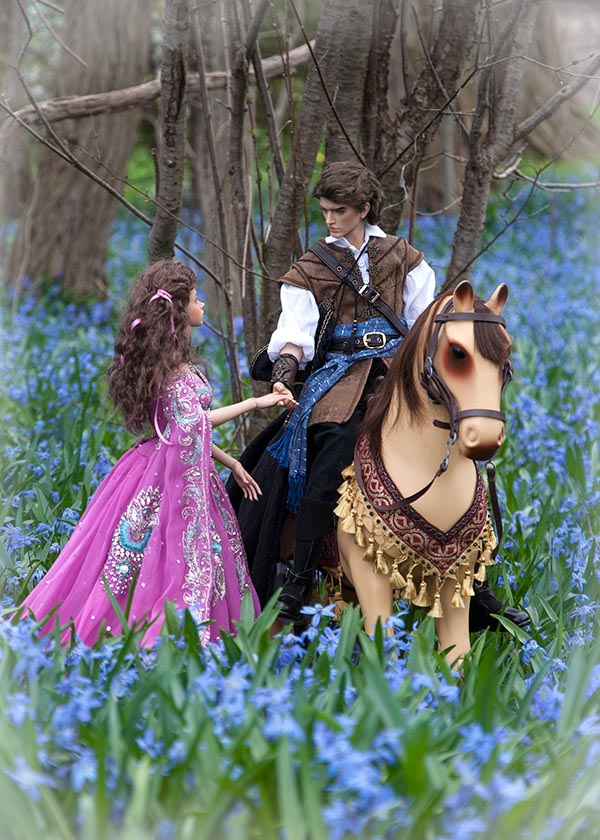
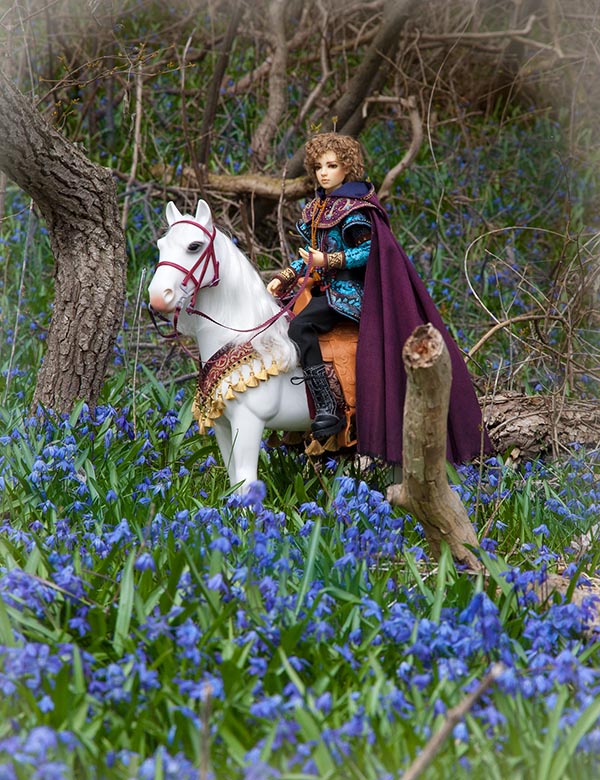
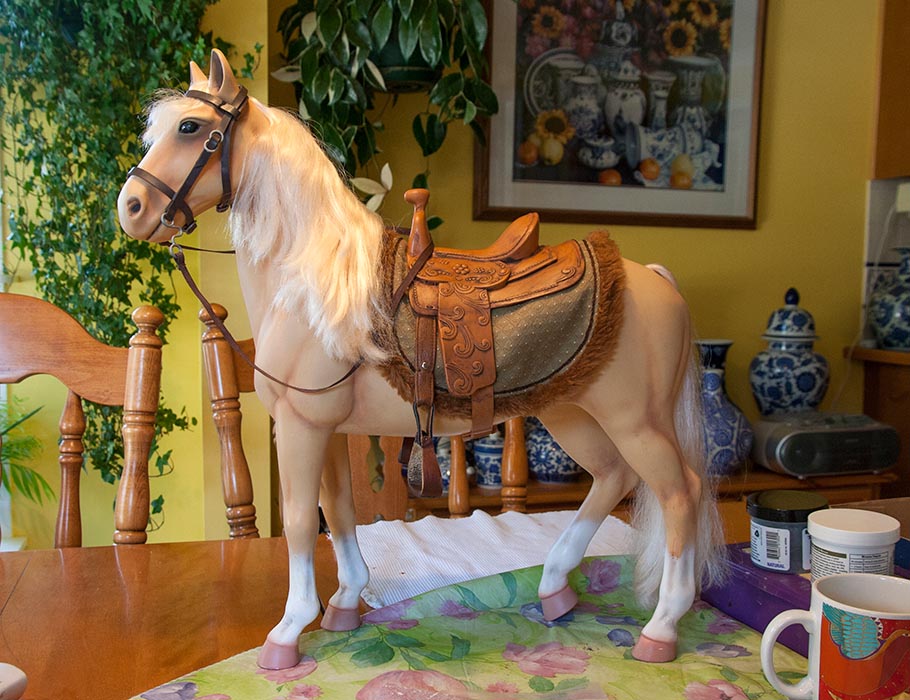
I made a fancy saddle blanket, suitable for a Prince....
I made a fancy saddle blanket, suitable for a Prince....
Another New Horse
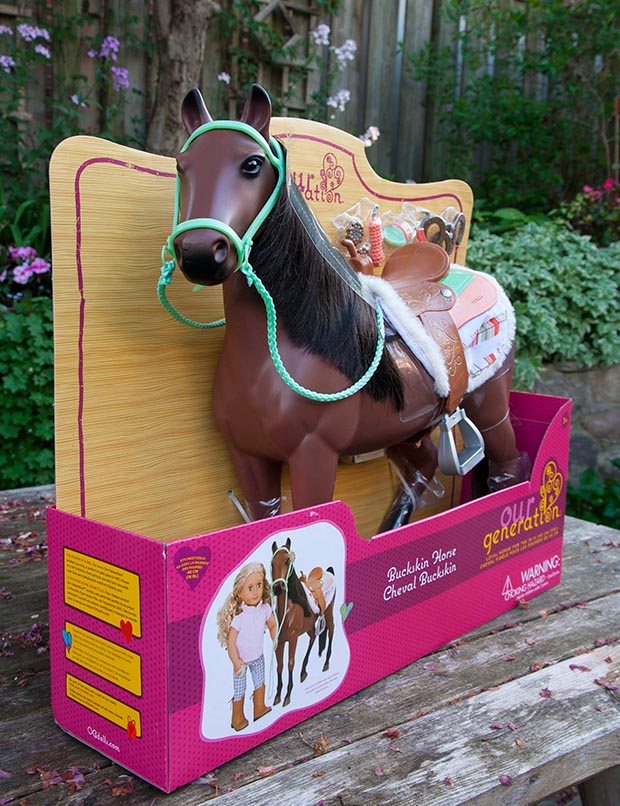
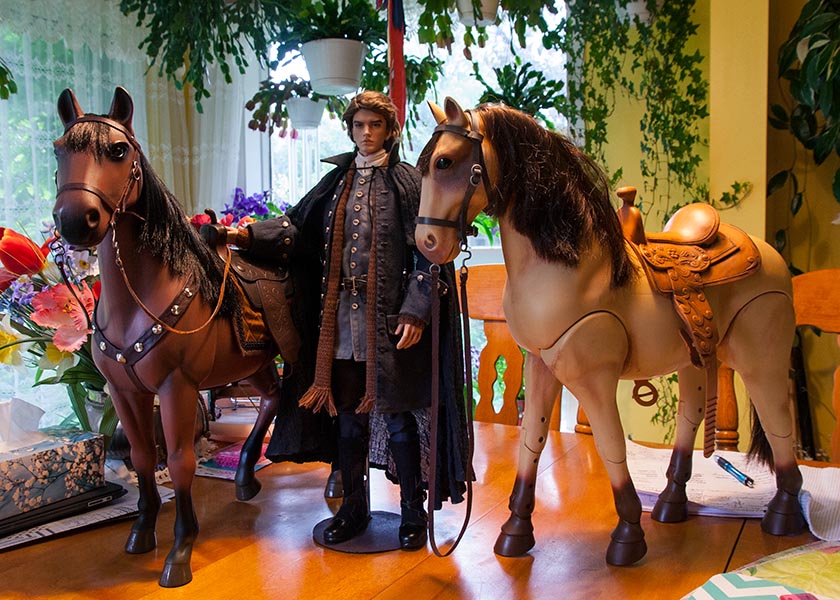
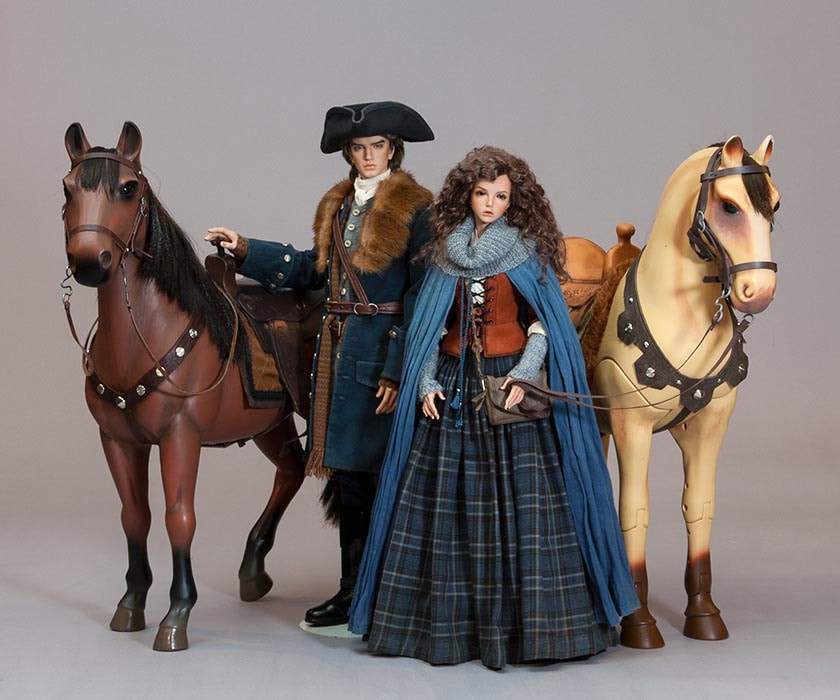
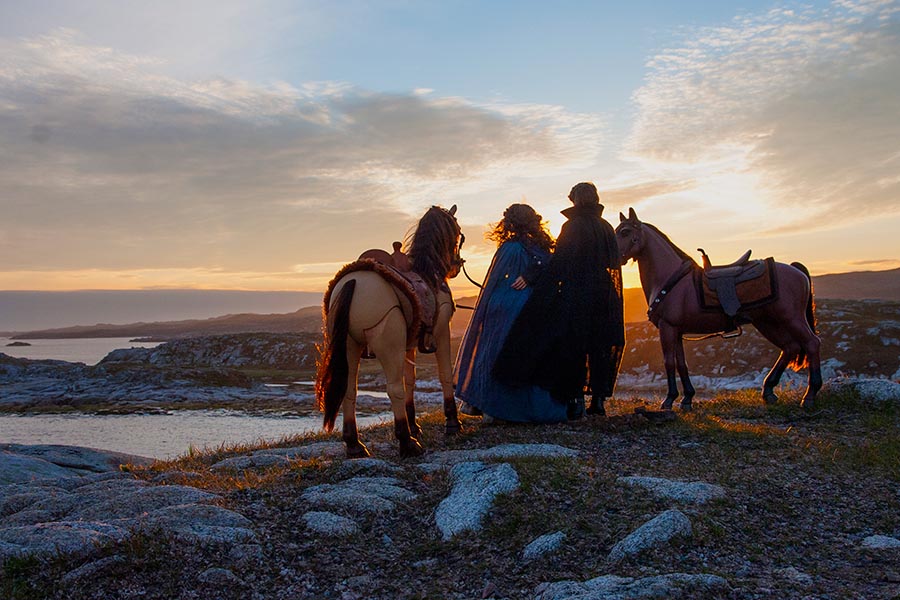
We were planning on taking a trip to Newfoundland in the early summer of 2019, and I wanted to bring two of my most realistic dolls, my FIDs Rex and Bianca. They were dressed in Outlander-inspired costumes, and needed horses. Realistic coloured horses. One more suitable to a masculine character. I figured the Morgan horse would do for Bianca, but wanted a dark brown horse for Rex. So we bought one brand new at Mastermind Toys....
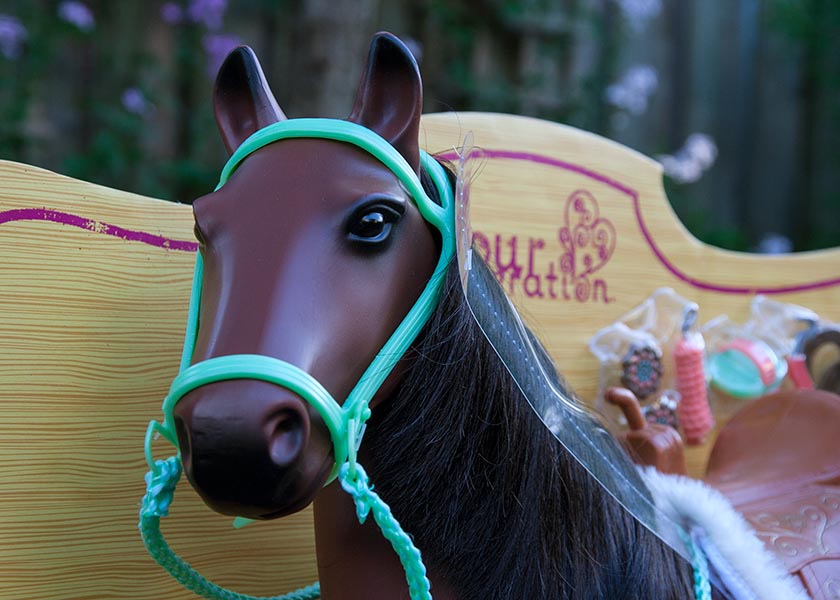
Even though he had a nice Western style saddle, part of it was painted peach and turquoise, which just wouldn't do. Neither would that bright turquoise bridle....
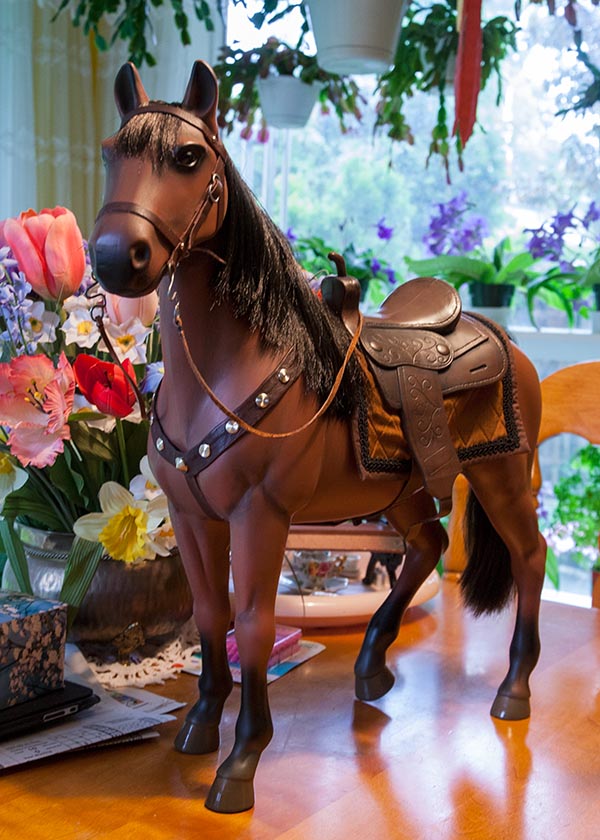
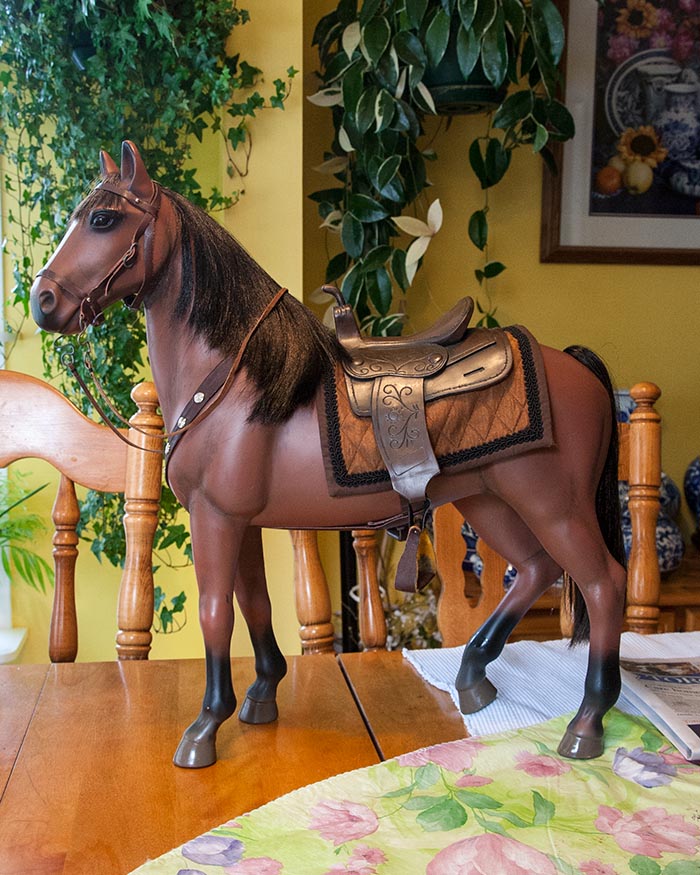
I decided to try and make him a new leather bridle, by copying the one the Morgan horse came with (instructions later). I also gave him Morgan's saddle, made him a brown saddle blanket, and decorative tack. I also shaded him with dark brown acrylic paint....
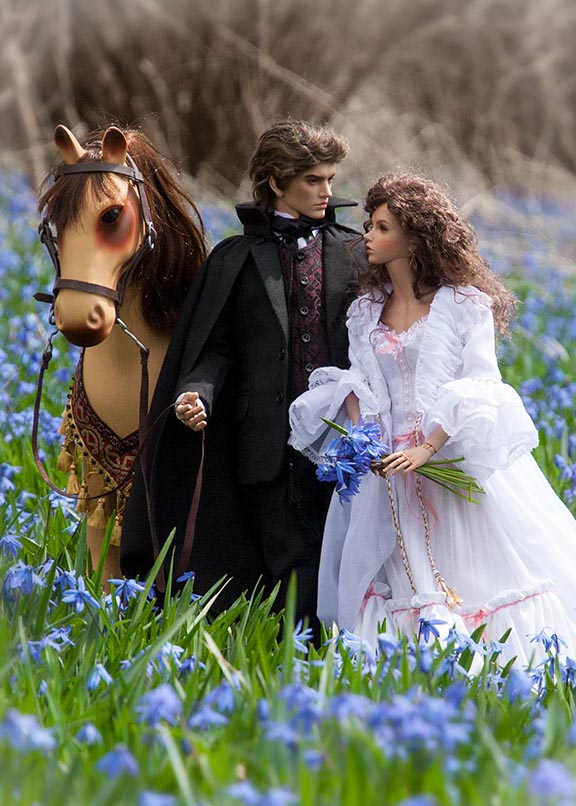
I shaded the Morgan horses well, toning down the big dark brown blotch around his eye, and gave him my only other decent saddle...
I also replaced the big, clunky, plastic stirrups on both saddles with leather ones..
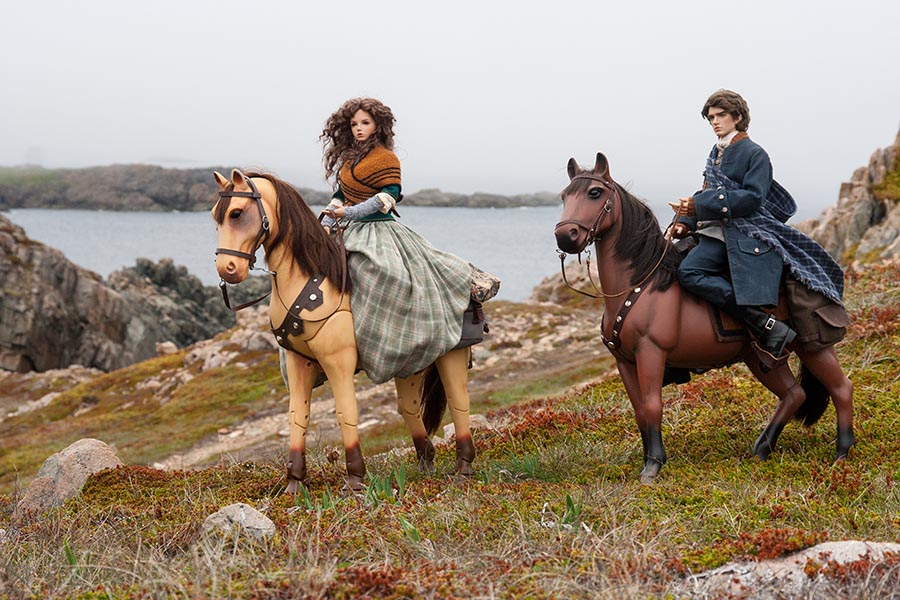
And the horses were ready to go....
I was very happy with all the photos taken on location throughout the wilds of Newfoundland....
Another Horse
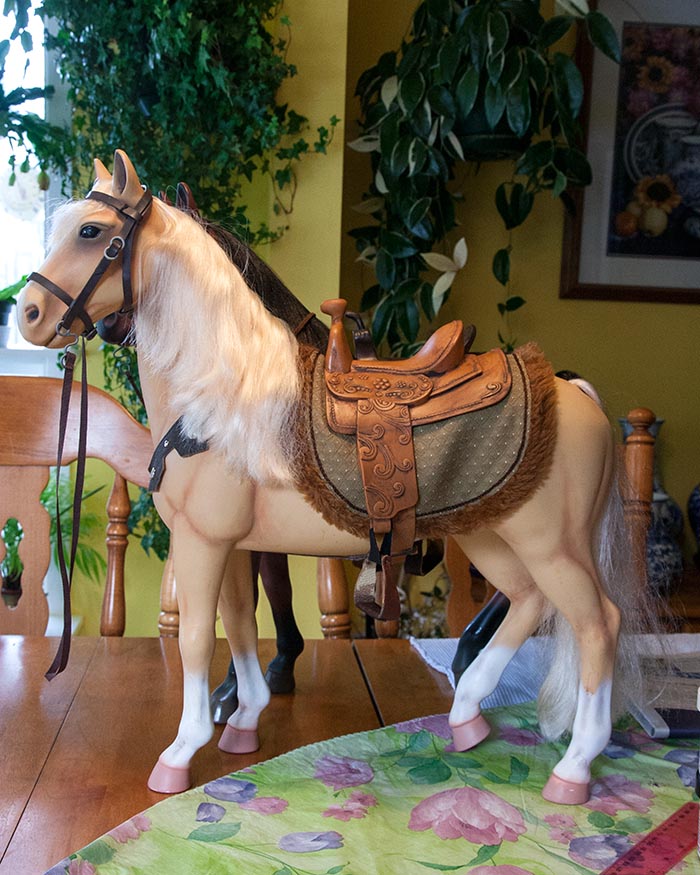
I kept an eye out at Value Village for more nice horses - ignoring all the white ones - and acquired a light tan one with cream coloured hair. It had a white marking on it's forehead with very distinct edges, so I sanded the paint down on the edges, and touched it up with white, blending the paint to soften the edges....
I also blushed and shaded him. This time I tied up his mane and tail, wrapped them in plastic, and sprayed him first with Testor's Dullcote. Then I applied shading with pastel dust on a brush, much like applying blush to a doll. Then applied another coat of spray to seal him. Unfortunately I didn't have extra natural coloured saddles or bridles, so borrowed the ones from the Morgan Horse....
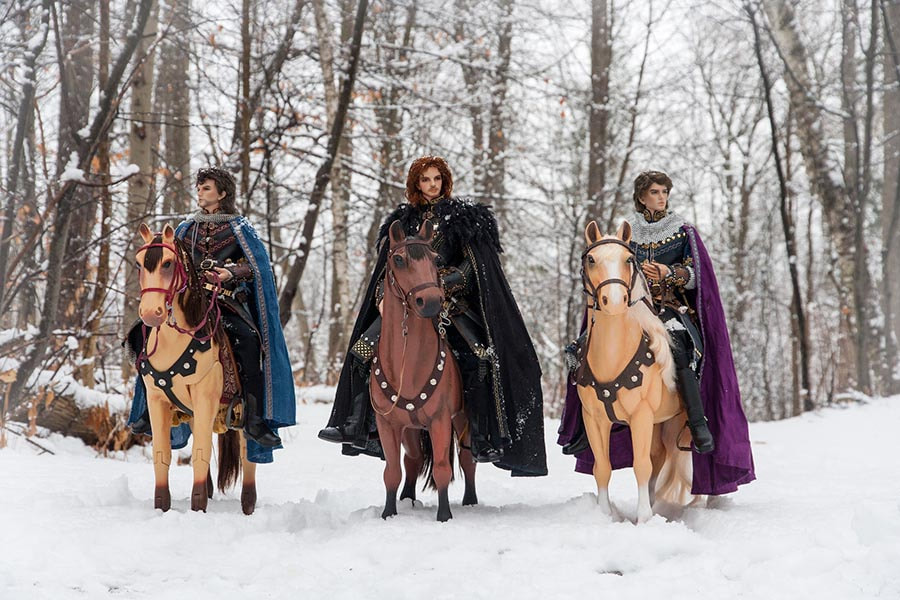
Knights in the Snow
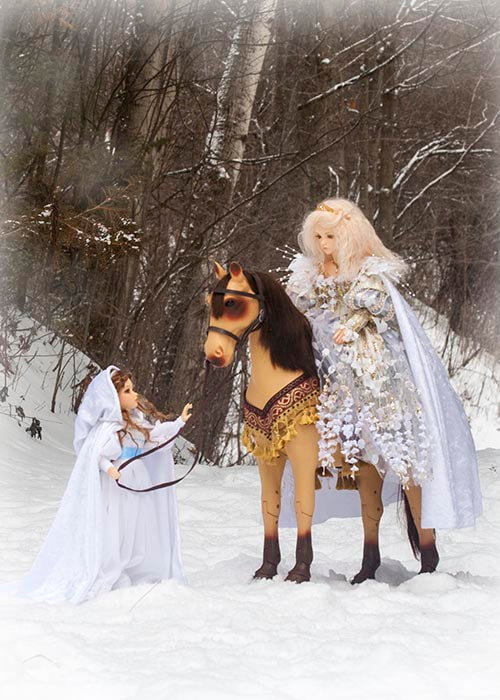
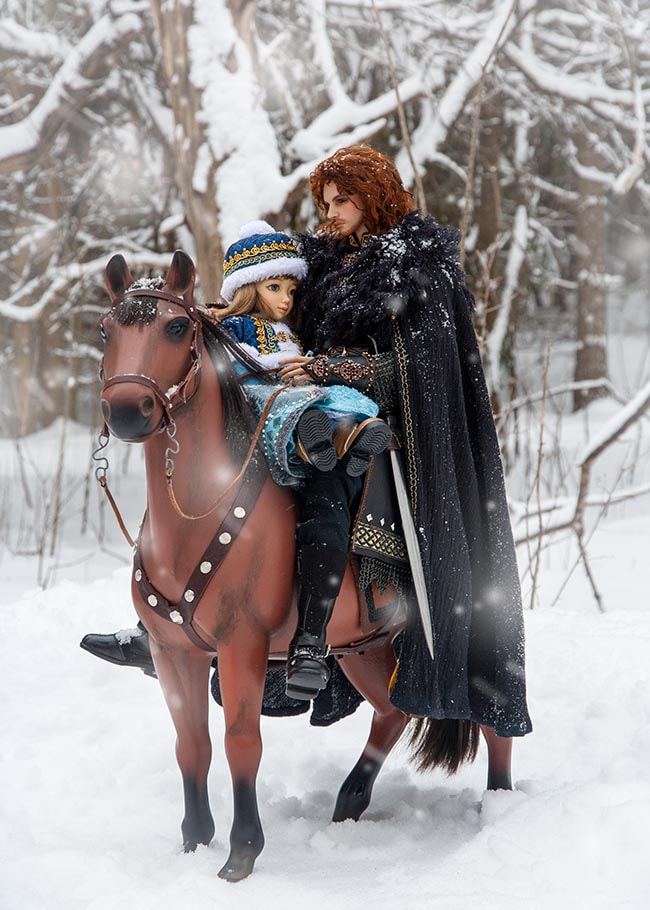
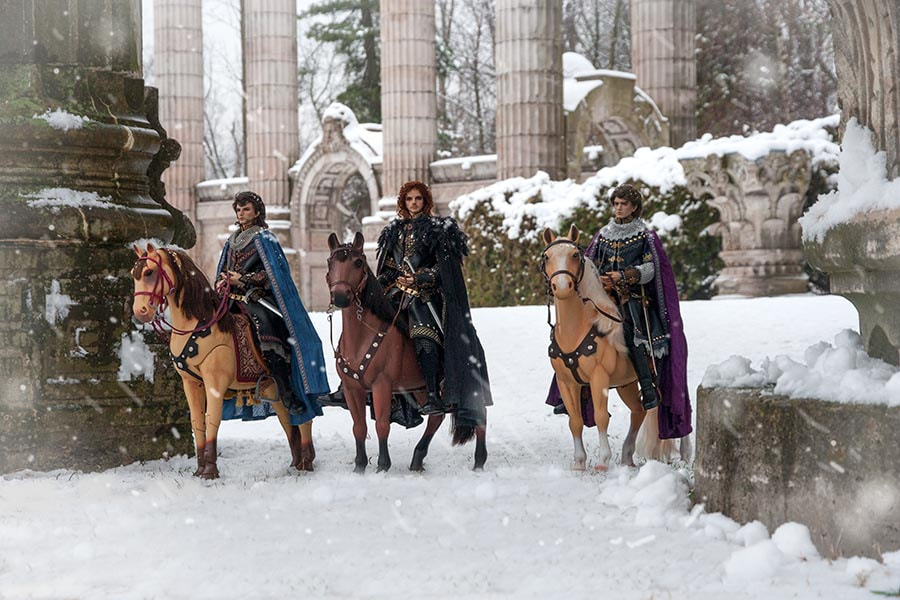
The three horses became the steeds for the King and his men in a Christmas Story....
Then while taking some final photos, I was so preoccupied trying to pose the dolls on top of the horse, that I didn't notice how much Lawrence's feet were sticking out in front. It would have been a great photo, but not with those feet sticking out like that. It was often very stressful taking doll photos out on location, so I was too distracted to remember to fit the doll's legs into the stirrups. The stirrups weren't really in the right place anyways, so I often didn't bother.
But this photo motivated me to do something about those stirrups once and for all.
New Stirrups
Our Generation horses are meant to go with 18" plastic play dolls with short legs, and the stirrups had always been wrong for my BJD's feet. I had replaced the big, clunky ones the saddles came with, on two of the my Western style saddles.
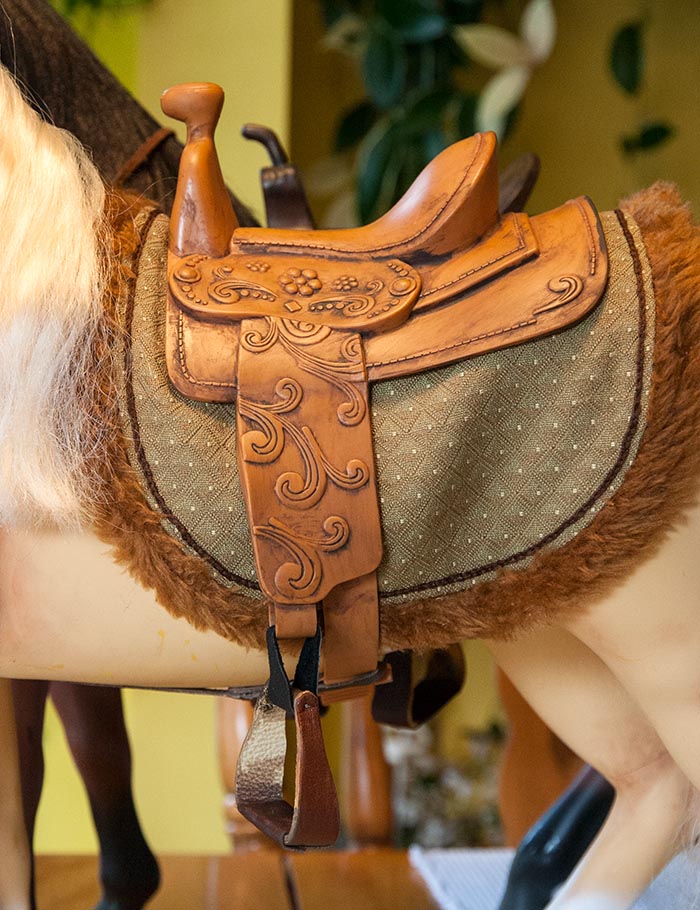
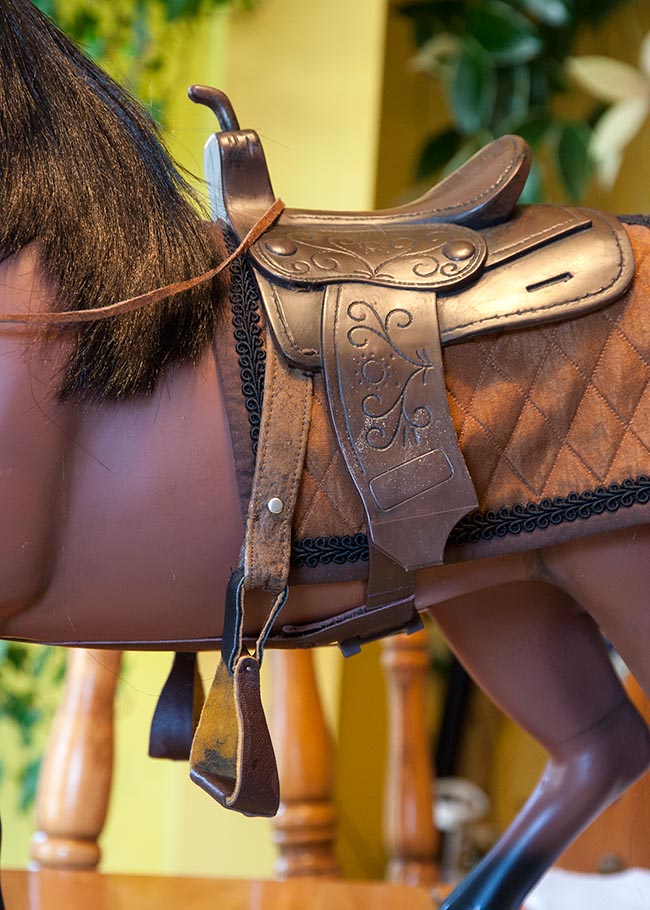
*Note - this saddle has been shaded with darker brown paint to bring out the details.
*Note - this saddle has been shaded with darker brown paint to bring out the details.
I decided that the molded stirrups were too far back, so cut them off, determined to make new ones out of leather. I drew up the patterns and cut the pieces out of leather.....
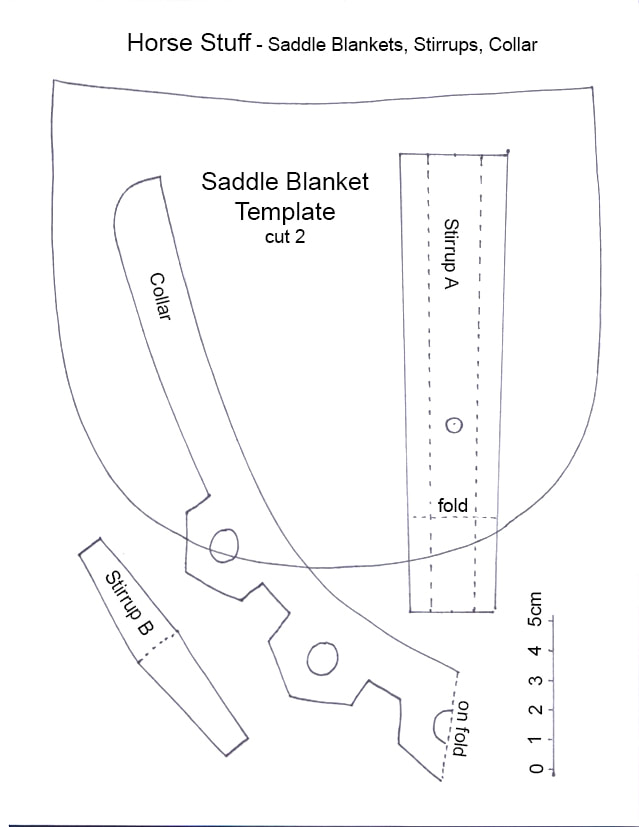
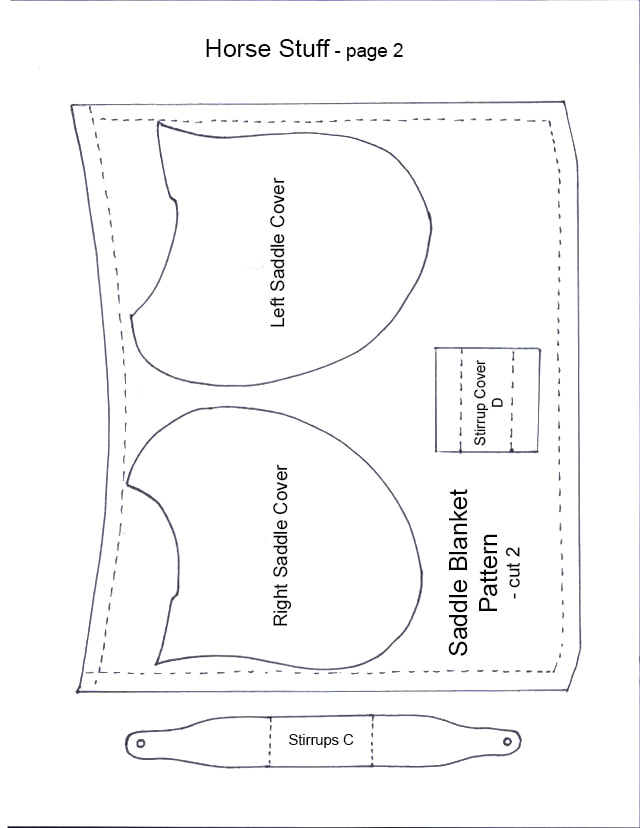
Patterns for Stirrups and Saddle Blankets
Just click on either image below to download the pattern pdf....
Stirrups Instructions
1. Cut two of Stirrup A out of thin leather. Insert stud where shown, then glue both long side edges back so they touch in centre back, to make it double thickness. When dry, machine stitch close along both long edges.
2. Cut out two of Stirrups C. Glue wrong side down onto another piece of leather, and cut out. *Note this way is easier and neater than cutting out four pieces and gluing them into two double layers. Cut a rectangle out of cardboard, like the rectangle in the middle of the pattern piece, and glue where shown. Cut two Stirrup Covers D out of thin leather, and glue over cardboard, wrapping underneath.
3. Bend the ends of the stirrups up at the edge of the cardboard. Cut 3/4" of 1/4" dowel and drill small holes into both ends. Paint brown. Cut tiny nails with large heads down to size, to fit into drilled holes. Poke holes in stirrup ends where shown, with a large needle, inserting the nails. Then glue nails into holes in dowels.
4. Cut out two Stirrups B, and make them double layered, as in step #2. Loop around dowel of Stirrup C, and hand sew the narrow ends of Stirrup B together with strong thread and a leather needle.
5. Take Stirrup A, and insert bottom end through Stirrup B loop, folding where shown, and hand stitch the top layers together.
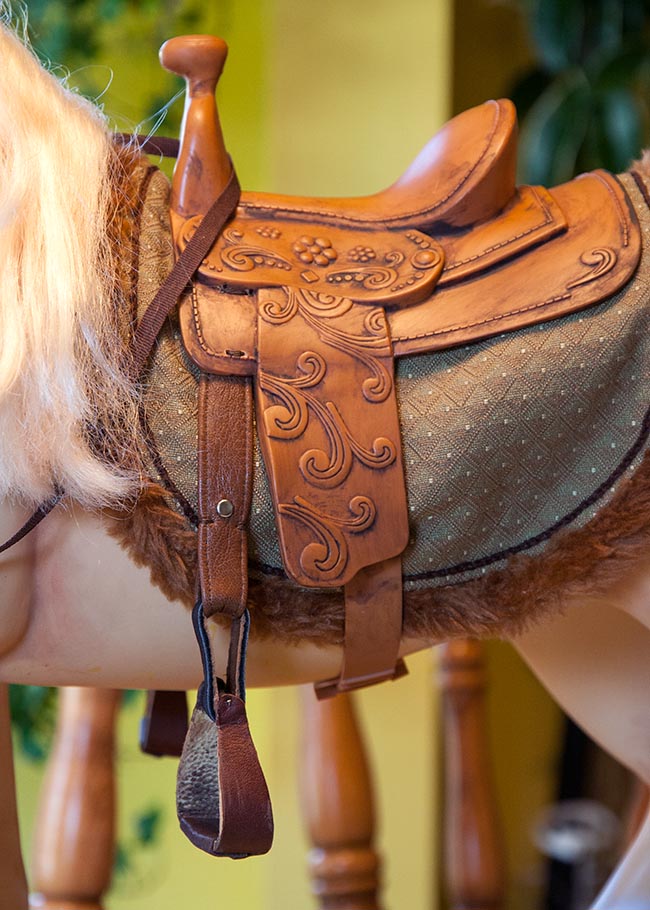
6. Place saddle on horse to check where the stirrups should be, mark on back of saddle. With the Western style saddles, I drilled small holes on the molded stitching and in the crease of the saddle. Position the stirrups and sew into place with strong thread and a leather needle. A thimble will be handy for pushing the needle through. With the softer English style saddles, as shown further down, the stirrups were sewn along the entire length using string thread and a leather needle. The stitching would get covered by the leather additions.
I sewed the new stirrups onto the saddle further forward, where they would better fit my doll's feet.
*Note how the stitching is 'hidden' along the molded 'plastic stitching' and in the indent higher up.
*Note how the stitching is 'hidden' along the molded 'plastic stitching' and in the indent higher up.
Sleigh Harness
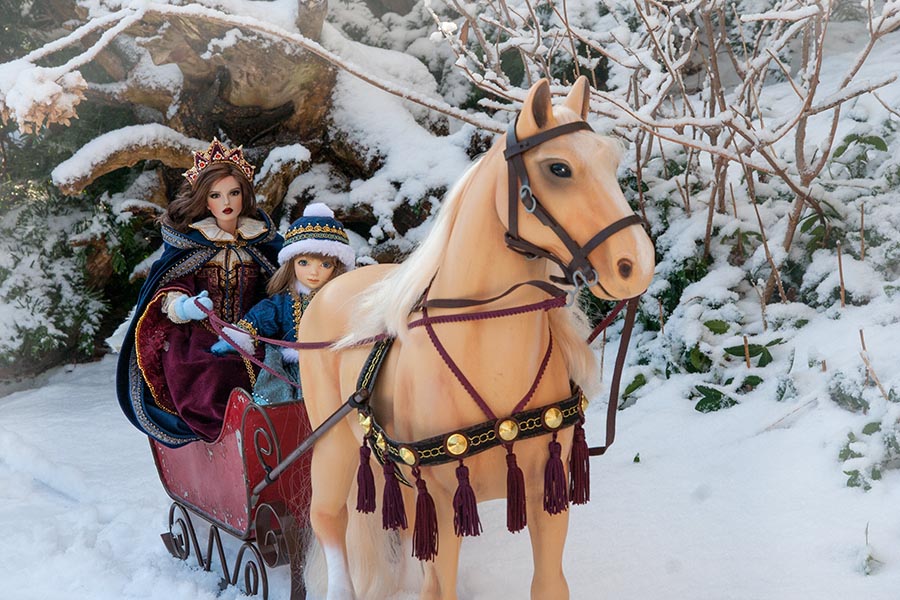
So, while I was at it, I figured I might as well fix the harness I'd made for a horse to pull my sleigh. I'd only made the front part, and found that it bunched up if I didn't pay attention.....
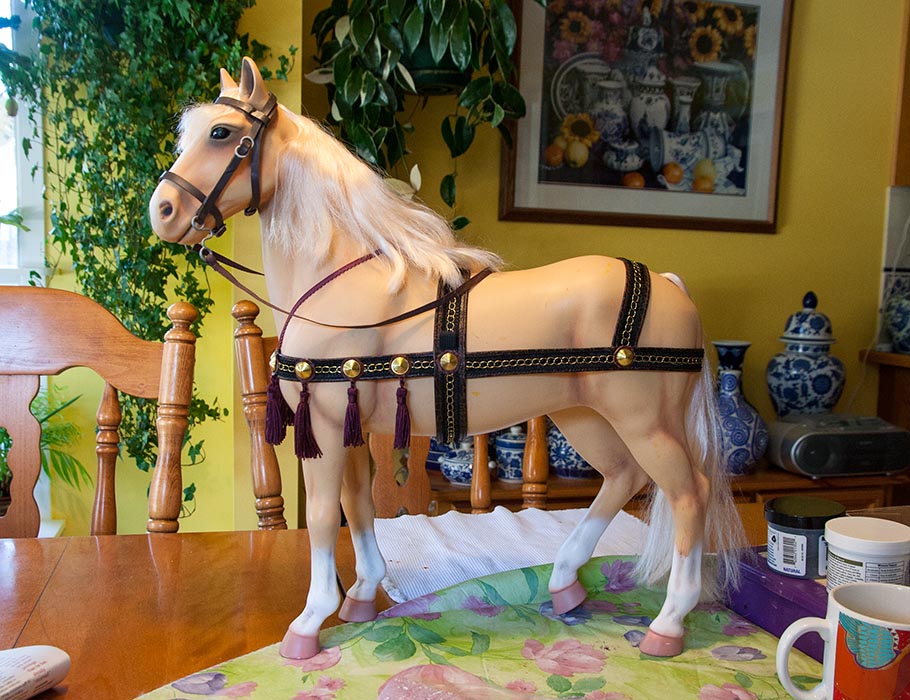
So I added matching back straps, so the harness fits firmly around the entire length of the horse's body.
There's small elastic loops just above the gold stud on the forward strap, where the bar from the sleigh gets inserted.
There's small elastic loops just above the gold stud on the forward strap, where the bar from the sleigh gets inserted.
More Saddles
And since one thing usually leads to another, and another, figured I might as well tackle some of my other saddles, so I wouldn't have to keep moving them around between whichever horses I wanted to use. I had been using this wine red English style one on occasion, since it didn't really show up much with a doll sitting on it. But it wasn't especially attractive, and could use some help.
It was the standard English style saddle that most of the horses came with. They are a soft plastic, and have two molded loops sticking out, meant for plastic straps to go through. I have two bright pink ones, plus a light brown one, and this wine red one. And they all had the offensive, big, dangly stirrups....
So I decided to do something about them. I also decided to try remove the paint from the nice Western style saddle the brown horse came with. I used Winsor and Newton Brush Cleaner. I've never tried it for that, and had no idea if it would work, but slowly over two days I managed to remove all the paint.
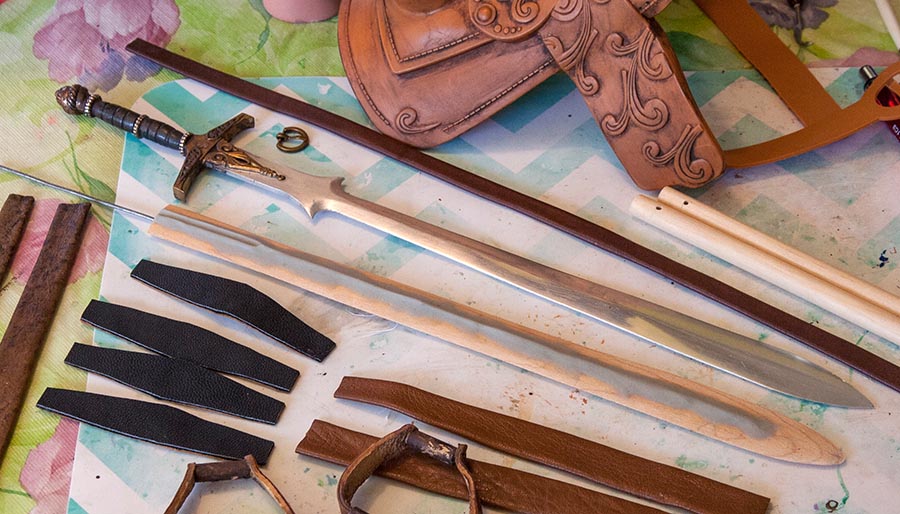
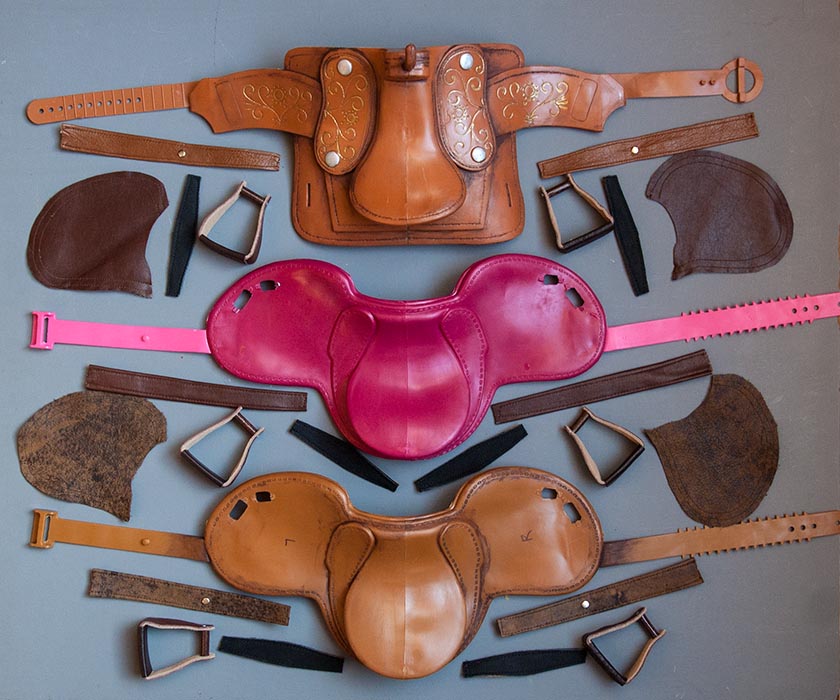
Then I cut the loops and stirrups off the two English style saddles, shaded all three with dark brown paint, and prepared all the new leather parts. I decided to try cover the lower English saddle sides with the holes, with leather, so traced patterns onto paper towels. It was interesting that both sides were not identical. I chose leather that would compliment the saddle colour....
Then I cut the loops and stirrups off the two English style saddles, shaded all three with dark brown paint, and prepared all the new leather parts. I decided to try cover the lower English saddle sides with the holes, with leather, so traced patterns onto paper towels. It was interesting that both sides were not identical. I chose leather that would compliment the saddle colour....
Getting a Bath
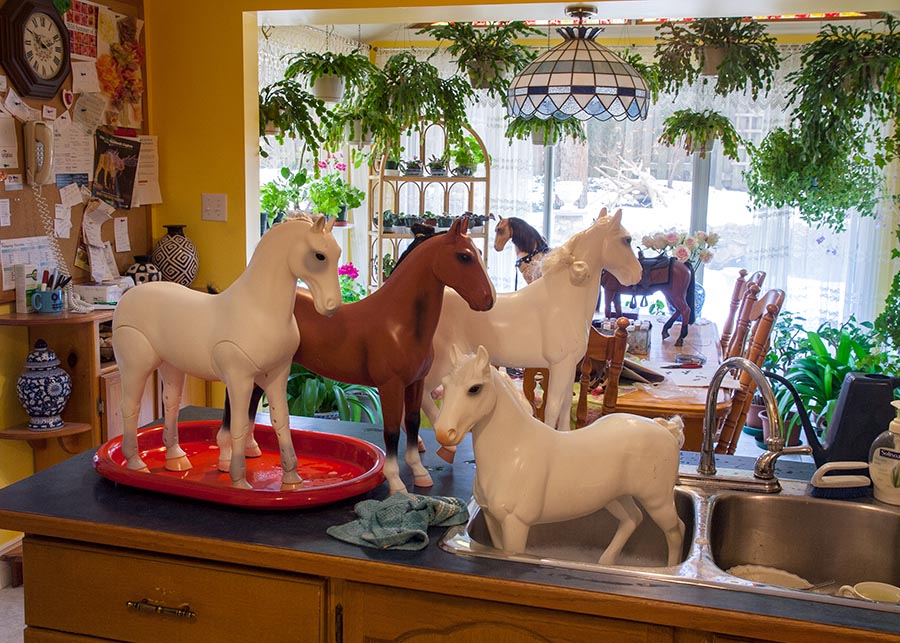
I wanted to blush the rest of my horses, so figured they needed a good washing first. I wasn't planning on doing anything with the white 'posable' horse - since they aren't really posable, and they don't have as nice a head shape as all the other horses - but figured I might as well wash him at the same time.
Once they were dry, I tied up the mane and tails of the two plain white ones, and sprayed them with Testor's Dullcote. There wasn't enough left in the can to give all four two coats, so the reddish brown horse would have to wait for another day.
Finished Saddles
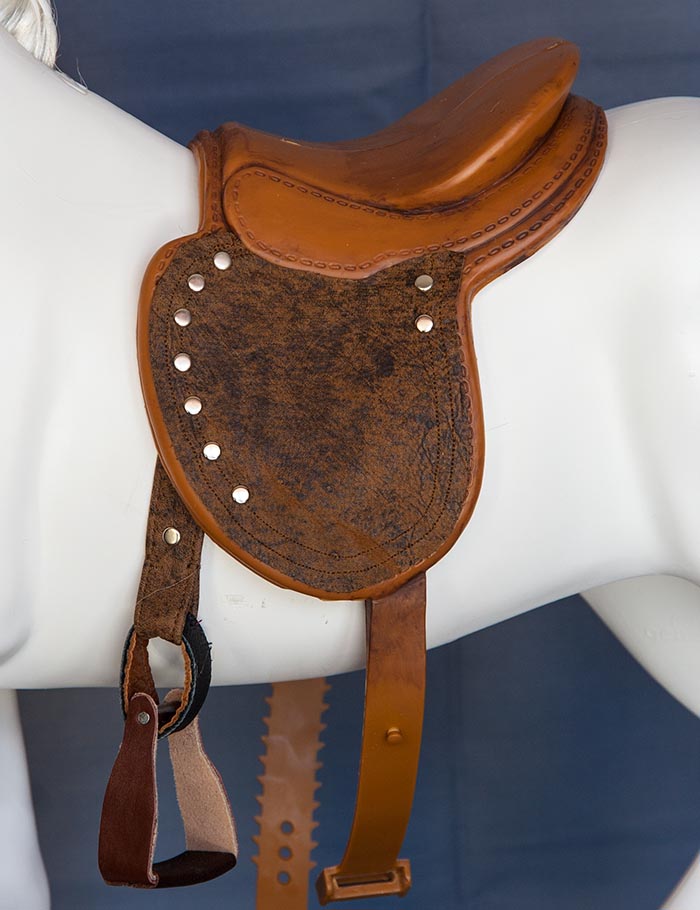
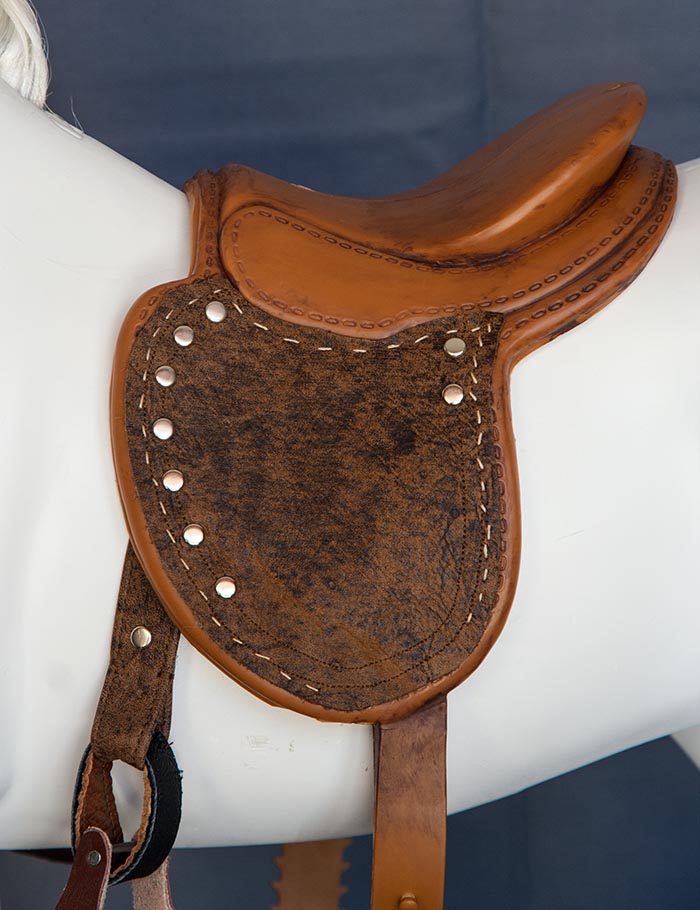
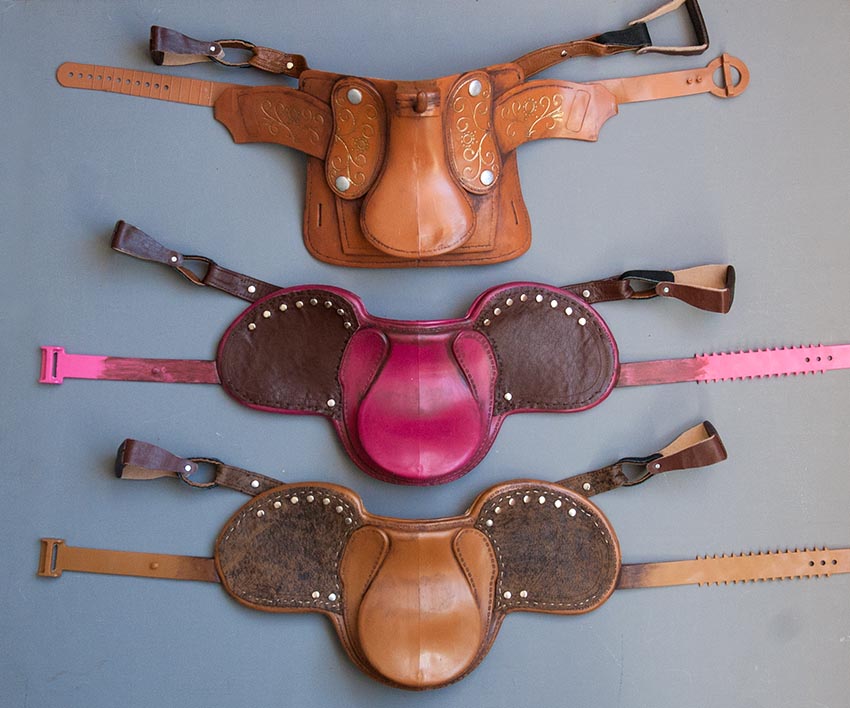
I sewed the leather stirrups onto the English saddles first, using a leather needle and thimble to help push the needle through the plastic. I top-stitched the leather side pieces on my sewing machine, and then added a few studs. Then I glued the leather sides onto the saddles, over the stirrup stitching, with GemTack glue. The directions on the bottle said it worked on plastic, but I wasn't going to take any chances and have the leather start to peel off, so I stitched around the edge of the leather through the plastic saddle, with a leather needle and strong thread. I couldn't go all the way around the bottom since the plastic was molded way too thick under there...
Three improved, finished saddles, with new stirrups...one Western, two English....
Before....and after.....
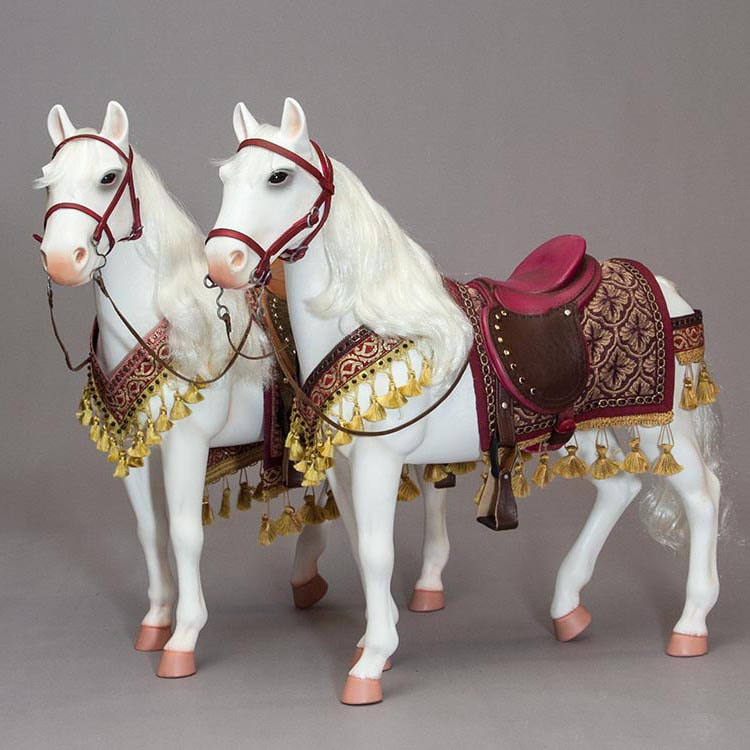
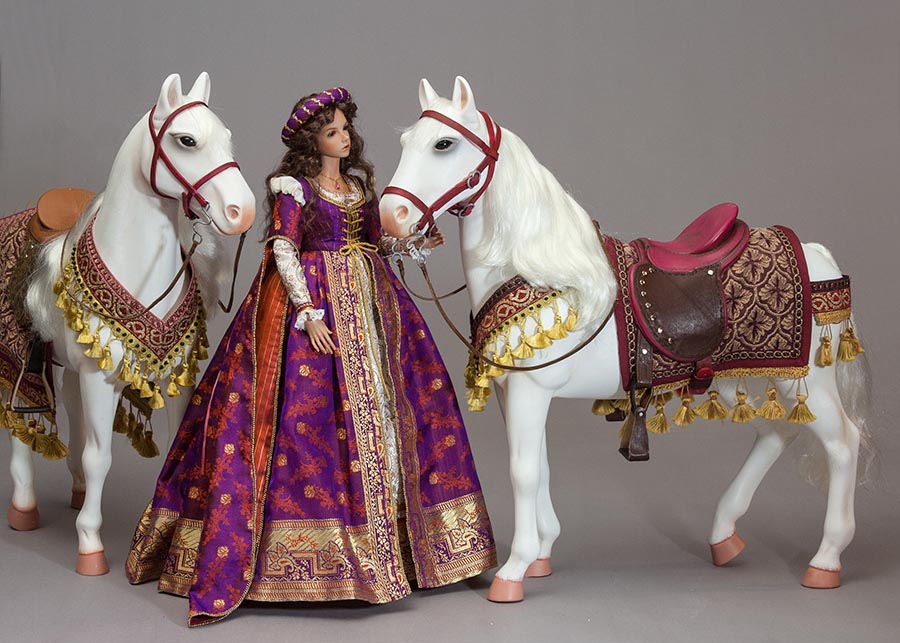
Bianca with the two white horses decked out in their Fantasy gear.....
New Bridles
With all the newly improved saddles, I was in need some some better bridles. The two white horses had ones that started out as pink plastic, and they looked believable, so I painted them wine red.
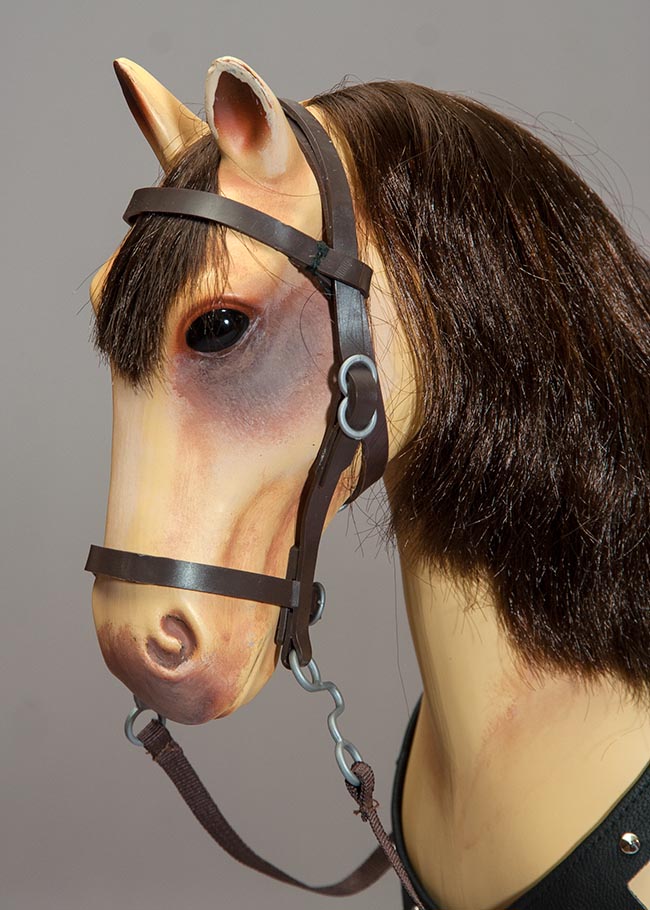
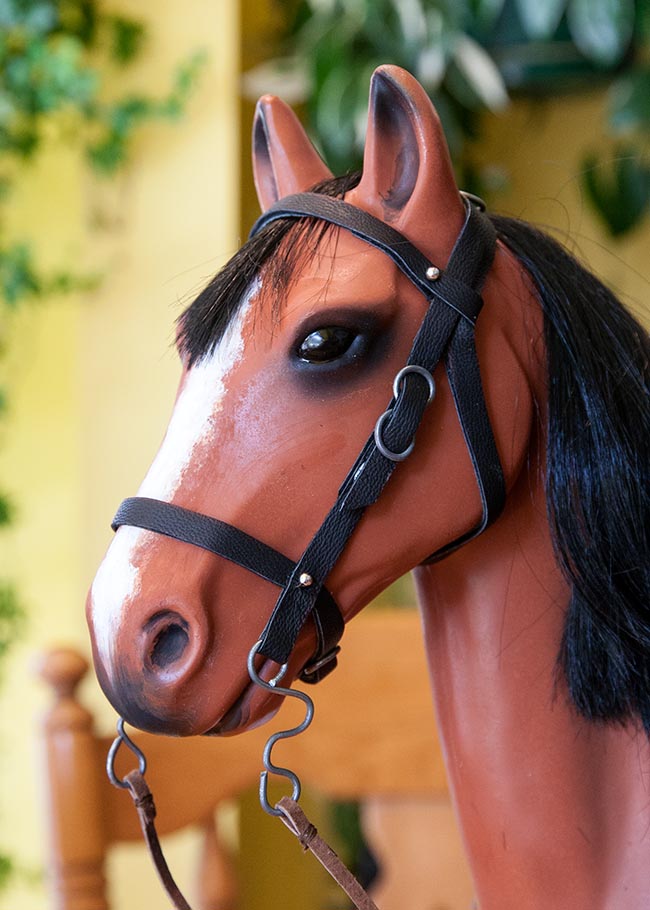
The Morgan horse had come with what I considered to be the most realistic looking set....
The Morgan horse had come with what I considered to be the most realistic looking set....
I'd already copied it once in brown leather for my brown horse, so decided to make two more.
Leather Bridle Instructions
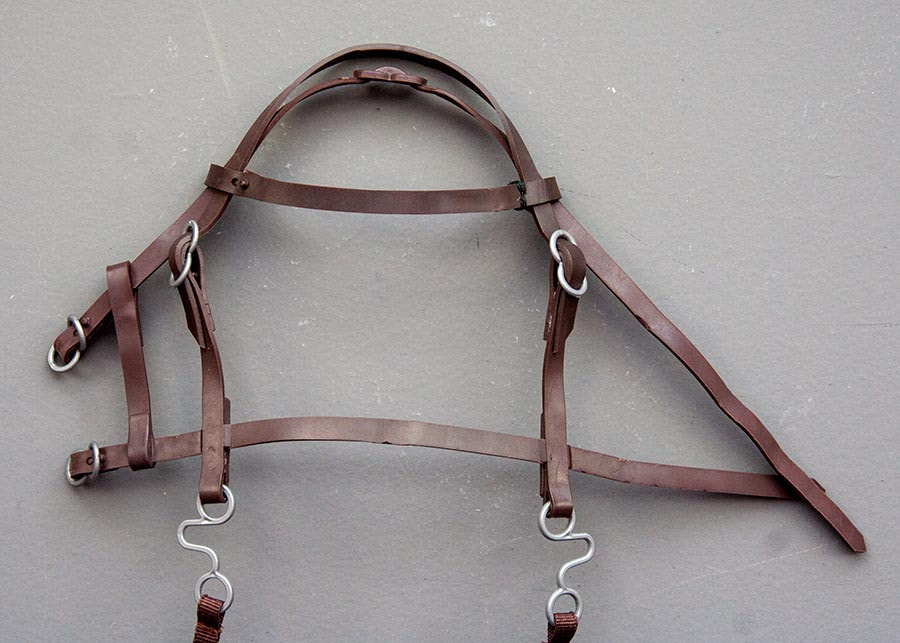
As I said at the beginning, I know nothing about horses, but Morgan's bridle seemed to me to look rather realistic, so I decided to copy it. This is his plastic bridle laid out flat. I left off the strip on the far left, since it is intended to hold the upper and lower sections of the bridle together, but I glued the leather ones together permanently, making that strip obsolete. I have no idea if it's an authentic part of the bridal, so if it is, go ahead and add it if you want.
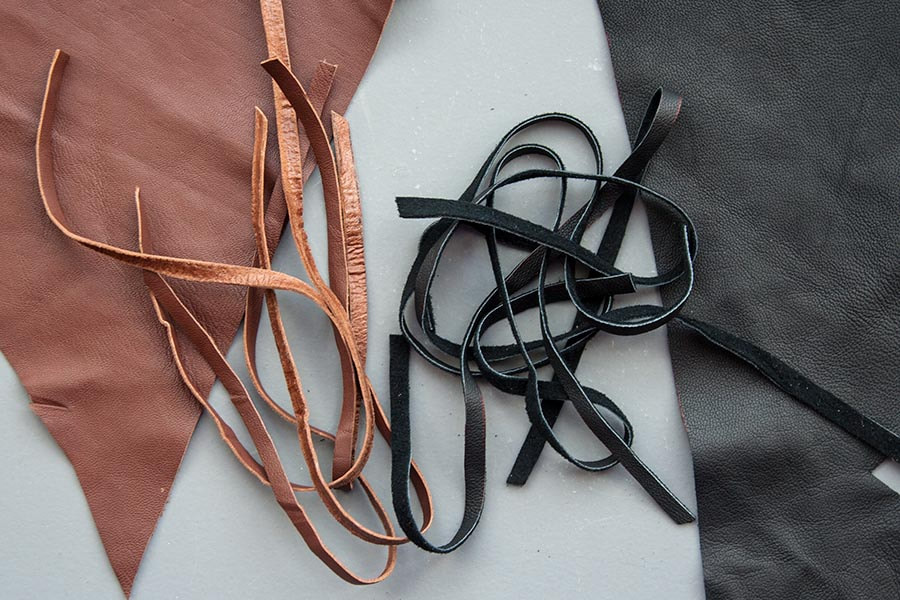
1. Cut out 1/4" wide strips of leather. The leather should not be too thin or thick, and hopefully not have much stretch. The brown leather I used was rather thin and stretchy, so to stiffen the strips, I made the whole bridle double thickness. One of the the strips will need to be 13 1/2" long. I'm going to make two bridles, one in brown, and the other black....
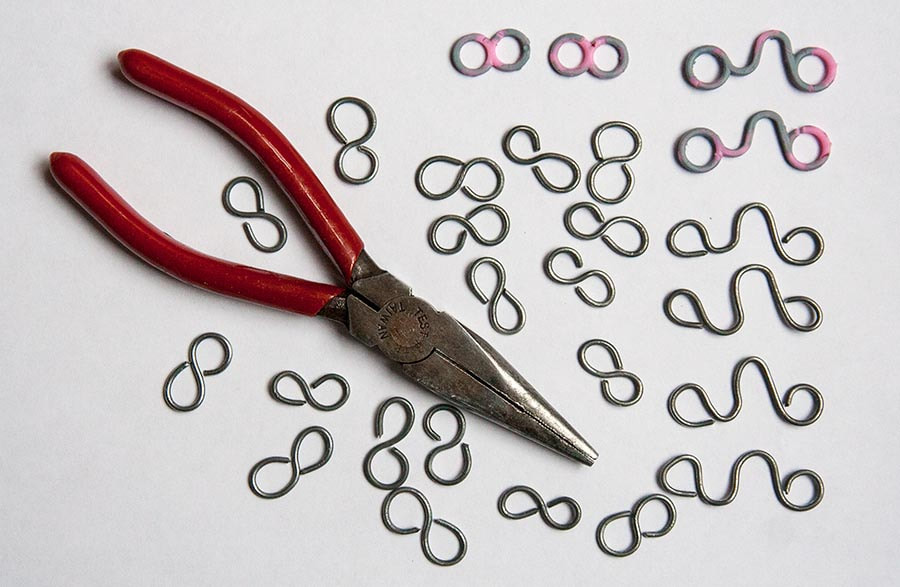
2. Using a pair of pliers, shape the 'buckles' and the reins attachments out of 14 gauge wire. I tried to get them as close as possible to the plastic ones that came on one of the discarded bridles. They clearly aren't perfect, but they are close enough.
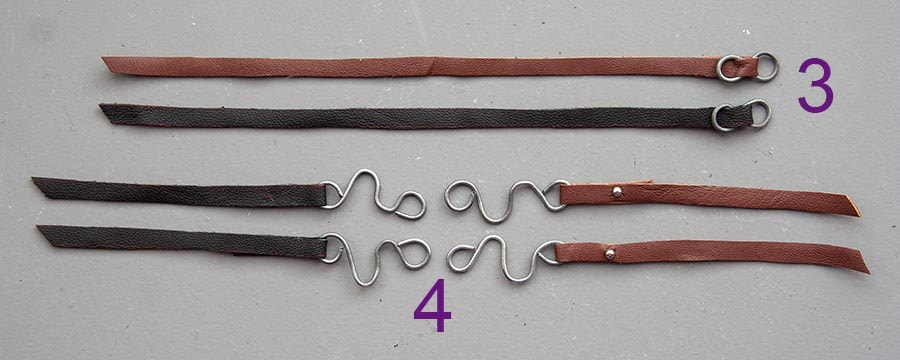
3. First we are going to make the lower part of the bridle. Cut a strip 9" long, for front part of bridle that goes around horse's mouth area. Thread figure eight 'buckle' onto one end, and position it 1" from end. Glue end of leather back to hold buckle in place. Glue another strip of leather all the rest of the way along the back to make it double thickness.
4. Cut 2 strips of leather 5 3/8" long. I inserted a tiny stud 2 1/8" from the end on the brown strips, since that leather was thinner, but couldn't get one through the thicker black leather. Instead of tiny studs, I sewed round 2mm silver beads onto the black leather strips to simulate the studs. (shown in step 5). It was much easier, and looked pretty much the same.
Thread the squiggly wire shapes - as a pair - onto the ends of the leather strips. Position them 1 3/8" from the end, and glue back the leather strip, but just from about 1/4" from the wire, to just before where the tiny studs are.
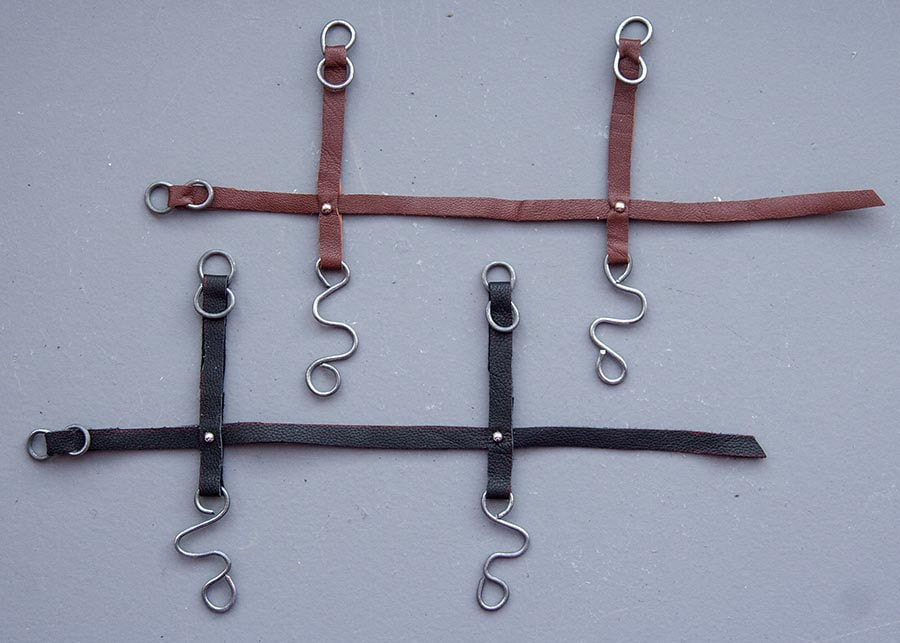
5. Glue strips 4 onto strip 3 at the 2" and 5 5/8" distance from the left end of leather in buckle, as shown. Fill in any extra space on the back of the strips to make everything double thickness.
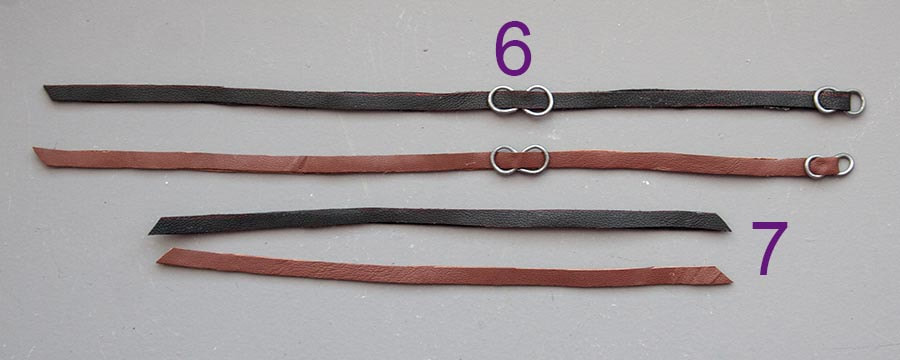
6. Now for the top of the bridle that goes across the top of the horse's head and around his ears. Cut a strip of leather 13 1/2" long. Thread a figure eight 'buckle' onto one end, and position 7/8" from end. Glue the 7/8' bit of leather back in behind. Thread another buckle onto the other end, and position it 5" from the right end. Glue a second layer of leather along back, right over the buckle, to make the strap a double layer.
7. Cut a strip of leather 8 3/4" long. Glue second layer on back.
7. Cut a strip of leather 8 3/4" long. Glue second layer on back.
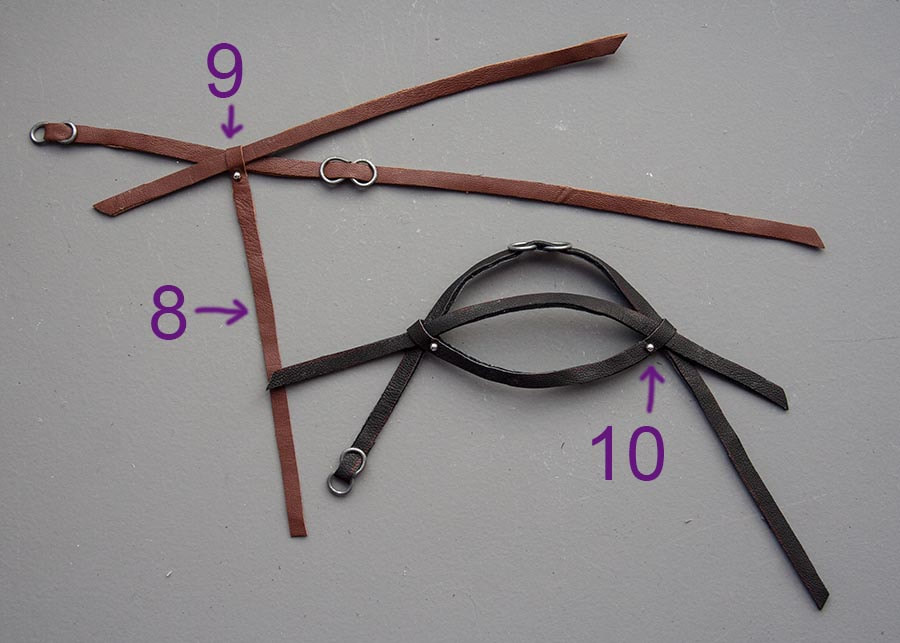
8. Cut two strips 7 1/2" long. Lay strip 7 on top of strip 6.
9. Fold 1 1/4" of end of strip 8 around the two leather strips, and glue end down , being careful not to get any glue on the two long strips. When dry, sew a 2mm silver bead to simulate stud as shown.
10. Take other end of strip 8, fold 1 1/4" over the two longer strips as shown. Glue end underneath, being careful not to get any glue on the two long strips. When dry, sew on 2mm bead, and fill in any space on the back of strip 8 to make it a double layer.
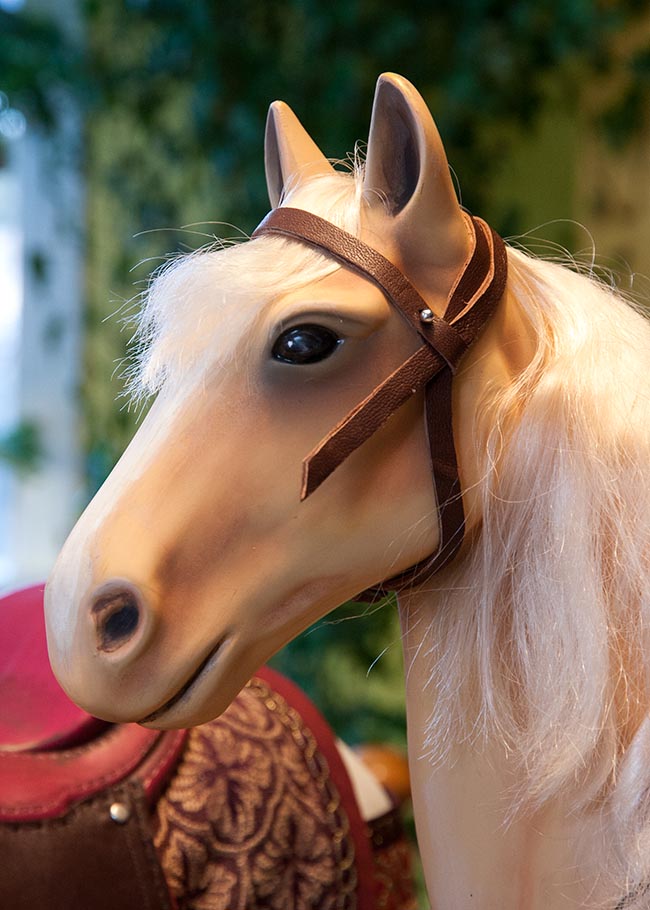
11. When dry, put the upper section on the horse as shown. Do up the buckle on the end of strip 6 under the horse's neck....
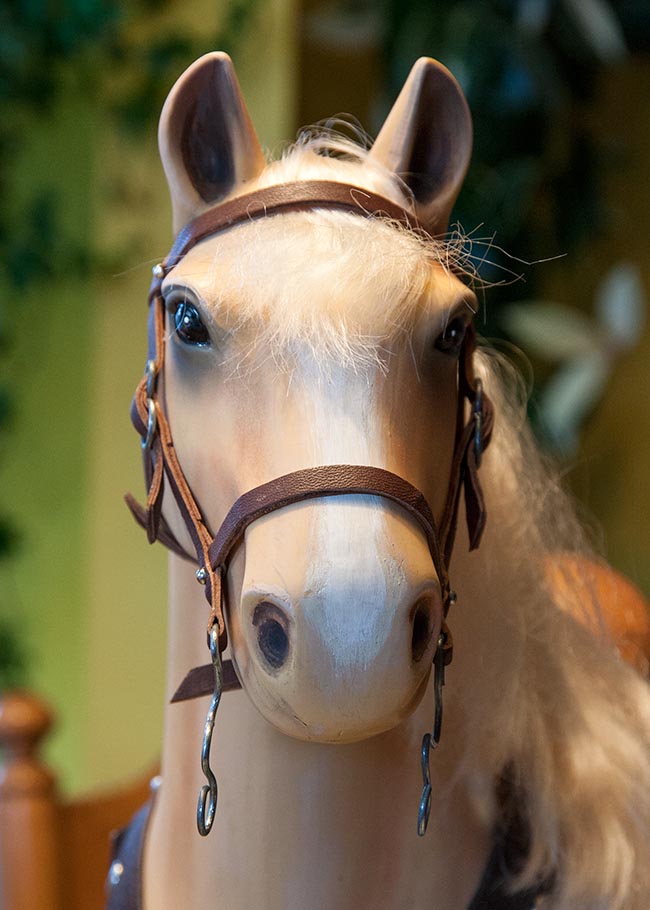
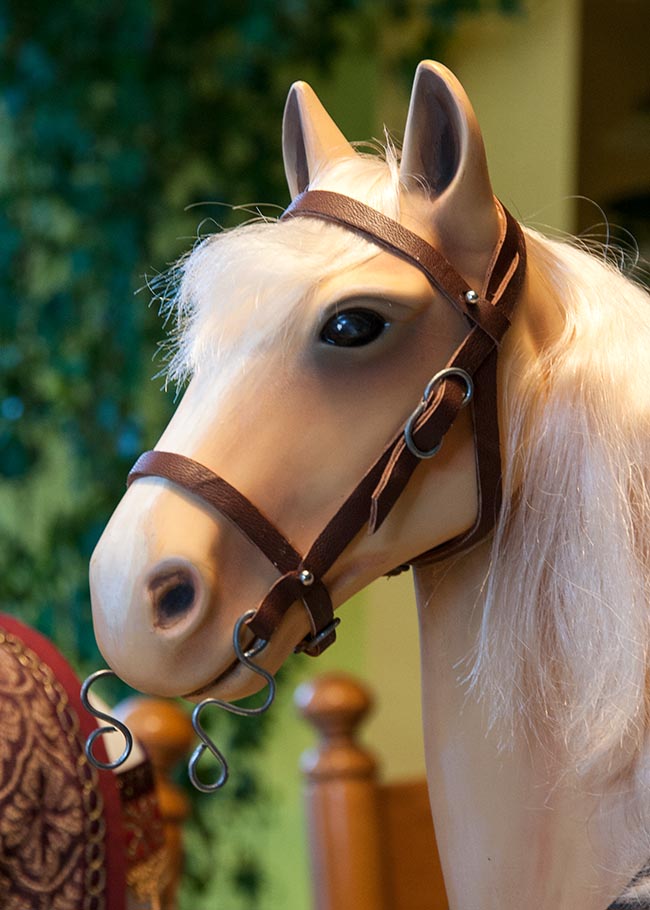
12. Take the bottom section and put strip 3 around the horse's muzzle, doing up the buckle under his chin. Do up the strip 4 buckles at the sides of the head, then add glue underneath those to hold the straps permanently in place....
The black bridle on the reddish brown horse, with the leads attached. This horse also had a very sharply edged white spot on his face, so I sanded the edges off the paint, and touched it up with rusty brown and white paint. I also shaded him a bit with brown paint. I had just enough Testors Dullcote left in the can to seal his face, before putting on the bridle....
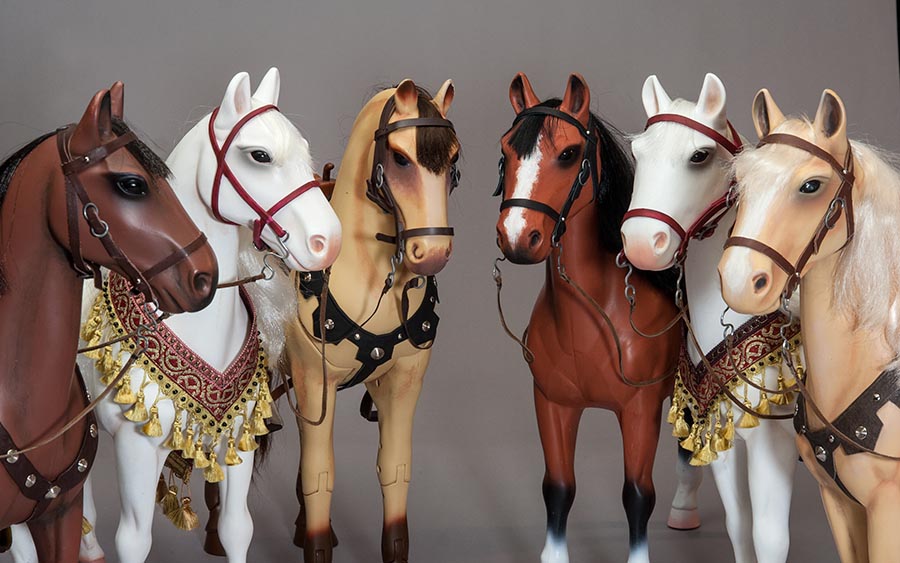
So I had six horses with bridles. The Morgan horse (third from left, below) has the original plastic bridle it came with. The two white horses have plastic bridles which were originally bright pink, and they were painted wine red. One had gray plastic buckles, which remained on the bridles, even though they were rather challenging to paint around. The other wine red bridle had pink plastic buckles, which just wouldn't do, so I cut them off and replaced them with the shaped wire ones.
The other three horses have leather bridles copied from Morgan's plastic one.
The other three horses have leather bridles copied from Morgan's plastic one.
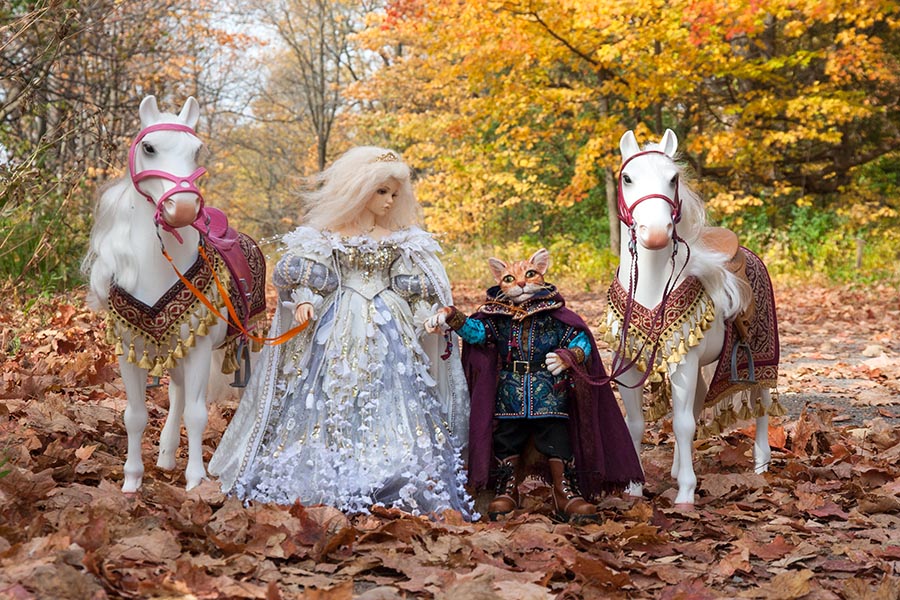
The white horses with their red and gold fantasy trim, are usually ridden by fantasy characters, like here, before the second white horse had the new wine red bridle....
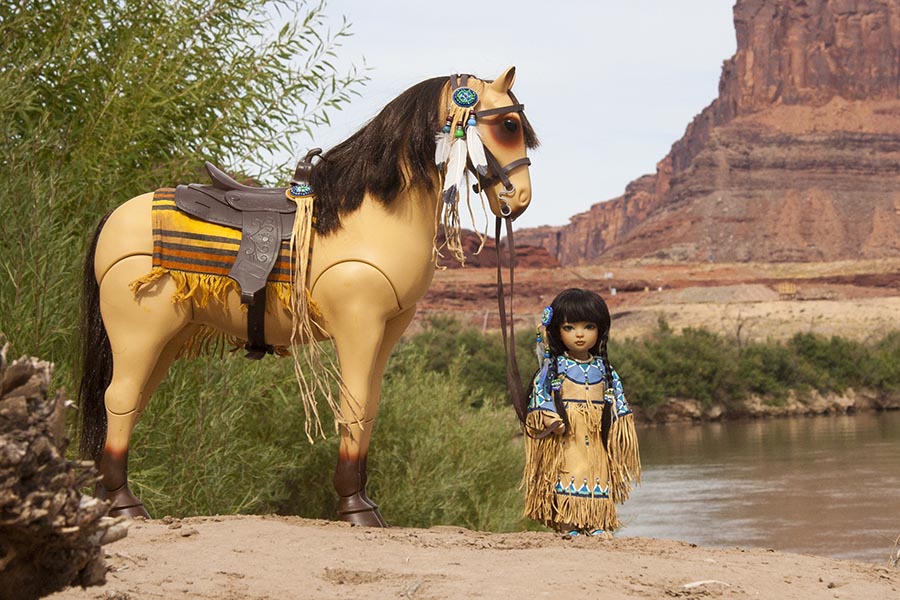
....whereas the brown and tan horses get ridden by the more realistic characters, like my knights....
Now that all the horses have nice bridles, and all but the red horse have their own saddles, it will be so much easier to just pick one up to use it, when I need one. No more sharing of saddles or tack.
Well, maybe one saddle - until I come across another nice one to fix up.
Well, maybe one saddle - until I come across another nice one to fix up.
Copyright © 2021 Martha Boers
All Rights Reserved
