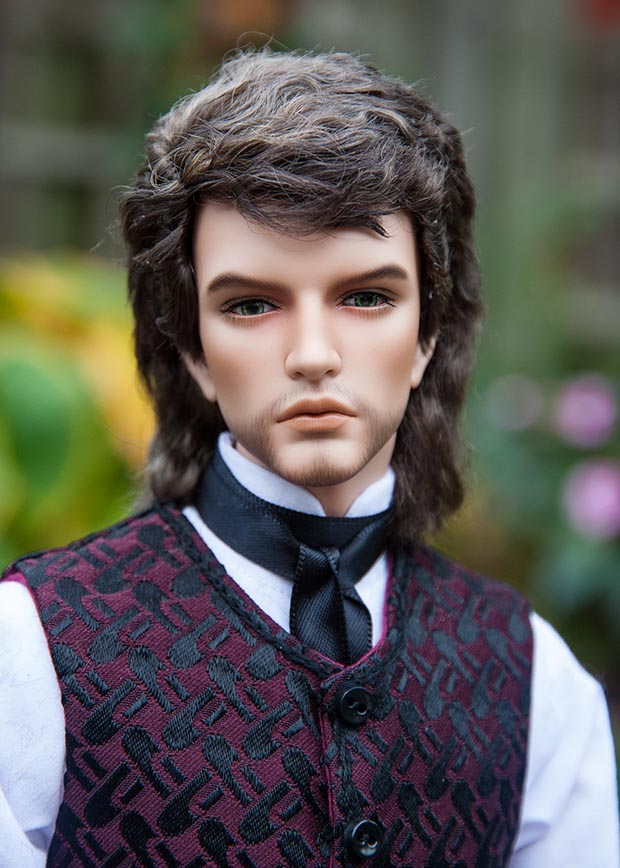
Make a Hard Cap Wig
In this tutorial I will try to explain how I sew and apply the mohair fringes to a hard wig cap.
The wig will have a crown, as opposed to a part, since it's a lot easier for beginners.
The wig will have a crown, as opposed to a part, since it's a lot easier for beginners.
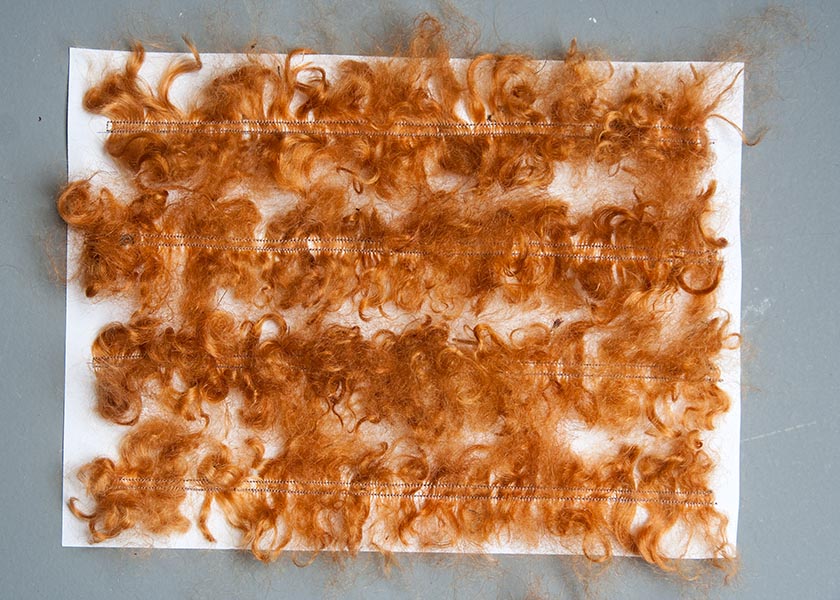
1. First I chose what mohair I want to use. This wig will be for my Iplehouse KID David (Daisy sculpt) I imagined him to be a redhead, so chose a curly red mohair. The first step is to take a sheet of paper and draw some long straight lines. Then I cut the mohair so it's a little longer than twice the final hair length that I'd like the wig to be. Using matching thread, and sewing with the shortest stitch length of my sewing machine, I start by spreading the mohair along the first line on the paper, sewing down the middle as I go. When I get to the end, I turn, sew a couple of stitches, turn again, and sew back down the mohair, approximately 1/8" from the first stitching line. Repeat until you think there will be enough. Remember that each sewn strip will be cut down the middle later and provide you with TWO mohair fringes....
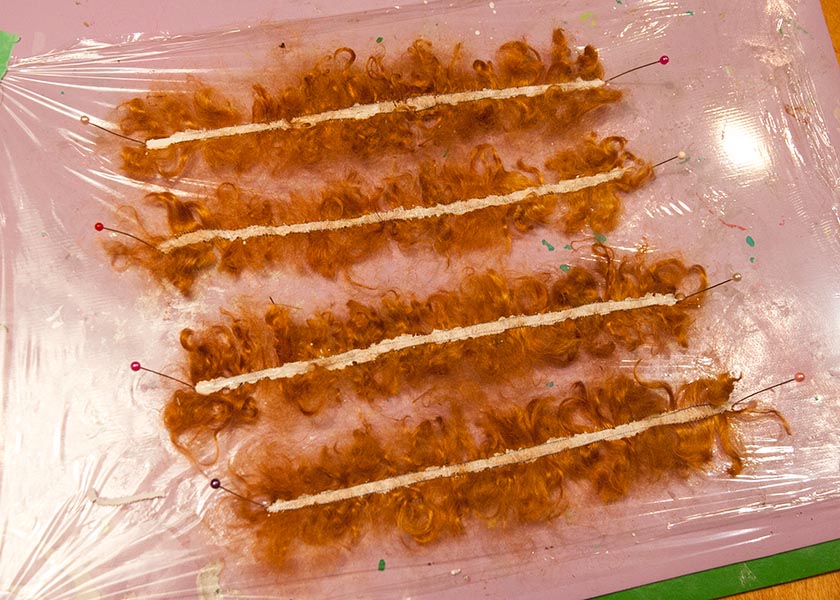
2. Remove sewn strips from paper, and carefully remove any tiny bits of paper stuck in the stitching. Then cover a foam placemat with plastic wrap, and pin the lengths of mohair down onto it. Then apply Gem-Tac glue down the middle of each strip between the stitching lines....
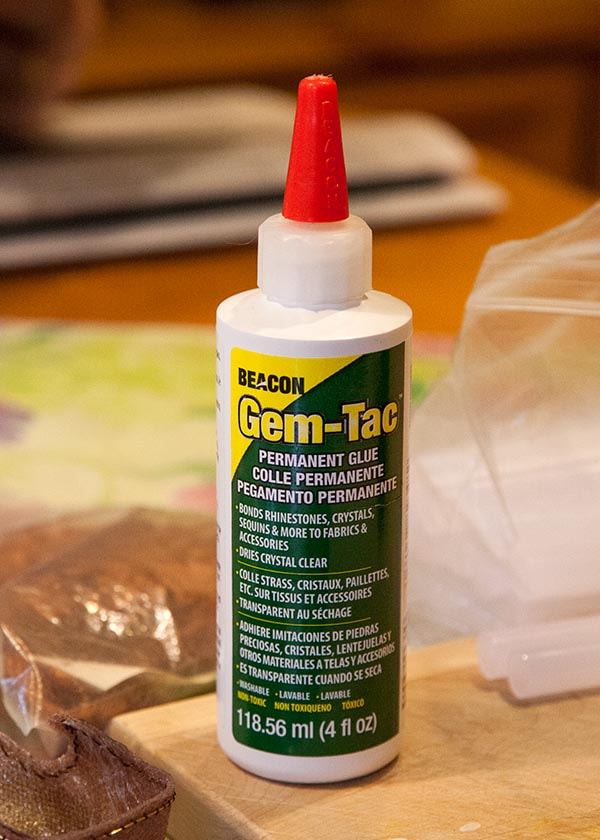
I use Gem-Tack glue for this step, since it is strong, meant for gluing jewels onto dance costumes, and dries washable. Which is important if you don't want the glue to dissolve if you wet the wig....
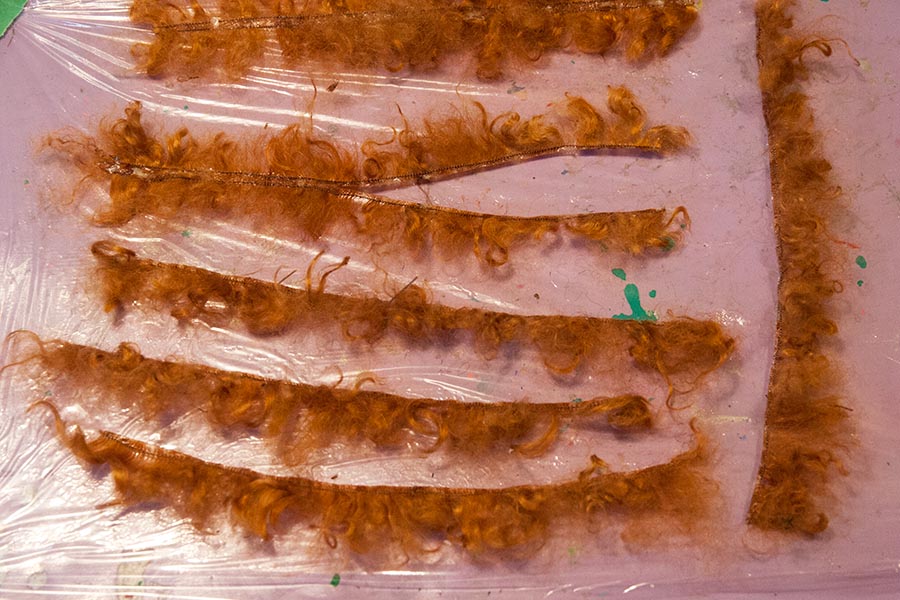
3. When the glue has dried, remove the pins, turn the strips over, pin them back down, and apply glue down the other side. When that is throughly dry, cut the strips up the middle to make a single edged fringe....
|
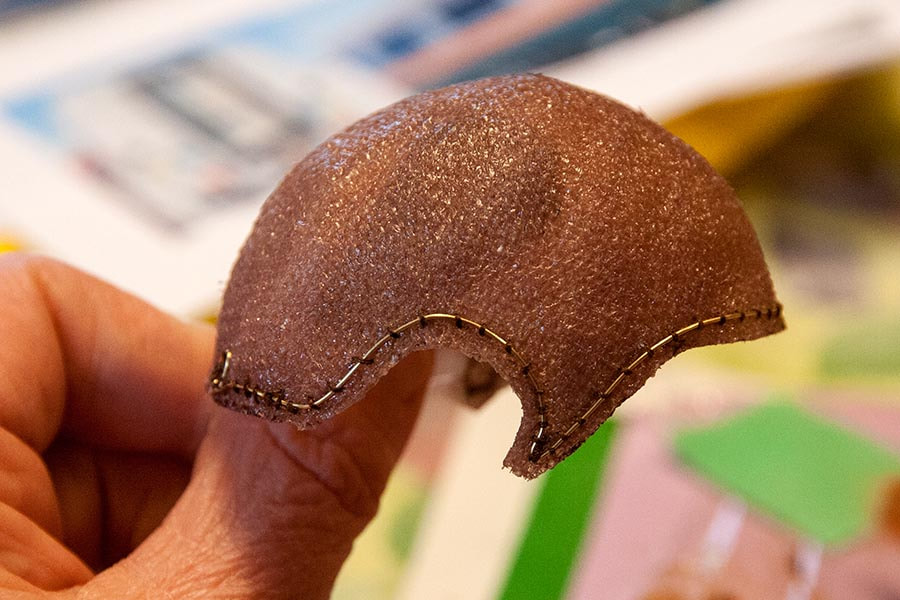
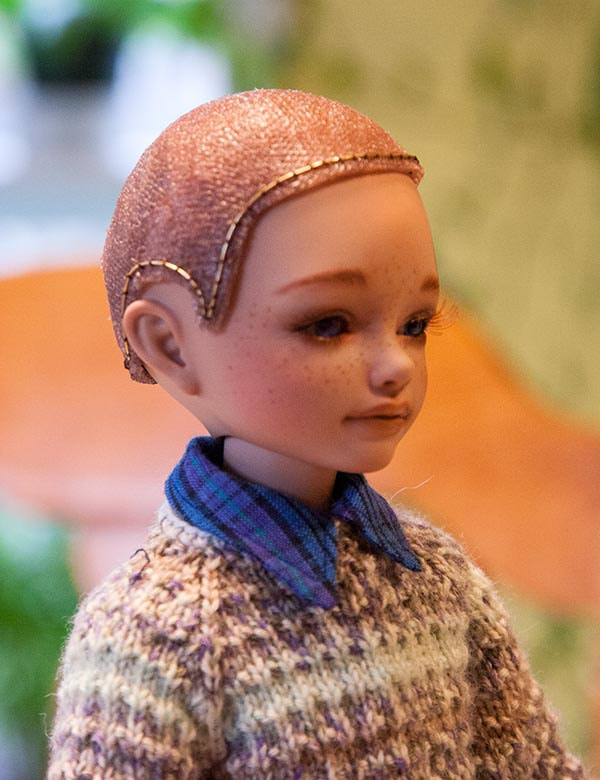
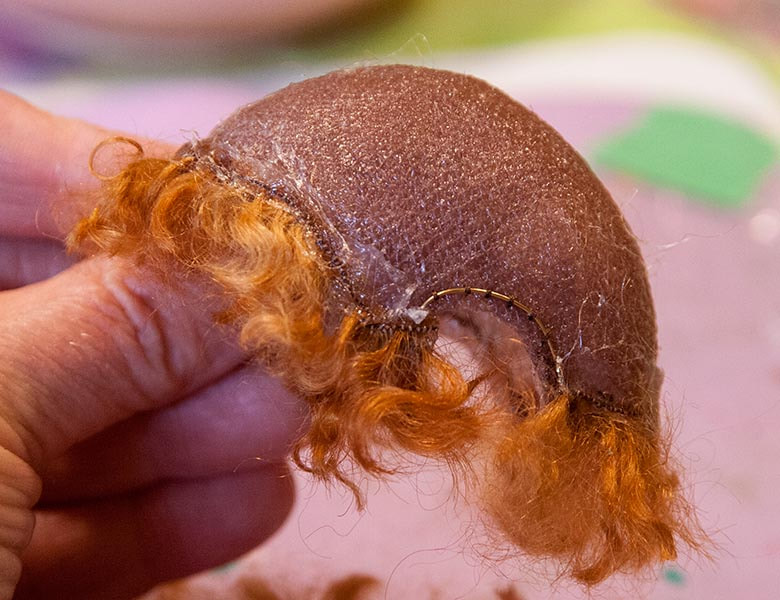
4. Optional - I find that for a guy's wig it's important to reinforce the sideburn area to keep them close to the head, instead of sticking out, so I shape a length of wire and stitch it close to the edge with strong thread. The wire just goes up around the ear area, and over the front. It's not needed in the back. In fact it's best not to wire the whole edge, so the cap will still have a little bit of give if needed.
|
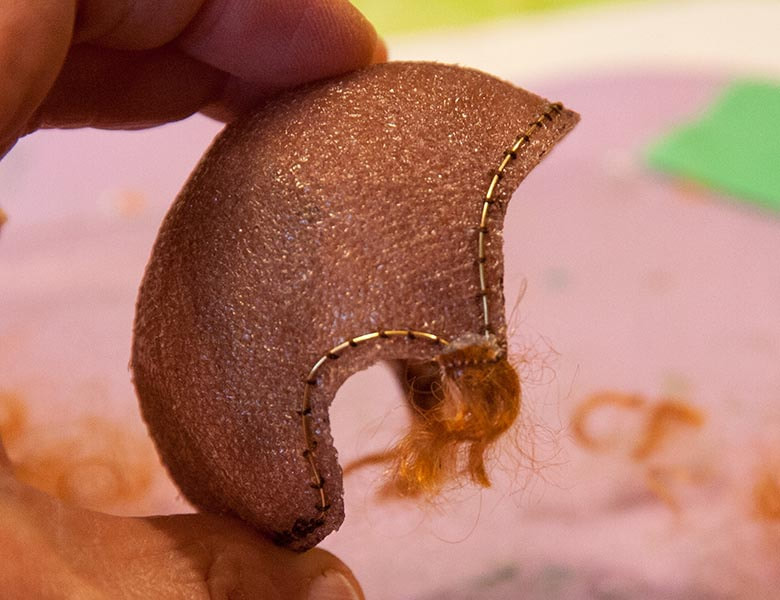
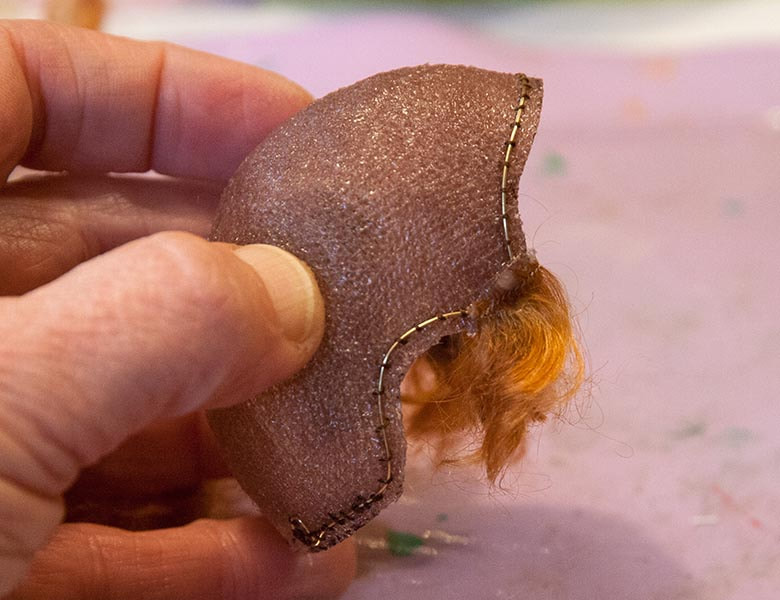
5. I always start applying the mohair to the sideburns. Take a close look at your mohair fringes and snip a small section where the mohair curves inward and towards the back of the wig. I use a thin line of hot glue to attach the mohair strip. Don't worry about trimming the hair at this point.
6. Choose some more mohair that curves inward and towards the back. Glue in place a bit higher up above the first mohair....
7. Next step is to glue a mohair strip along the front, and back of the wig on the INSIDE. This is where it's important to choose bits of mohair that are curving the right direction, even if it's just short lengths glued side by side, because there is only so much one can do to alter the curve of the hair once it's on the wig. The curls in the mohair are permanent. Then glue on strips of mohair on TOP of the back and front edges....
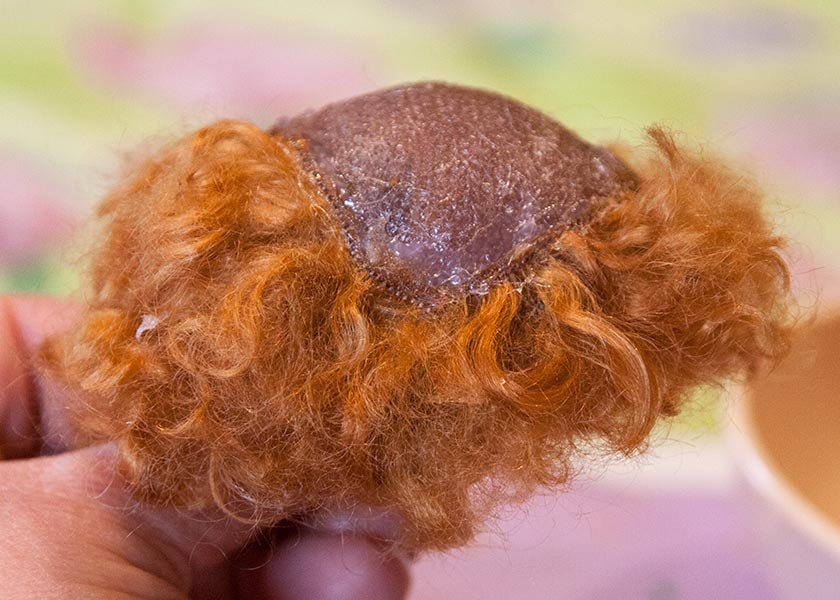
8. Now start layering strips of mohair up the back, and going back from the front, spacing about 1/4" apart.
NOTE: It's almost impossible to explain the artistic choices made when gluing the mohair onto the wig cap. The main key is to look over the mohair strips that you've sewn, and cut out the sections where the hair is going the right direction, since these wigs need their basic styling done from the first strips out ward, always gluing on the hair in the direction you want it to end up. Curls, for example, need to curl inwards, or they'll end up sticking out, and there's only so much you can do to change that afterwards...
NOTE: It's almost impossible to explain the artistic choices made when gluing the mohair onto the wig cap. The main key is to look over the mohair strips that you've sewn, and cut out the sections where the hair is going the right direction, since these wigs need their basic styling done from the first strips out ward, always gluing on the hair in the direction you want it to end up. Curls, for example, need to curl inwards, or they'll end up sticking out, and there's only so much you can do to change that afterwards...
9. Top view of wig as more strips are added....
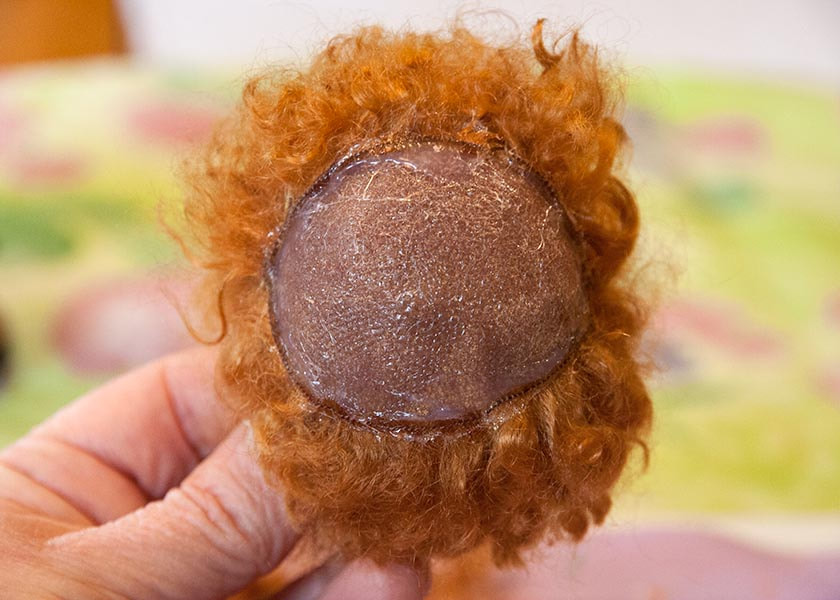
10. Keep adding mohair until there's about a dime-size circle left where the crown should be.....
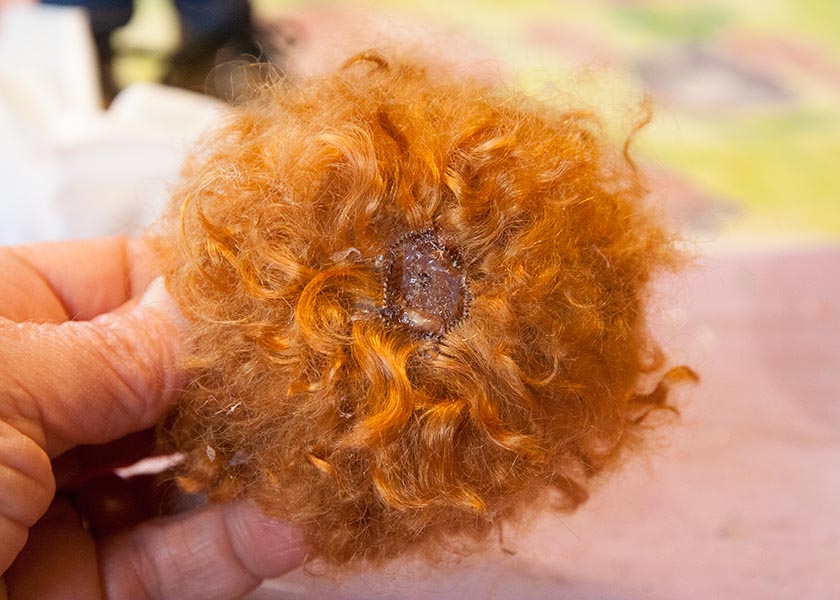
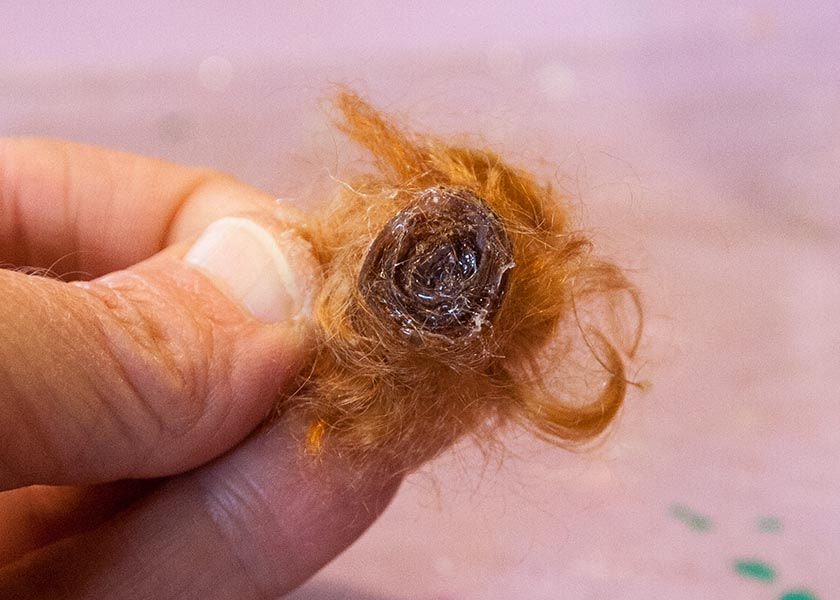
11. Take a length of mohair fringe, and add a bit of hot glue, a short length at a time, as you roll the glued base up into a spiral almost the same size as the crown hole....
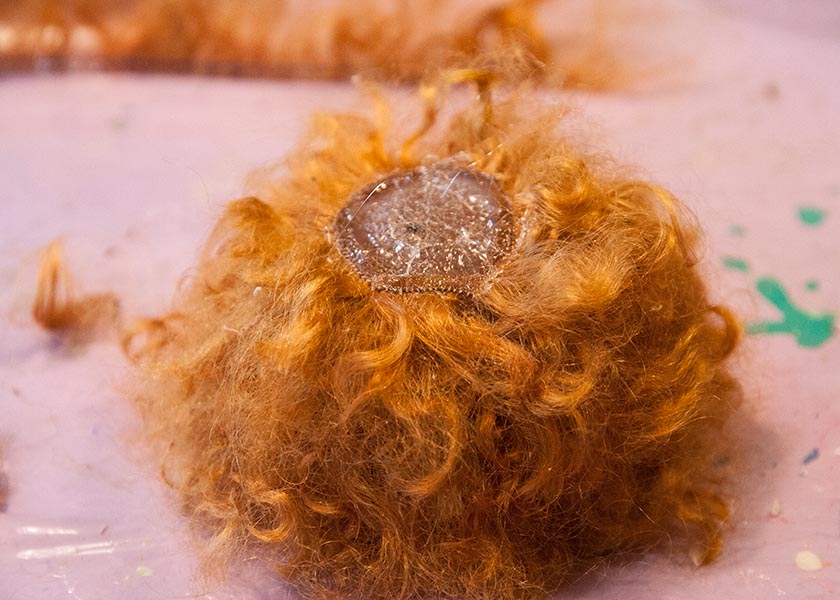
12. Glue the base of the spiral into the hole on the wig. Then spread the crown open with your fingers, cover it with a cloth, and press flat with an iron. This is how the wig looks with all the mohair glued on....rather wild and bushy....
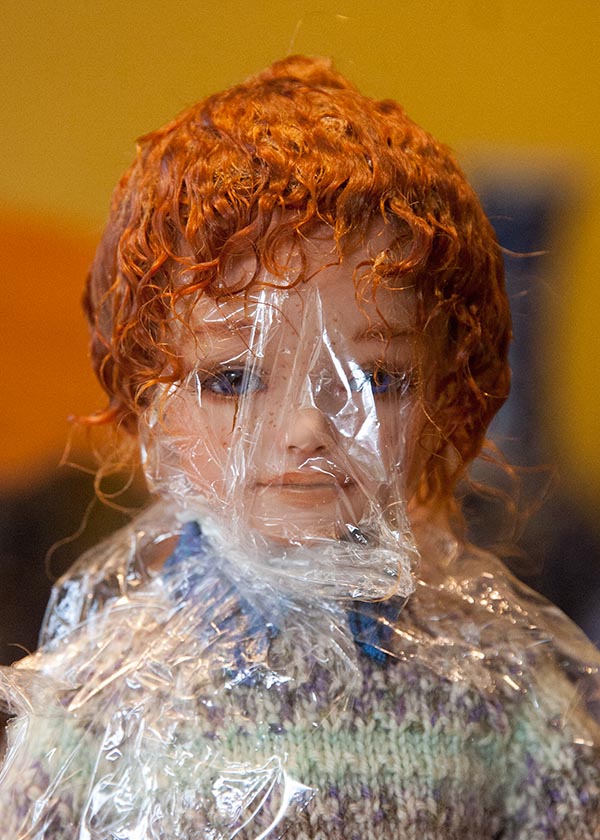
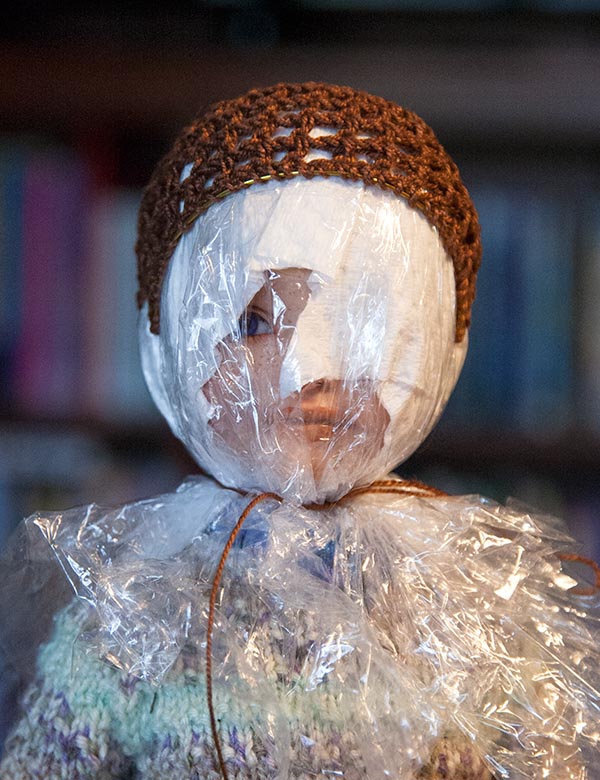
13. Cover the doll's head with plastic wrap to protect his faceup. Then thoroughly soak the wig, and comb it. Place on the doll to see where it needs to be trimmed....
14. Start trimming the wig one tiny bit at a time. Remember that you can always cut more off later, but you can't put it back on. Then let the wig dry before removing the plastic wrap. If the mohair is still too unruly, you can always use some hair gel to help hold it down, but always apply it off the doll and put the wig back on over the plastic wrap. Mohair is totally natural, so you can use your own hair products on it, but don't let them touch the doll. Most hair products are not sealer-friendly!
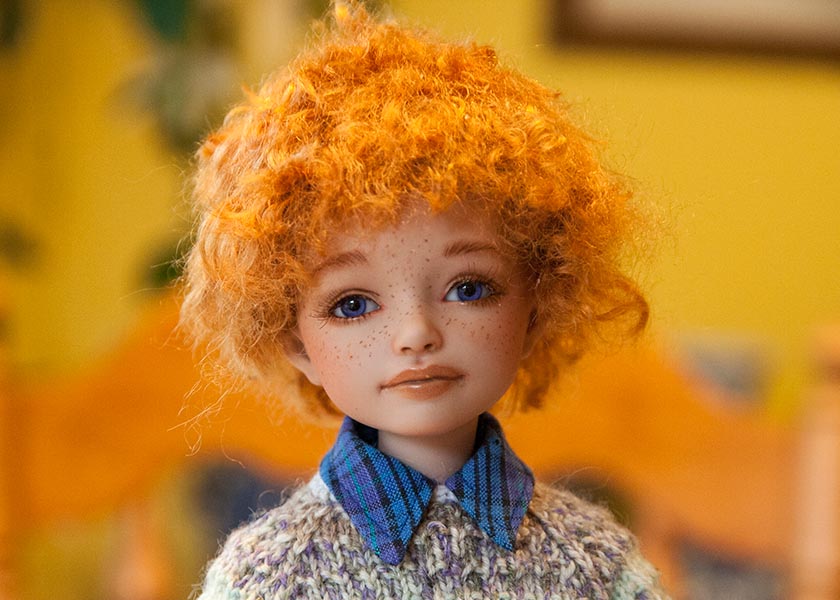
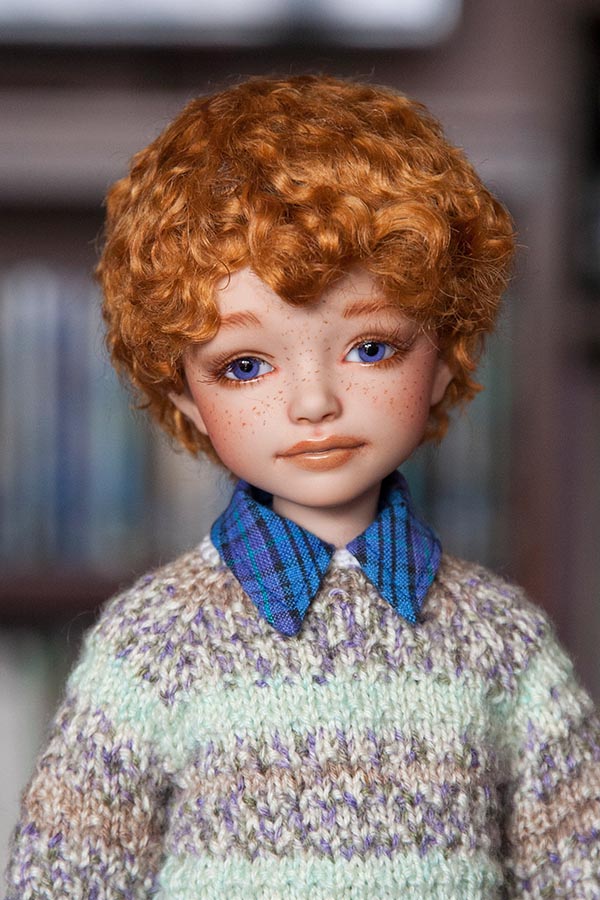
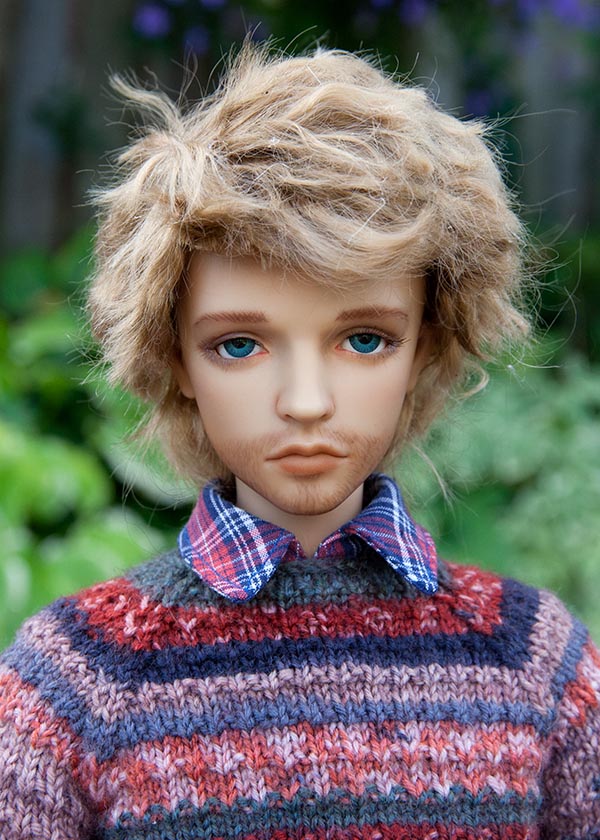
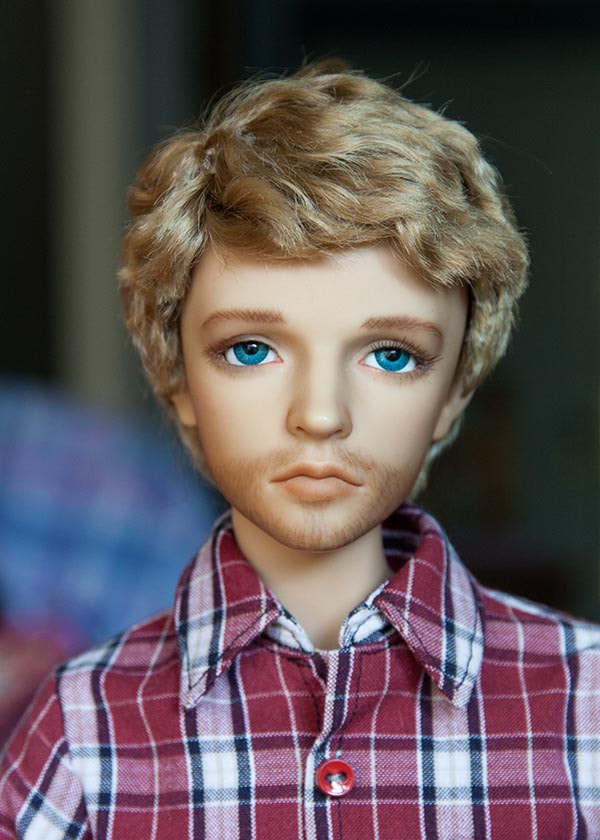
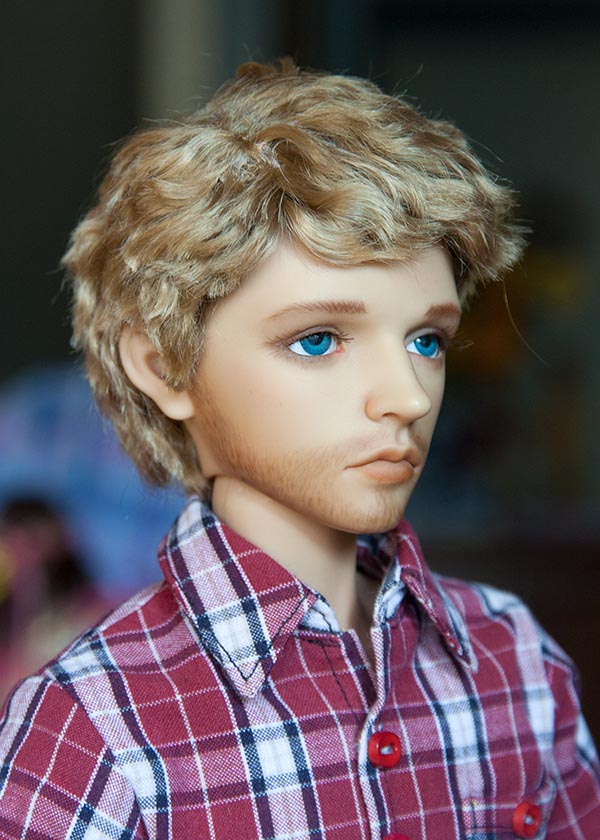
This is how David's wig turned out....If you look closely you can see a small area where the wig cap shows but I'm no hairdresser, so do the best I can, and have to take it how they turn out.....
This is how David's wig turned out....If you look closely you can see a small area where the wig cap shows but I'm no hairdresser, so do the best I can, and have to take it how they turn out.....
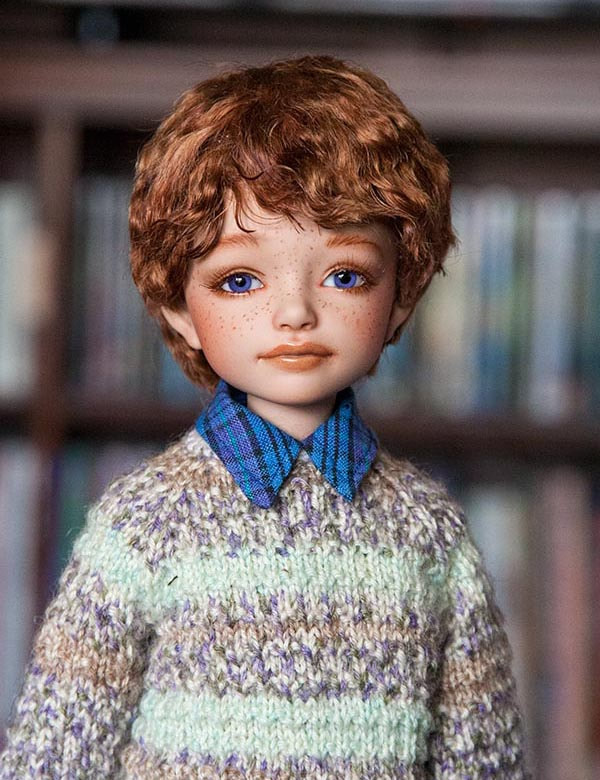
I really liked how his wig turned out, but the mohair I chose ended up looking too 'orange' in photos, so I thought I'd try make a new wig. Since he already had his faceup, and I didn't want to make another hard cap and risk damaging his eyelashes, I used a crocheted wig cap the second time. You can find instructions for a crocheted wig cap elsewhere on my Tutorials page. Only thing I did differently this time, was to crochet sideburns, and a longer back of the neck. Then I sewed bent wire around the edge just like with the hard cap wig. I chose a darker auburn mohair this time, and applied it in exactly the same way....
Baby Sena
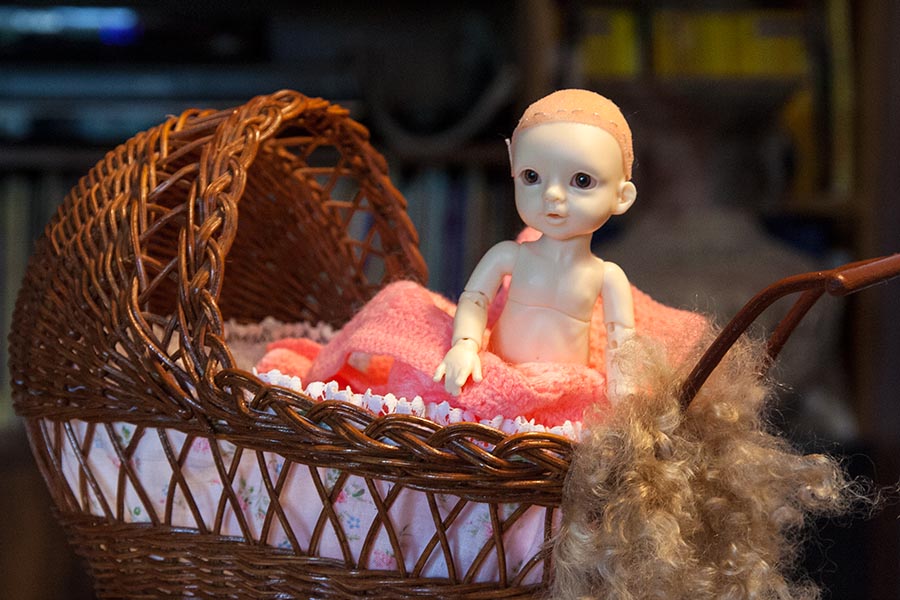
I had ordered Baby Sena from SupiaDoll, and because I envisioned her to be blonde, I made her a pink hard wig cap before she went away to get painted. It's always best to make the hard wig caps on a blank doll, if at all possible....
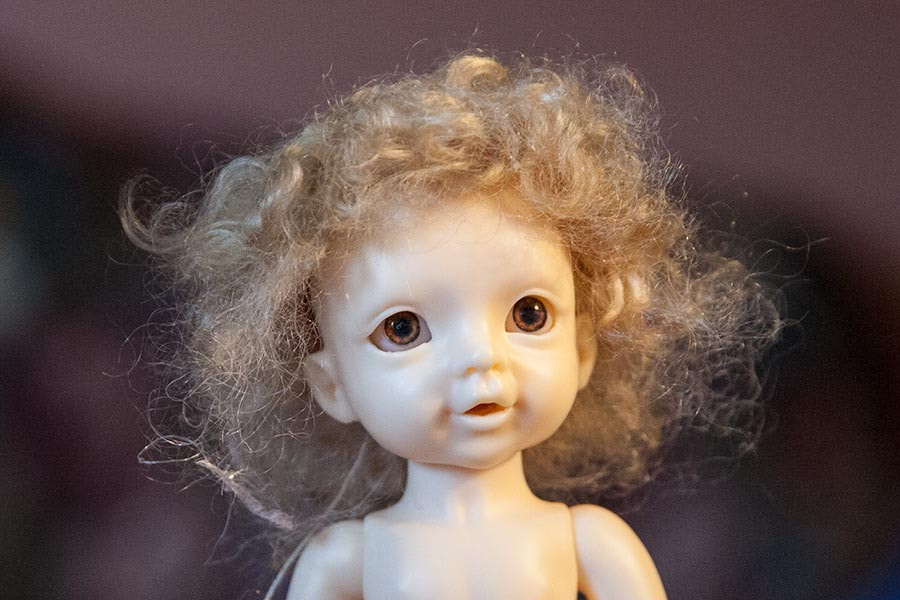
Her wig was made the same way as David's above, except I didn't wire the edges, and the hair needed to be considerably shorter. When it was all glued on, she looked like a little dandelion baby....
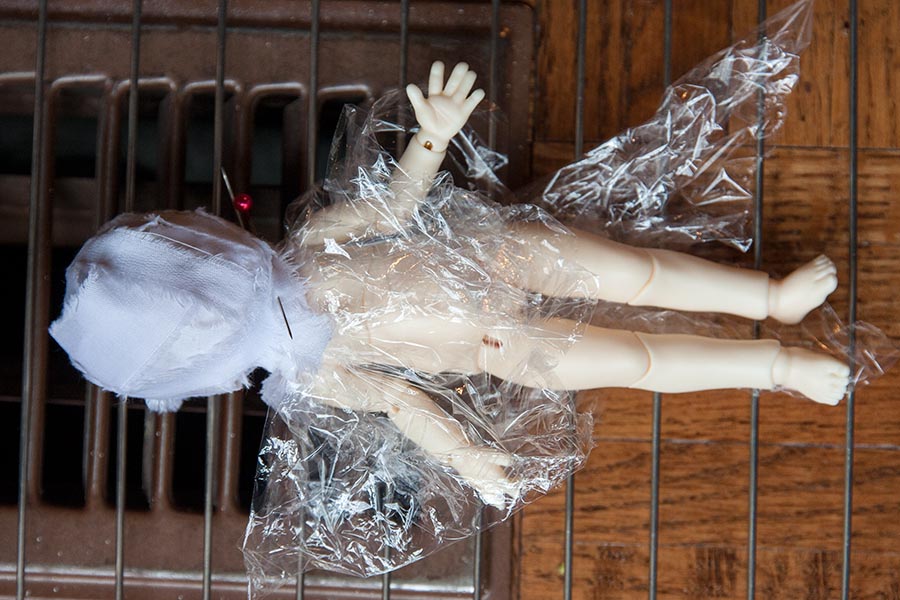
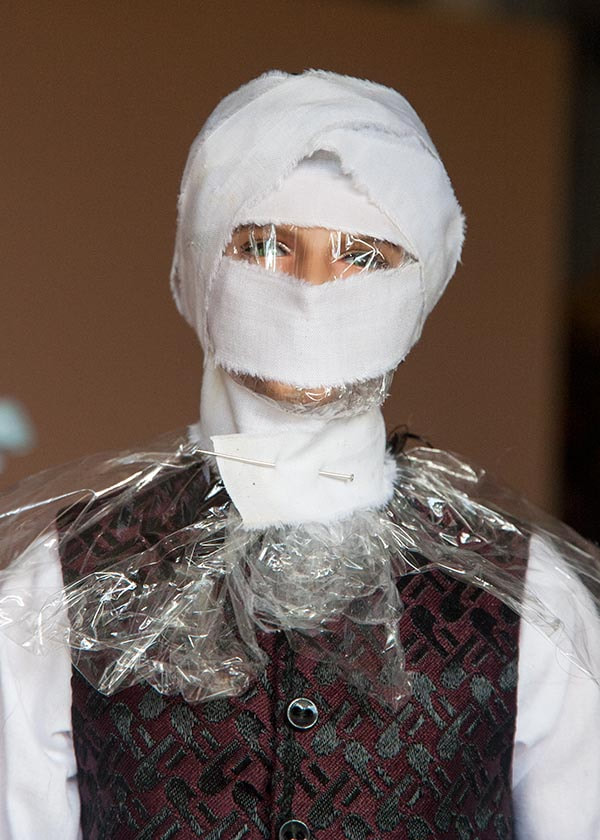
After trimming the hair, it still wasn't laying flat enough, so I covered the doll with plastic wrap, worked some hair gel into her wig, smoothed it down and carefully wrapped a strip of cotton over everything to hold it down in place. Then I let it dry thoroughly before removing the wrapping. I use this same system for final shaping of my men's wigs, to help get the styles I want.....
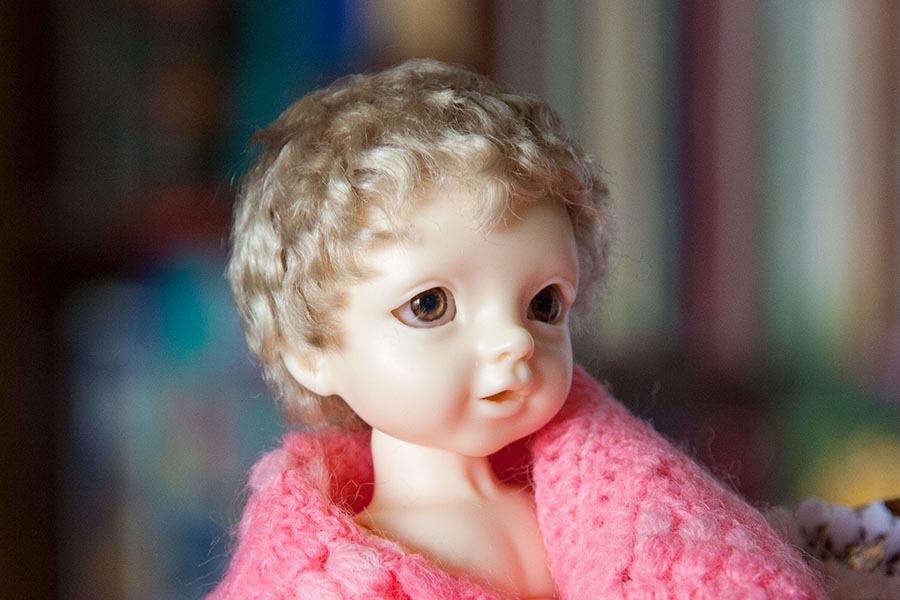
And her wig, all done....
Owen
With mohair strips freshly glued on.....and then after styling. He has a part, but I've never taken photos of how to do it, since I've never made a perfect part with no glue showing, so maybe one of the next times I make a wig with a part.
Baron
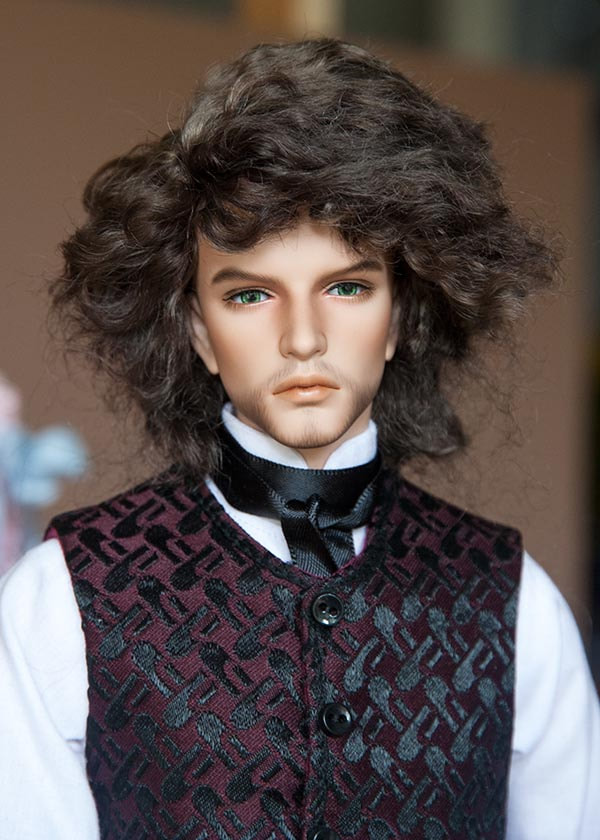
Another wig with a part, but no pictures or instruction on how to do it, since I'm still experimenting, and tried a different technique this time. But it does show how I wrapped his trimmed wig in order to do the final styling, being careful to avoid his eyelashes...
Hard cap wigs for guys often look a lot better than the commercial wigs available, but they aren't the easiest things to make. There are also a lot of artistic decisions to be made along the way, and those are hard to explain in a Tutorial like this. Anyways, the more you do it the better you should get. So, best of luck!!
Copyright © 2019 Martha Boers
All Rights Reserved
All Rights Reserved
