Make an Upswept Hardcap Wig
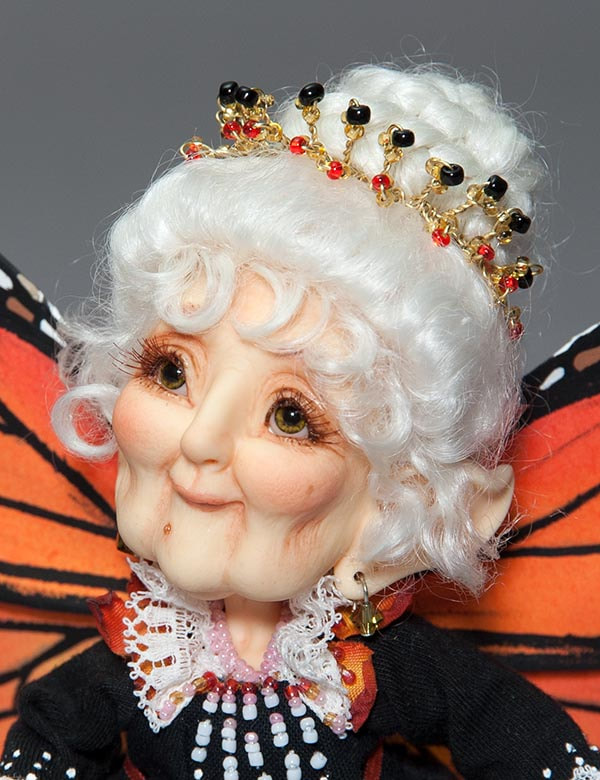
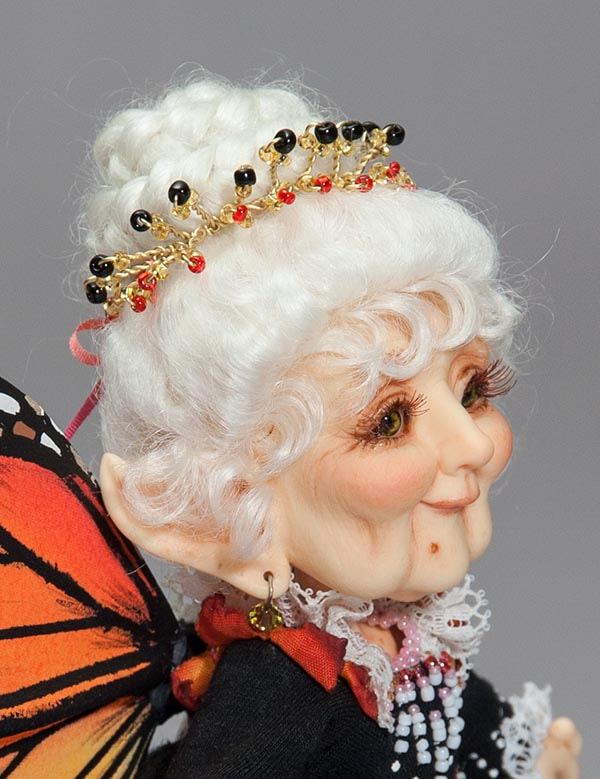
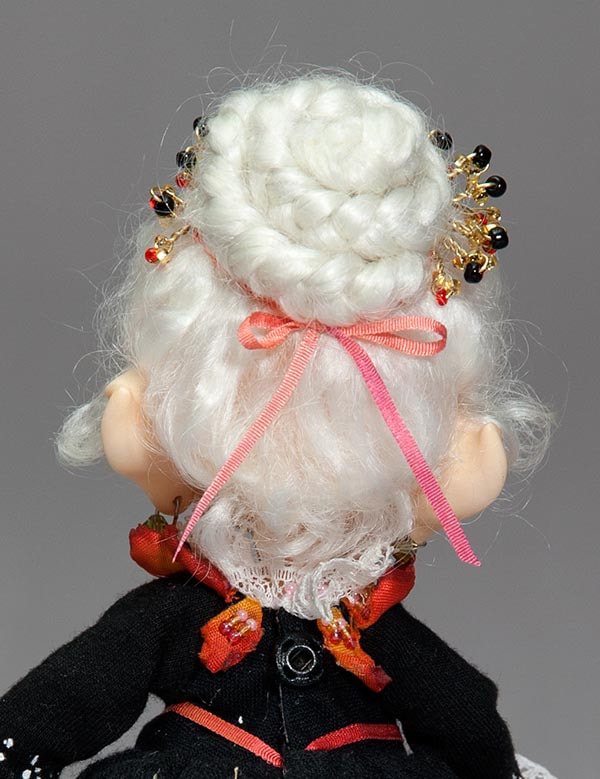
The wig made In this tutorial was for Phairby Flowers, a House Elf from DreamHigh Studio. She is Tiny, and is just 15 cm tall
!. I made her wig cap using pink tulle, as in the Hard Wig Cap Tutorial. She was going to get a white upswept hairdo, so I figured a pink wig base was needed. I'm not sure why the wig cap shrank during drying, or maybe I just cut too much off, but not really enjoying making the hard wig caps, and being lazy that day, I just decided to clip the cap so it would be a bit roomier....
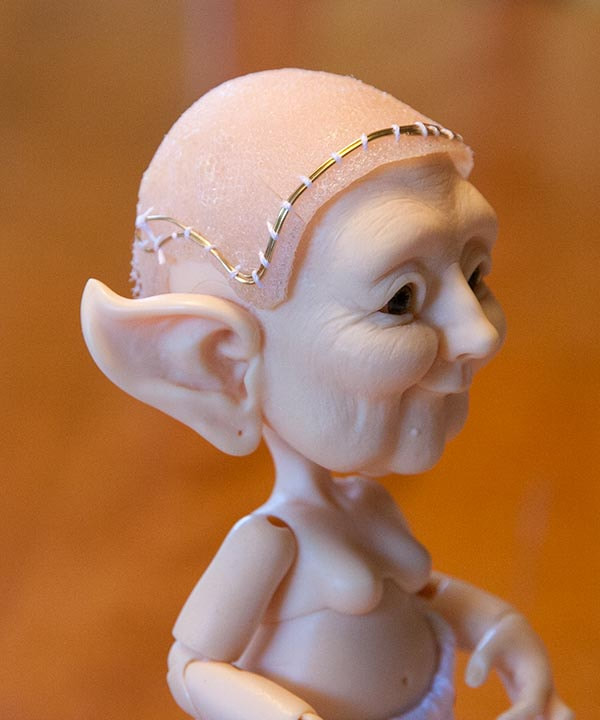
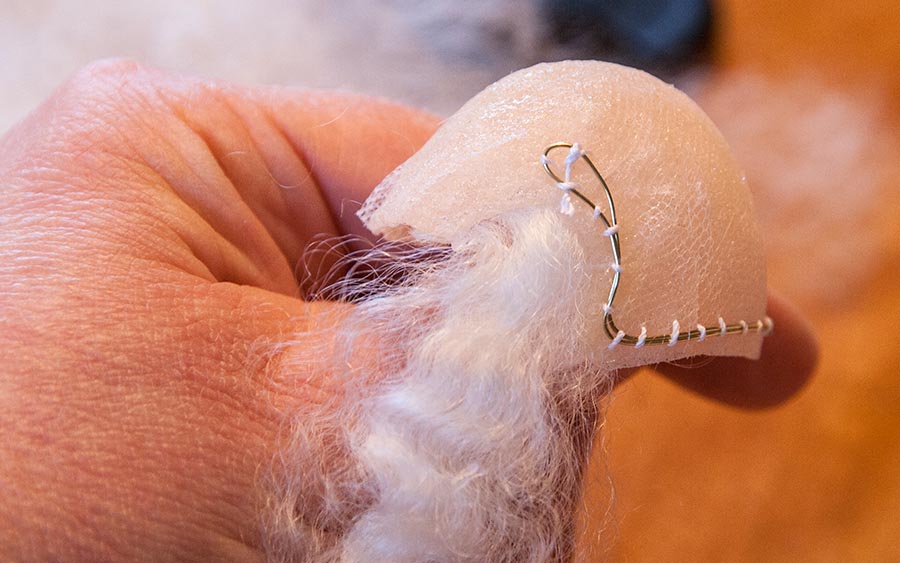
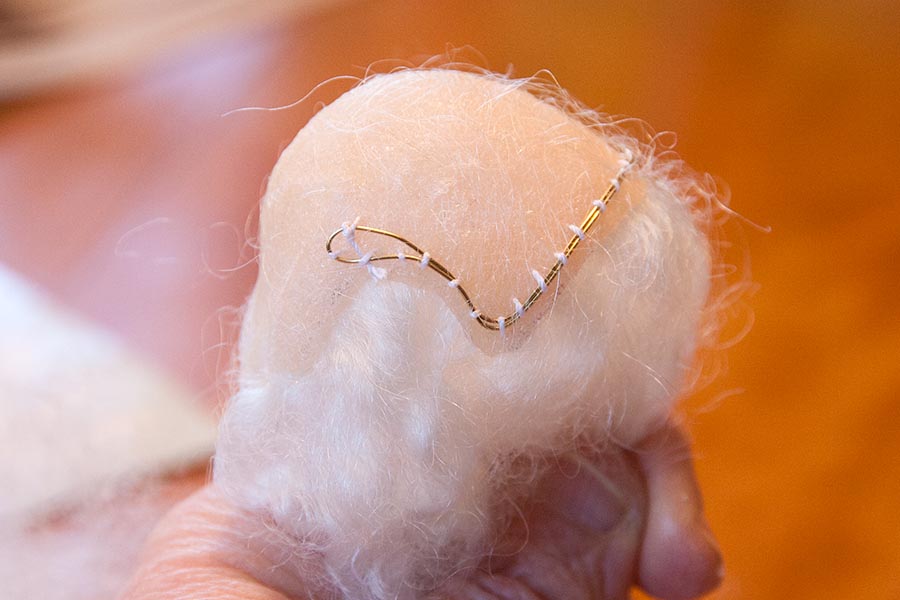
2. Because the wig was going to be in an upswept style, and there would be pressure on the edges of the wig to bend back from the face, I bent some wire to fit around the front edge of the wig, and stitched it into place....
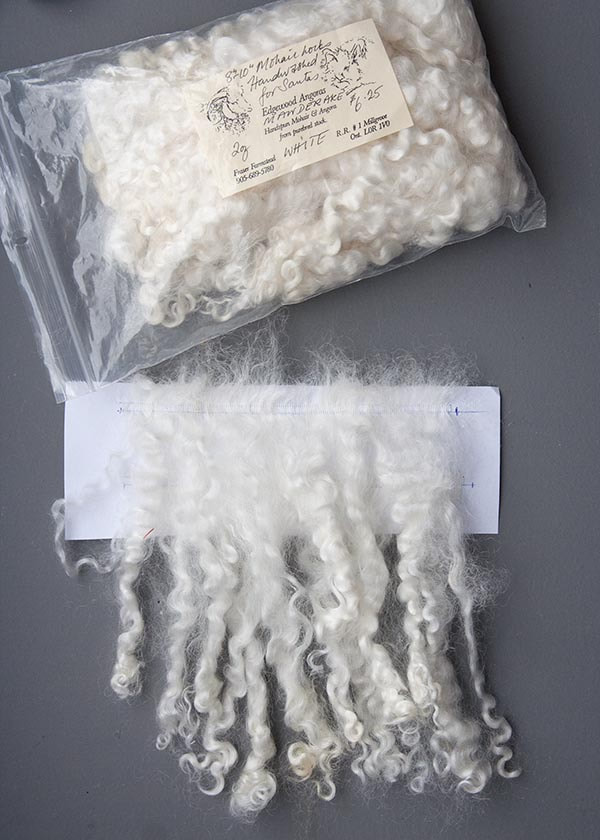
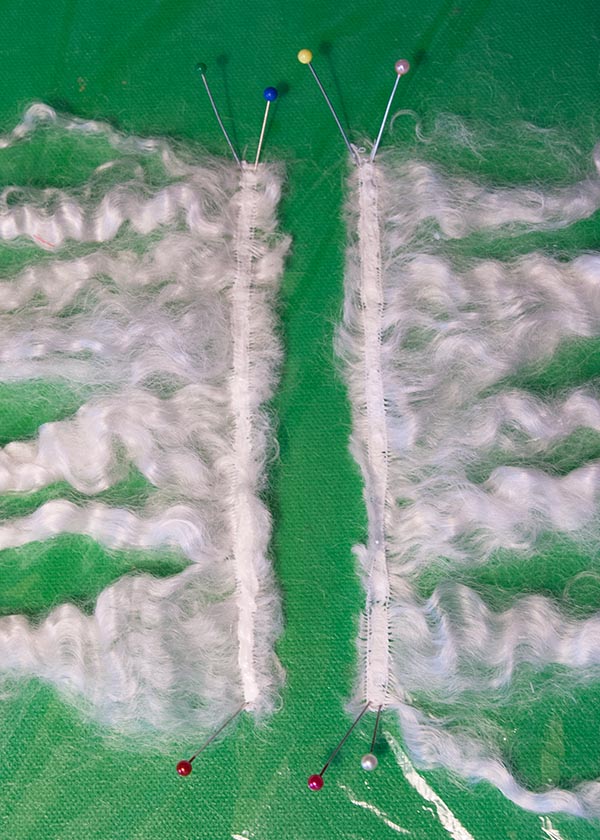
3. I chose the longest white mohair I had, so there would be plenty of hair for her bun in the back. I drew some lines on a sheet of paper, spread the mohair (not too thin), and stitched it close to the end of the mohair along the line on the paper with matching white thread, using the smallest stitch setting on my sewing machine.
When I got to the end of the line, I turned, did three more tiny stitches, turned again, and sewed another line down the mohair approximately 1/8" from the first stitch line. After sewing enough strips, I removed them from the paper.
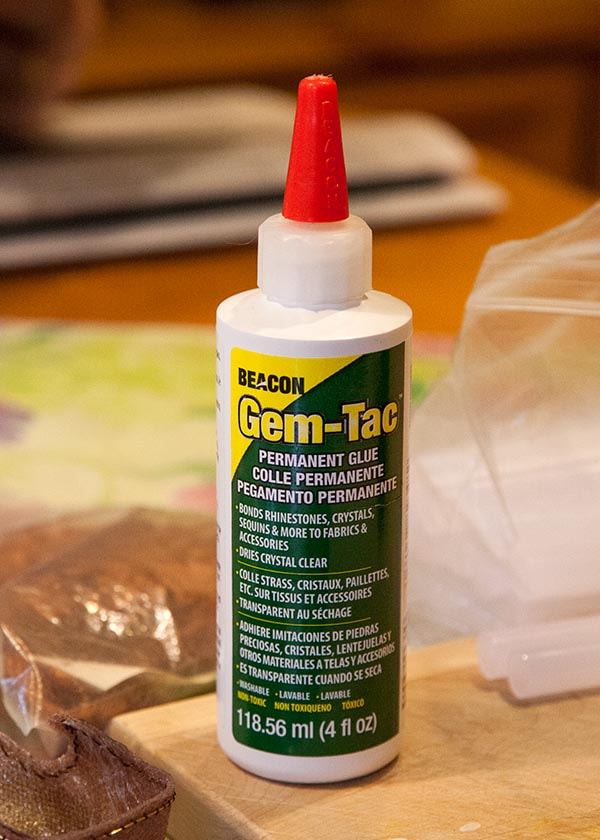
4. I covered a foam placemat with plastic wrap and pinned the mohair strips down onto it. Then I applied Gem-Tac glue between the stitch lines. I use Gem-Tac glue since it's strong- designed to attach jewels to dance costumes - and dries waterproof and washable. Which is important if you don't want your wig to dissolve if you get it wet.
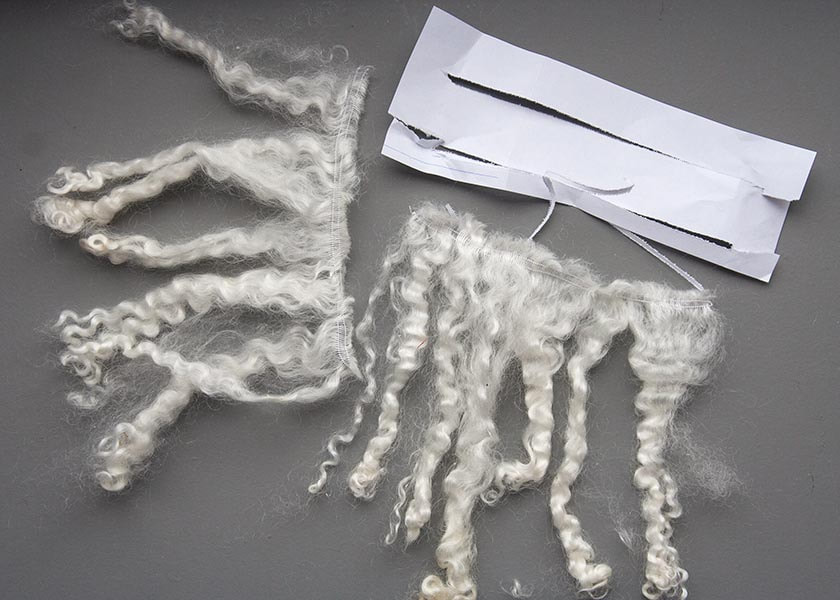
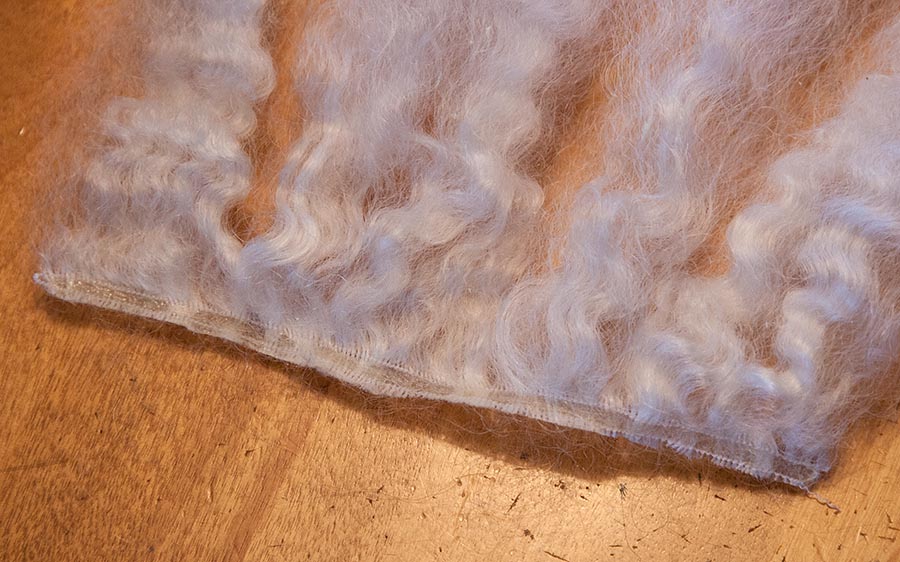
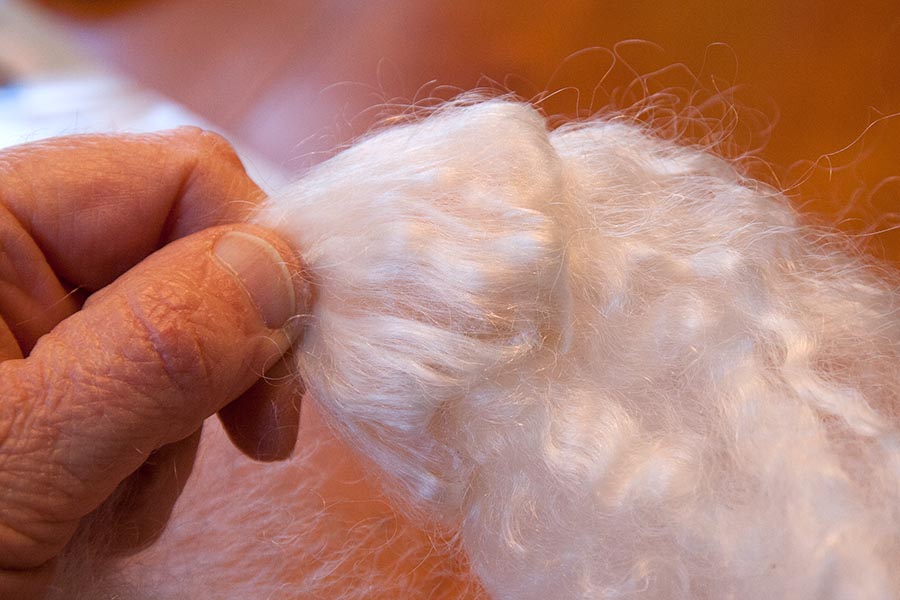
5. When the glue is dry, turn the strips over and apply more glue on the other side between the stitch lines. When that glue has dried, I cut just beyond the outer stitch lines, to make a nice even edge. At this point I always do the initial combing....
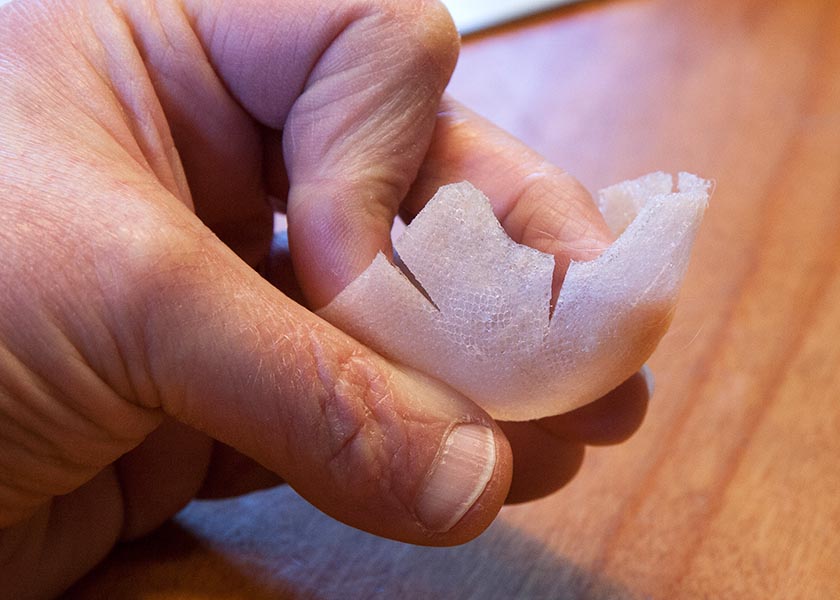
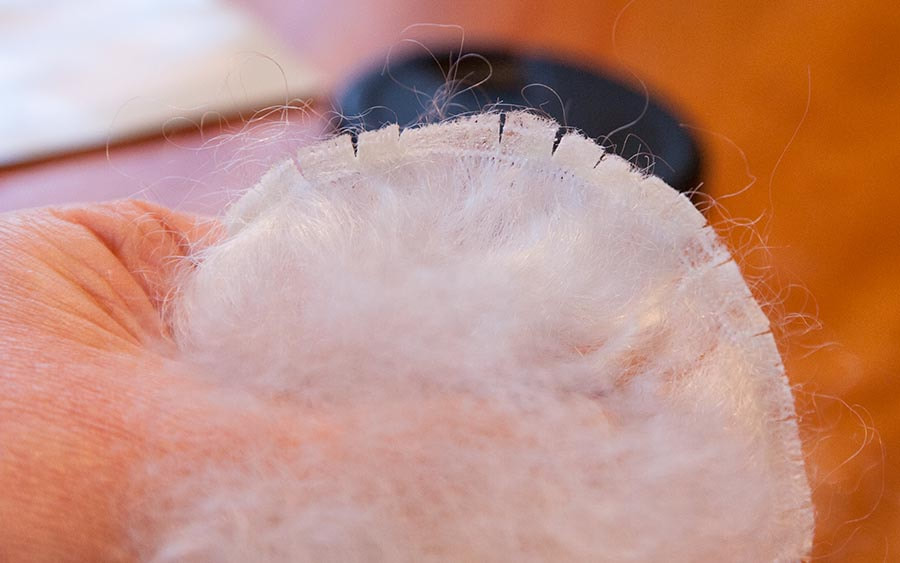
6. Because the wig was so tiny, and the mohair strips needed to be glued on in a curve, I clipped the edge of the mohair strips....
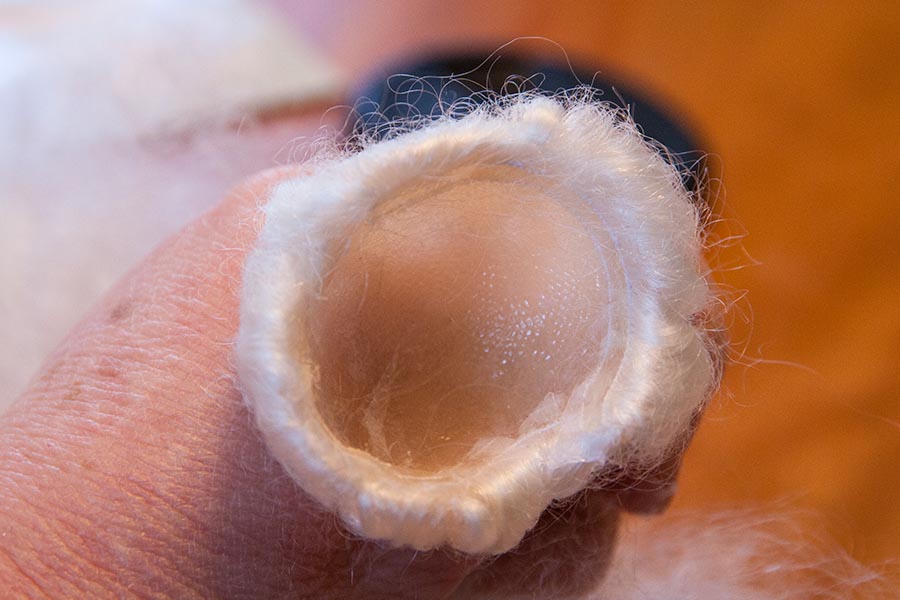
7. I start by gluing mohair strips around the entire INSIDE of the wig cap. I use my hot glue gun.
The entire inside of the wig with mohair glued inside the edge....
8. Then a second row of mohair was glued around the outer edge of the wig, with the hair going outward. The photo shows it pulled back to see if there's enough hair on the wig yet. Since it's going to be upswept into a bun, there's no need to cover the entire wig cap with hair. Just the outside, like those old ponytail Barbies....
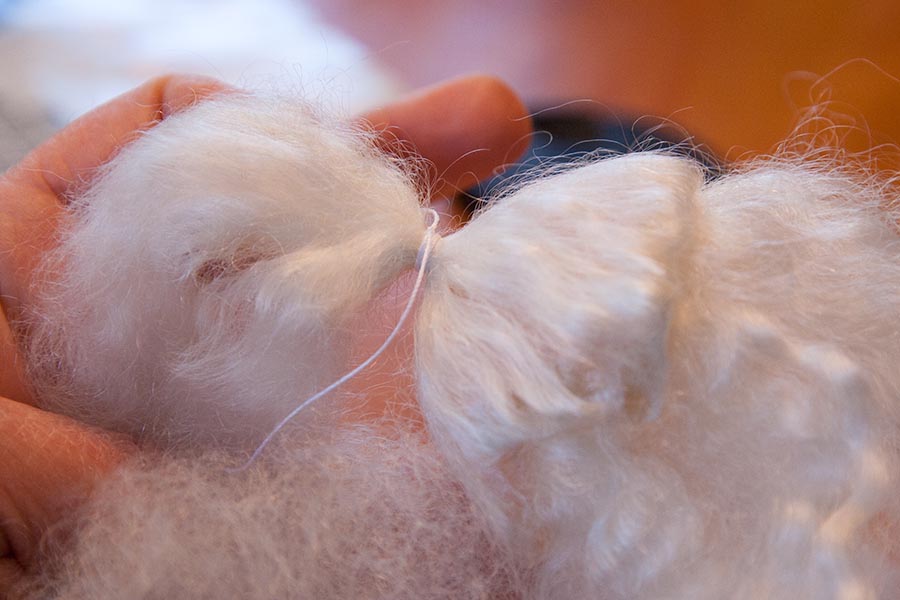
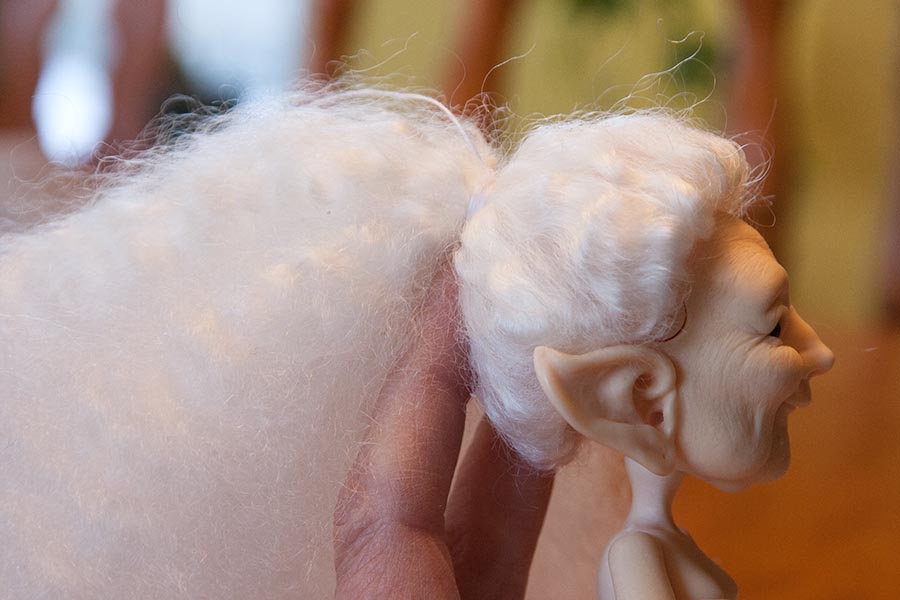
9. Since the wig is very small, I didn't want the wig to end up being too bulky, so stopped after just the two rows of mohair - one inside the cap, and one on the outside. So I combed out and pulled back the outer layer and tied it tight with some white thread....
10. Then I combed and pulled back the inside layer of mohair, and tied it around the first 'ponytail'.....
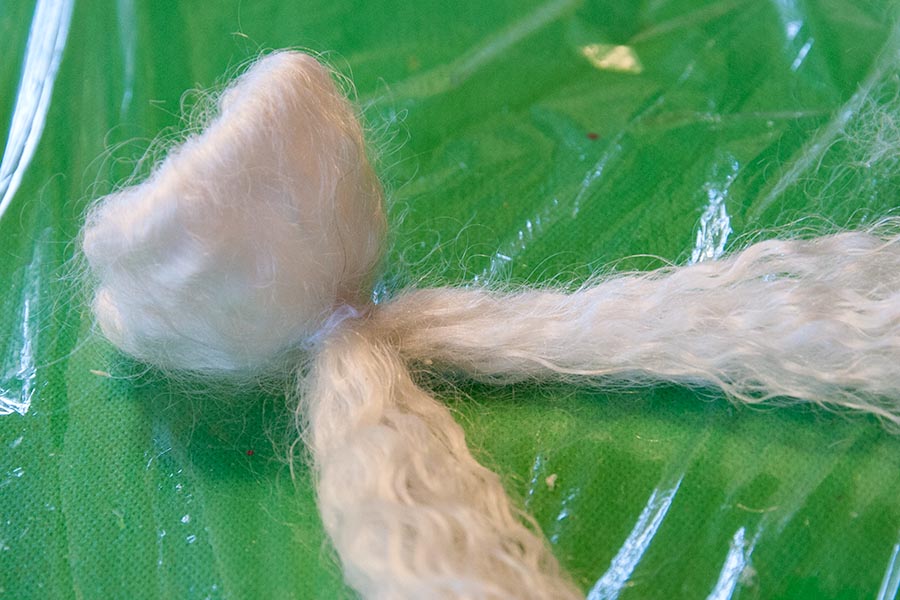
11. In order to shape a bun, I divided all the hair in the ponytail into two. I soaked and combed each half in order to reduce the bulk
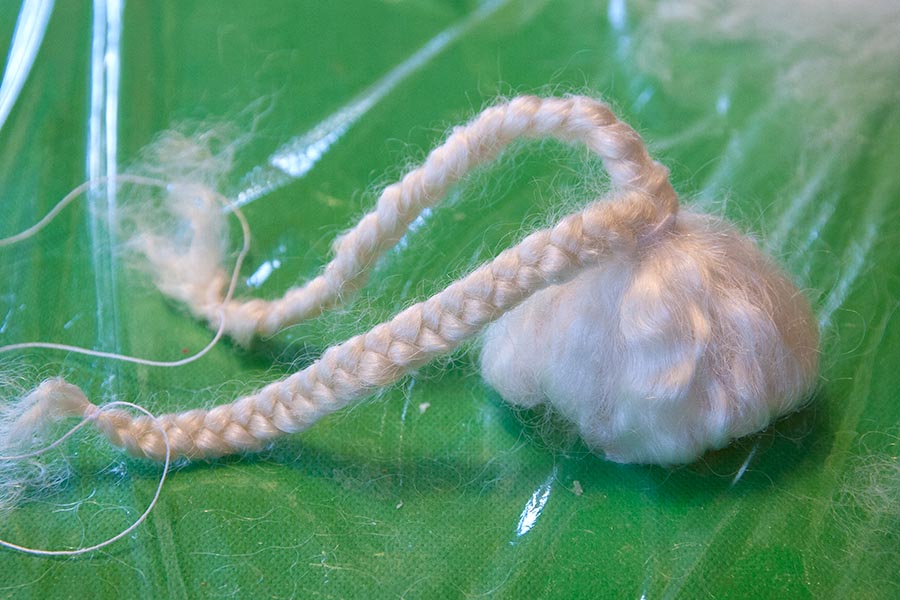
12. Then I braided each section and tied off the ends...
13. I wrapped the two braids around each other into a bun, and stitched them firmly into place. Then I cut some tiny curls to glue around the inside of the wig to soften the edges....
Partly Upswept Wig
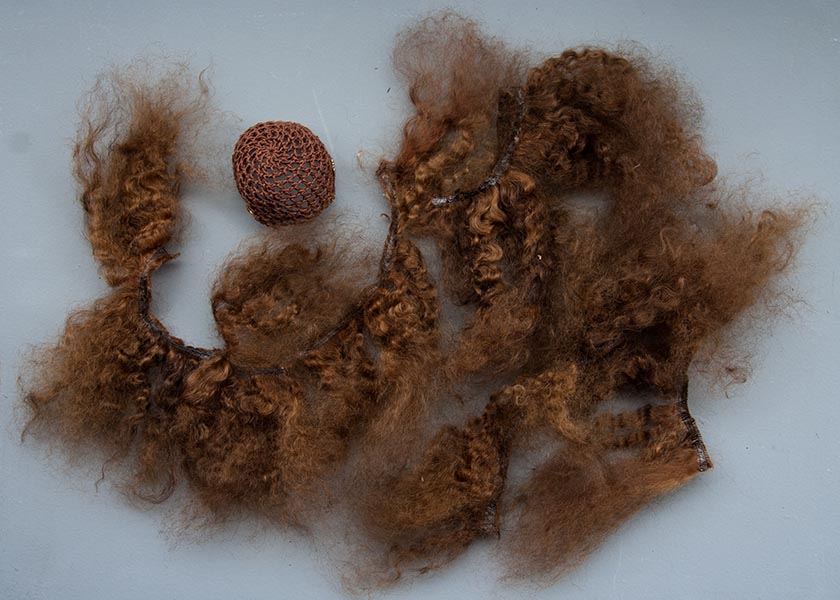
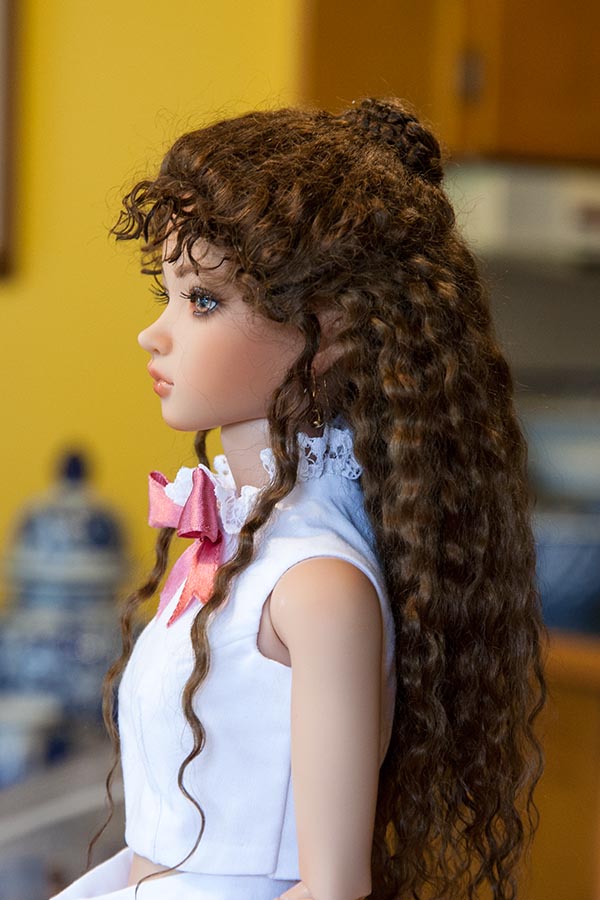
Iris needed a partially upswept hairdo inspired by the Victorian period. Just as with Phairby, I needed the longest mohair possible, so sewed it along one edge in the same way. However I didn't have any more hard wig caps, and didn't feel like making one, so just used a crocheted cap reinforced with wire sewn along the front edge....
After sewing and gluing the edges, the mohair fringes are usually wildly fuzzy. That's the stage at which I will do the initial combing. It often helps to wet a small section at a time, and then comb, since it really helps for the mohair volume to go way down. And this is one of the main reasons I use the Gem-Tac glue, since it won't dissolve when wet.
The front of Iris' wig was done the same way as Phairby's, but the back was layered with the mohair strips being glued high enough up the back to where her bun would be. Her bun was also made by stitching down two braids, and then some tiny curls were glued around the face....
The front of Iris' wig was done the same way as Phairby's, but the back was layered with the mohair strips being glued high enough up the back to where her bun would be. Her bun was also made by stitching down two braids, and then some tiny curls were glued around the face....
Copyright © 2019 Martha Boers
All Rights Reserved
