Dressmaker Dummy
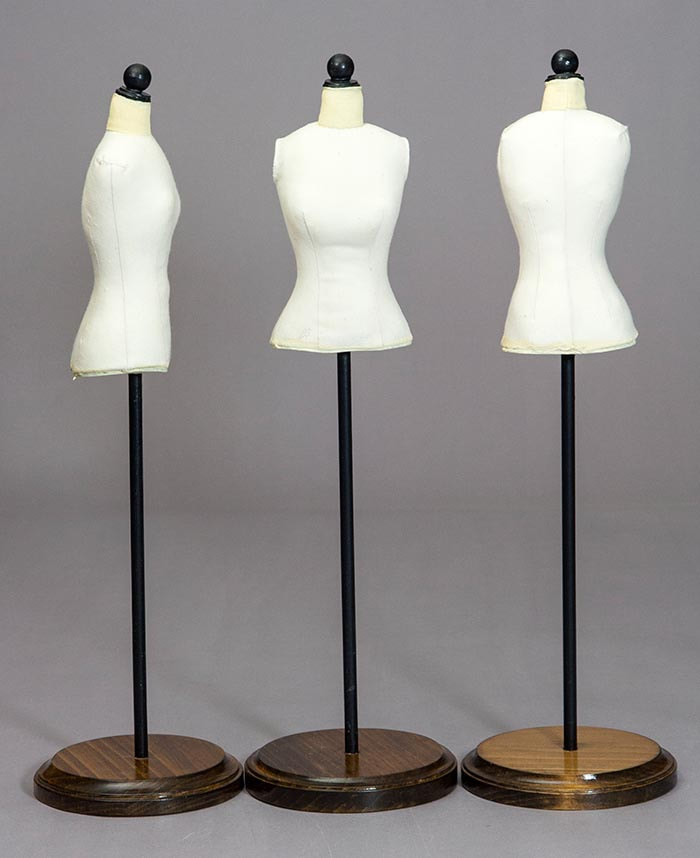
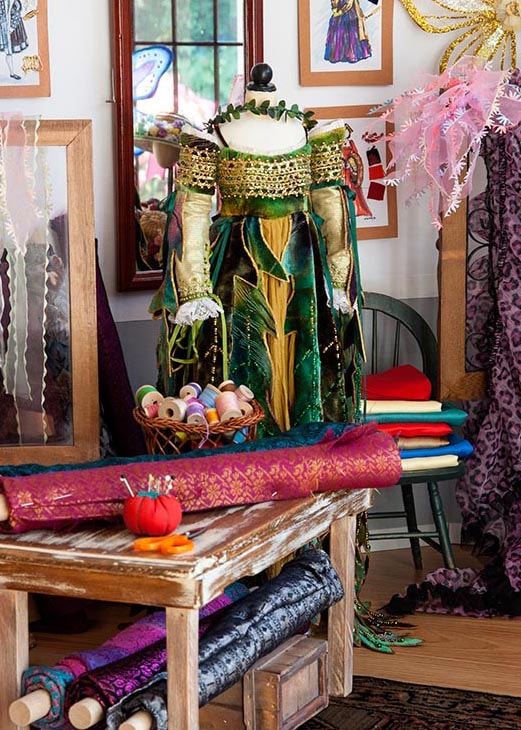
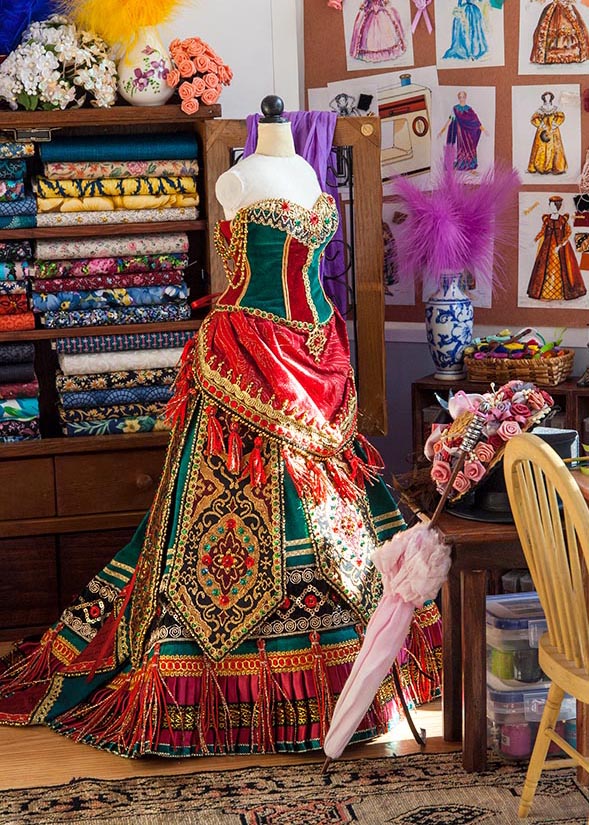
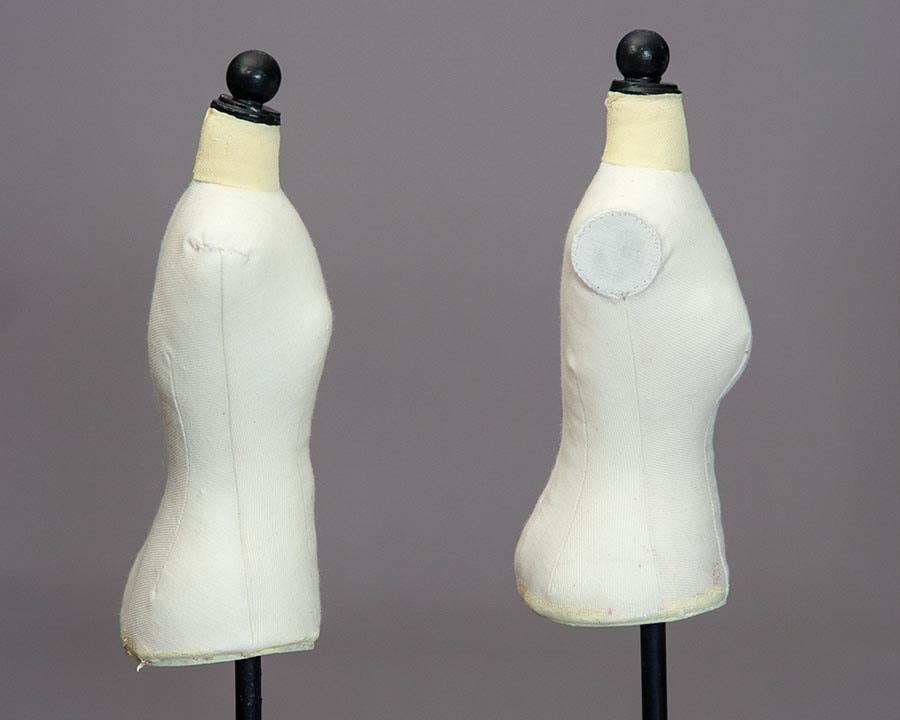
I was doing a story that involved a costume shop, so decided to make a couple of dressmaker dummies in order to display some of my doll costumes. I designed the dummy based on an FID bodice pattern, however it is not meant as a substitute for an actual doll to make clothing before the doll arrives. The dummy is for display purposes only.
I made the centre version first. It has circular armhole inserts and is wider at the hips. I decided the armhole treatment was too much work and the hips were too wide, so altered the pattern.
The dowel up the inside is 16 3/4" long to accommodate the length of an FID gown.
I made the centre version first. It has circular armhole inserts and is wider at the hips. I decided the armhole treatment was too much work and the hips were too wide, so altered the pattern.
The dowel up the inside is 16 3/4" long to accommodate the length of an FID gown.
Pattern
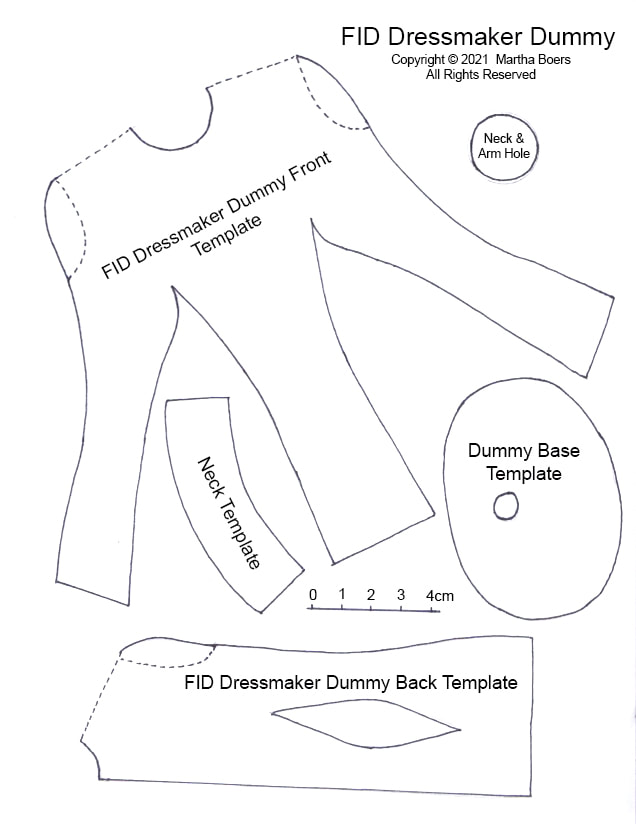
Click on pattern image below to download the pdf.....
1. Note that the 'pattern' pieces are all templates, meant to be traced onto the wrong side of your fabric. I've indicated approximately where the armhole inserts would be, with dotted curves, if you really want to try make them.
2. The dummy back pieces need to be cut out and attached at the shoulder to the front template so it's one piece. So either print the pdf twice to get two backs, or trace the first one. Trace the entire template onto the wrong side of your fabric, with the dummy front on the straight of grain. Cut out remembering to add seam allowances. Apply Fray Check along the bottom edge and top of neck.
3. Sew darts and clip seams.
4. Sew neck piece into neck of main body.
5. Sew side seams, and clip curves.
6. If choosing to do the round arm inserts, clip armhole opening and baste seams to inside. Fit cardboard circle and adjust it to fit. Then cover it with fabric, gathering the seam allowance to the back. Then hand stitch into place on dummy. I went with a rounded shoulder seam for the next two, and decided the shoulder stuck out too much, so folded the outer 'shoulder point' inwards and sewed a horizontal seam to help minimize it. See photo below....
7. Sew up the back seam, to top of neck. Clip curves.
8. Cut out 2 cardboard circles for neck. Check fit and adjust if necessary. Clip top of neck seam allowance, and insert cardboard circle from inside, and glue clipped seam allowance over circle. Glue second cardboard circle on top.
9. Cut out two cardboard ovals for base of dummy.
10. Cut a 16 3/4" length of 3/8" dowel, and round the top.
11 Glue the top, rounded end of the dowel into the BACK of the neck. I glued the dowel into the middle of the neck with my first dummy, but people's necks are not on top of their bodies, they are on the front of their shoulders, so I glued the dowel into the BACK of the neck for the next two, for a much more natural looking neck. See photo above.
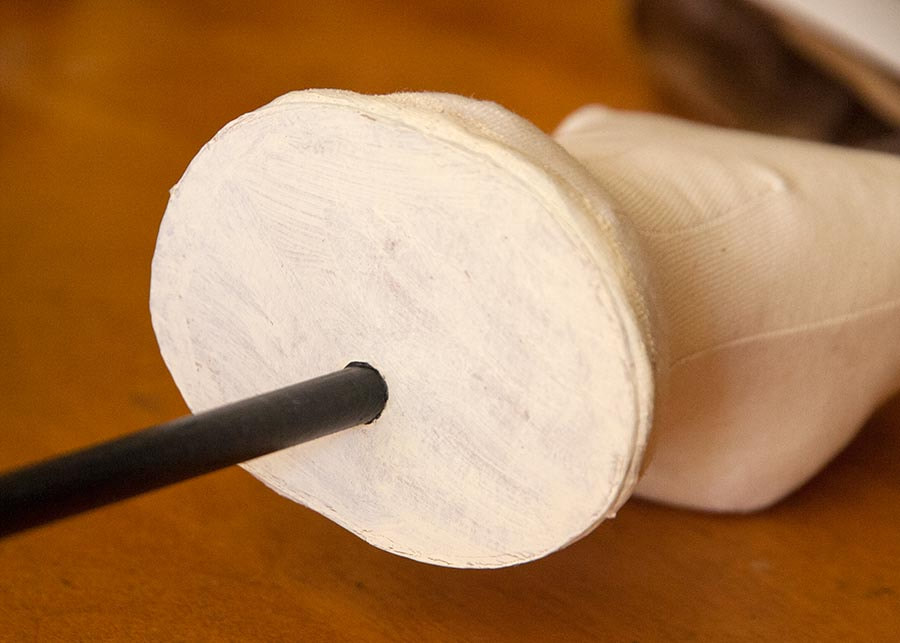
12. Firmly stuff the dummy to almost the hips. Clip the seam allowance on the bottom edge. Insert the first cardboard disk onto the dowel, and glue the clipped edge of the dummy body around the cardboard edge, making sure to LEAVE OPEN a 2" section at the back. Once the glue has dried stuff the bottom of the dummy firmly, and glue the remaining clipped seam allowance onto the cardboard base. Glue the second cardboard base to hide the glued edge.
13. To finish, drilling a 3/8" hole in a base, and glue dowel into it. Drill a tiny hole into the centre of the neck cardboard to insert a small nail or piece of wire, to support a bead, which gets glued over it. Paint the top and stand if desired.
Copyright © 2021 Martha Boers
All Rights Reserved
