Christine (FID) a Creative Journey
*the pattern pdf is included further down
Introduction
I've always loved the Phantom of the Opera, and have made costumes from the stage production before, first back in 1995 with my sister, as a OOAK art doll, and then much later in 2012 I made two 'Christine' costumes to fit my Ryung. All of which were sold.
Ever since then I've dreamed of making another for one of my own dolls.
Making an FID size Christine Costume
December 18, 2018: I'm finally trying to work on a costume that I've wanted to make for some time, and with it being mostly red, green and gold, what better time that right before Christmas?
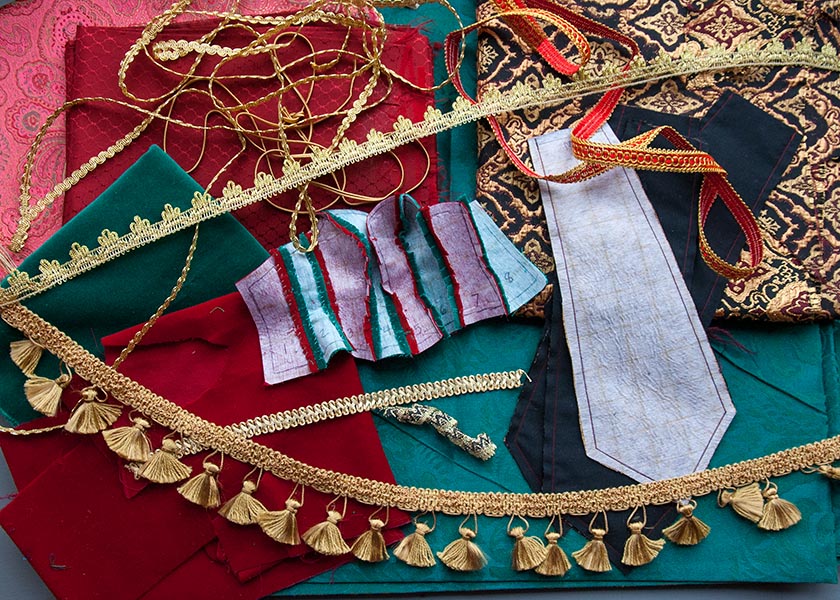
I had saved some of the trims last time I made something like this, but this time it's going to be for a much smaller doll, so everything I saved is too big and chunky in scale. So I need to start over from scratch, and of course the only fabric stores around don't carry anything suitable. So it will be a challenge to figure out. But what else is new??
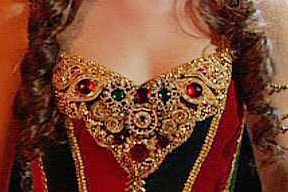
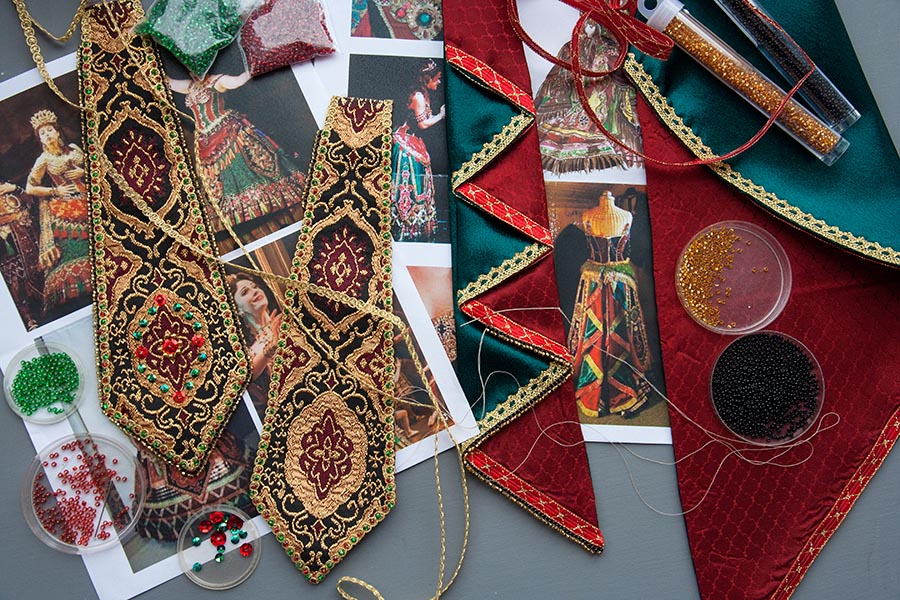
The first challenge was to try make the bodice resemble the real bodices. Which meant doing some research....
The first challenge was to try make the bodice resemble the real bodices. Which meant doing some research....
Bianca's Bodice Fitting
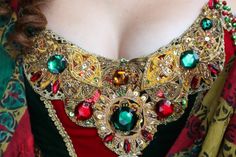
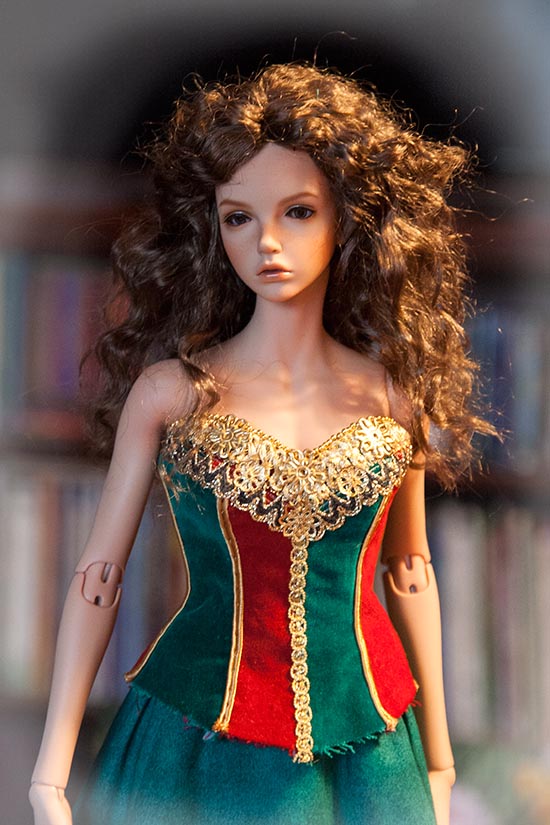
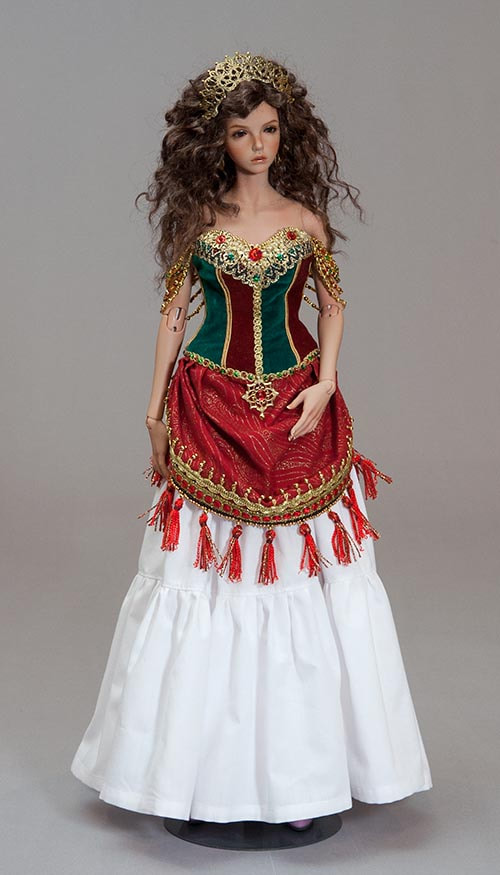
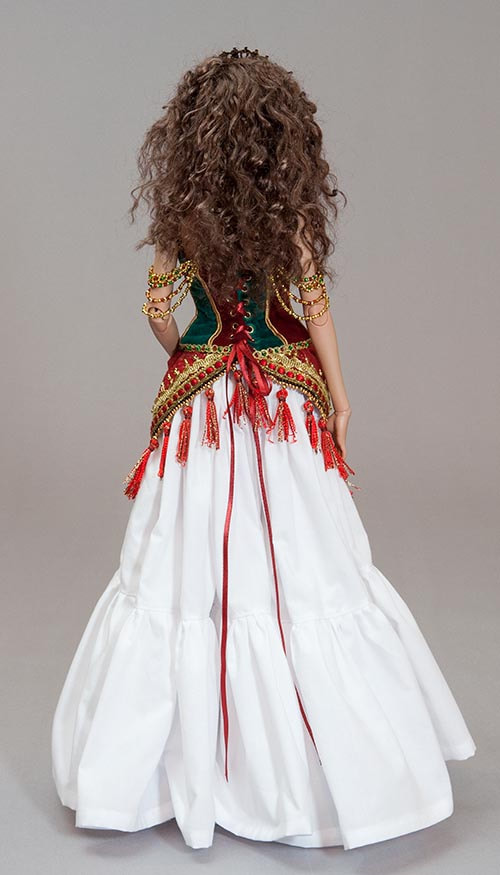
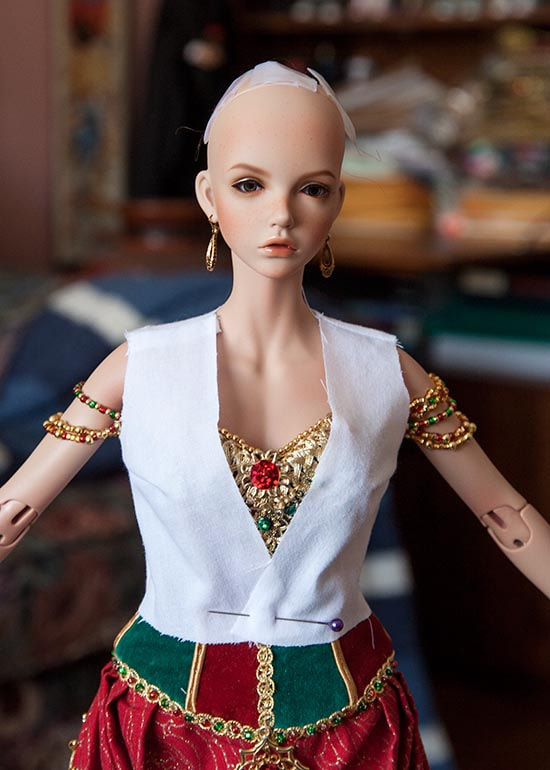
December 21, 2018: I'm finally happy with Bianca's bodice. I had made it too high in front, and had to take everything off and redo it. It looks much better now. It still needs the jewels and strings of beads draped down over her arms, but I'm waiting to attach those until after the rest is done....
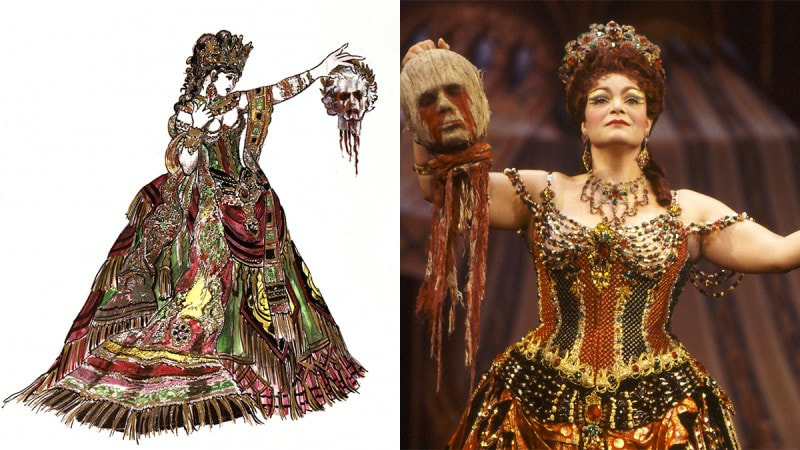
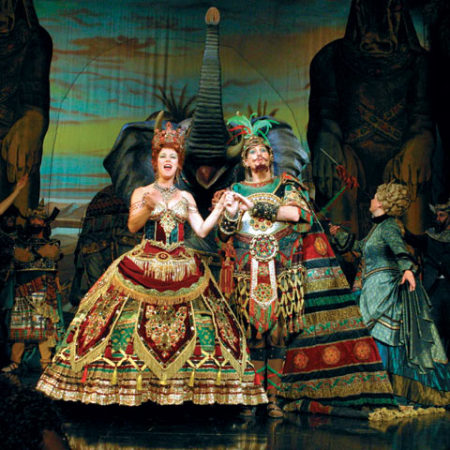
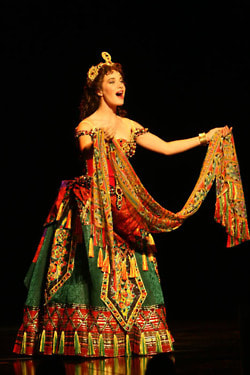
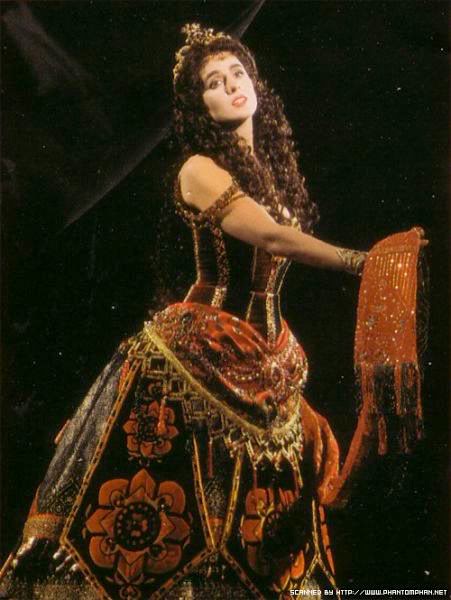
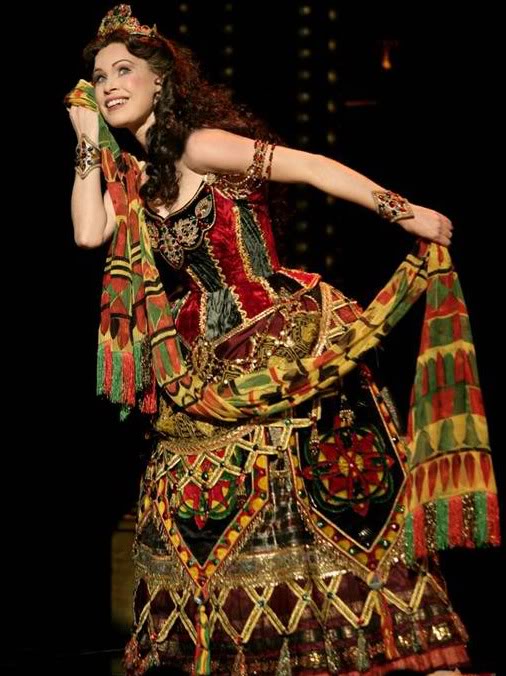
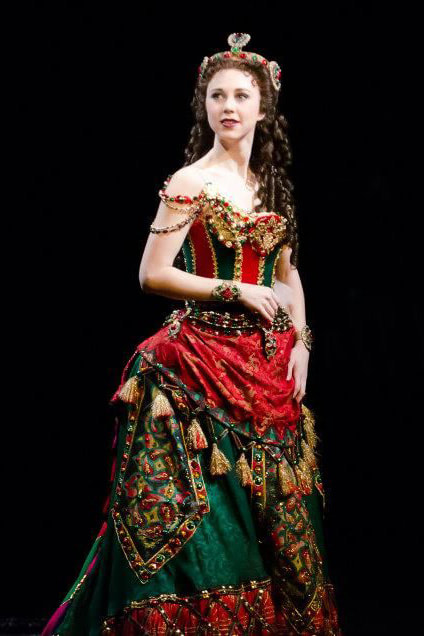
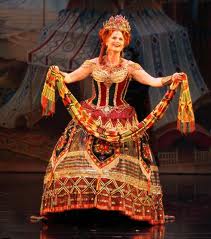
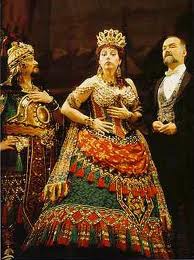
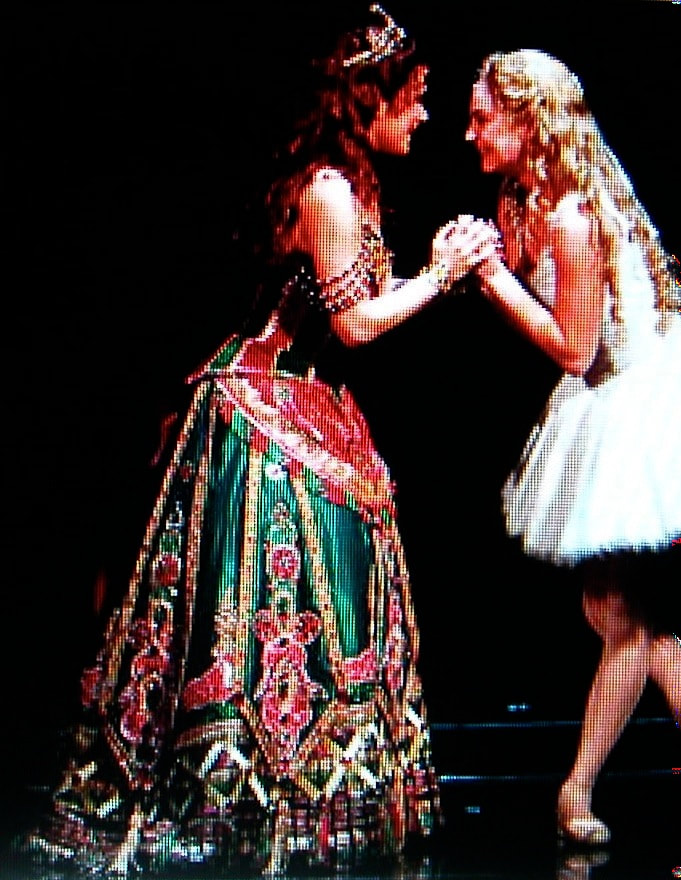
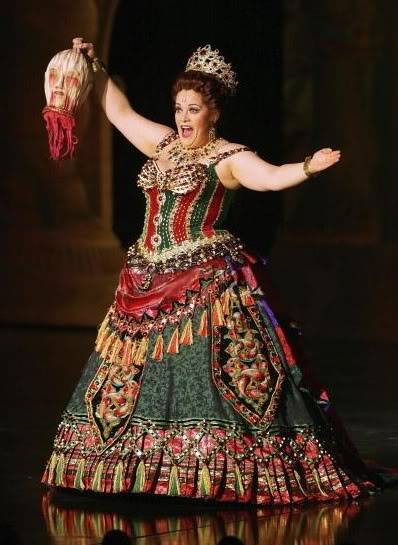
In the stage production, Christine wears Carlotta's skirt with her own slave girl bodice, so I researched Carlotta's costume from Hannibal. I looked at a lot of costumes from the different Broadway productions, and even though they were all made from the same designer's sketch, they were all still uniquely different.
So I'm choosing what I like from the various interpretations.
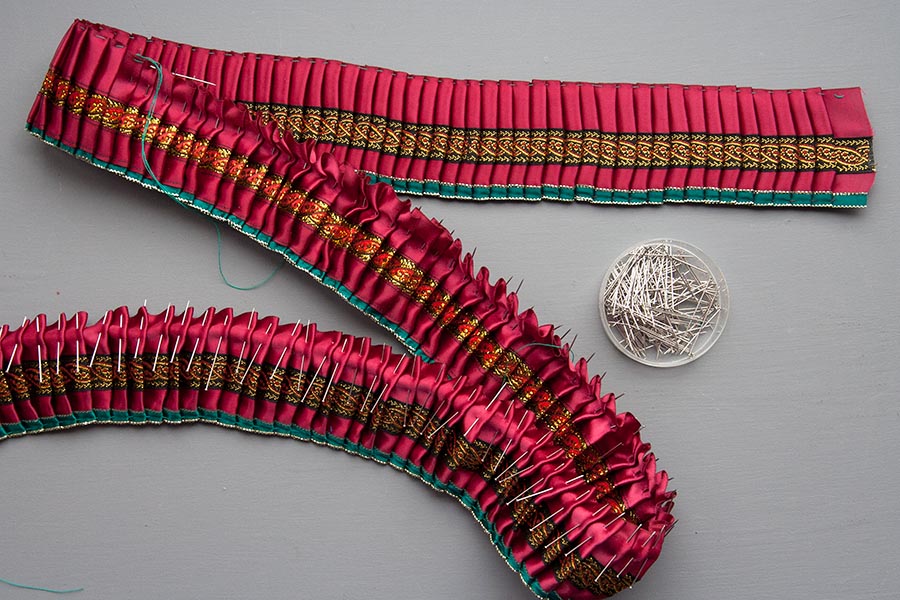
Several had what looked like a beautiful, colourful pleated row along the bottom of the skirt, so I chose four ribbons, sewed ten feet of each together, then pleated the entire length by hand. I've learned that it's a mistake to press the pleats with the pins still in them, as they end up 'denting' the trim. So I basted both edges, then pressed it. The basting will stay in until the costume is done....
Several had what looked like a beautiful, colourful pleated row along the bottom of the skirt, so I chose four ribbons, sewed ten feet of each together, then pleated the entire length by hand. I've learned that it's a mistake to press the pleats with the pins still in them, as they end up 'denting' the trim. So I basted both edges, then pressed it. The basting will stay in until the costume is done....
Sequins and Tassels
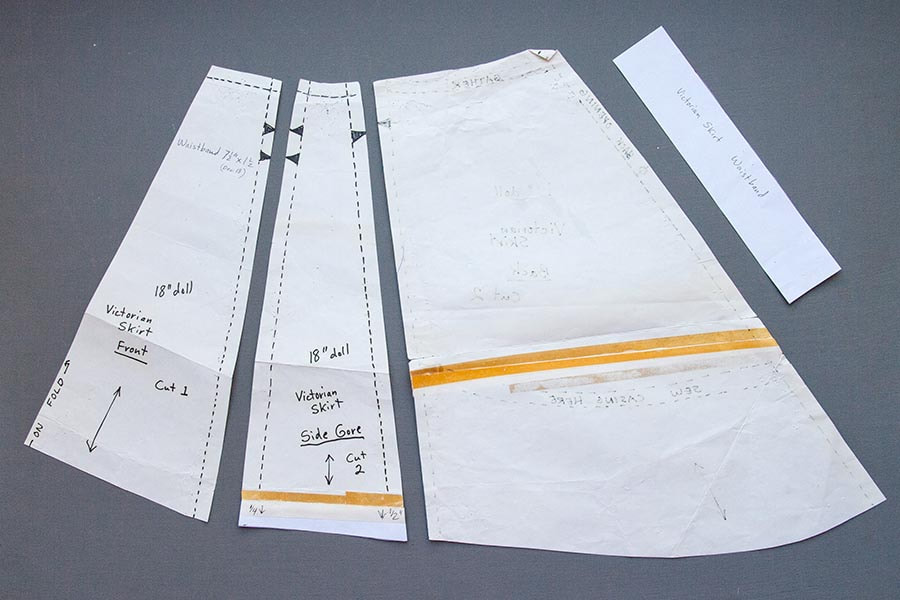
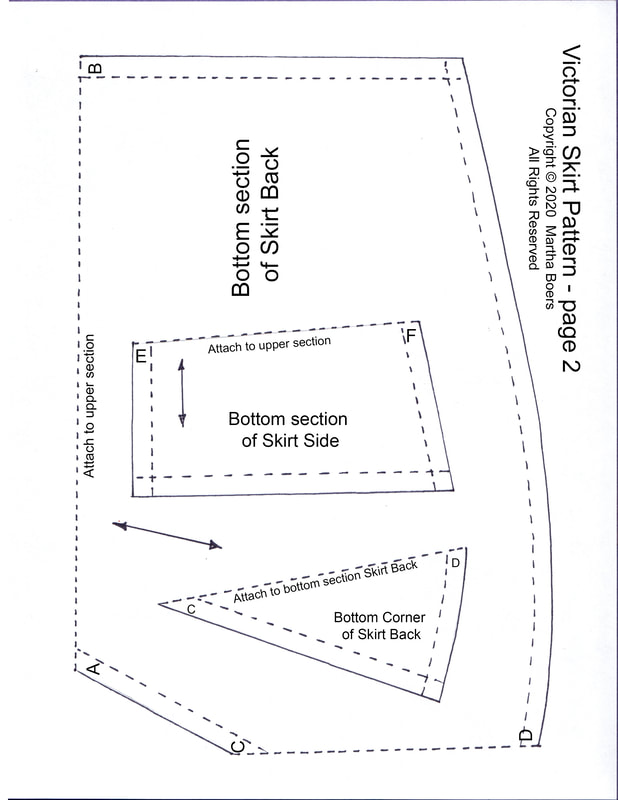
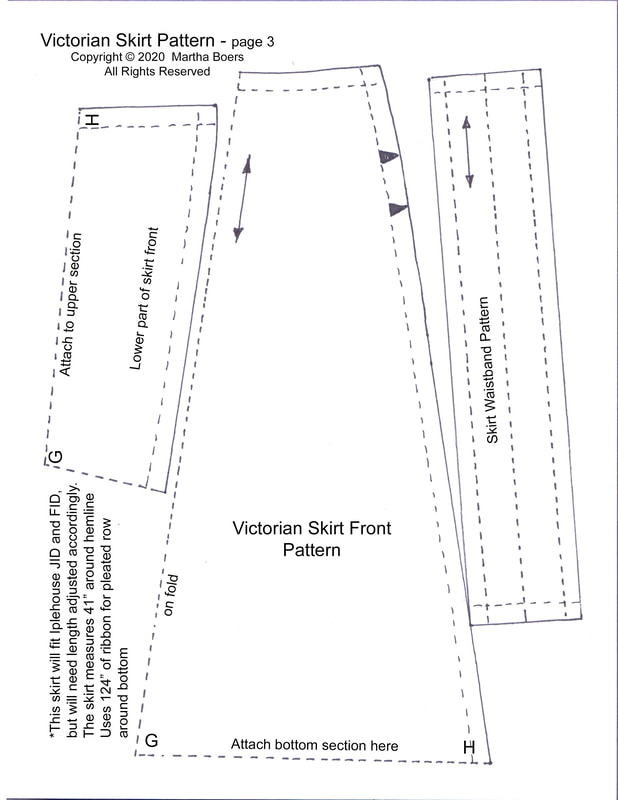
December 22, 2018: One thing I had not realized the last two times that I made this costume, was that Christine's skirt was a Victorian shape with a bit of a bustle in the back. The story takes place in 1881, in the middle of the Victorian era, so of course her skirt would have been that shape. So I got out my Victorian skirt pattern ....
....and made a green Victorian skirt, onto which I would sew all the trims.
I used a slightly speckled, dark turquoise green, cotton fabric.
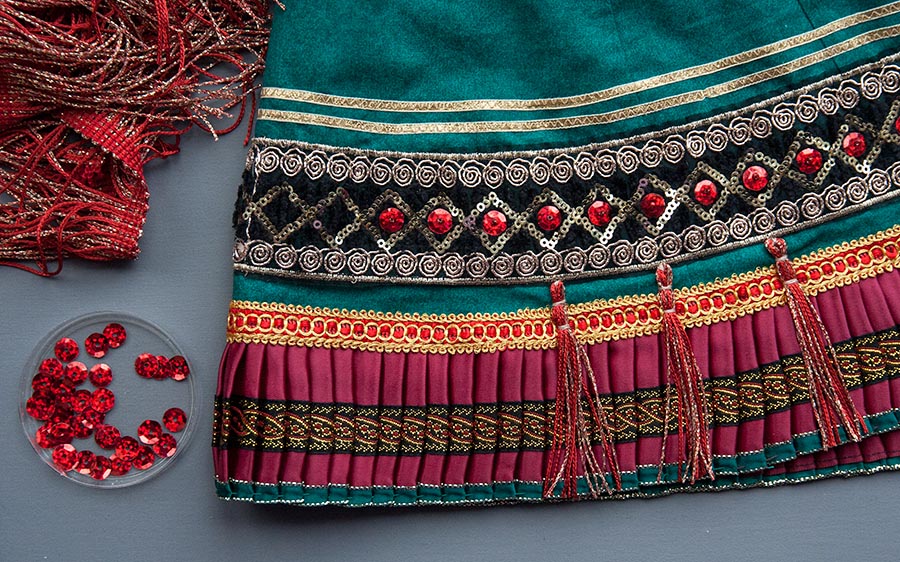
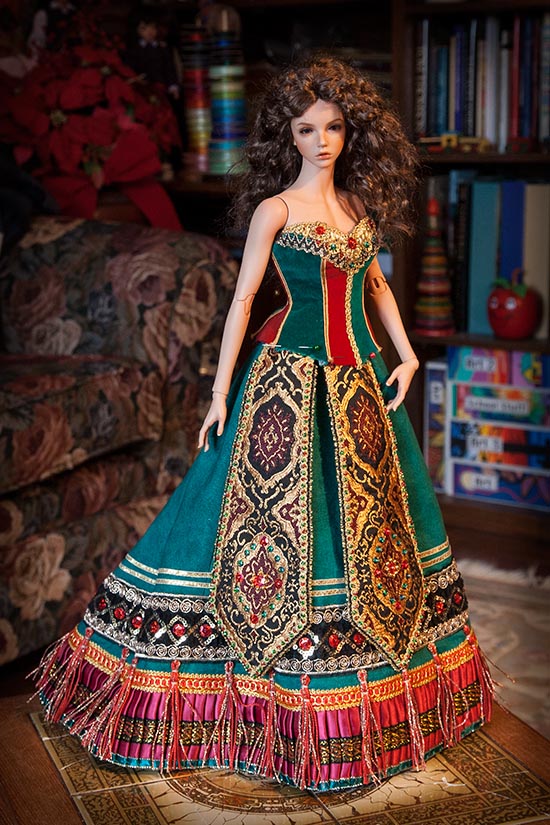
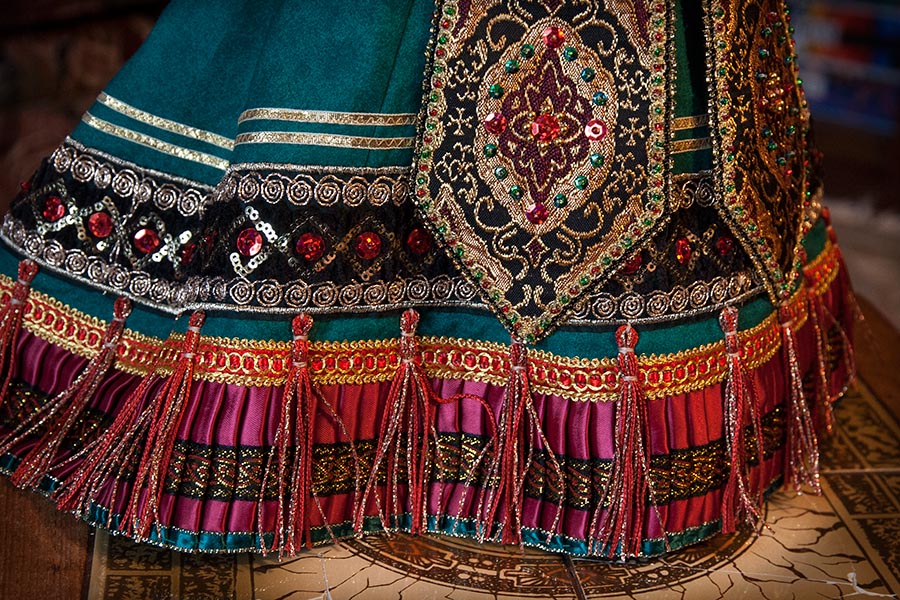
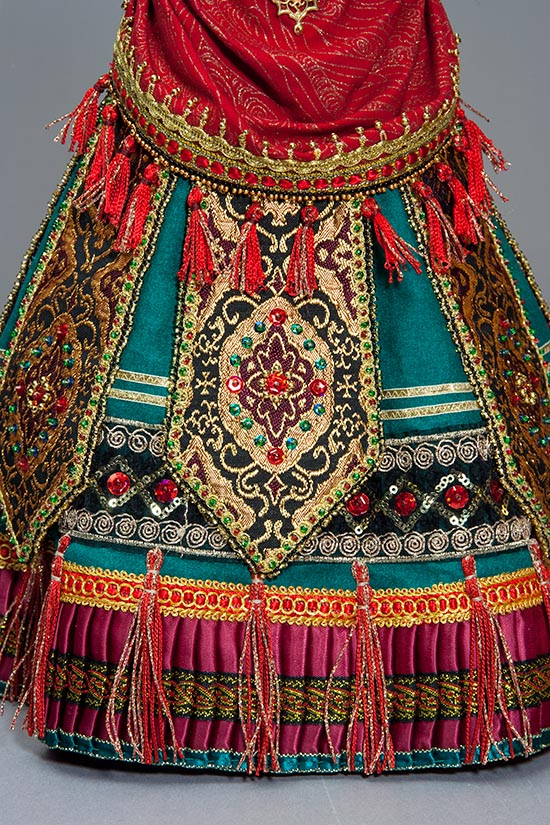
I finished the pleated strip for the bottom of Christine's skirt, and sewed it on, as well as the other trims. One of the things most of the costumes had in common was the wide row of criss-cross, gold diamond shapes. I didn't have anything like that, and didn't relish making it all from scratch, so went to Fabricland, and they had a trim I thought would work. Thankfully it was on sale for half price that day, since it was $20. a metre! It was a bit of a challenge, to get such a wide straight trim to fit nicely on a small curved skirt, but I managed, by running a basting thread along the top, and gently pulling it into a curve. Since that diamond pattern in many of the costumes appears to have had a red background, I sewed red sequins into the spaces .
Then I added a row of tassels. I pulled apart some fringe, and used three 'threads' from the plain red, and three from the gold/red fringe, and combined them to make a single tassel, and then I sewed it below every other red sequinned point.
Slowly Making Progress
December 27, 2018: The few days between Christmas and my granddaughter's birthday on New Year's Eve (which is an even bigger party, with house guests coming to stay with us) is so busy that it's hard to find time to work on Bianca's 'Christine' gown. But I am slowly making progress. Mostly it's all handwork done in the evenings while listening to TV.
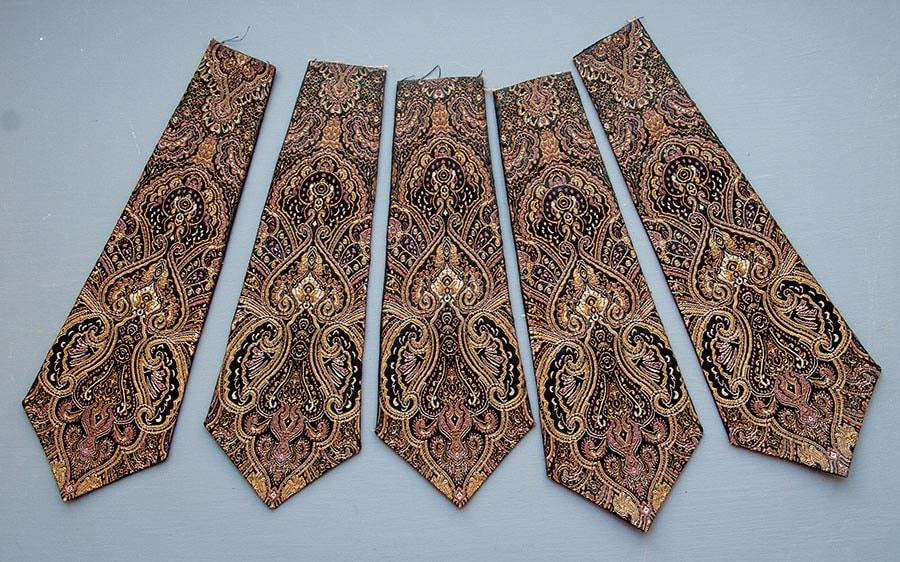
Anyways, there are five pointed panels over the skirt, and I have two done. I had originally chosen a different fabric, and made the five panels out of it, but then changed my mind. They just didn't seem dramatic enough....
Anyways, there are five pointed panels over the skirt, and I have two done. I had originally chosen a different fabric, and made the five panels out of it, but then changed my mind. They just didn't seem dramatic enough....
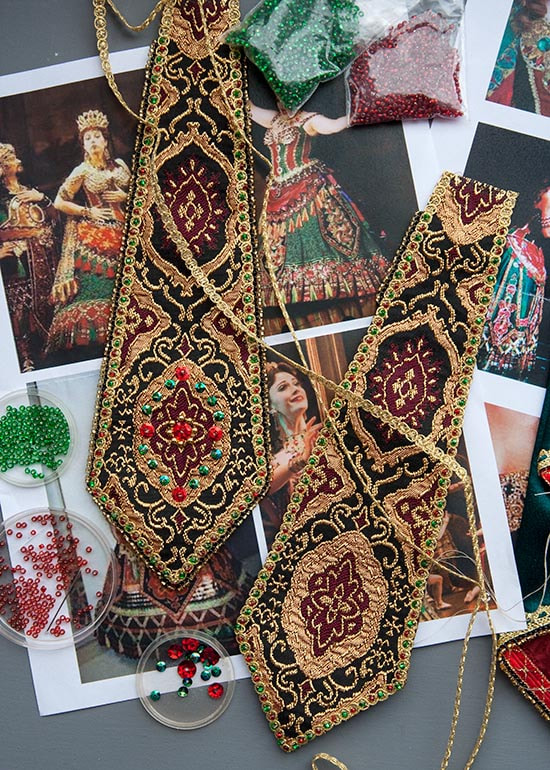
So I made five new ones. Each panel needed a gold trim edging, which I beaded with alternating red and green beads. Then I picot-beaded around the outside edge, and sewed sequins in the bottom rosette. I chose to sew sequins instead of gluing real jewels. I don't trust glue, and prefer the permanence of sewing. Each panel look two days to complete, and I took a quick photo with the first two pinned in place just to see how they would look...
Here's a closer look at the details....
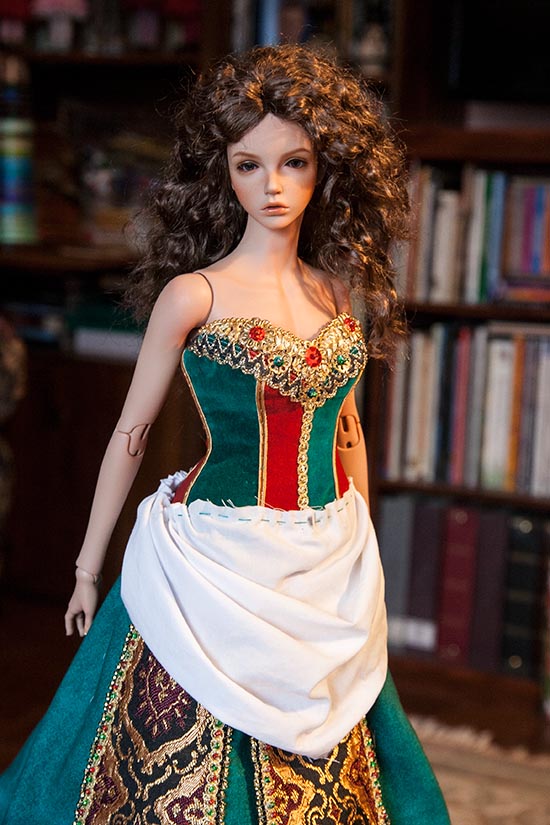
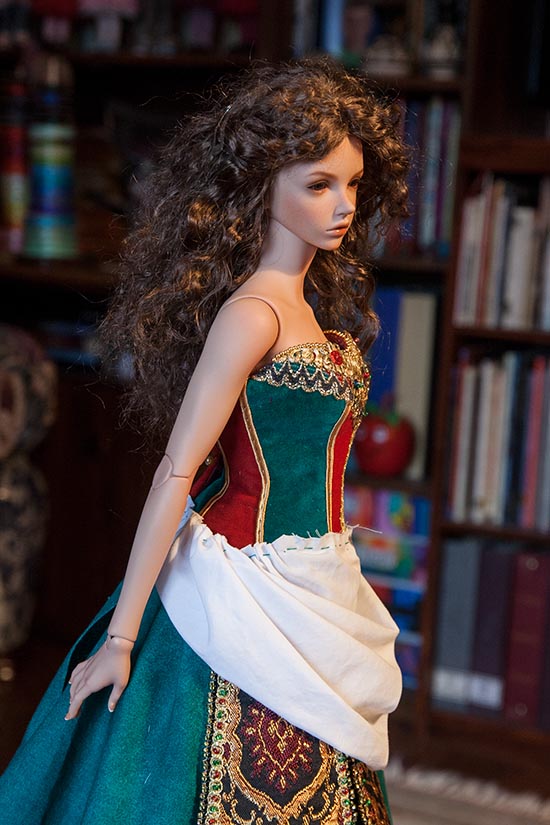
Then came the most challenging part - trying to figure out the short draped piece in front.
This was attempt number four.....and likely as good as it was going to get....
This was attempt number four.....and likely as good as it was going to get....
I know the white 'test' fabric stands out like a sore thumb, but I never cut into the good fabric until I'm satisfied. It will be red cotton with gold print, and gold trim when it's done. Well, time to turn on the TV and do more beading.....
Still More Beading
December 30, 2018: As more and more gets done on 'Christine's costume, I'm getting more and more excited about the final result. This is where I'm at this morning....
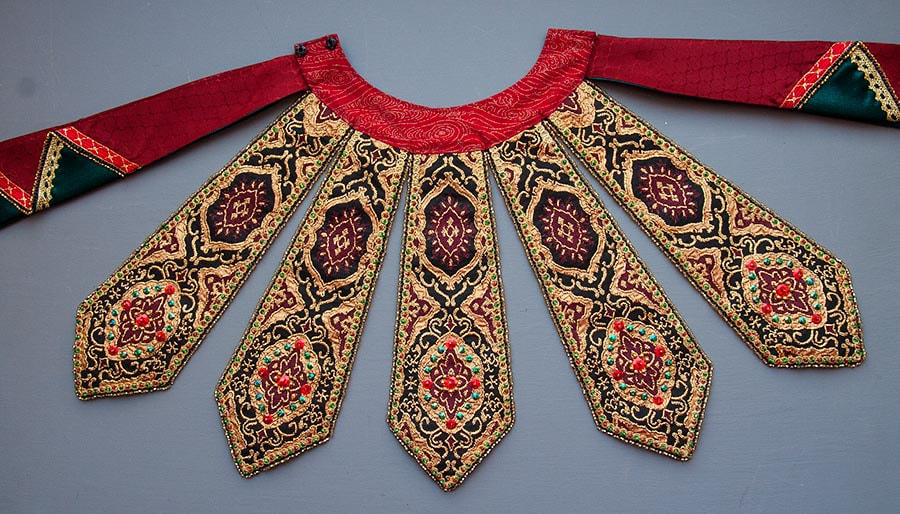
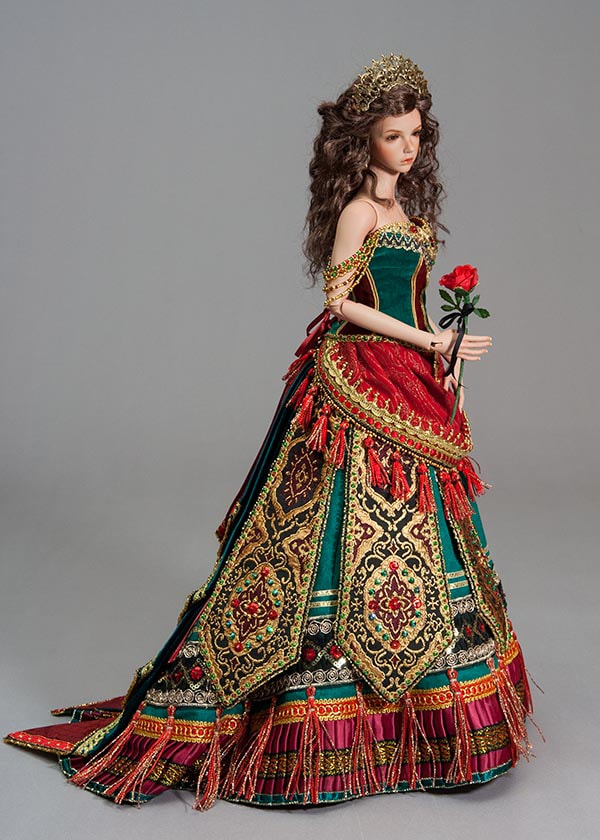
I sewed the gold trim, with red and green beads, around the last of the five pointed skirt panels. Now I have to do the picot beading around the edge. I find the extra detail really finishes the look, making the panels look more in scale. I was pleasantly surprised to see that the panels look very similar to the ones on an actual costume picture from the Internet....
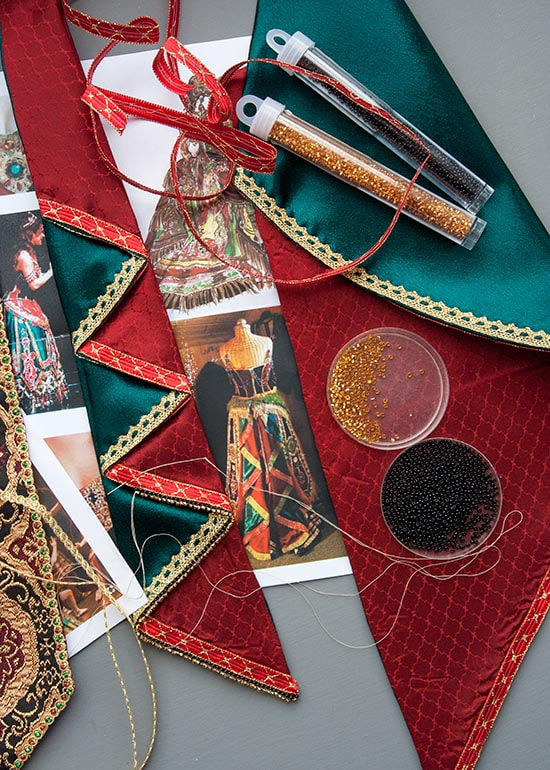
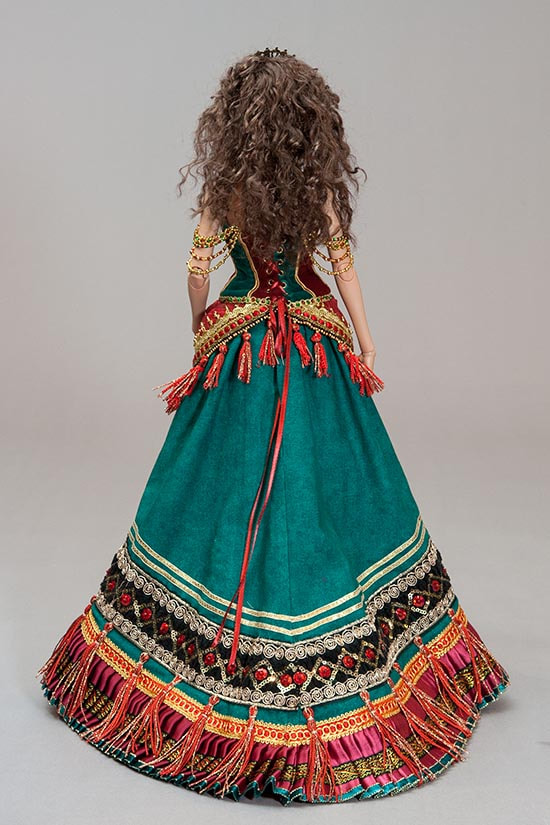
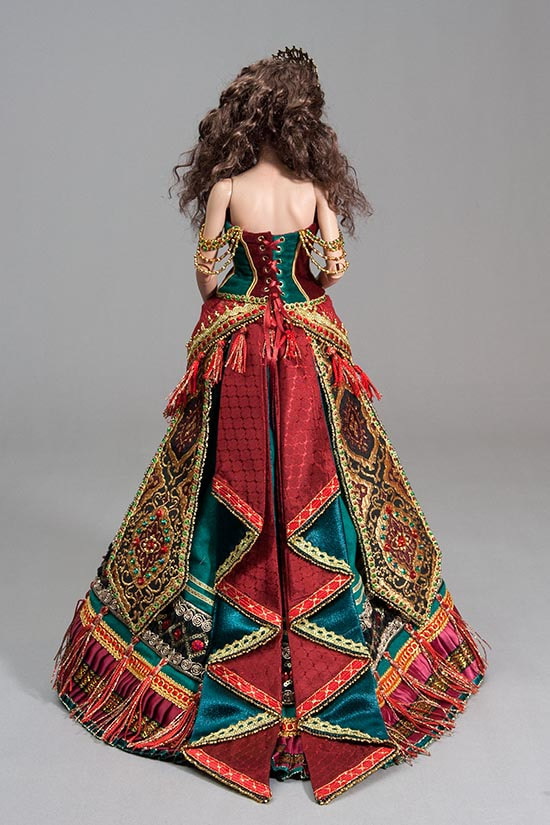
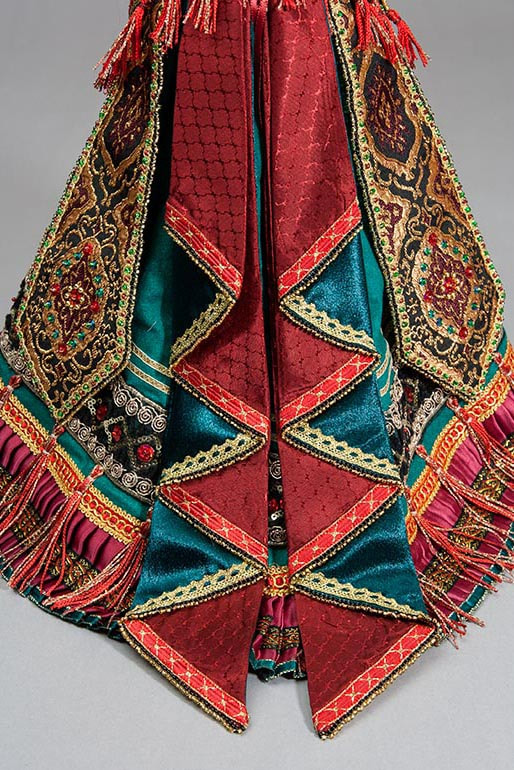
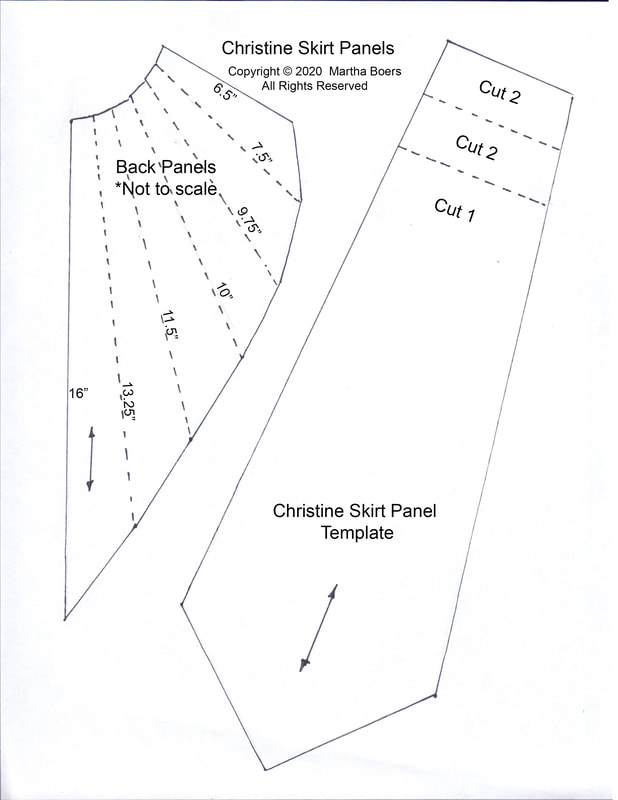
It was extremely challenging finding any pictures of what the back of the skirt looked like, but I did find one. There's two long panels, folded back on themselves create an alternating coloured triangle pattern. Yesterday I figured out the pattern for the two back drapes. I didn't have any fabrics the right colour of dark green, so had to go to Fabricland to buy some.....
The completed 'overskirt' with the 7 panels attached....
the Finished Costume
"Think of Me"
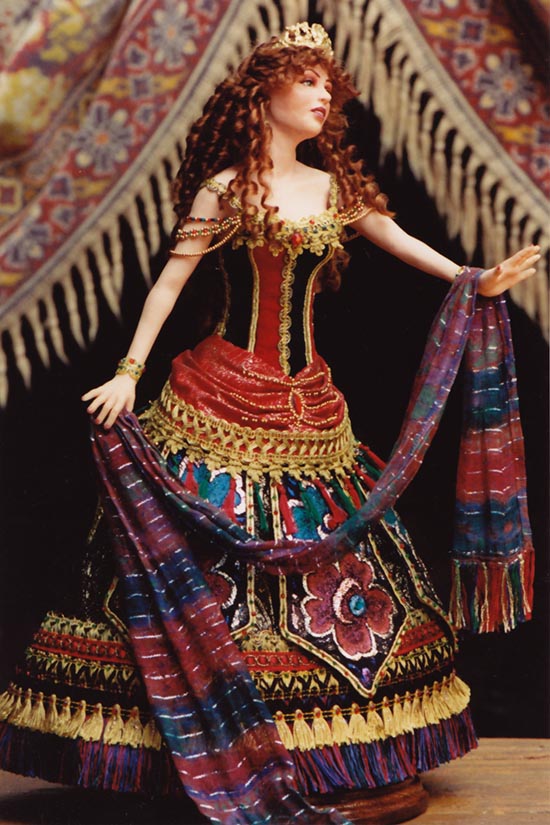
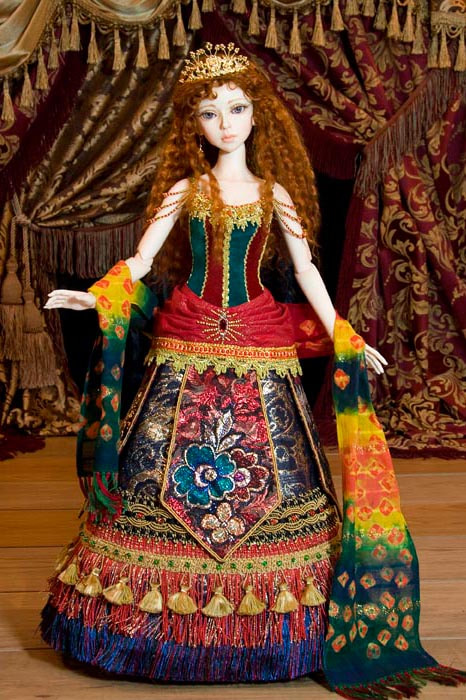
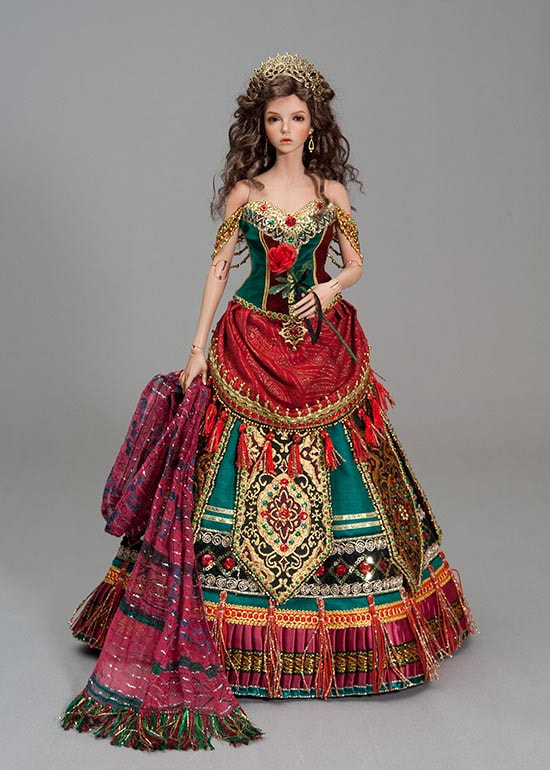
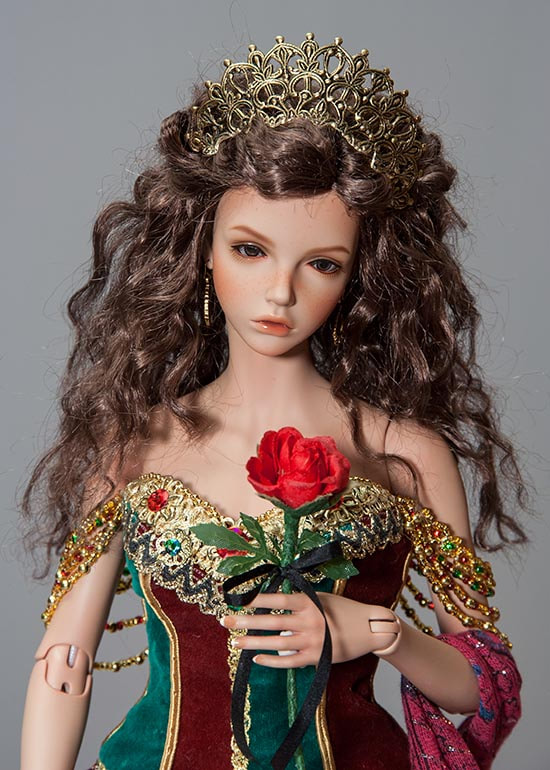
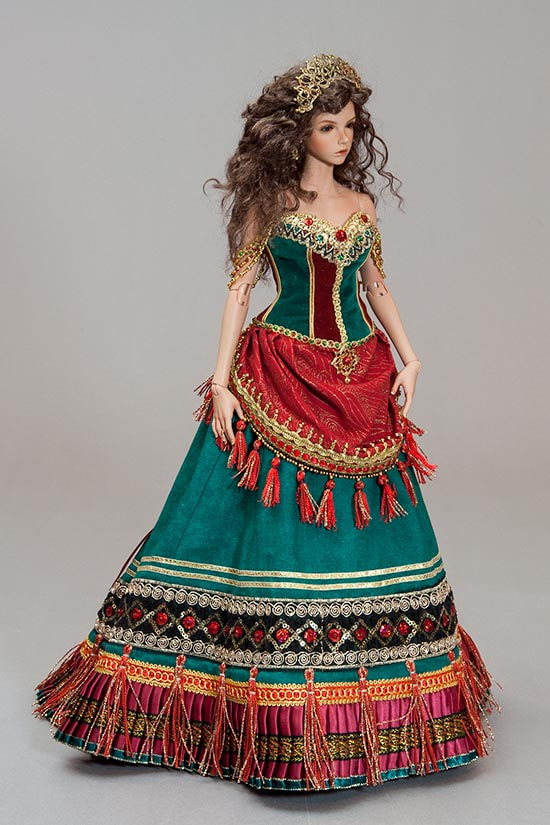
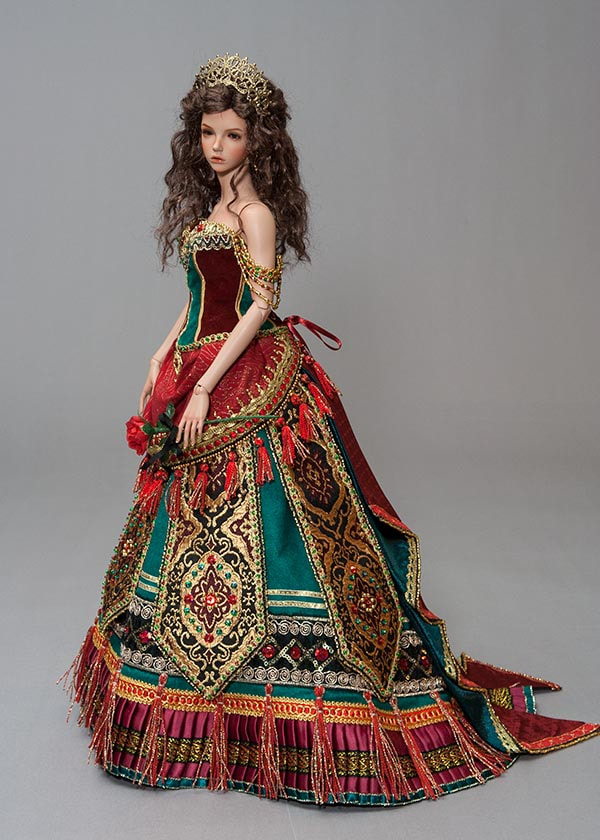
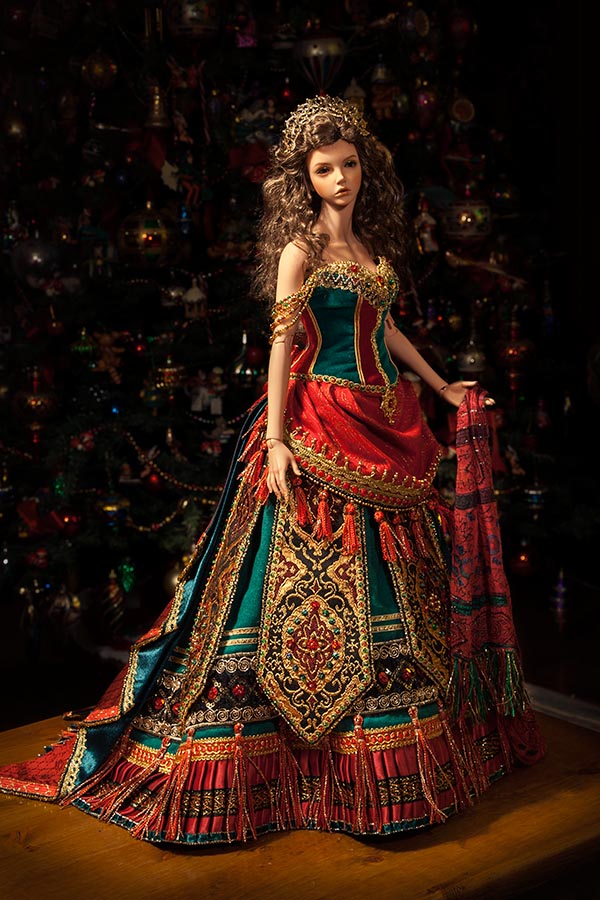
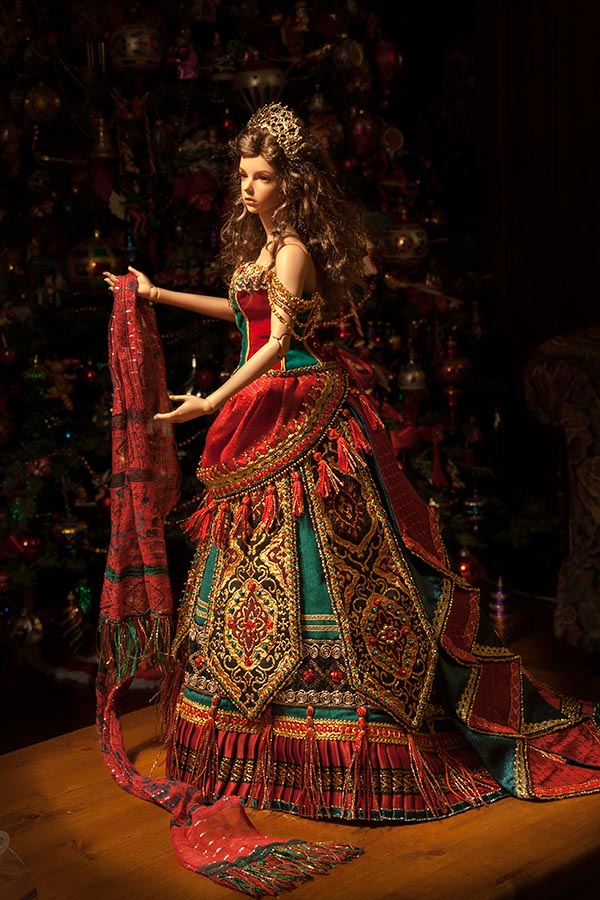
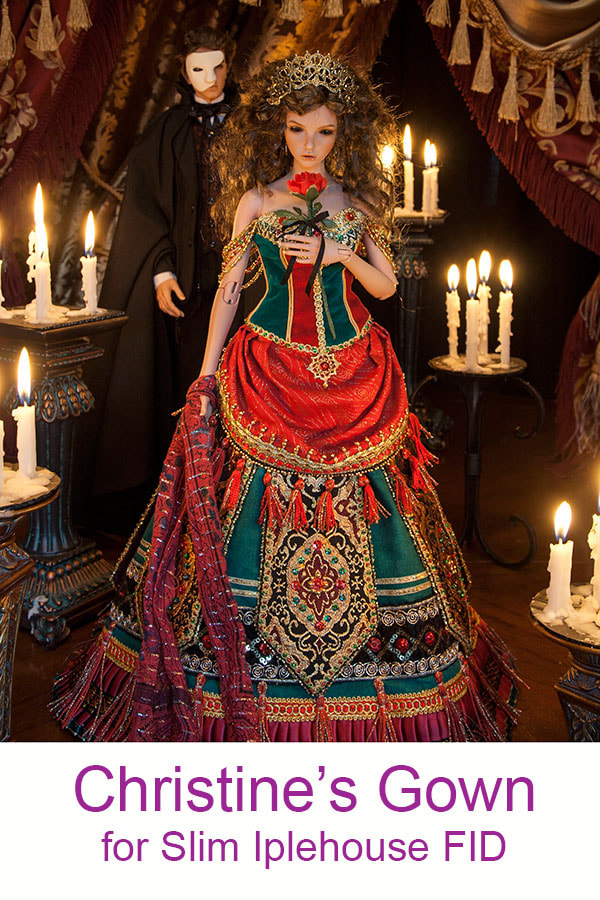
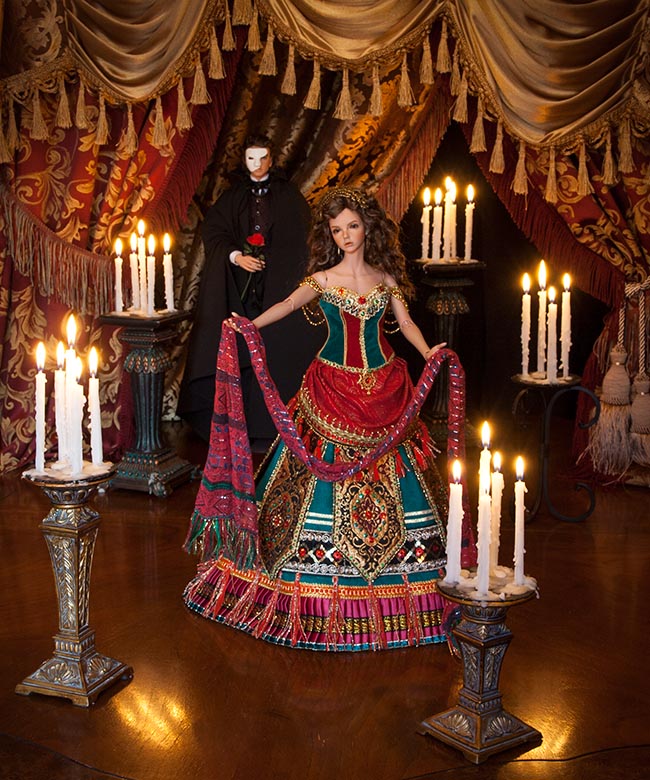
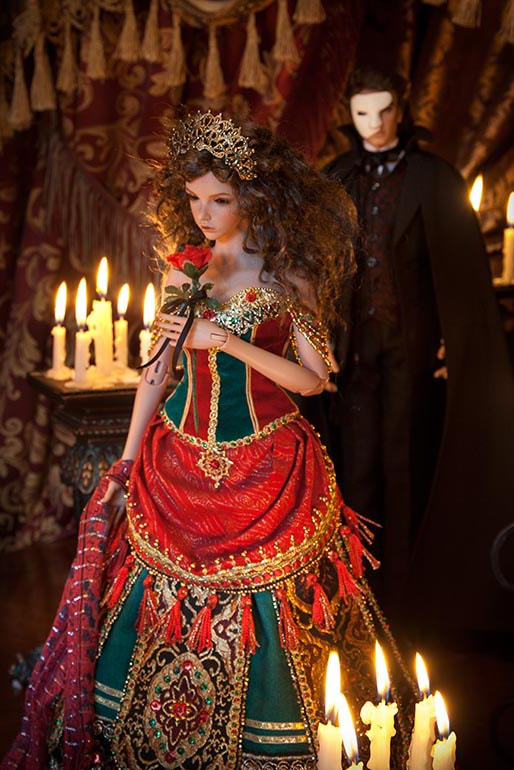
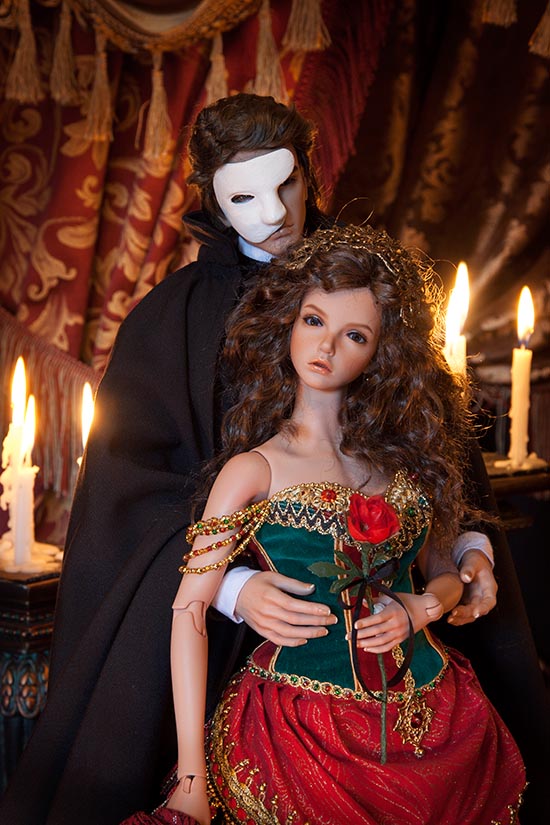
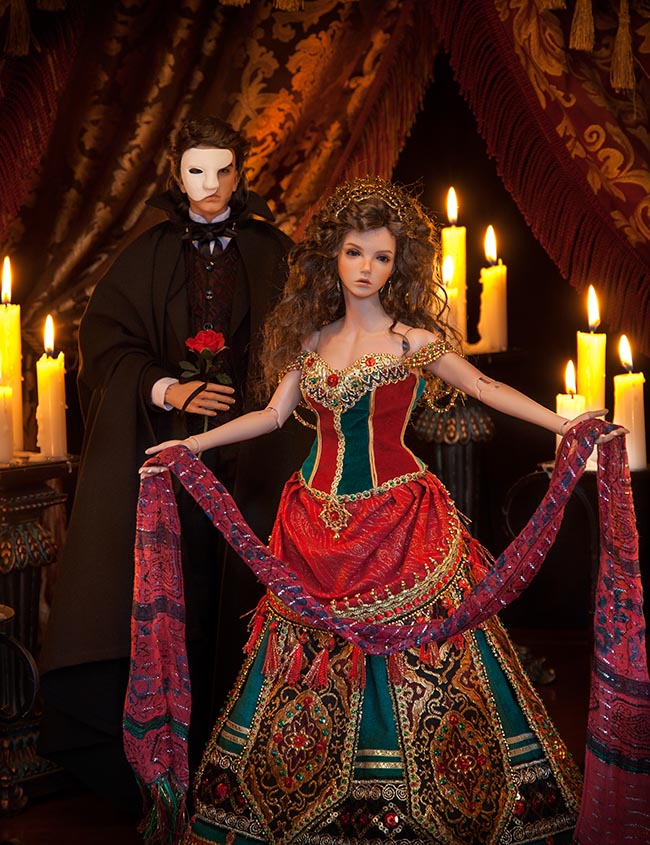
January 4, 2019: I'm finally finished Bianca's 'Christine' costume, and took a few quick photos. I'm very happy with how it turned out. I think it's my best one so far, but then I always preferred sewing for the smaller dolls. And Iplehouse Fashion dolls are the perfect models for these elaborate costumes....
Like always, when I make something, there's always all kinds of things that I wish had been done better - it's that pesky perfectionist in me - but overall I'm very happy with her.
Just Patterns
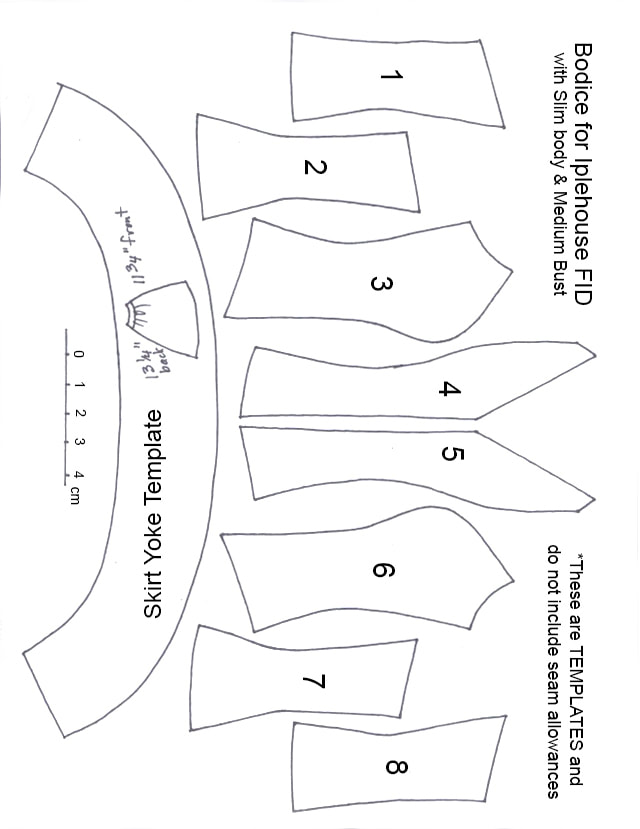
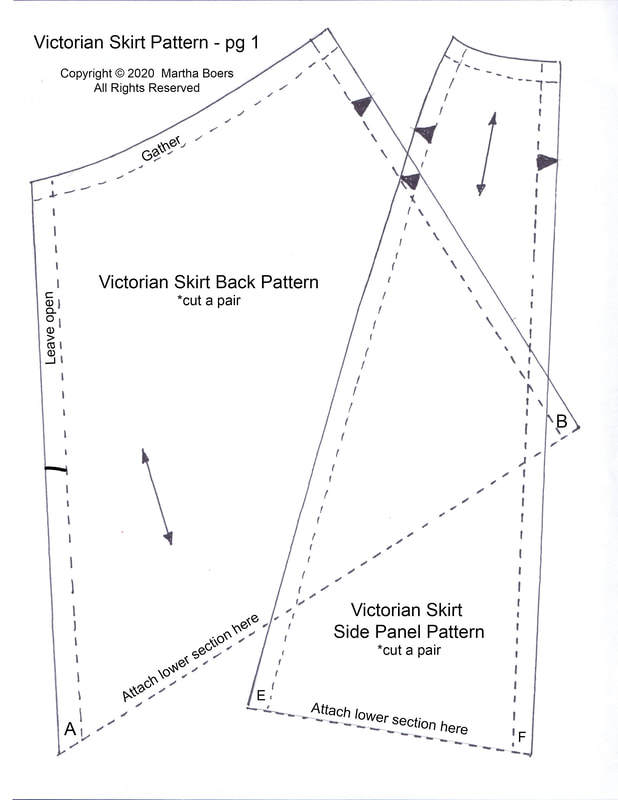
These patterns and templates are intended for more experienced sewers. There are no instructions, so you are on your own, although the under construction photos in this 'Creative Journey' may help.
To download Pattern pdf, click on image below..
To download Pattern pdf, click on image below..
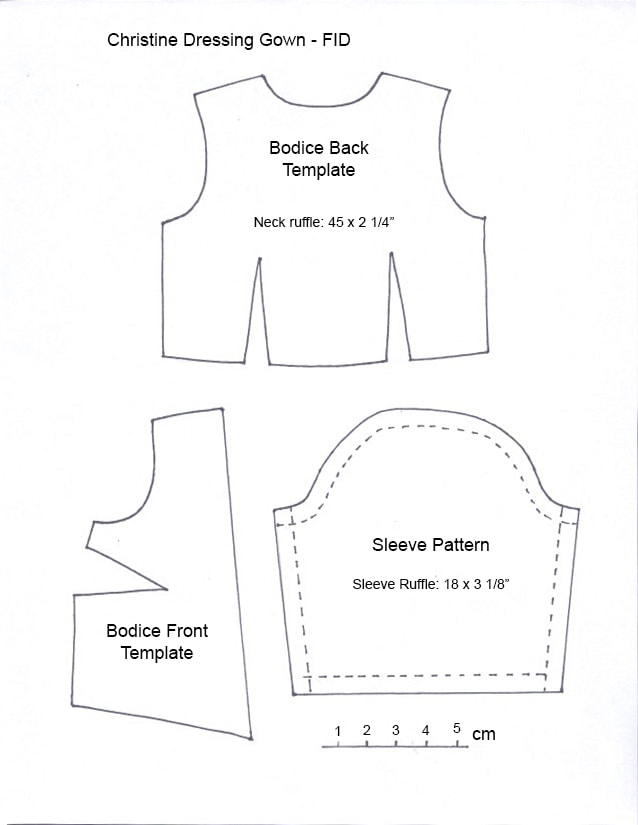
There are five pages in the pdf. Note, pieces marked 'Pattern' include seam allowances. Pieces marked 'Template' are meant to be traced onto the wrong side of your fabric. The traced lines become the sewing lines. Remember to add the seam allowances
the Phantom
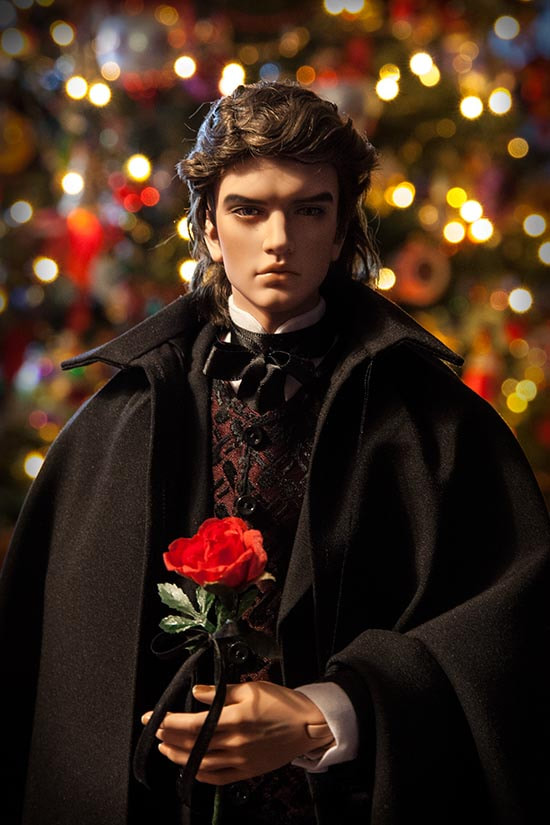
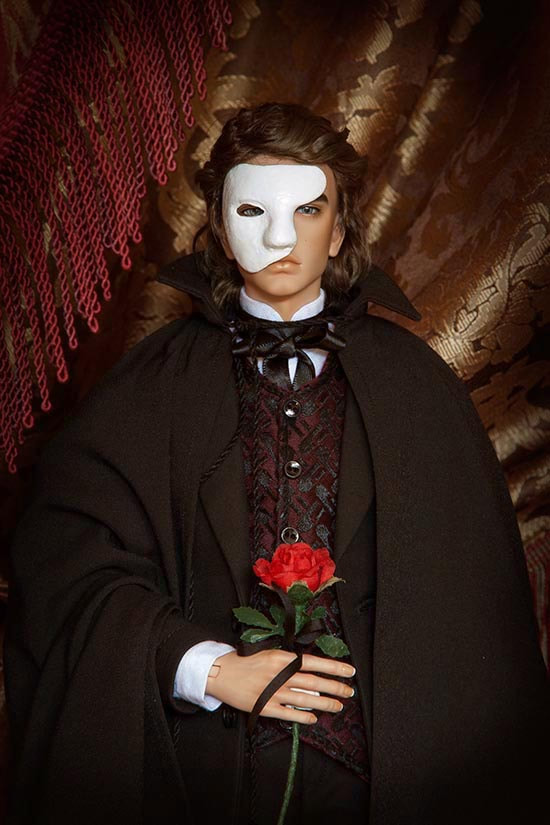
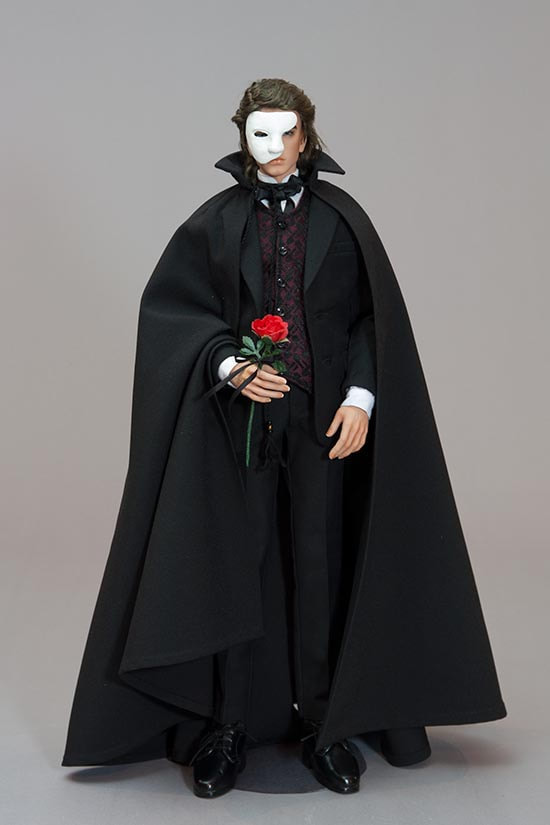
Now to tackle the Phantom.....
Pondering the Role
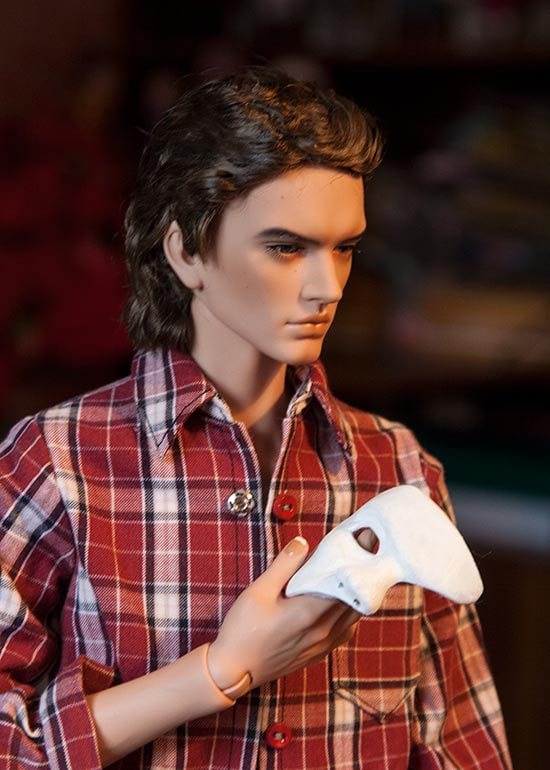
January 6: Couldn't resist taking a photo of Rex today, as he was standing there waiting, while I was working on his Phantom costume. I had to make him a new shirt since the one with his formal suit had the wrong shape collar, and it didn't work with the collar tucked inside, so he was wearing one of my JID plaid shirts, just for fit, to see where the pattern needed altering.
I'd already slicked back his hair with a lot of hair gel (when he wasn't wearing it), and gave him the Phantom mask to hold....
I'd already slicked back his hair with a lot of hair gel (when he wasn't wearing it), and gave him the Phantom mask to hold....
After Christine's costume, this one is a HUGE challenge. "But it looks so simple" you'd say. And you'd be right. That is exactly the problem! Simple, tailored clothes are the absolute worst thing to make in small scale. And after the success with the Christine costume, everyone will expect the same level of perfection with the Phantom.
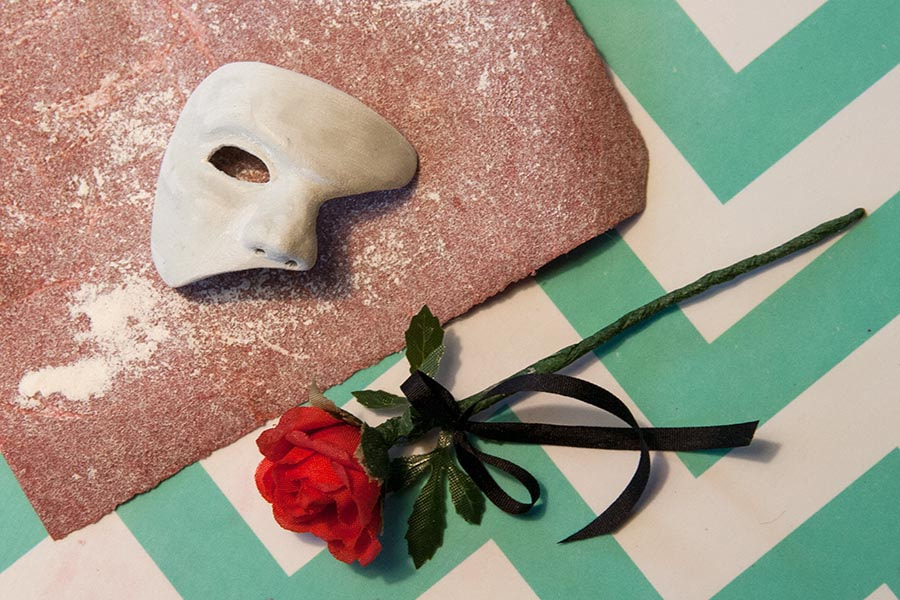
The biggest problem right now is the mask. I made it months ago, out of Aves Apoxie, and it seemed fine back then. However, I had to shave a lot off, and sanded it quite a bit too, but there's no getting around the fact that it's way too thick. Sure, it looks great in his hand, but not so much when he's wearing it.
So the plan is to go pick up my Lawrence, who has yet to get a new faceup, and then use him as a model to try make a thinner, better-fitting mask. I don't know exactly how yet, but I'm sure I'll figure it out. I don't exactly have much choice.
But then, maybe Rex would rather play the role of Viscount Raoul de Chagne, and be the one who gets the girl in the end.....
Behind the Mask
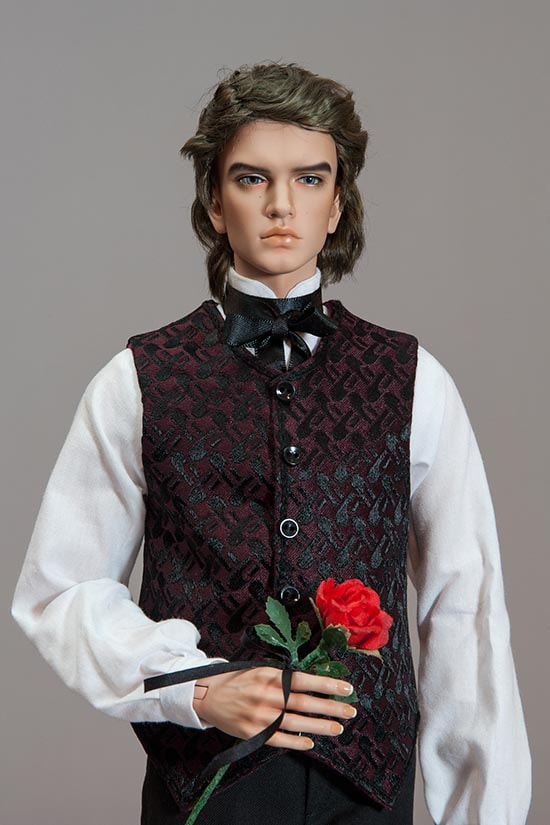
January 7: I finished his shirt and vest yesterday. I couldn't use the shirt that is part of his Iplehouse tuxedo, since the collar was wrong. So I had to make a new white shirt with a stand-up collar. I chose a dark red and black brocade for his vest, and ended up using a length of simple 1/4" wide black satin ribbon for his cravat...
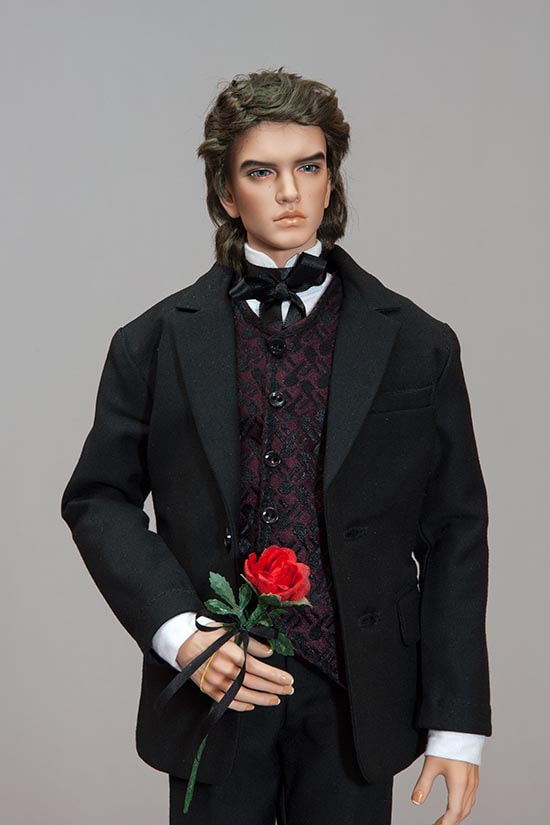
I had decided I was just going to use the jacket and pants from his tuxedo...
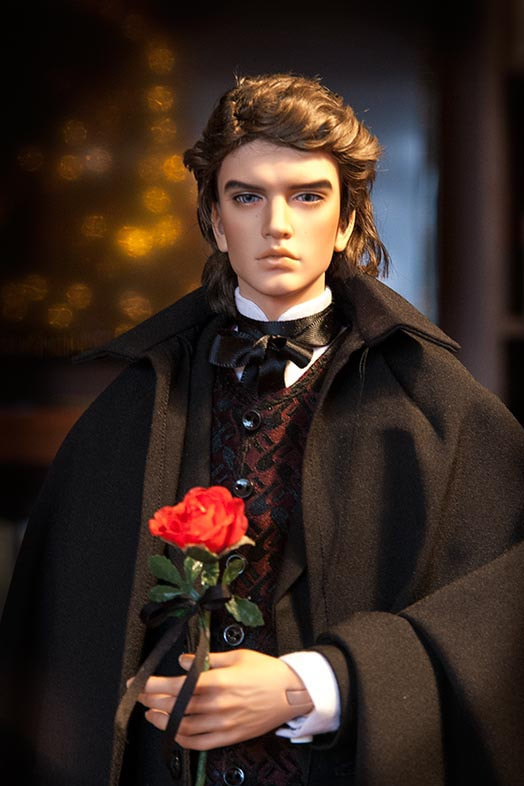
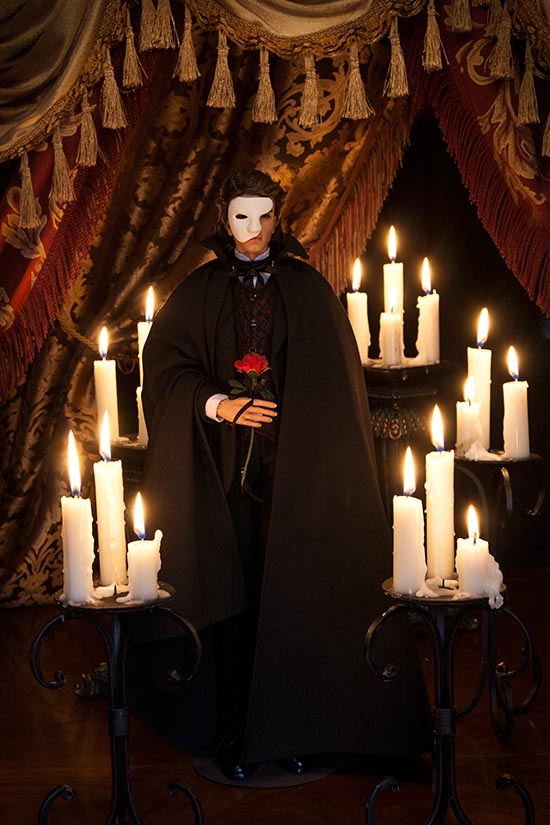
I was almost finished his cloak, and couldn't resist taking a photo. Rex was looking very Victorian, almost like a vampire here.....
Now for the worst job of all - to tackle making a new Phantom mask.
A New Mask
January 11: I really struggled with the Phantom's mask. The first one was way too wide, and too thick, so I tried a second time. Of course, with Apoxie it was never going to be in scale since the real mask was made using vacuum form plastic over a plaster casting of the actor's face. And my Rex is 1/4 scale, so realistically his mask should be 1/4 the thickness of the real mask - which would be thinner than a sheet of paper - so no matter what I made it out of it would be too thick.
So I did the best I could, and although it wasn't perfect, it had to do...
So I did the best I could, and although it wasn't perfect, it had to do...
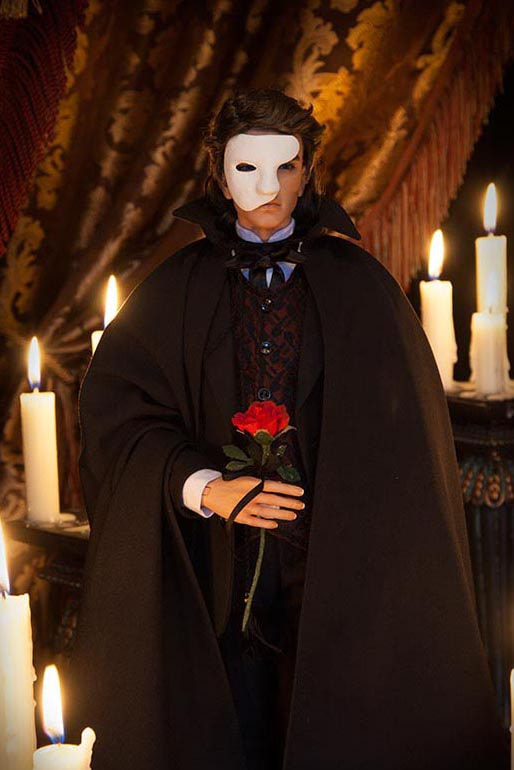
...and 'onstage'......
Christine and the Phantom
A Dressing Gown for Christine
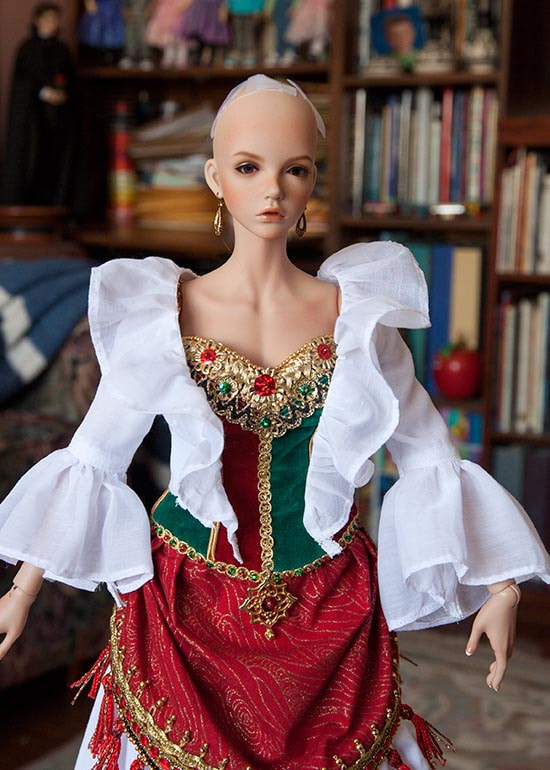
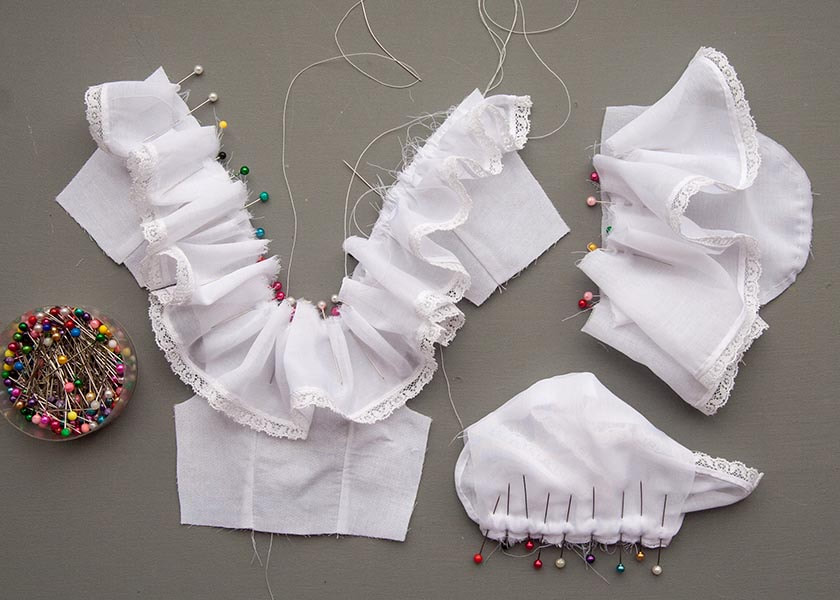
January 20, 2019: I decided to make a robe for Bianca to wear over her 'Christine' bodice. I drew up a pattern, and made the mistake of not sewing a test bodice first, so even though I put in several hours of basting and sewing,with some very flimsy fabric, I was not happy with the result. So I decided to start over, and picked off all the lace along the ruffles. No point in throwing that away.
|
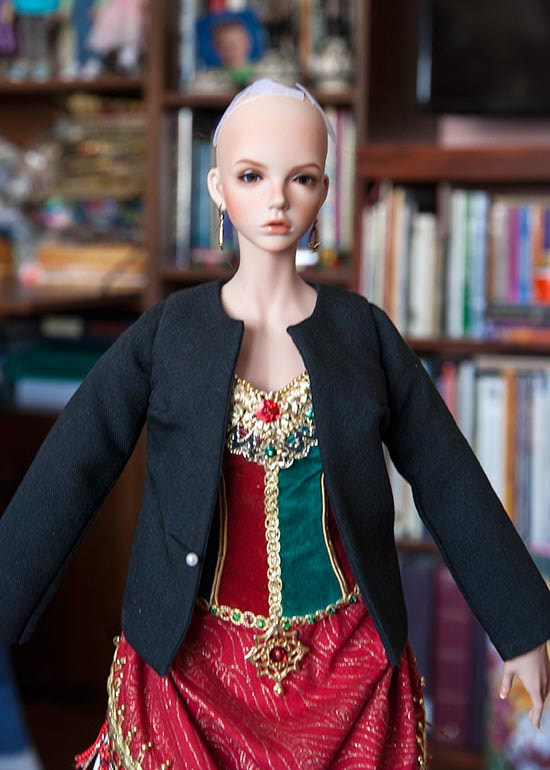
I remembered that I had a JID jacket I could try, to see how that would fit over the bodice...
|
So dug out the jacket pattern and modified it, and made a test bodice...
|
That's much better! It still needed some minor adjustments, but then I could cut the fabric out again. I' also considered switching to a white tricot instead of a thin cotton. It wouldn't unravel as badly, and it might also drape better.
January 21, 2019: Well, the second try wasn't working either. The dressing gown is giving me nothing but trouble. The new bodice pattern was a lot better, but this time the problem was the choice of the nylon tricot. I thought it would work better since it didn't need hemming, but it turned out to be too stiff. I toyed with the idea of finishing it anyways and selling it, but decided I didn't want to use up all my white tricot in exchange for a few bucks. So I cut apart what I'd done, in order to save the flat pieces, and picked off the lace edging again - so I can reuse it for the third time. So then I was back to square one. This time I'll use the new pattern, but with the original thin cotton again. I hope it works out how I want this time......
January 22, 2019: Well, I started over again - for the third time. I don't think I've ever had to do that before - one redo, but never two - but if it's worth doing, then it's worth doing right. Right??
So, I was back to the original very fine cotton which unravels so badly, but this time with the updated bodice pattern. I'm at the gathering point, which has to be my least favourite part of the entire process. It's the third time doing all the gathering, and I feel like I could do it in my sleep by now. However I've learned a few things the first two times, and am easing in the ruffles differently this time, with a lot more around the back of the neckline, and less down the fronts...
The sleeves actually have a double ruffle, and I had a piece of wide lace in a bowl of water with fabric softener to see if it would lose its stiffness, but it didn't, so it looks like I may have to make the outer ruffle out of this same thin fabric, but with a different cotton lace on the edge.
Yippee, more fussing with this flimsy fabric!! And so much for what I thought would be a 'quick' dressing gown!! However, in the end I chose another, wider cotton lace for the outer ruffle on the sleeves.
Yippee, more fussing with this flimsy fabric!! And so much for what I thought would be a 'quick' dressing gown!! However, in the end I chose another, wider cotton lace for the outer ruffle on the sleeves.
January 24, 2019: Well, the third attempt at Christine's dressing gown was still not perfect, but it's was good as it was going to get, and it wa time to move on. I'm not normally one to say that "it's good enough", but this time it has to be. I was still not totally happy with how the ruffles stood out, but was hoping that if I washed it, things would relax some. I took a photo of it before I washed it....
Well, it turns out that the fabric couldn't be just 100% cotton as I had thought, since washing it didn't do anything to it. If it had been just cotton, everything would have relaxed and ended up with proper in-scale gathers and ruffles. So I tried basting the lace edges down along the neckline so they'd lay flatter.....
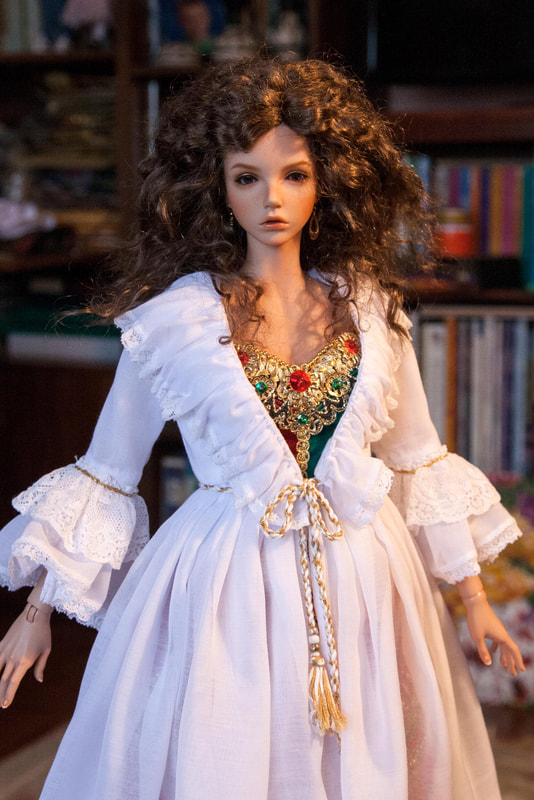
Then I did a row of gold chain-stitch around the sleeves, and made a gold and white cord to tie around the waist.
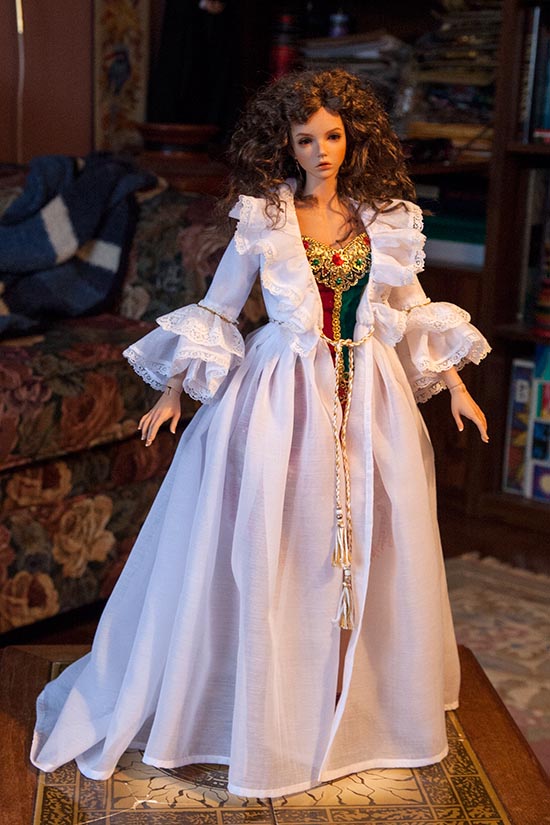
And it was done!!
And it was done!!
Copyright © 2019 Martha Boers
All Rights Reserved
All Rights Reserved
