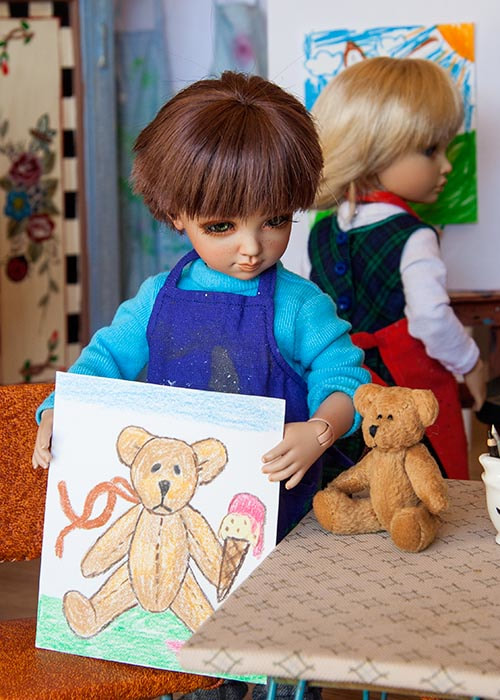
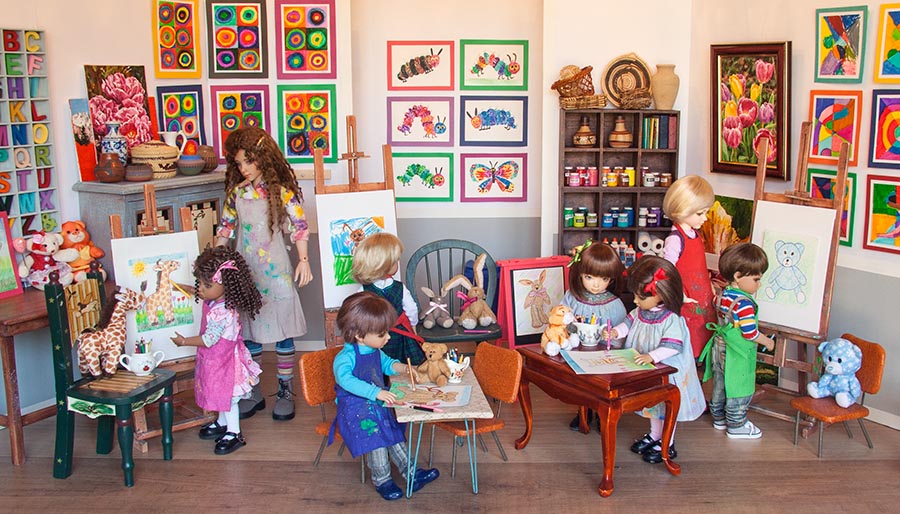
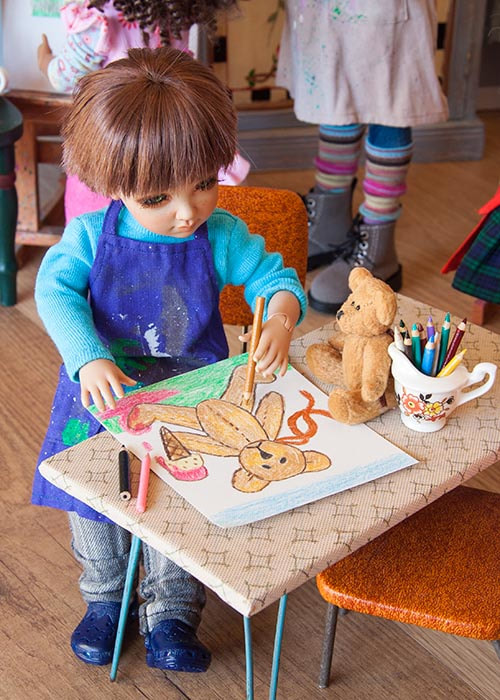
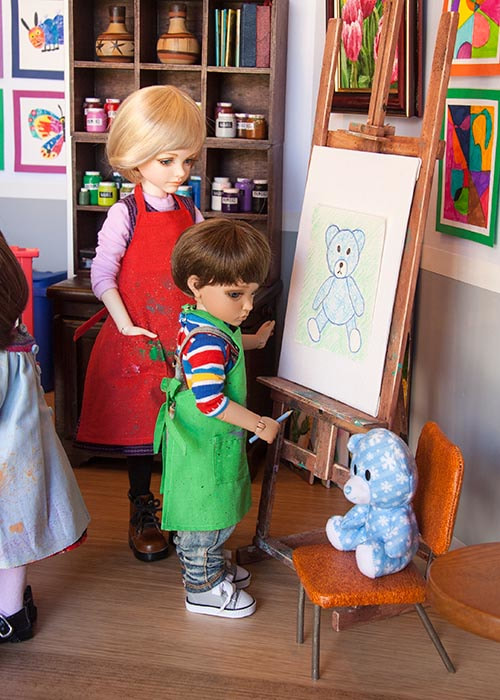
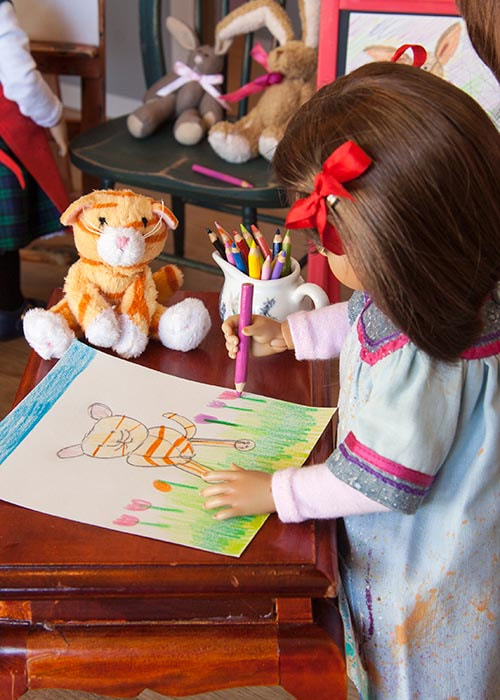
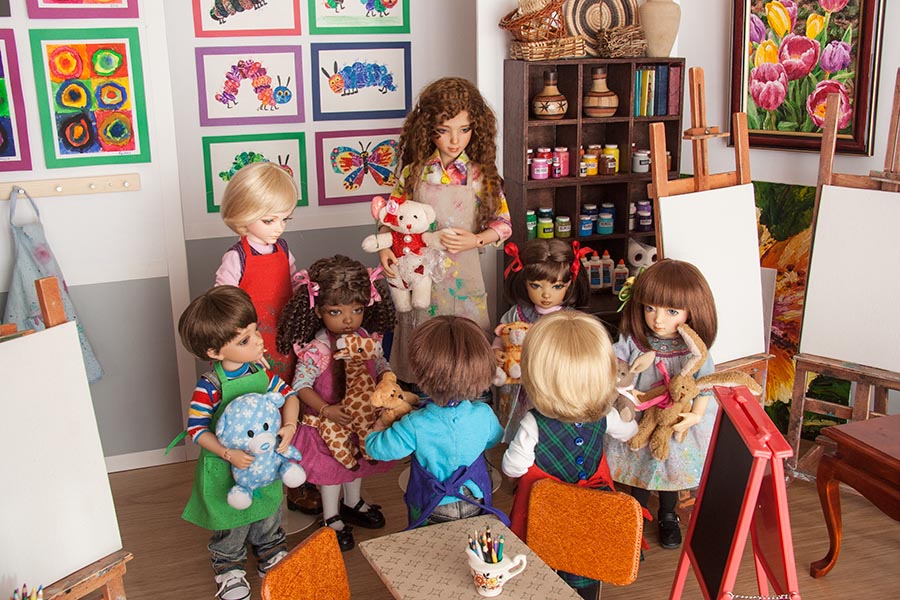
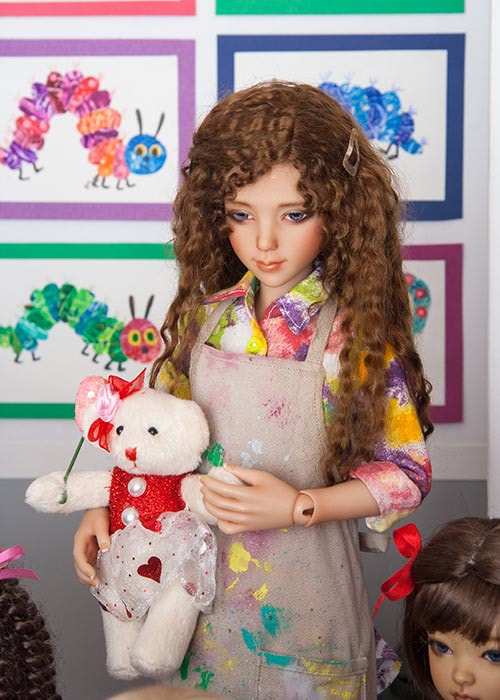
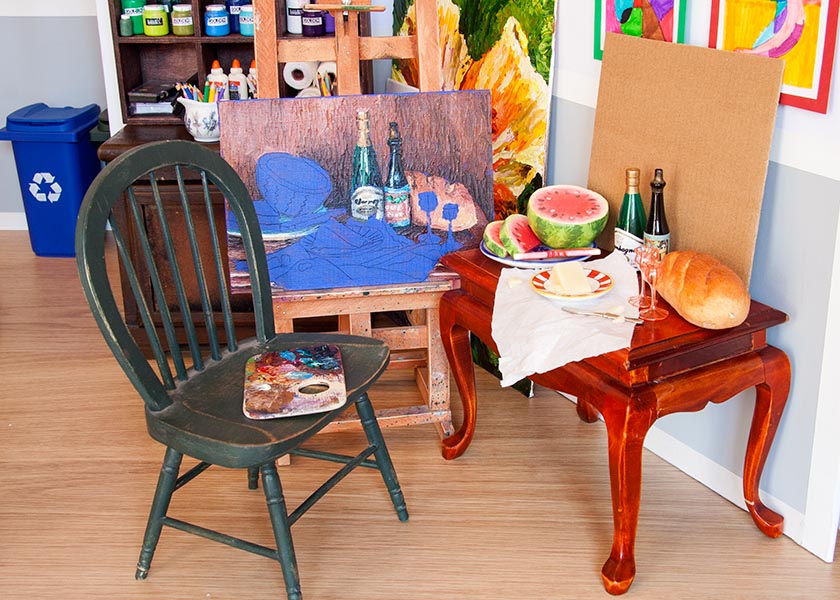
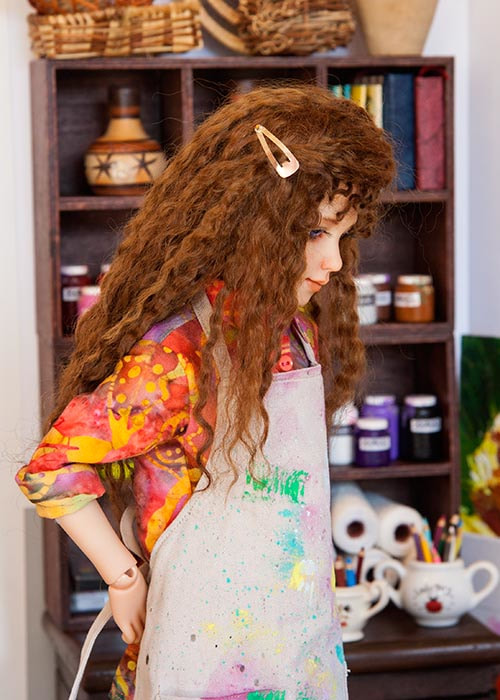
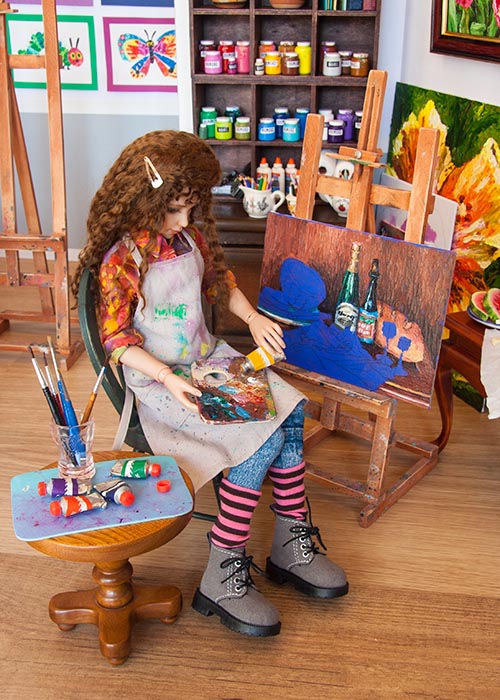
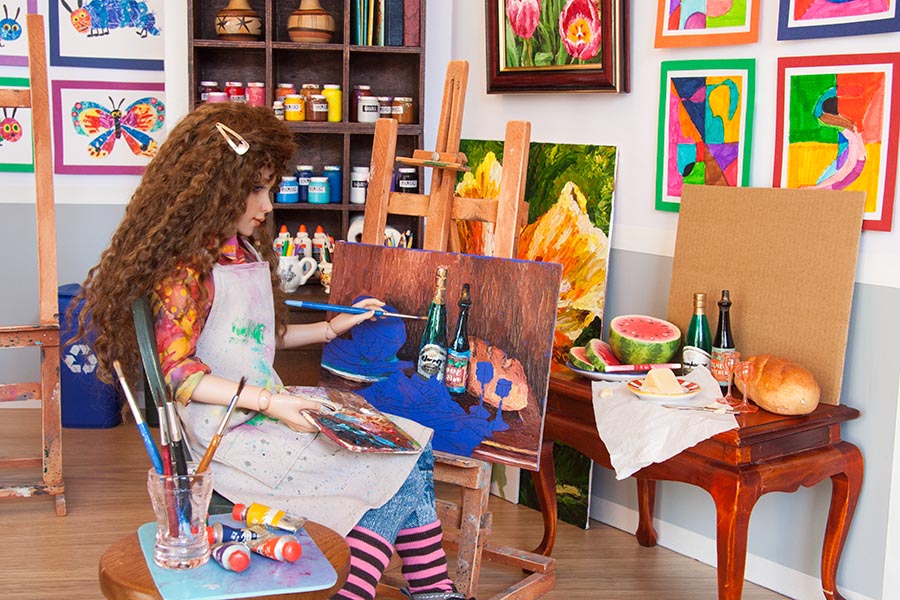
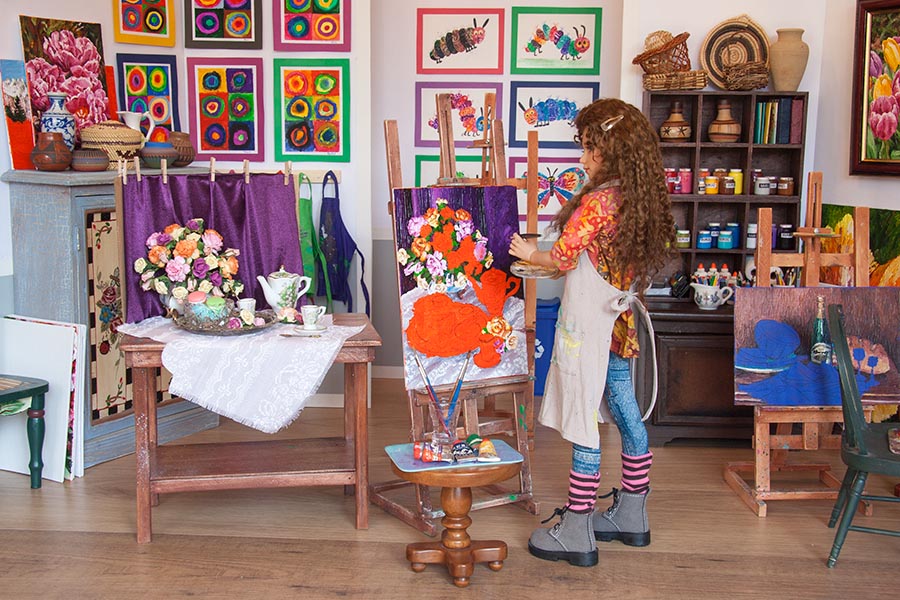
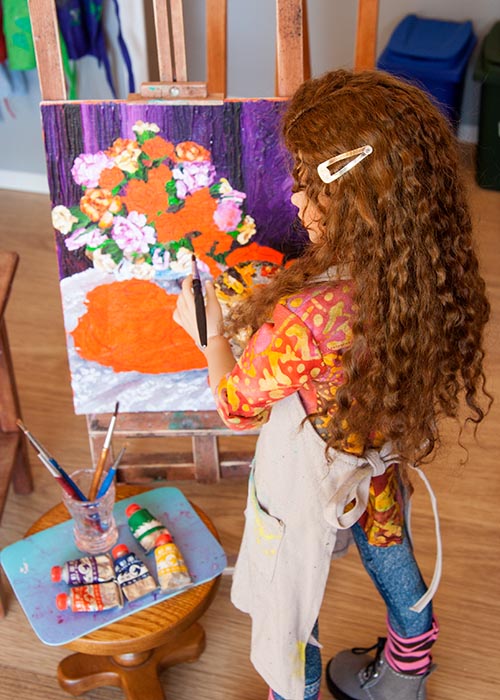
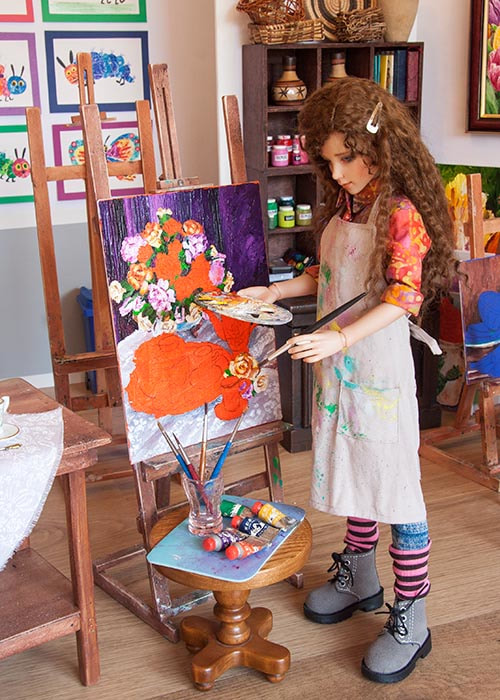
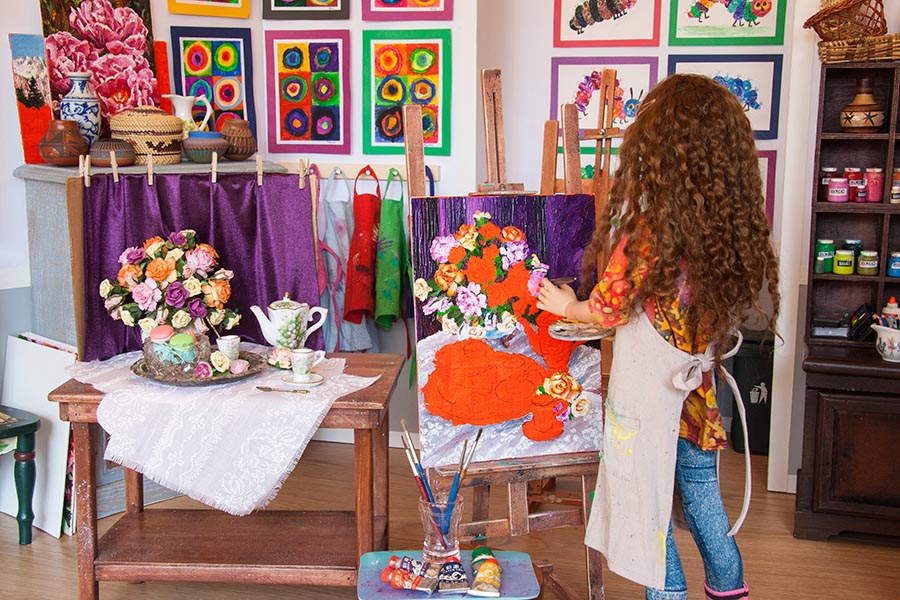
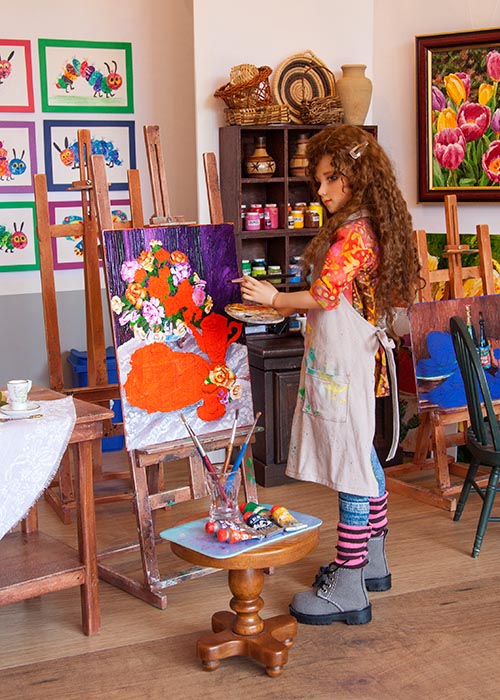
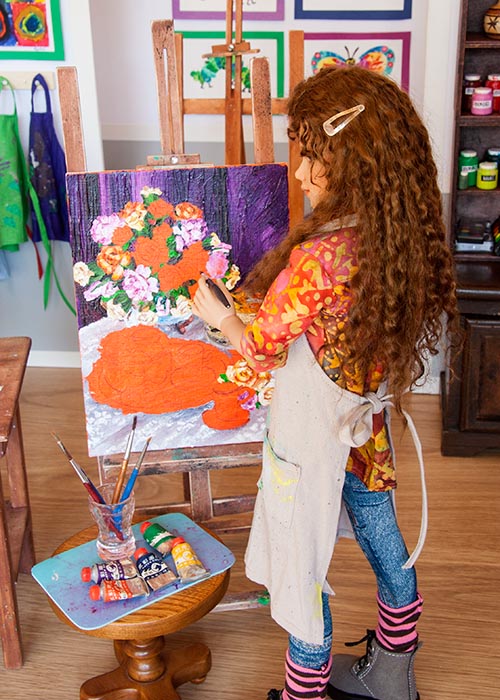
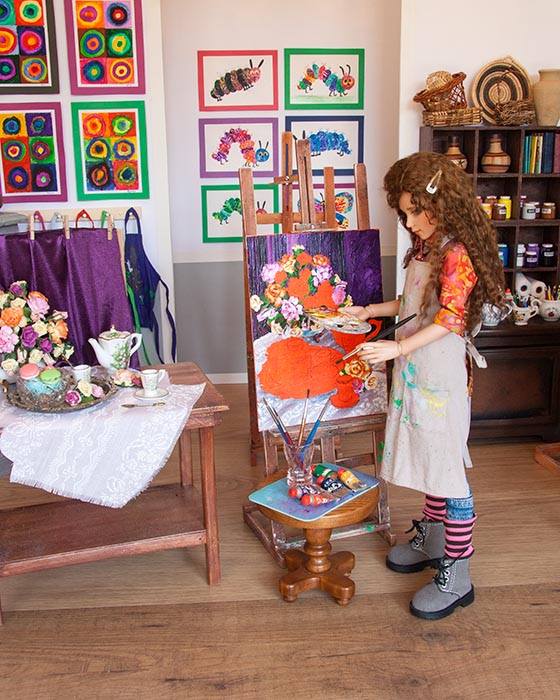
The children were very busy drawing their favourite stuffies.... 
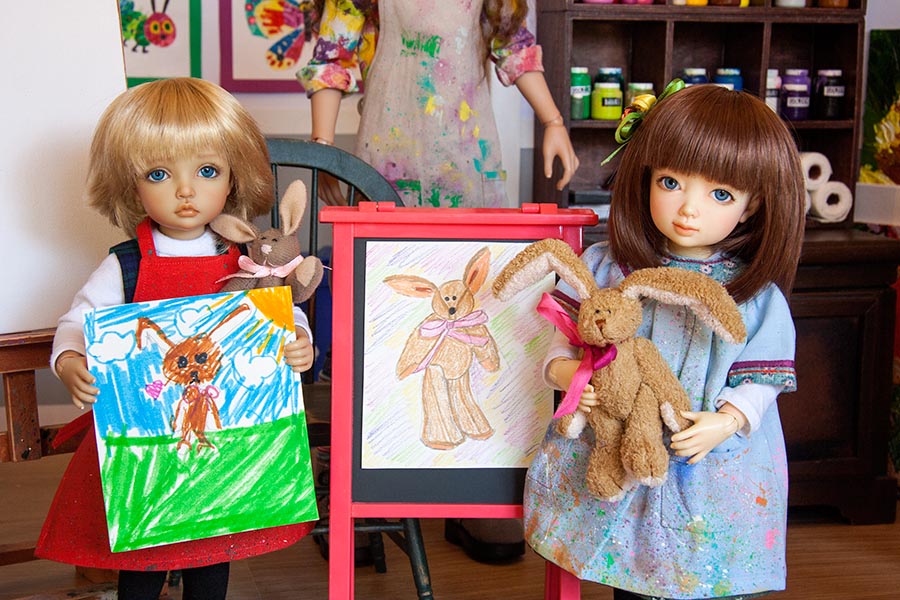
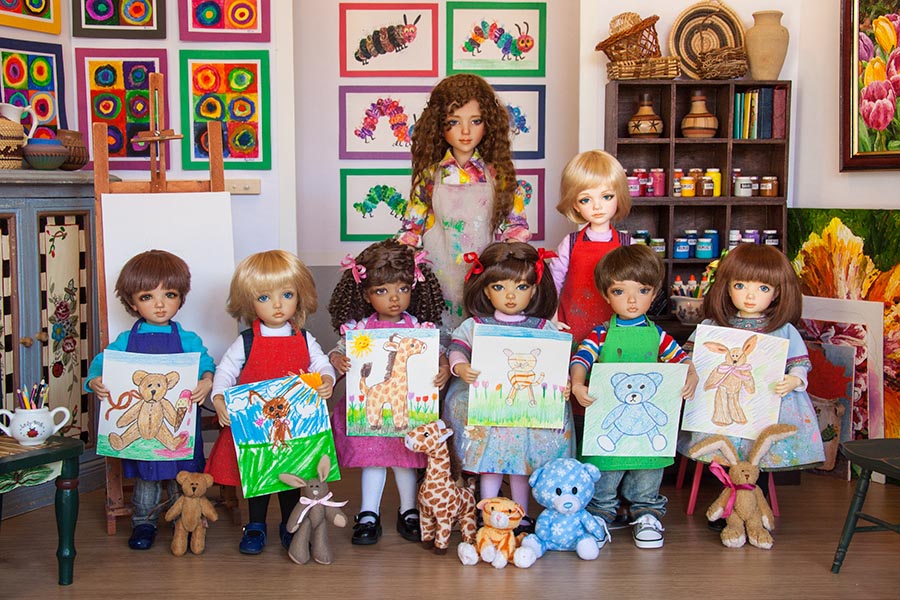
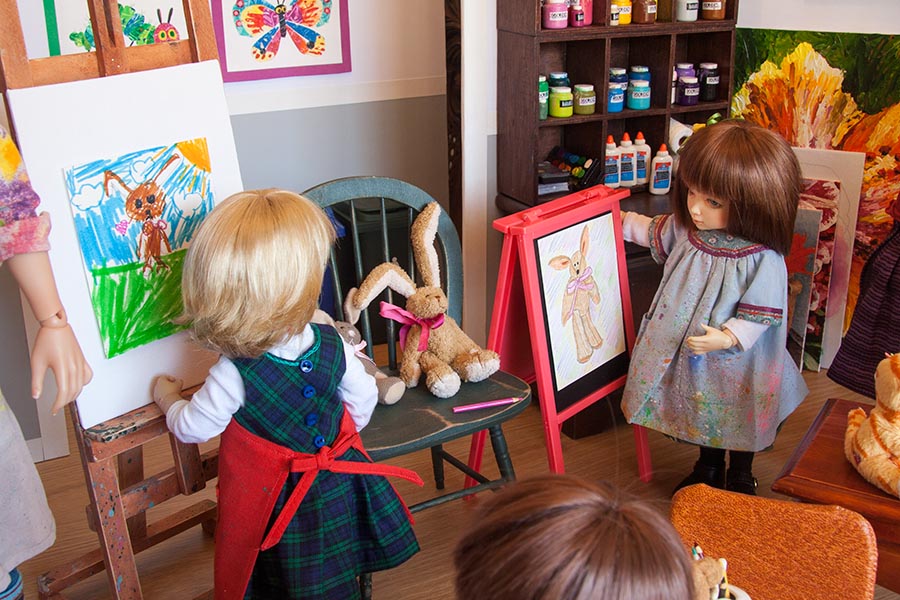
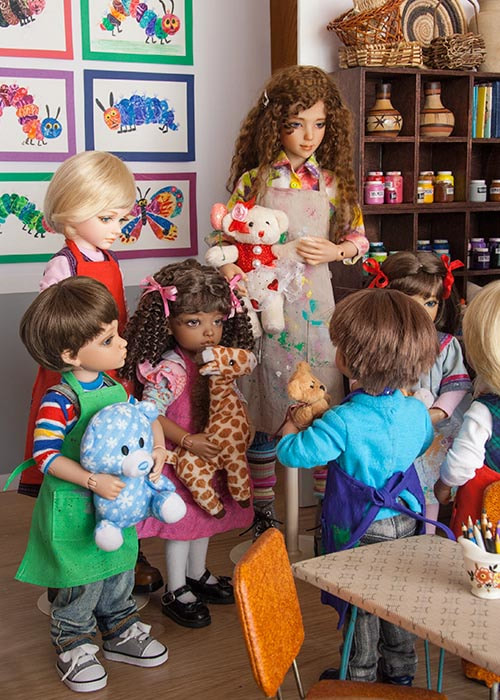
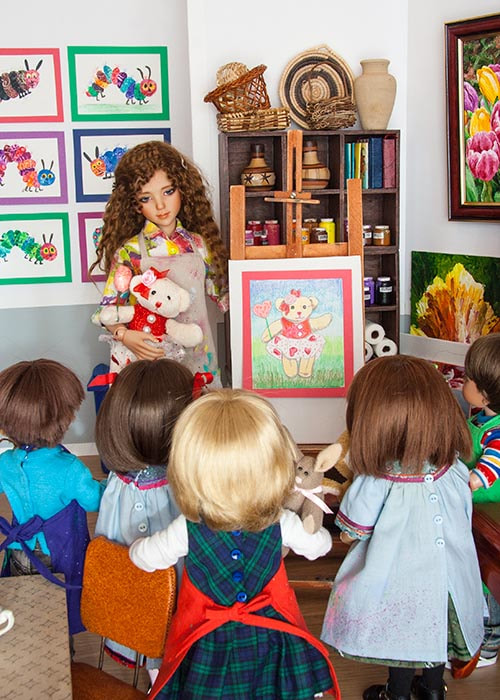
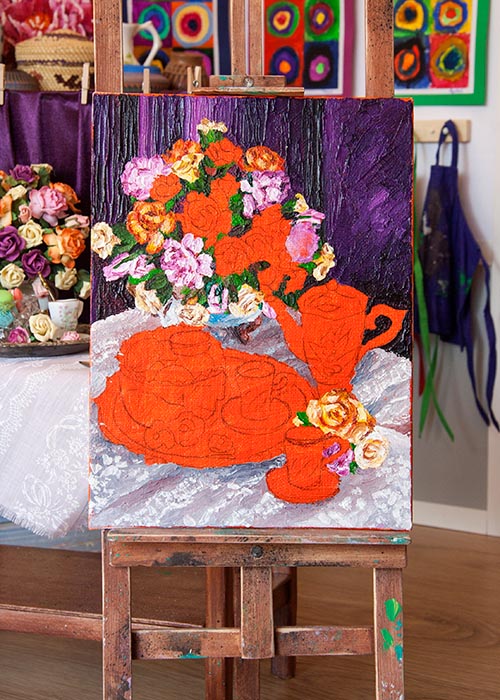
And soon they were all done.... "What do you think??"
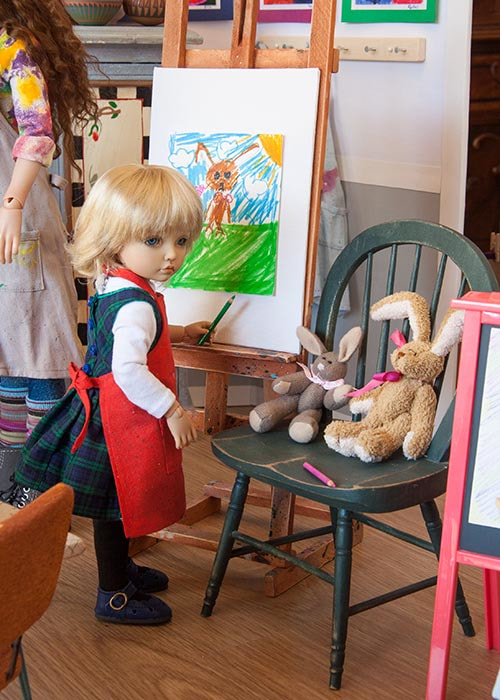
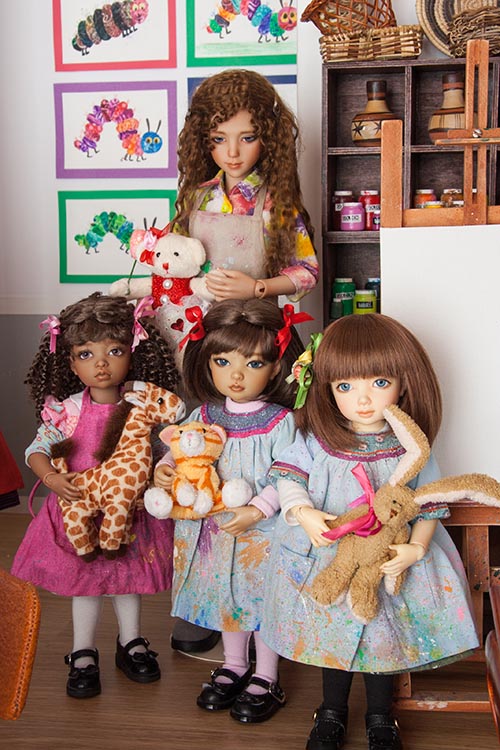
 Two bunnies.... 
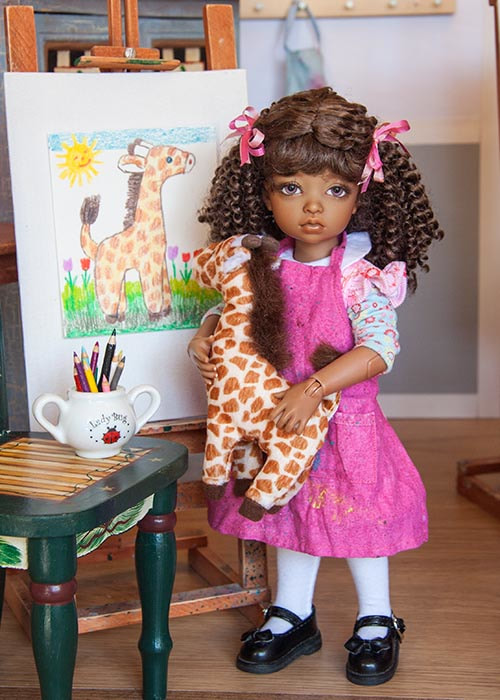
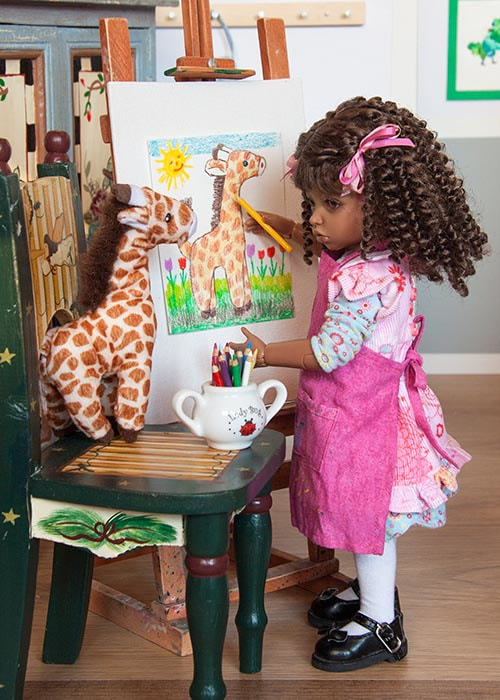
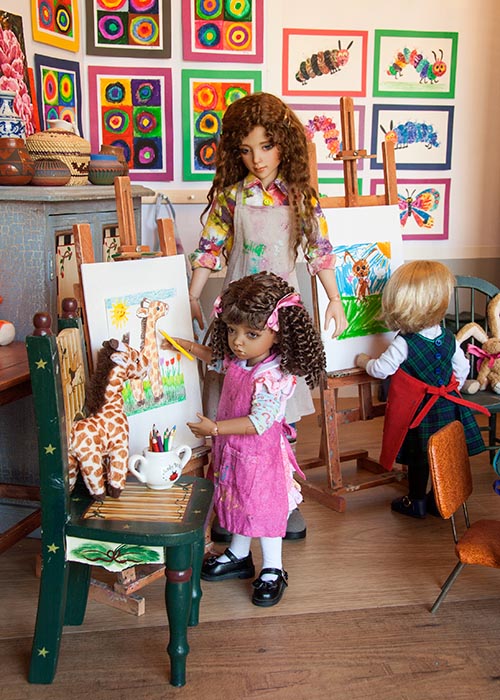
Erzulie's giraffe.... Byuri and Eric and their drawings.... 
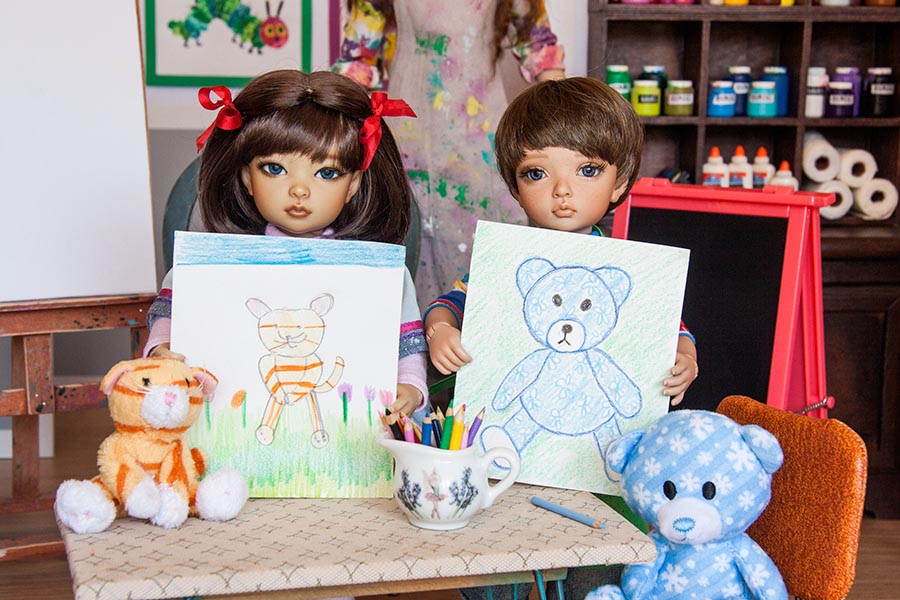
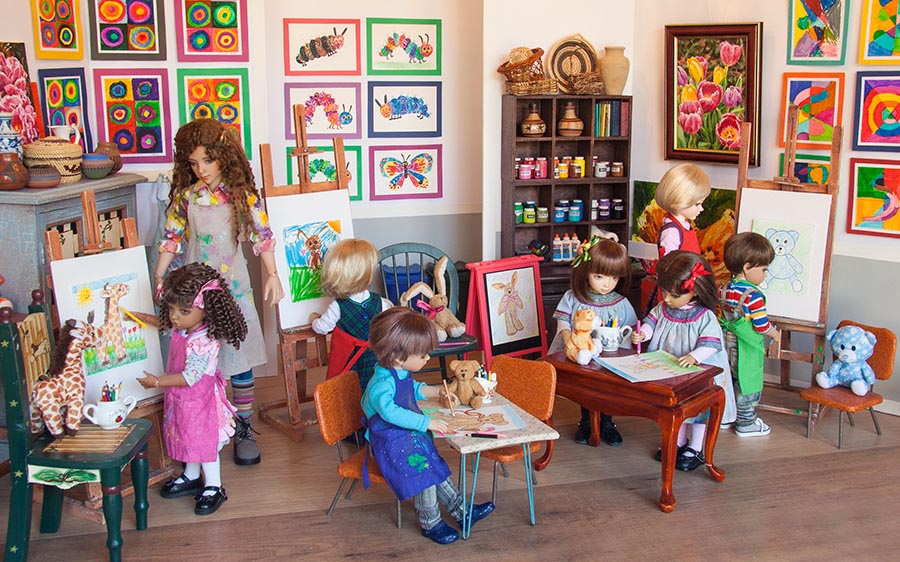
...and the whole class....
Someone on one of the doll forums remarked that all their polymer clay had dried out, and wanted to know how I store mine, and asked me to take a photo.
I keep my polymer clay in several clear, sectional, plastic boxes, and some of it is very old, yet it's still as workable as ever. Well, the actual Sculpey is. Fimo is as hard as when I got it, and I avoid buying it because it's just too stiff for me to work with. I'm not sure where I got the boxes originally, maybe at Micahels, or at White Rose, which went defunct decades ago. I keep the colours separated, and the lids snap on reasonably tight. My sister stores her polymer clay in the exact same boxes, and her clay is also as good as new. There's nothing quite like loving what you are drawing, and everyone was completely absorbed.... PS - as with several of the earlier art projects, some of the samples were done by my granddaughters (and Jan) I let everyone choose which one of the tiny stuffed animals they wanted to draw, and then we set to work. Elin's sweet bunny drawing was done by Natalya, who is actually quite an accomplished little artist, but she was working with a broken wrist, and she could barely hold a marker. Byuri's little kitty was done by Teagan, Jan did Eric's blue bear, and Nami's bunny. And I did Erzulie's giraffe, Coco's teddy, and Narae's teddy.
For the second group's second art class, Narae had asked everyone to bring their favourite stuffy from home. She was happy to see that they had all remembered..... "I'm glad to see that you all brought a stuffy from home. I brought one of mine too." "The reason I asked you to bring your stuffy, is that today we will be doing 'life drawings', which means drawing something real sitting in front of you - and what would make a better subject than one of your favourite toys? I'd like to to draw your stuffy as big as you can on your paper, colour it in, and then you may add a background if you like. Here's my example....." "I've set up some easels around the room, and you may work at one of those, or at a table - whatever you feel most comfortable at. So, go find a spot to work, and get started...."
The Victorian gown is coming along nicely. I always like to work from the inside out, starting with the underwear. So I made some pantaloons, a bustle, and a waistband, for the old petticoat.... She needed to be wearing high heels, but I don't have any Victorian high heel boots - just one pair of black high heeled shoes, so they just have to do. I had to add a yoke to the top of the skirt to make it a little longer, but it doesn't show under the overskirt. Both the overskirt and underskirt are sewn to the same waistband..... Well, that was the fast, easy part. Now I have to make her bodice, and that means designing a pattern - one of my least favourite things to do. I found an existing pattern for a Large bust JID, and traced it onto iron-on interfacing, and pressed it onto white cotton. I cut it out adding only the underarm seams, so I'd get a better idea of the exact fit after sewing it up. The pattern I had is for a bodice that opens at the back, whereas I need a pattern for a jacket that opens at the front. So I drew on all the adjustments with pen.
Funny thing - I noticed that when writing measurements to add, I'm using mixed measurement systems. When I was a kid, growing up, Canada was still using the Imperial system, so that's what I grew up knowing. But then in early adulthood, Canada switched to the metric system, and I'm still not 'fluent' with it. I notice that I use both inches and centimetres. If you look closely at the photo above, it says to add 1/4 inch at the dart, and to add 1 cm at centre front. LOL Oh well, it's just for me, and I know what I'm talking about. Anyways, now I have to draw up a new pattern using all the notes and adjustments made to this first test bodice. Then I have to trace it onto iron-on interfacing, press it onto cotton, and try again. (PS - I use the iron-on interfacing so the pattern has no give or stretch in any direction) It's been quite some time since I took apart my old Victorian porcelain doll with the intent of remaking her costume to fit one of my JID ladies. The parts have been laying in a basket for months, and I decided it was finally time to tackle it.
The skirts and slip were already in pieces, so the next step was to completely picked apart the entire jacket in order to maximize the amount of fabric I'd have to work with. Everything seemed rather dusty, and there were some stains on the front of the over-skirt, so I decided everything needed a good wash. But I wasn't sure how all the pleats would hold up to washing, so I first ran a basting thread through all the rows of pleats, so they wouldn't move or undo. I tackled the stains with detergent and some bleach, and did manage to lighten them some, but they are not gone. Oh well, I doubt Victorians did much laundering of their fancy clothes. All the pieces are dry, and have been pressed, so it's time to finally put this thing back together..... I've added three new Creative Journeys to my Tutorials page. Creative Journeys are not patterns with instructions, but rather cover the creative process in the making of a specific outfit. Everything was also posted on my Blog, at the time the projects were underway, but I figure it's so much easier to see the entire process in one place instead of trying to search for it in the Blog Archives. I've added the making of the Green Floral FID gown.... My Wizards's Santa costume.... And the latest, the Pink Sari FID Gown... I've been thinking of adding the pattern templates for the two FID bodices in their respective 'Creative Journey' pages, but don't want to get into step-by-step instructions. Just provide the full-size pattern templates so that more experienced sewers have a jumping off point to create something of their own. I don't know if people would find that useful.
Well, I'm finally getting my act together and am working on the birthday cakes for three of my KIDs. Two of them actually arrived in December of 2016, but they weren't painted until early 2017. So I guess I'm really not that late for those two. And the third arrived in the end of March of last year, so I'm actually ahead of the game for him. Cakes are made with either a styrofoam or wooden core, depending on if they will get covered with Sculpey and baked in the oven - then they are wood inside. Non-baked cakes are styrofoam covered with drywall compound, and painted. All the 'candies' are made of Sculpey and are ready to be glued on one at a time.... 'Drip icing' is made by mixing drywall compound, white glue, paint, and a bit of water. However, it does tend to shrink and crack a bit as it dries.
I glued a row of tiny balls in a rainbow pattern around the base of the polka-dot cake layers, and found the effect way too 'dotty', and eye-boggling, so pulled them all off, and made new balls in just two colours. I like it a lot better... With her children's art classes nicely underway, and several future projects all planned and prepped, Narae thought she'd take the opportunity to get back to her still life paintings.... Just a few roses and the tea set still left to do....
|
AuthorMartha Boers is an award-winning Canadian doll maker and costumer specializing in fantasy and historical-style costumes. Archives
April 2024
|