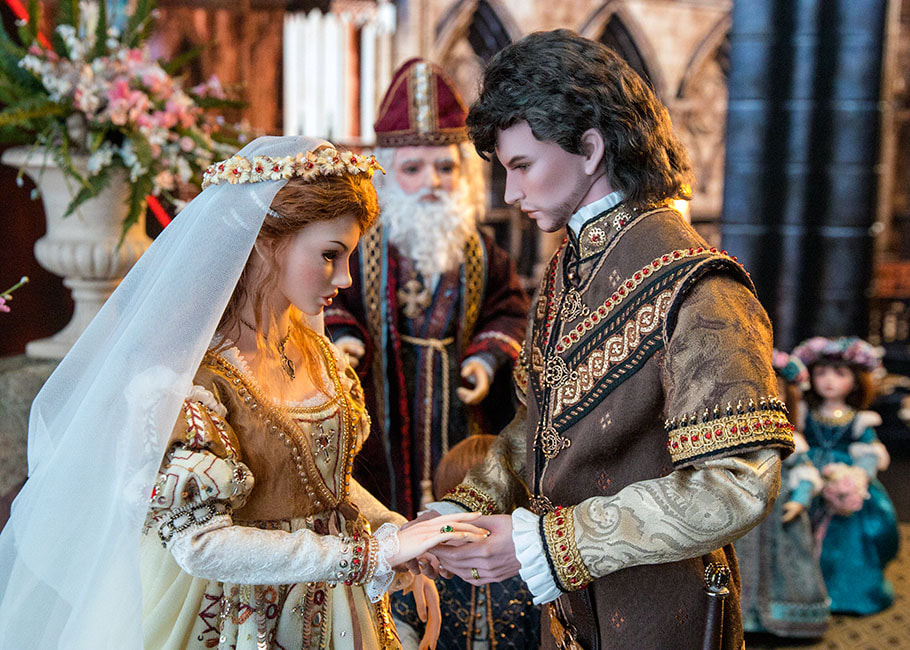
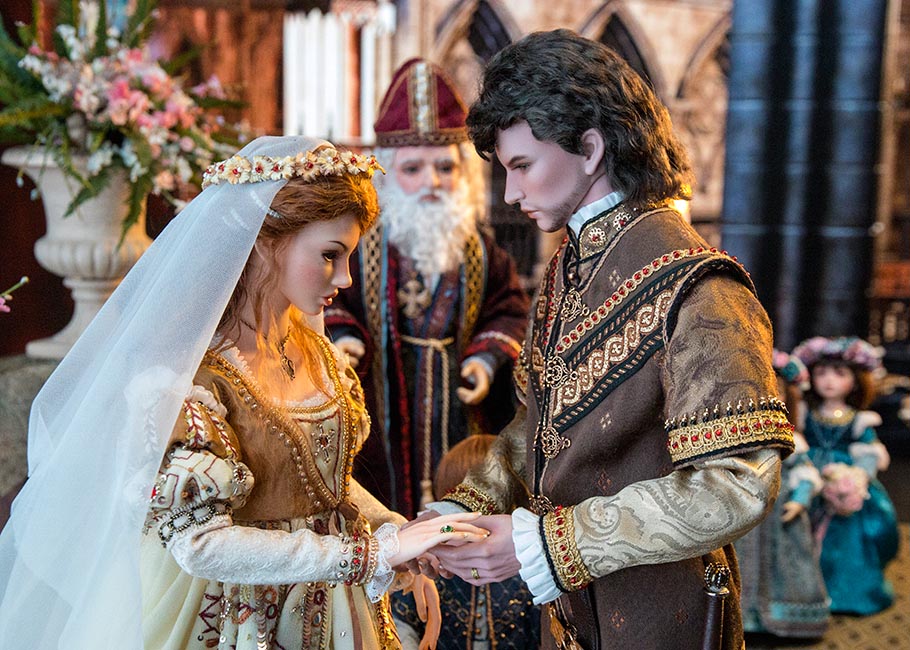
Behind the Scenes at Baron & Naomi's Wedding
Taking a look behind the scenes at the photos for Baron and Naomi's wedding. The entire process took almost an entire year, from first starting work on the costumes, until the story was finally posted. These are in the order they were taken.
In the Scillas
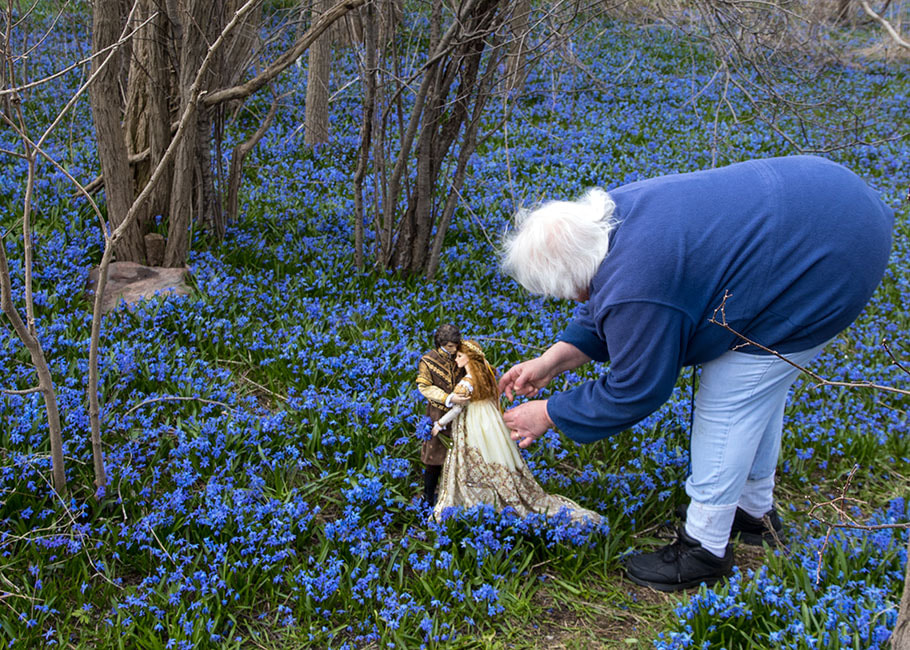
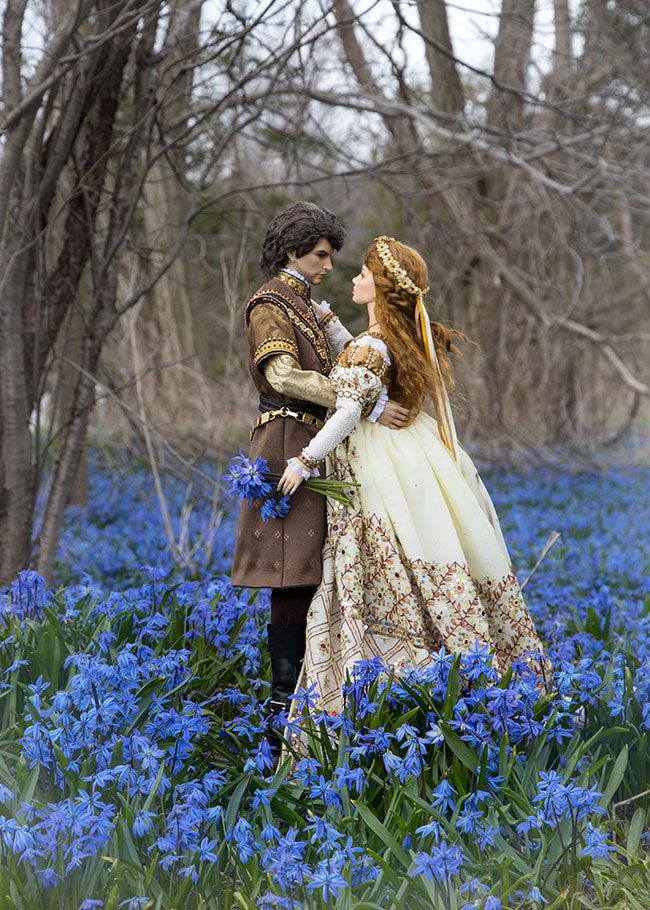
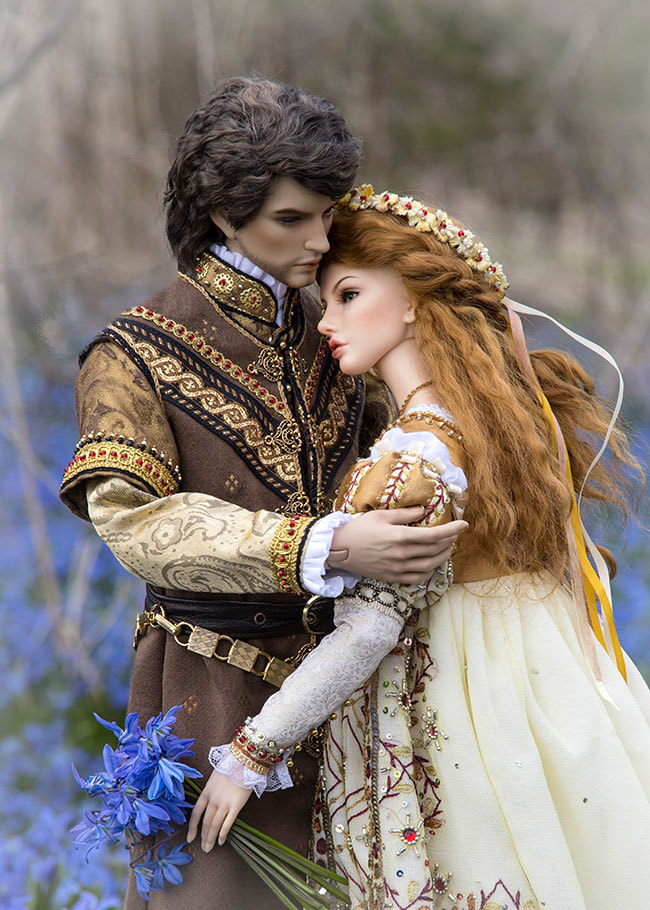
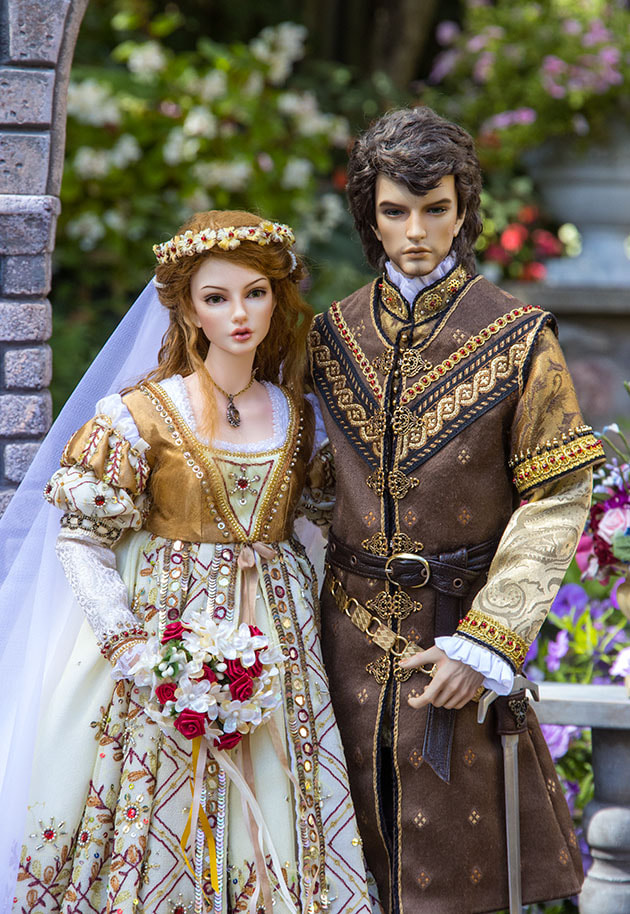
I had made Naomi's wedding gown, and Baron's wedding suit in the early months of 2022, fully expecting their wedding to take place in the summer. The very first photos taken for their story were taken in the end of April in the field of scillas along the town line. It was going to be the final scene in the wedding story when she tells him that she's pregnant.
It was actually the morning of my birthday when we went to take the photos. I set up the dolls in the flowers...
It was actually the morning of my birthday when we went to take the photos. I set up the dolls in the flowers...
...then sat down on the ground to take the photos... at their eye level...
Hunting for a 'Cathedral'
Last year I had created a 'hall' of some sort on my dining room table for Lawrence's coronation, but I really wanted something far more grand this time. After our son invited me to bring some of my dolls to his movie studio back in the spring, I got the idea that maybe we could shoot the wedding there. He was game.
I spent much of the summer getting things ready, and then it was time to look for backgrounds.
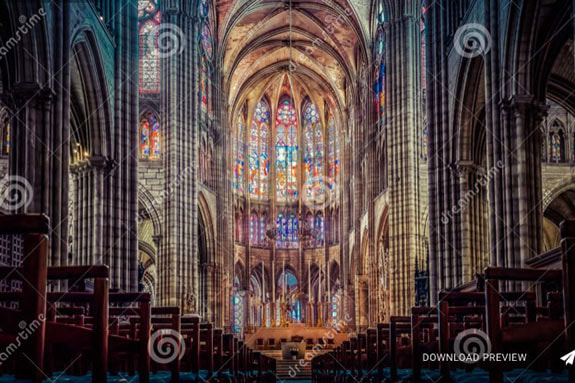
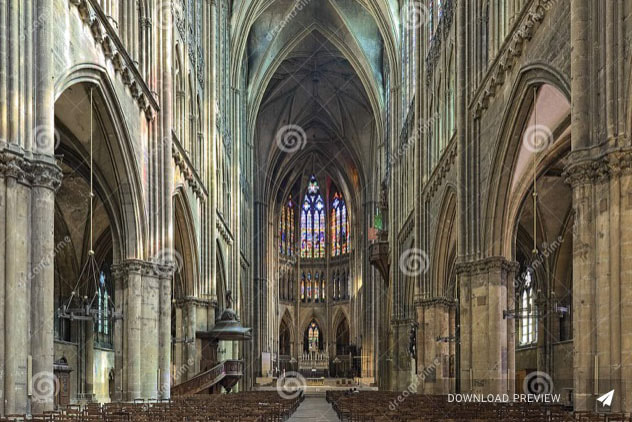
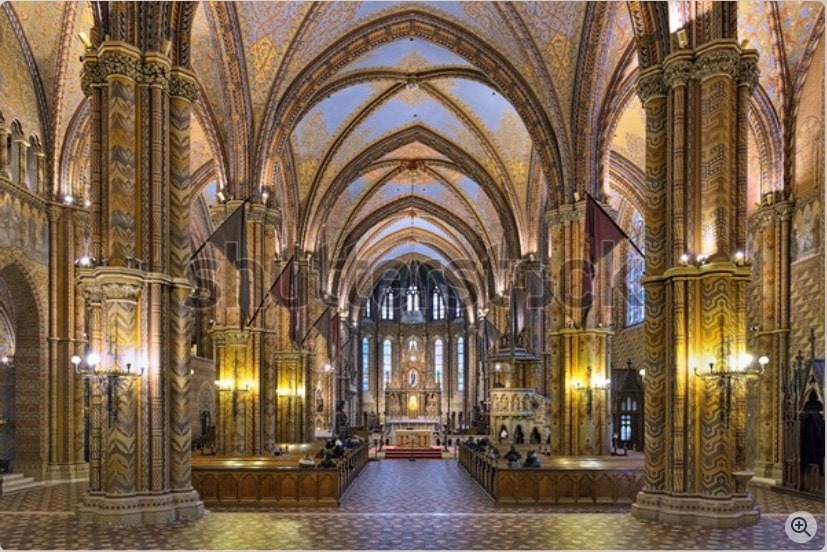
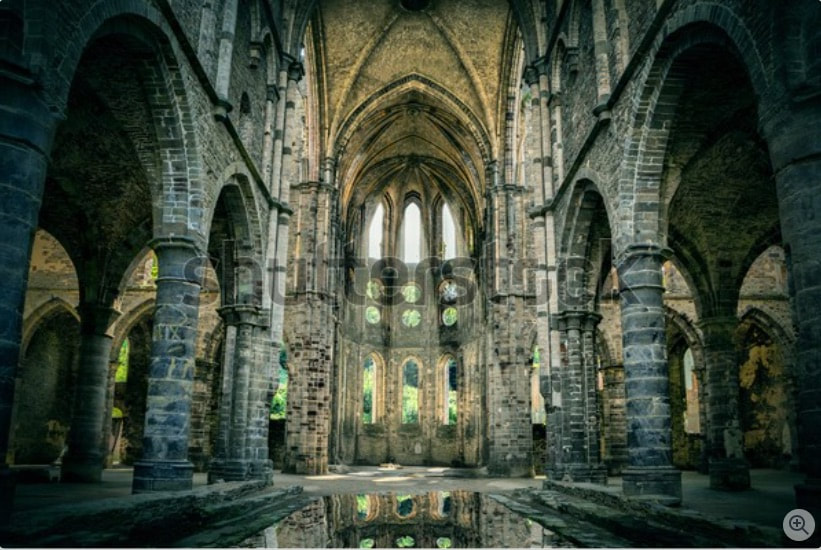
We looked through hundreds of royalty free stock photos...
I spent much of the summer getting things ready, and then it was time to look for backgrounds.
We looked through hundreds of royalty free stock photos...
....but none were quite right.
Plus, I really needed more than just the one static photo of a single interior.
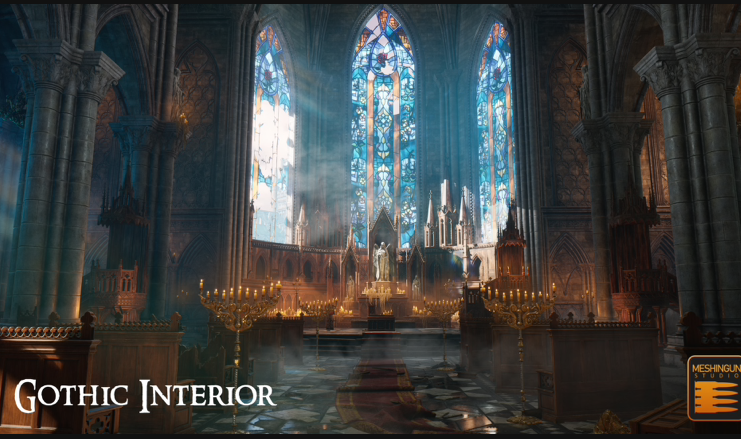
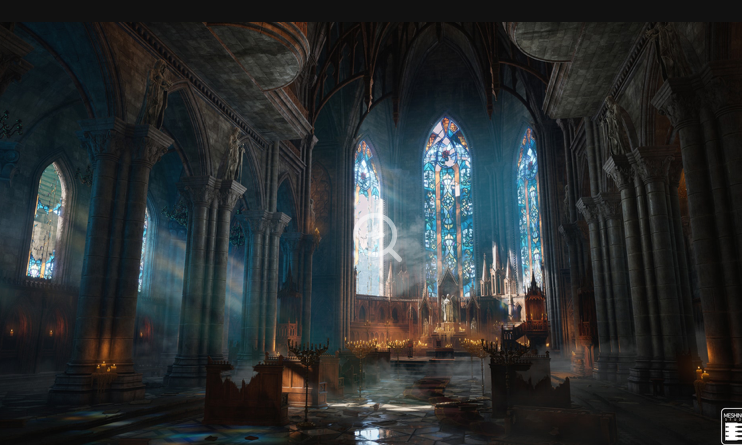
Then Jess, Immersion Room's 3D artist, found this 3D Fantasy Gothic Interior Megapack set from MESHINGUN STUDIO. It was perfect, so they purchased it. That way we'd have legal rights to any photos taken with it.
What exactly is a 3D set, you ask? Well, it's a digital program where one can move around in the 'interior space' just like it was a real place. I suppose it's much like being inside a computer game. Any of the interior walls can be rotated to be the background, and all the elements can be changed, including the lighting. There's also an entire furniture package of elements which can be added or removed, like thrones, pews, candle stands, etc.
There's also a lot more to the package than just this one great hall. Jess ran the demo which had a little man running through the set, through the Great Hall, out a door, down a hallway, up some stairs to balconies overlooking the Great Hall, then down some more hallways to musty abandoned bedrooms. Then he ran down the stairs to the dungeons underneath. Each and every one could be the background for a movie or set of photos.
There's also a lot more to the package than just this one great hall. Jess ran the demo which had a little man running through the set, through the Great Hall, out a door, down a hallway, up some stairs to balconies overlooking the Great Hall, then down some more hallways to musty abandoned bedrooms. Then he ran down the stairs to the dungeons underneath. Each and every one could be the background for a movie or set of photos.
Formal Wedding Photos
With the actual wedding date at the movie studio quickly approaching, I seriously needed to take the formal wedding and reception photos. Naomi had always dreamt of a garden reception, and it was going to be held in Miho's garden (our backyard). It was already September and my garden wasn't going to stay looking good forever, so it was now, or wait until next year.
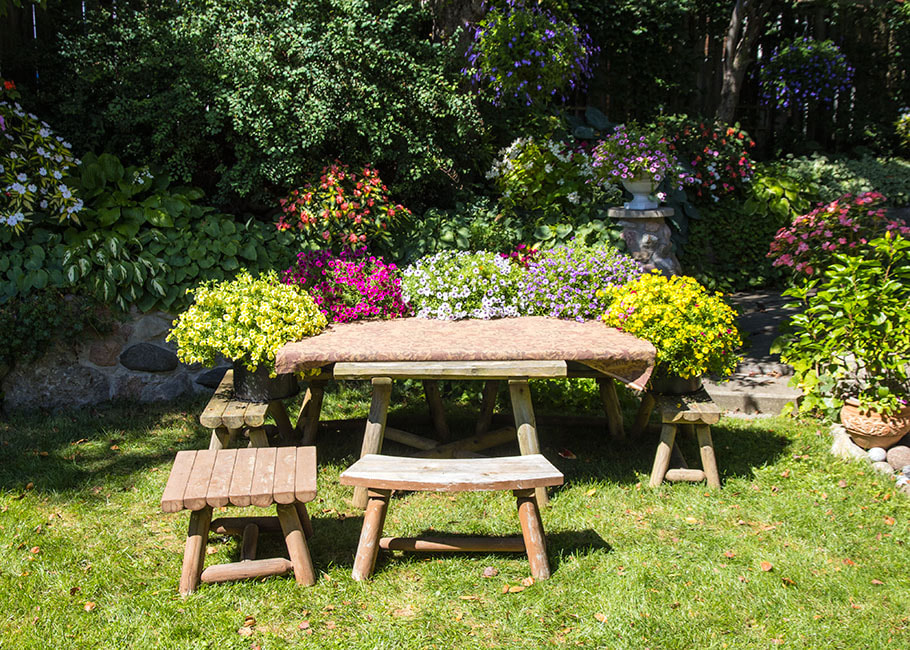
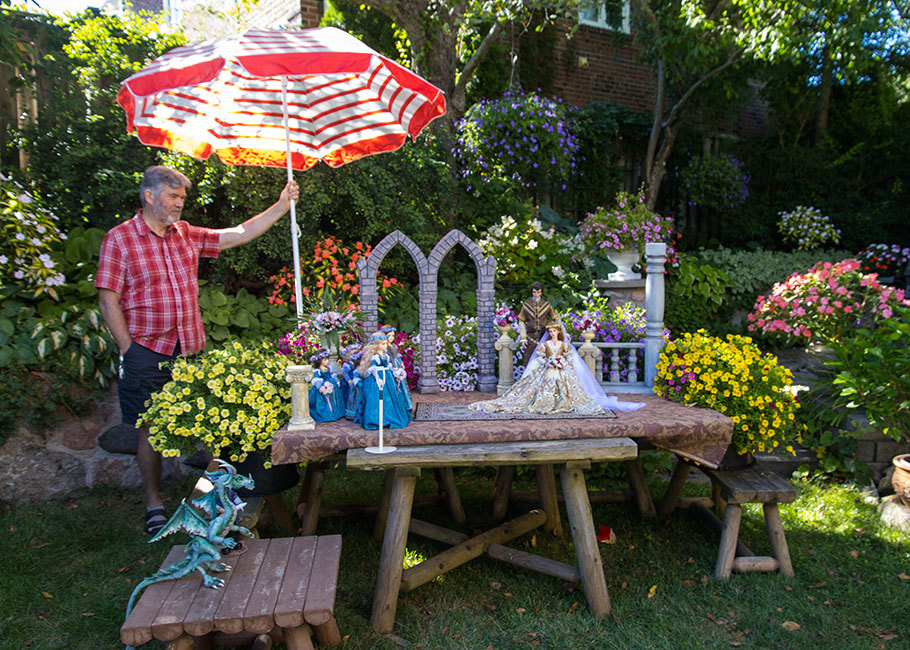
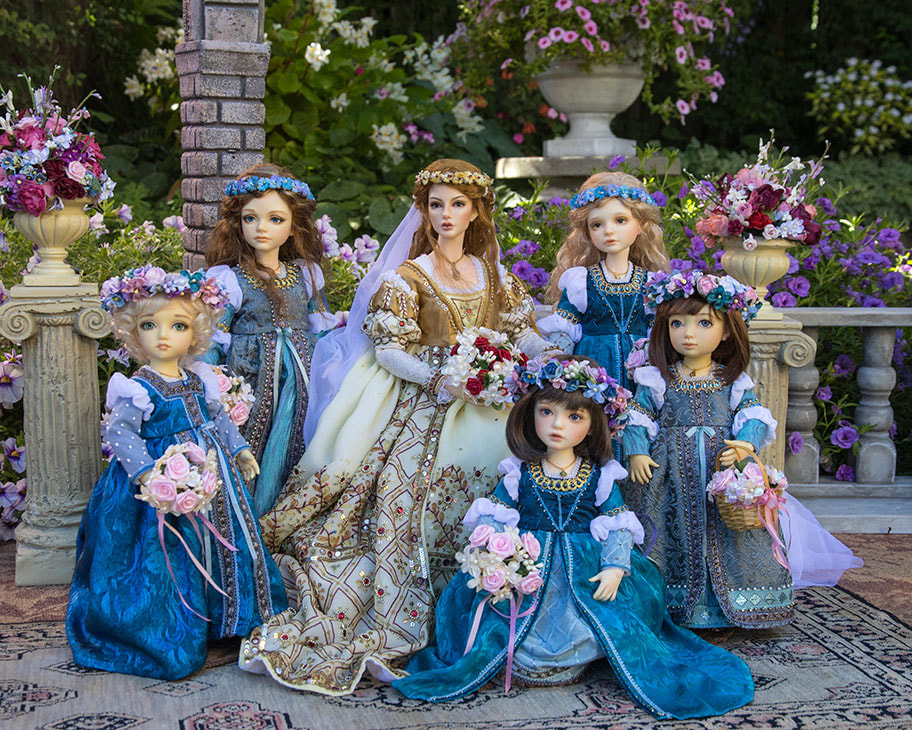
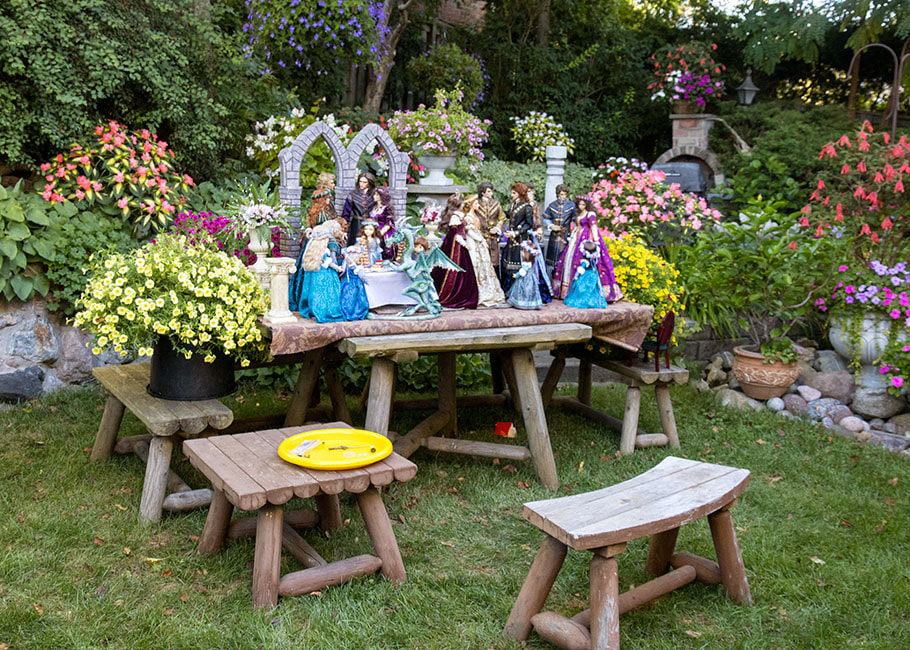
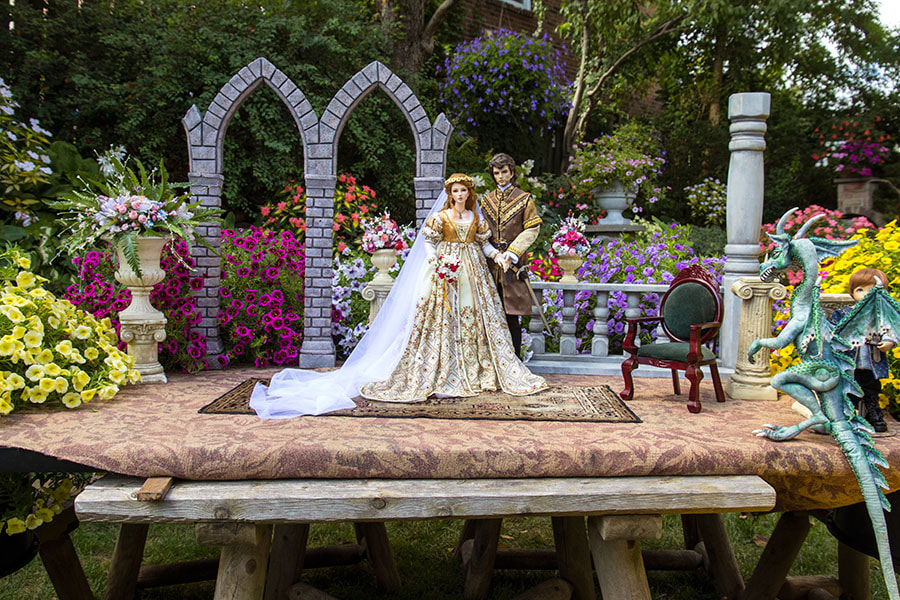
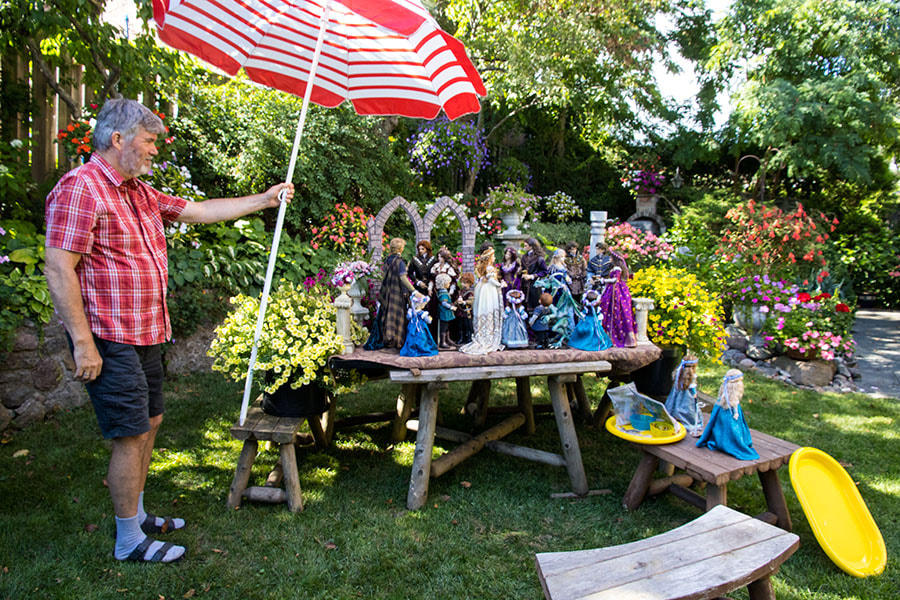
I dressed Baron and Naomi, and all my Fashion sized dolls and their families in their formal outfits. I needed a bright, sunny day, with the table setting in the shade. In September the sun is low enough in the sky that much of the back lawn is in the shade from the giant chestnut tree overhead in the afternoon, so that would be perfect. I didn't want the fence around the patio showing up in the background, so on the morning of the planned photo shoot we moved the table to the middle of the lawn. Then we put a large, old counter top on top to give me a bigger surface. I covered it with my usual 'flooring' fabric, and arranged baskets of million bells around the outer edges...
I dressed Baron and Naomi, and all my Fashion sized dolls and their families in their formal outfits. I needed a bright, sunny day, with the table setting in the shade. In September the sun is low enough in the sky that much of the back lawn is in the shade from the giant chestnut tree overhead in the afternoon, so that would be perfect. I didn't want the fence around the patio showing up in the background, so on the morning of the planned photo shoot we moved the table to the middle of the lawn. Then we put a large, old counter top on top to give me a bigger surface. I covered it with my usual 'flooring' fabric, and arranged baskets of million bells around the outer edges...
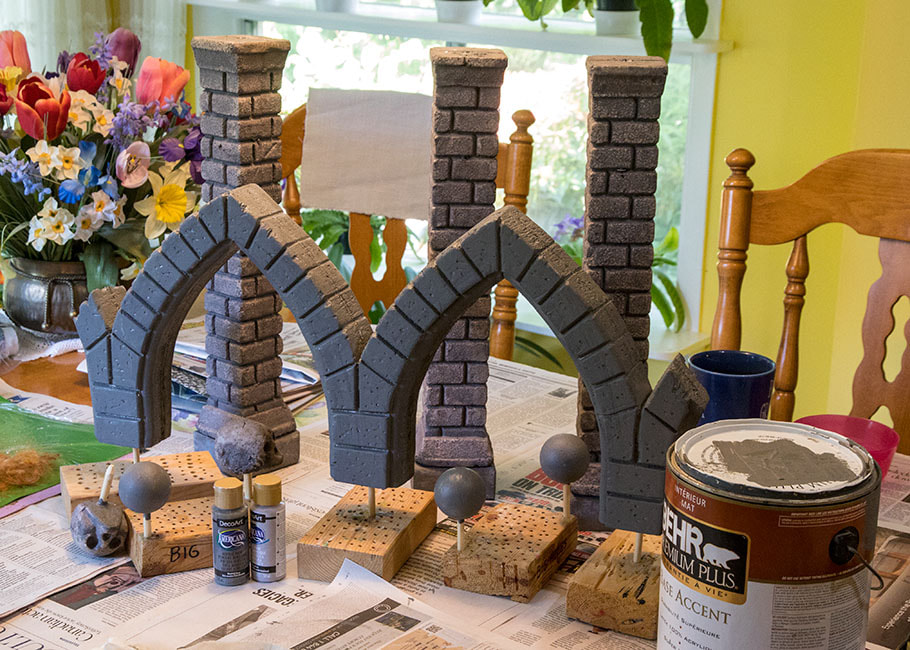
I had wanted more architectural detail in the garden, so we had made a styrofoam arch to fit on the tops of my three Styrofoam pillars...
They made the perfect addition to 'Miho's garden terrace'. But in the afternoon, the backyard wasn't quite as shady as I had hoped, and I definitely didn't want mottled shade, since it makes for terrible photos, so Jan volunteered to shade my set with our large beach umbrella...
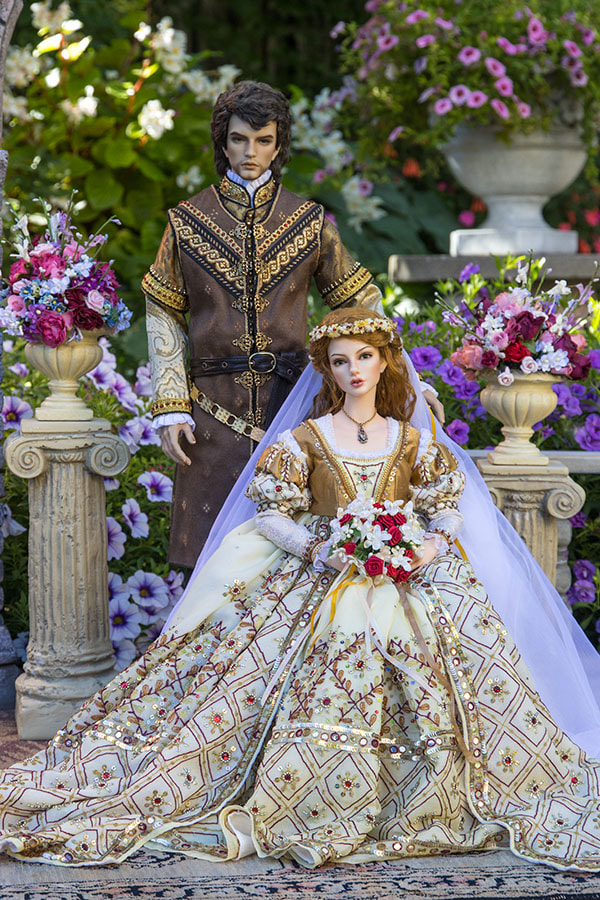
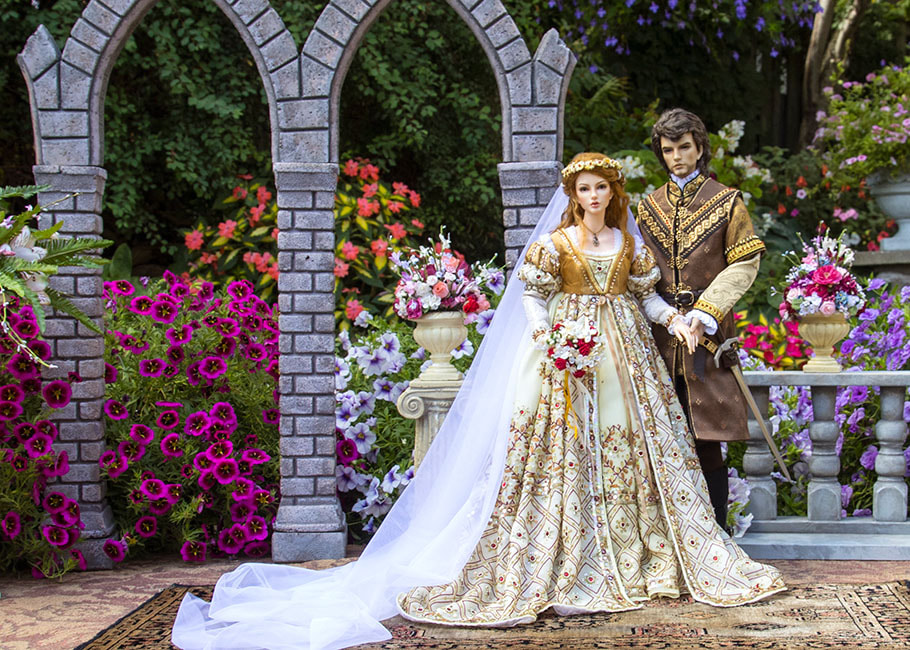
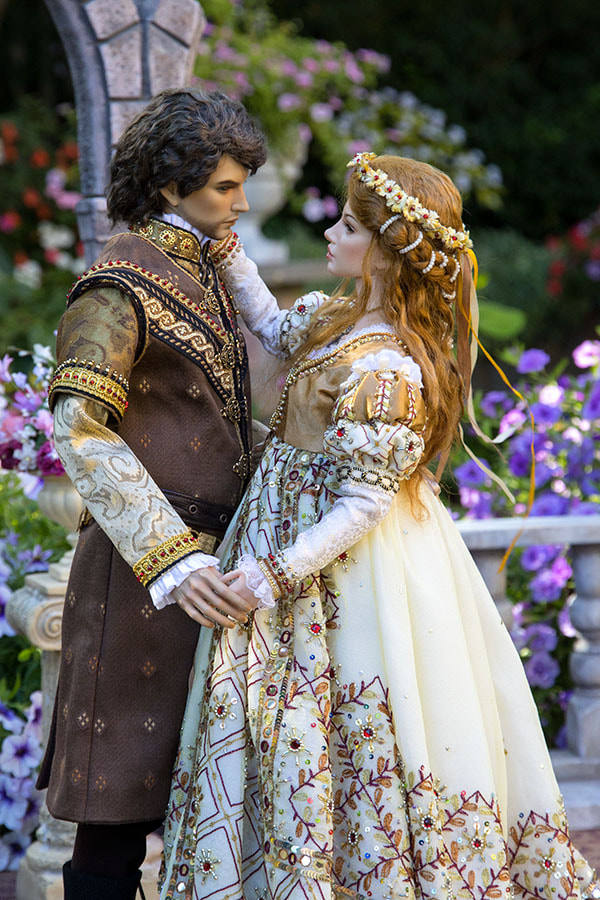
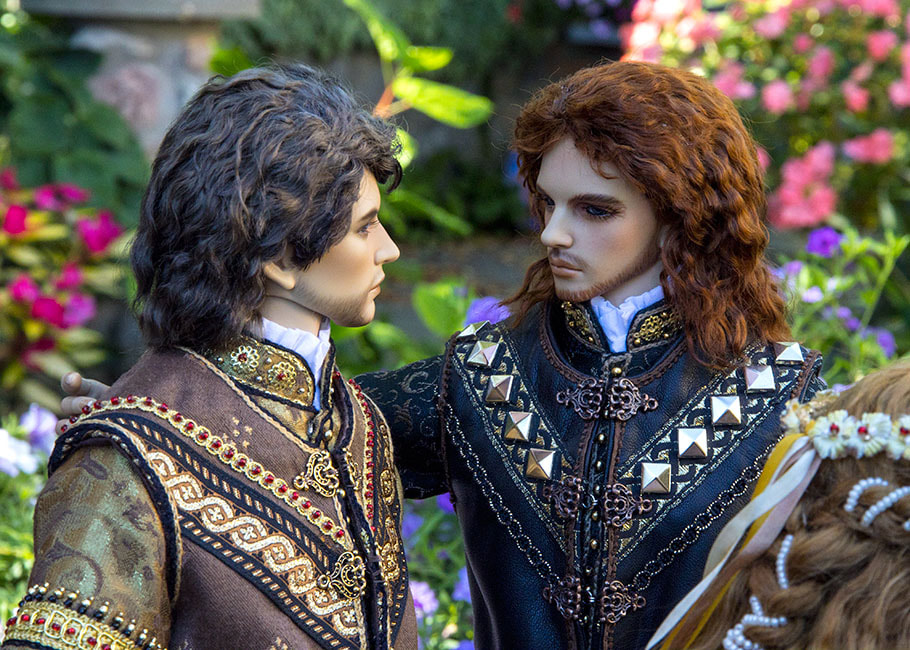
Then I took all the formal photos - at the doll's eye level...
the Reception
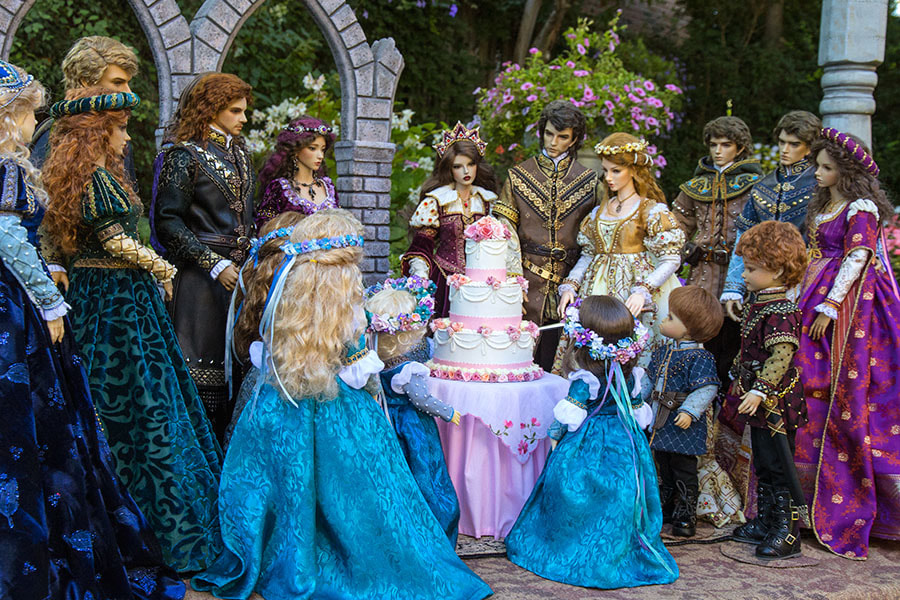
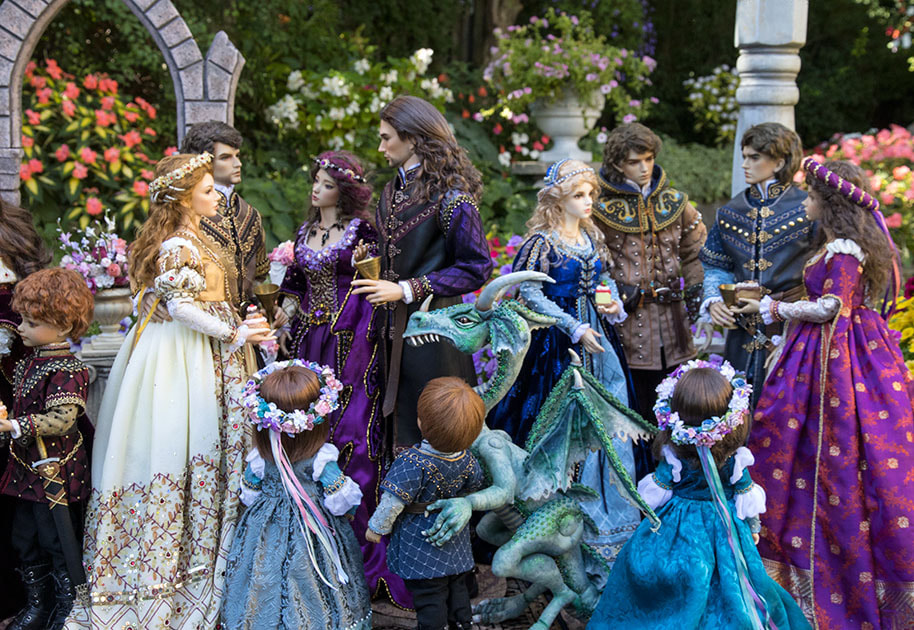
After taking the formal photos, it was time to bring all the guest out for the reception. I would set up a scene with all the dolls...
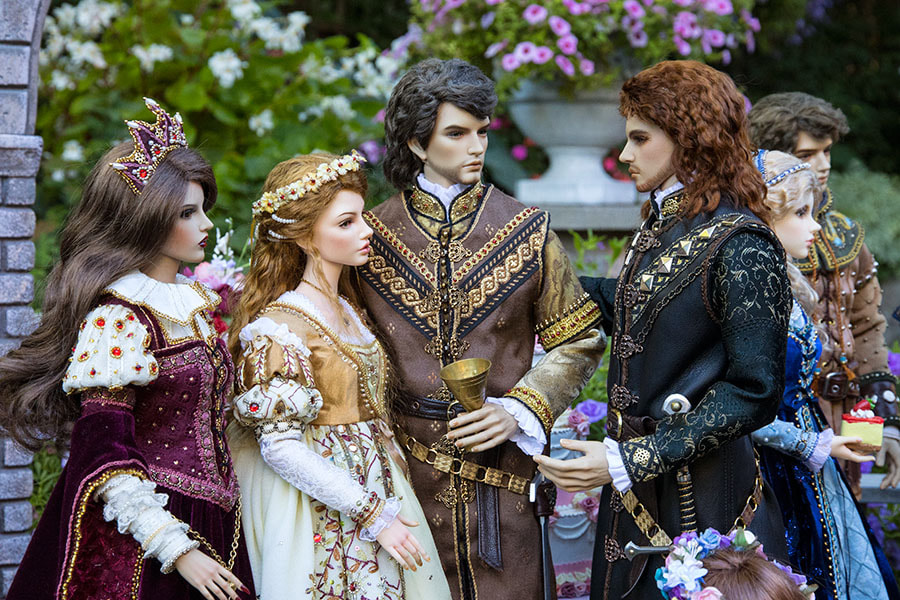
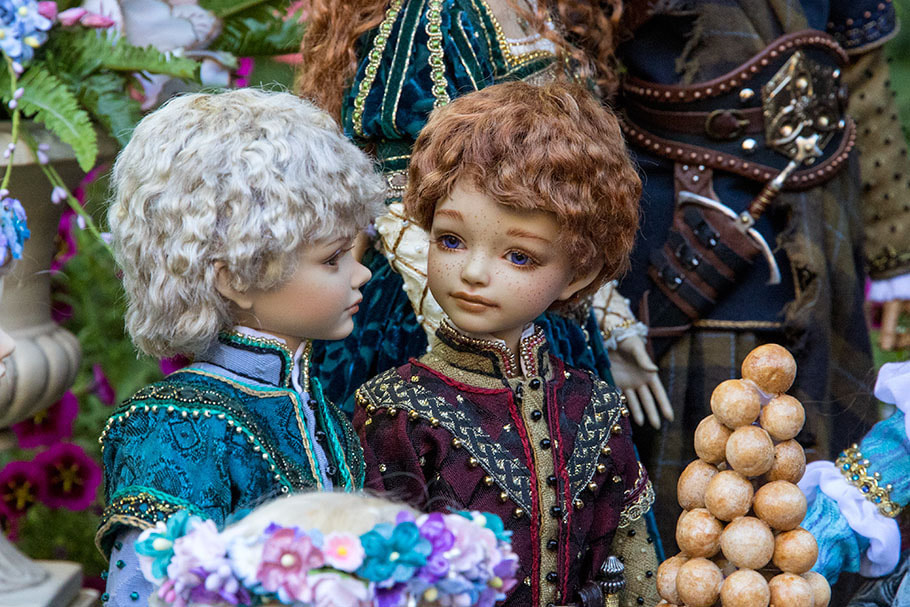
Then take close up shots of the various groups...
Then I'd move everyone around for a new scene......and take a lot more photos...
Then I'd rearrange everyone and take some more photos....
A Reception Redo
When I downloaded all the formal and reception photos, I realized I hadn't taken the formal portraits of just Baron and Naomi that I had wanted to, and it really bothered me, so six days later when we had another day with the exact same lighting conditions, we set the entire thing up all over again. All the baskets of flowering plants in the background had to be put in the same place as the first time.
...and then I took the photos of the two of them that I had missed the first time...
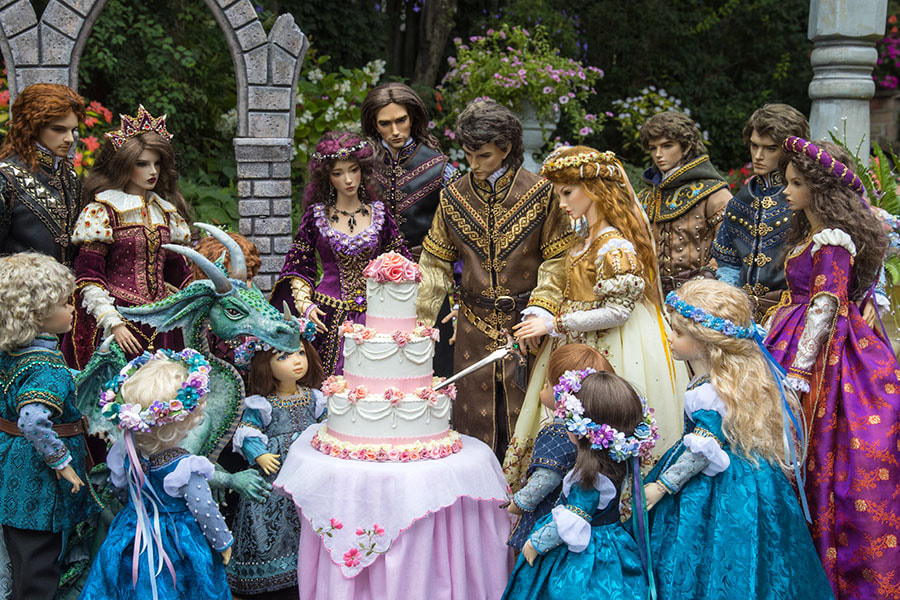
I also hadn't taken good photos of Lawrence congratulating Baron, so the entire Reception had to be set up again as well...
So, with the reception set up all over again for the second time, I also took more photos I'd not thought of the first time.
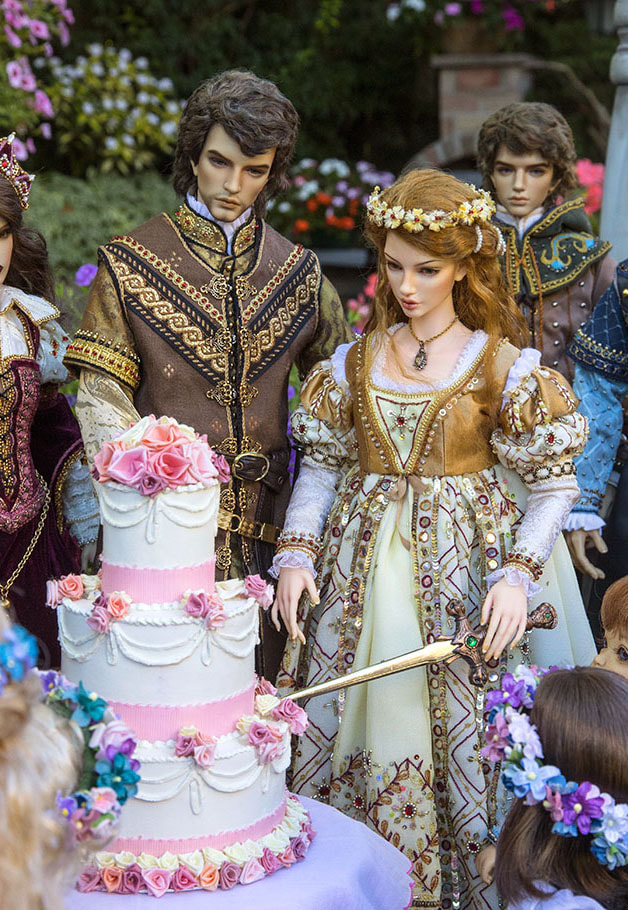
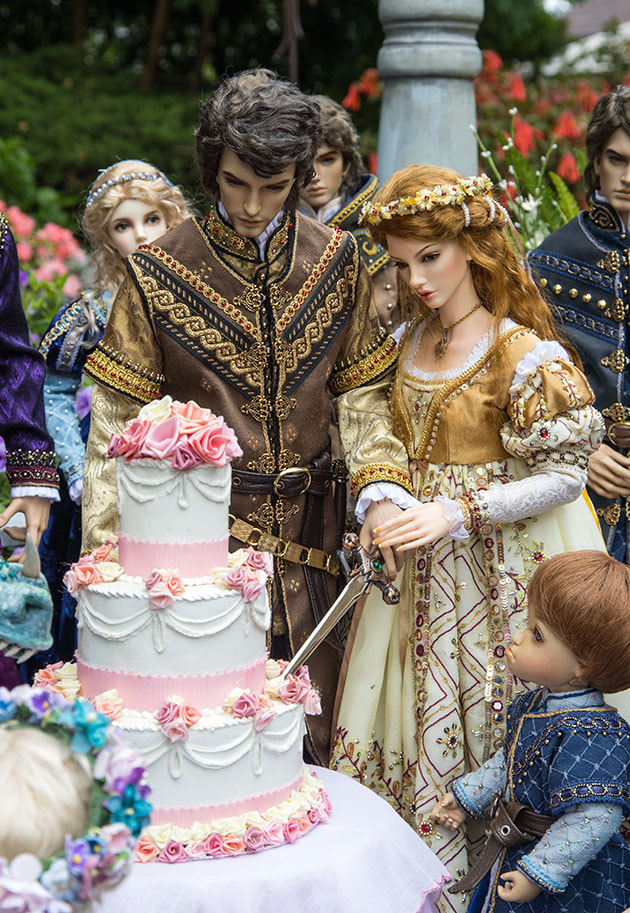
And since I was at it, I decided to reshoot the cutting of the cake. I wasn't totally happy with the first photos, so decided to have the two of them holding the knife together....
I also realized that I'd forgotten to include Winston at the cake cutting, and he definitely needed to be there...
the Wedding Rehearsal
I had all the dolls ready that would be going to the wedding. Of course all my Fashion sized dolls and their families were going, but I needed more guests, so that meant including as many of my regular MSDs as I had costumes for. They would be on one side of the aisle opposite the Fashion sized dolls, since they are different aesthetics so couldn't really mix.
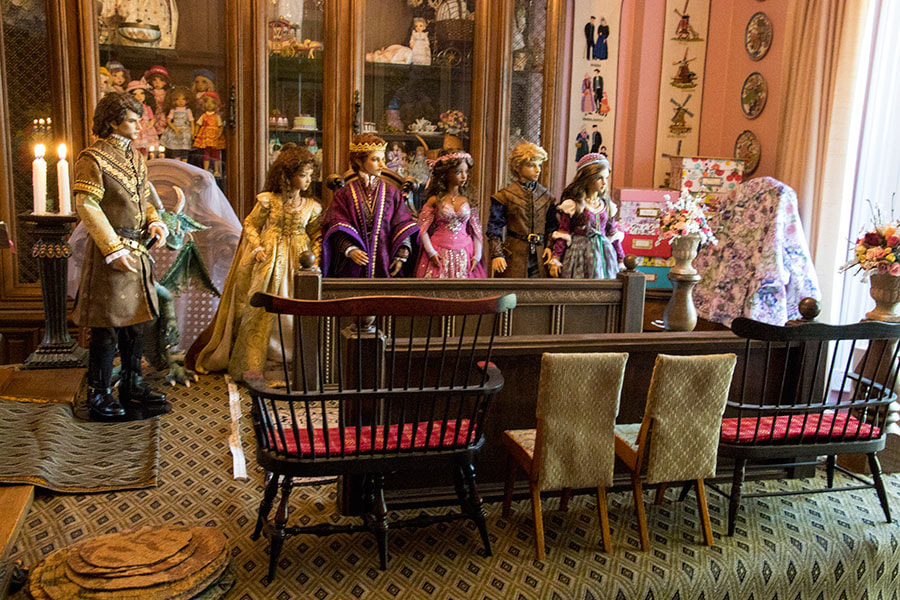
Jan made some half walls to go on either side of the cathedral aisle, and I posed Naomi, Lawrence, and the wedding party on the dining room table to see how they would look...
I was starting to get excited about the photo possibilities....
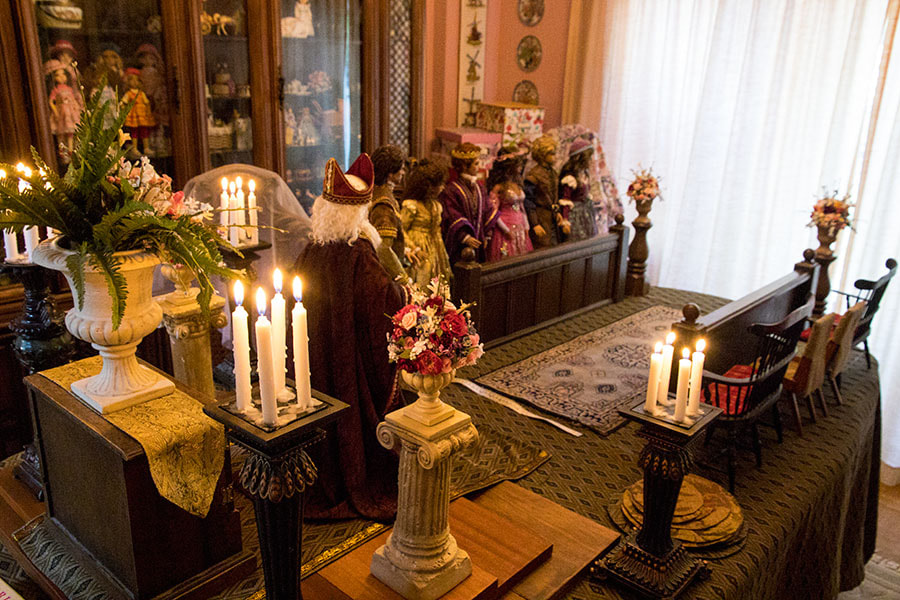
The movie studio wanted to know what size platform I would need, so I had to do a practice set-up on the dining room table. I had found a large piece of fabric at value Village which would work for a cathedral floor, and draped it over the table. I had three flower arrangements - one big, and two smaller ones - so put together two more smaller ones. We had also found two short turned posts, which would make nice supports for the extra flower arrangements.
So then I set the scene up on my dining room table. I was going to need seating for at least dozen dolls, but all my chairs are different styles, so I put the most similar ones at the ends of the row where they would show a little. The ones in between didn't matter, since they would be hidden.
We built up the altar stairs using old book shelves, and I made a carpet to go up the steps.
Our dining room table is just 44" wide and 6 feet long, and there wasn't room for two double rows of guests, so the set at the movie studio would need to be considerably wider. But it couldn't be too big, or I wouldn't be able to reach the middle.
We went to the movie studio a few days before the photo shoot, to deliver all the furniture and props, and to discuss the final details. We got to see the 'set' for the first time, and it was spectacular!
the Wedding Day
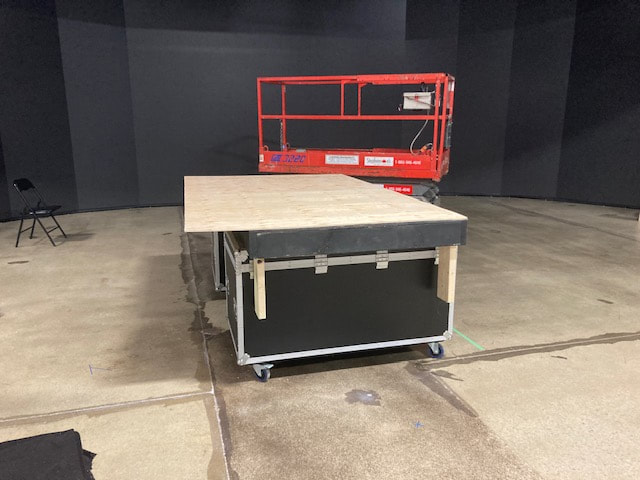
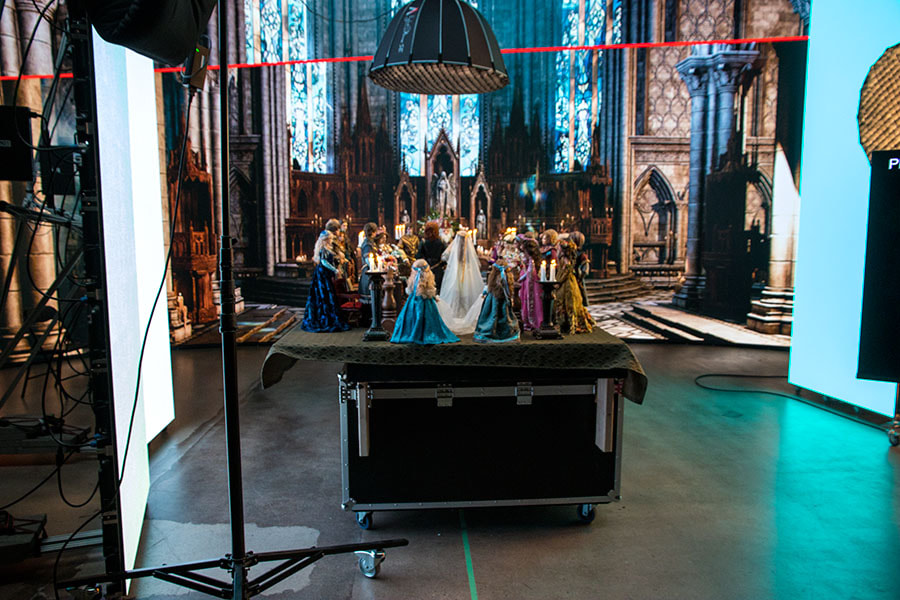
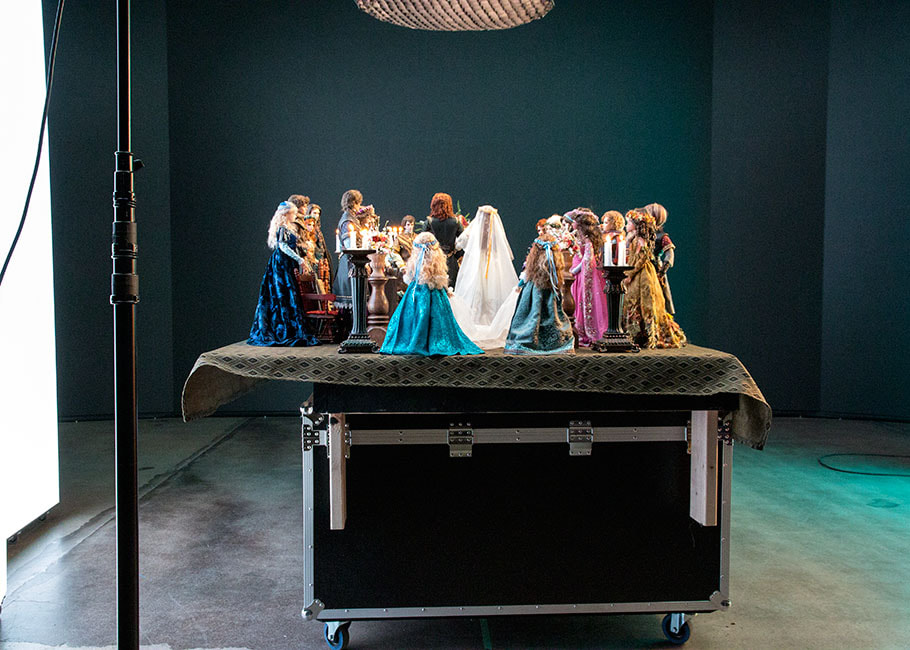
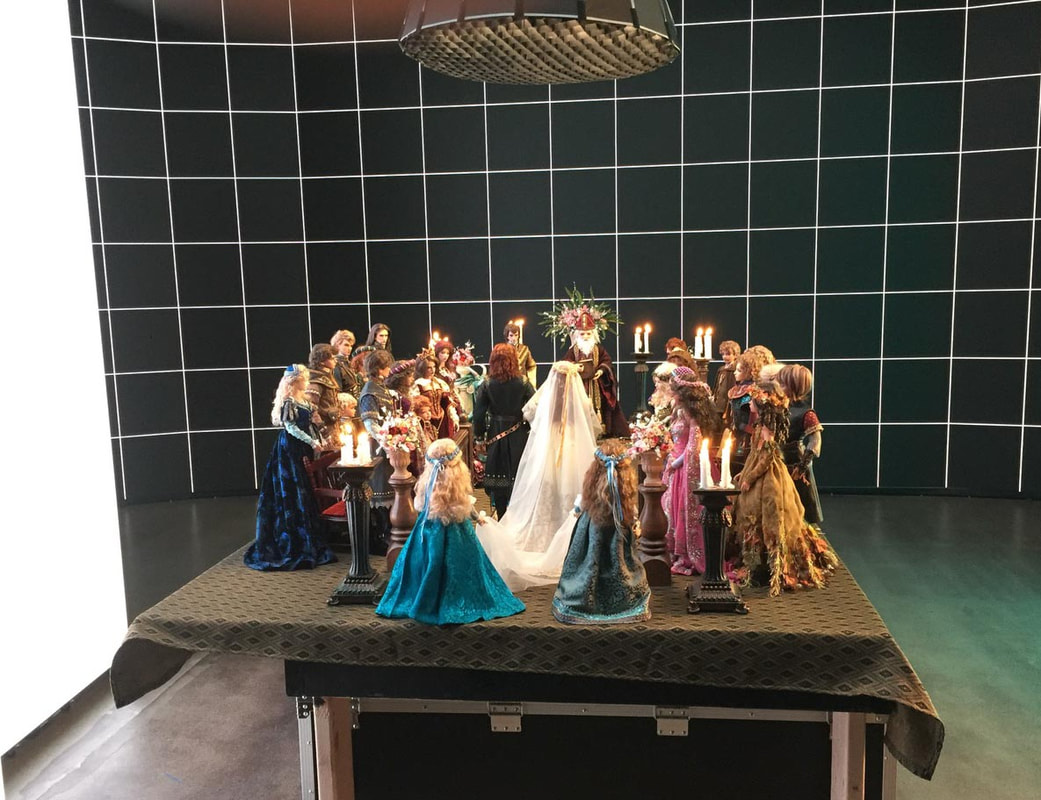
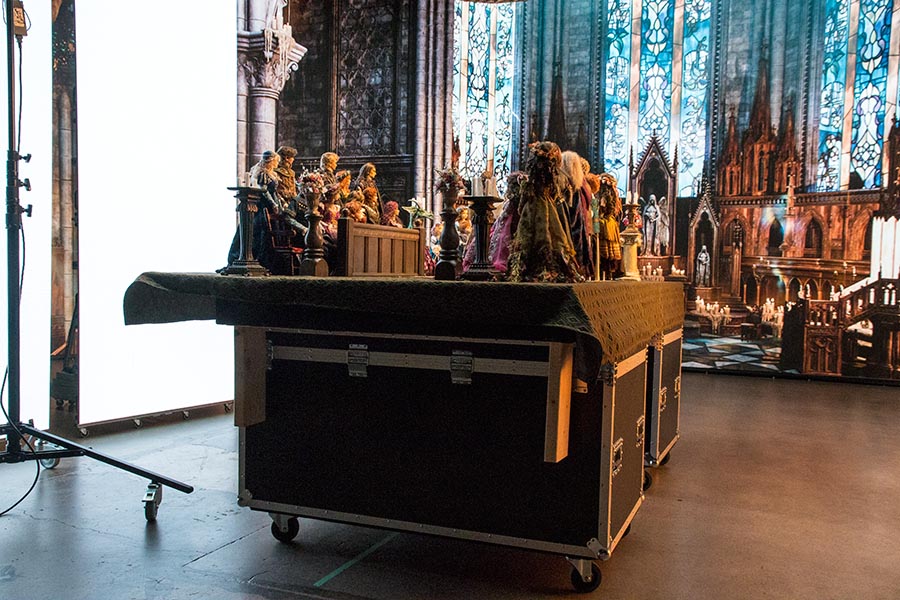
We had determined that I'd need a stage 5' x 8', and it would need to be moveable so I could rotate it to take photos from all sides without having to move the dolls. So our son prepared the stage at his studio, by screwing sheets of plywood onto one of his 4' x 8' risers supported on two of his moveable panel containers...to create a 5' x 8' stage....
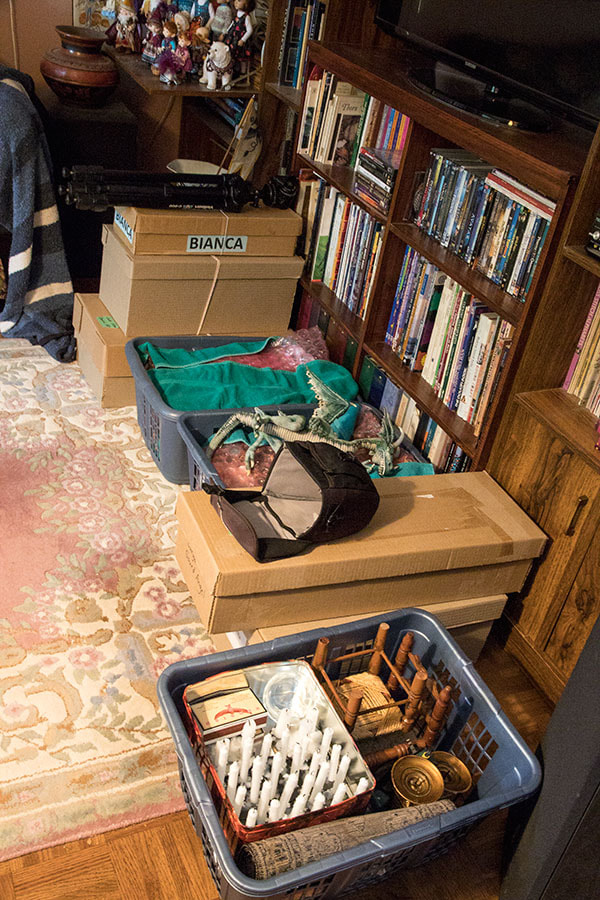
So on the wedding day, I packed up all the dolls...thirty six in all....as well as the last few props.
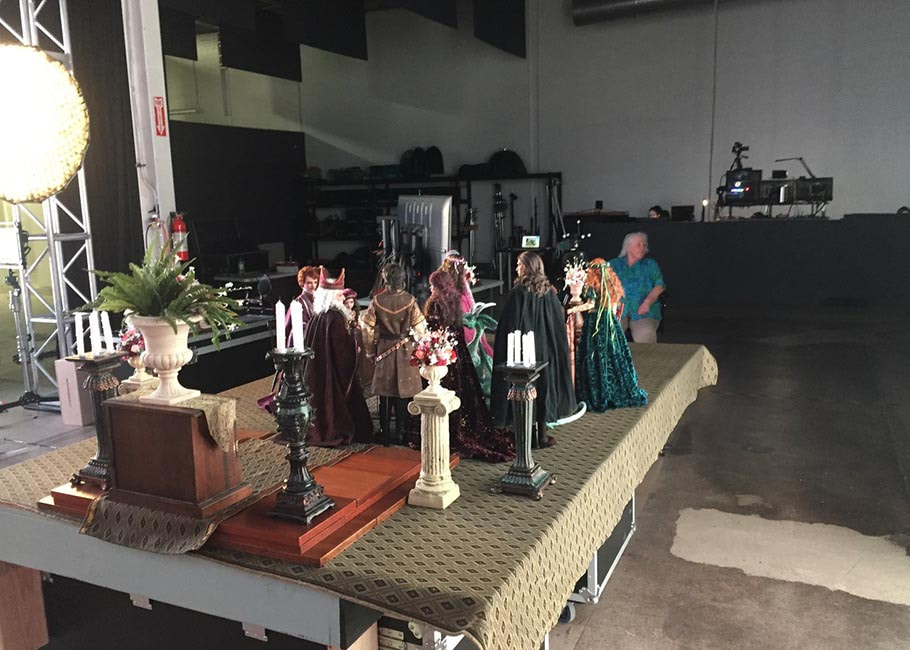
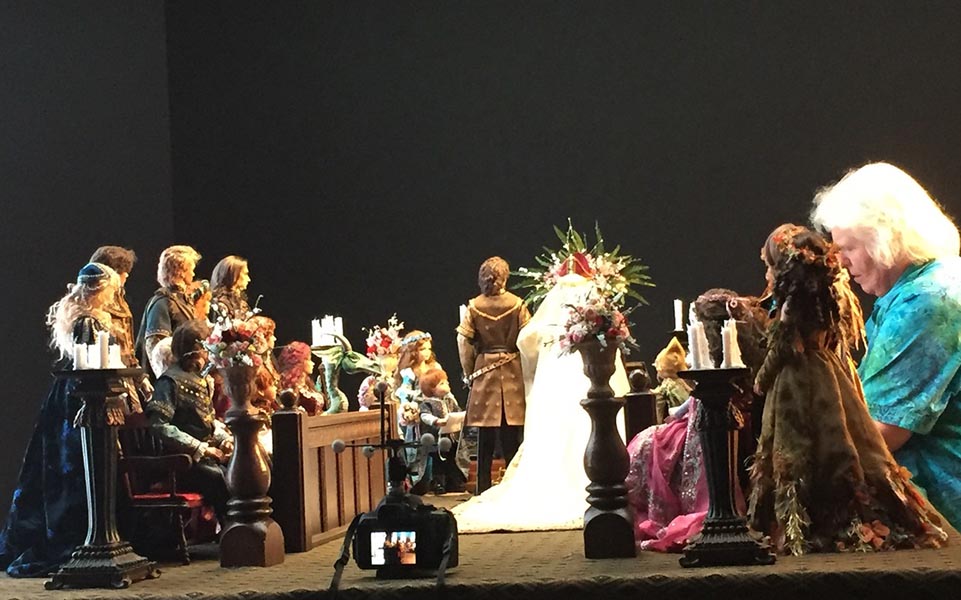
At the studio, I spread the fabric flooring, and set up all the furniture and props. It was a lot of work, and the concrete floor was hard on my feet and back, so I'd have to take frequent little breaks...
I added the dolls, posing them as if they were just arriving at the cathedral. It would be our 'test' scene to adjust the background and lighting. I found it a lot harder to reach into the middle and pose the dolls than I had expected...
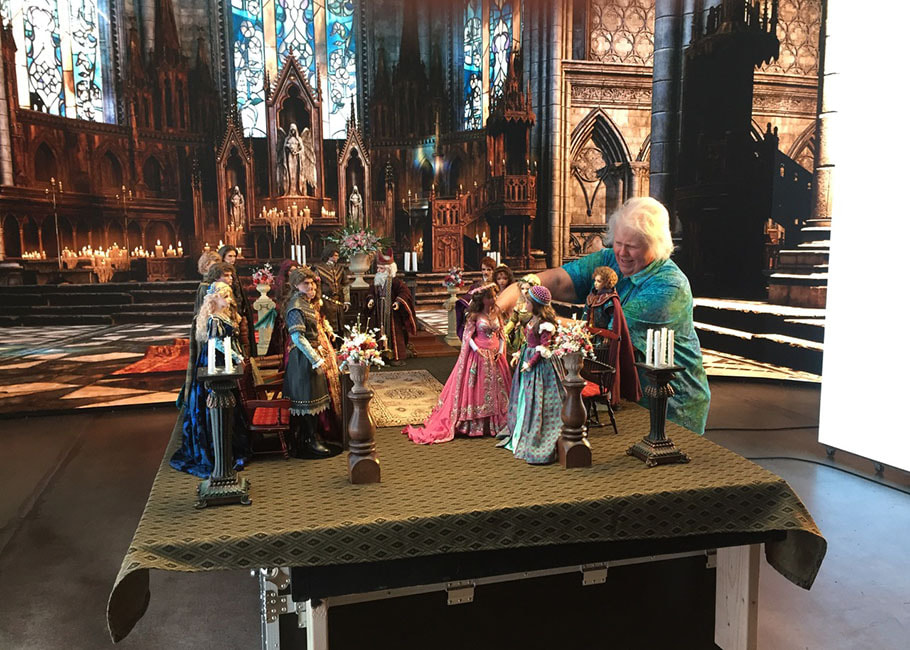
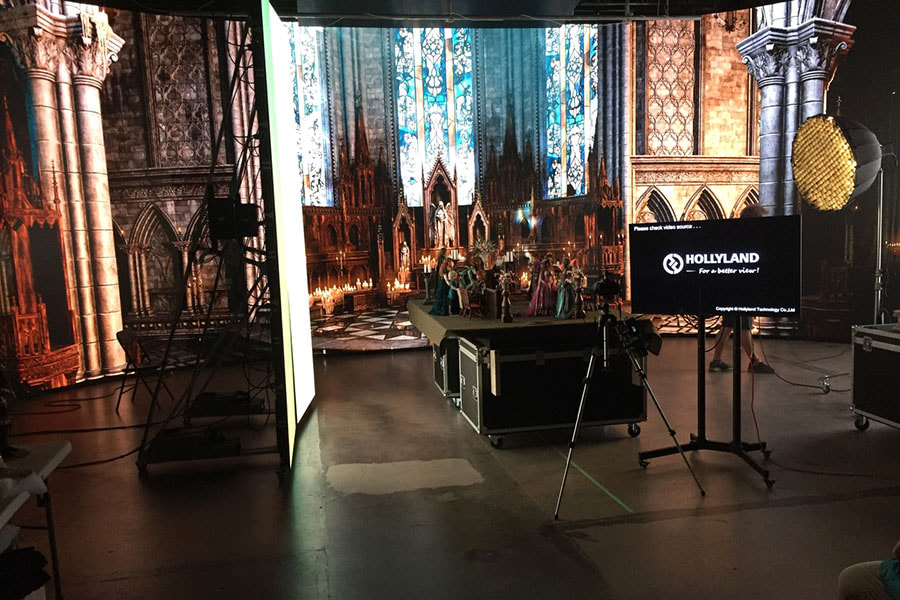
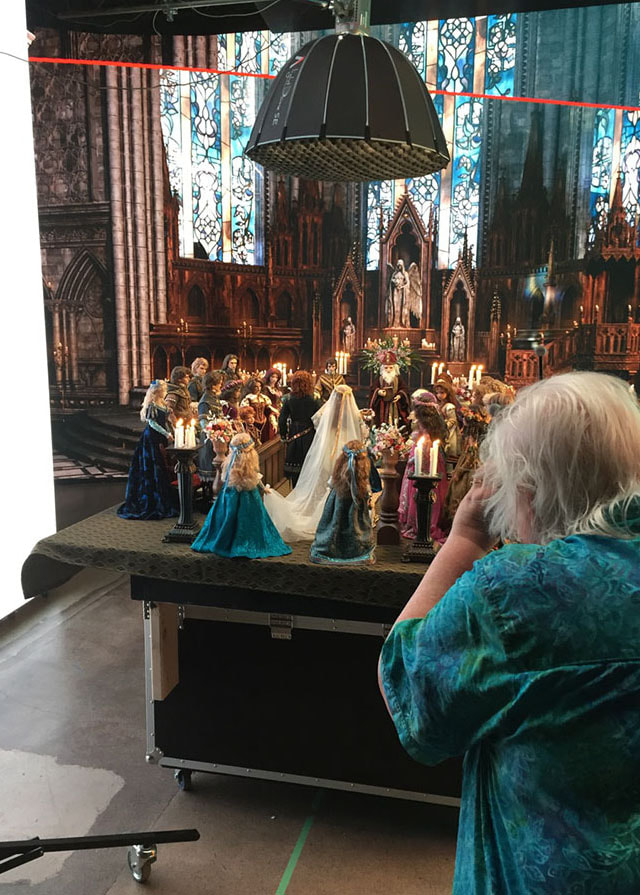
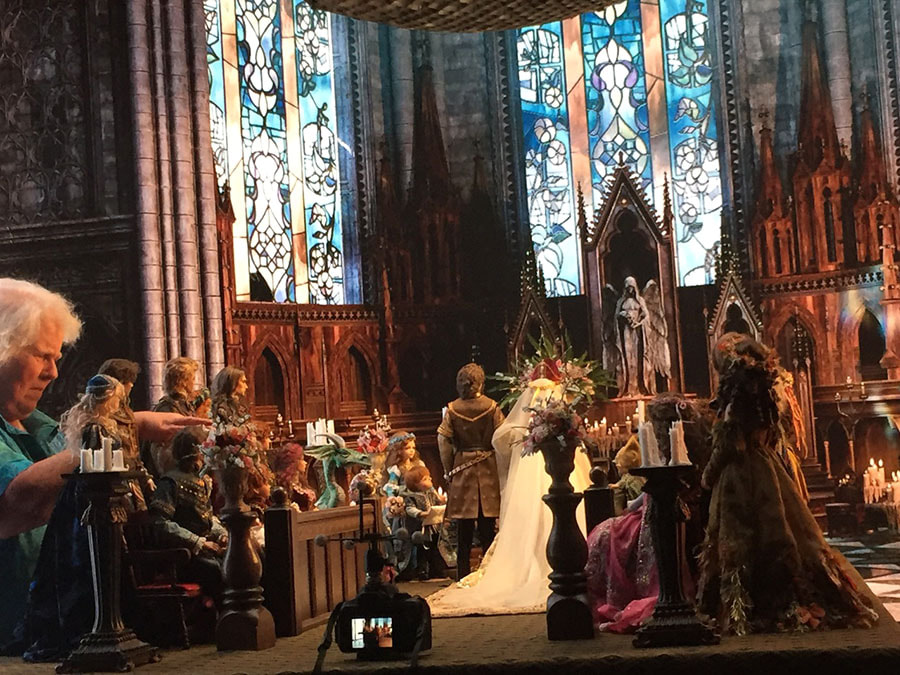
The Gothic Cathedral background was actually supposed to be a ruin, with broken windows, crumpled carpets, and dust everywhere. Jesse, their 3-D artist, had gone to the trouble to fix several of the broken windows. Then, after we set up, she removed all the elements out of the scene that I didn't want, like the pews, and the huge candle stands. Then, after everything was ready, it was time to do some testing...
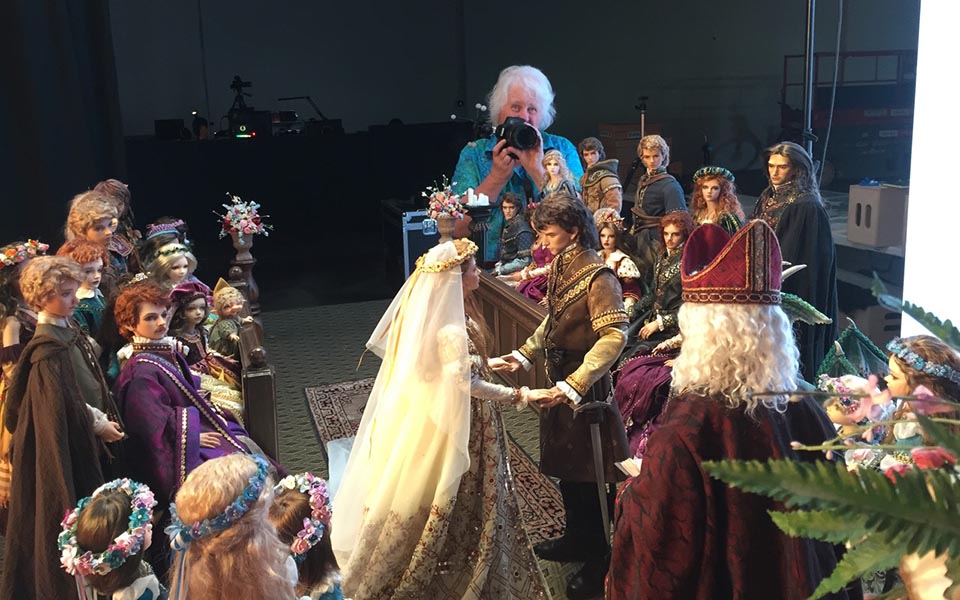
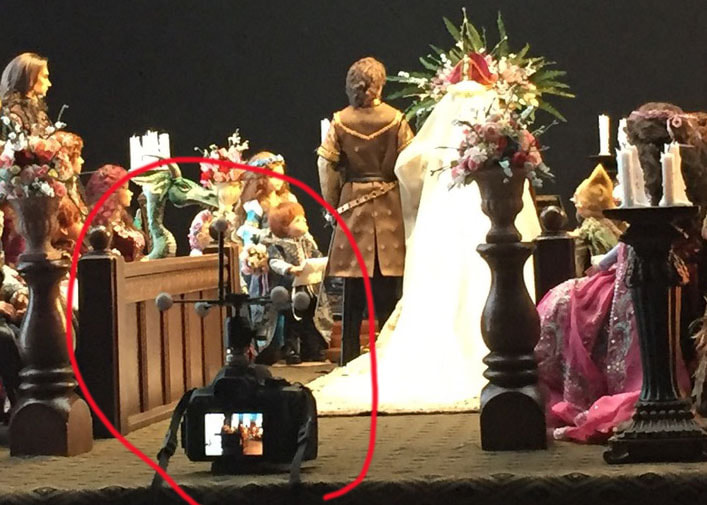
I took some photos to see if I could take the photos hand held in the low light. I could!! As long as I didn't use too big a depth of field. Which meant it was going to be so much easier than using a tripod. So, taking the photos in the movie studio was basically shooting forced perspective against a digital background.
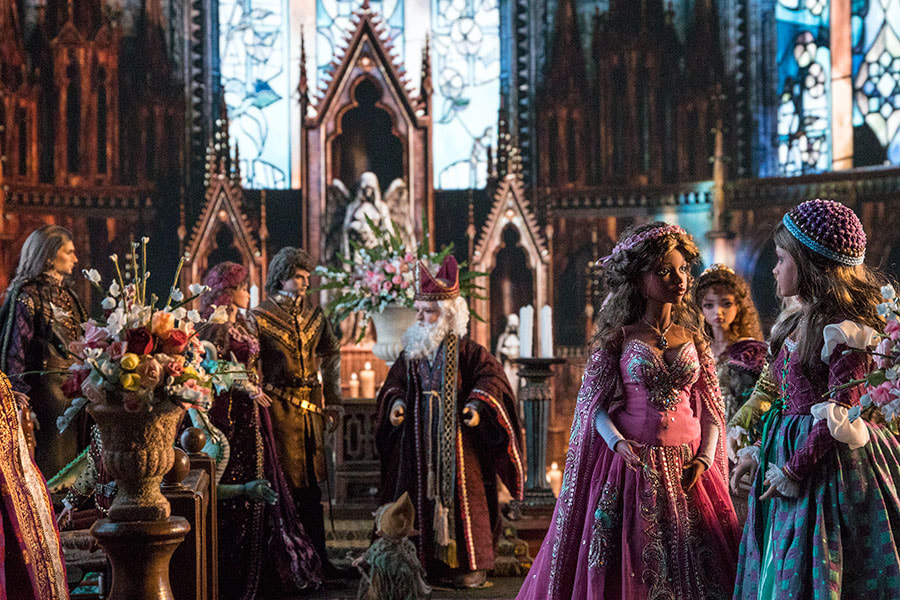
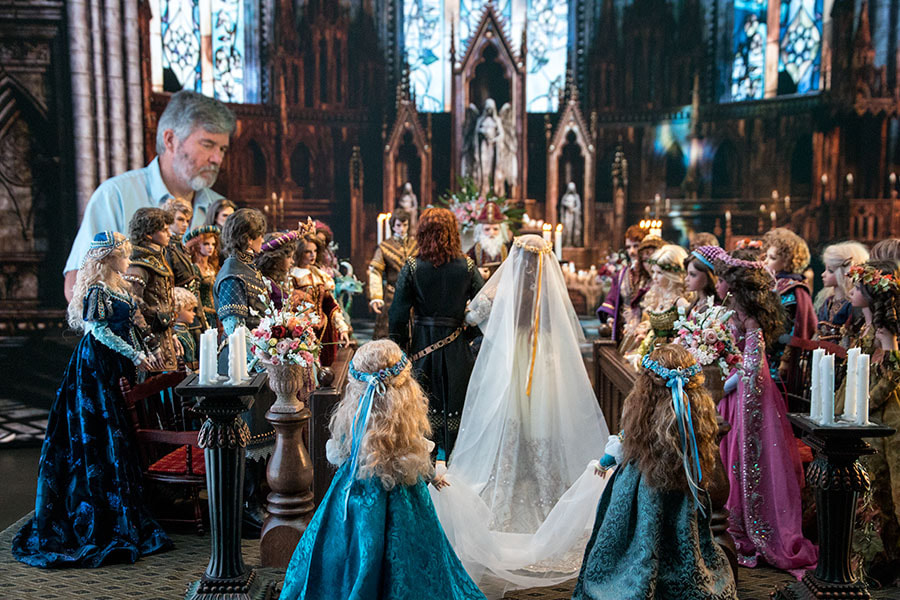
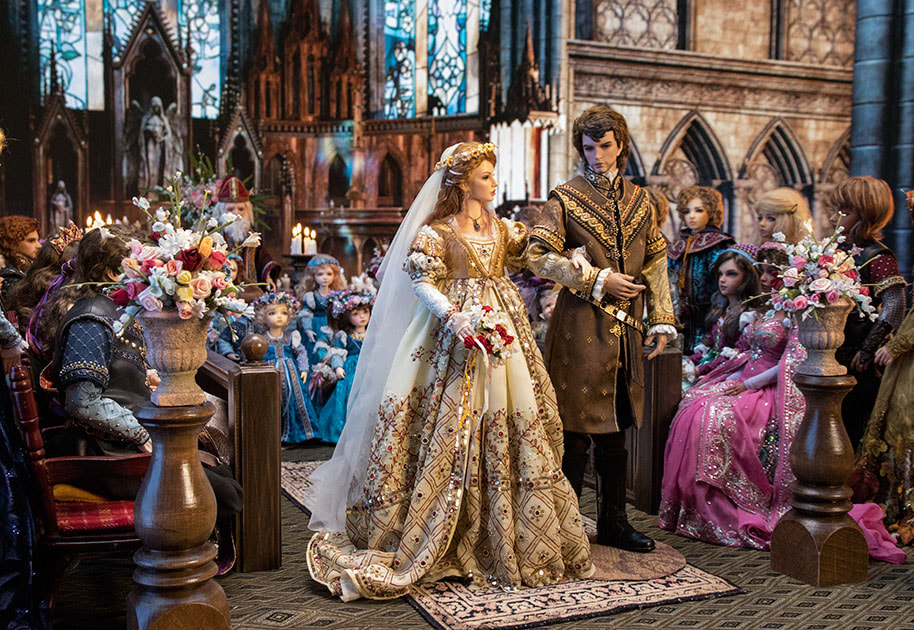
Then it was finally time for the wedding to begin. We could rotate the stage and the background so I could take photos from the different angles, with the other walls of the cathedral in the background.
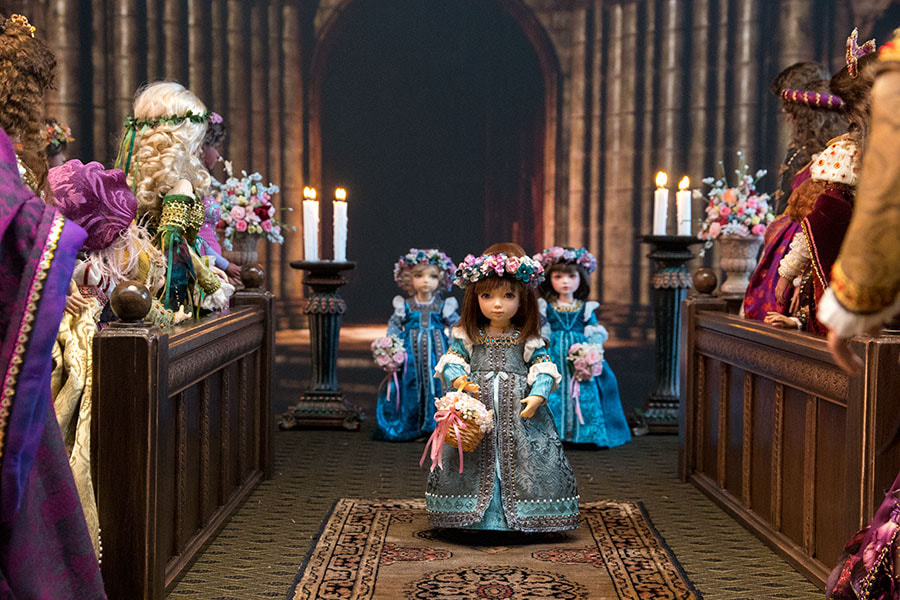
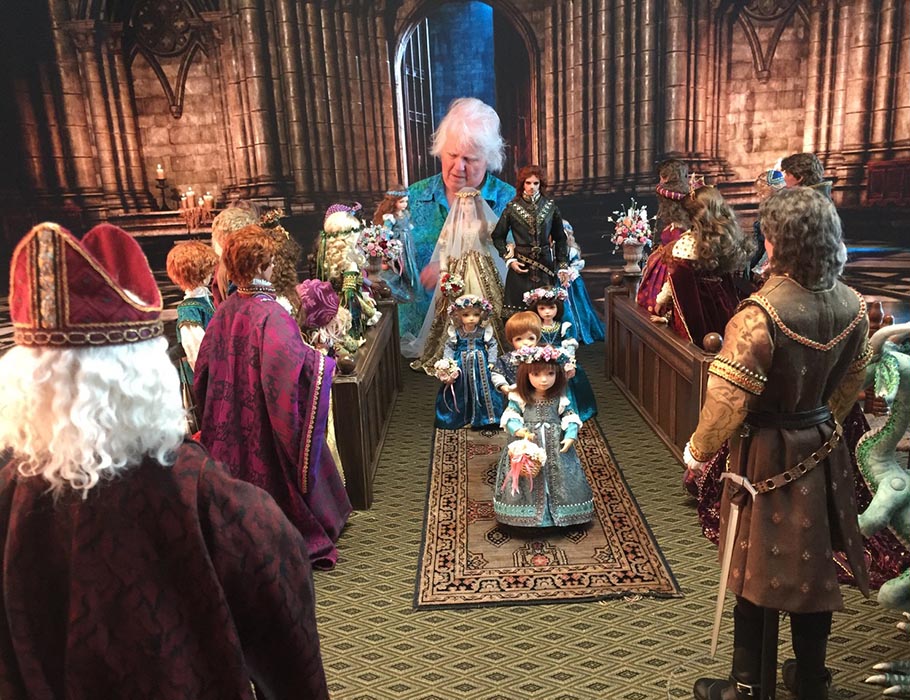
When the procession began, we didn't like the big black door in the background...
When the procession began, we didn't like the big black door in the background...
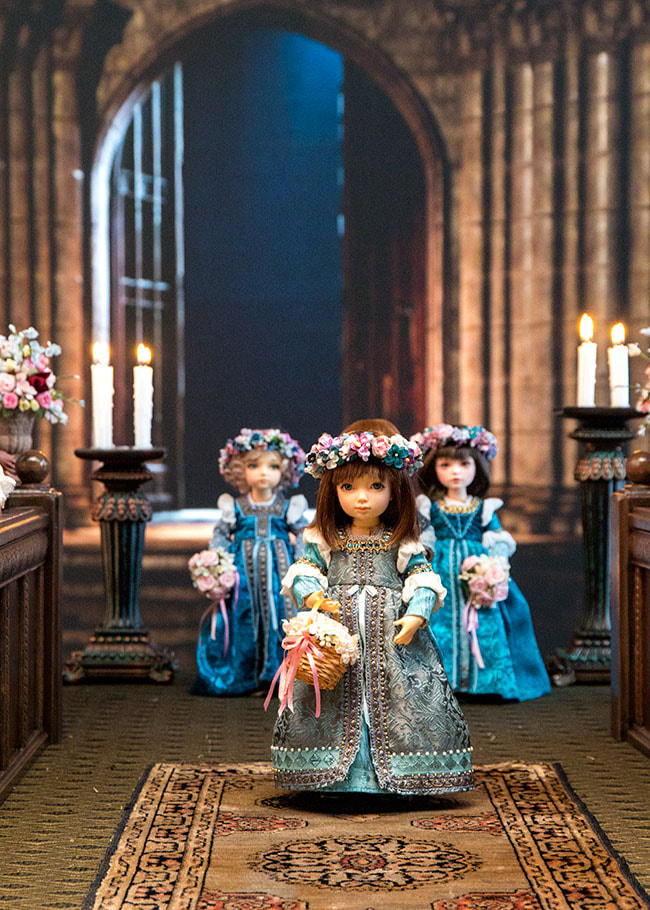
...so they added some doors and lighted the space beyond the doors. That looked much better!
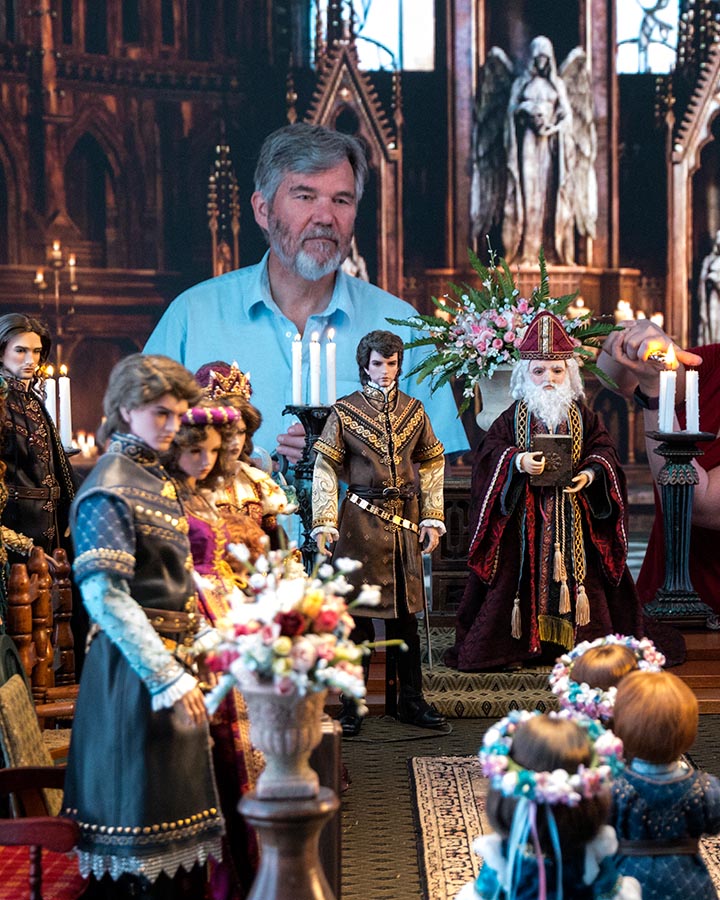
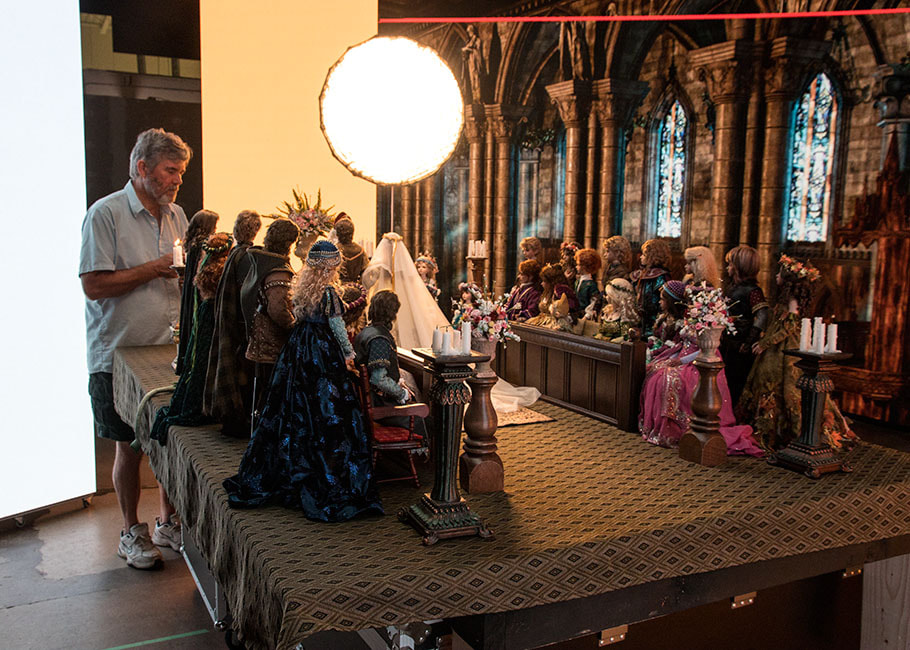
After positioning the dolls for a scene, we'd light the candles....
There were six candle stands, each with four candles to light...
I'd take photos of the scene from the various angles, and each time I wanted to take photos from a different angle...
....the background scene would have to rotate to match, and they would have to adjust the lighting.
The screen turned off between takes...
The LED panel wall...
Each time I was finished with a particular scene, we'd blow out all the candles so they wouldn't burn down too quickly. I had brought a box of extra candles, but I didn't want to run out. Plus it was better for continuity if the candles didn't suddenly get taller during the ceremony. Not that anyone else would likely notice. But I would.
I was constantly adjusting all the guest's heads so they'd be looking at the couple at the front...
Six hours and 150 photos later, and I shot the final scene. It was beyond impressive!
the Side Chapel
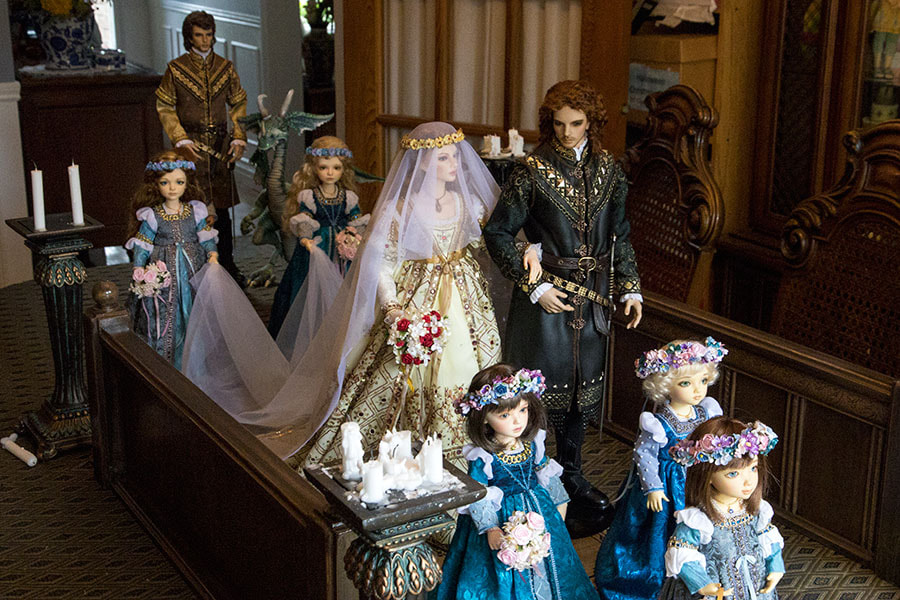
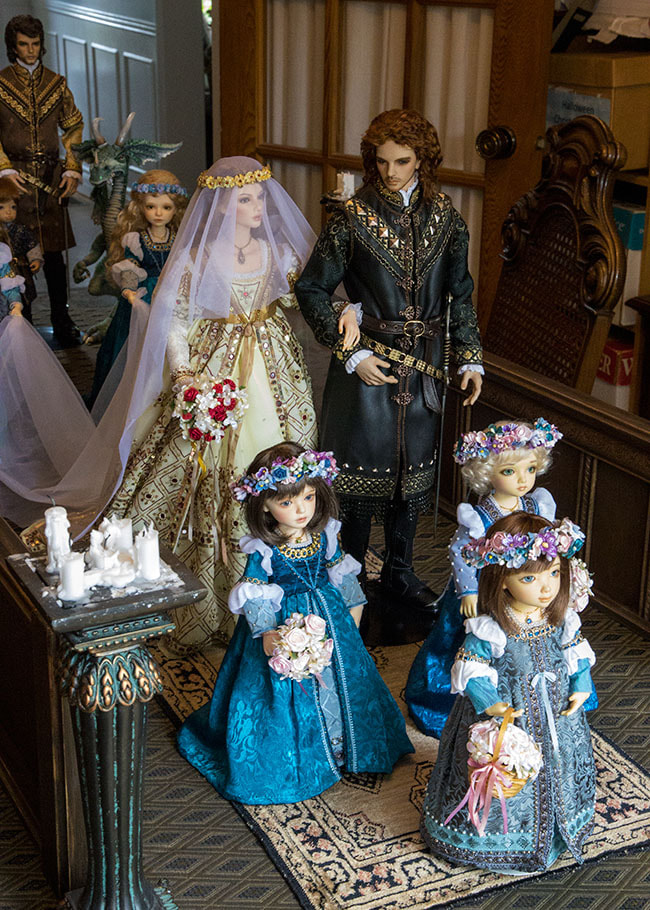
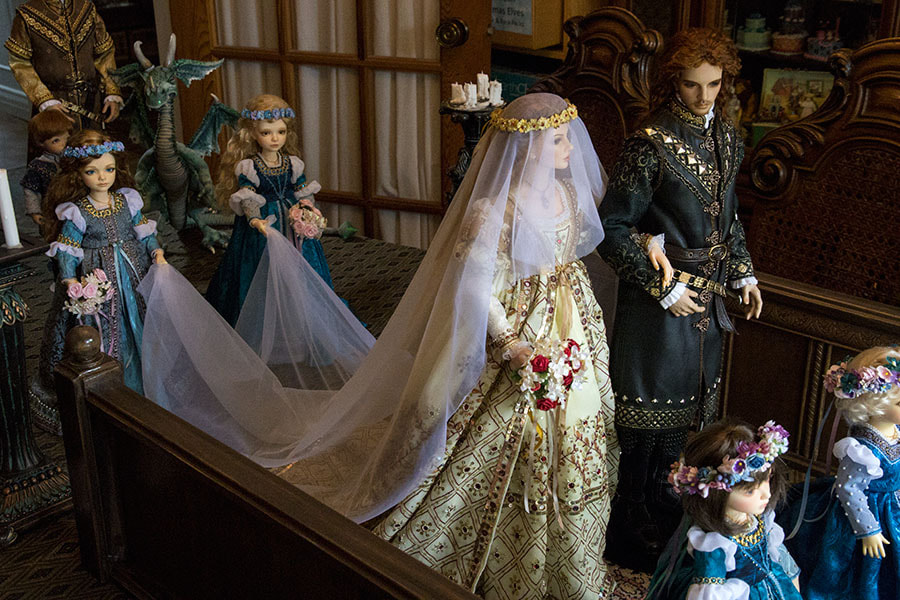
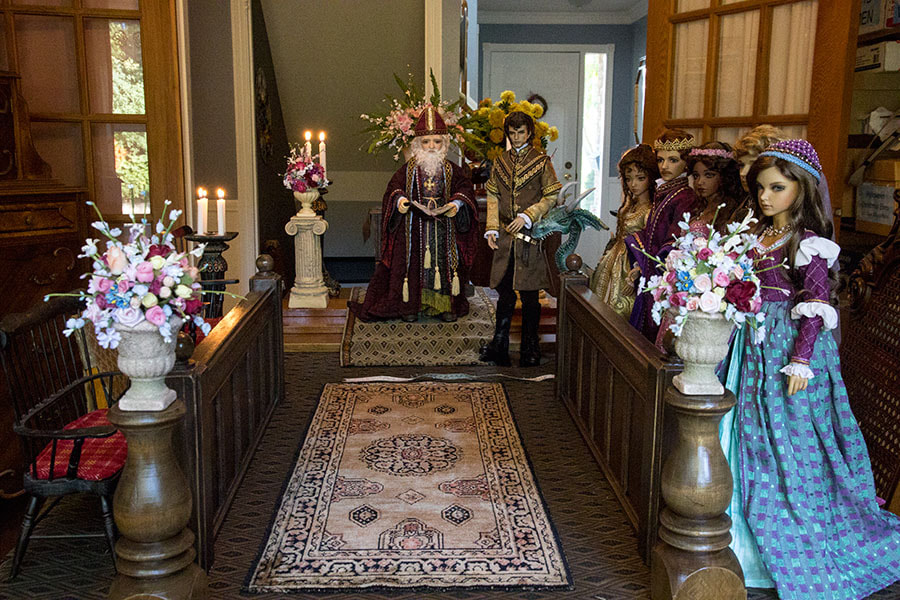
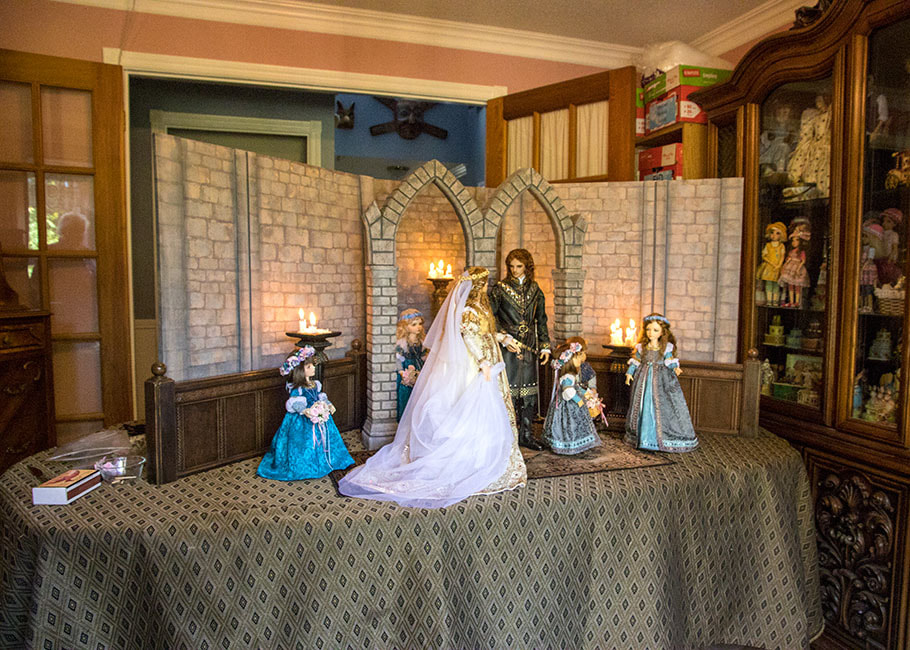
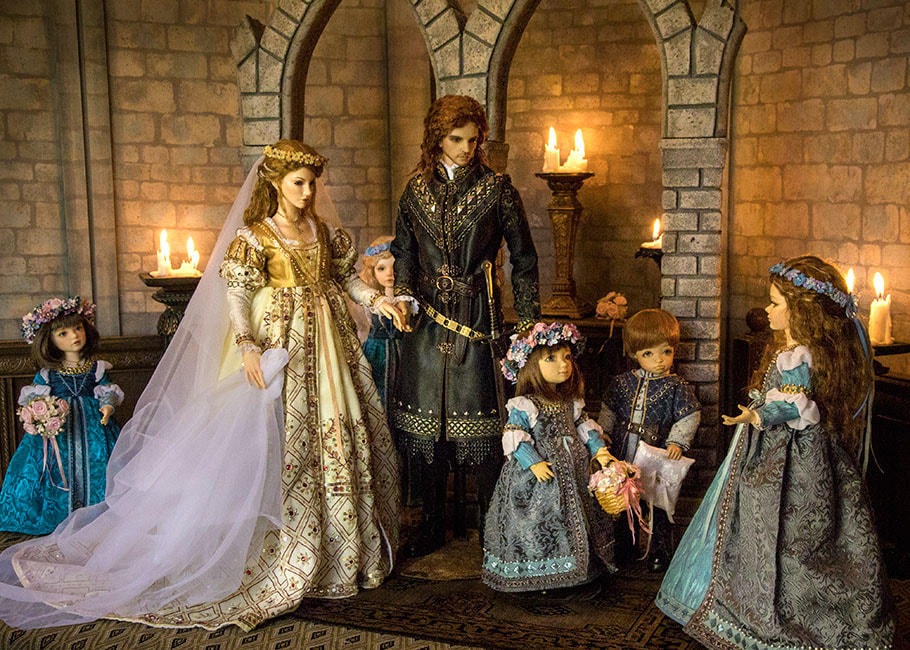
Back at home, several weeks later, I decided I wanted to photograph Lawrence and Naomi and the kids in a side chapel before the ceremony. I needed some kind of space that looked believable as a room off the main hall of the cathedral. So I used my 'stone' walls, the wooden half walls, and the styrofoam arch, to create the set on my dining room table...
Taken in the morning by candle-light, the scene had just the right feel...
Bloopers
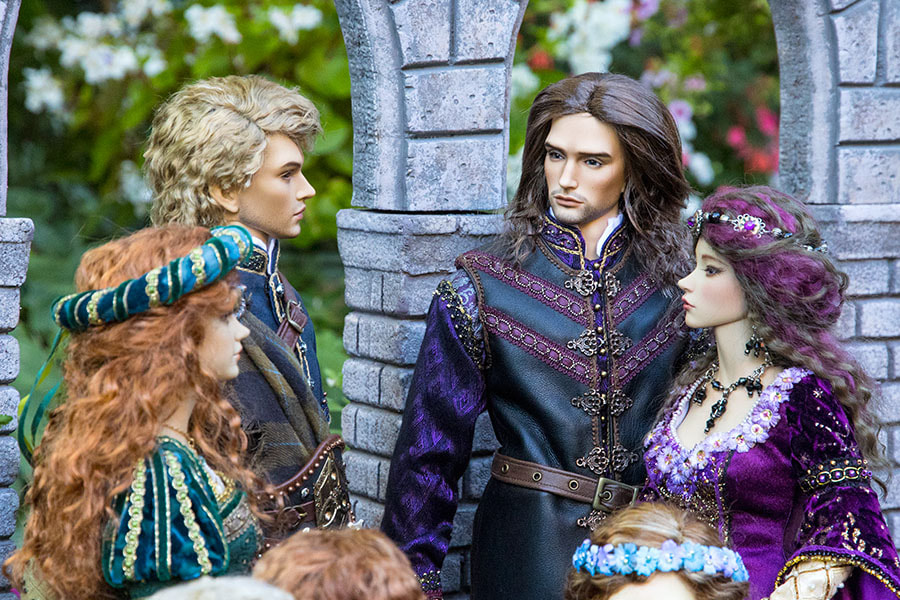
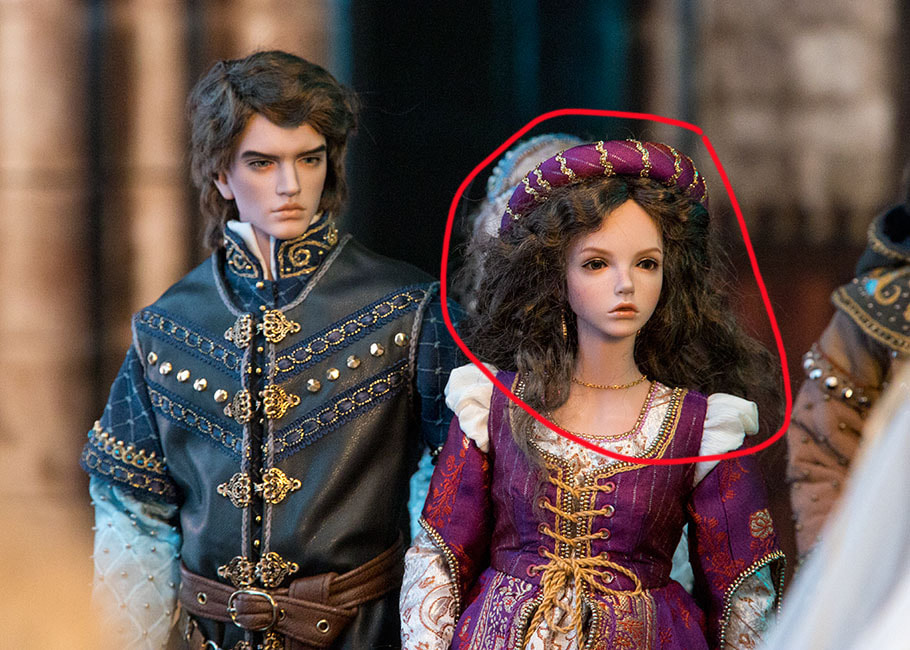
Even with all the planning, and attention to detail, there were still a few things that escaped notice, until afterwards when the photos were downloaded. Like Miho's missing headpiece. I was quite stressed when I was taking all the dolls out of their boxes, with several people watching, and I never noticed that Miho's circlet had fallen off.
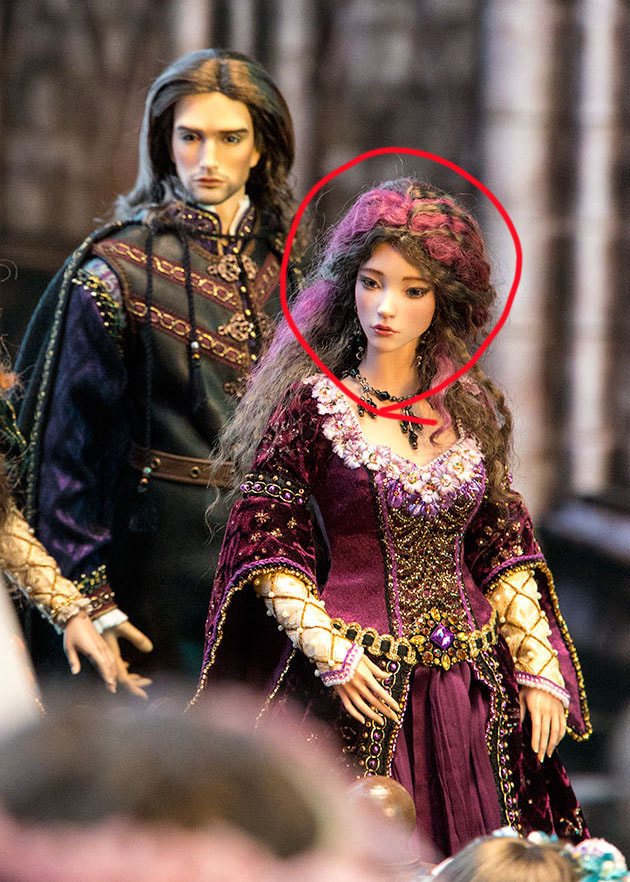
Bianca's pendent on her necklace had also turned when she was in the box, and I never noticed...
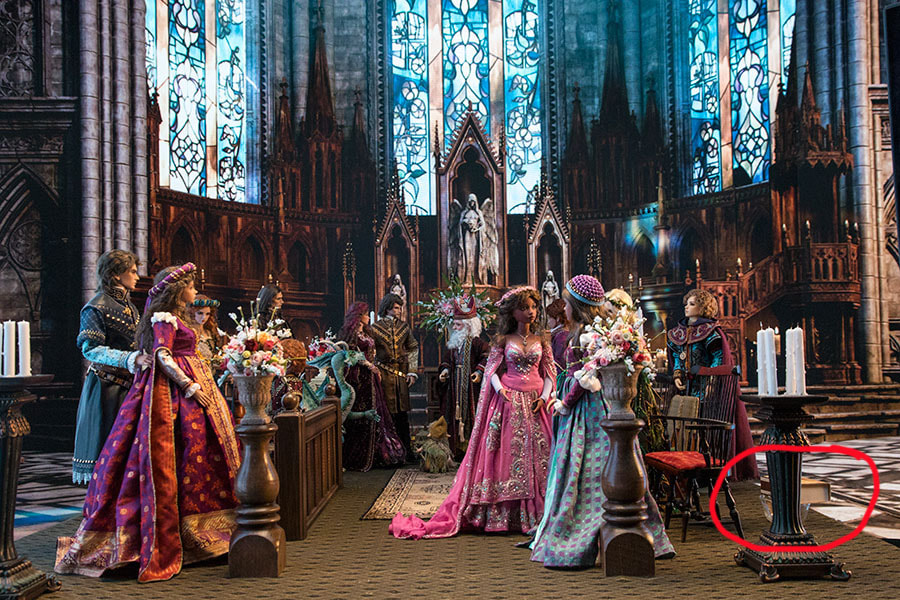
Then with all the lighting of candles, the box of matches and the glass dish for the spent matches were left in view...
For the first part of the photo shoot, they had attached a little gizmo to the top of my camera, which would actually move the background scene into different angles depending on how I held my camera.
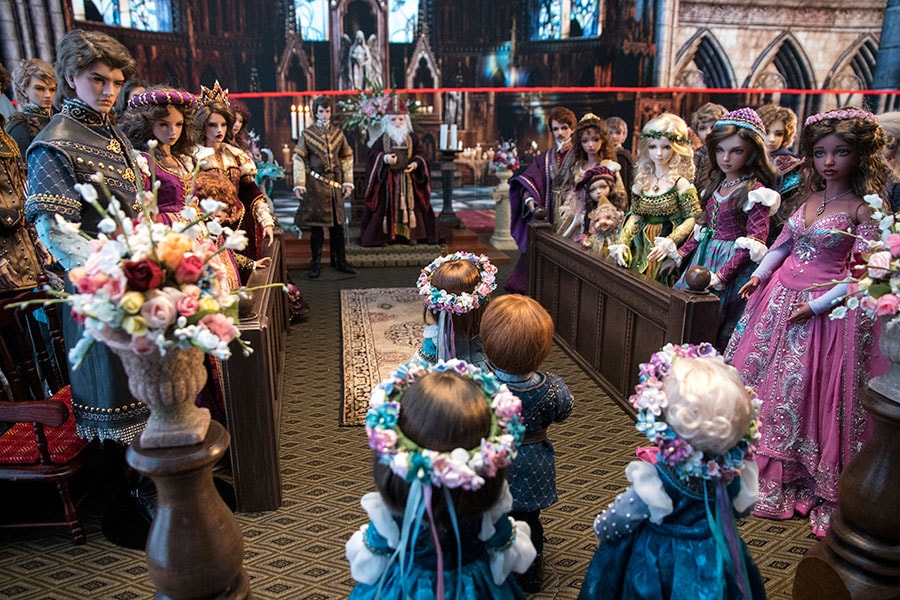
Then I had to watch out for the moving red line that it generated across the background. I found it extremely annoying, so they disconnected it. But it was already in some of my photos.
But at least it wasn't too bad in this photo, and I could Photoshop it out...
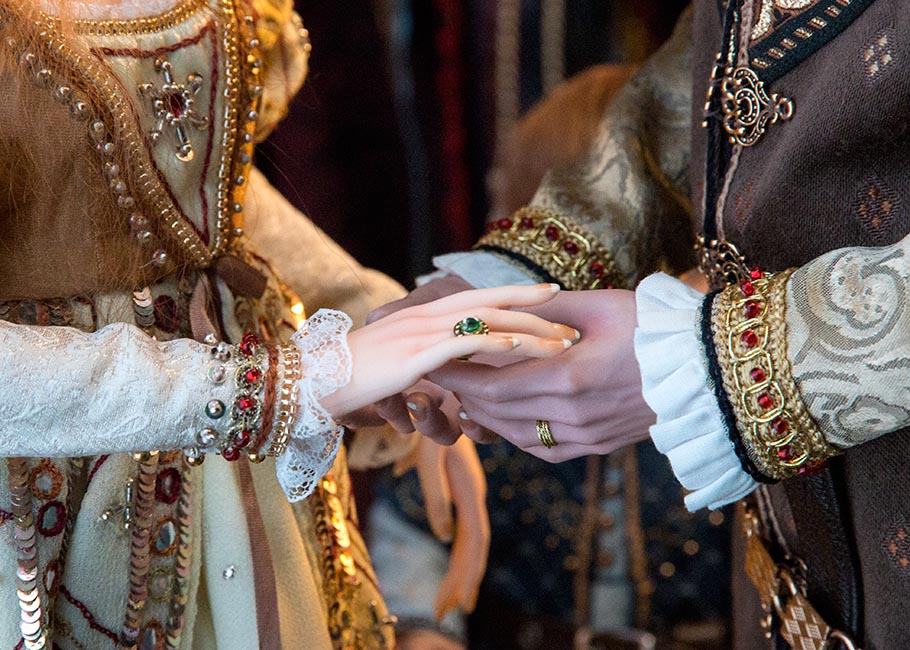
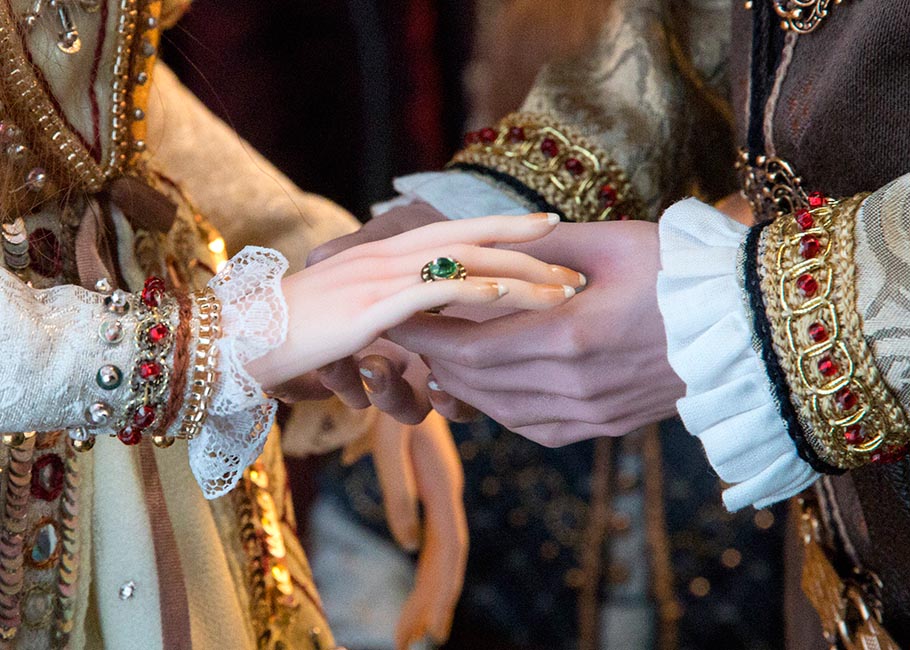
Also, notice in this photo that Naomi is wearing her ring on her right hand instead of her left. It's because the fingers on her left hand are not separated, but they are on the right.
Then there was Baron's ring. I had only planned on photographing Naomi receiving her ring. I'd tied a gold cord around Baron's finger at home, to simulate his wedding ring, and I wasn't planning on removing it.
But when I started to post the story months later, I really wanted to include Baron getting his ring as well, plus I realized that he shouldn't already be wearing it when he slipped Naomi's ring onto her finger. So I removed his ring in Photoshop.
Baron's Damage
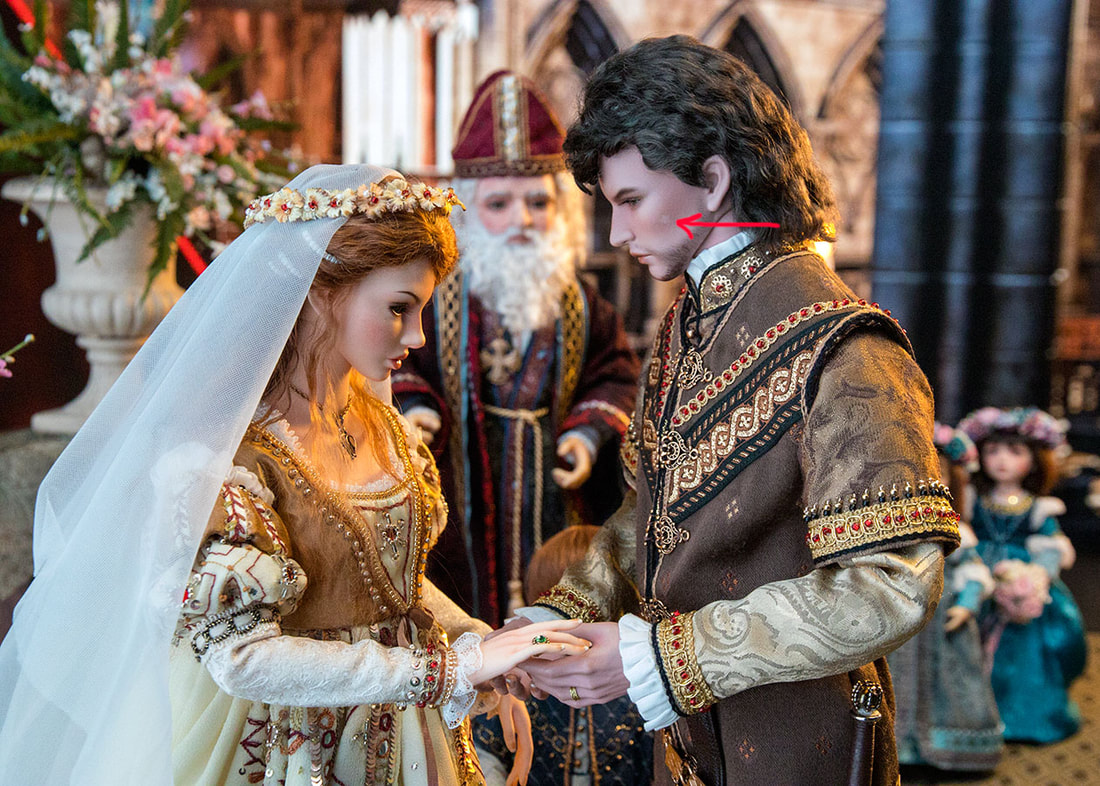
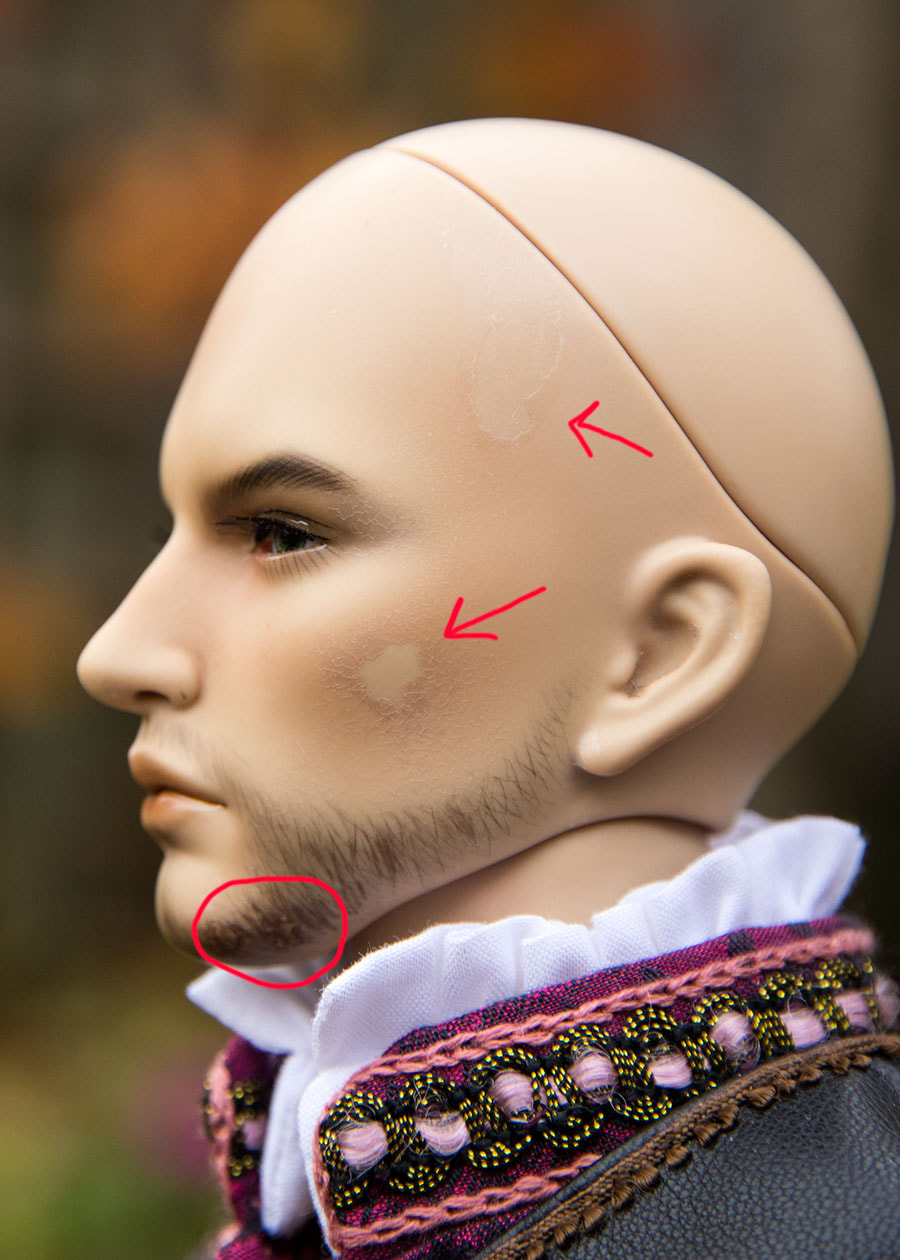
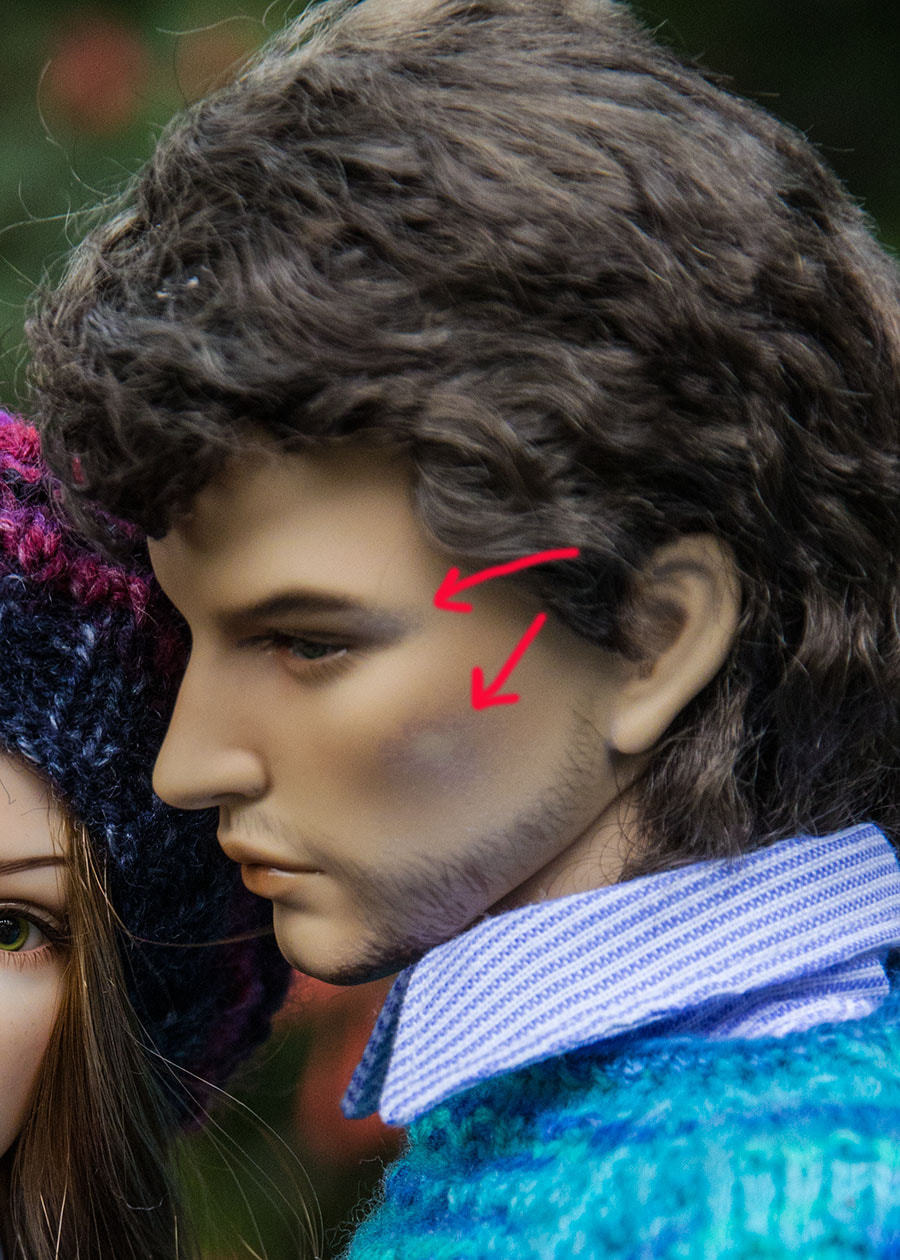
The photography session at the movie studio was fantastic, but there was one thing which cast somewhat of a dark cloud over it. Towards the end of the photo shoot I noticed a spot on Baron's cheek. On closer inspection it looked like a big chunk of his cheek paint had fallen off. My heart sank. It wouldn't be the first time some of his paint had flaked off. The other two times it was from his beard at his jaw-line, and I had been able to 'fix' it and hide it . But this was way worse, since there's no way to touch up something in the middle of a cheek. I was so disappointed, and had no idea how or when it had happened.
Well, there's no way to fix a spot like that, so I just continued on with the photography.
He was going to need a repaint at some point, but he wouldn't look the same, so I just kept photographing him and fixing the spot in Photoshop.
Then there was the honeymoon photos. I still needed to photograph that, and he needed to look the same as during the wedding, so I photographed him mostly with his good side showing for the entire honeymoon, correcting any photos that showed the damage on his left side in Photoshop afterwards.
Then there was the honeymoon photos. I still needed to photograph that, and he needed to look the same as during the wedding, so I photographed him mostly with his good side showing for the entire honeymoon, correcting any photos that showed the damage on his left side in Photoshop afterwards.
Copyright © 2023 Martha Boers
All Rights Reserved
