Behind the Scenes
Taking a look behind the scenes of some of the photo shoots, in the order they were taken....
With or Without a Wall
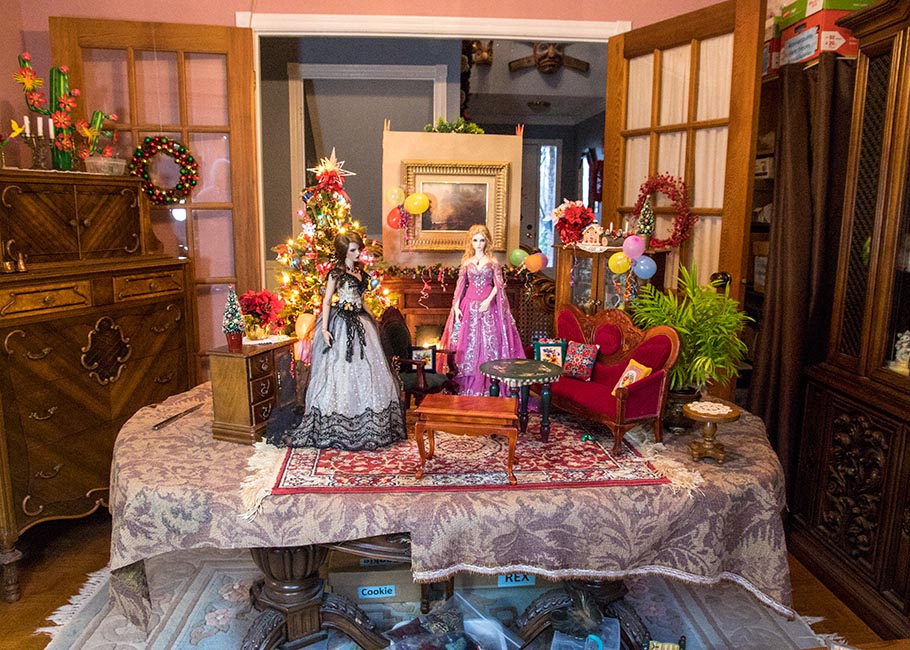
I use my dining room table as my interior photo studio. But I don't always use background walls. If I want a realistic modern interior with some background depth, I often won't use any of my foam core walls. Just my doll scale fireplace.
My dining room has French doors, which are always open. The room opens into the main hall, with the front door area visible on the right, and the stairwell into the basement on the left...
My dining room has French doors, which are always open. The room opens into the main hall, with the front door area visible on the right, and the stairwell into the basement on the left...
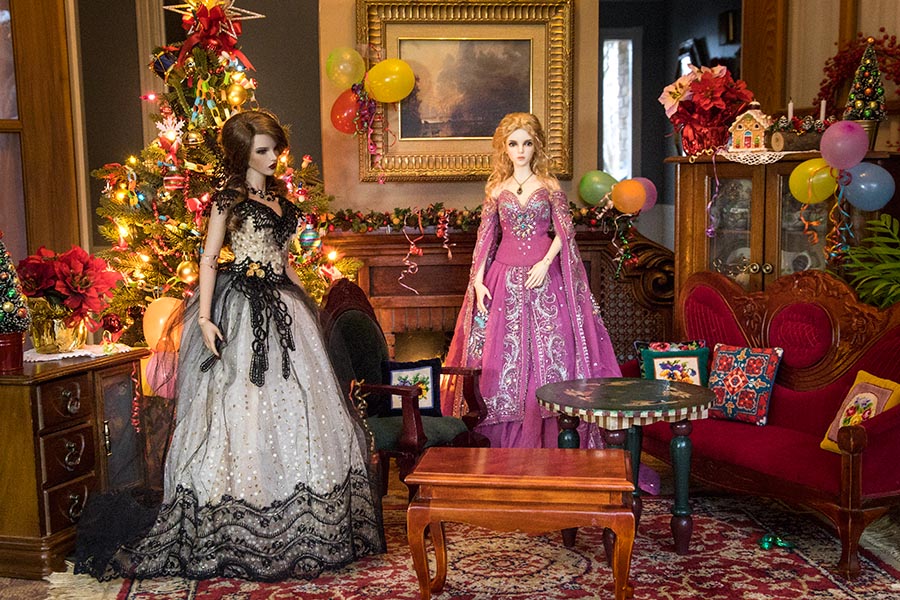
I find this set up without any prop walls gives a more realistic feel to the doll's room...
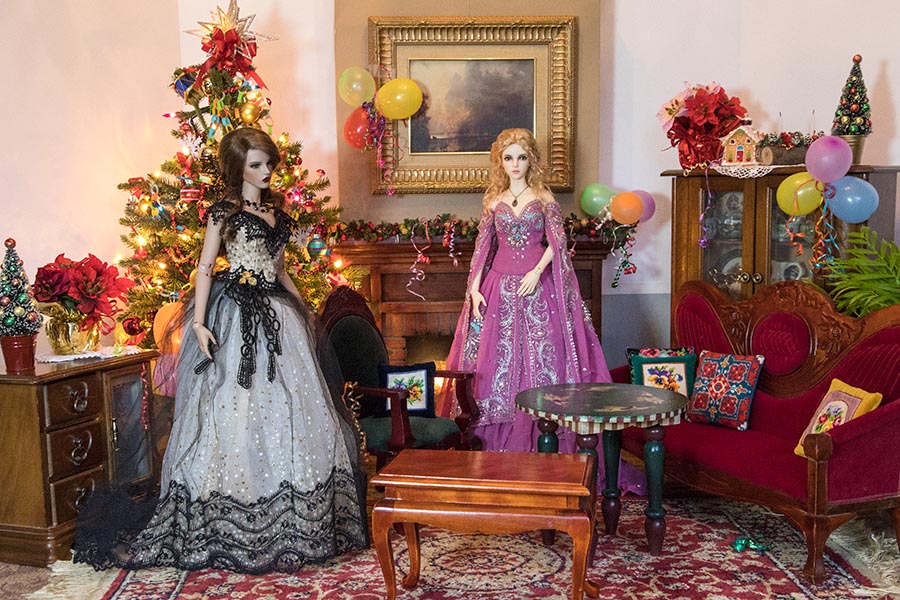
...and looks so much better than if I'd used some of my foam core walls. That suddenly screams "doll room"
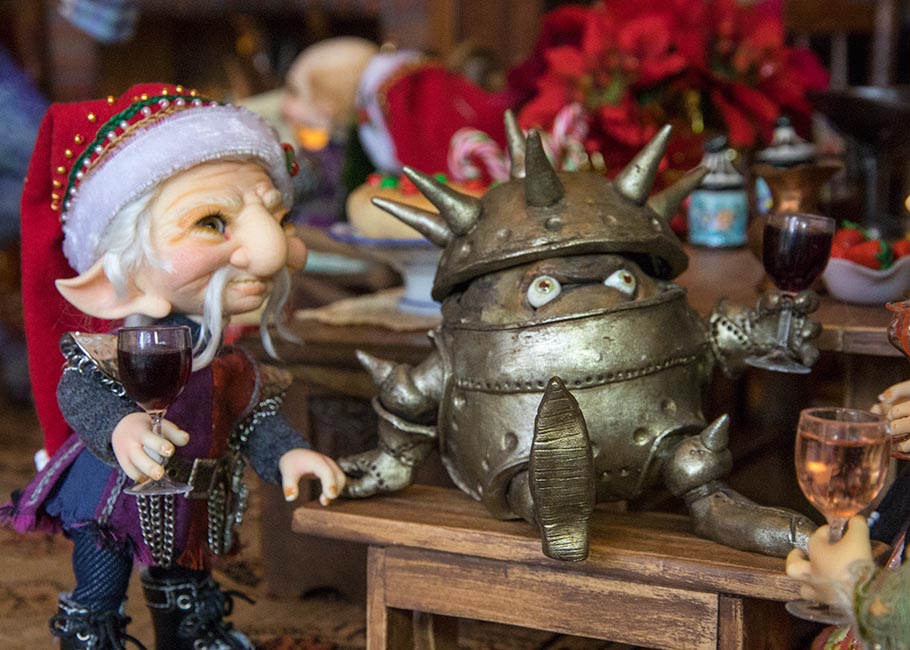
A House Elf Christmas
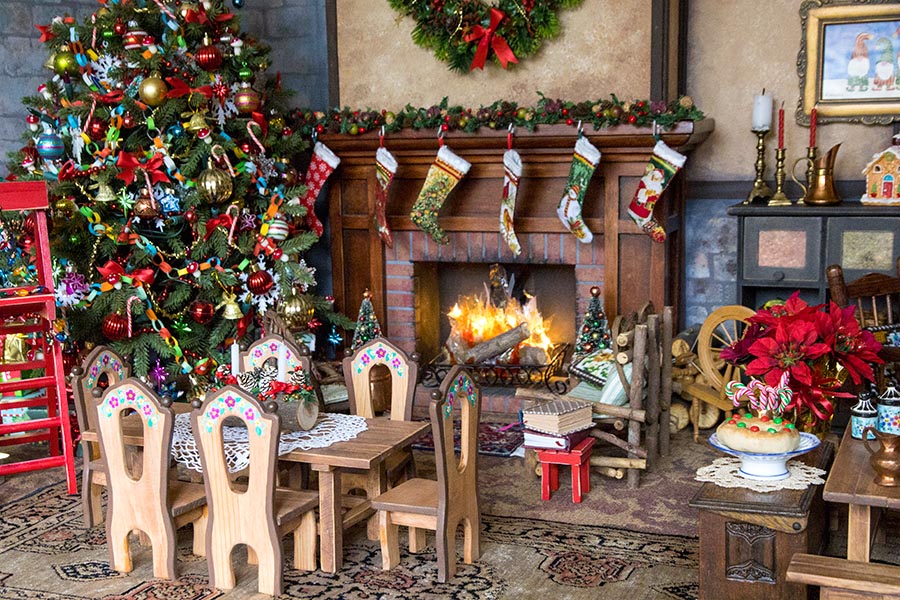
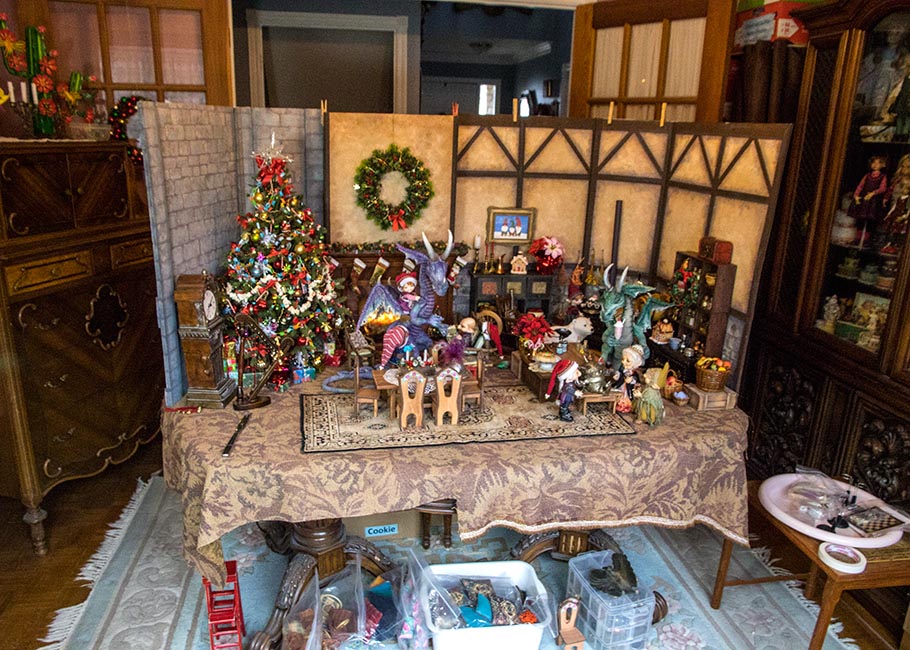
Setting up an indoor scene for my smallest dolls is always a challenge, since I don't have much in the way of small furniture their size, so I always have to make do. Although Jan did make me some tables their size last Christmas, and then eight nice little chairs...
I don't worry about the scale of the fireplace since it can be any size. Same with the Christmas tree.
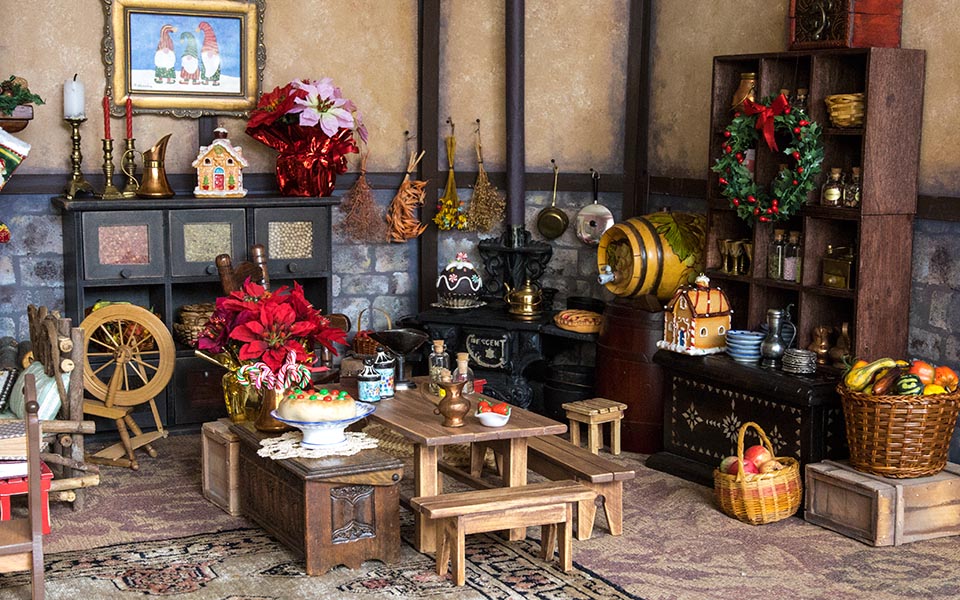
The kitchen is always my favourite....
The kitchen is always my favourite....
The final set, with all the characters posed in it....
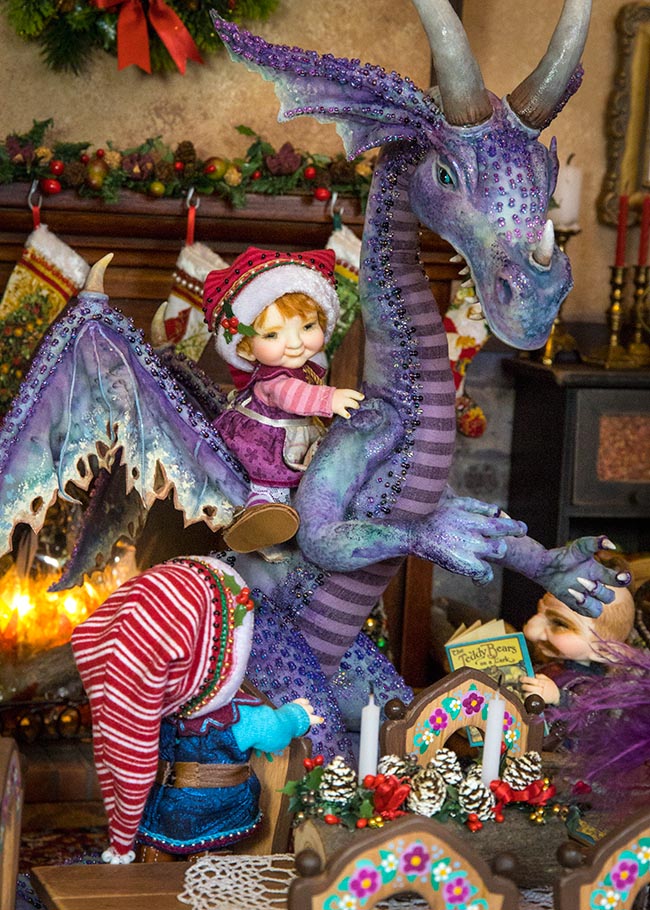
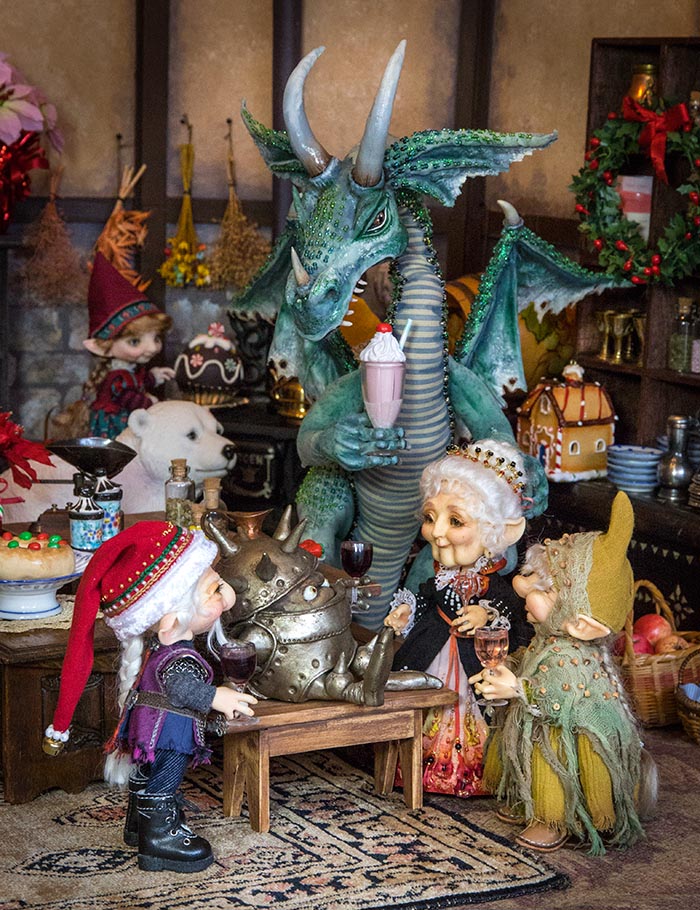
Then it just becomes a matter of taking close up photos at the individual doll's eye levels...
..and getting in really close from different angles...
Behind the Scenes with Lawrence and Monica
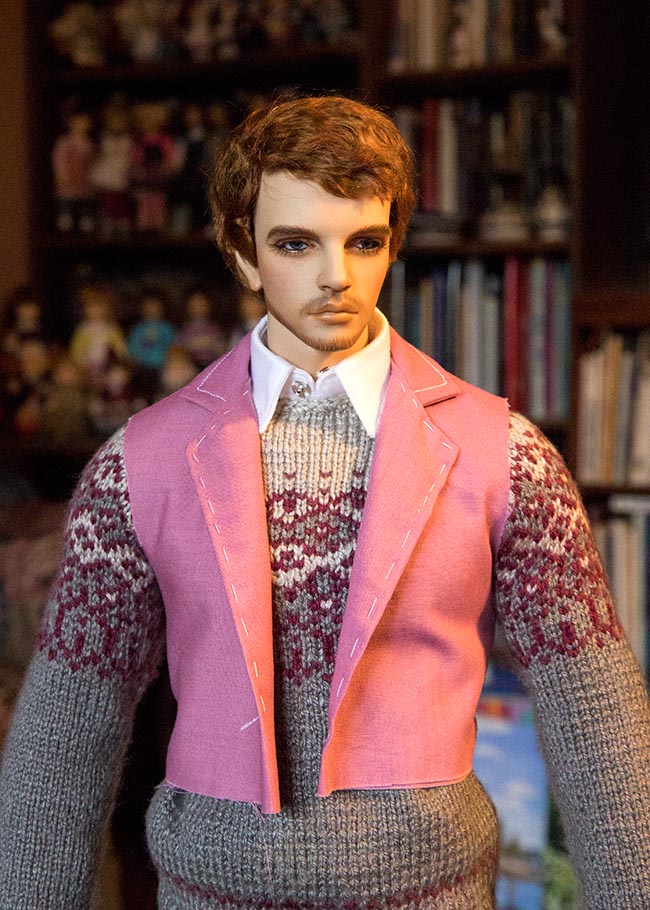
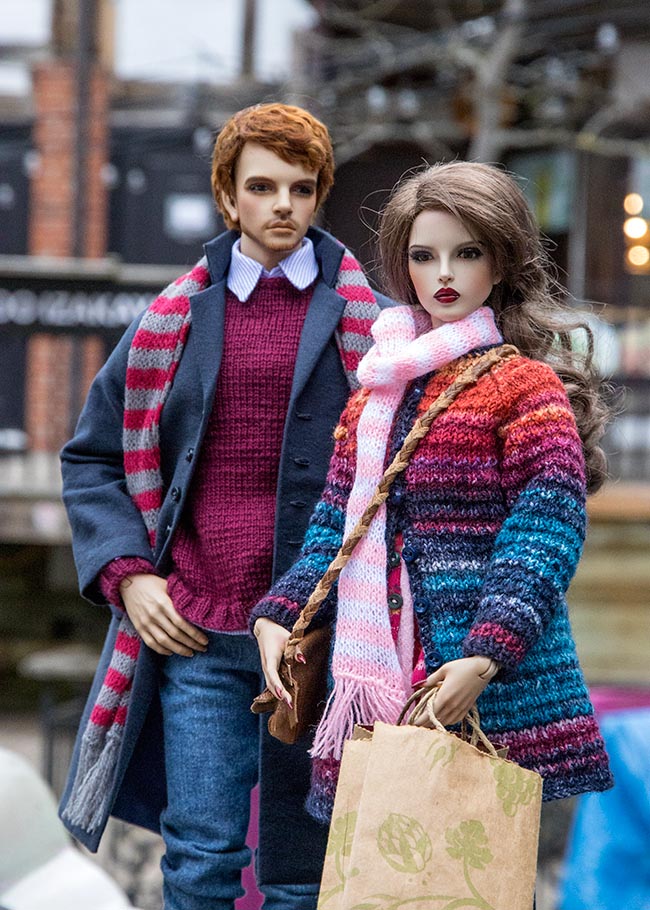
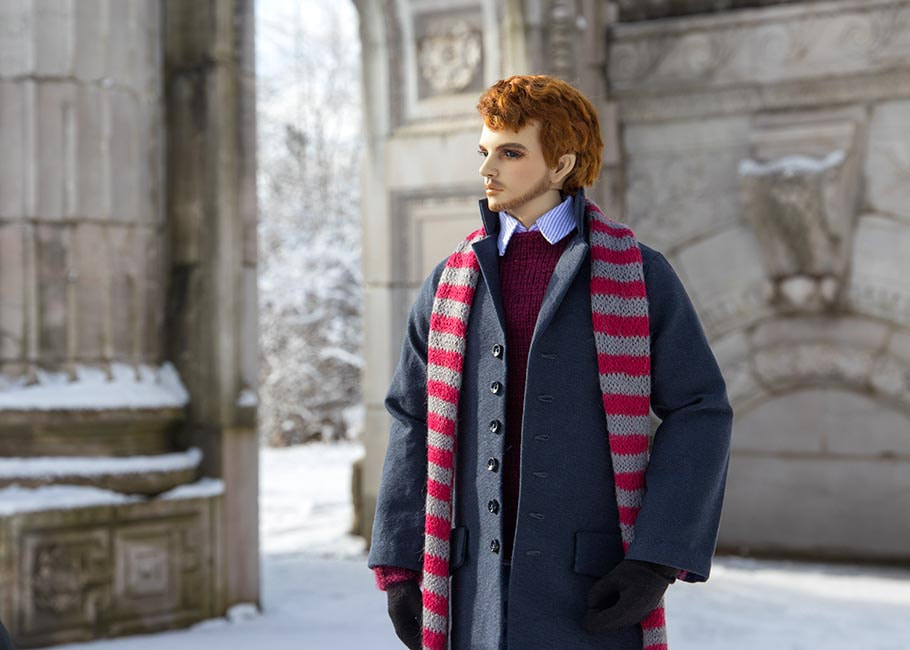
I had wanted to photograph the two of them as a modern couple, and Monica could borrow some of Naomi's clothes. But even though Lawrence could borrow some of Baron's clothes, I wanted him to have something more than just a sweater and scarf. I wanted him to have a nice long coat. One that would fit over a sweater. So I started work on the pattern, and tested it in cotton...
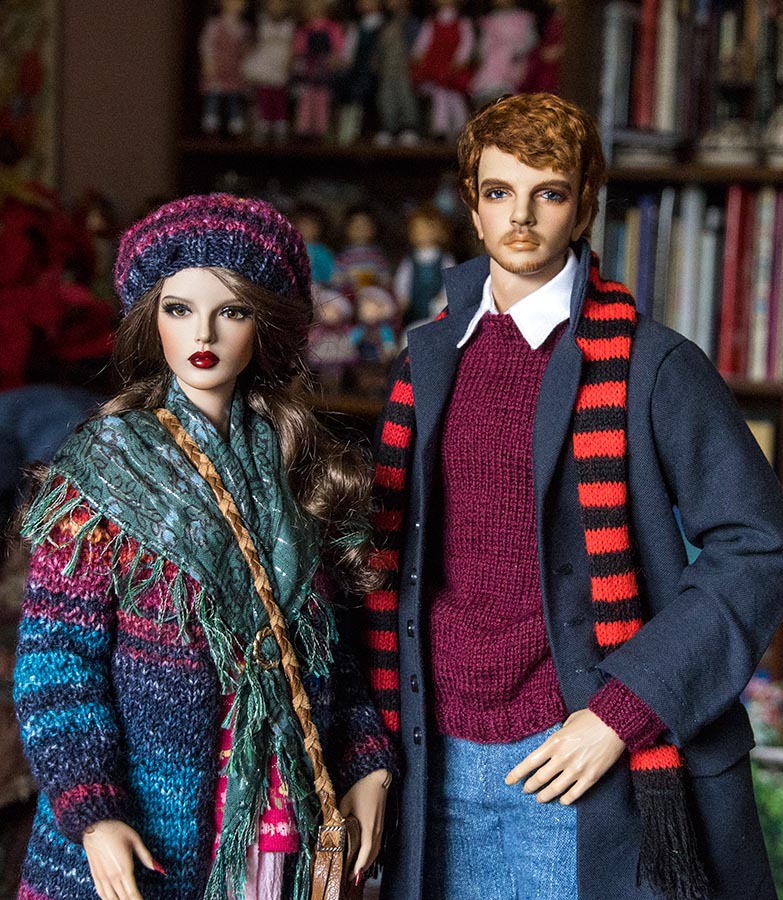
After some adjustments to the pattern (like, bigger armholes), I made his coat. I also knit him a sweater, sewed him a shirt, and some jeans, so he'd have a complete outfit...
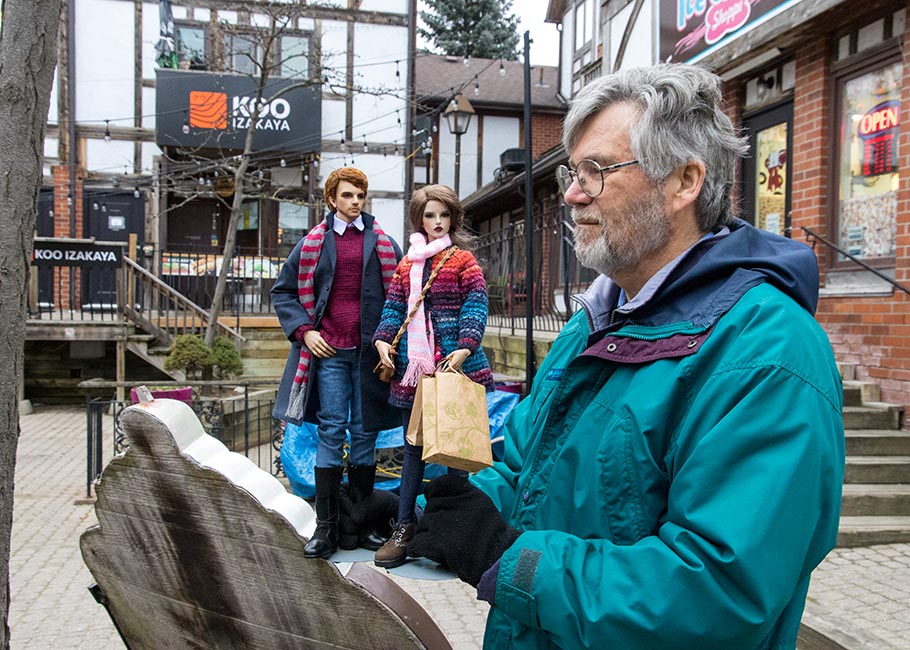
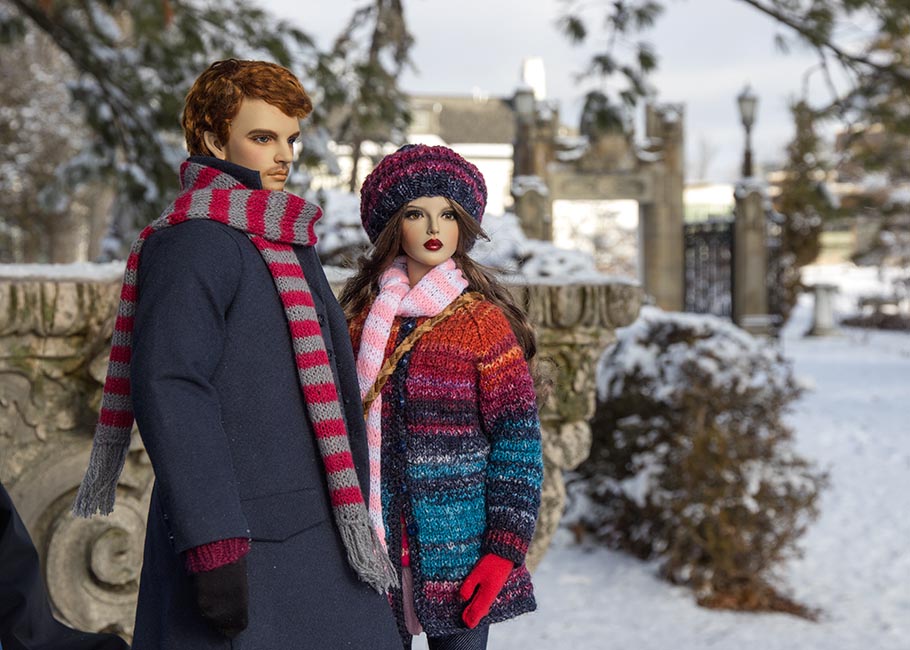
I knit him a scarf, and then it was time for the two of them to go out into the world. I wanted some place interesting without too many people, so we went to the Courtyard Shops in Pickering Village. There was nothing to stand them on, so all the photos had to be taken with the dolls hand held.
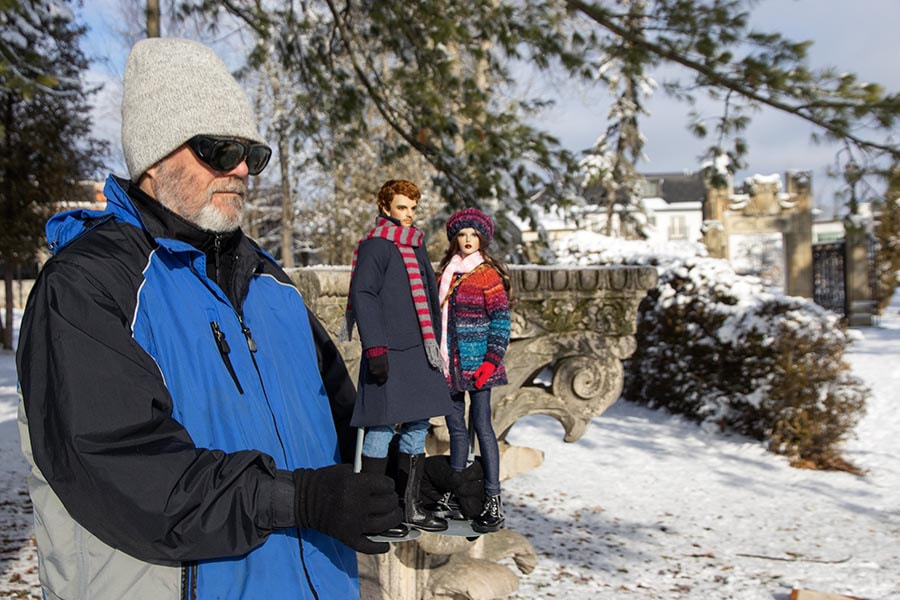
I always keep the dolls on their stands, so Jan can hold the dolls by their stand and one leg. It's a lot sturdier than just trying to hold the dolls by their legs.
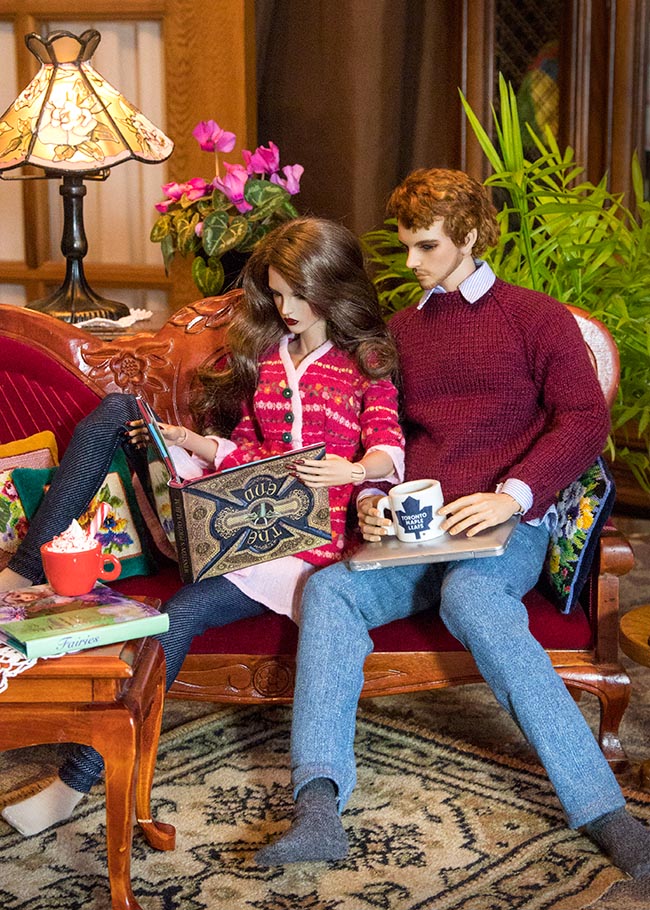
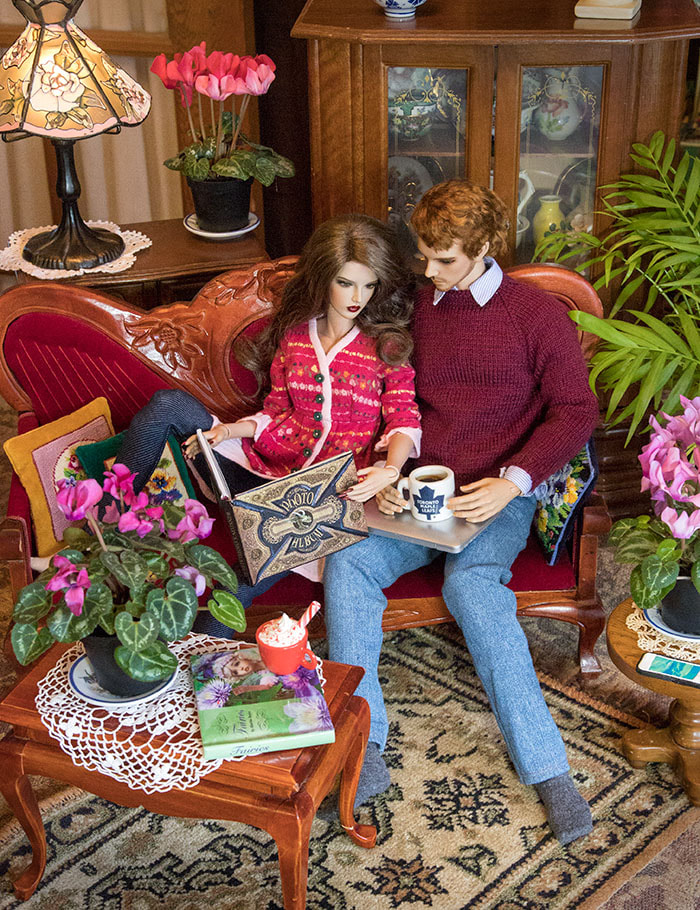
Then I wanted to do a scene with them relaxing at home. I took some nice photos of the two of them looking at Winston's album....
And I was ready to post them, until I realized the book was upside-down. So I had to reshoot. While I was at it, I decided I wasn't happy with the background, so I changed it.
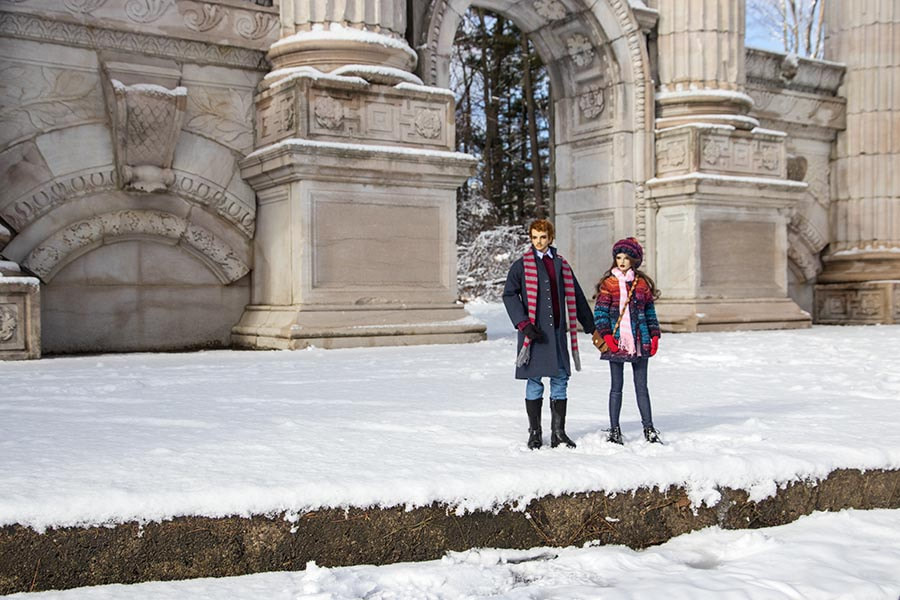
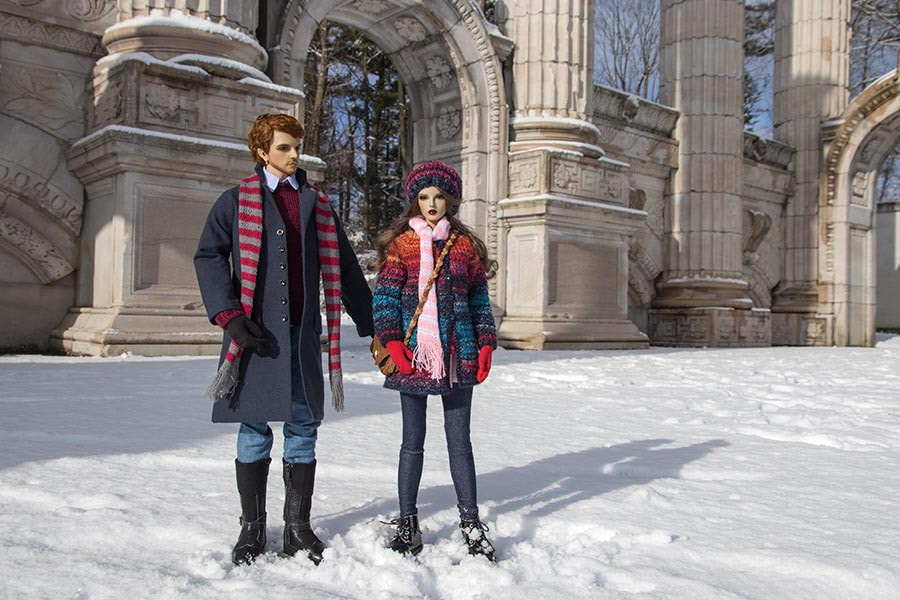
Then I wanted to take them to the Ruins Garden, so I made them both some mittens. I did bring along a tarp to put the doll's boxes down on and for me to get down on if I really needed to, but most of the photos were taken with the dolls hand held.
A photo taken close up...
I did put them down in the snow in the Greek Theatre for some full length shots. But unless the dolls are photographed down low, level with their eyes, and reasonably close, they will still look like 'dolls', or like tiny people in a giant's world....
So, I had to get right down in the snow to photograph them at a lower angle...
Closer up was even better.
A New Dress for Naomi
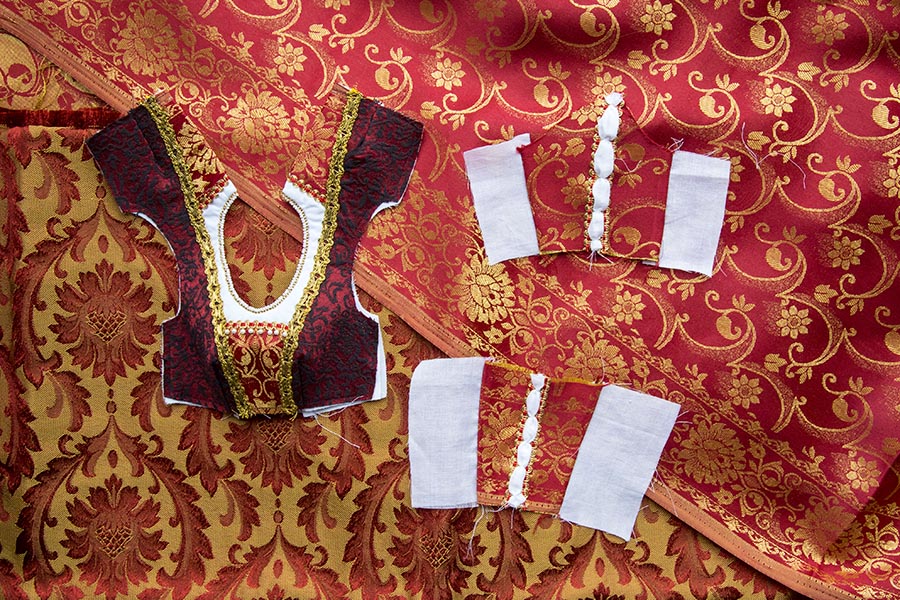
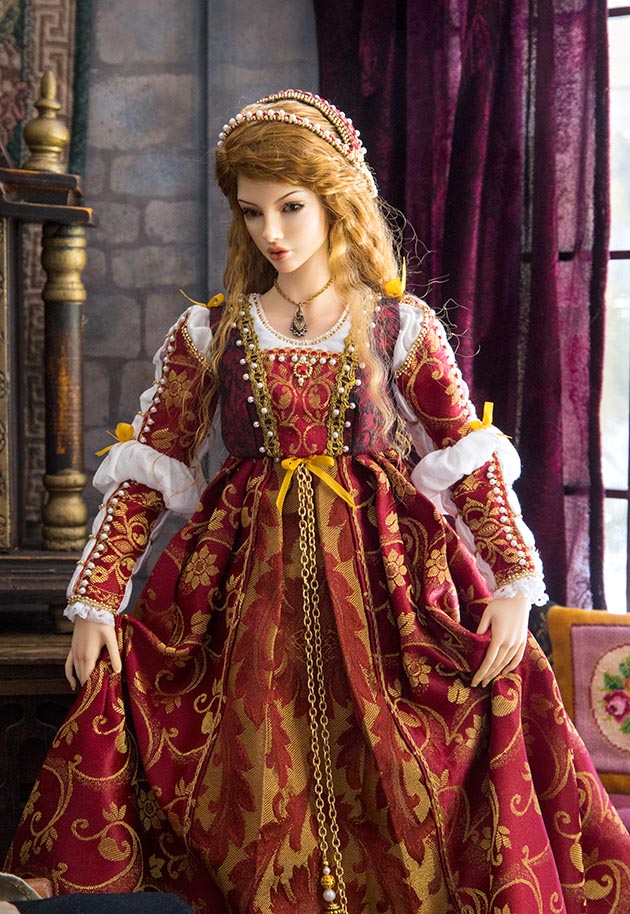
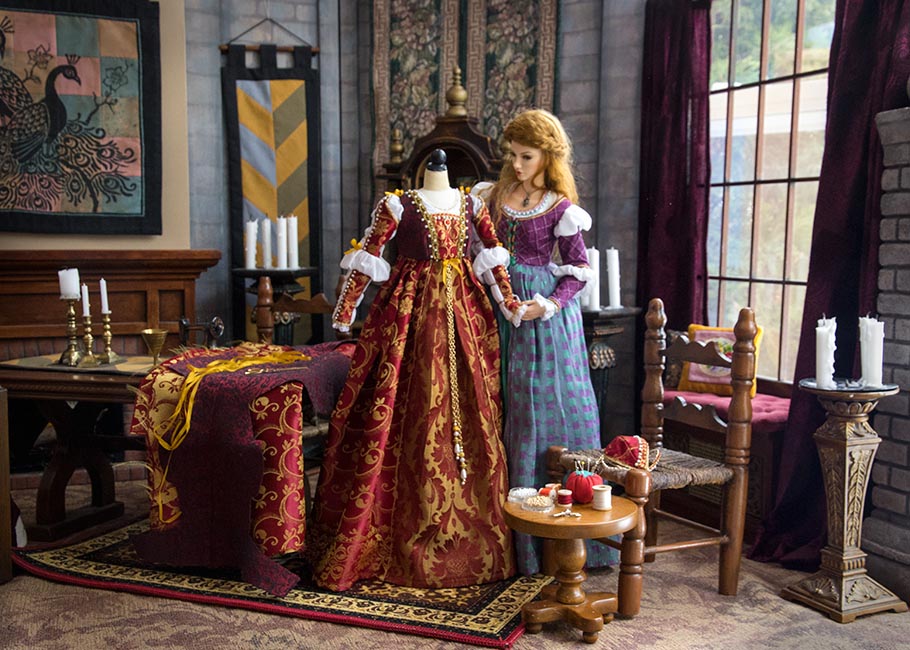
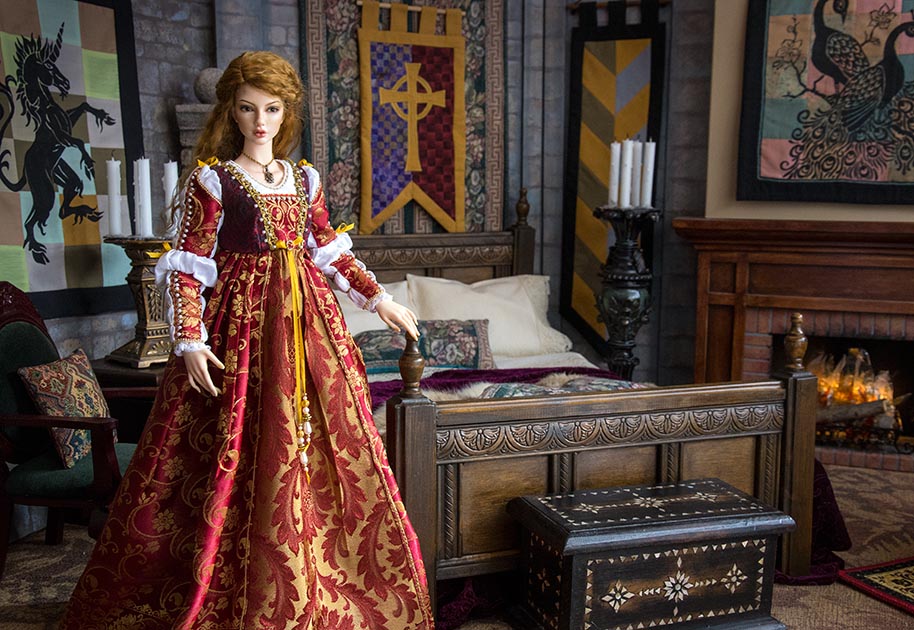
I started work on a new dress for Naomi. She will eventually need a high-waisted dress to accommodate her 'baby bump', so I went with something Italian Renaissance inspired.
I chose three red brocades; dark red for the bodice, a red and gold brocade with a woven border for the main skirt, and a brocade with a larger design for the front panel of the skirt.
I chose three red brocades; dark red for the bodice, a red and gold brocade with a woven border for the main skirt, and a brocade with a larger design for the front panel of the skirt.
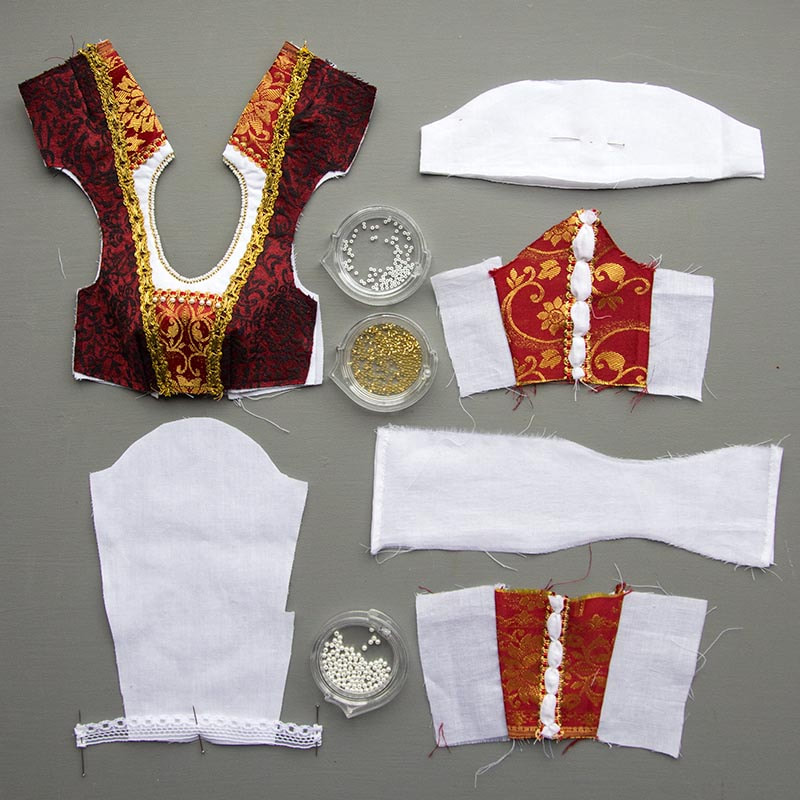
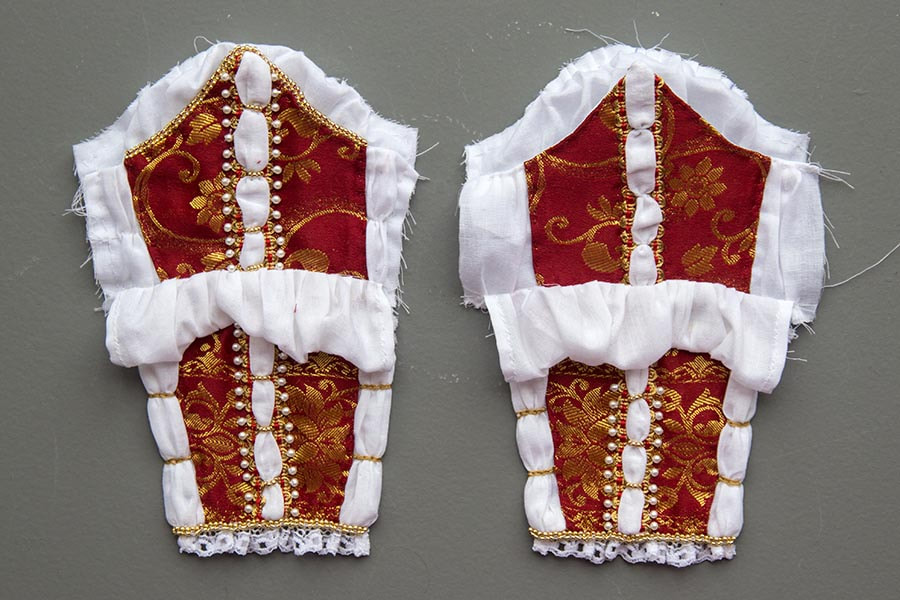
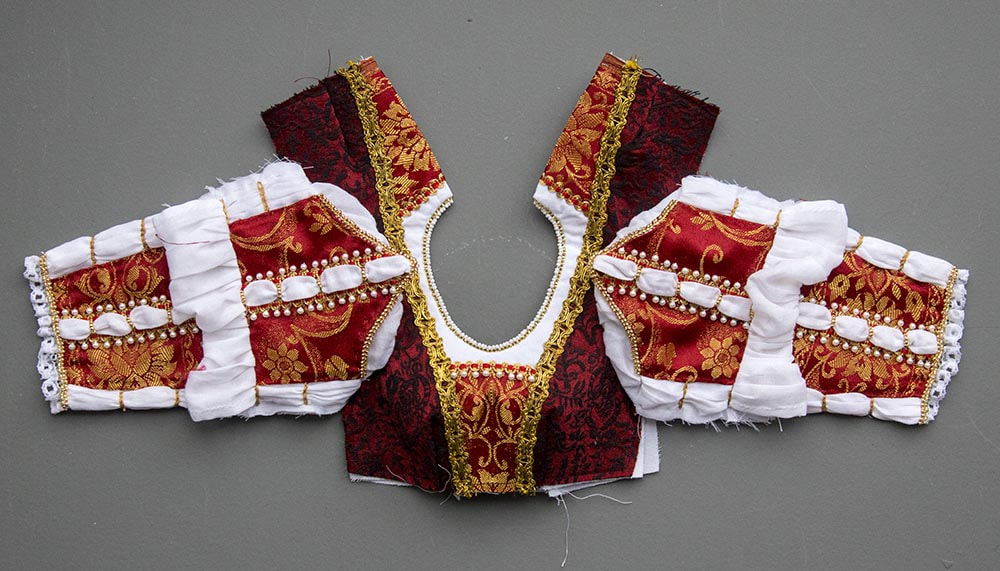
The biggest challenge were the intricate sleeves, and how to create the look of embellished panels tied over a puffy chemise underneath, but all in one piece.
It took considerable planning, and LOTS of handwork. Each decorative element had to be basted in place first before machine stitching. Then there was lots of hand finishing, and beading.
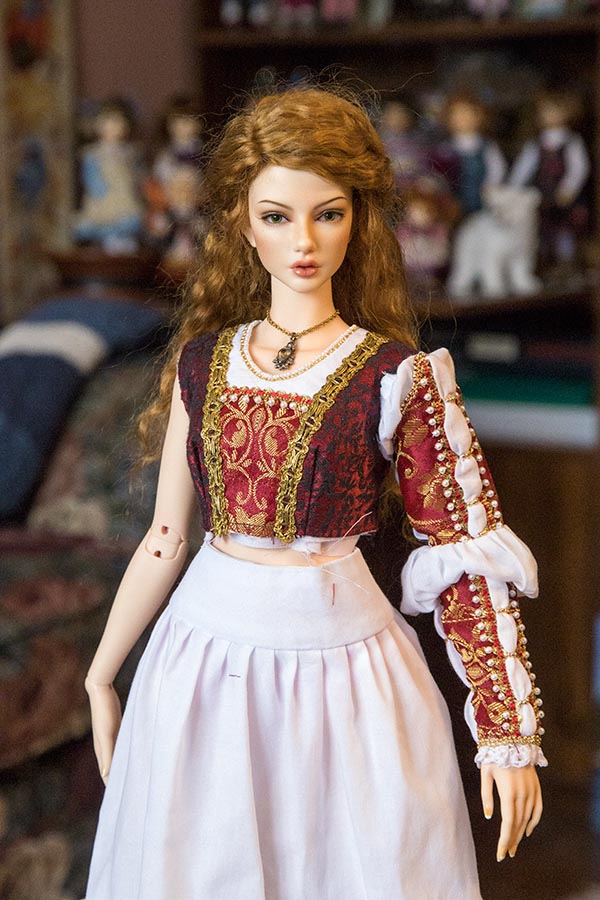
The bodice and sleeves pinned in place to test the fit...
Then the almost finished sleeves could be sewn into the bodice...
|
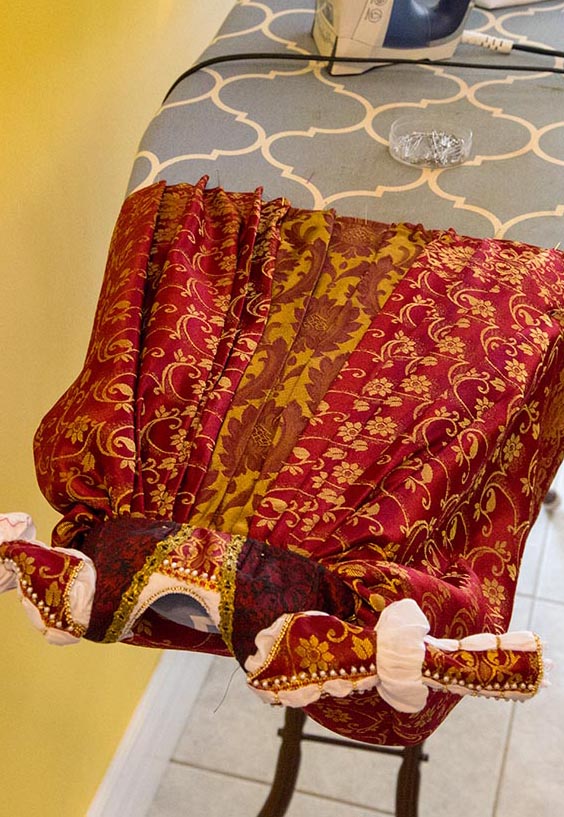
The with the underarm seams sewn, and the skirt attached, being pressed on the ironing board.
|
Then some more beading, embroidery, and final details...
|
Winter Rose
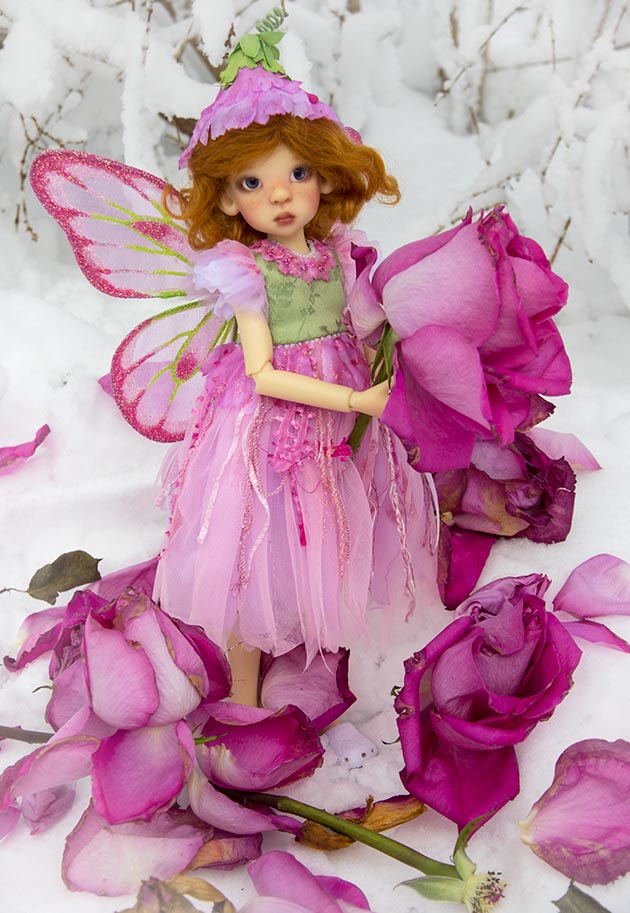
When we had a late February blizzard, I was inspired to take photos of a fairy with my fading Valentine's roses in the fresh snow...
A Victorian Stroller
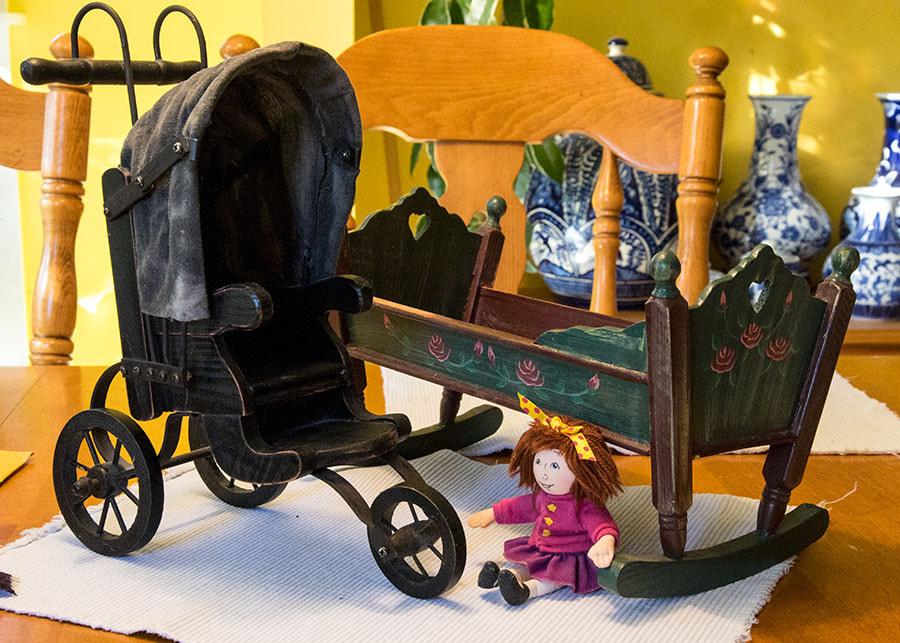
I bought a Victorian style stroller at a doll show back in October, and it had been sitting on my kitchen table ever since. It needed some work, and I knew I'd be more inspired to do it if it stayed sitting in view. Even if it took months....
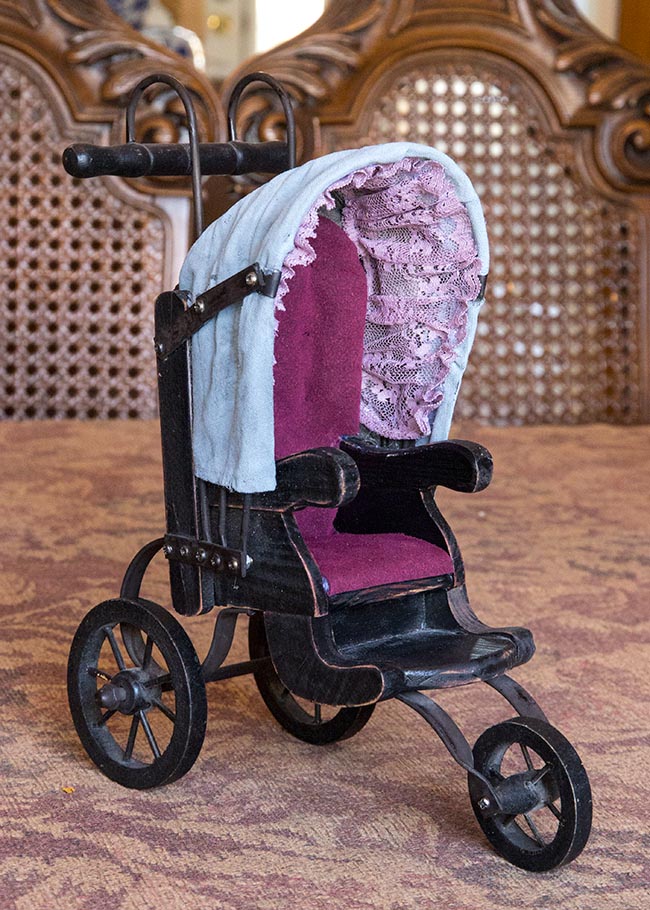
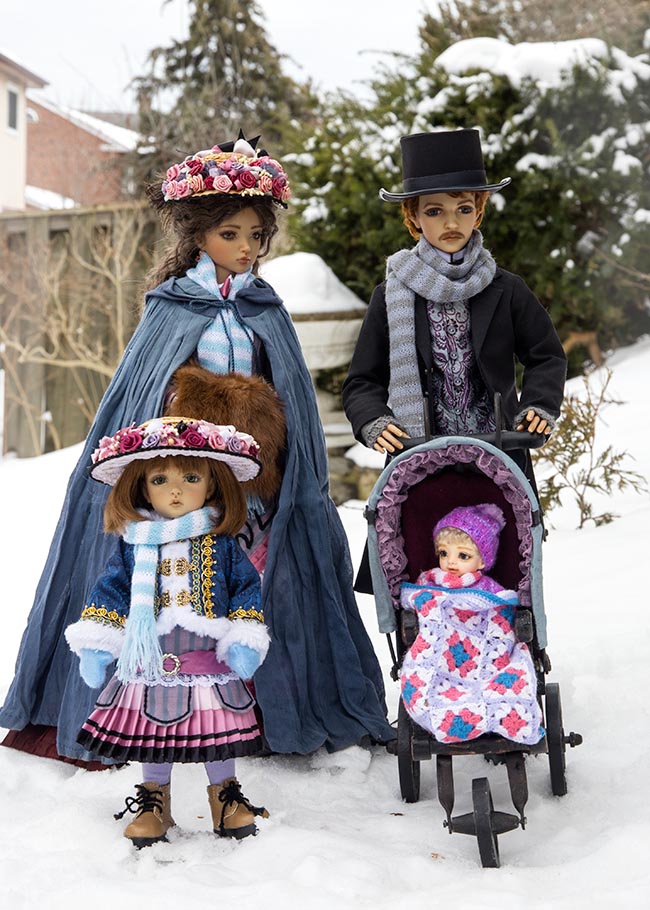
Well, when we were expecting one more March snowfall, I was thinking of how to take advantage of it, and thought my Victorian family could go out for a stroll, which was just the push I needed to finally address the stroller. I painted the hood gray, sewed a mauve lace liner, and wine red cushions...
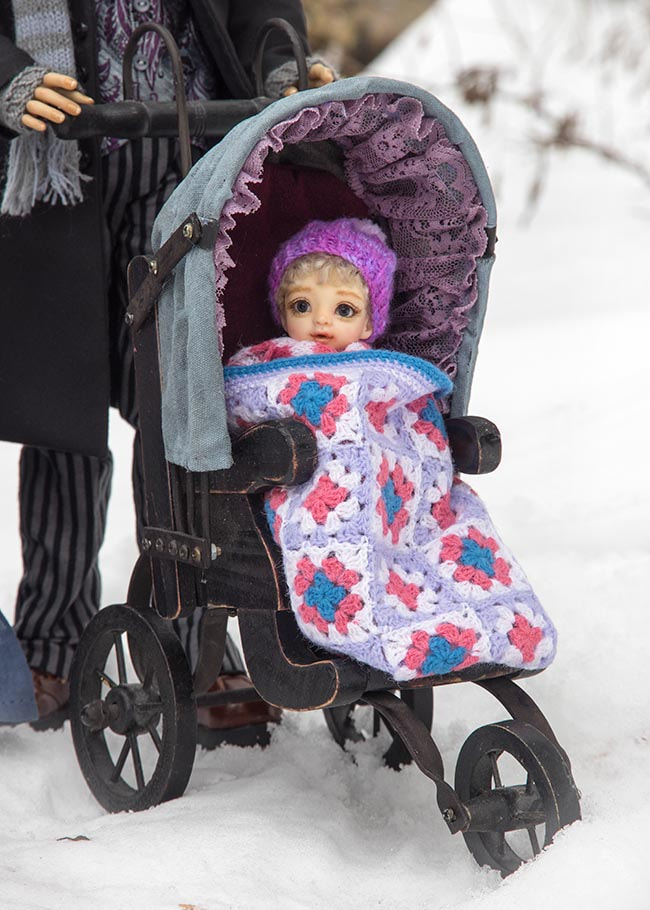
Then my Victorian family went out for a little walk in the snow...
Baron & Naomi's Apartment
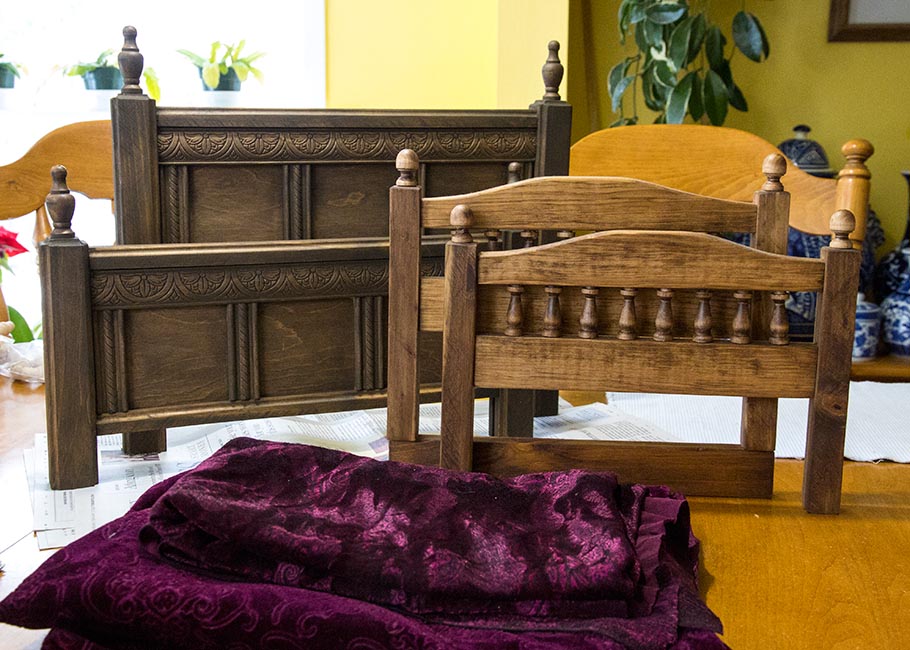
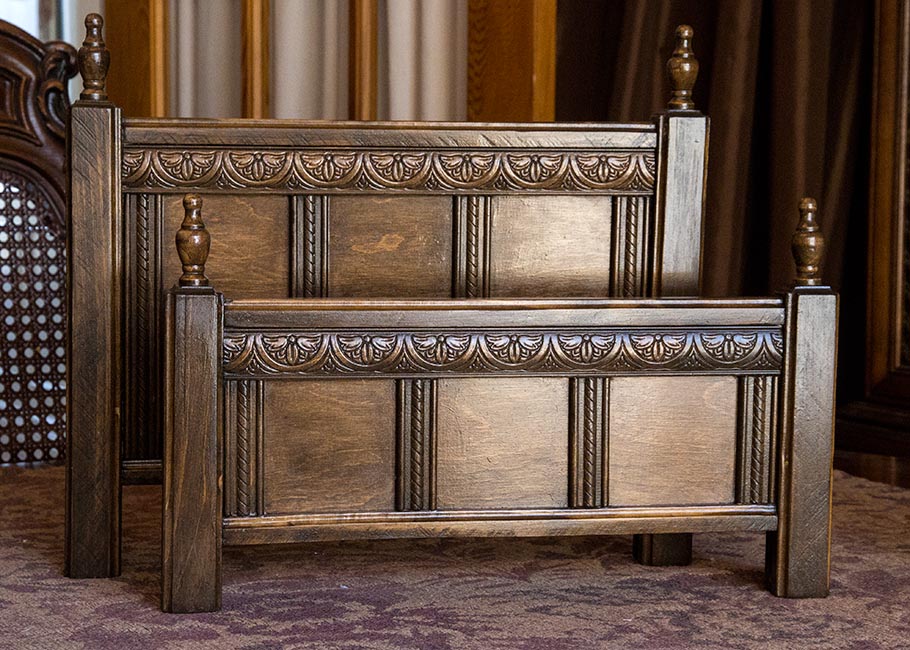
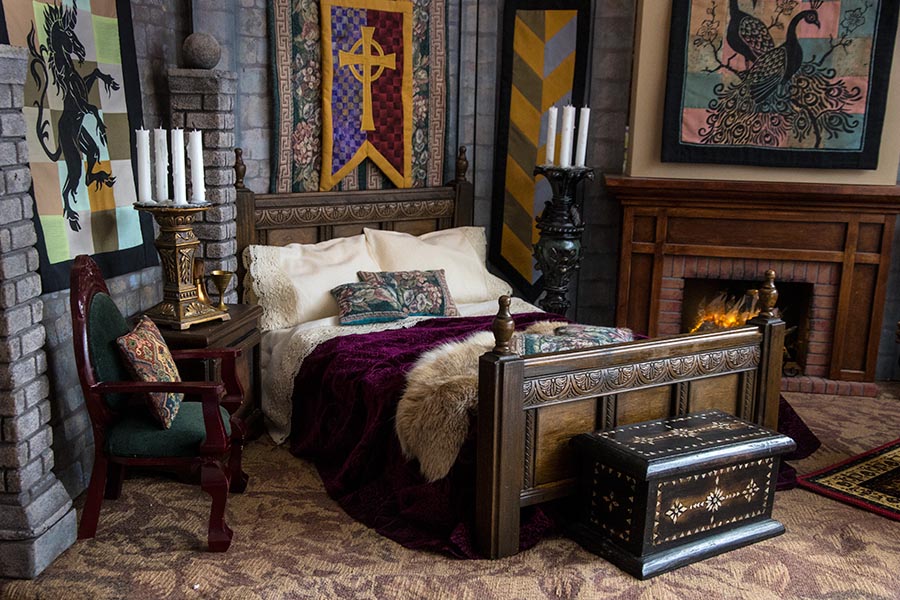
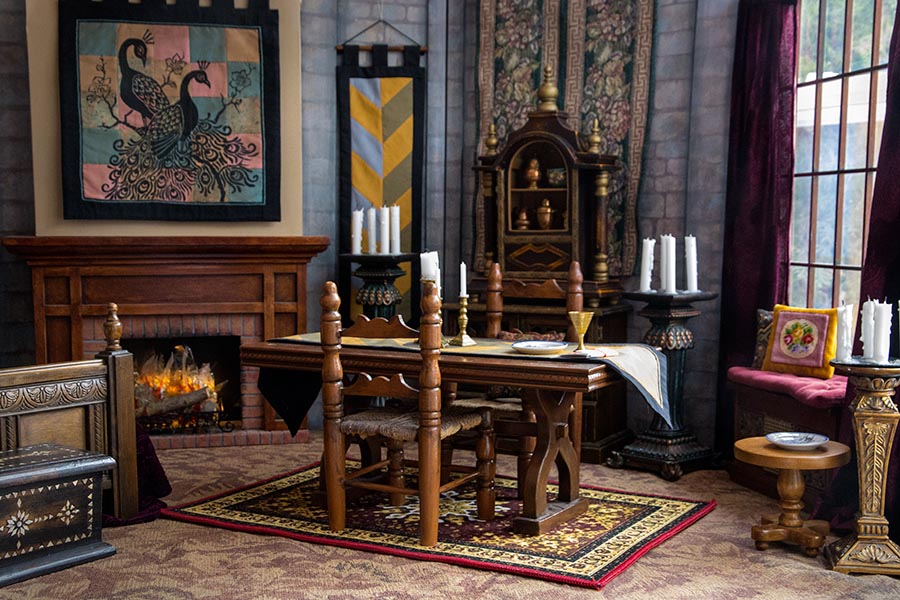
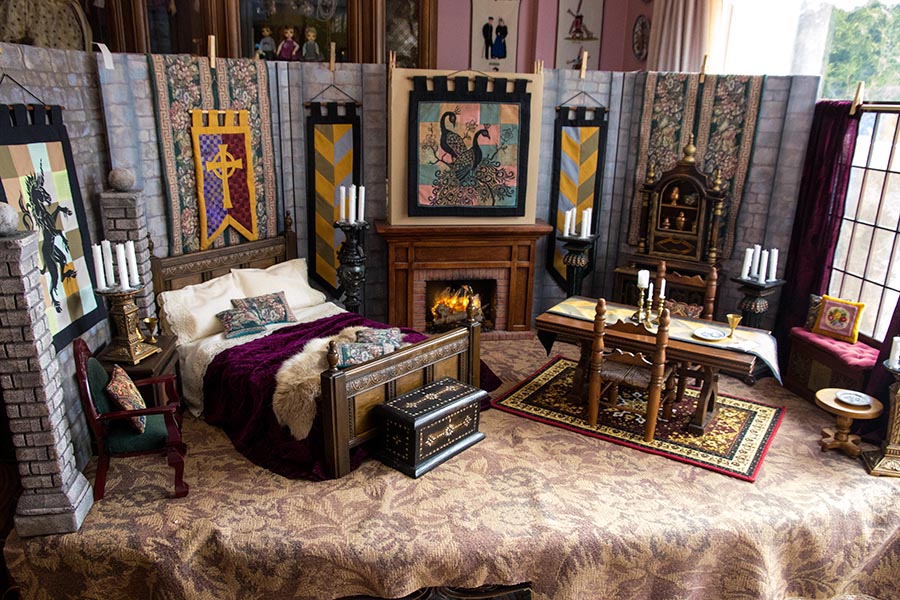
With the stories I had planned, I was going to need a room setting for Baron and Naomi's apartment. They lived in one wing of Miho's castle, and up until now had always been in the main common rooms. But now they needed a private space just for themselves. So I decided to create an apartment for them, and it would need a bed. But I didn't want a complete doll bed, as it would take up way too much storage space. So I suggested maybe Jan could make just the headboard and footboard, and then I'd make the actual bed part in between out of the photo boxes in which I store my props. And while he was at it, I asked him to make a set of headboards for a bed I'd need for a girl's bedroom.
The head and foot boards for Baron and Naomi's bed were made in the same style as the cathedral dividers, and the width of a King size bed......
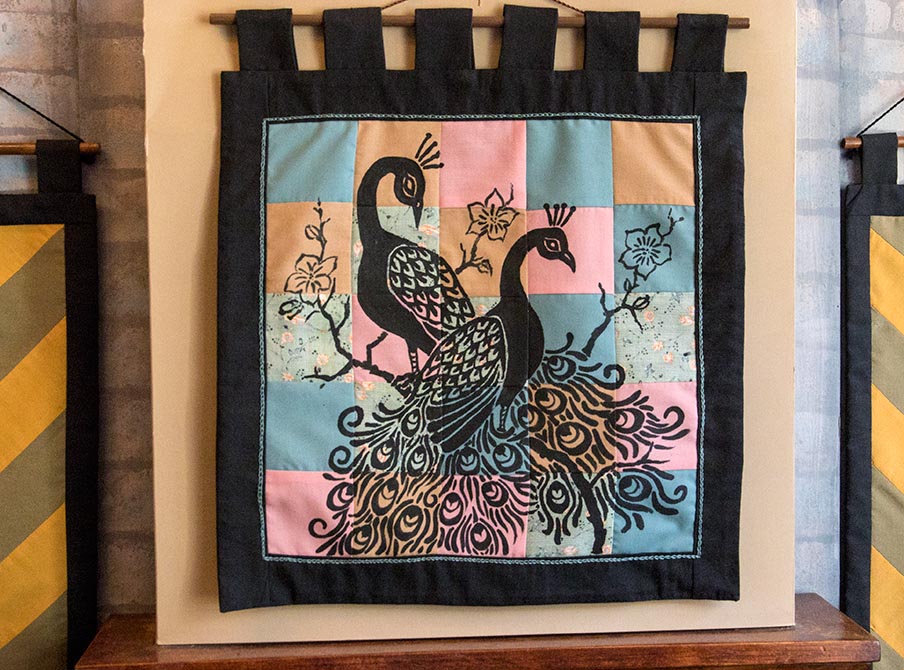
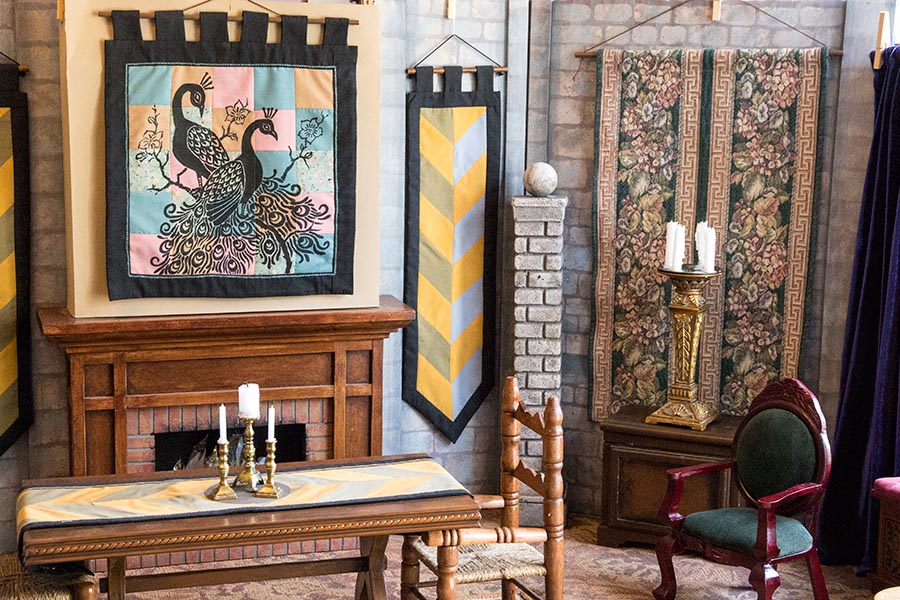
I also wanted them to have a new banner above their fireplace, so made a pieced wallhanging onto which I painted two peacocks.
I also sewed up two new tapestries from an old table runner I picked up at value Village some time ago, and made throw pillows out of the left over fabric.
I sewed some cream cotton sheets and pillow cases with antique lace edging, and a wine red velour bed cover. The headboard was supported between the wall and the prop boxes of the bed itself, and the foot board was supported with a chest at the foot of the bed.
When the room was finished, I found the peacock wallhanging seemed too bright, so I toned it down with some diluted golden/brown textile paint.
When the room was finished, I found the peacock wallhanging seemed too bright, so I toned it down with some diluted golden/brown textile paint.
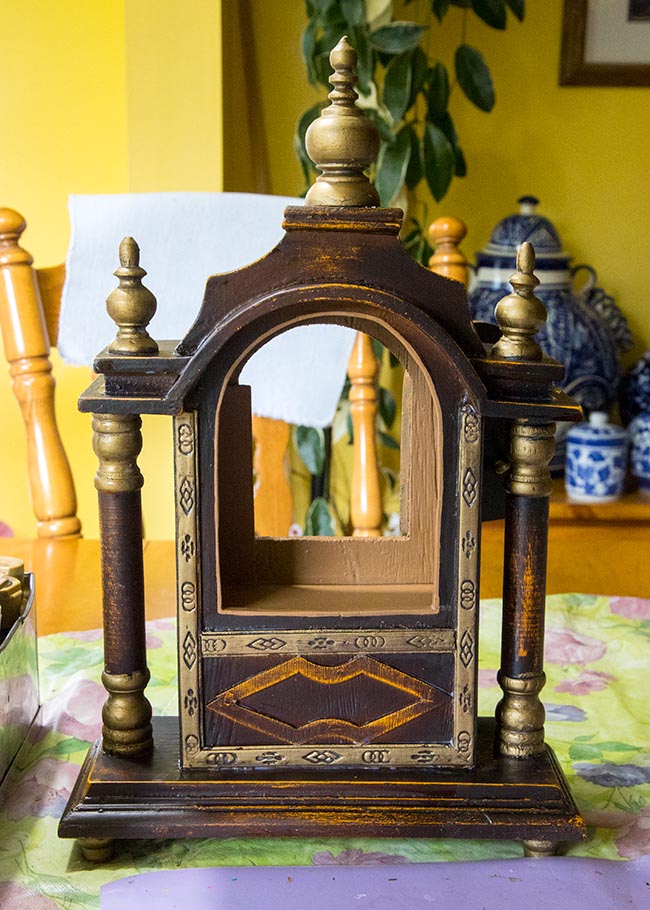
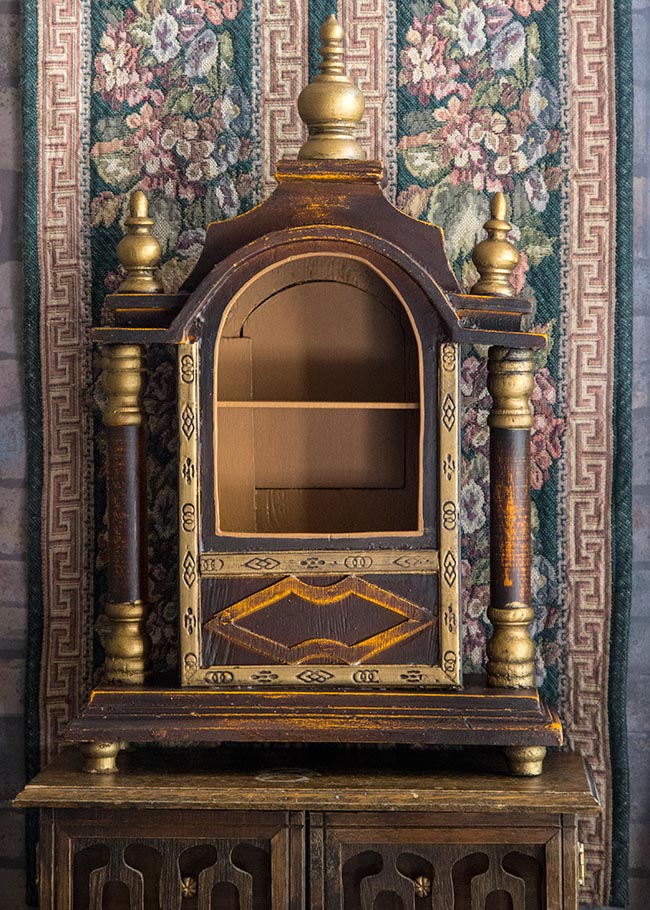
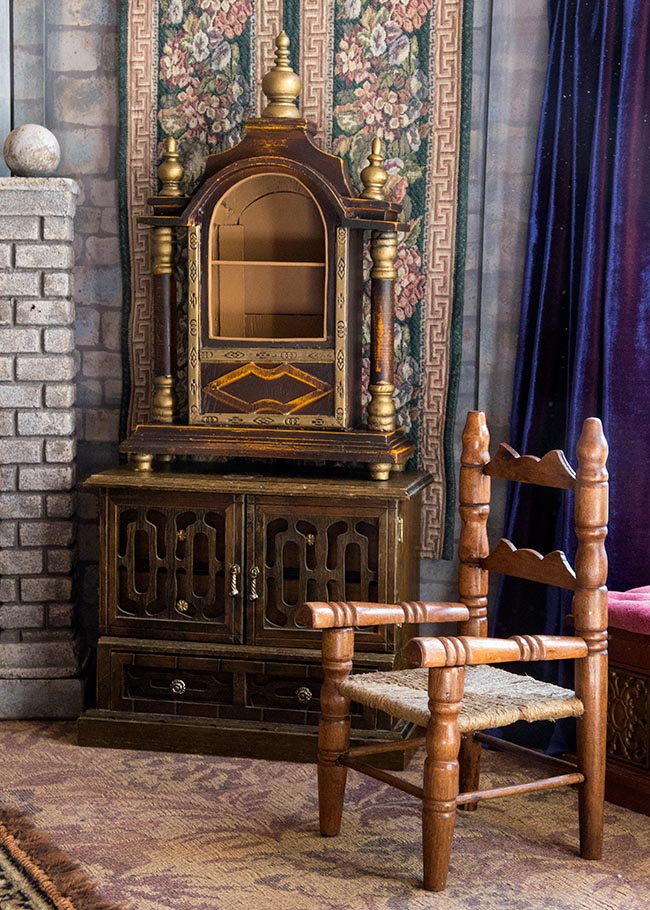
It's always a challenge coming up with a new room setting using all the same old furniture, and I really wanted something new and different. I had picked up a fancy, old, wooden clock casing at Value Village a few years back, and I asked Jan if he could make it into a cupboard for Baron and Naomi's room. So he opened up the circular clock opening, and made shelves to go inside...
After painting the inside, I stood the unit on top of another relatively new cupboard unit to create an entirely new piece....
Then I decided the room shouldn't have the same dark blue drapes as everyone else, so I sewed some new, wine red ones, and put together the other end of their apartment.
(The two plates on the tables are for real, miniature plants, but they only get put there during a photo shoot)
(The two plates on the tables are for real, miniature plants, but they only get put there during a photo shoot)
The whole apartment...
And Naomi trying it out...
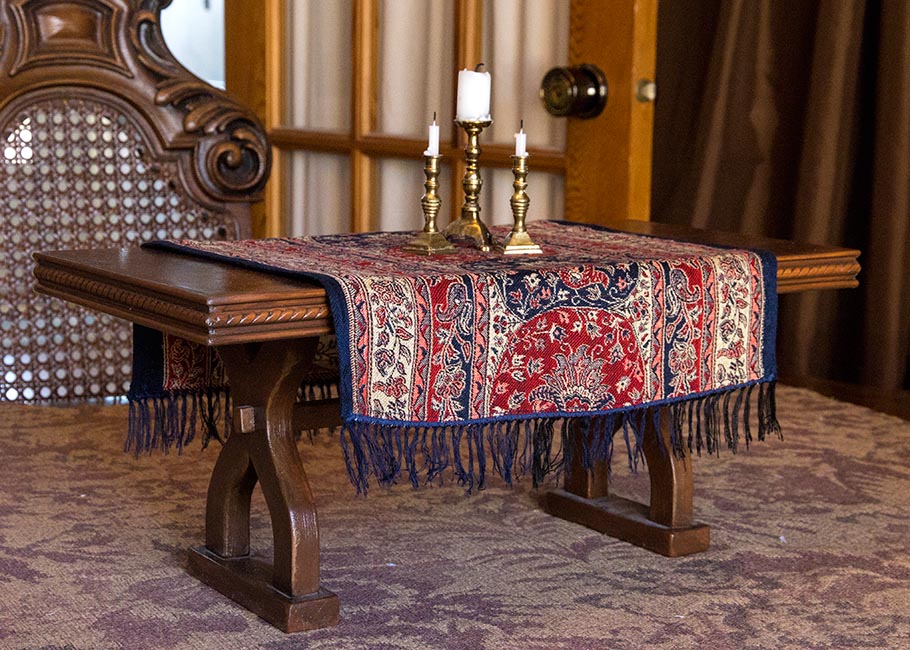
I'm always on the look out for things I can use for my dolls, and after the set was already taken down, I came across a beautiful shawl at Value Village, which I made into a table cloth for their table, for the next time I need to set up their apartment.
Another Bed
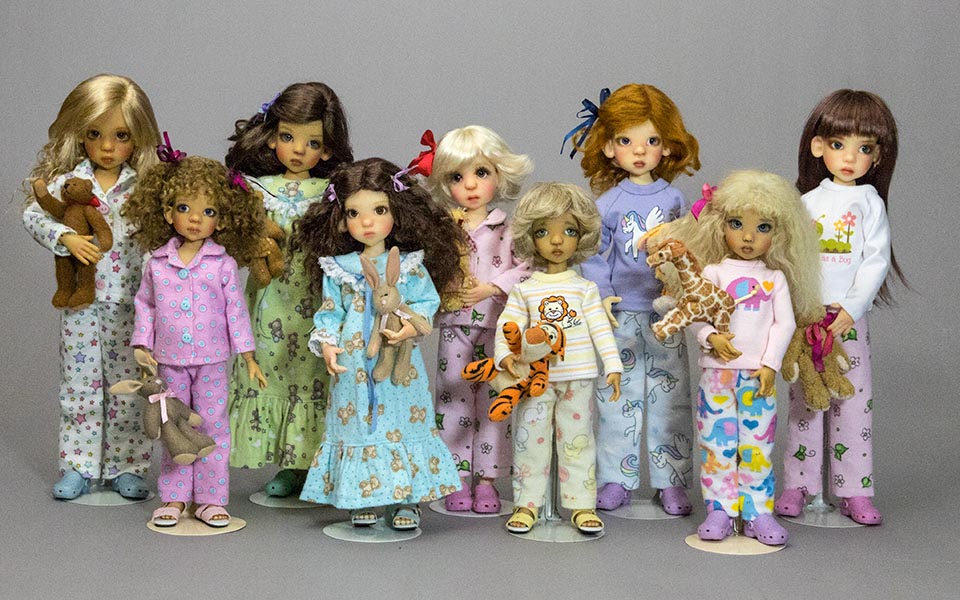
After making pyjamas for all nine of my small Kaye Wiggs girls....
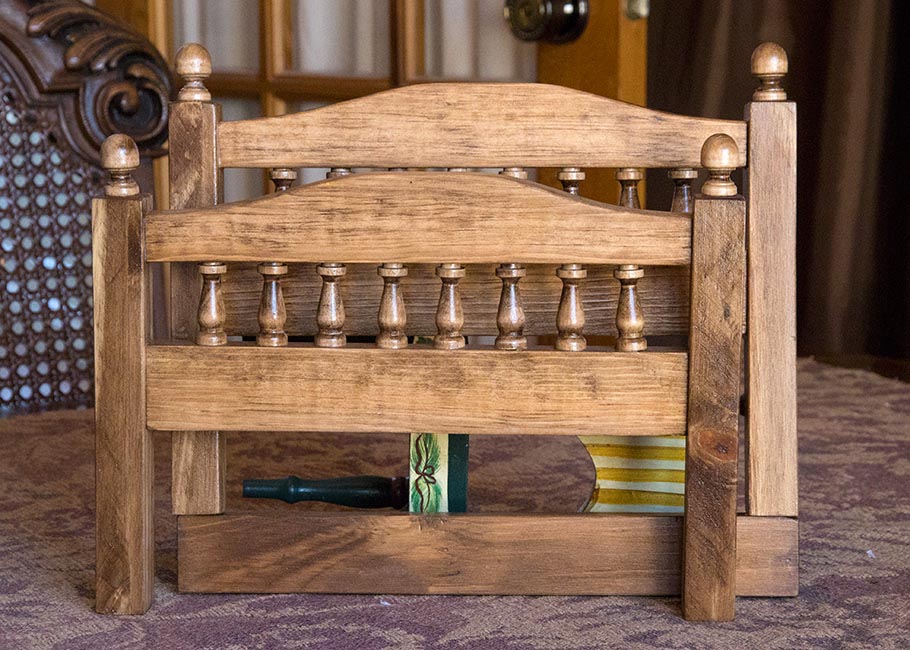
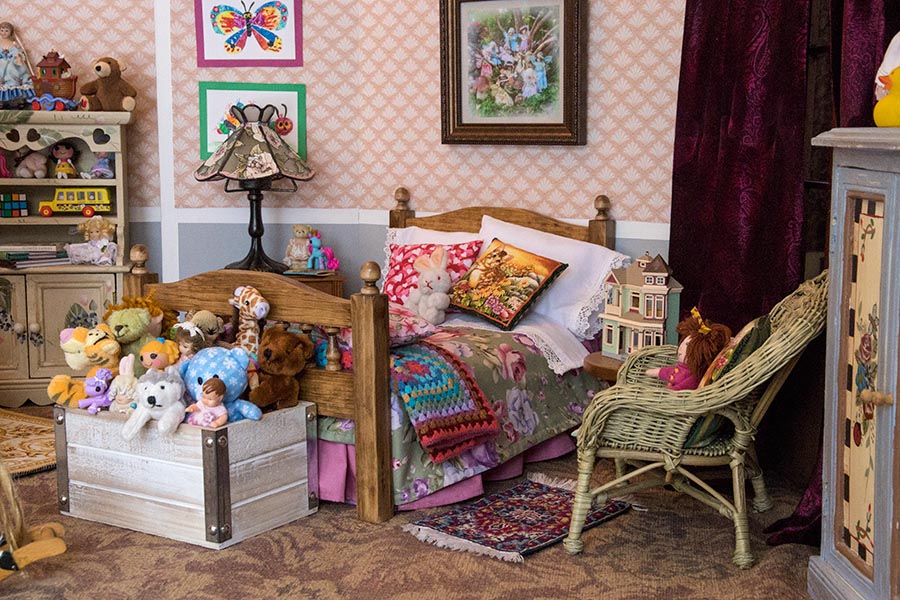
I decided that they had to have a pyjama party, and one can't have a pyjama party without a bedroom, so that meant I needed a bed. So I asked Jan to make a headboard and foot board. He made both exactly the same, in case I needed two beds, but made a separate riser for one, so it could be a higher headboard for a single bed...
I was going to use two photo prop boxes beside each other for the girl's bed, but it would also be possible to use three boxes for a taller doll. So he made the headboards the width of a photo box, that way I could use them for either size bed.
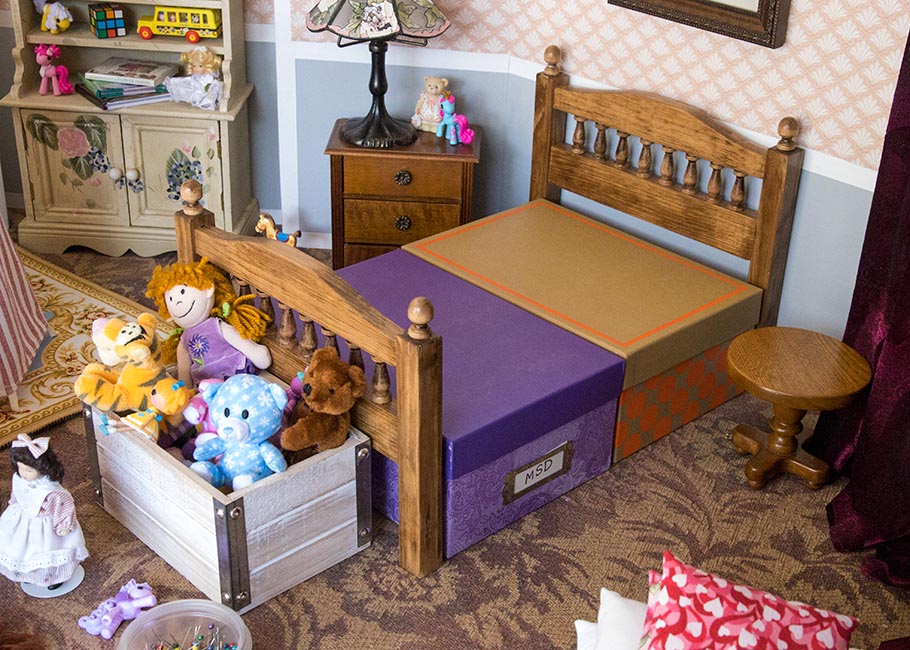
The headboard was supported between the wall and the prop box, and the footboard was held in place by a toy box.
The headboard was supported between the wall and the prop box, and the footboard was held in place by a toy box.
With the bed made...
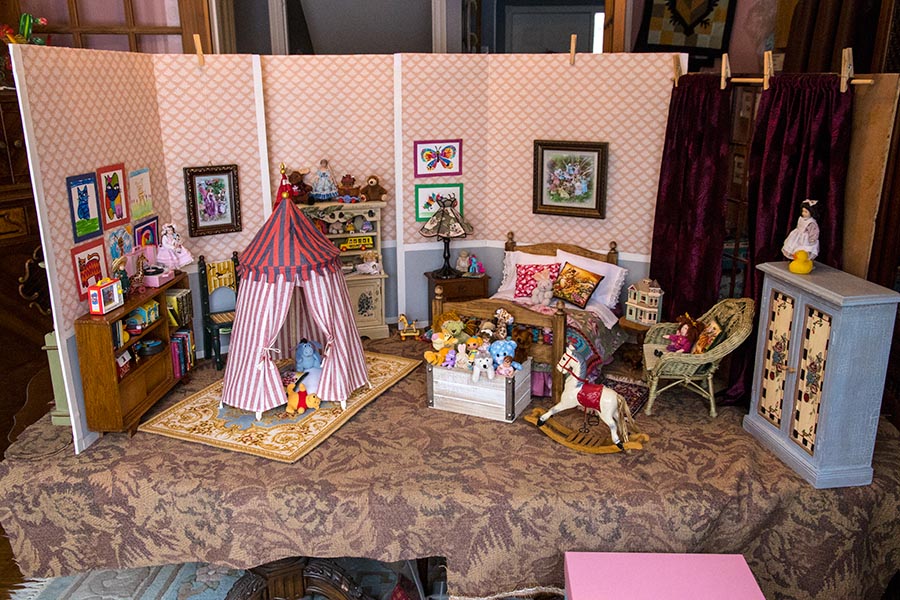
...and the whole bedroom...
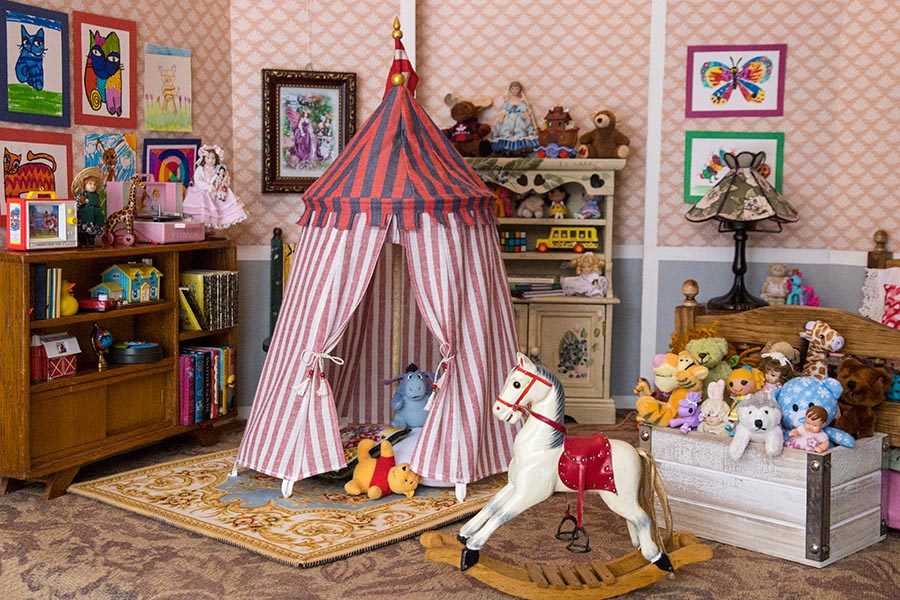
..complete with play tent...
Forced Perspective in the Kitchen
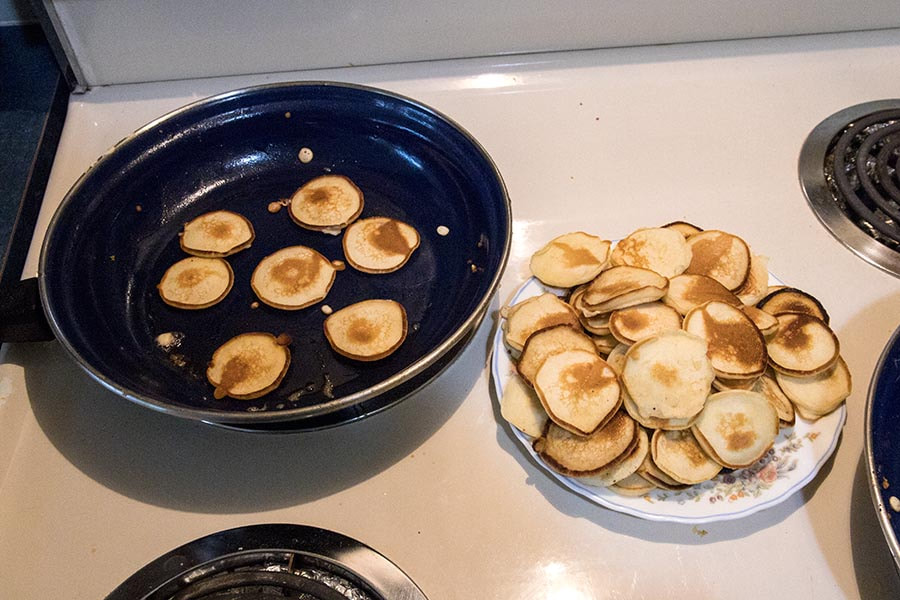
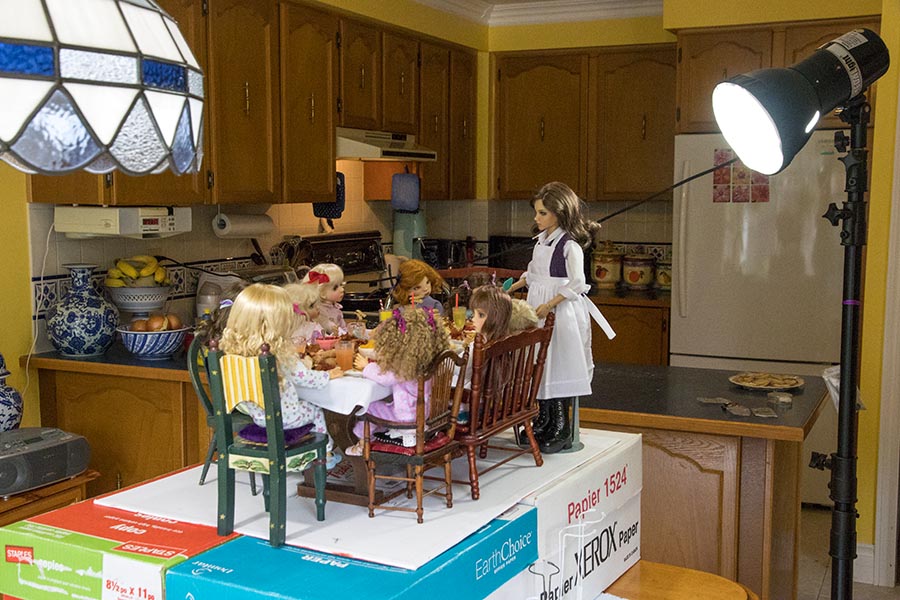
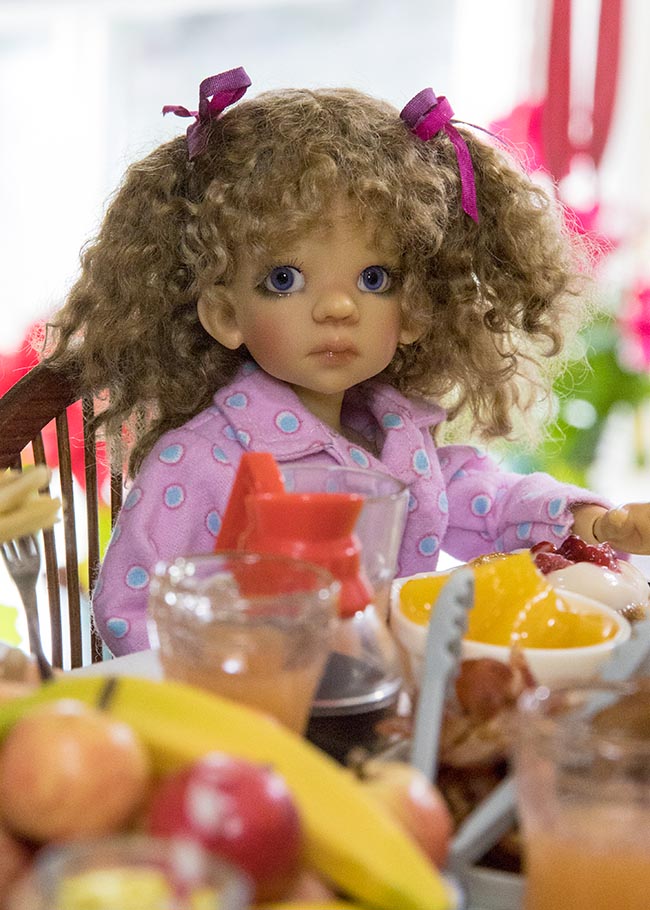
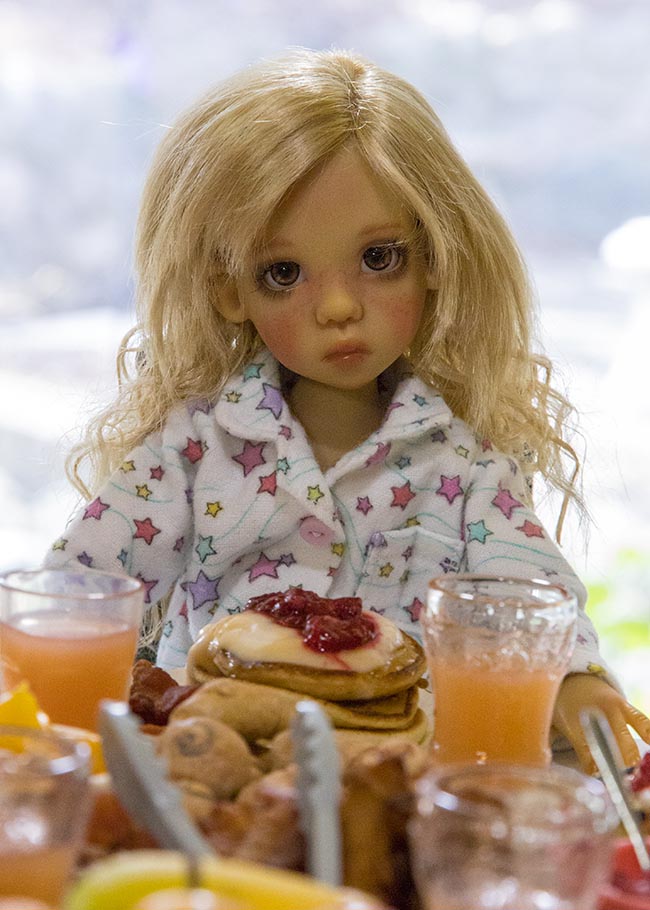
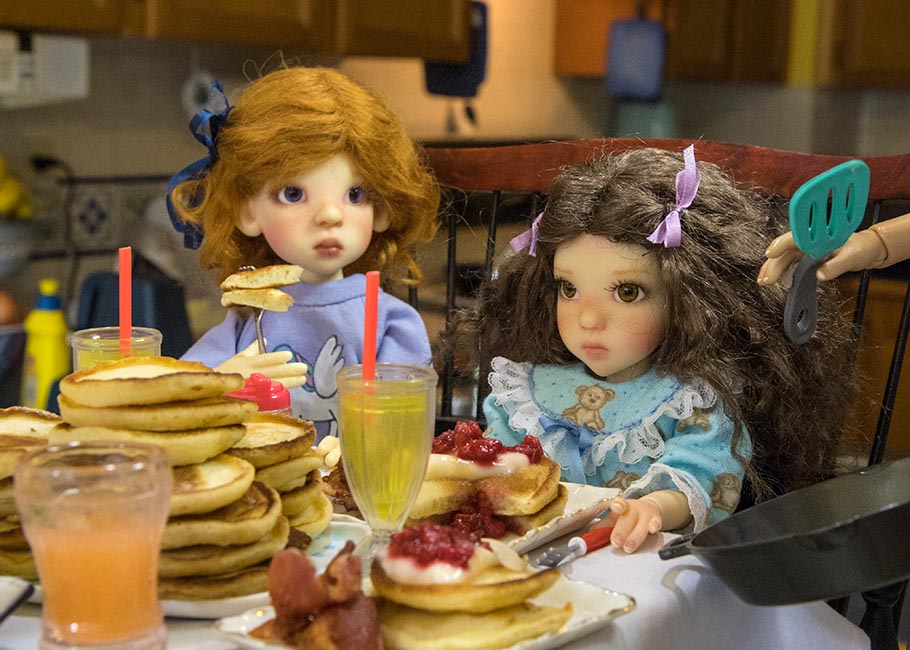
When I decided to end the pyjama party with the girls having breakfast, I knew it had to be shot in our kitchen. I also wanted real pancakes and bacon. So I made a pile of tiny pancakes, each one made from a single teaspoon of batter...
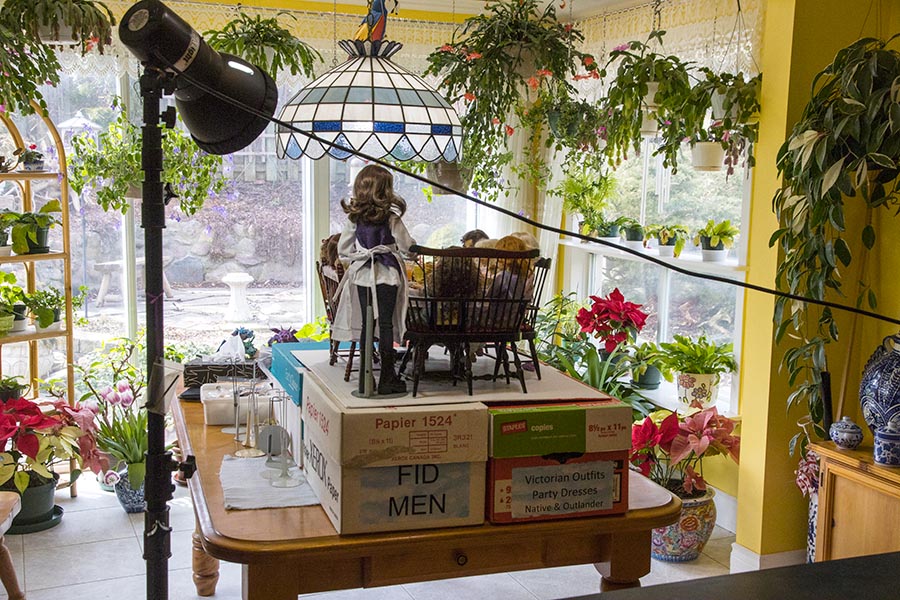
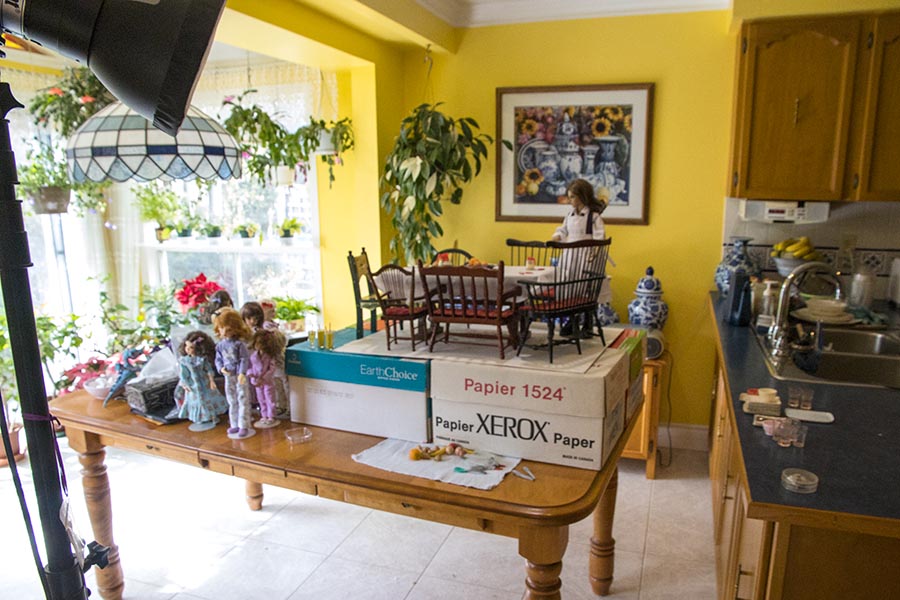
I set up the scene with the table and chairs on a board on top of some doll clothes boxes, so the doll's eye level would be about where a person their age would be.
It's always a challenge to shoot a scene where everyone is seated around a table with their backs to the camera. I would need to shoot the scene in the round, so all the kitchen chairs had to go. And I would need the photography light so the girls wouldn't just be dark silhouettes against the bright background.
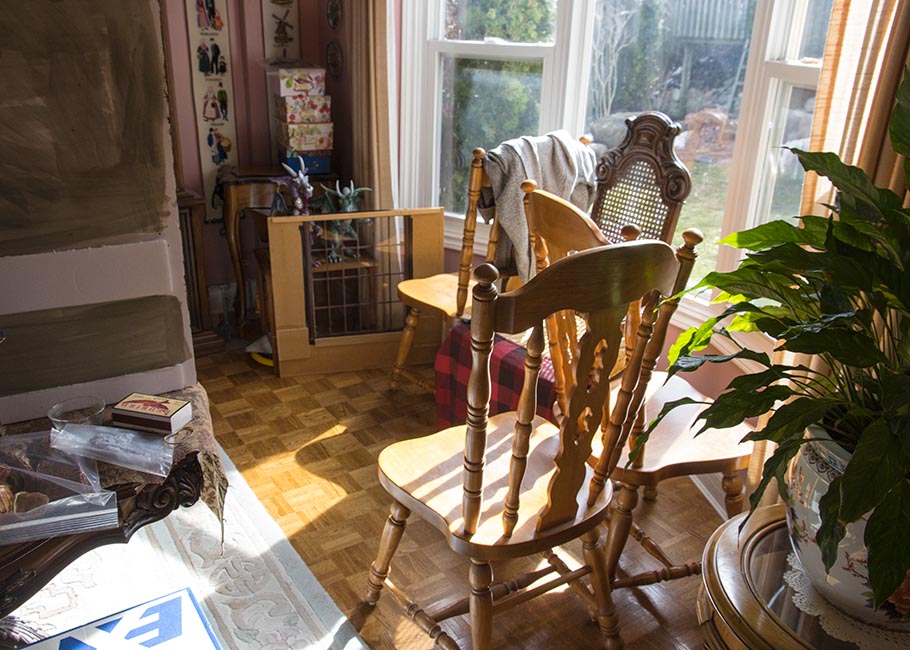
The kitchen chairs packed into the dining room...
With the chairs gone, I could take photos in any direction using the photography light, and there would be no distracting full size chairs in the background....
It was a nice change from just being able to take photos at the usual angle into the kitchen...
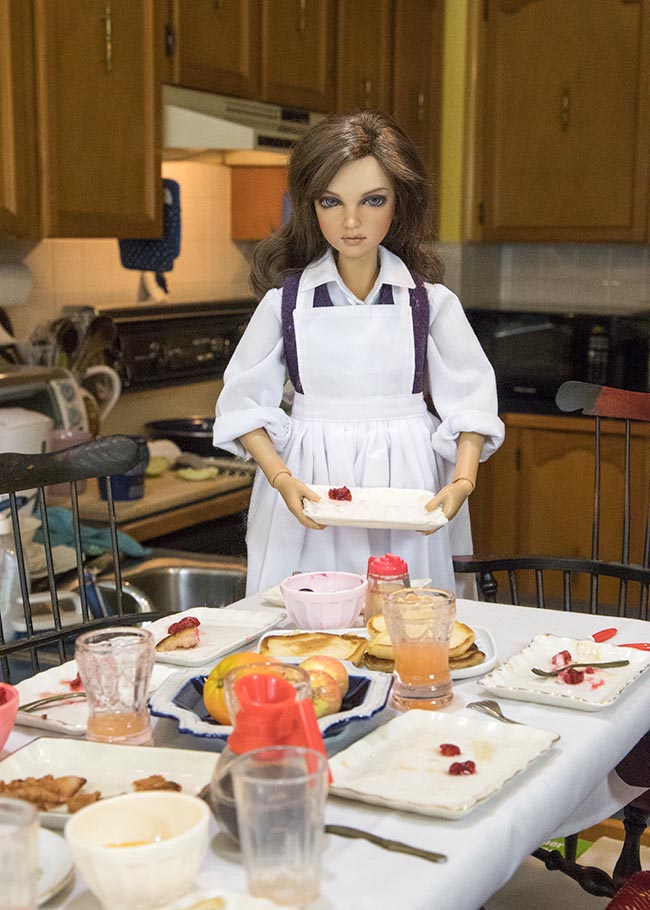
The final scene with the dolls and most of the food removed...
Copyright © 2023 Martha Boers
All Rights Reserved
