Behind the Scenes
Taking a look behind the scenes of some of the photo shoots, in the order they were taken....
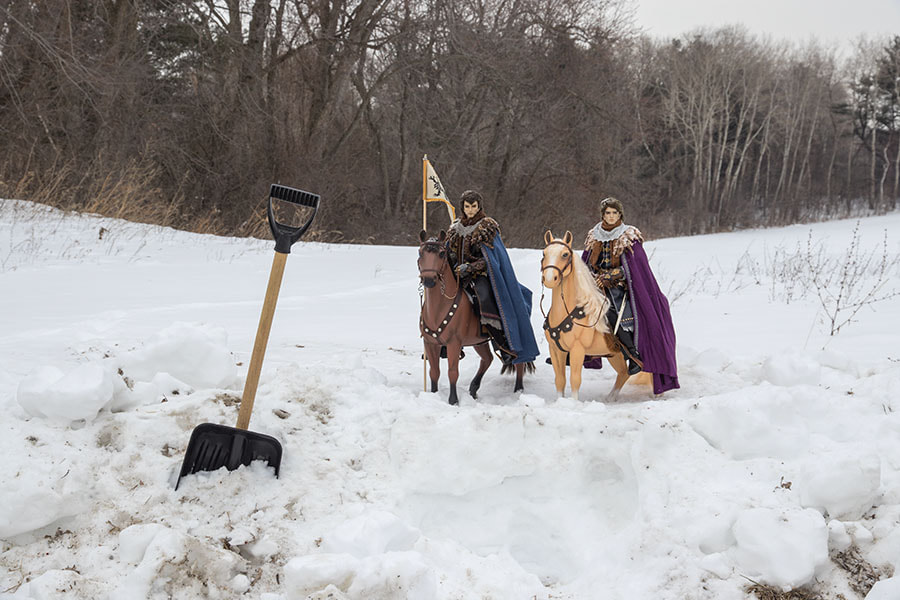
Shovelling Snow
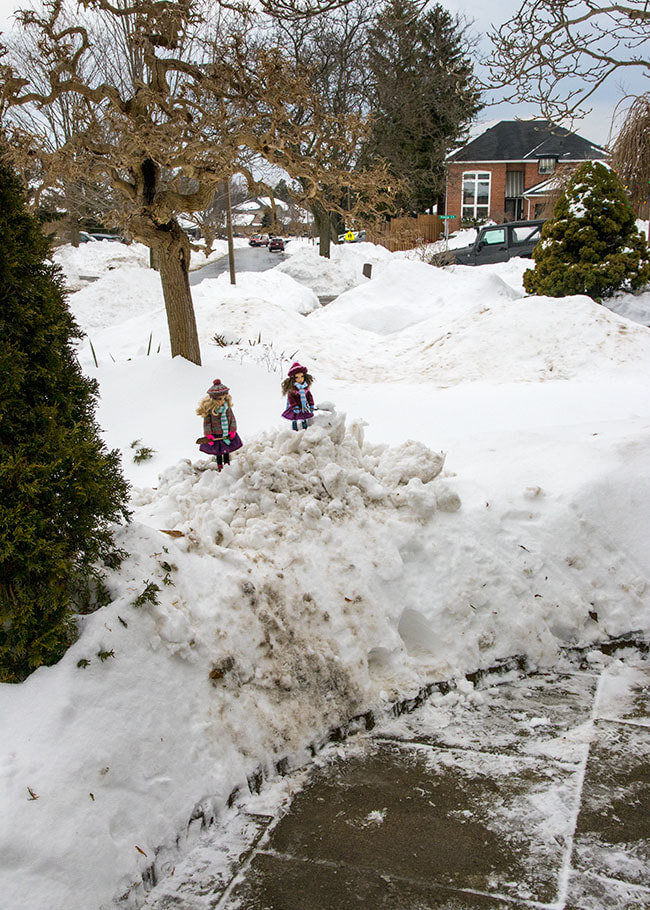
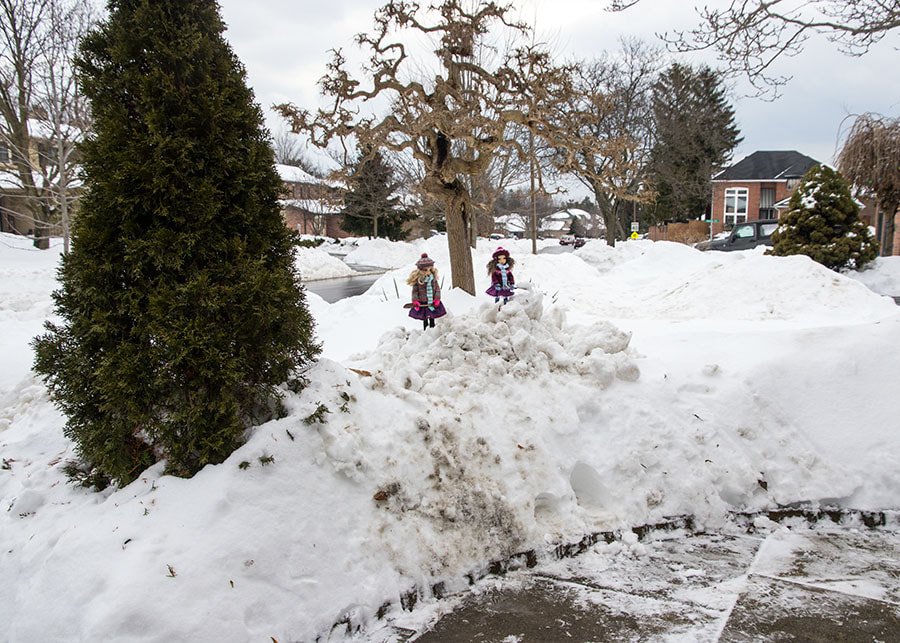
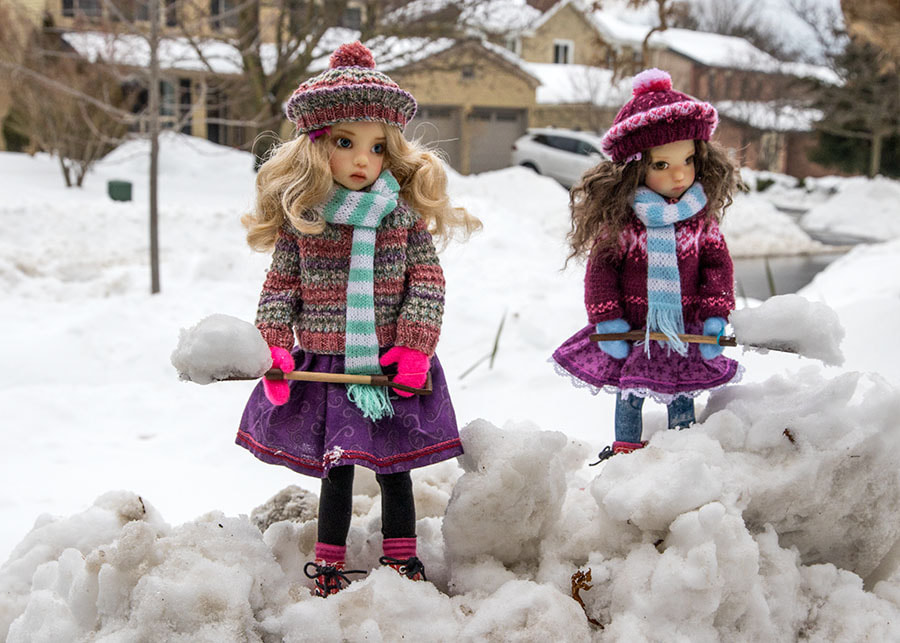
In early January we received a huge dumping of snow, and I chose two of my Kaye Wiggs Tinies to 'help shovel'. I placed the dolls on top of a shovelled snow bank to raise them up...
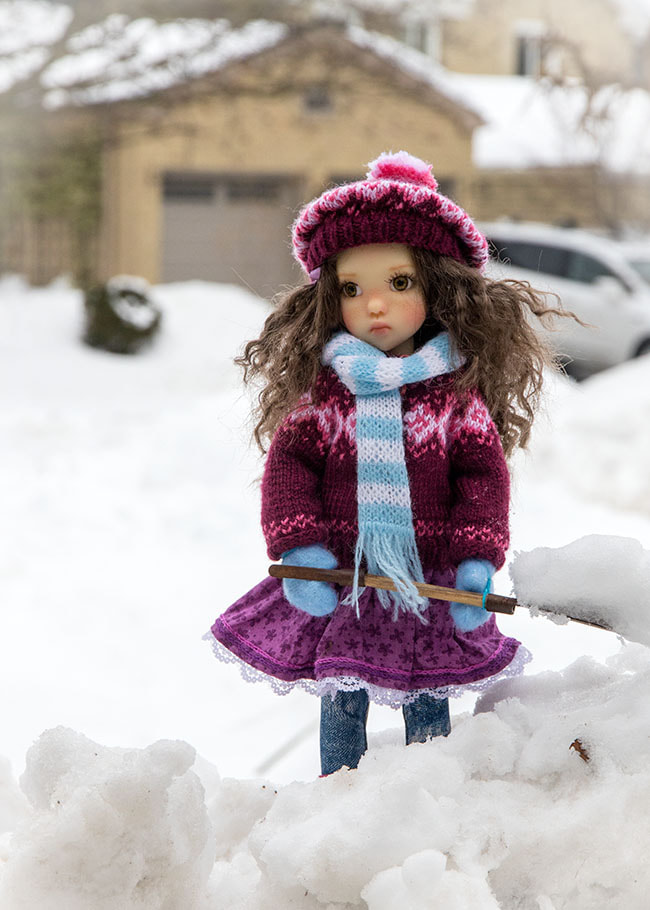
Then I took the photos close up at the doll's eye level....
Naomi's Engagement Ring
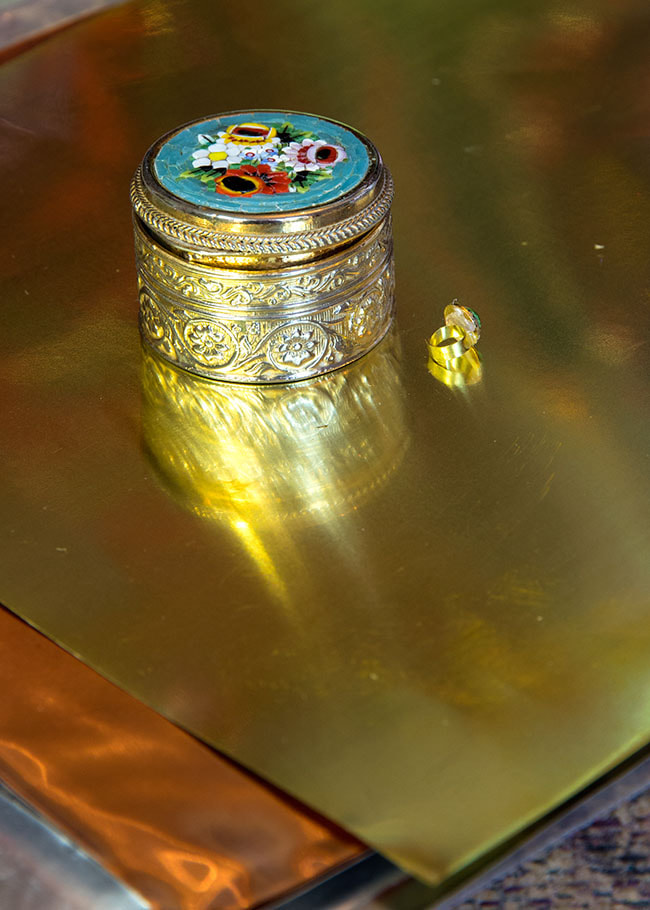
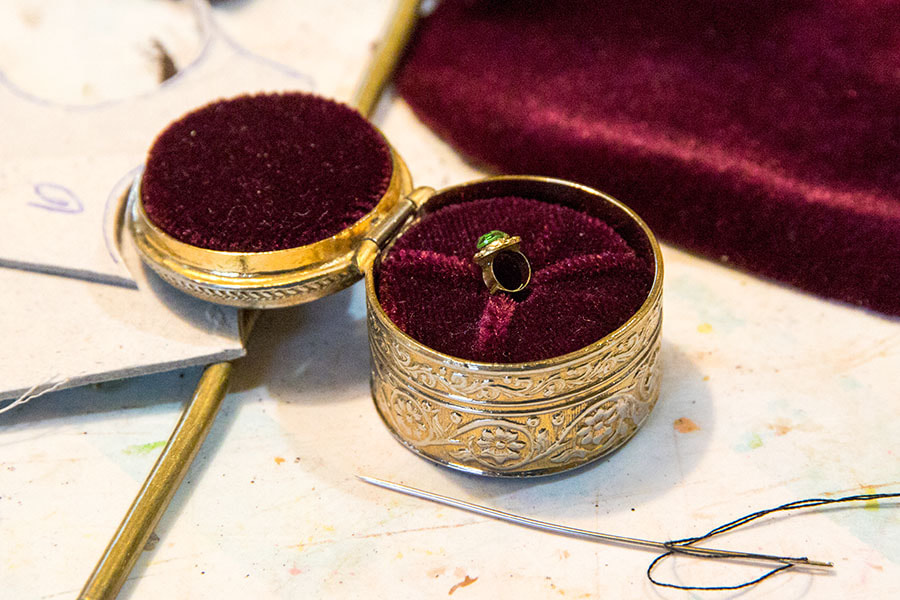
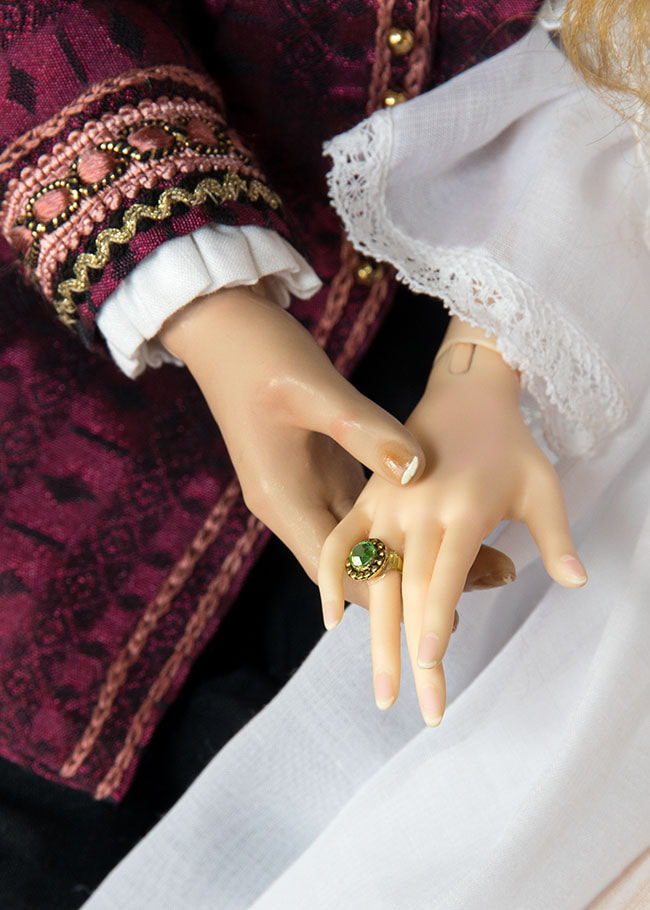
I needed a ring for Naomi, but had no idea how to make one. Until I remembered that I had several sheets of thin metal, and one was a gold colour. So I cut a thin strip of the gold metal foil, and curved it to make a ring. I left it overlapping in the back so it would be adjustable. Then I looked through my collection of doll jewelry, and found one tiny vintage doll earring. It had a fancy setting just the right size, and it had a pale green stone - which was the perfect colour, since Naomi's wedding gown was going to be pale green and white (although it ended up being pale yellow and gold) So I cut off the loop, and glued the setting onto the tiny metal ring.....
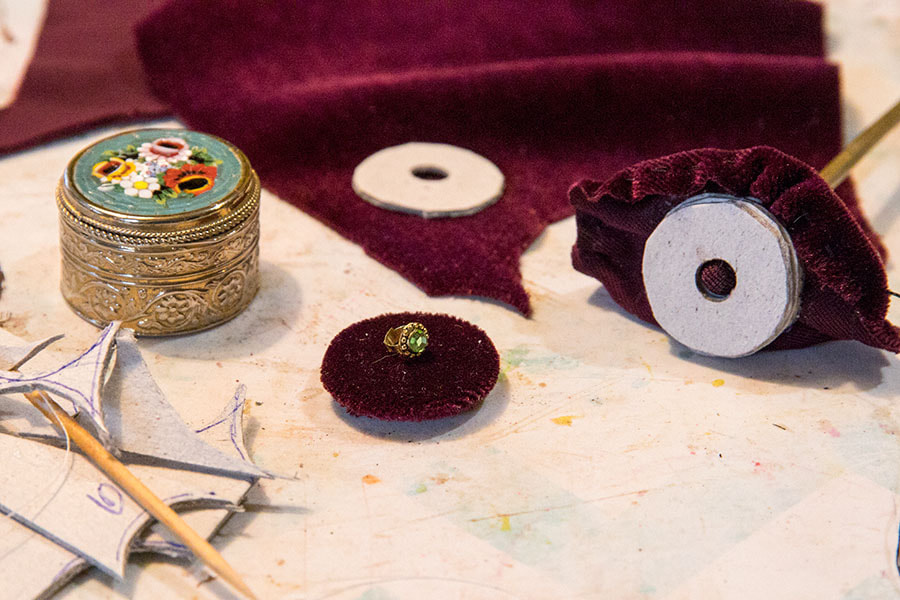
Then I wanted something to hold the ring. I'd been given the beautiful little gold box as a gift, and thought it would be perfect. But I needed to make a nice velvet interior, with a place to hold the ring. So I cut out several small cardboard circles.
The inner lid of the box only needed one layer of cardboard, but the bottom needed to be 'higher', so I cut several cardboard circles, punched holes in the middle with my hole punch, and glued them on top of each other.
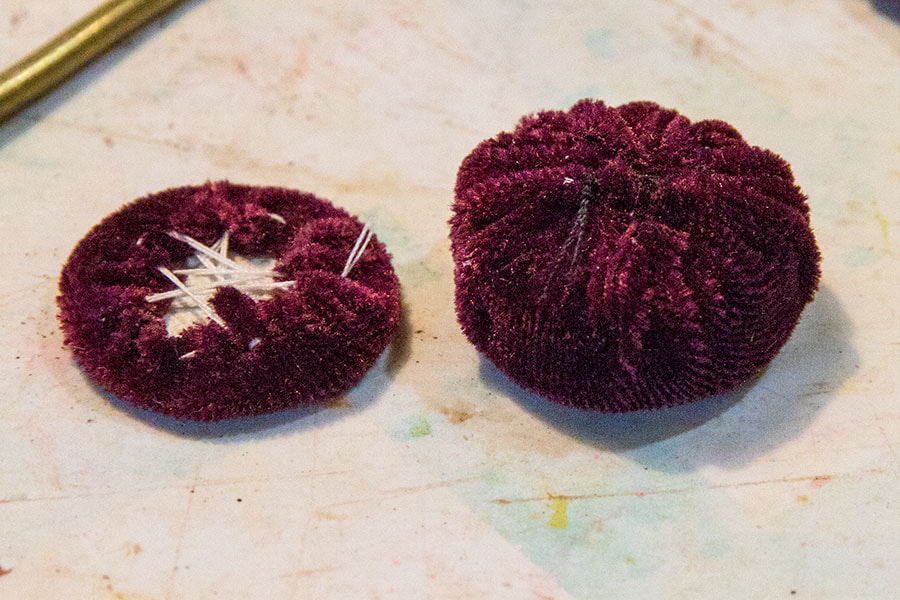
Then I cut out two circles of wine velour, and lightly glued them on top of the cardboard. I used a dowel to poke the velour down into the hole so there would be a place to insert the ring....
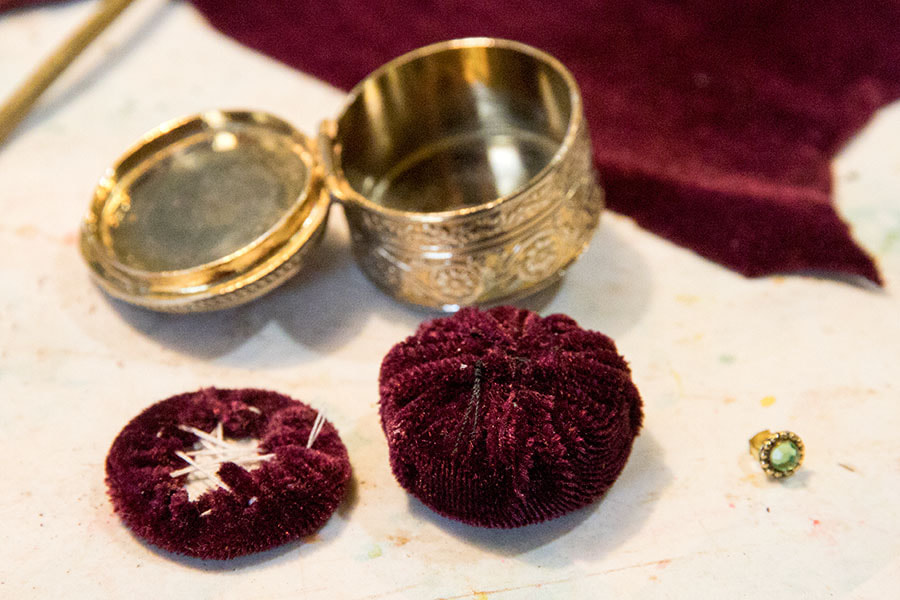
Then I gathered the velour and glued it down on the wrong side....
...then inserted the velour-covered cardboard into the gold box...
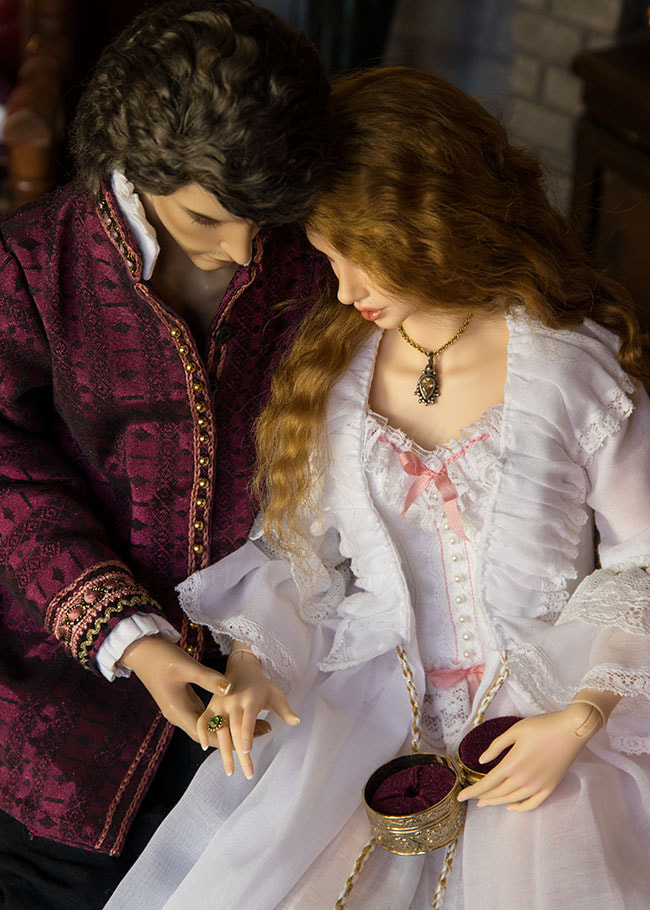
And Baron had his gift....
Pillows and Tapestries
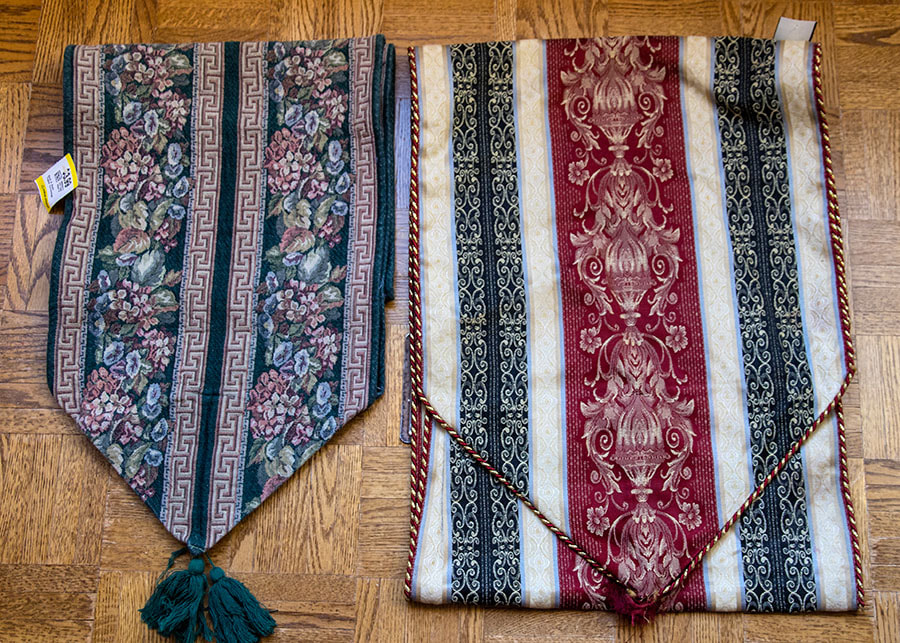
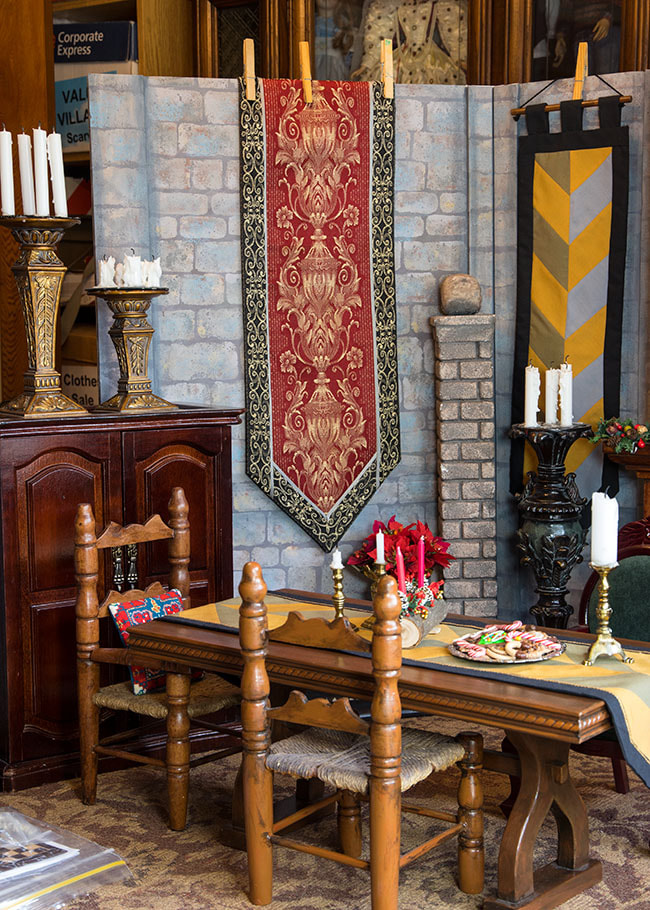
Back in early December I'd found two table runners at Value Village....
The first thing I did was to make two new banners to hang in the castle at Christmas....
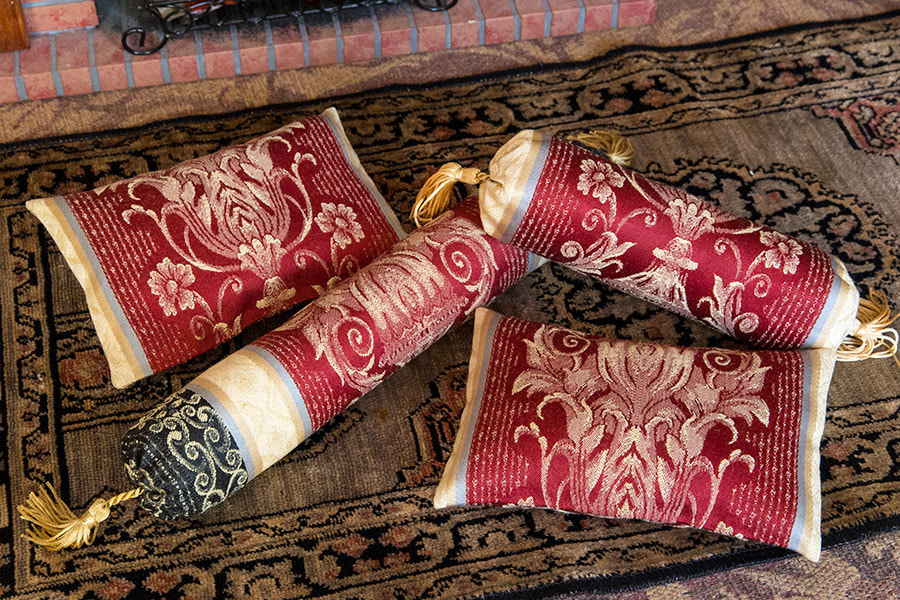
But what to do with the leftovers? I decided to turn them into pillows and cushions....
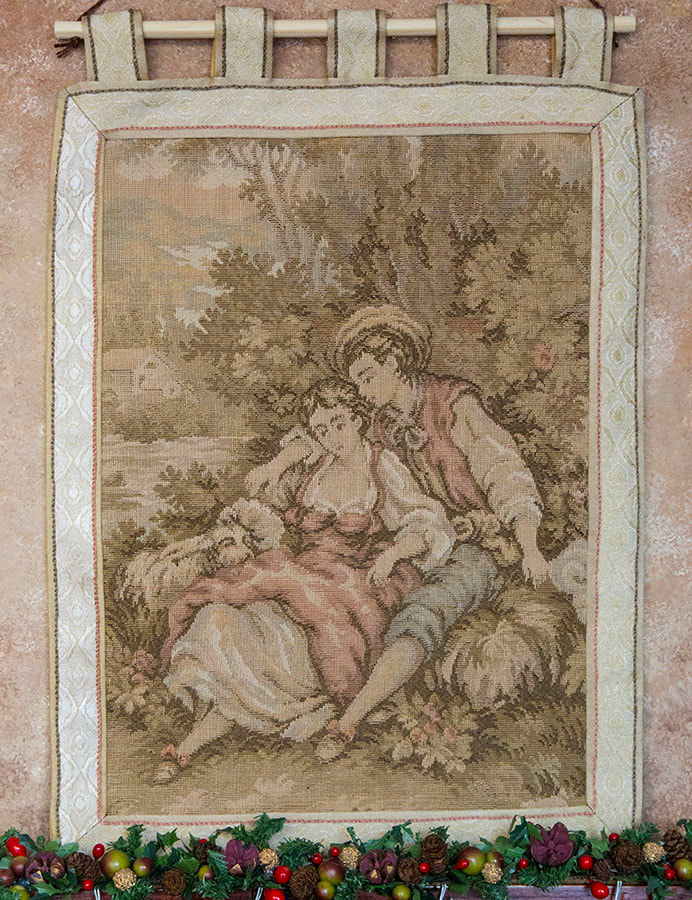
A week after finding the table runners, I found a big Rococo tapestry in a nice frame. I thought the tapestry could be cut up to make two smaller ones for an upcoming story, and the frame could be cut down to fit around a painting that still needed a frame. So Jan took the frame off and reworked it for the painting.
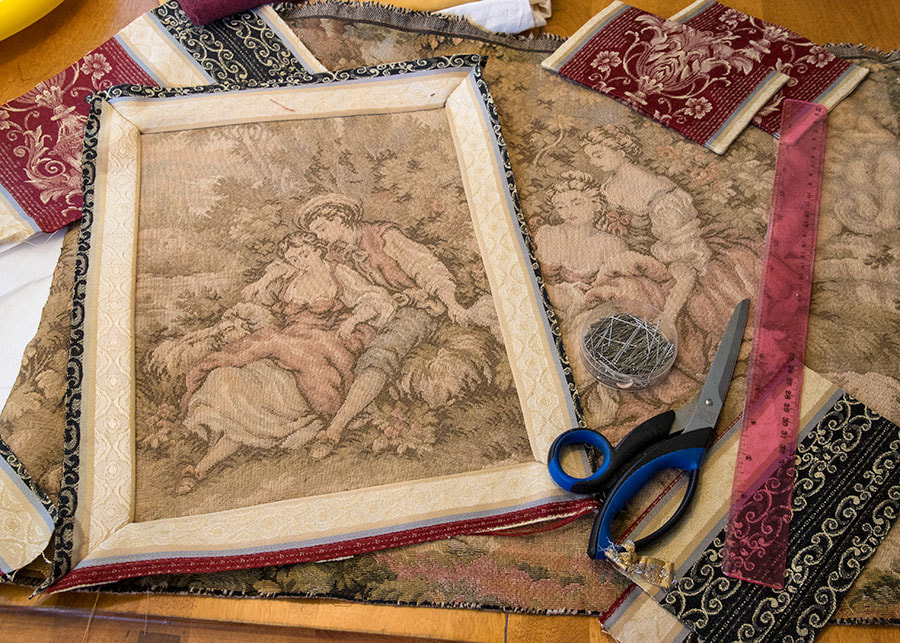
The tapestry was extremely faded, and I wondered if washing it would help, and it did brighten it a little bit. Then I proceeded to cut a section off, and started framing it with leftover cream borders from the red table runner....
The tapestry was extremely faded, and I wondered if washing it would help, and it did brighten it a little bit. Then I proceeded to cut a section off, and started framing it with leftover cream borders from the red table runner....
It turns out that it was actually good that the tapestry was so faded, as the camera really picks up the colours and brightens them. It might have been too distracting in the background had it still been the original bright colours.
Anyways, I did my best to make a nice straight border, but it still ended up uneven on the outer edge, but there's nothing I can do about it at this point so it is what it is.
Anyways, I did my best to make a nice straight border, but it still ended up uneven on the outer edge, but there's nothing I can do about it at this point so it is what it is.
The pillows, wallhangings, and tapestry will appear on the set of the upcoming White Cat Sequel....
the Forest Dweller Christmas
With the Forest Dweller Christmas story having come to an end, it was time to take a look at some Behind the Scenes secrets.
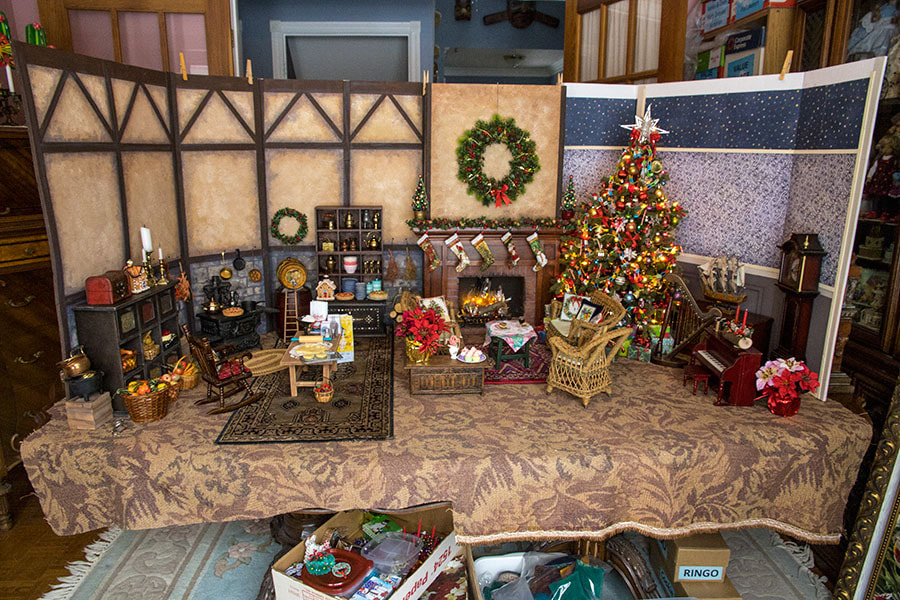
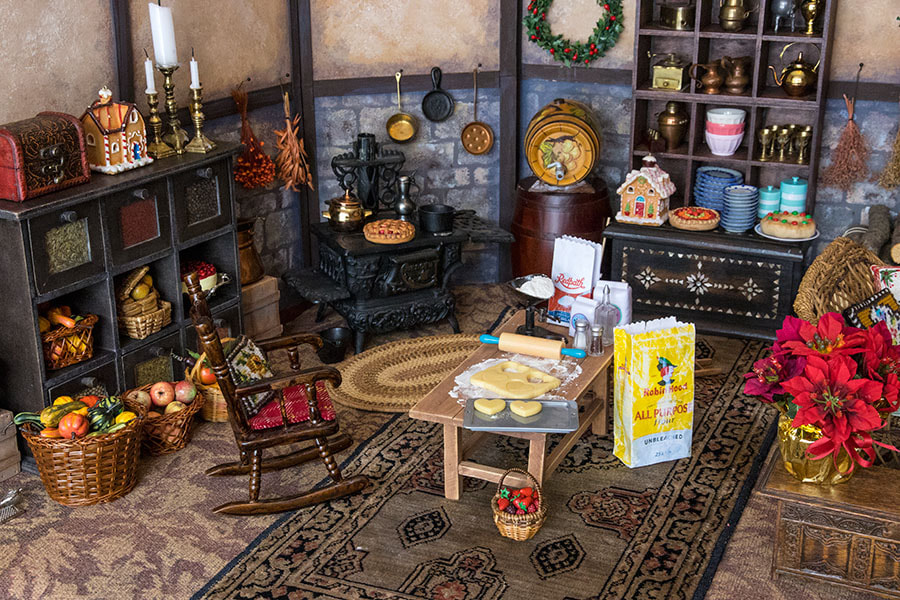
I started by creating a huge set with a living room at one end, and a kitchen at the other. I didn't have much in the way of furniture the correct scale, since the standard quarter scale would be too big, yet dollhouse scale would be too small. So, I tried to use in-between size furniture for tables and chairs, yet used some of the smaller, quarter scale stuff around the walls. Fireplaces can be any size, so it was in the middle, with my 'Victorian' wall on the the living room side, and the 'Woodcutter's Cottage' wall on the kitchen end....
I started by creating a huge set with a living room at one end, and a kitchen at the other. I didn't have much in the way of furniture the correct scale, since the standard quarter scale would be too big, yet dollhouse scale would be too small. So, I tried to use in-between size furniture for tables and chairs, yet used some of the smaller, quarter scale stuff around the walls. Fireplaces can be any size, so it was in the middle, with my 'Victorian' wall on the the living room side, and the 'Woodcutter's Cottage' wall on the kitchen end....
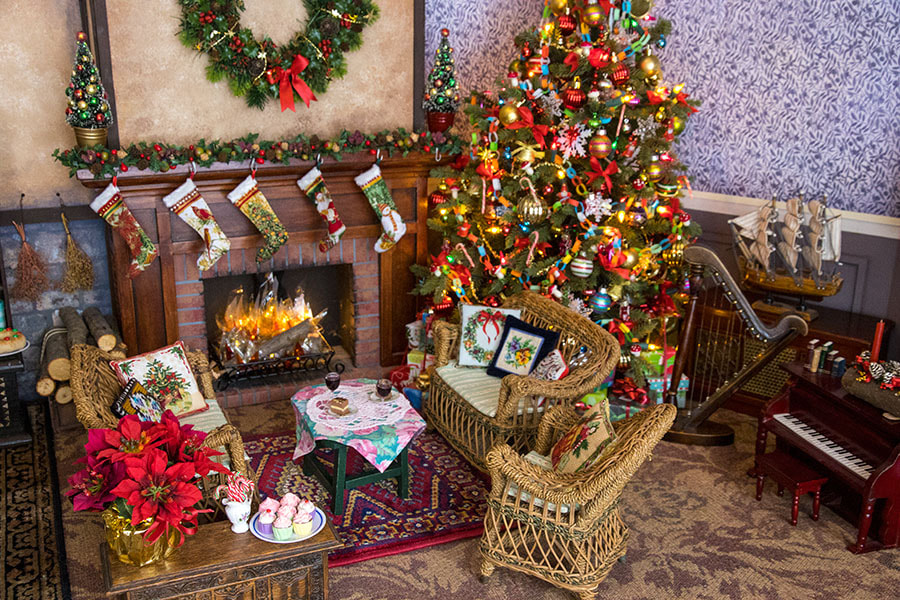
The focal point of their living room was the fireplace. The seating was a bit oversize, but it was the smallest I had, and that just makes it more cozy. Taking a closer look at the living room. I included a piano and harp since I was originally intending to have everyone singing together, but changed my mind. They were never used.
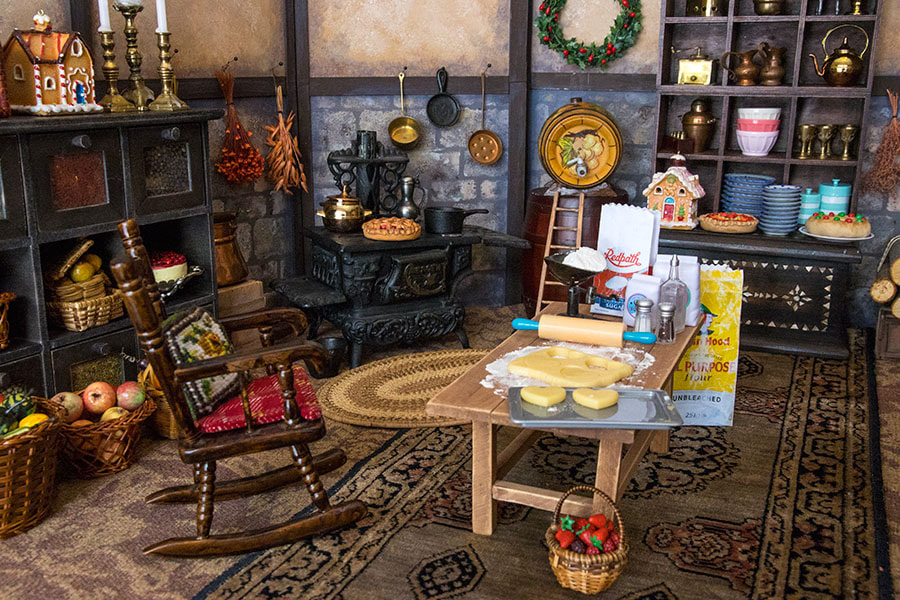
I loved the kitchen end of the set. It was also a better scale.
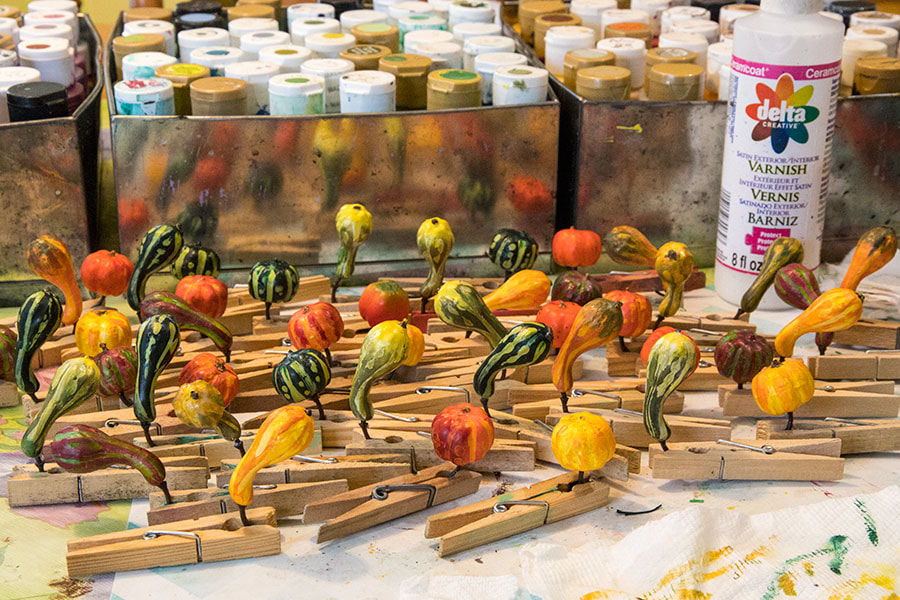
After finally getting a good kitchen layout that I was happy with, I started adding the props. I wanted baskets of fruits and vegetables, including my tiny gourds. However, I'd photographed those same gourds twice the day before for another project and was fed up with constantly having to PhotoShop the white spots on all of them. When I bought them years ago, they came strung as a garland, with the thread going right through their styrofoam interiors, so when I removed them off the string, each and every gourd had two big white holes. I was fed up with trying to hide the holes, and decided to fix them once and for all. So I filled all the holes with drywall compound, and then the next morning I covered all the drywall compound-filled 'holes' with matching coloured paint. Then after varnishing them all, I took a photo while they were drying....
Once they were dry, some could be put into baskets in the Foxes' kitchen....along with other fruits and veggies....
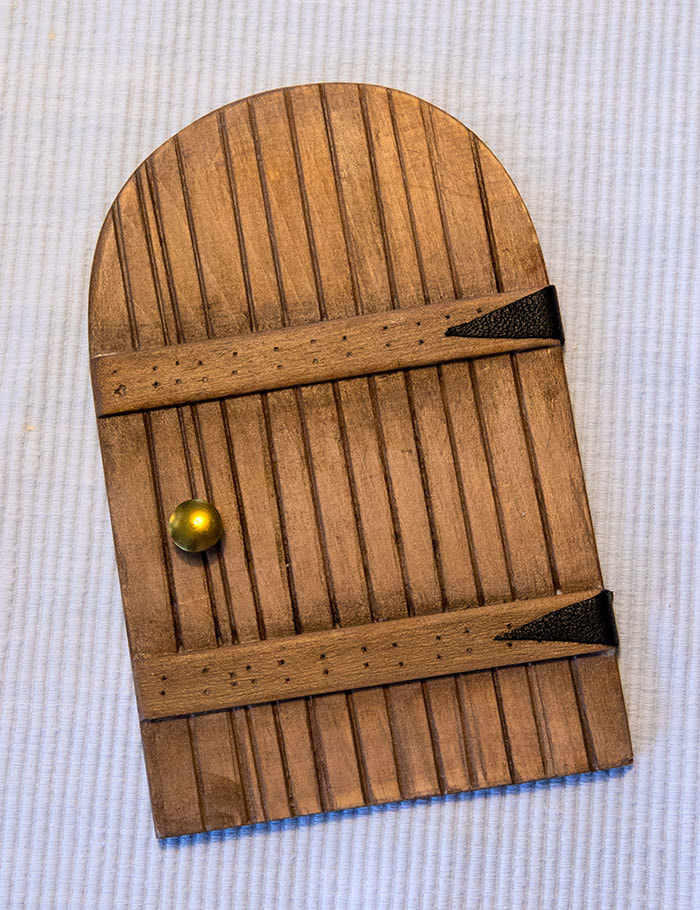
When I got to photographing the second set of guests travelling in the snow, I wanted to do something different, so asked Jan if he could make me a small wooden door - which he did. I painted it, and added a doorknob and leather 'hinges'....
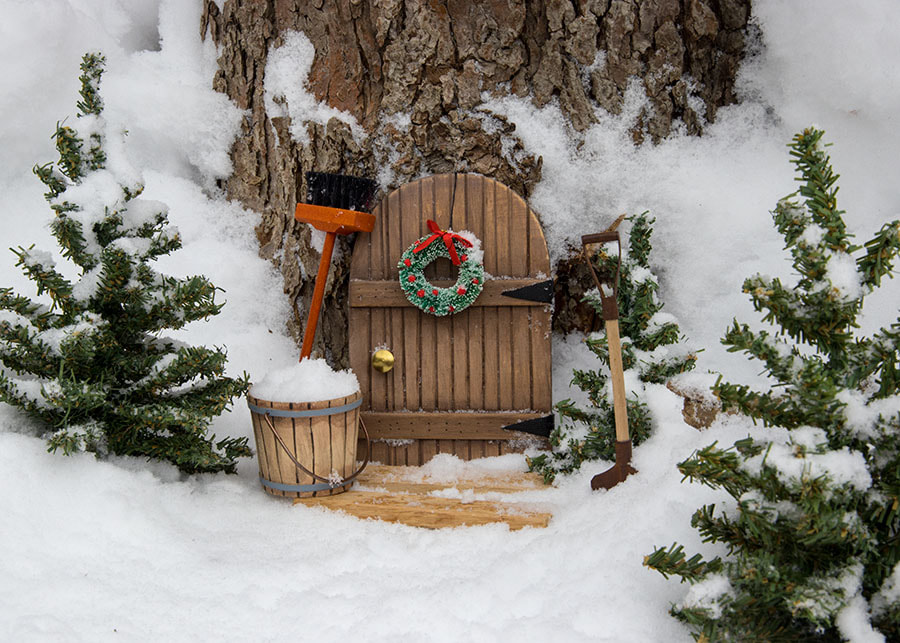
I placed the door against the base of our crabapple tree, and added some trees and props, to create the front entrance to Chip and Jo's home.
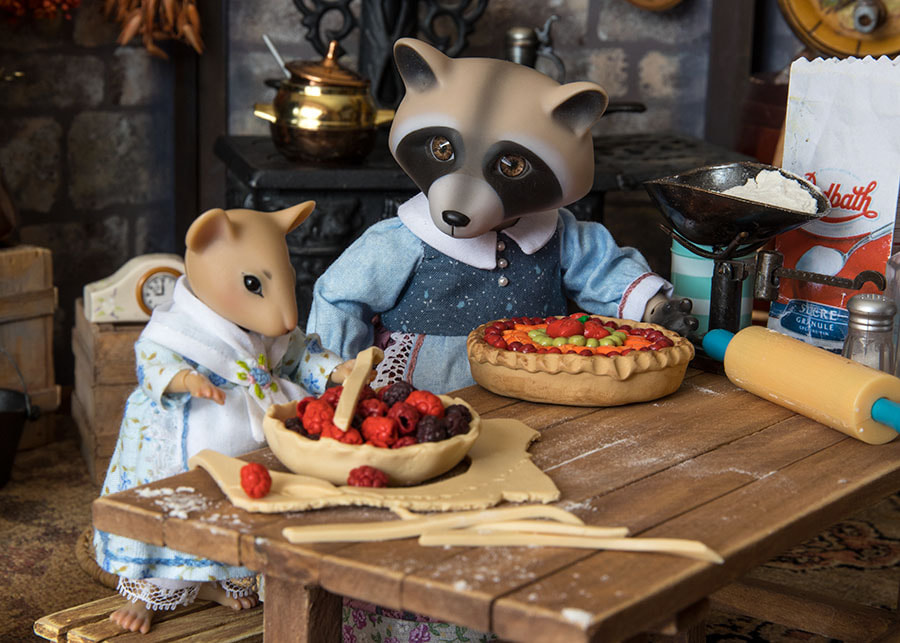
In the kitchen scenes I mostly use existing food props, but sometimes I'll use unbaked polymer clay to help create more 'realism'. Like when Muffy was making a pie. The rolled out dough and pie crust were unbaked polymer clay, while the raspberries were existing baked fruit. After the photo shoot, the unbaked polymer clay was put back into my supply container.
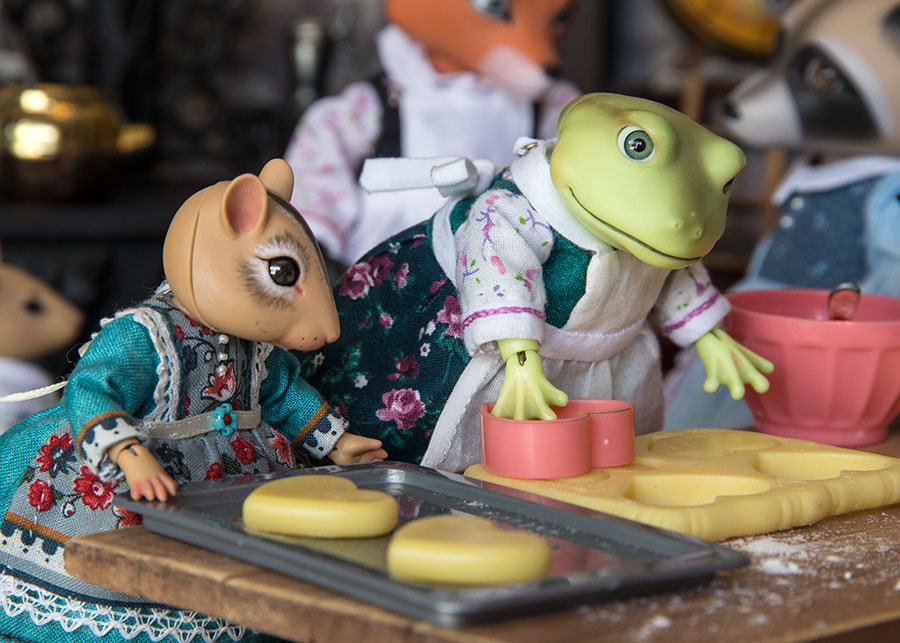
For the story about Tiana's cookies, I started with a cookie cutter set from a doll accessory package from Walmart. It came with 'rolled out dough', a cutter, and the 'cookies' actually pop out.....
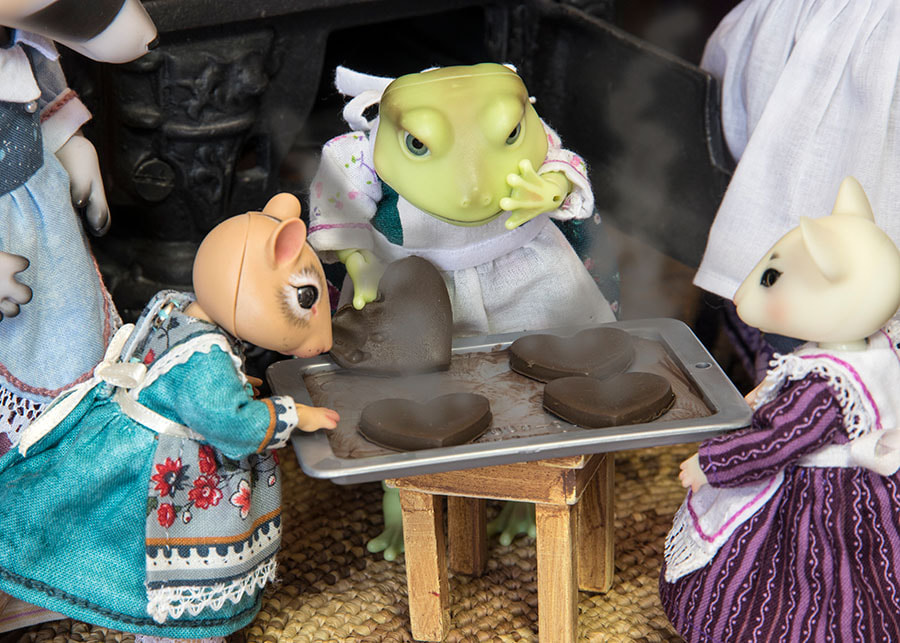
For the burnt cookies I rolled out some dark brown polymer clay and cut it with the same cookie cutter, then added a bit of brown paint to the cookie sheet, and added some 'smoke' in Photoshop.
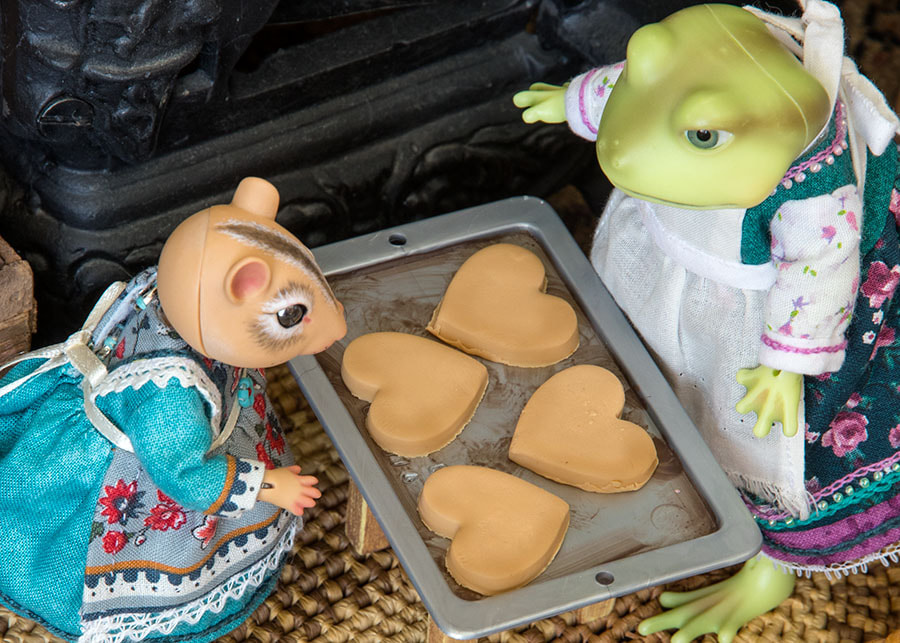
Then another colour polymer clay for the properly baked cookies. I don't bother baking the various cookies, but just scrunch it up again afterwards and put it back in the storage containers.
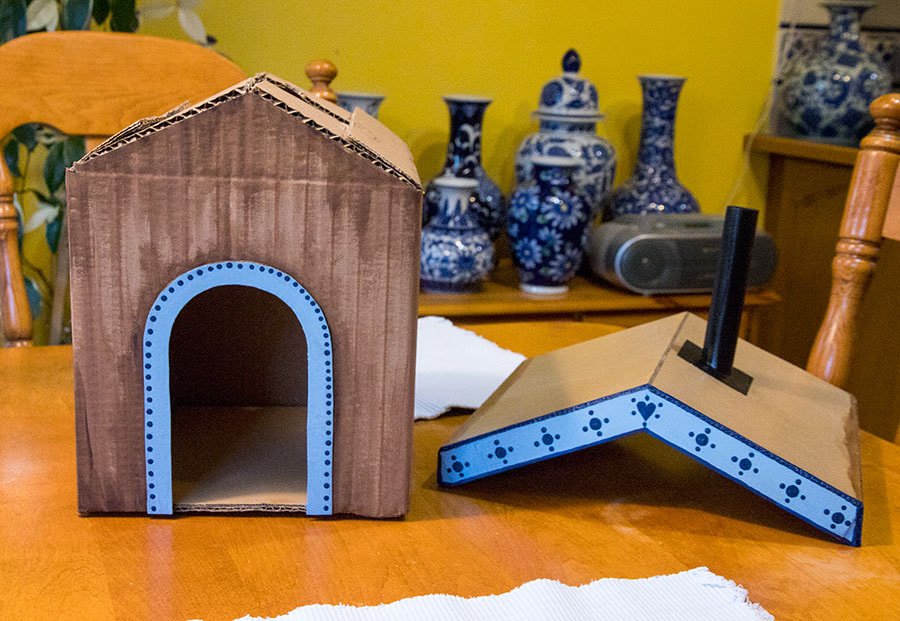
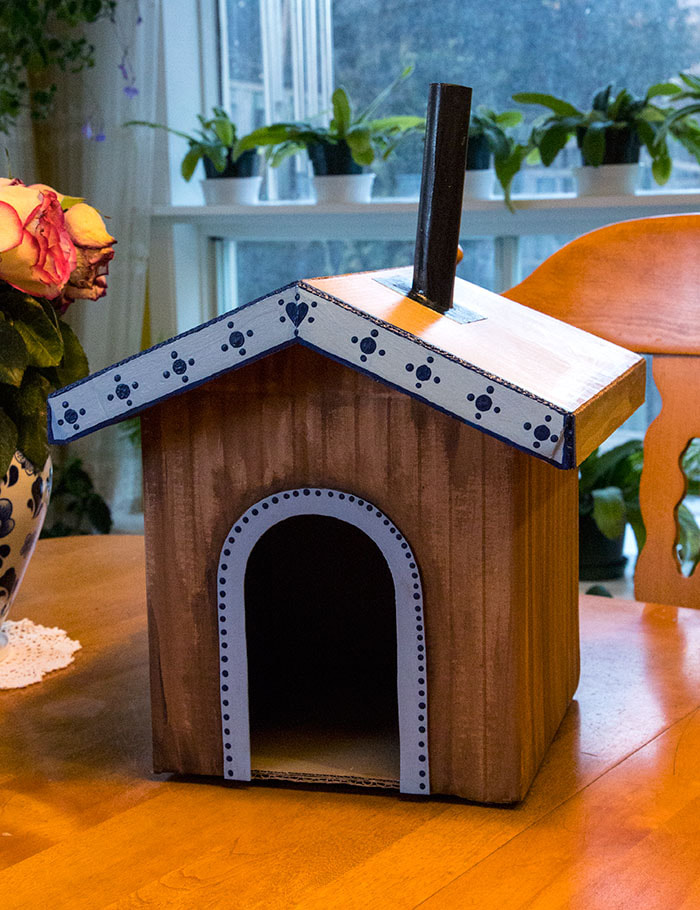
I didn't have a complete story planned ahead in my mind, but just went along with whatever inspired me at the time. After the menfolk's games turned to strip poker, and they were all naked, I thought it would be fun to have them go take a sauna. But that meant I'd have to make one.
I took a small, square, shipping box, and transformed it into a small hut. Then took some calendar cardboard to fashion a roof. Then painted both, adding some fancy embellishment...
I took a small, square, shipping box, and transformed it into a small hut. Then took some calendar cardboard to fashion a roof. Then painted both, adding some fancy embellishment...
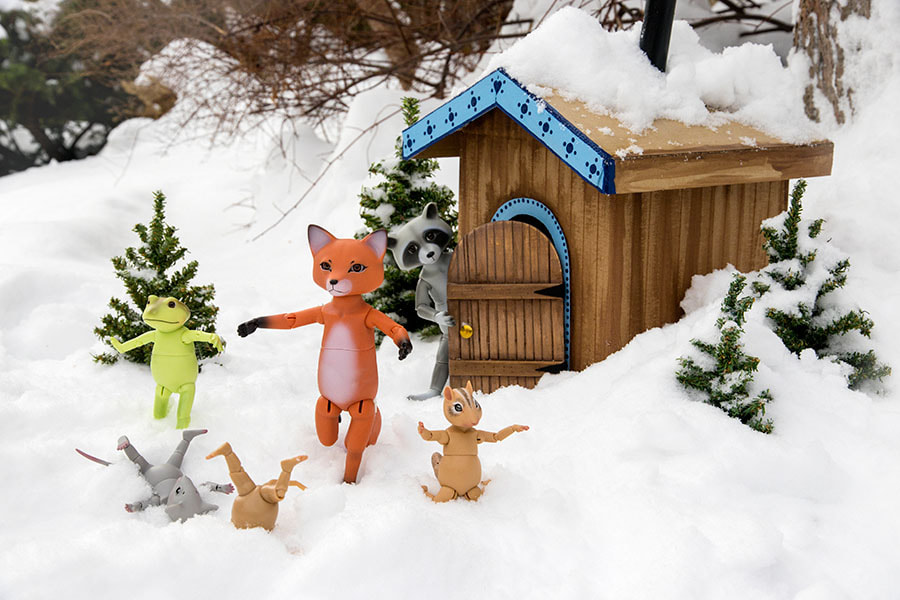
I varnished the roof and the base of the hut to help protect them against the snow. I didn't varnish the walls, as the corrugated cardboard reacted to the varnish forming unsightly 'ripples', and I didn't want those all over the walls. But the base and roof would be in contact with the snow.
Then I used duct tape to attach the wooden door, took everything outside, and created the scene in the snow....
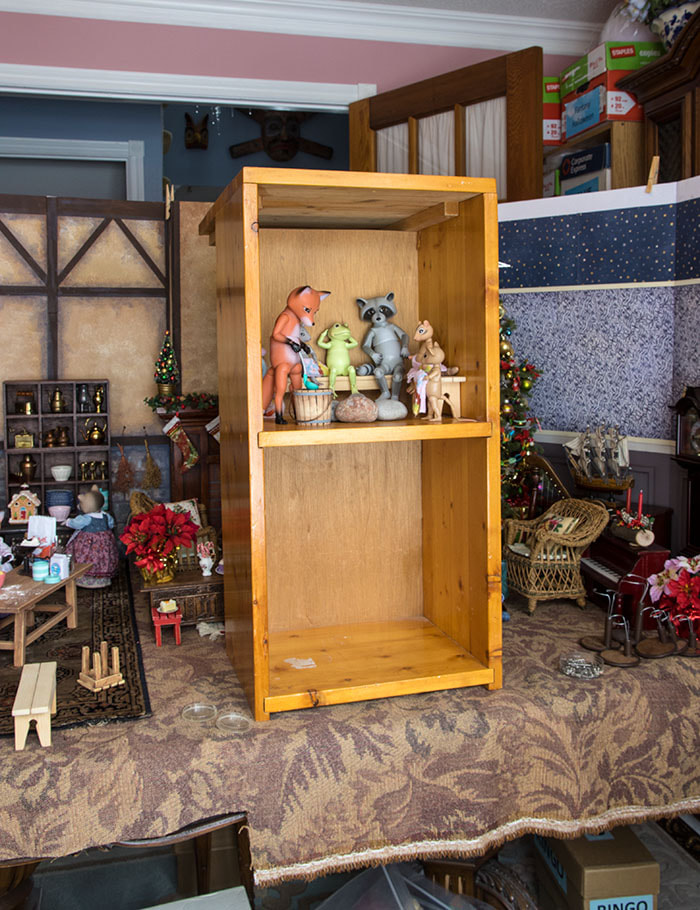
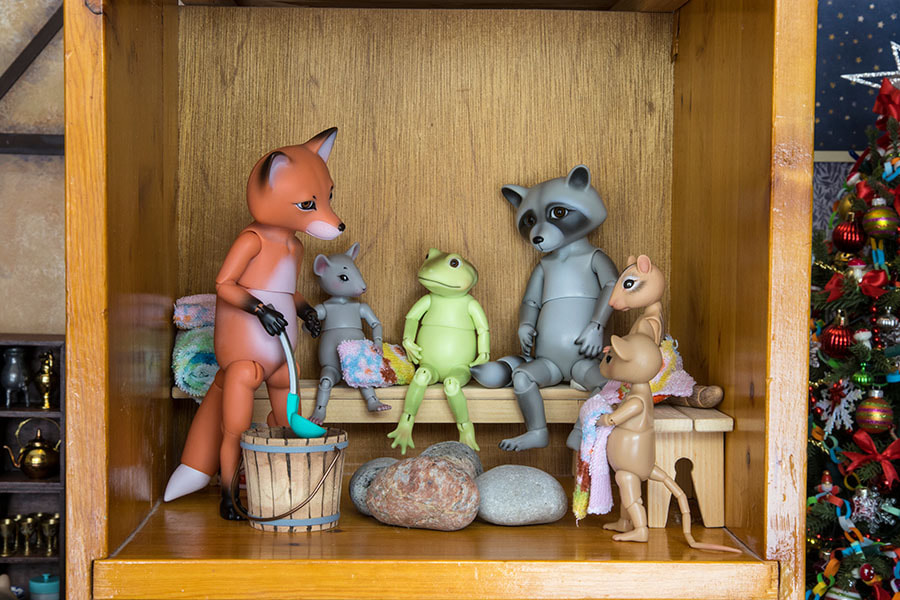
The inside of the sauna was another matter. I really didn't feel like making a fake wooden interior, but then Jan brought a small wooden bookcase. I'm always up for anything that doesn't require a lot of work on my part, and this was the perfect size.....
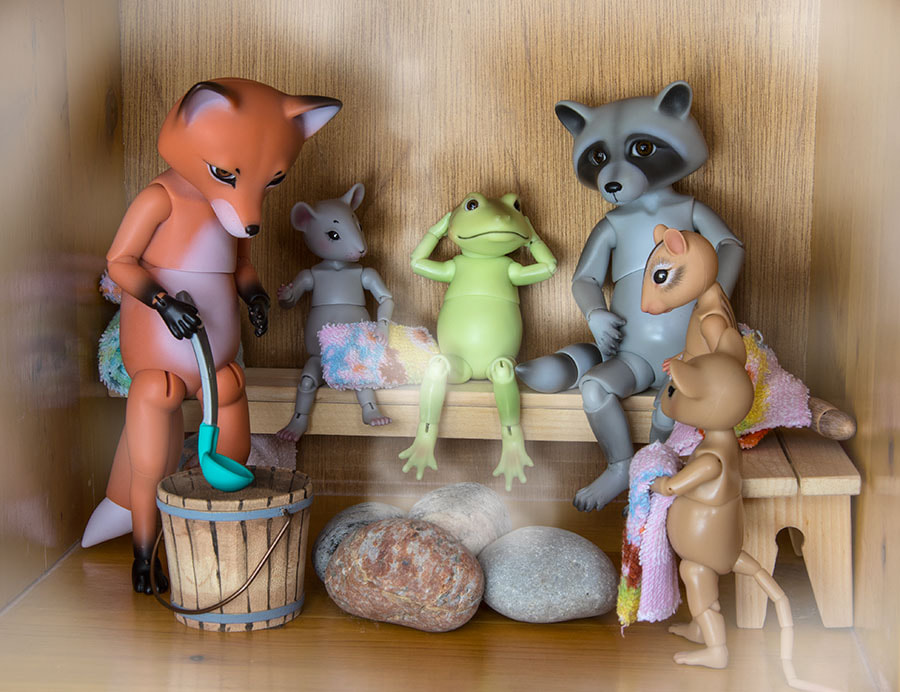
He'd just finished making a new table and benches, and the benches fit perfectly inside, and we found some smooth stones. They were a bit big in my opinion but there was no choice since everything outside was buried under a deep layer of snow. So they had to do....
Then by taking a close up photo and adding some 'steam' in Photoshop, it looked perfect....
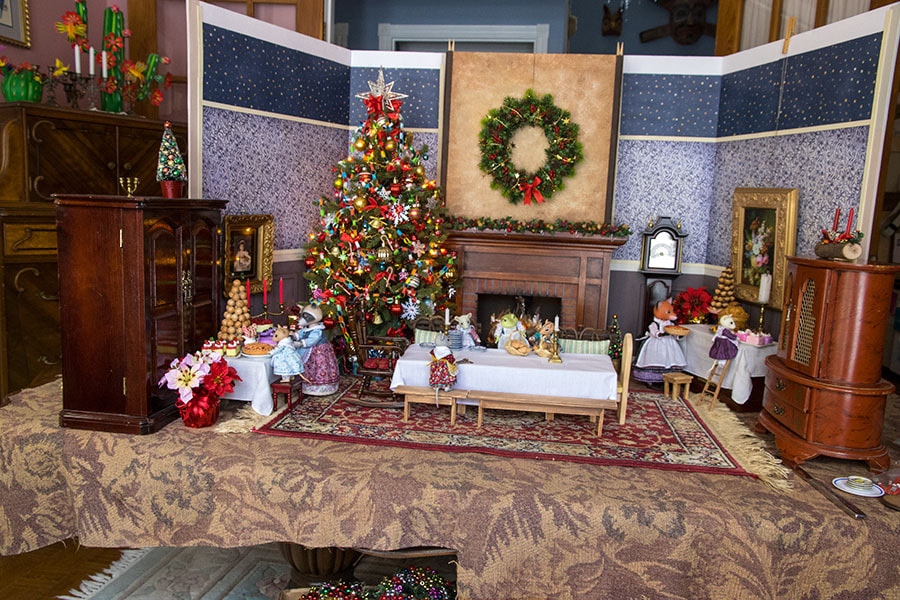
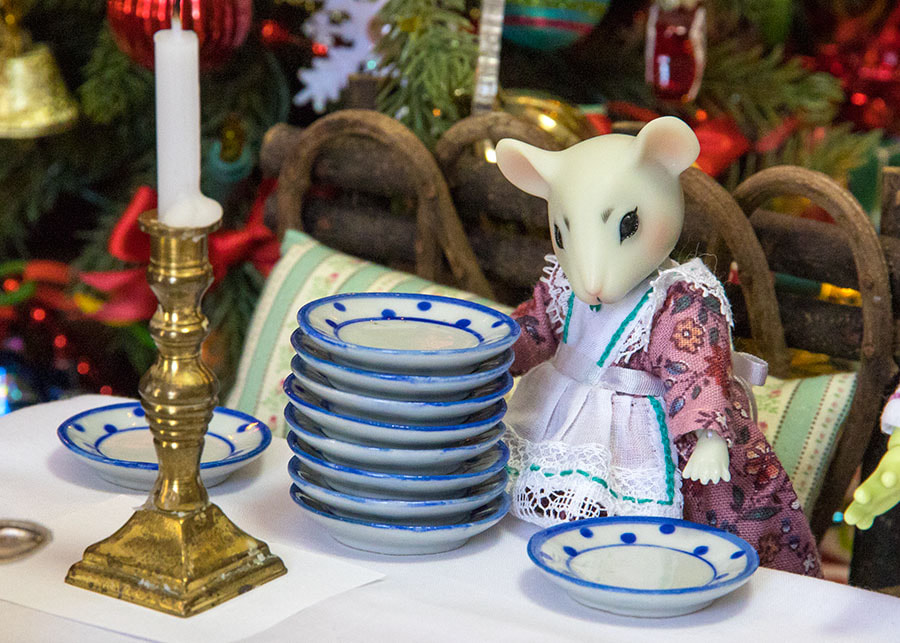
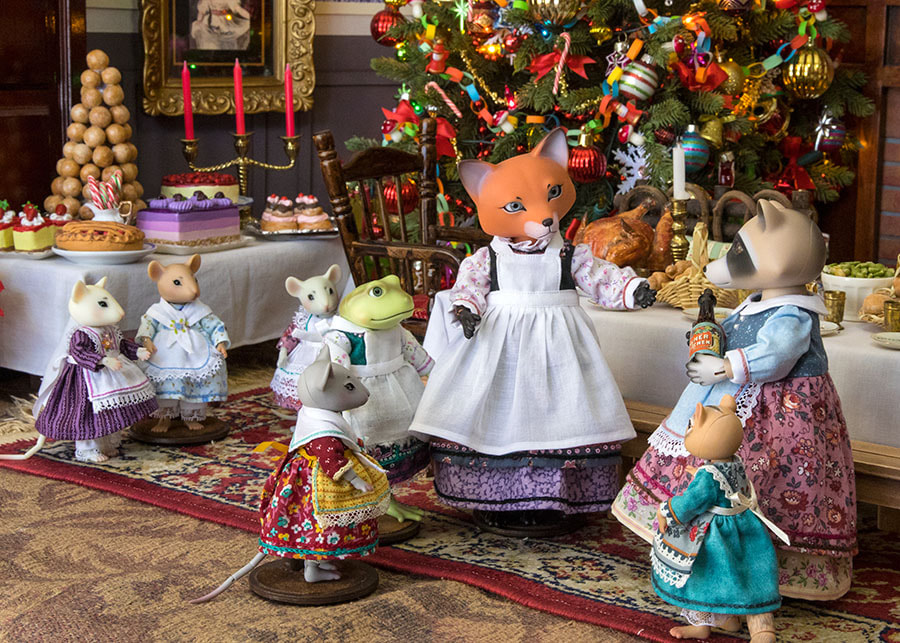
When it came time to shoot the dinner, I couldn't decide how or where to place the table. I tried several layouts, but the set with the living room and kitchen just wasn't conducive to having a formal dinner. So I took the entire set apart, and started from scratch and made a formal dining room instead. This time I used both Victorian walls. I moved the Christmas tree to the other side of the room, added a different carpet, and some more formal furniture around the perimeter.
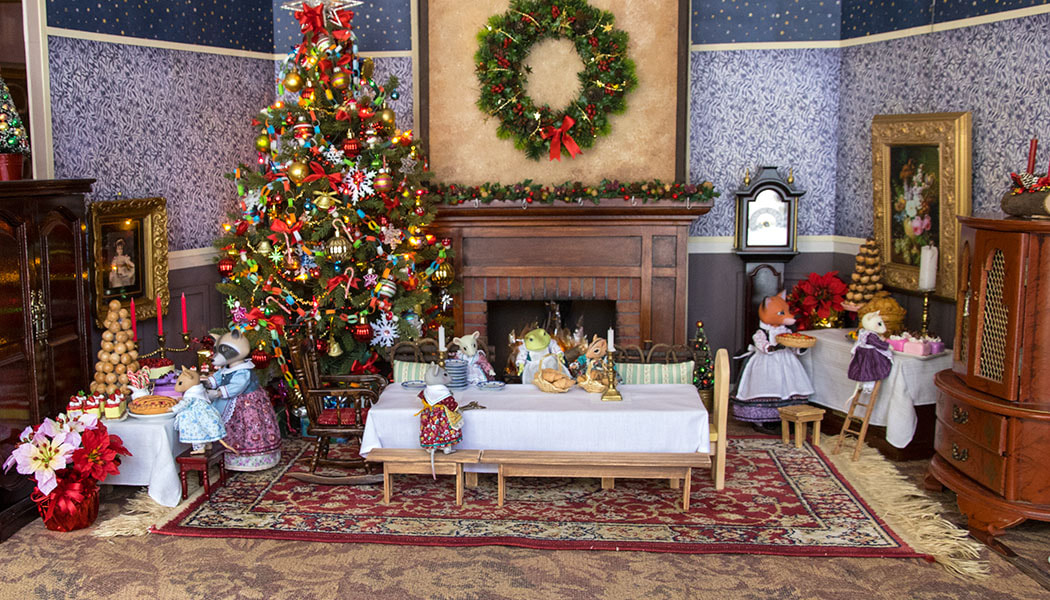
The table was just the right size for all the characters, but it wasn't going to hold much 'food', so I added two sideboards for all the desserts....
The table was just the right size for all the characters, but it wasn't going to hold much 'food', so I added two sideboards for all the desserts....
With a set this big, the best photos are always the ones taken close up at the doll's eye level....
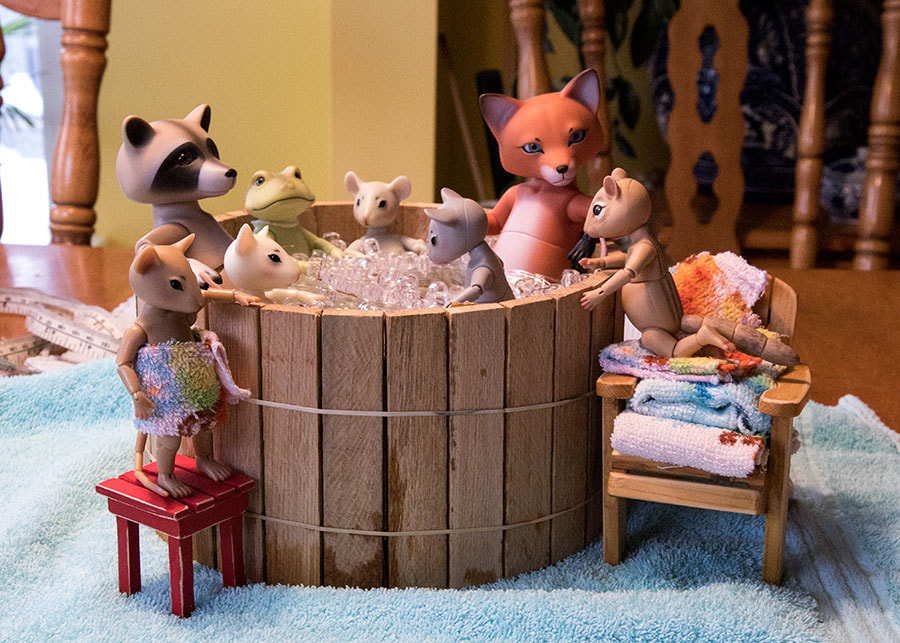
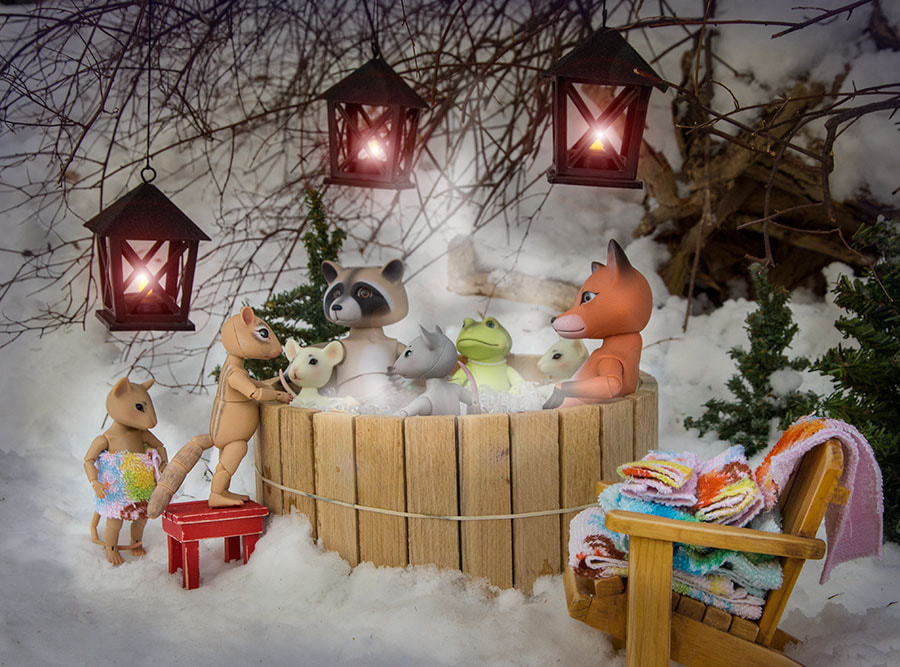
I wanted something more interesting after dinner, other than the guests just leaving, so came up with the idea of the ladies relaxing in a hot tub while the menfolk took care of cleaning up. But how to make a hot tub? I wasn't about to submerge all the ladies in real water.
So I took a cookie tin. I made a raised false bottom at a sitting depth for the larger ladies. Then I took two sheets of plastic wrap, and crumpled a third layer between them, and taped it over the top of the cookie tin. Then I laid out a row of parquet flooring onto a strip of duct tape, and wrapped it, with tape on the inside, around the tin, securing it with two elastic bands.
Then I cut small holes in the plastic wrap so I could slip in the dolls. Then sprinkled some clear beads on top to simulate bubbles.
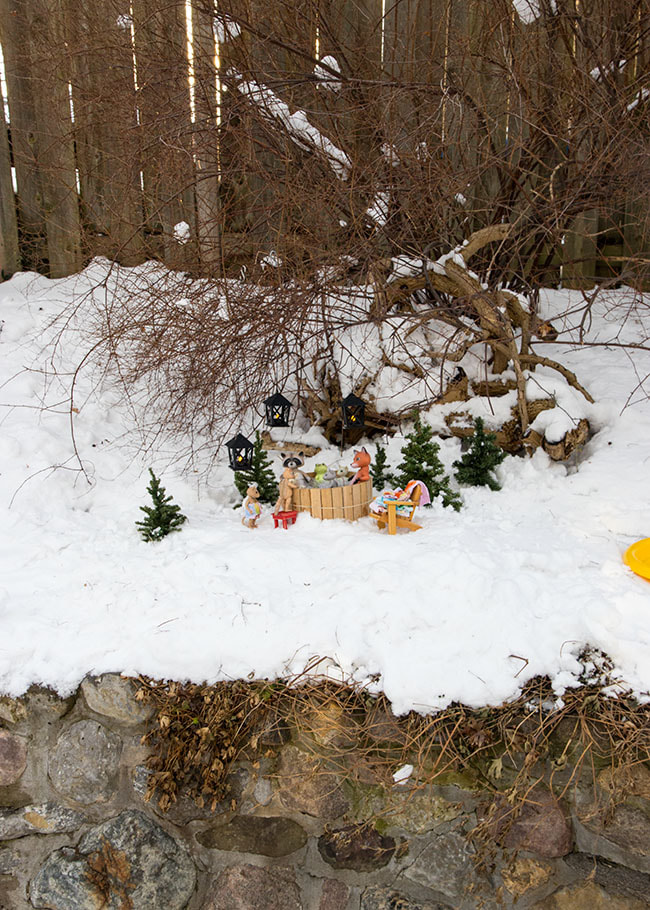
I took everything outside and set up the tub under the bridal wreath bush. It had been a 'warm' sunny day, so the snow was very wet, and not very easy to work with. I had wanted soft fine snow that I could sprinkle on the tiny trees, but the snow was way too wet.
I hung three little lights in the branches above them and took the photos. Then to make it look more like it was nighttime, I had to darken the images and add lens flares to the lights...and add some steam...
Knights on Patrol
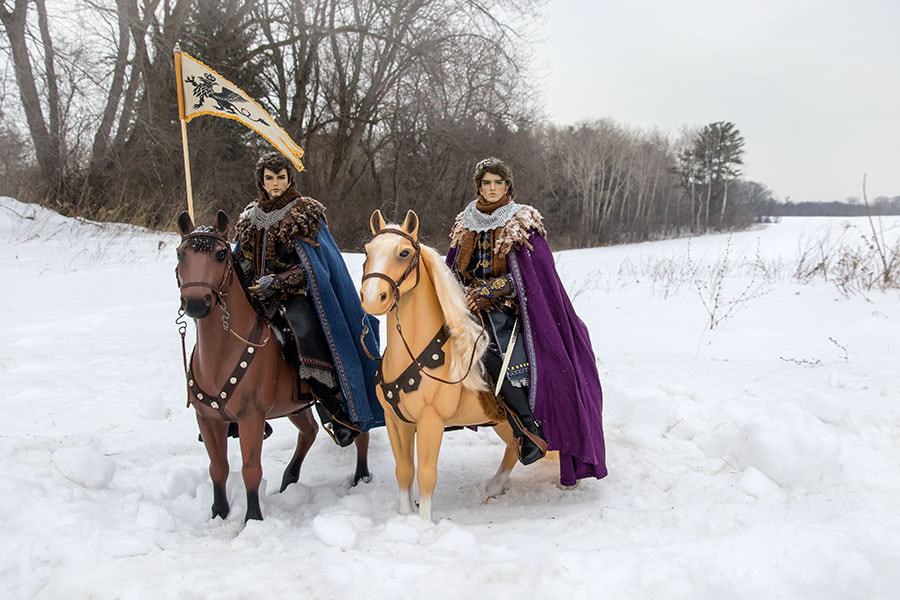
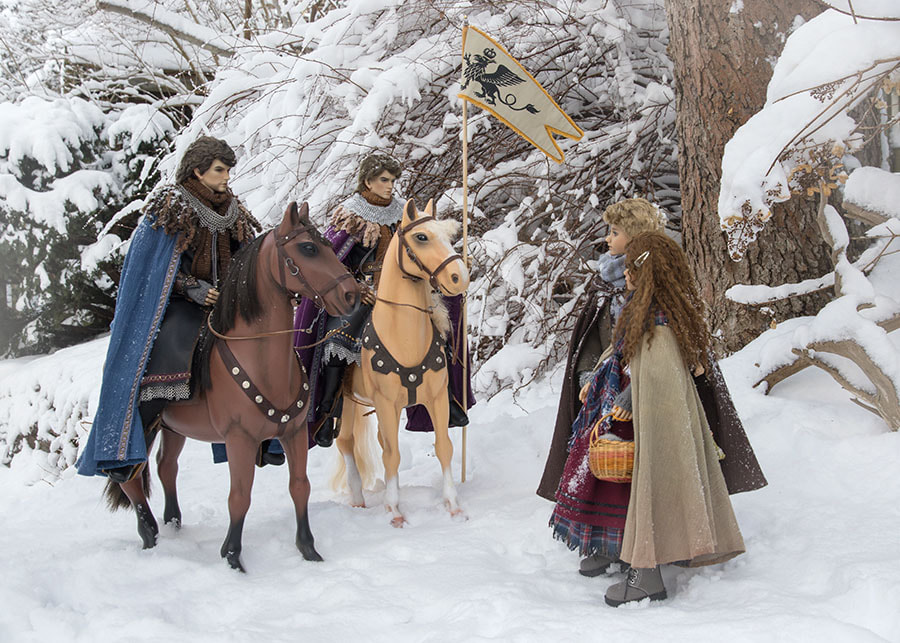
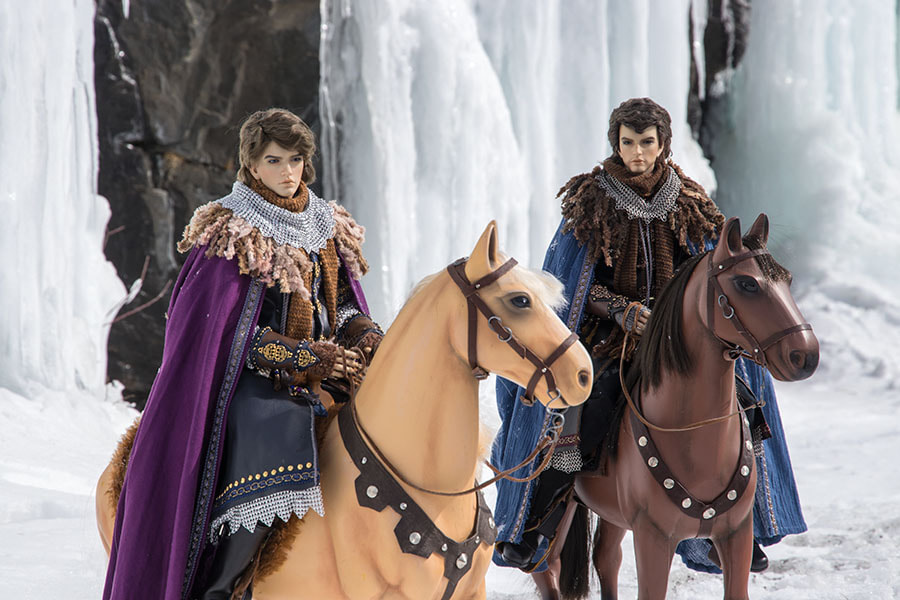
I wanted to photograph Rex and Baron on their horses in as many different places as I could so it would look like they were actually 'travelling'. On one of our drives just to the north of us, I'd spotted a bend on a quiet road in the country where there were huge snow banks from the snow plow after the last big snowstorm. So We took Rex and Baron there, and I posed them on their horses on top of the snow bank....
With the dolls raised up on a snow bank, it was easier to take photos of them at their eye level, since I definitely didn't want to get down in the snow....
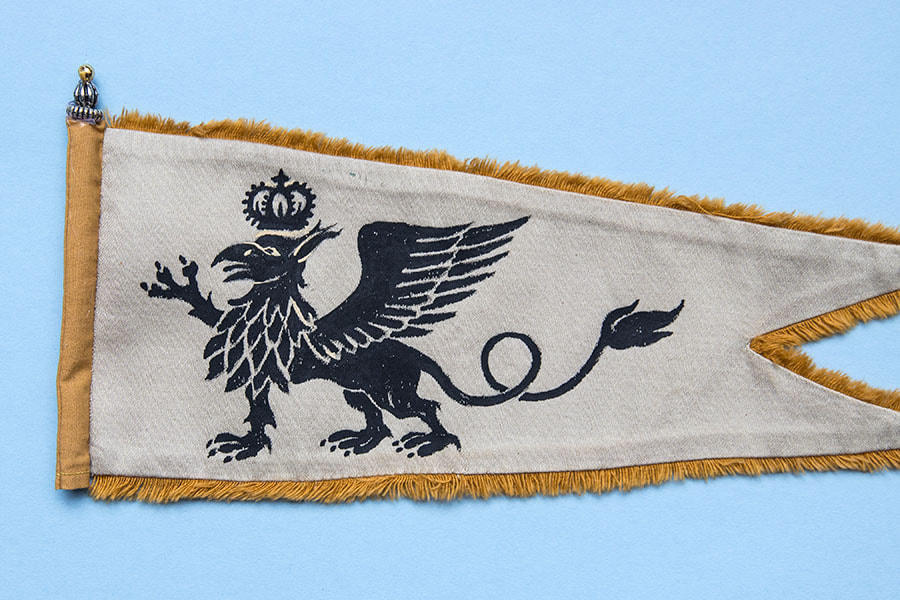
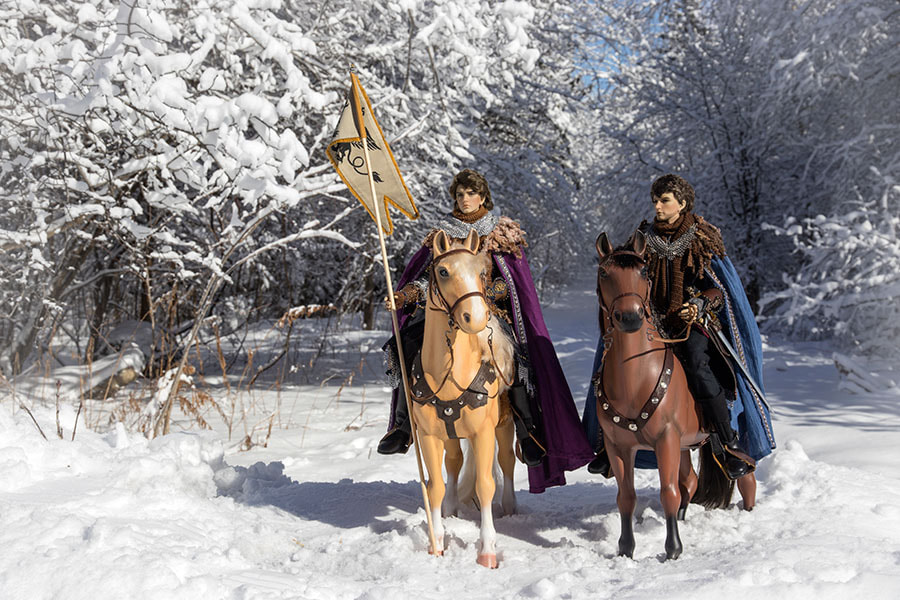
I had painted the griffin on one side of an old pennant, which was originally made decades ago for a Joan of Arc figure. I never throw out anything since you never know when it might come in handy. I made a pocket on one end to hold a dowel, and it was first used in the scene above.
But it was windy, and it was obvious that I'd need to paint the same griffin on the other side as well....so I did.
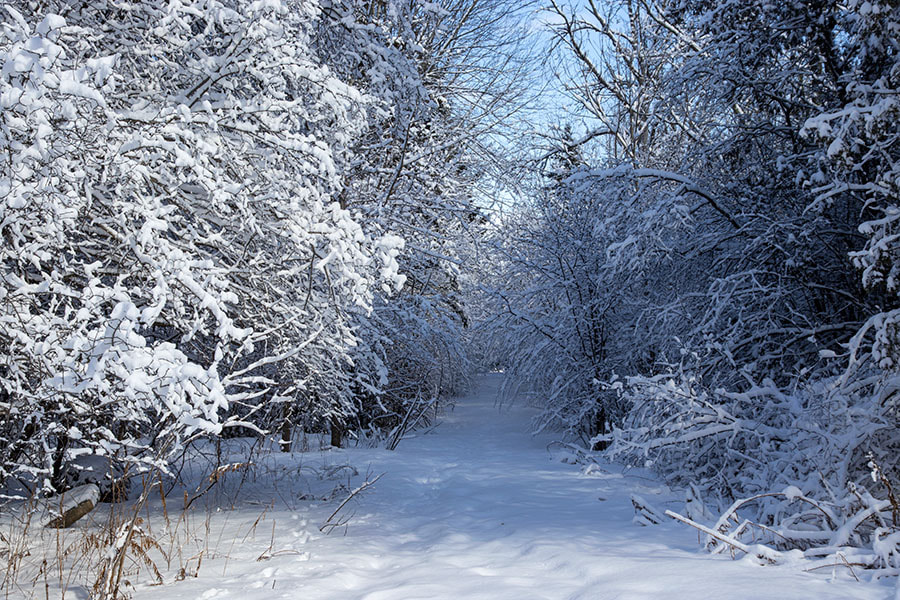
I'd also noticed another promising spot maybe two miles from home where there was a trail into the 'woods' in a hydro corridor. So, after another lovely snowfall with the snow sitting nicely on all the branches, we took Rex and Baron there.
I'd also noticed another promising spot maybe two miles from home where there was a trail into the 'woods' in a hydro corridor. So, after another lovely snowfall with the snow sitting nicely on all the branches, we took Rex and Baron there.
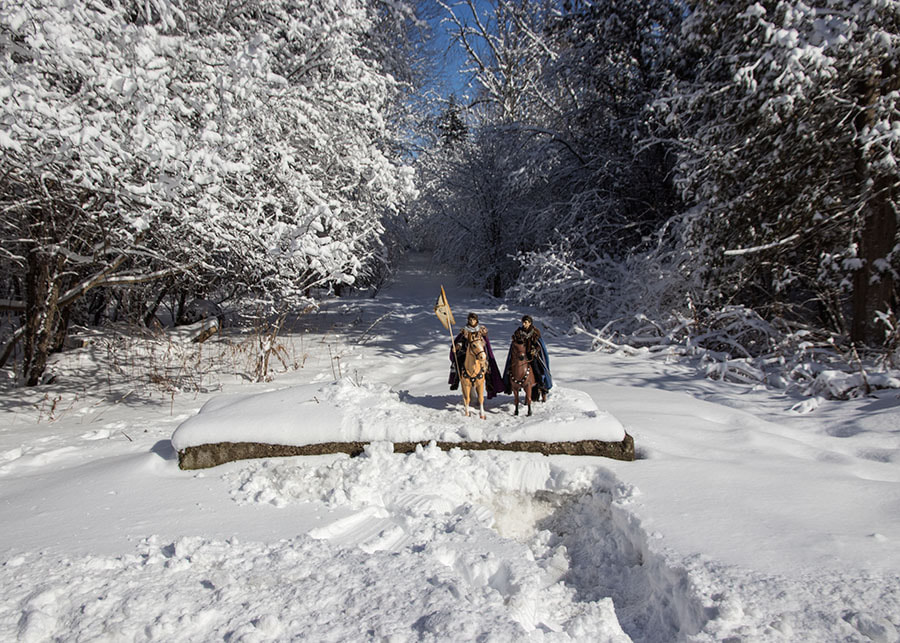
There were two huge concrete barriers laid beside each other across the head of the trail to discourage motorized vehicles. I made my way through the deep snow in the ditch, and posed the knights on top of the snow-covered barriers.
Then I bent down to take their photos straight at their eye level. The snow on top of the concrete blended in nicely with the snow on the trail behind them....
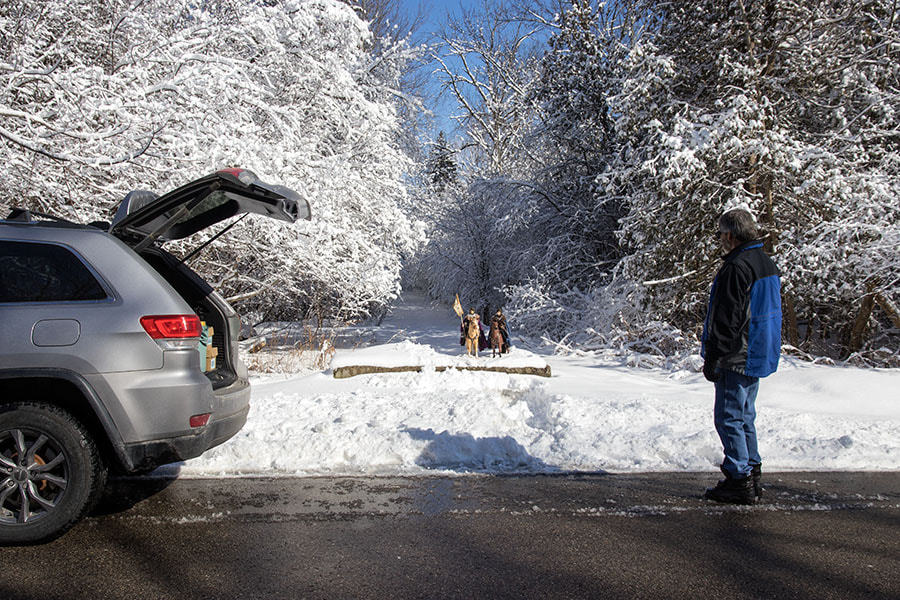
Then before packing them back in the car, I took another photo from the other side of the road....
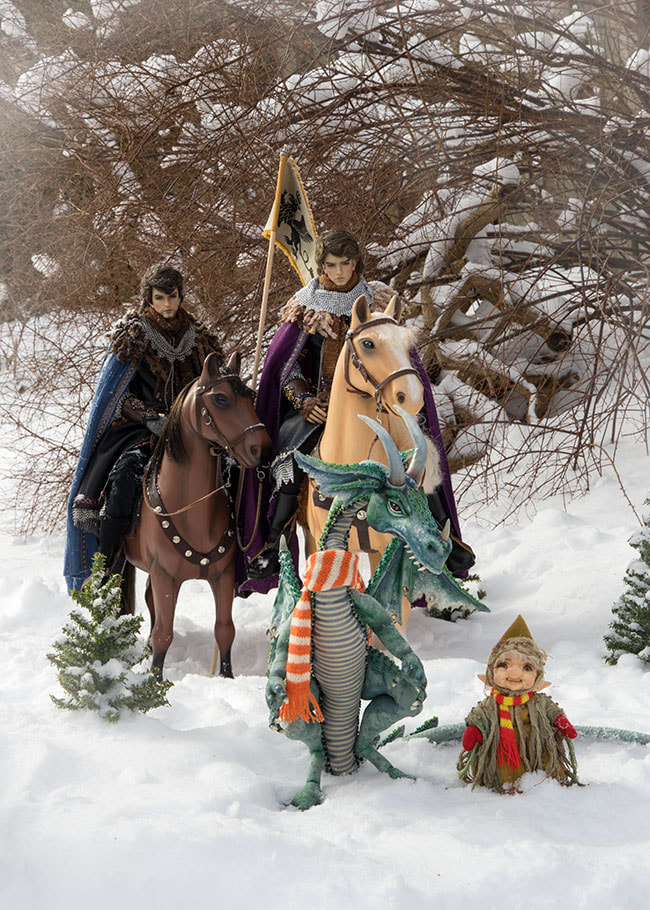
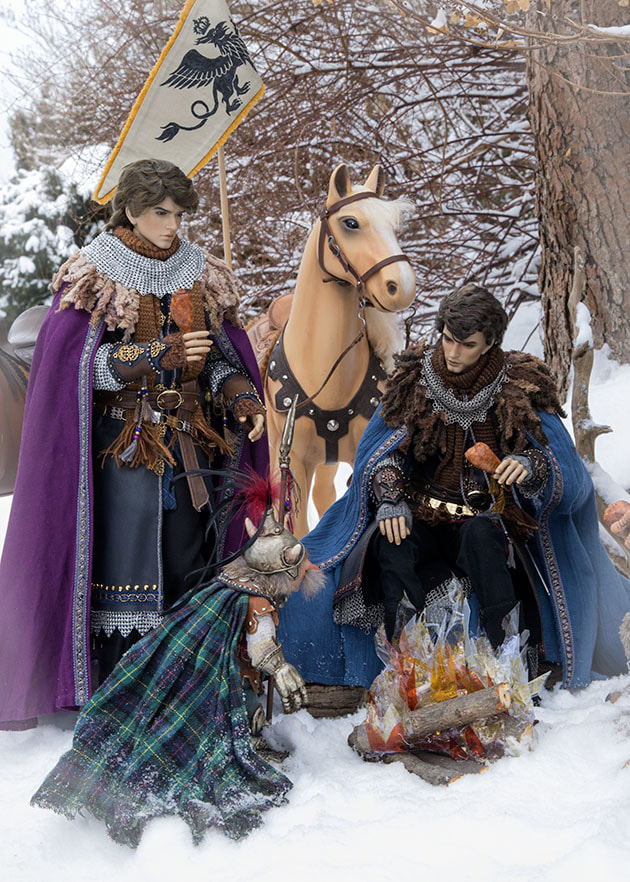
Many of the shots, especially the ones where they came across some people and other characters, were all shot in our upper garden after a fresh snowfall on three separate occasions....(note the different amounts of the snow on the bushes behind them)
They were great, and I was really happy with them, but I never took any behind the scene shots. It was usually very cold, and my bare hands were hurting, so everything got cleaned up quickly and taken back inside.
Back at the Castle
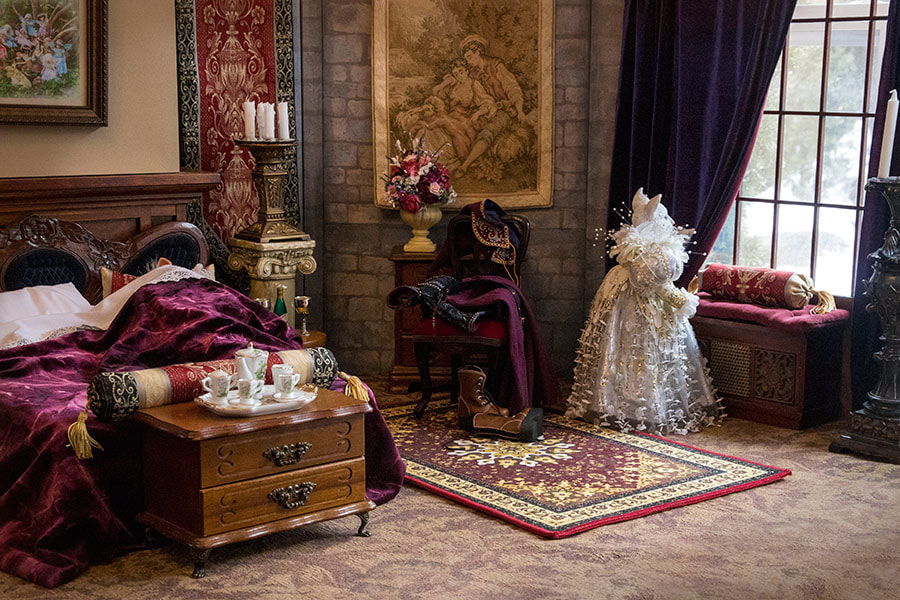
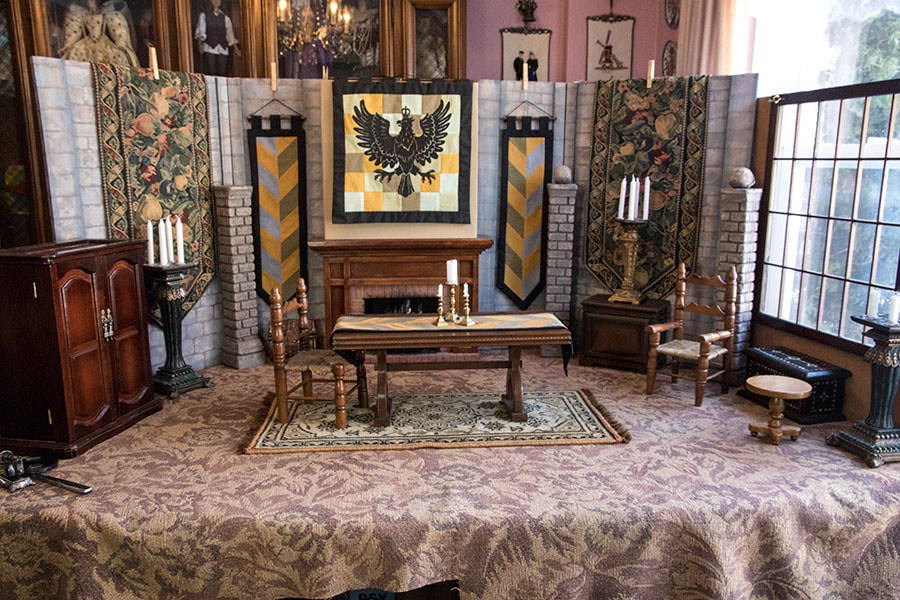
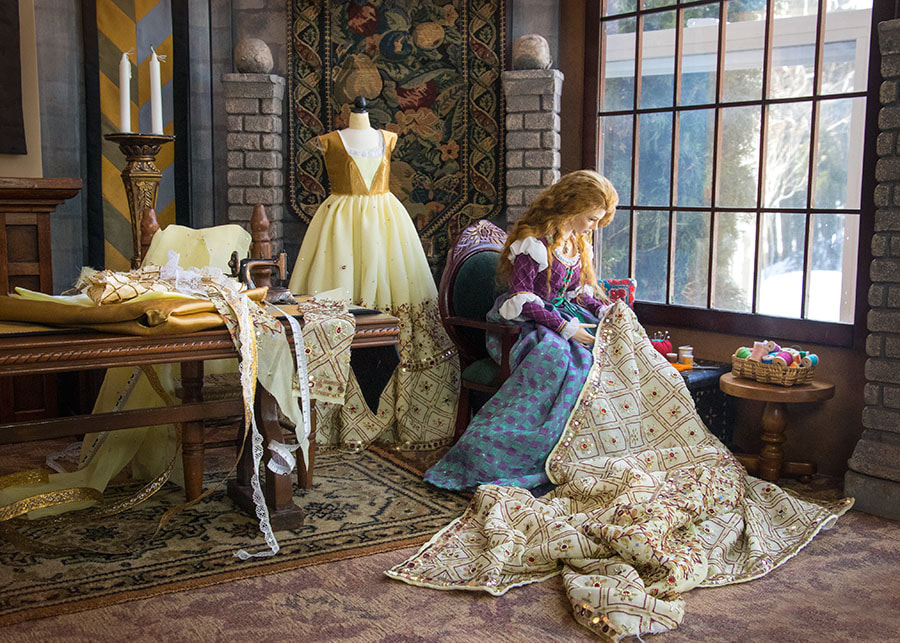
Meanwhile I had the main room in Miho's castle set up on the dining room table for scenes with Naomi. I always print out a photo of every unpopulated room setting (like this one) and file them in a binder so I know exactly what furniture and props go in each room. It makes it so much easier the next time I need that same set again...
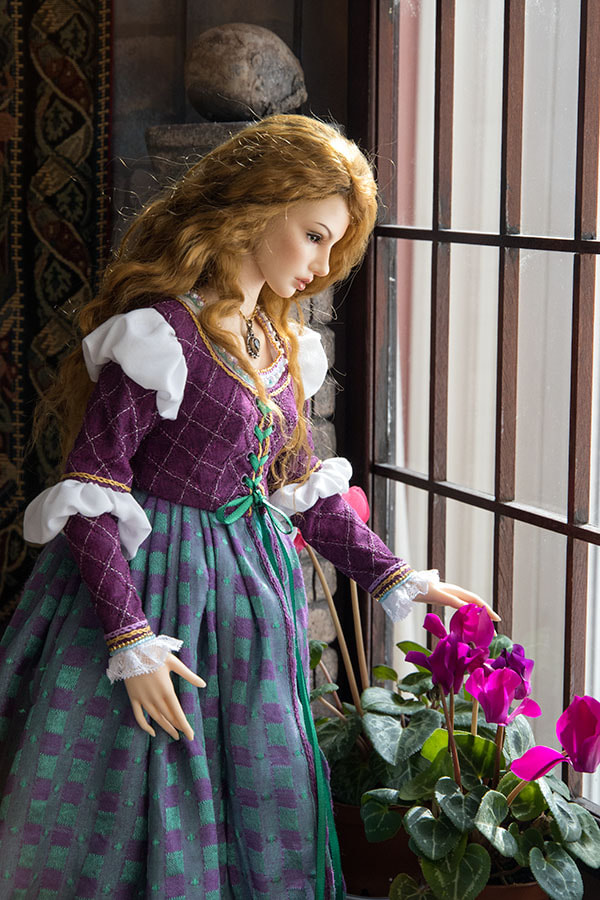
Once the main room had been set up, it was time for the doll and whatever props that were needed....
I even had several REAL miniature cyclamen plants to put in the sunny window....
the Ice Falls
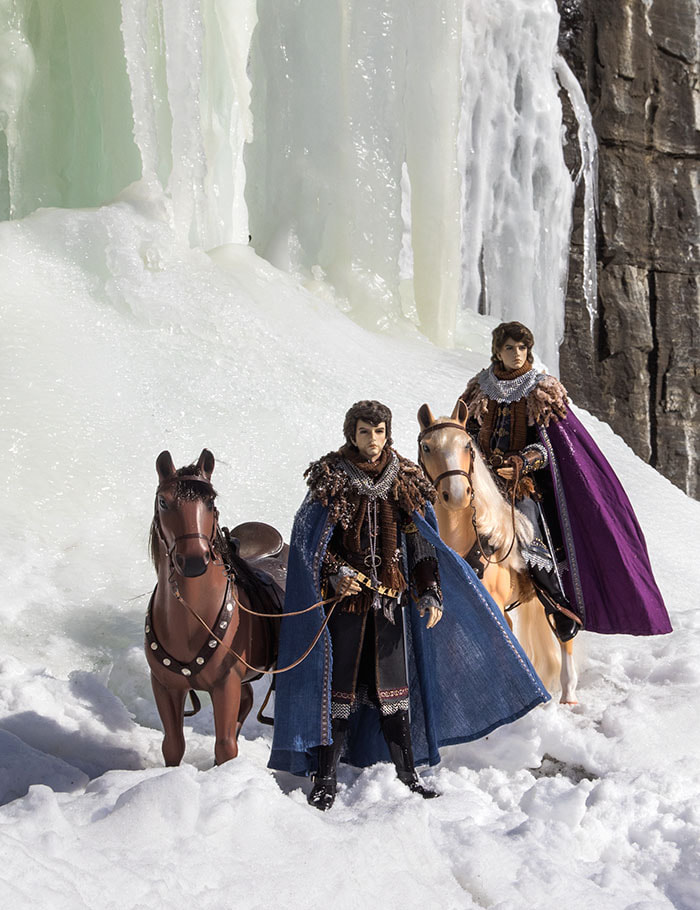
I had several 'travelling' scenes with Rex and Baron already, but I was really hoping for some more. But it all depended on the weather, which had been like a roller coaster all winter; lots of snow, but followed by either a deep freeze way too cold for doll photos, or a warming spell when much of the snow would melt. I liked it best after a fresh snowfall when it stayed in the branches of the trees, but then it also couldn't be windy, or it would all blow out. I already had several scenes with that kind of snow, and really wanted something different...and unique.
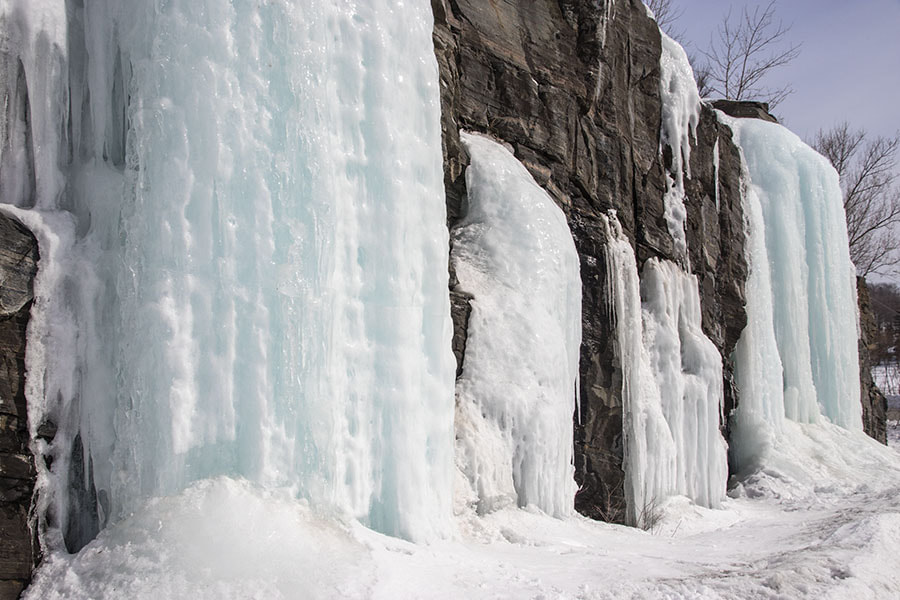
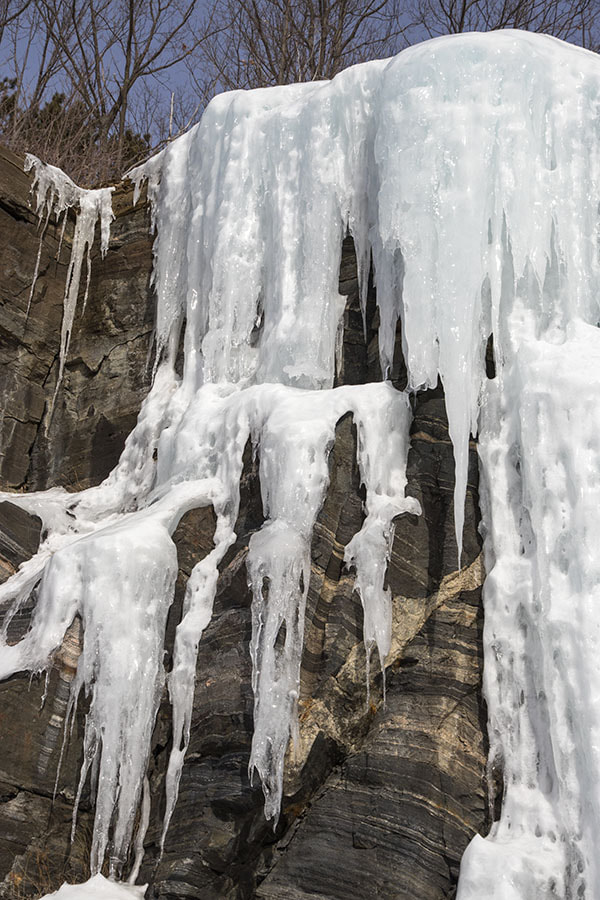
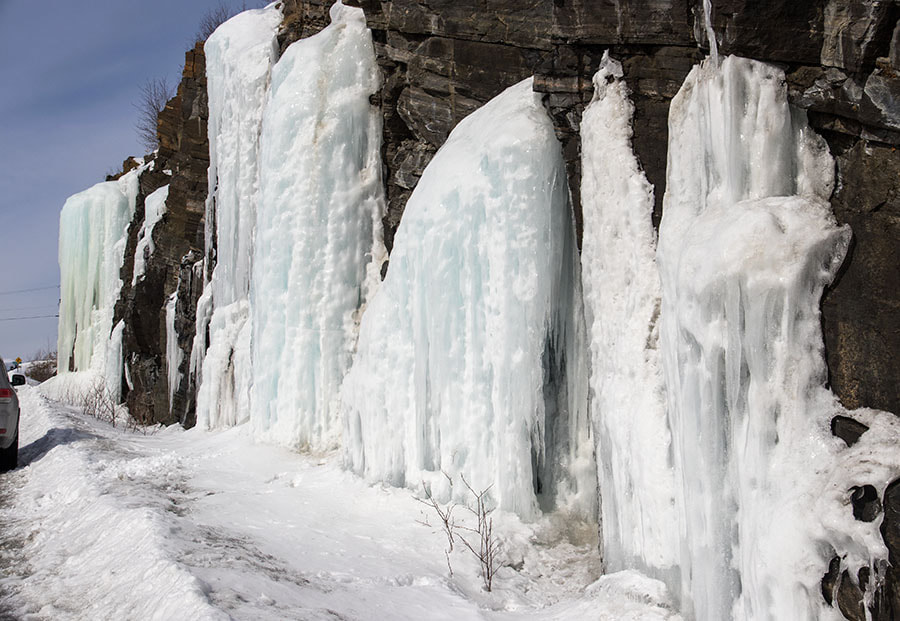
I'd been thinking of going up north on a day trip, to take some photos of my knights with an ice falls. A few hours north of us lies the Canadian Shield, where the major roads and highways have been blasted through the granite hills. In winter the groundwater spills over the edges of the rock cuts and freezes into amazing, giant icicle formations. Of course most are along major roads and highways, where one obviously can't stop, but we know of one place where there's a road that was blasted through the rock, right beside, but separate from, the main highway. It goes to a camp and boat access, both closed in winter, so there's no traffic at all. So we can just park at the side of the road and leisurely take doll photos there. We discovered it several years ago, and have been back to take doll photos there three times over the years.
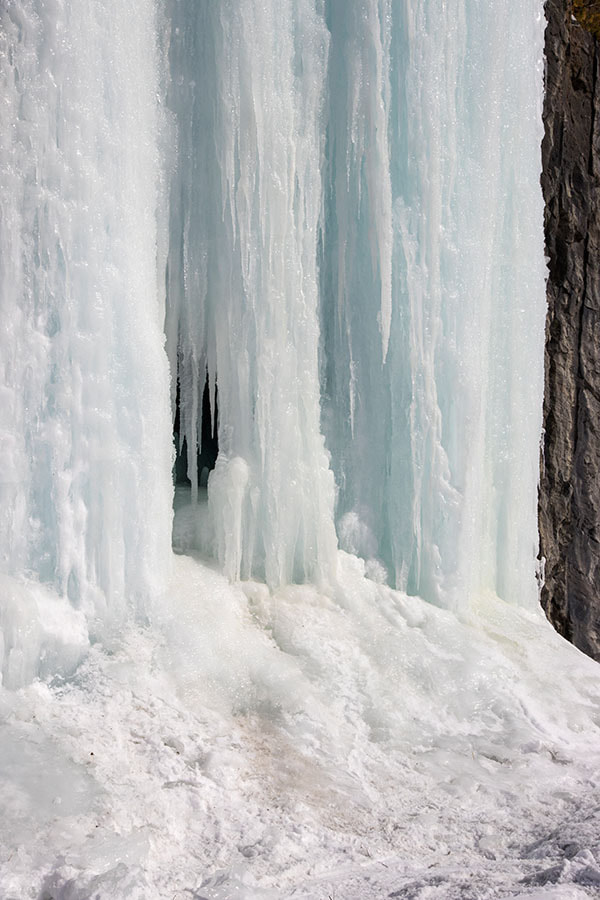
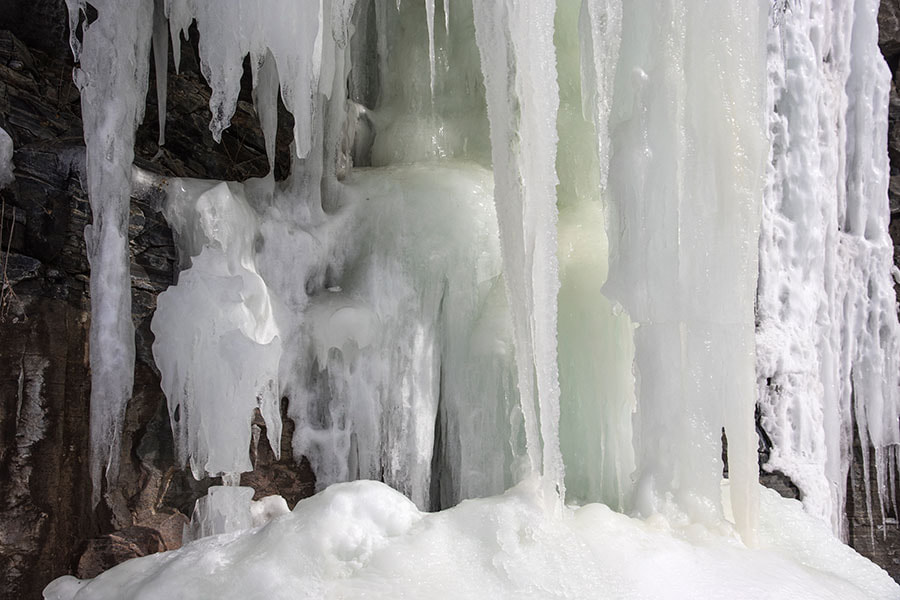
So we decided to make a day trip out of it, and we were not disappointed. The ice formations were amazing....
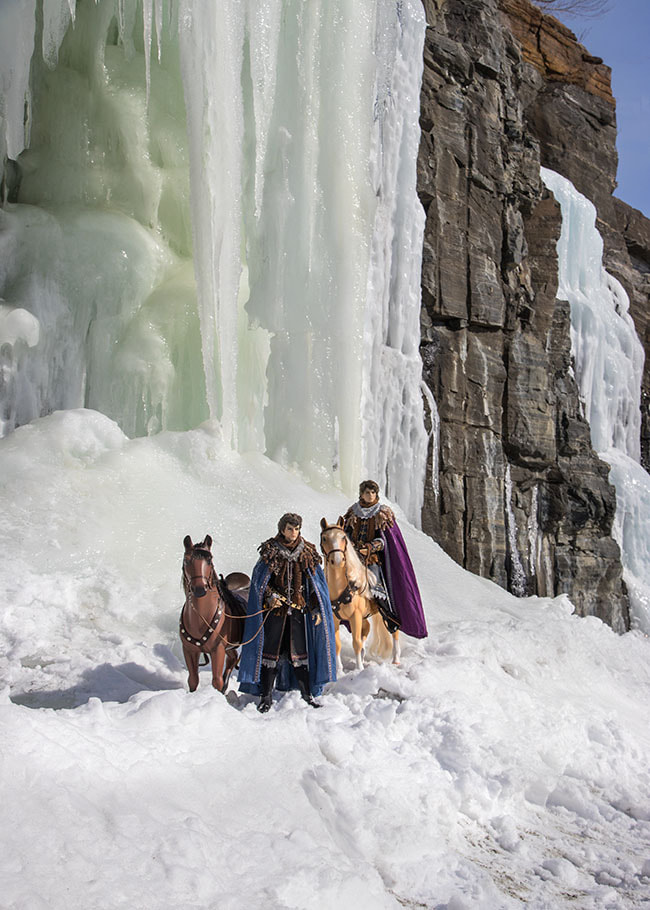
The rock wall faces west and gets lots of sun, so the snowbanks at the base were not very high this year....
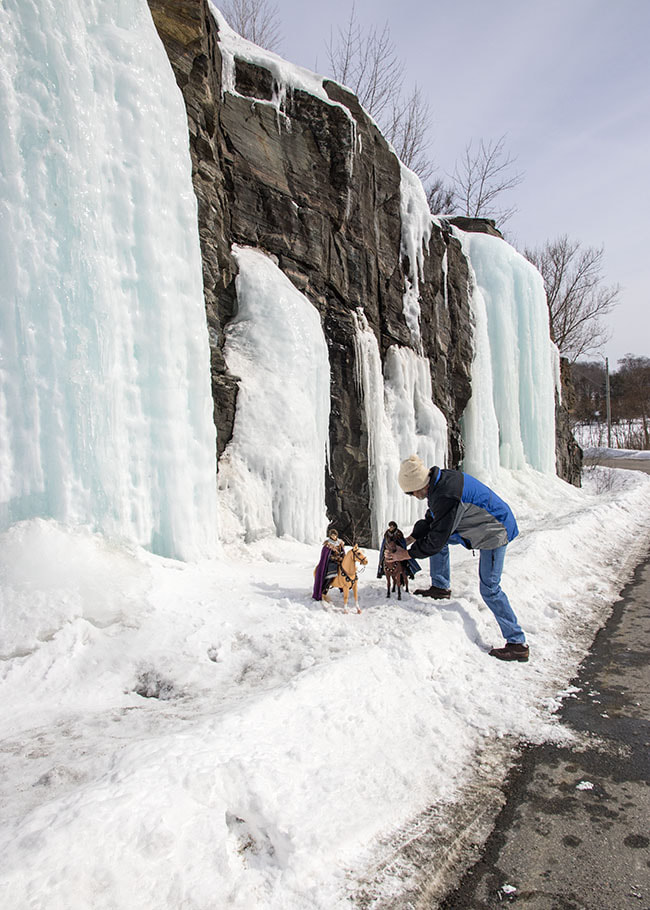
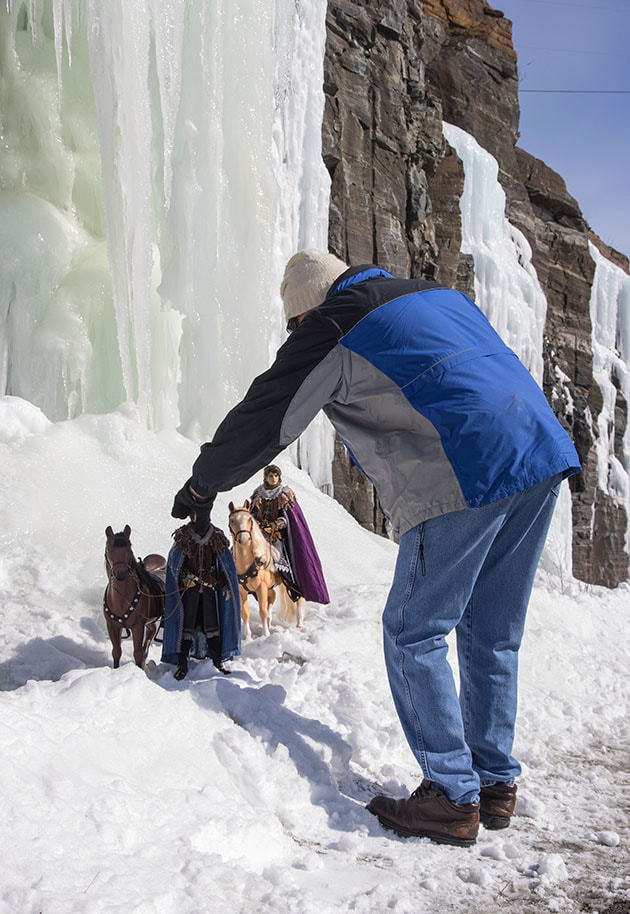
We had brought along a shovel, so I made a nice flat area on top of the snowbank to pose the horses on....
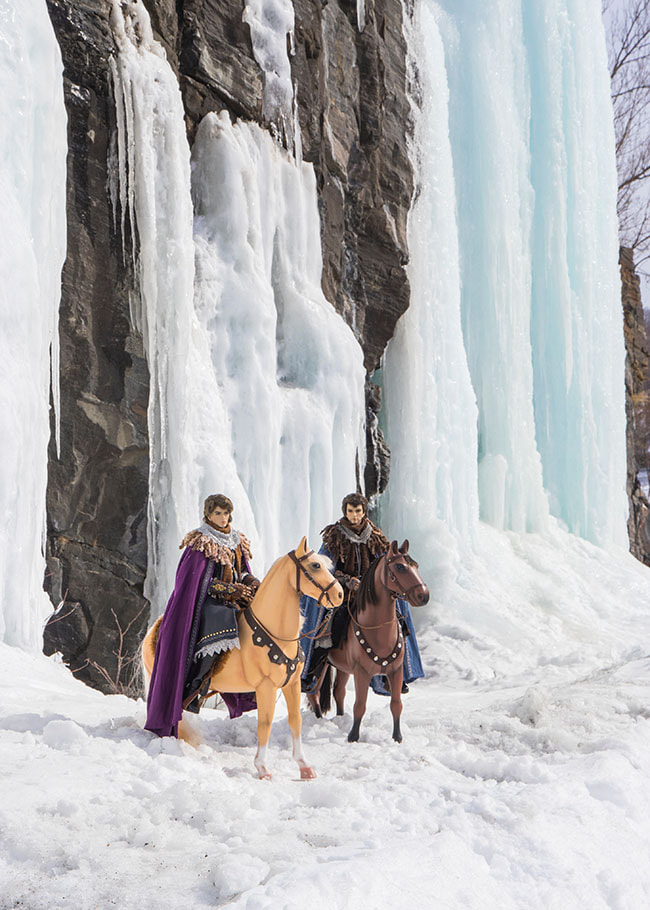
...then photographed my two knights at their eye level....
..and remembered to take plenty of close-ups. It was then that I realized I'd forgotten to bring their pennant. I had been so busy packing stuff to bring with us that I totally forgot their flag. I was very disappointed but it was what it was. Oh well, no one noticed when I posted the photos on my Blog, and if they had I would just have said the icy mountain pass was so treacherous to traverse, that they needed both hands on the reins.
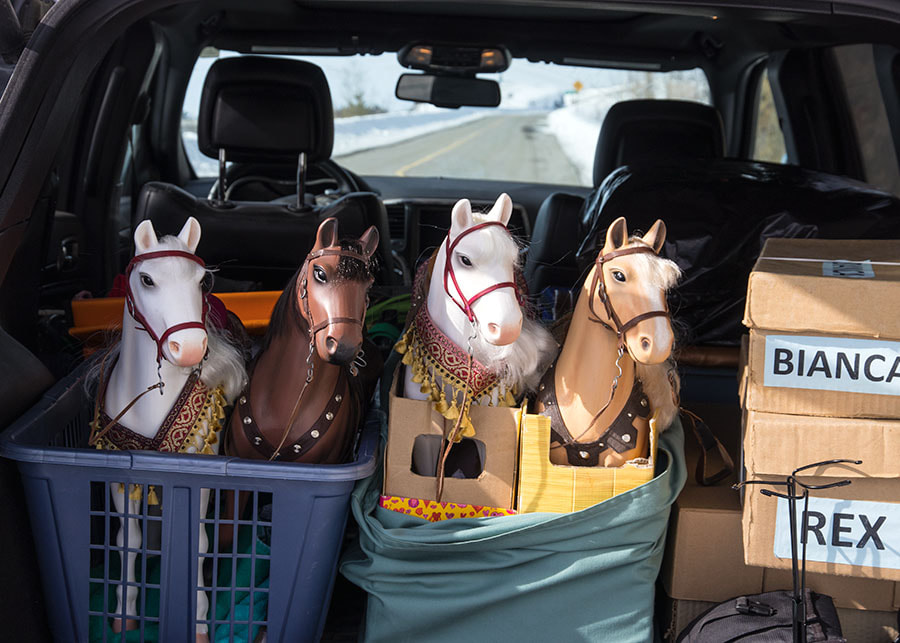
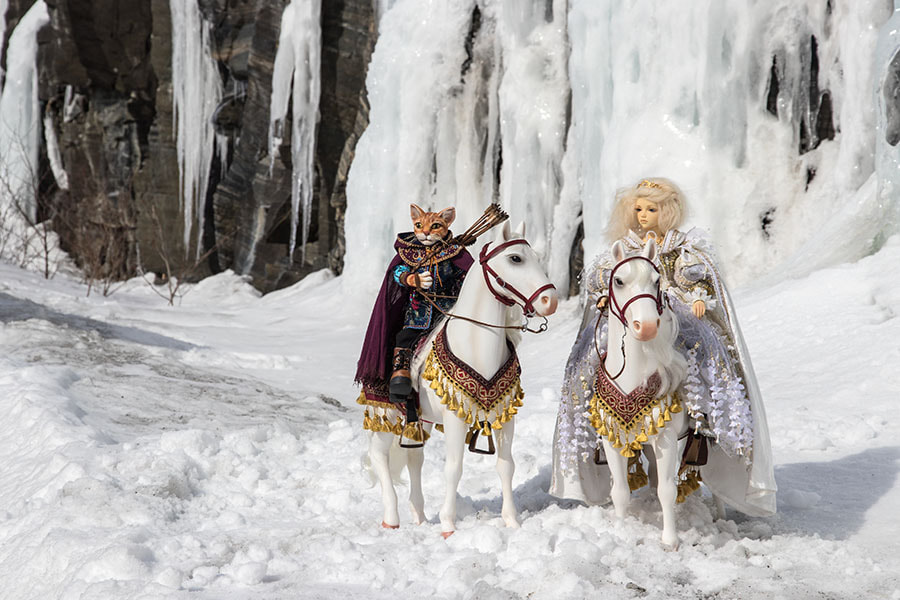
After taking a series of photos with the blue ice behind them, the guys and horses went back in their boxes back in the car to move up the road to a new location. I'd also brought a second set of dolls and horses for photos for another story...and they were all lined up in the back of the car.....
We moved up the road a bit to a new location with green ice formations in the background....
The snowbanks here were even lower so I ended up having to sit down on the pavement to take the photos....
Being stuck on the ground, I'd have to ask Jan to make any adjustments....
It was a very cold day with a high of -12C that day, but it wasn't too bad in the sun. I hadn't noticed that the icicles were dripping from above, and when I went to put Rex back in his box, I noticed that the right side of his cloak (nearest the ice) had gotten wet from the dripping icicles high above, and it was frozen stiff as a board. So I had to remove it to let it thaw and dry. Both horses had what I thought were 'water drops' all over their right sides, but when I went to dry them off with a towel, I couldn't because they were frozen solid. So they had to lay out on towels so the ice could melt.
I'd also taken along Kassia and Prince Adrian (in his cat form) for some photos with ice and snow, and took a few photos of them...
I'd also taken along Kassia and Prince Adrian (in his cat form) for some photos with ice and snow, and took a few photos of them...
After having finished taking photos, we started on our way towards home along a favourite back-country road with the hopes of taking some more photos of the snow and ice. But we encountered an icy spot on the road, and the car slipped off the road into a deep snow-filled ditch. Well, there was no way to get out of that without a tow-truck, so Jan, who was able to get out his side of the car, made the call to the CAA. They said they were very busy and it would take a while. Thankfully I'd brought along extra food, and I had my iPad, since with the car on a steep slant into the deep snow there was no way for me to get out. So I played games on my iPad for the three hours it took the truck to arrive. Thankfully we weren't hurt, and the car wasn't damaged, and we could just continue on our way, but the sun had set, we'd missed the sunset, it was pitch dark, and there would be no more photos that day.
Lawrence's Office
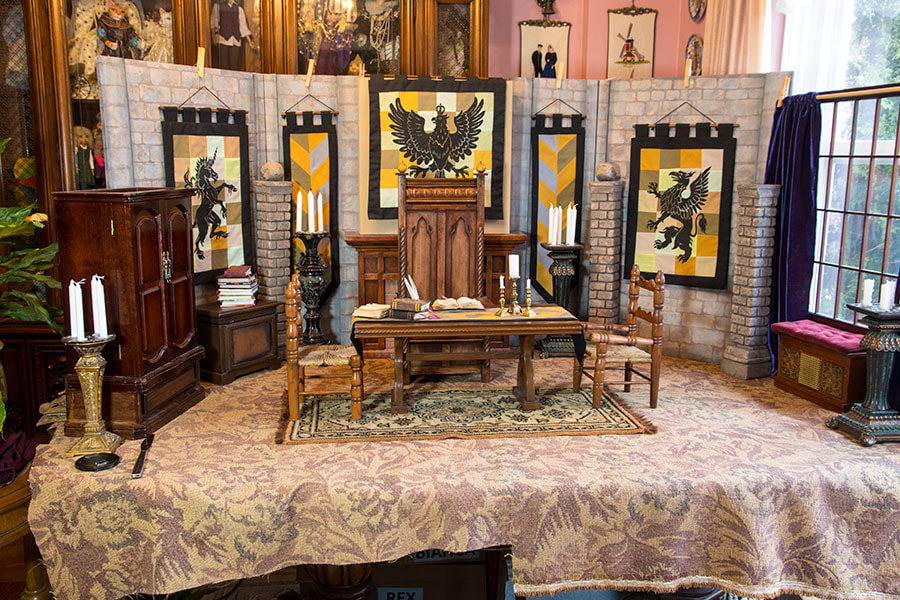
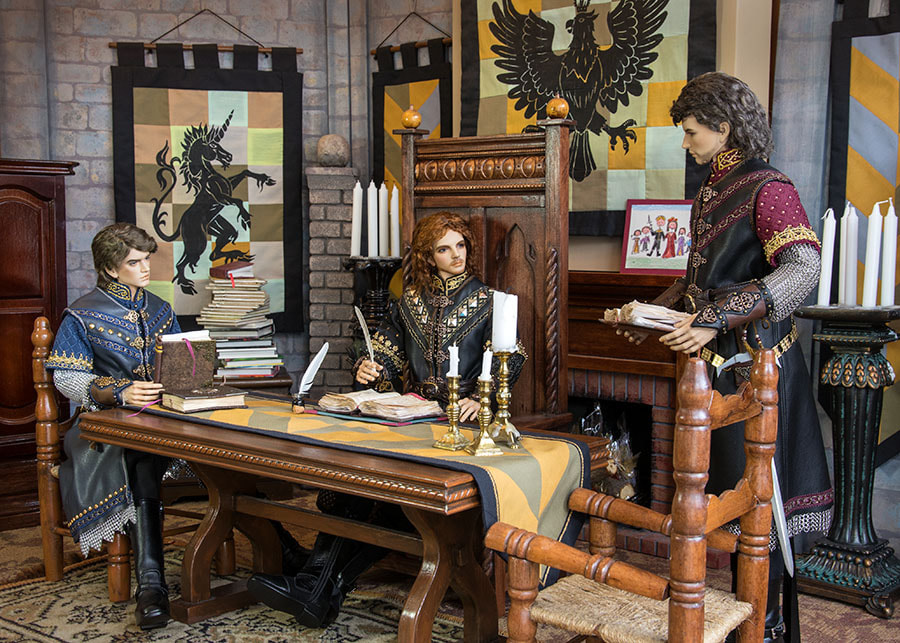
I needed to set up a scene for Lawrence's Office, and went back to look at what I'd done for the Christmas story in January 2021, but this time I replaced his chair with his throne. I put my homemade books on the table, and piled a bunch of other books on a cabinet at the side. They were all contemporary books, so I turned them so none of the spines would show.....
*Continued in Part 2
Copyright © 2022 Martha Boers
All Rights Reserved
