Art Apron
Copyright © 2018 Martha Boers. All Rights Reserved. For personal use only
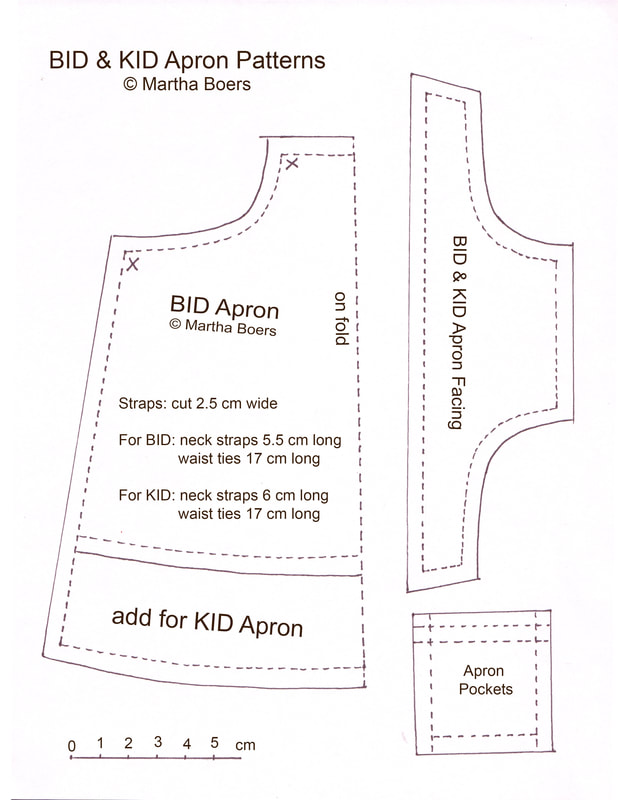
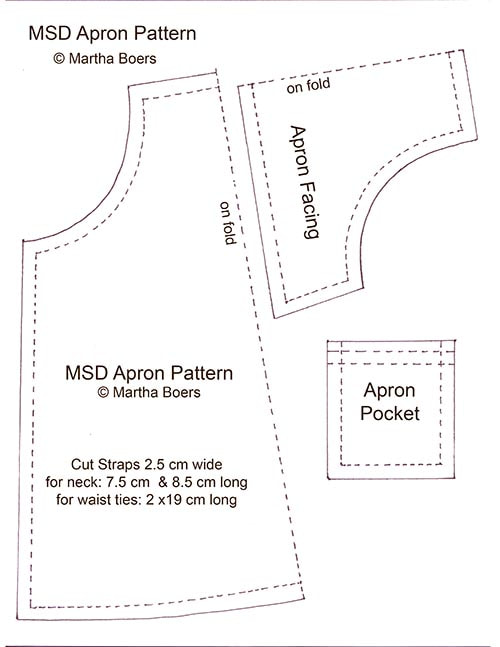
I have included patterns for three sizes of aprons; BID, KID, and MSD
I have included patterns for three sizes of aprons; BID, KID, and MSD
Pattern
*To download pattern pdf, click on either of the pattern images below...
|
|
Instructions
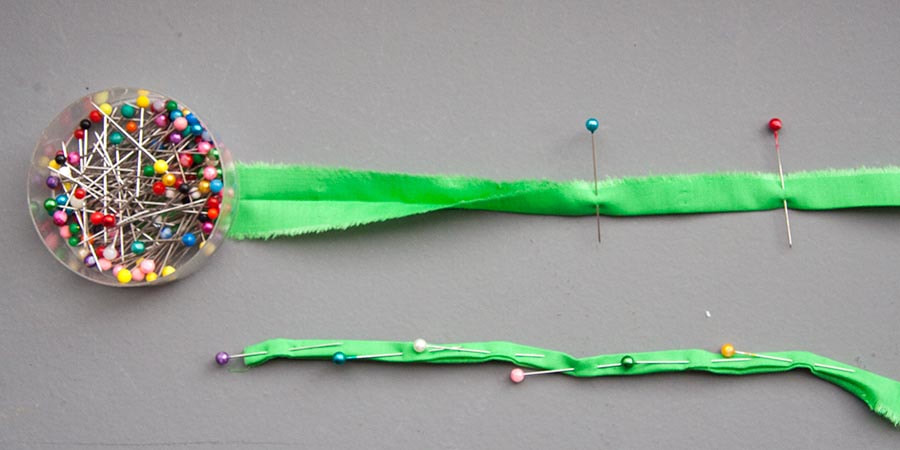
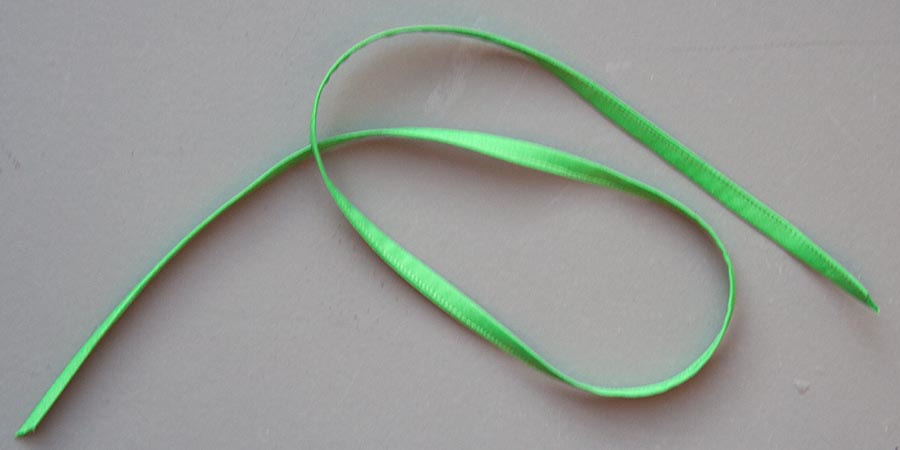
1. Print patterns and cut out. Cut out fabric pieces, including strips for straps and waist ties. Prepare the straps and waist ties. First fold the strip in half lengthwise and press to better mark the center. Then fold both edges into the middle, and fold closed. Pin....
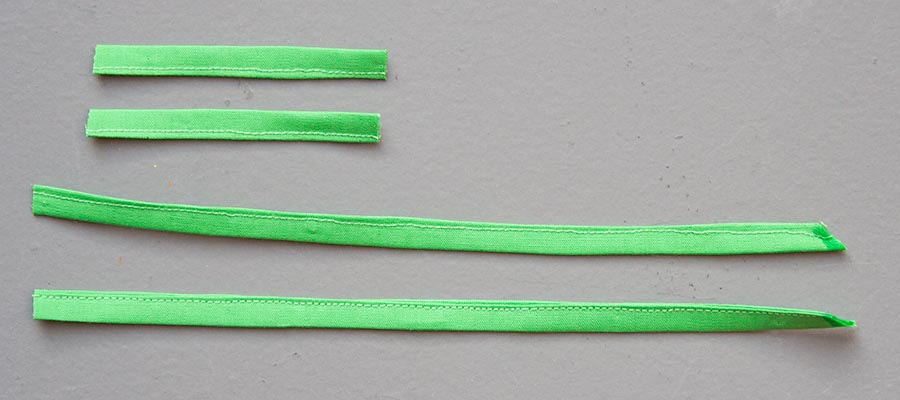
2. Stitch ties, and press...
2a. Cut the straps and ties to length, and Fray-check the ends...
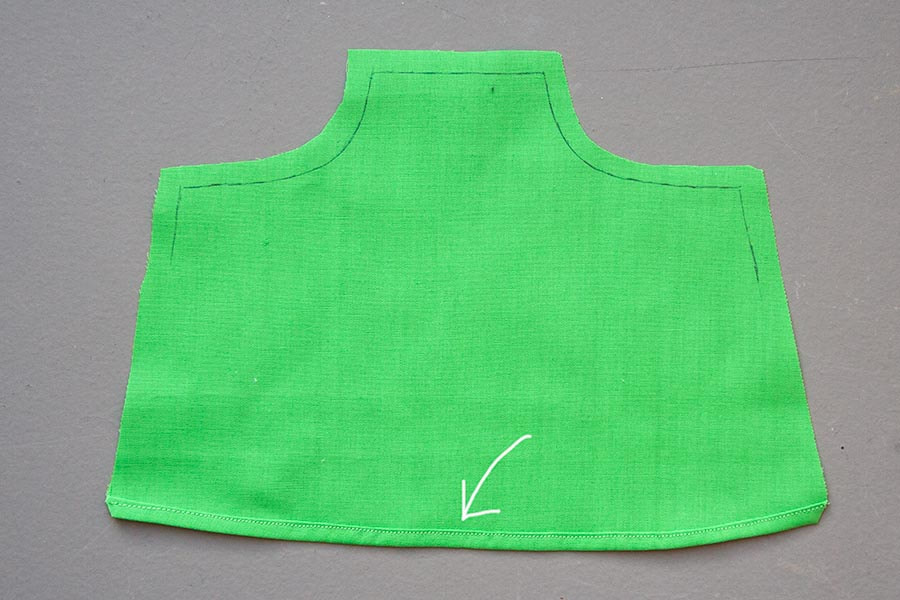
3. Make a 'rolled' hem (folding inward twice) along the bottom edge of the main apron piece....
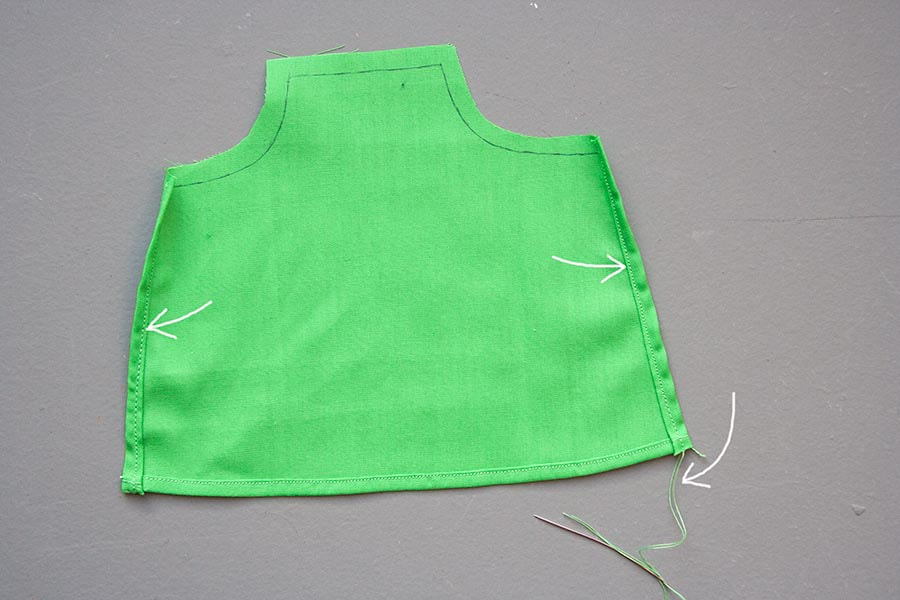
4. Make rolled hems along both side edges. Leave long tails of thread to sew in and hide afterwards. *I leave the thread to sew in because using the 'reverse' option on the sewing machine tends to make a mess with this small size, especially when there's several thicknesses of fabric. So it's neater to just hand sew the loose threads in to hide them afterwards.
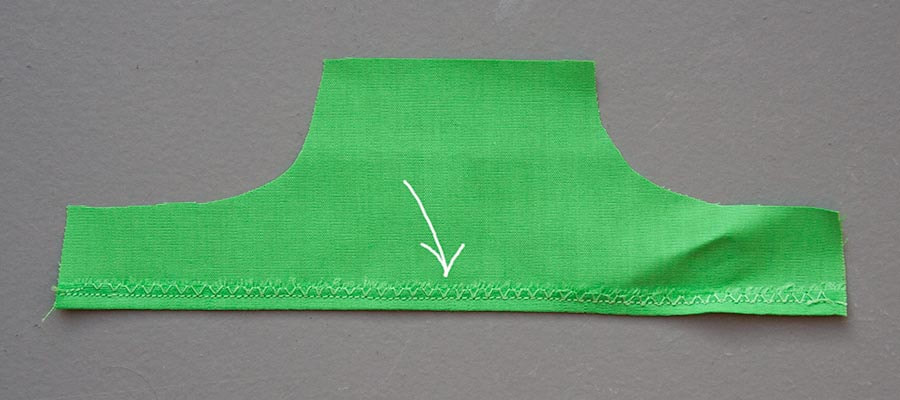
5. Zig-zag bottom edge of apron facing. Fold under and sew hem....
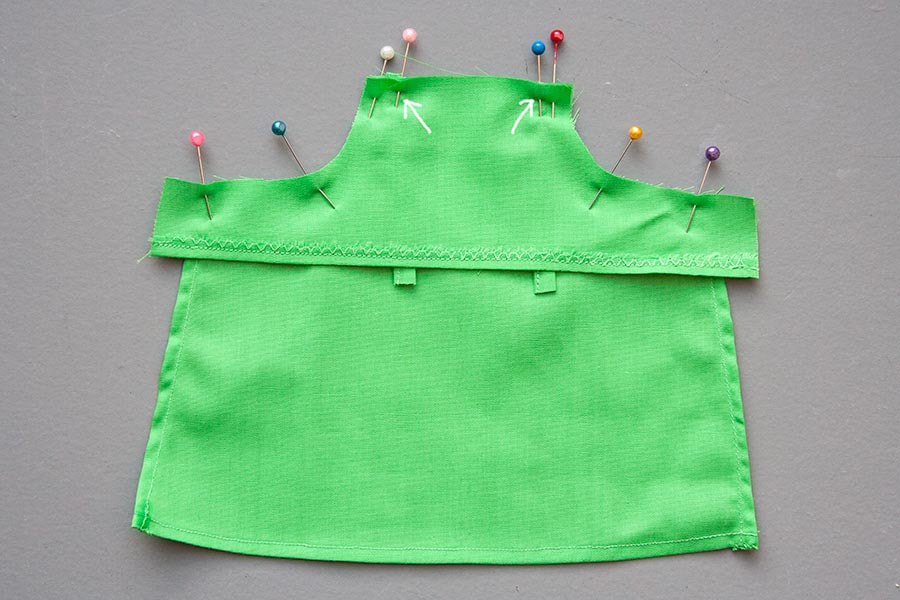
6. Pin right side of facing onto the apron, with the two short ties pinned at the upper corners inside the seam lines...
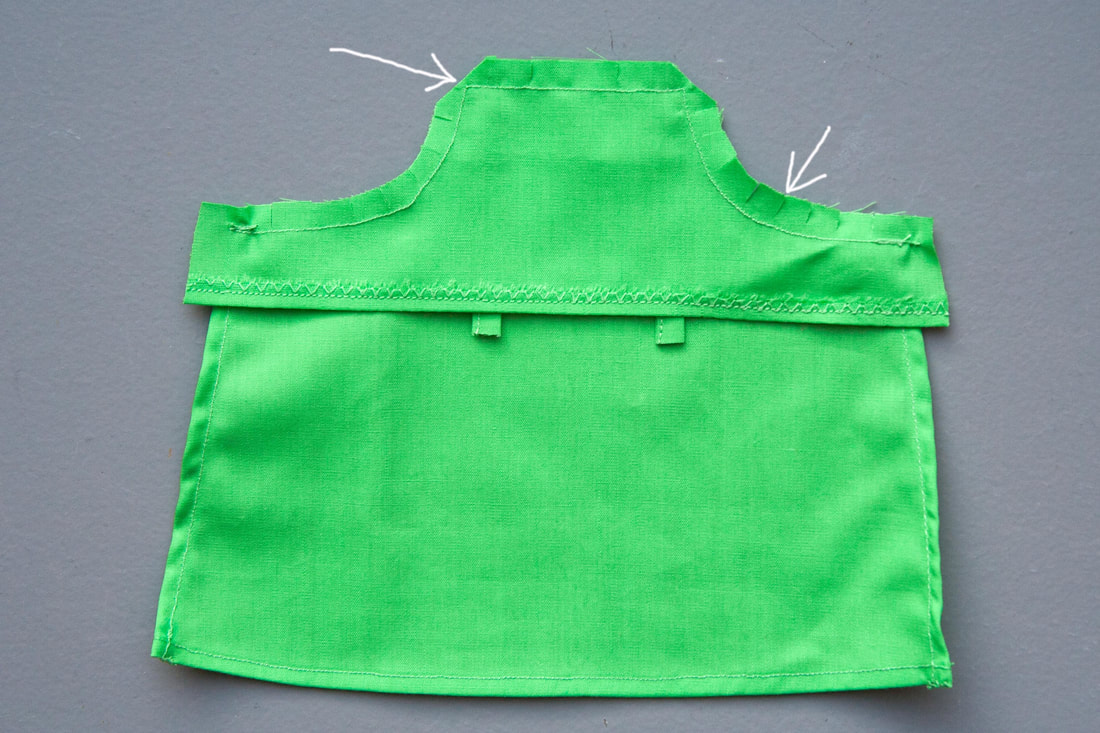
7. Stitch along upper edges and clip as shown...
8. Turn right side out, and press...

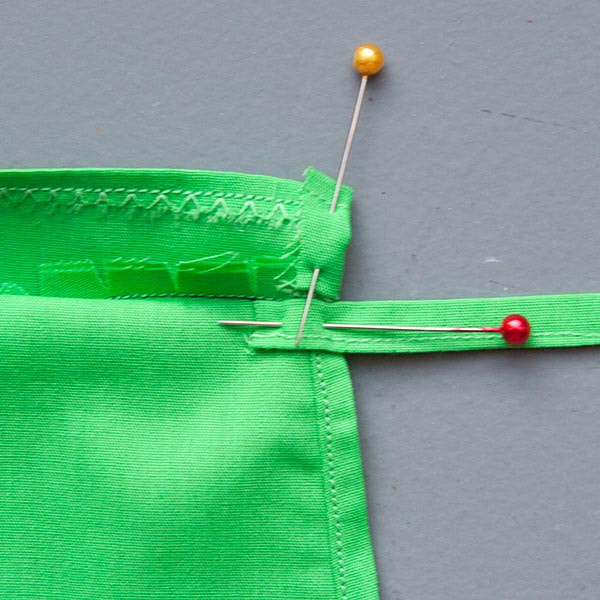
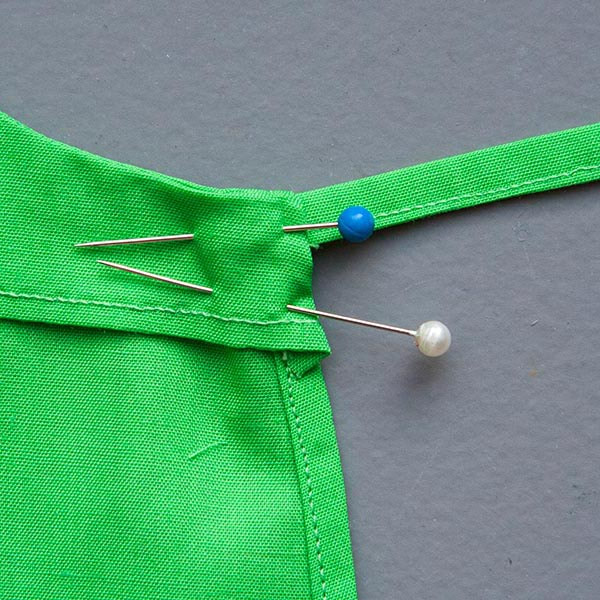
9. Take a longer tie, and pin it between the apron and facing right at the top edge. Fold in the raw edge of the facing, and pin down onto apron side. Repeat with second tie on other end....
|
|
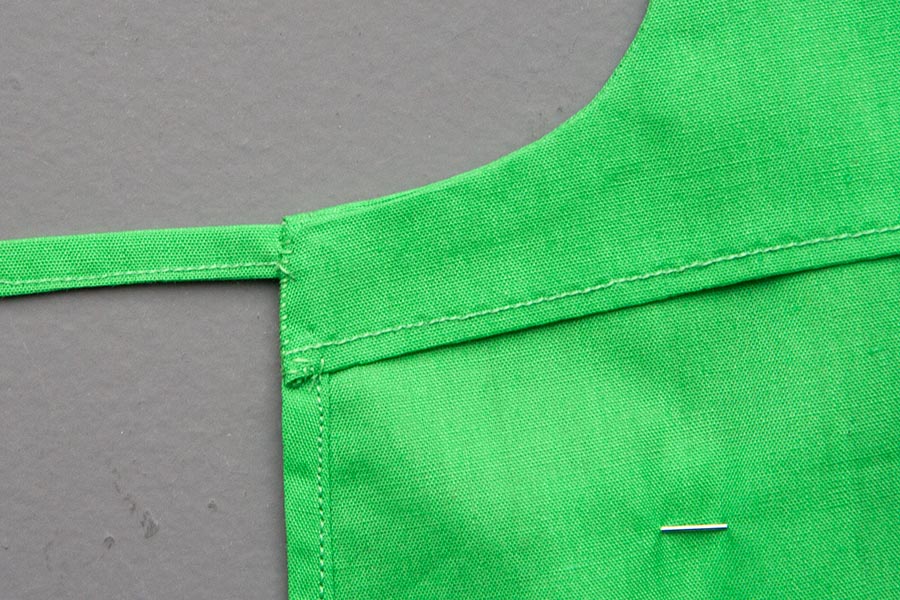
10. Hand stitch neatly into place along edge...
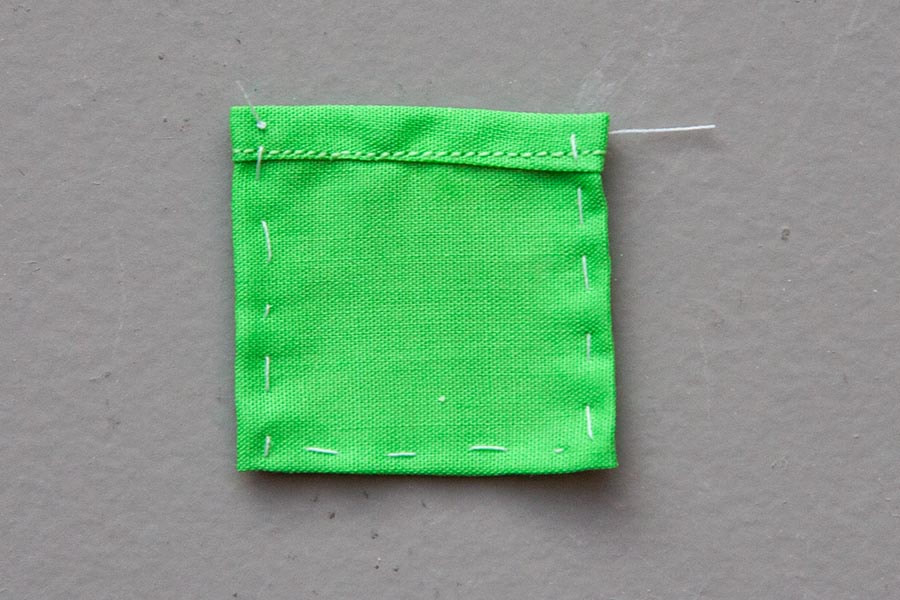
11. Prepare Pockets. Fray check all edges. Let dry. Make rolled hem along top edge. Zig-zag other three edges....

12. Fold pocket seam edges to wrong side and baste in place....
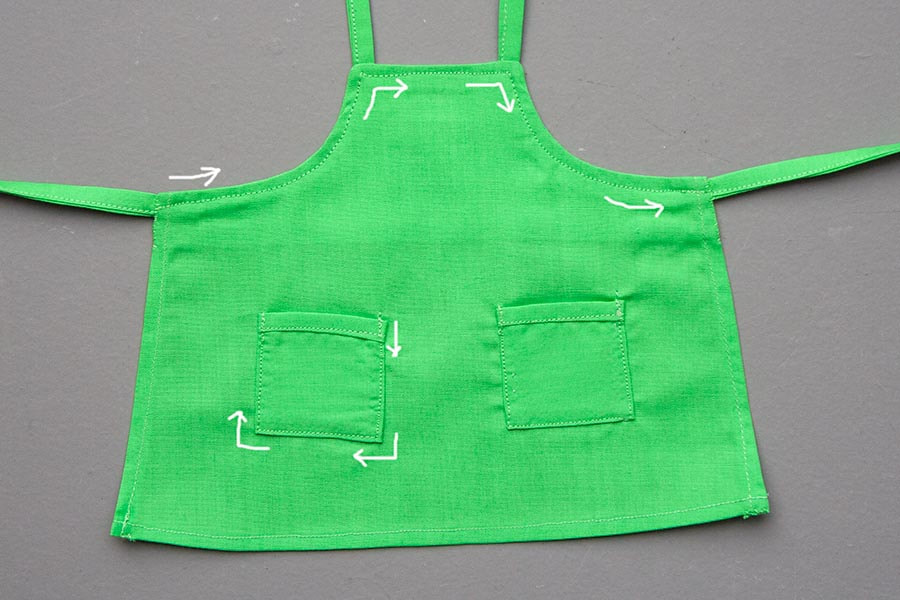
13. Position pockets onto apron. Pin, then baste in place....
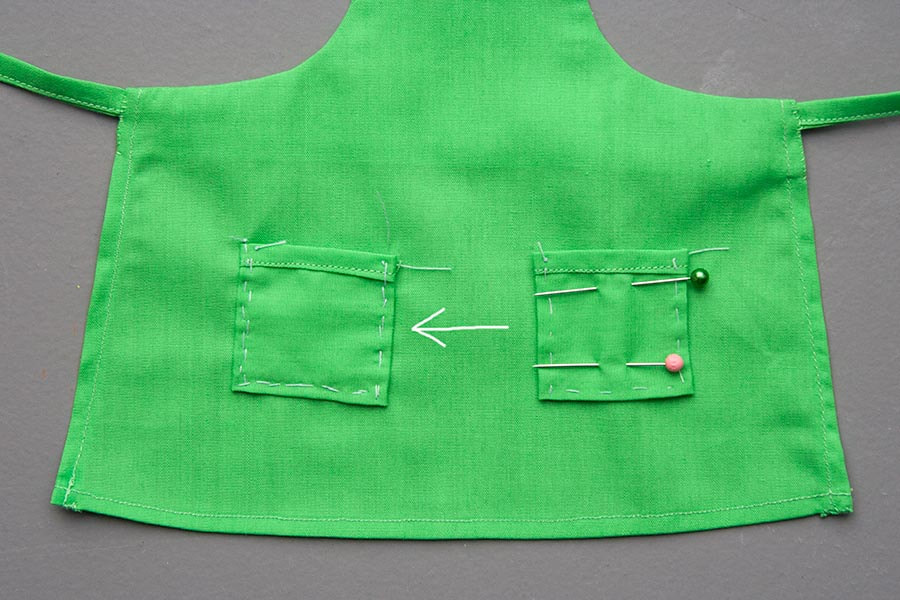
14. Machine sew around pockets, and top-stitch along top of apron as shown...
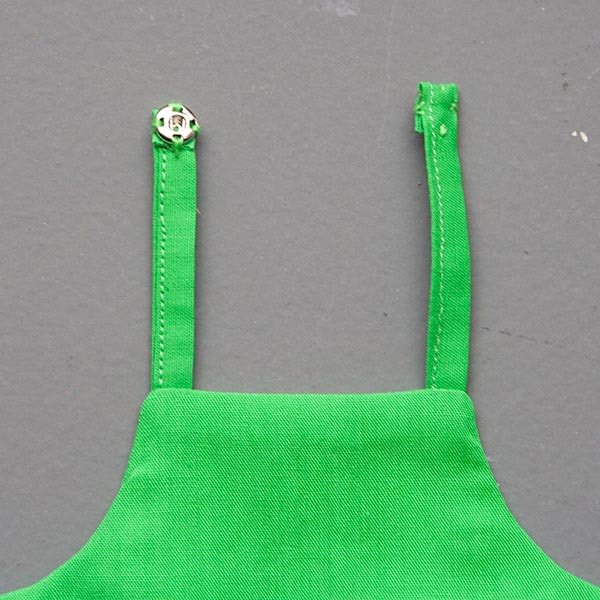
15. Fold ends of neck straps under the snaps when sewing on the snap fasteners....
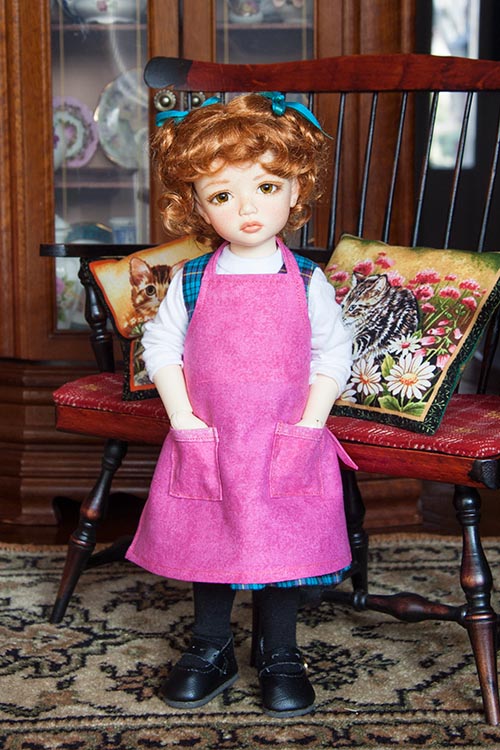
Eight colourful aprons....2 MSD size, 2 KID size, and 4 BID size
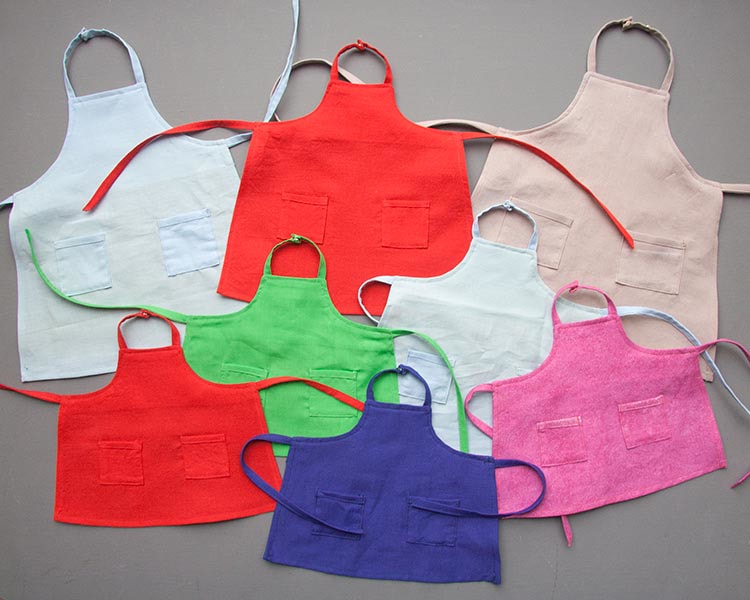
You can use the aprons as they are, or 'dirty' them up for whatever purpose they will be used.
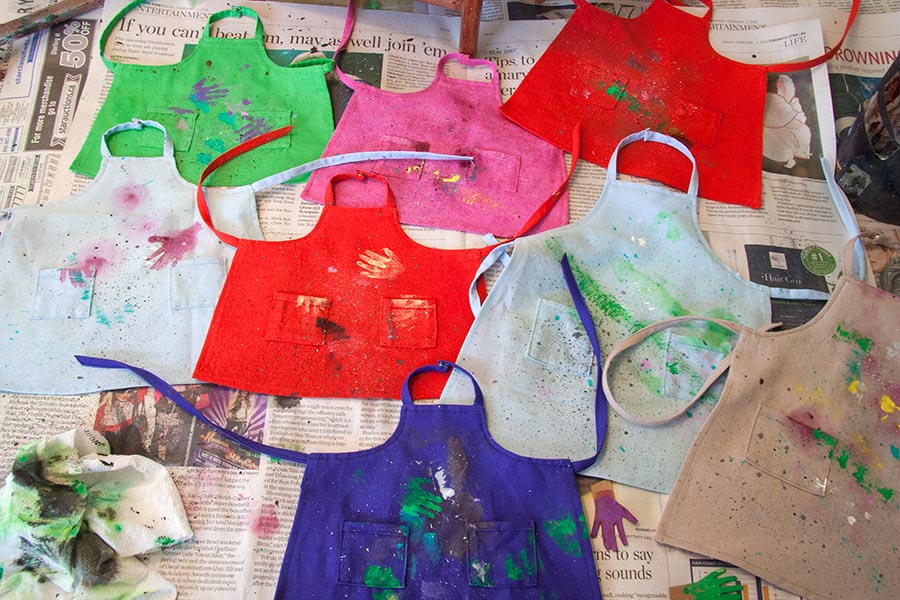
Mine were going to be used in art classes, so I splattered paint on them. I traced my doll's hands onto cardboard (see bottom right) and cut them out. I used them to make 'paint handprints', since I wasn't going to risk staining the doll's actual hands.
Mine were going to be used in art classes, so I splattered paint on them. I traced my doll's hands onto cardboard (see bottom right) and cut them out. I used them to make 'paint handprints', since I wasn't going to risk staining the doll's actual hands.
Copyright © 2018 Martha Boers
All Rights Reserved
All Rights Reserved
