Another Dragon
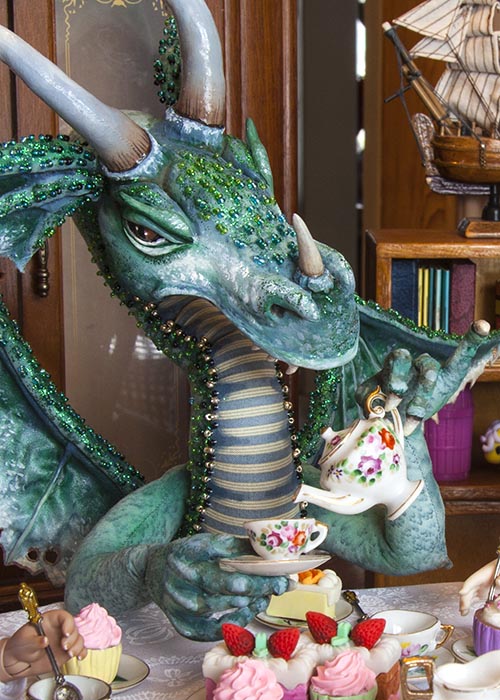
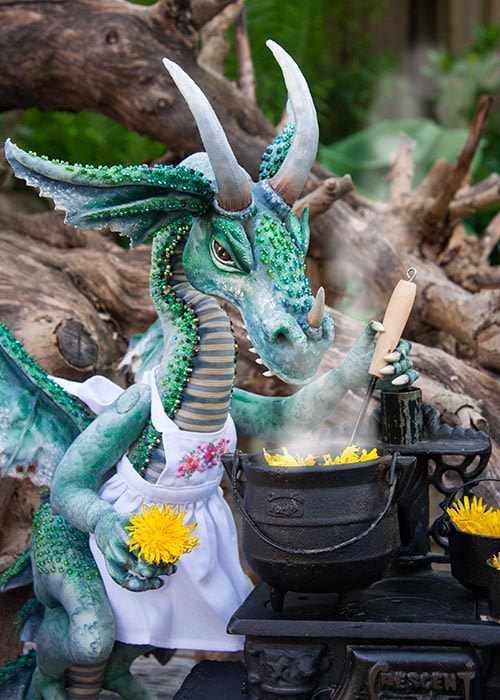
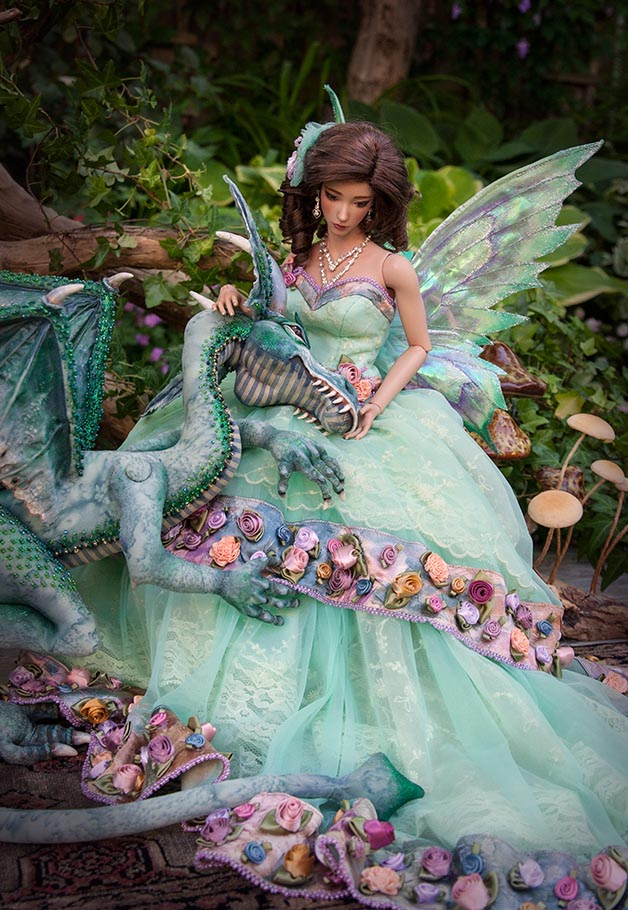
I finally decided to make the second dragon that I've always wanted to. Winston was the first dragon, and he was intended to just be my 'test dragon', but he turned out so well that I never took the time to make another.
With all my health issues I just figured I wouldn't be able to tackle another dragon, but after making wings for Miho last year - which were made exactly the same as Winston's wings - I realized that it was definitely still possible.
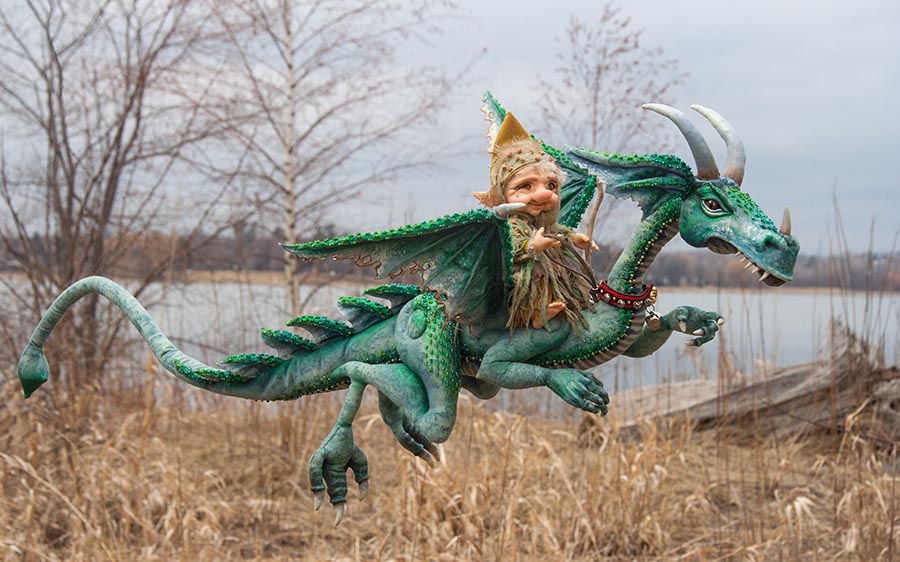
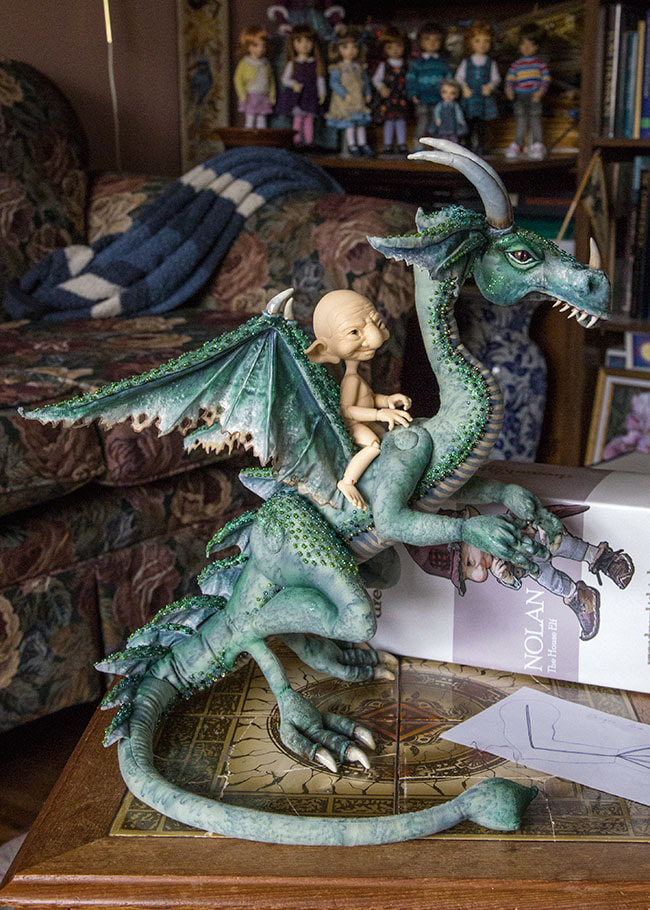
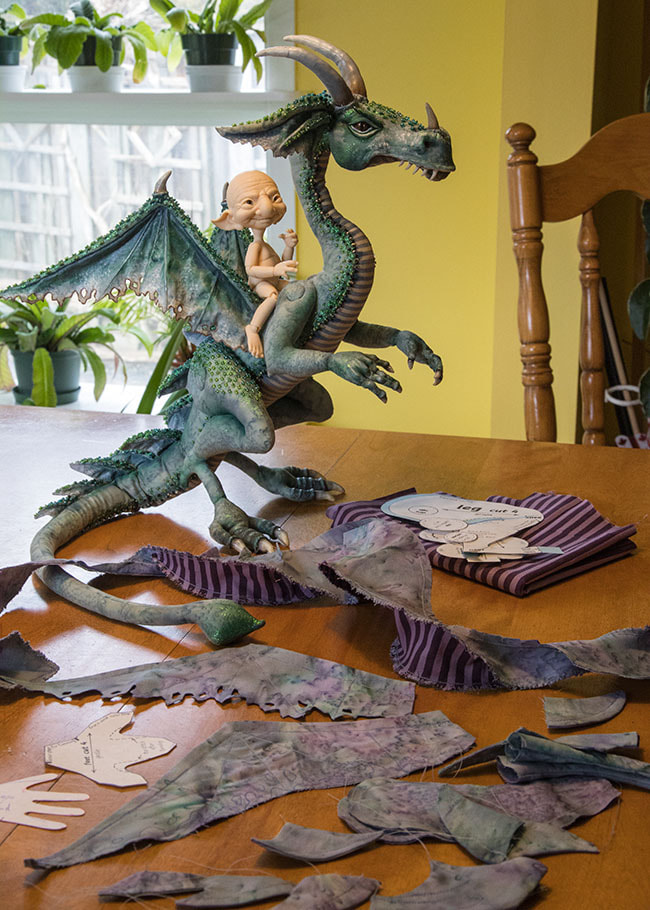
I had always envisioned one dragon to become a steed for one of my little House Elf Warriors, and with one in the house, and another on the way, I figured now was as good a time as any. After all, my eyesight wasn't getting any better. So, I put an Elf on Winston's back to check for size, and where I needed to make adjustments to the pattern....
March 24, 2022
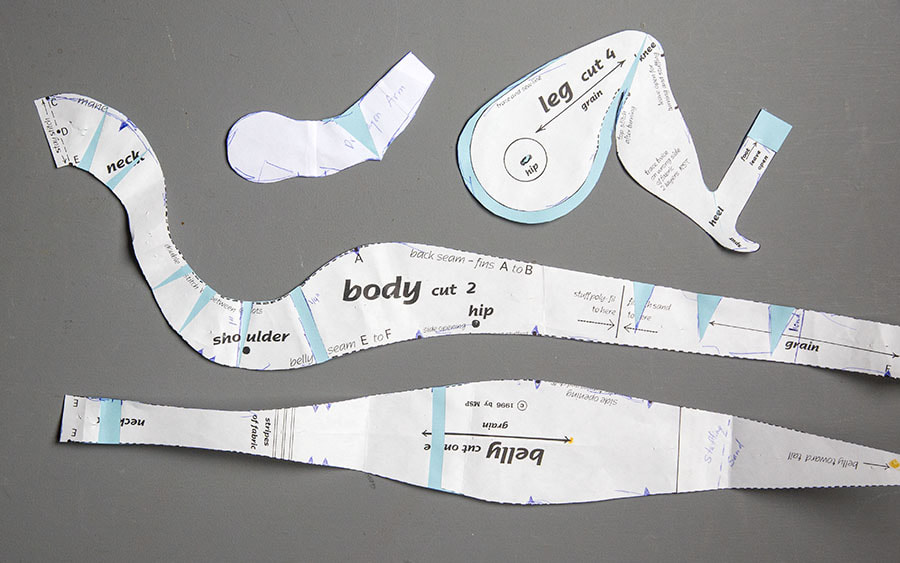
I took out the fabric that I'd bought after I finished Winston - it was a similar salt dye cotton, in turquoise, but leaning towards purple. I got out the patterns and made adjustments to all the places where I thought Winston could have used some improvement;
- straighten the neck some so it could be posed easier without strain on the stitches in the inner curves
- straighten the bend in the arms so they could be straightened more without popping the inner elbow stitches.
- put darts in the tail where it first touches the ground, so the dragon will stand upright and not keel forward all the time
- add a little extra length in the body to accommodate a saddle for the Elf.
- separate all the fins on the back so each one is its own separate unit
I made the pattern adjustments using blue paper so I'd know exactly what I'd added....
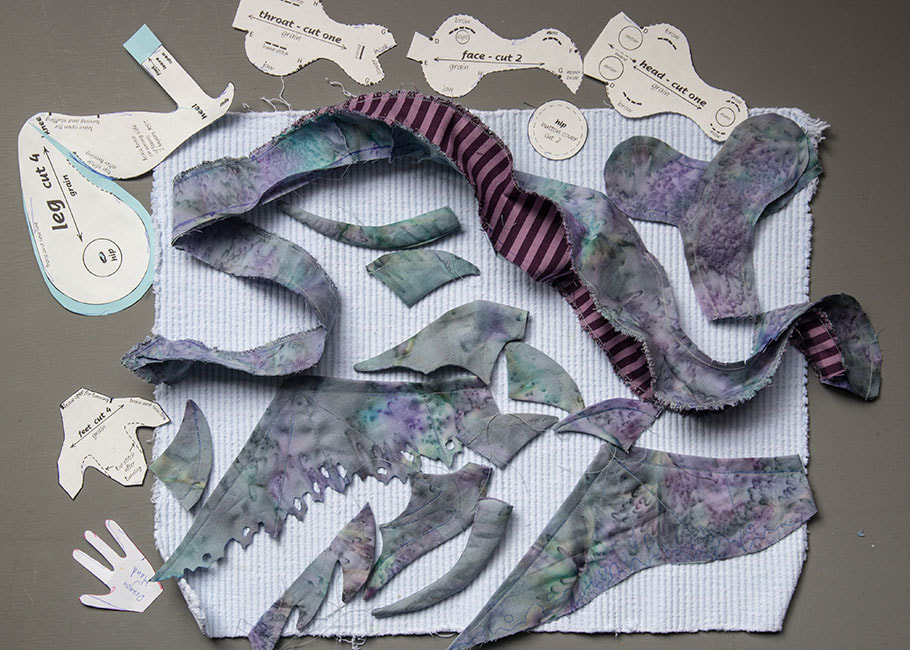
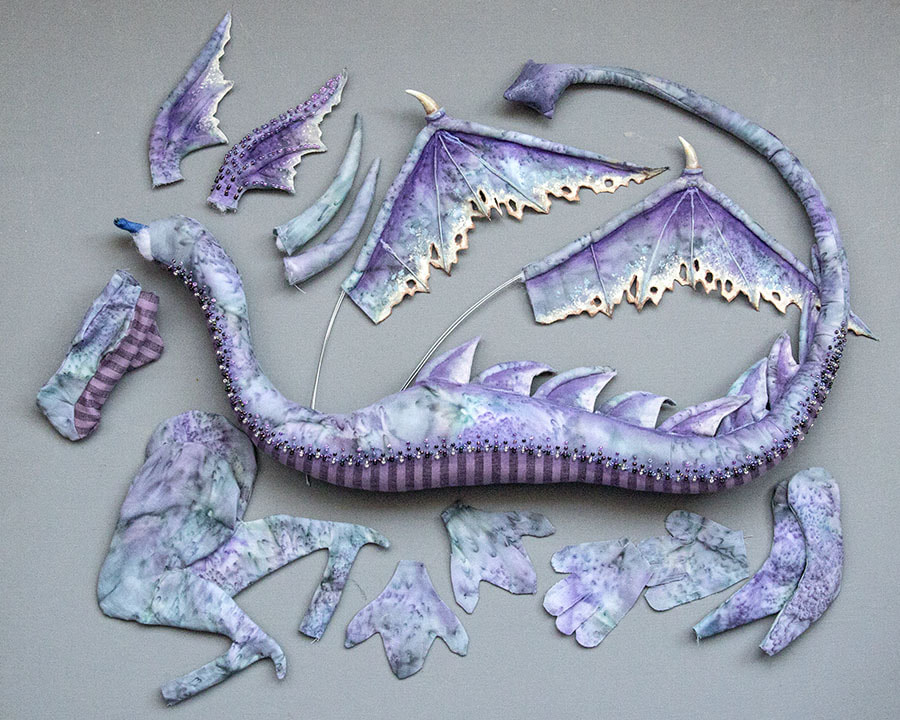
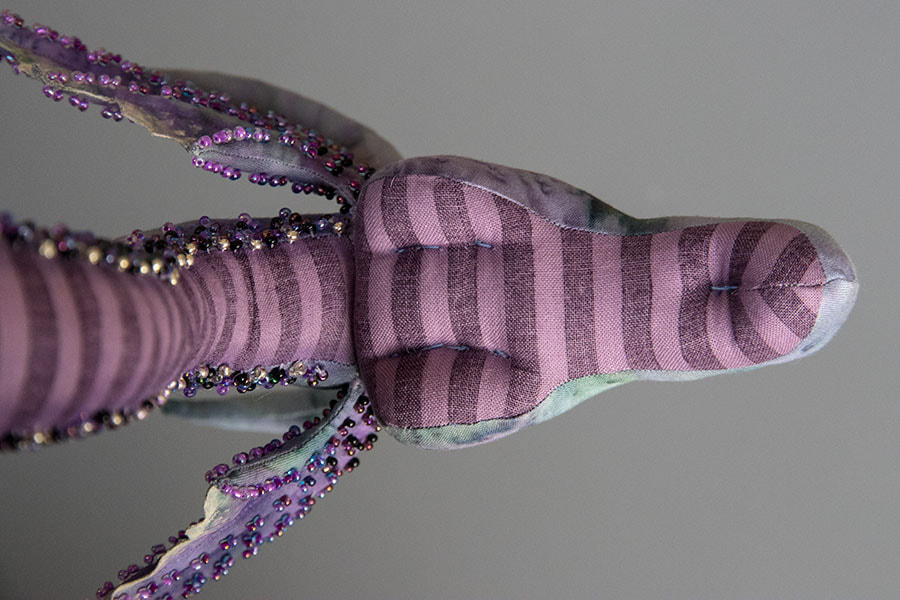
I began cutting out the pieces. There were a lot! I had found a nice purple stripe fabric for the dragon underbelly, but it was too contrasty on the right side, so I used the lighter wrong side instead. The sewing began....
Some of the body parts sewn together....
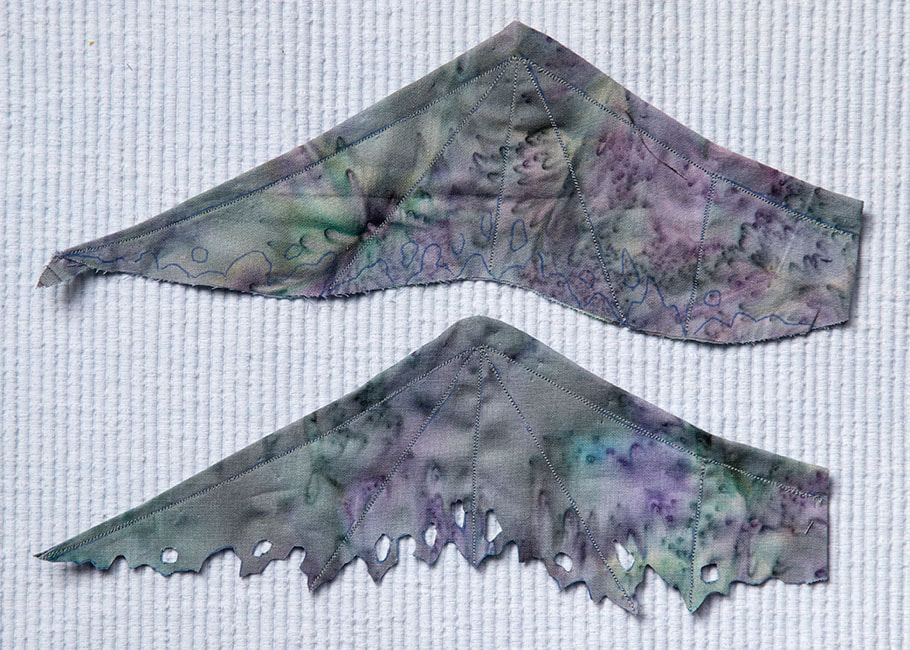
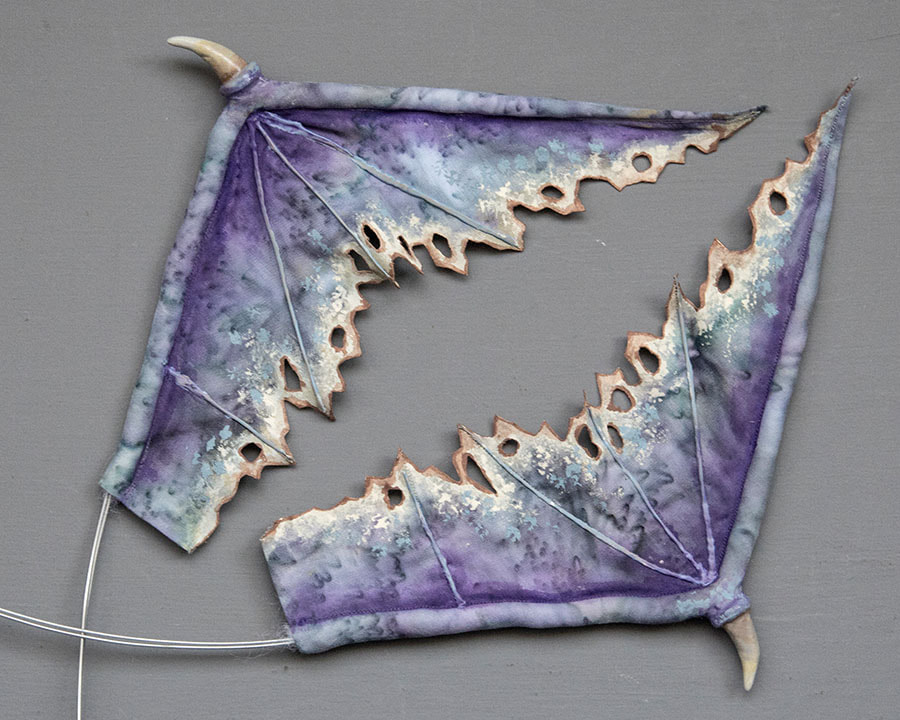
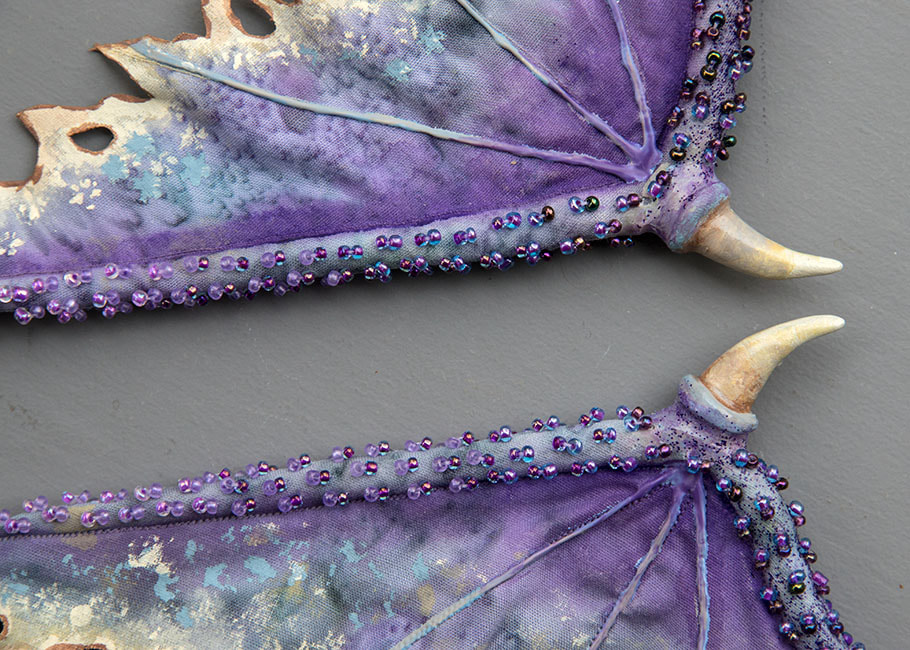
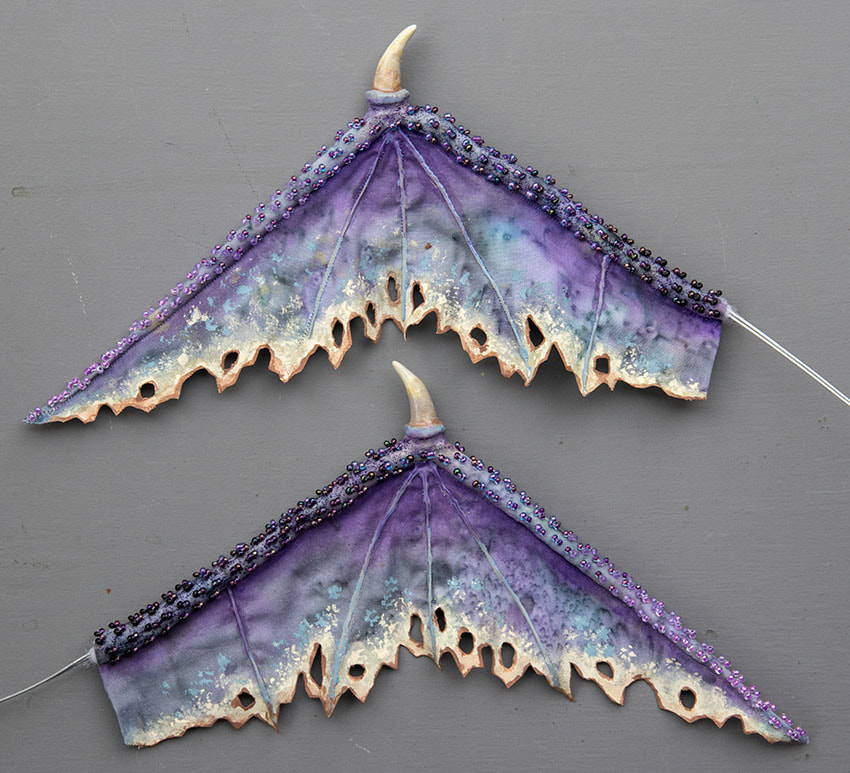
The wings were just sewn along the top edge - leaving an opening at the bend at the top - then turned right side out, pressed, and then the channel for the wire was sewn. I applied a thin layer of glue along the bottom raw edges of the wing fabric to hold the layers smoothly together. After that dried, I sewed the 'wing veins', drew on the rugged edge, and cut it out with scissors....
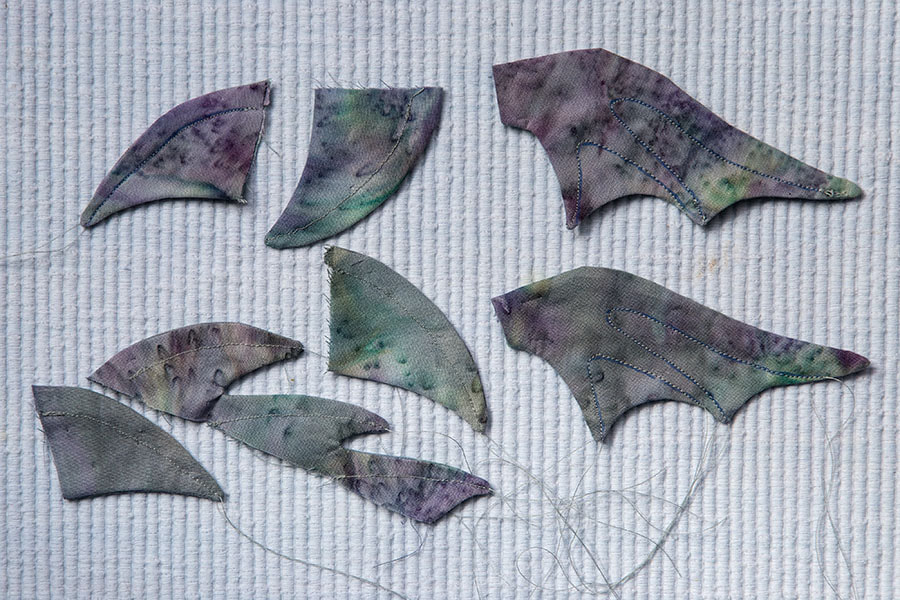
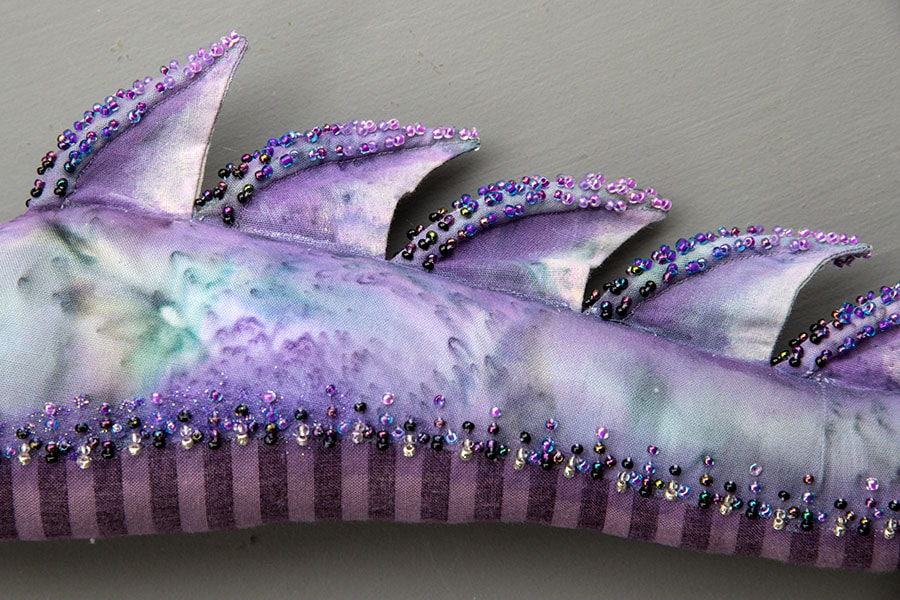
All the individual fins on the back were stitched, turned, and top-stitched. I left the last three fins in one piece since they were going onto a straight section of the tail. When doing any top-stitching I'd leave long threads that would need to be sewn in invisibly by hand later - as opposed to backstitching at the beginning and ends of every line.
April 2, 2022
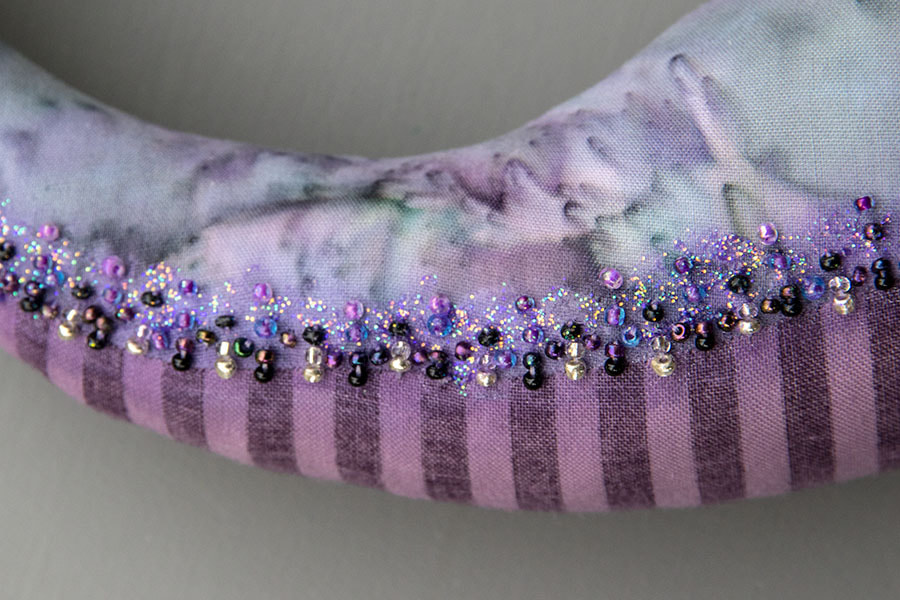
Things were progressing slowly. I'd finished all the 'easy' things, like all the machine stitching, stuffing the main body, and finishing the wings. I'd cut a double length of wire for inside the body to go from inside the head, down to where the tail bends at the ground. I twisted the wires, then wrapped them with glue-covered seam binding, to create some 'tooth' for the stuffing to hold onto. Then I inserted the wire into the body and proceeded to stuff it, making sure the wire was always buried in the middle of the body. After it was stuffed, I applied some diluted purple paint along the outer edges of the striped belly.
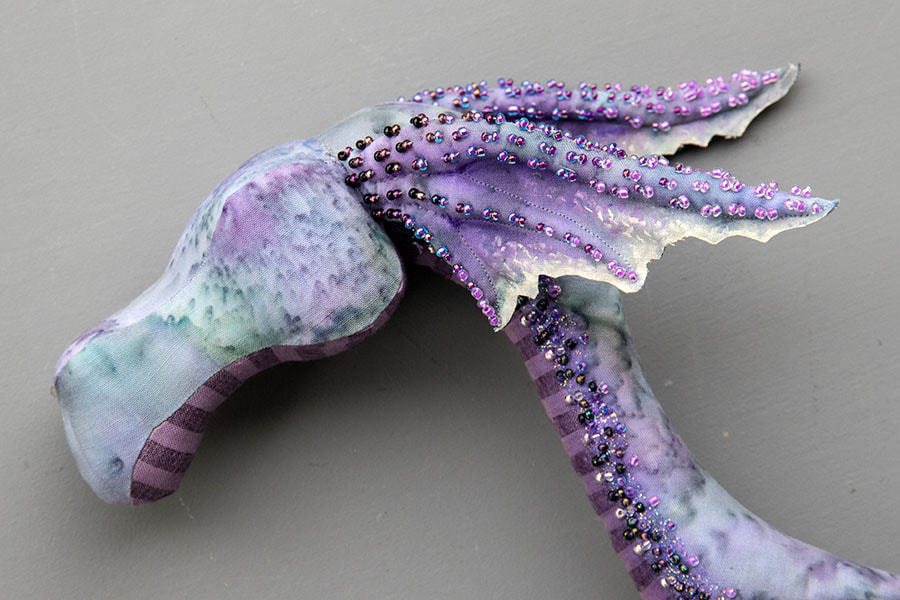
Then I got out ALL my purple beads so I could decide which ones to use. I beaded the entire length on both sides of the under-belly. It was a serious challenge since I was often seeing double, and could barely make out the holes in the beads, but I persisted doing only a section at a time. That alone took three whole days. But at least it was a simple repeat pattern, so no brain drain....
Then I got out ALL my purple beads so I could decide which ones to use. I beaded the entire length on both sides of the under-belly. It was a serious challenge since I was often seeing double, and could barely make out the holes in the beads, but I persisted doing only a section at a time. That alone took three whole days. But at least it was a simple repeat pattern, so no brain drain....
The wings were also finished, and ready to bead. I'd stuffed the edge of the wings - one of the most difficult things to do on the entire dragon. Getting tiny wisps of stuffing into the tiny points proved very challenging, especially with the wire already filling much of the space. Thankfully the opening at the top of the wings helped, since there were no bends to stuff around..
I formed 'claws' out of Aves Apoxie, poked holes through near their base, so they could be sewn onto the bend in the top of the wings after they cured. Then I smoothed more Apoxie around the base of each claw. I used a 3-D paint to squirt raised lines along the stitched vein lines. Then I enhanced the wings with paint to help give them more definition. It took at least five layers - some of which were just diluted paint, which was allowed to seep into the wet fabric, but still allowing the salt dye pattern to show through....
I formed 'claws' out of Aves Apoxie, poked holes through near their base, so they could be sewn onto the bend in the top of the wings after they cured. Then I smoothed more Apoxie around the base of each claw. I used a 3-D paint to squirt raised lines along the stitched vein lines. Then I enhanced the wings with paint to help give them more definition. It took at least five layers - some of which were just diluted paint, which was allowed to seep into the wet fabric, but still allowing the salt dye pattern to show through....
|
The ears had to be redone several times. The first set I cut out, I stitched all the way round, forgetting that I didn't want a nice turned outer edge. It was very neat, but not at all what I wanted. So into the garbage they went.
Then I cut out a second set, and just stitched the upper and lower edges. But then, like with the wings, I added glue between the layers of fabric before doing the top-stitching, and then I couldn't get the stuffing into the ends of the three points.
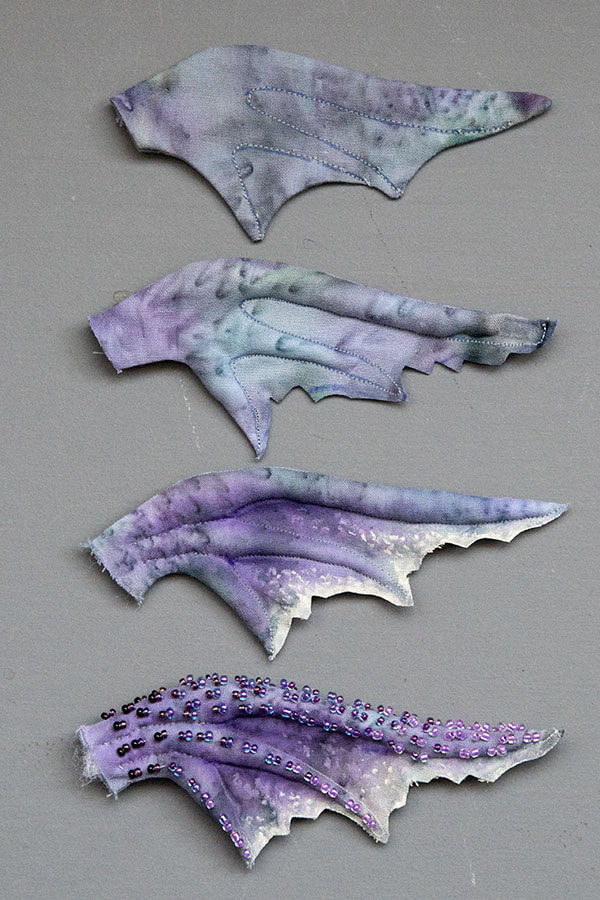
So I started over yet again, and the third time was the charm. I stuffed the points, top-stitched by hand, then glued the outer layers of fabric together, and cut out the ragged edges. After highlighting with a bit of paint, I beaded the stuffed edges....
|
April 10, 2022
I finished the beading along the tops of the wings. I used seven colours of beads, sewing the darkest ones where the wings would come out of the body, and gradating the colours lighter and lighter towards the wing tips.
I wanted to add some sparkle with glitter fabric paint, and applied a little along the ends nearest the body. But there wasn't much left in the bottle, and glitter paints haven't been available for a few years now, so I decided I better wait until the entire dragon was finished, and then apply the glitter paint judiciously in the most important places....
I had the same issue with the second bottle of purple glitter paint. There was barely a third of the tiny bottle left, and after applying a little along the upper neck edges, I decided I better wait until the entire dragon was finished. Then I'd cut the bottle open so I could access every drop.
After beading the underbelly, wings, and ears, the next step was to bead the top edges of the fins along the back. That was one tedious job! There are nine fins, and the beads needed to gradate from dark to light, but with every....single...stitch... the thread would get caught on either another fin - or some other beads - or both - and then I'd have to untangle it. Over....and over... It was rare if the thread didn't get caught at all. It was definitely an exercise in extreme patience, and seemed to take forever. But I just kept at it, doing a fin or two a day. After all, the way time seems to be flying these days, I figured if I just stuck with it, it would be done in 'no time'.
I had been waiting to sew on her head until I'd finished all the fin beading. I had altered the head patterns to make the cheeks and eyebrow area not stick out quite as much. I had done the same with Winston, because I wanted a sleeker look to the face. Of course, no sooner was I ready to stuff her head, I ran out of stuffing, and had to go buy some more.
I stuffed her head, leaving an opening into the middle of the stuffing in order to accommodate the body wire. I sewed the sides and bottom of her head onto her neck, leaving the top open so I could finish the stuffing. When it was finally stuffed firm enough, I sewed the top shut. And she finally had a head!!
I stuffed her head, leaving an opening into the middle of the stuffing in order to accommodate the body wire. I sewed the sides and bottom of her head onto her neck, leaving the top open so I could finish the stuffing. When it was finally stuffed firm enough, I sewed the top shut. And she finally had a head!!
April 12, 2022
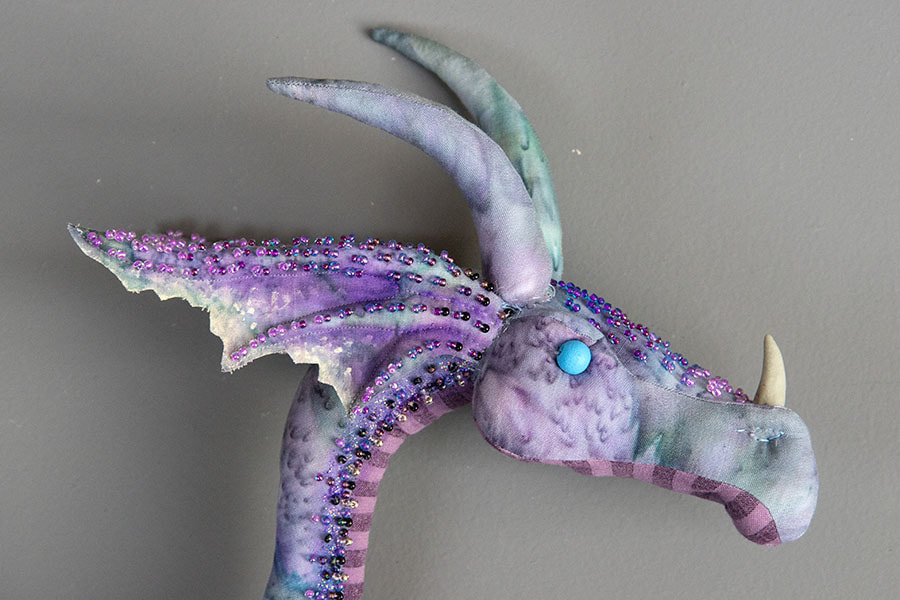
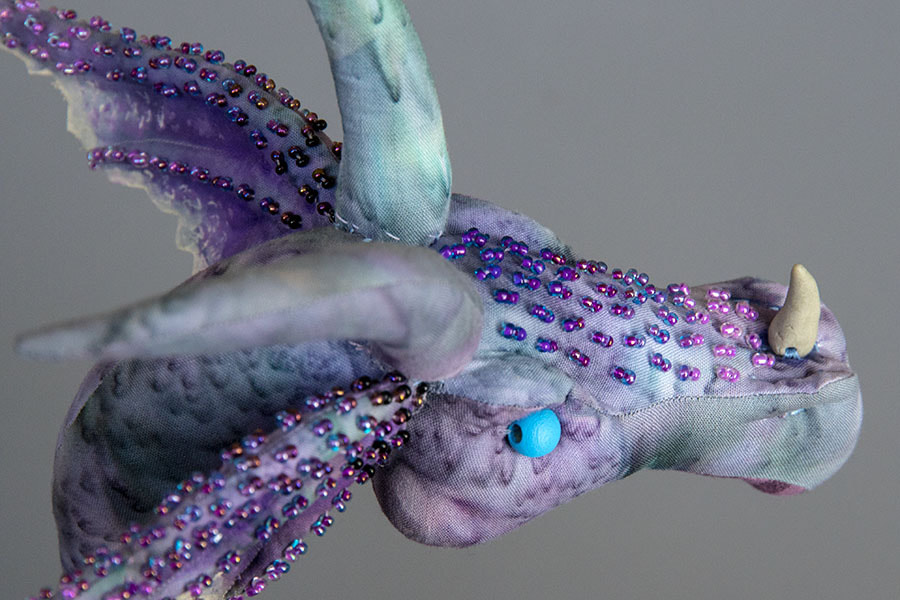
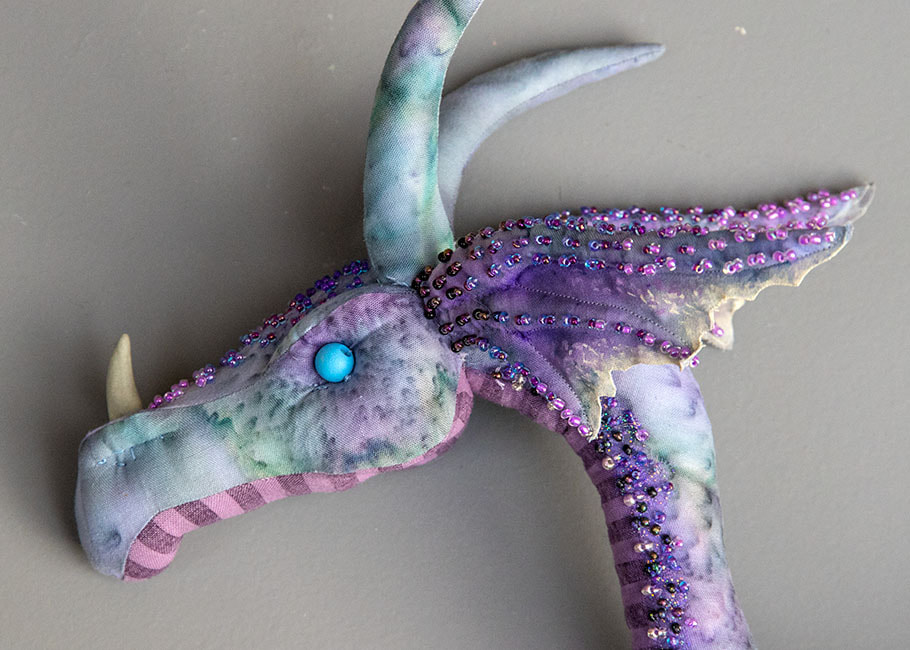
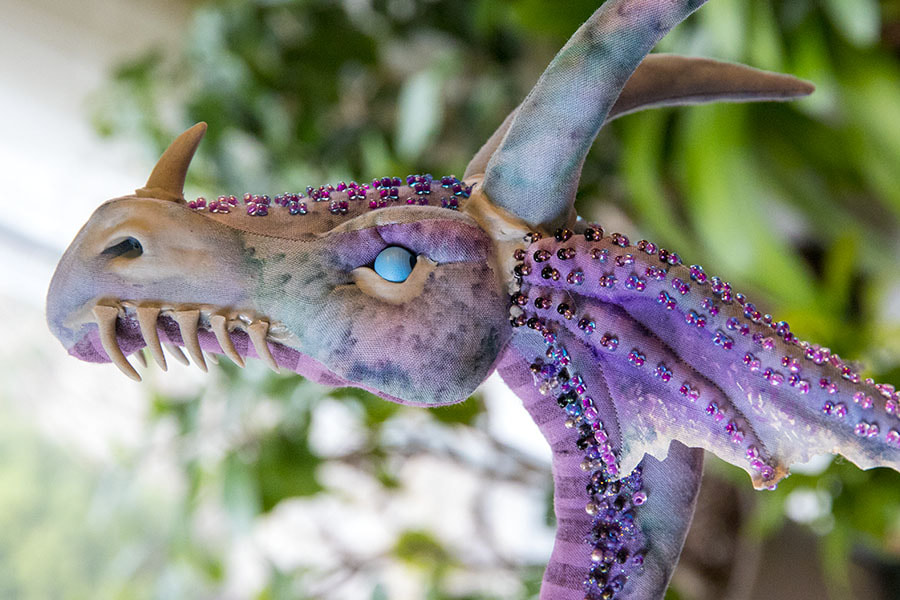
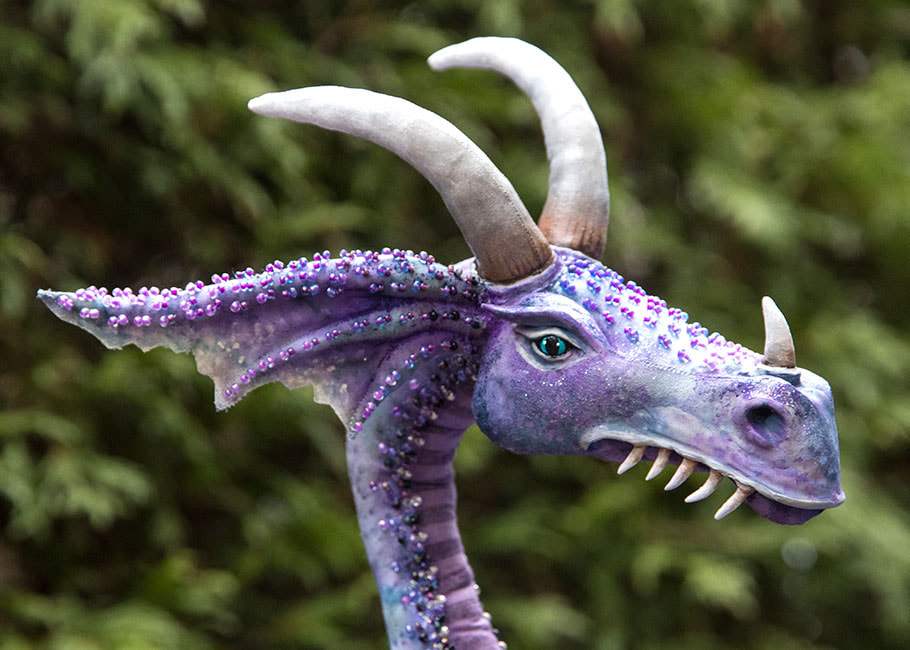
I tackled the soft sculpture of her head last night. First I sewed on her big cloth horns at the top of her head, and the Apoxie horn (which I had made several days ago) on her nose. I used a heavy thread to give some soft sculpture definition to her nostrils, eyebrow ridges, and give her eyes some depth. Then I stitched in some blue wooden beads to be the base for her eyes.
Then this morning I did the beading along the top of her face from her forehead to her nose....
Then this morning I did the beading along the top of her face from her forehead to her nose....
Looking under her chin. You can see that I'm not the neatest. I really don't like doing soft sculpture. But at least all the messy stitches on the top of her head, and around her horns will get covered with Apoxie, so who cares?
A top view showing the gradated colours of the beading...
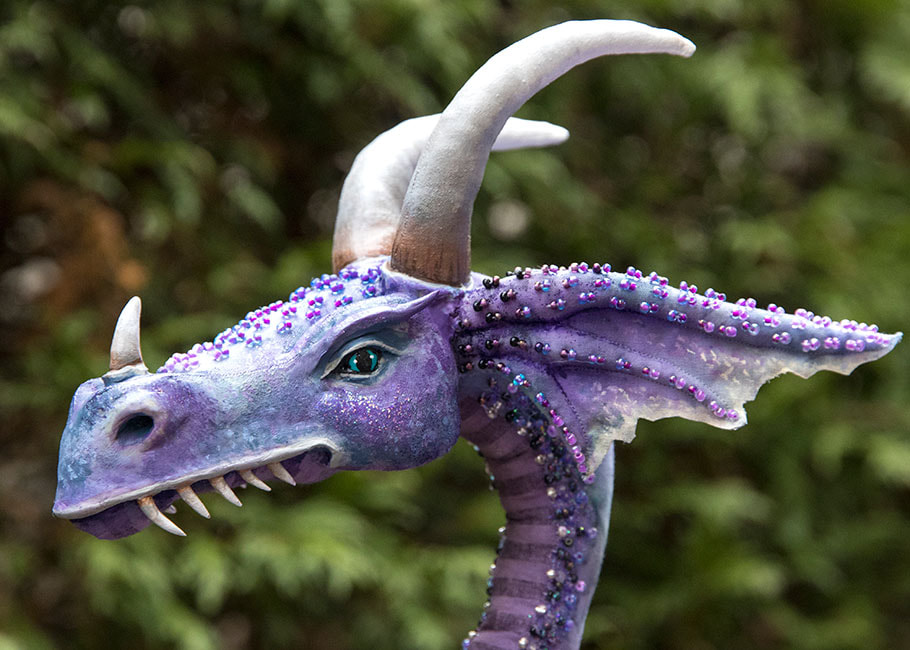
The other side of her head. She's looking more and more like a dragon now, and the Apoxie will only make her look even more so....
April 13, 2022
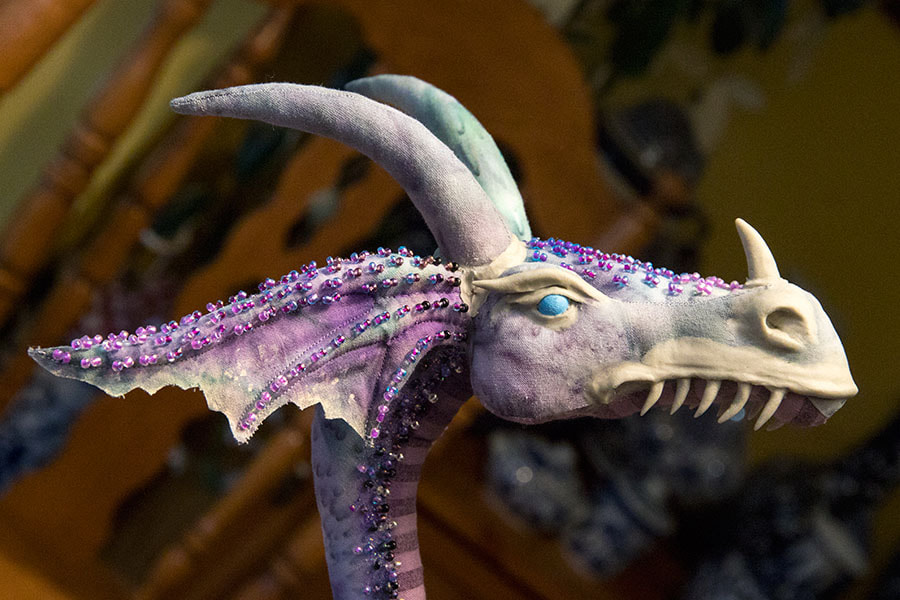
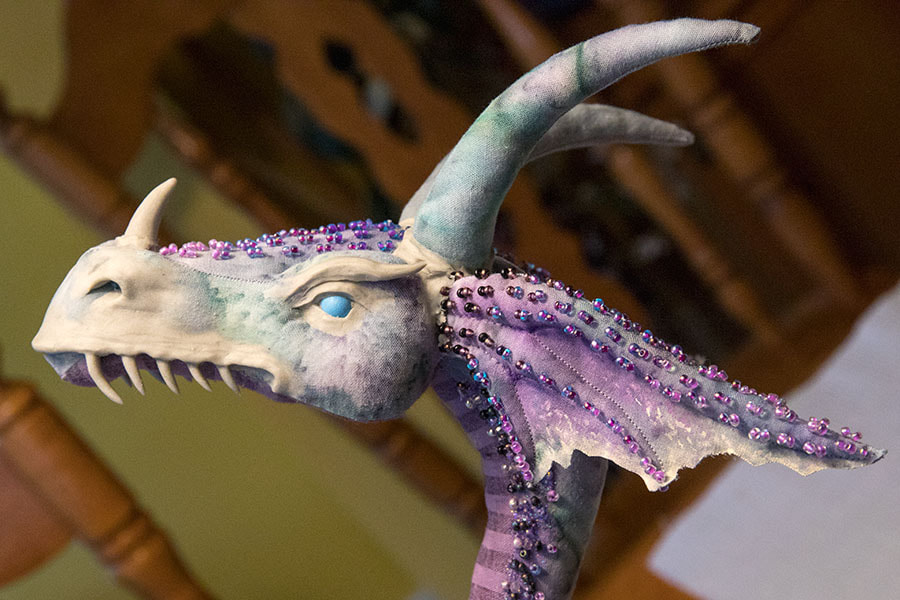
It was time to build up her face and sculpt her features out of Aves Apoxie. I mixed up a little, then wet the cloth, and applied some white glue in the area I was going to add the Apoxie. I wasn't going to build up everything at once, but do it in stages. First up was building the base of the antlers, and the horn on her nose. Then I added her lower eye lids and nostrils, always working the Apoxie smoothly into the cloth. Then I added the inner gum line, and glued all the pre-made teeth into it. Then I let everything cure....
After the first layer of Apoxie had cured, I proceeded with the finishing details. I added her upper eyelids, and her upper lip...
The other side of her head. Even though I tried as best as I could, the two sides are not mirror images of each other. Her right side looks a little more fierce, while the left looks a little friendlier. But then it's not like both sides of her face will ever show at the same time. And it just might be handy having a little variety of expression.
After the Apoxie cured, I decided that the fore-fang on her left side was a little too long, so I carefully sanded it down some.
April 18, 2022
I spent most of the day painting the dragon's head. I was actually surprised that I could see the detail as well as I could. Even so, it's always a challenge painting anything that's 3-D, especially when one can't see both sides at the same time. One of the hardest parts was doing the blending on the horns and teeth. I had to redo them several times.
Her face looks quite different on both sides, at least to me. It's clear now that her eye on the right side is set further back than on her left side. Of course there's no doing anything about that at this point. It just means she'll have two different expressions.
Of course there's nothing like taking a photo, to help show up any issues, and I noticed a few areas in need of a touch up, so have fixed those. Now to address her arms and legs.
April 24, 2022
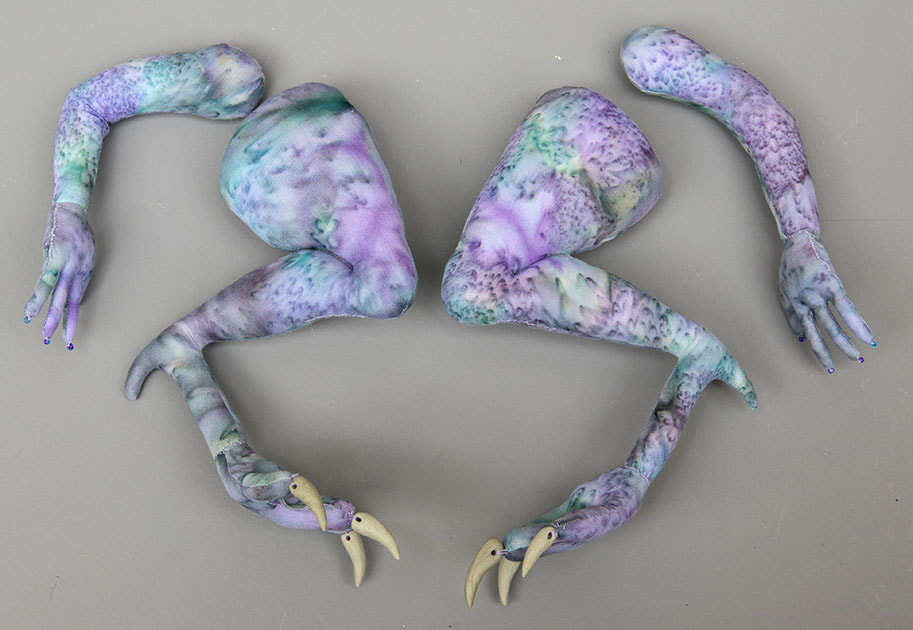
My dragon has been coming along rather slowly. I had stuffed the arms and legs. Thank goodness for forceps, since I'd never have been able to stuff them without one....
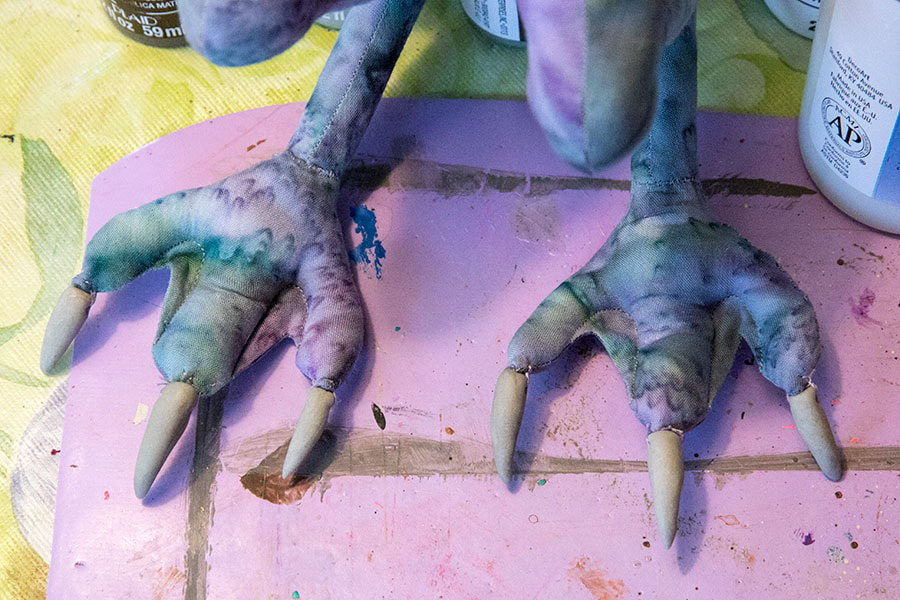
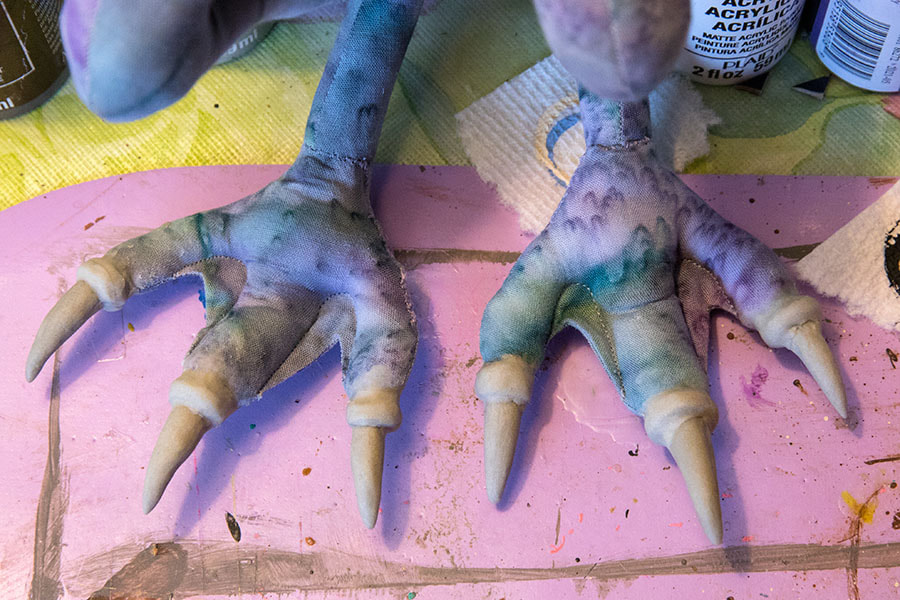
I sewed the pre-made Apoxie claws onto the ends of the toes...
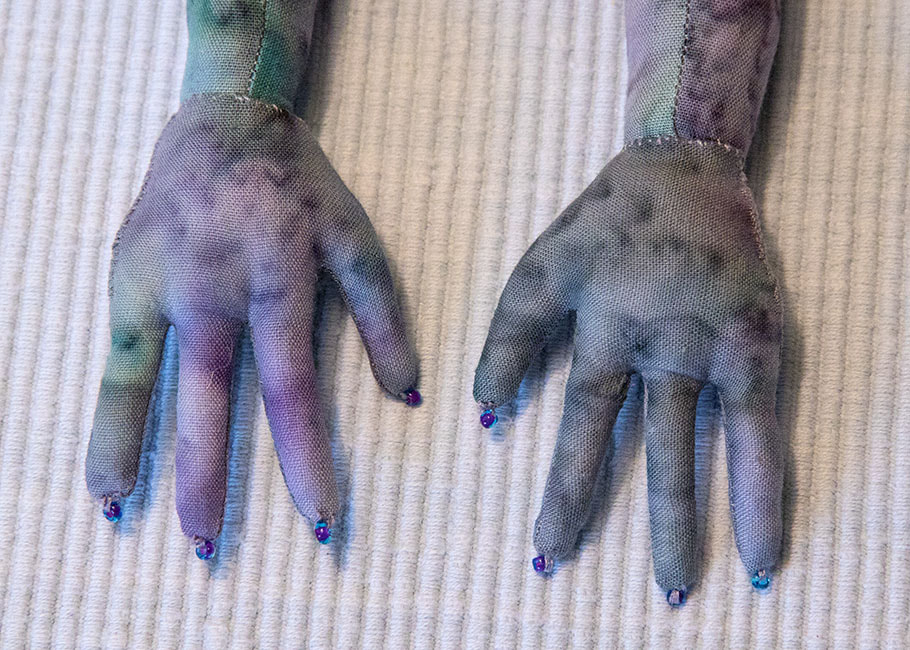
...and beads onto the ends of all the fingers....
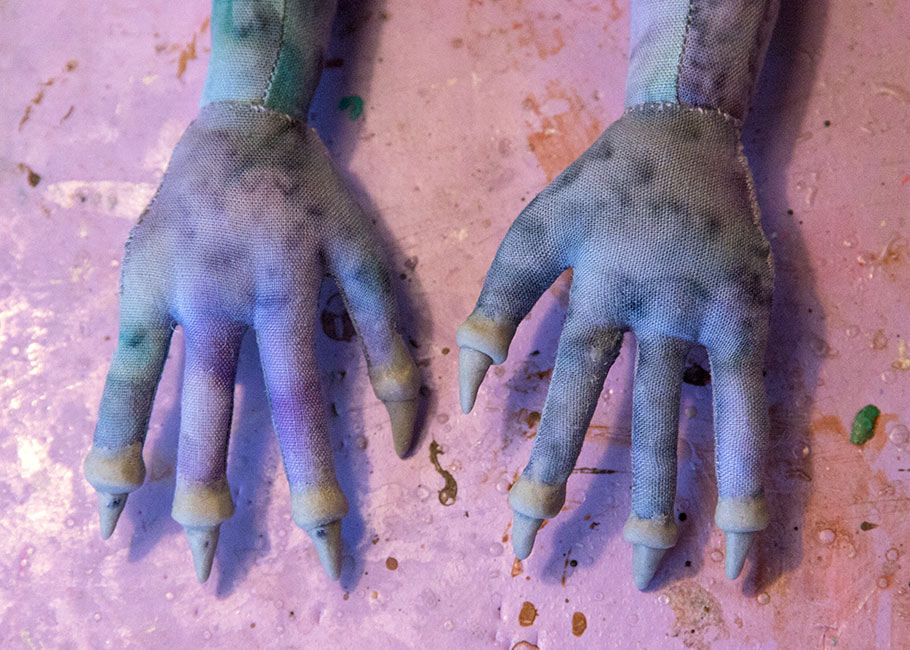
The next step was to build up the ends of the toes with Apoxie...
..as well as the nail-beds on the fingers...
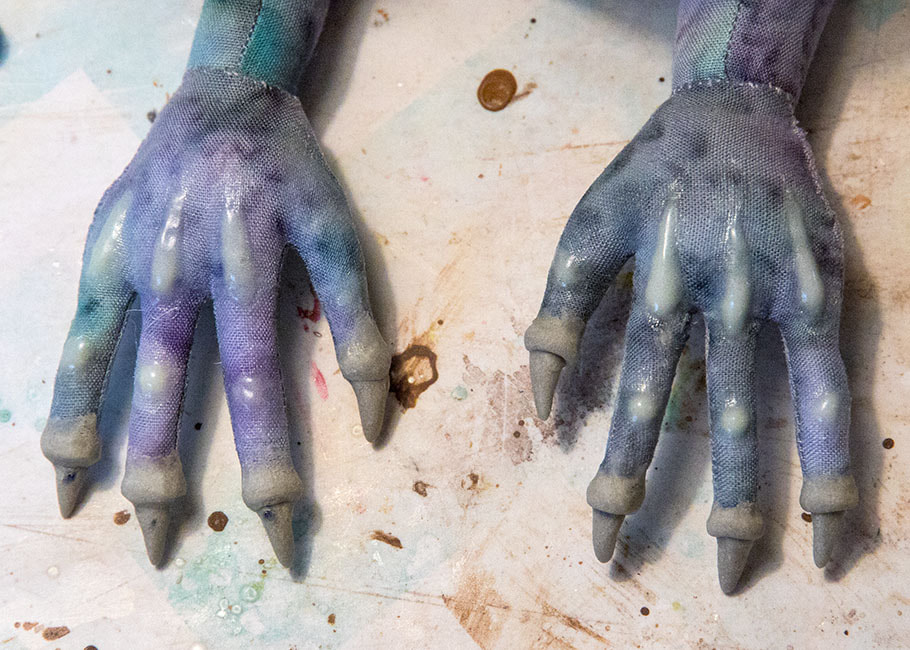
Then I added the knuckles with 3-D fabric paint....
April 27, 2022
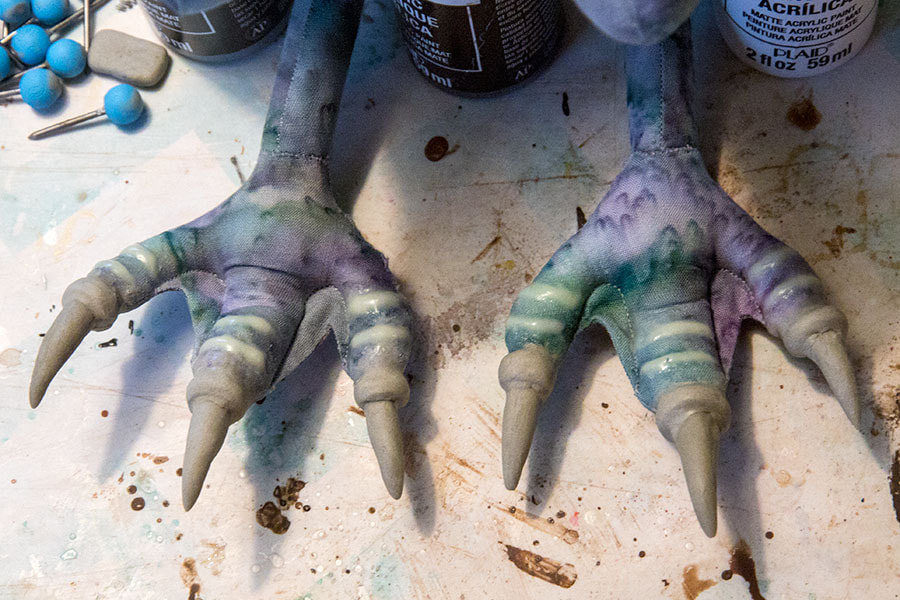
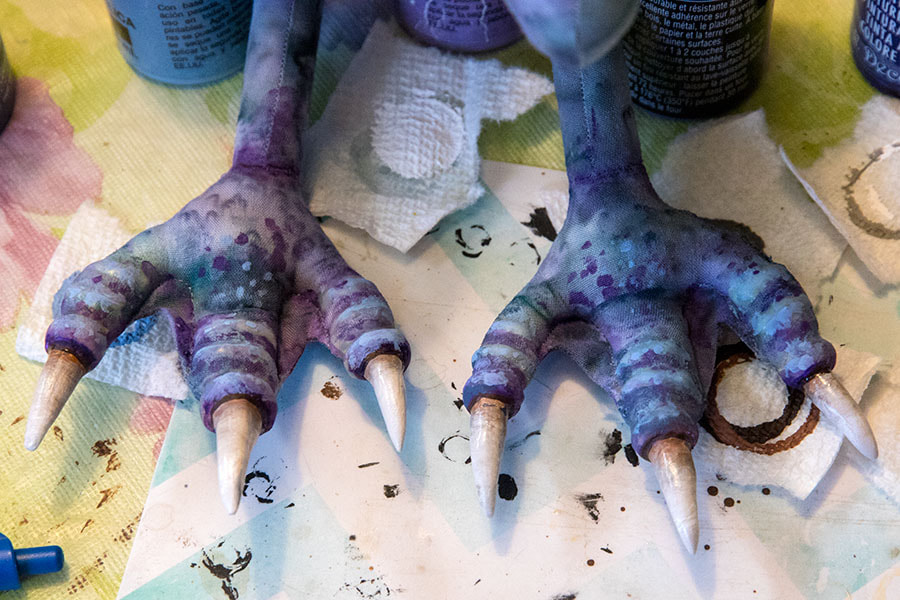
Yesterday I finally painted the feet....
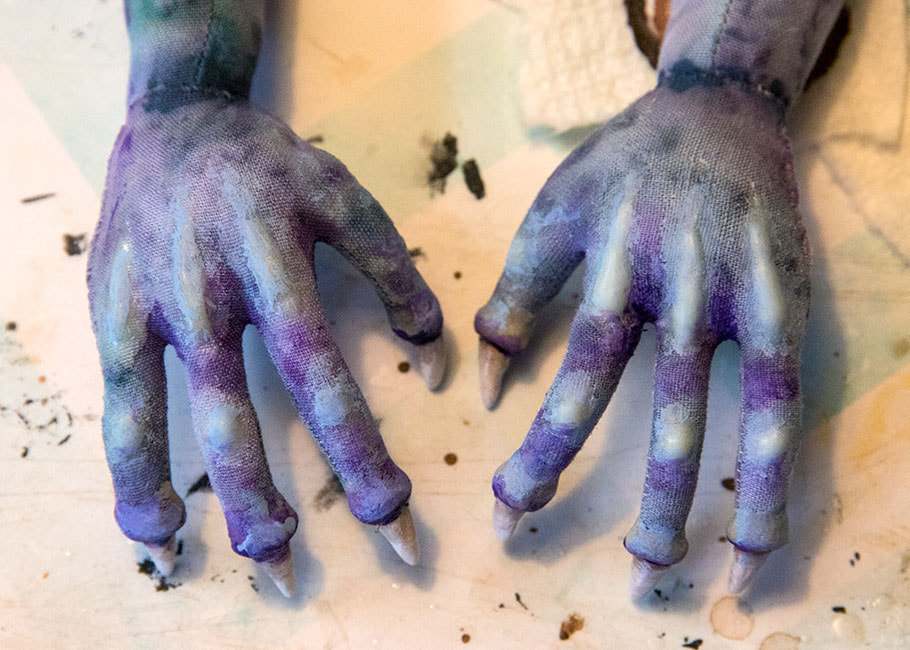
...and the hands....
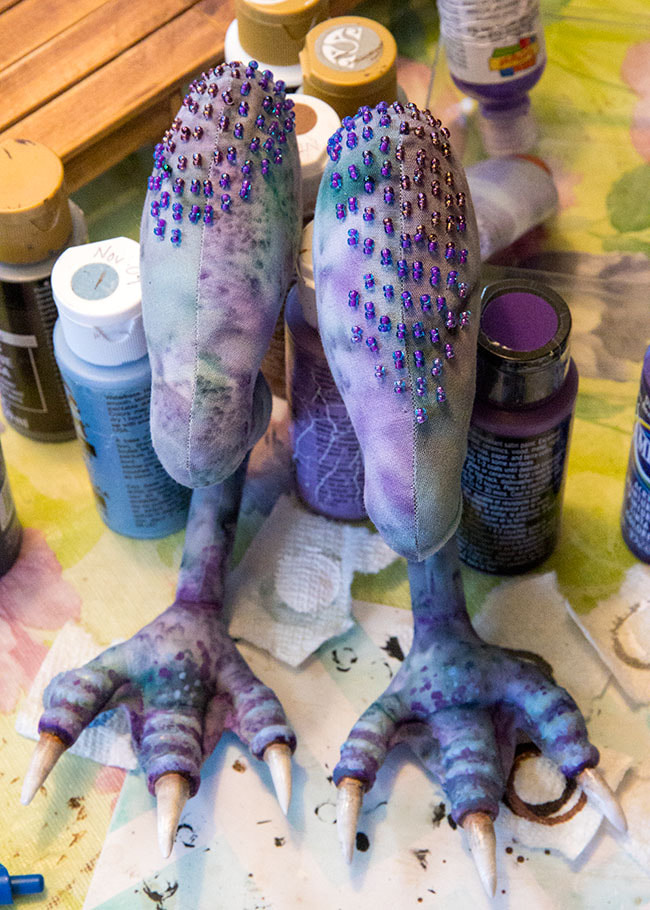
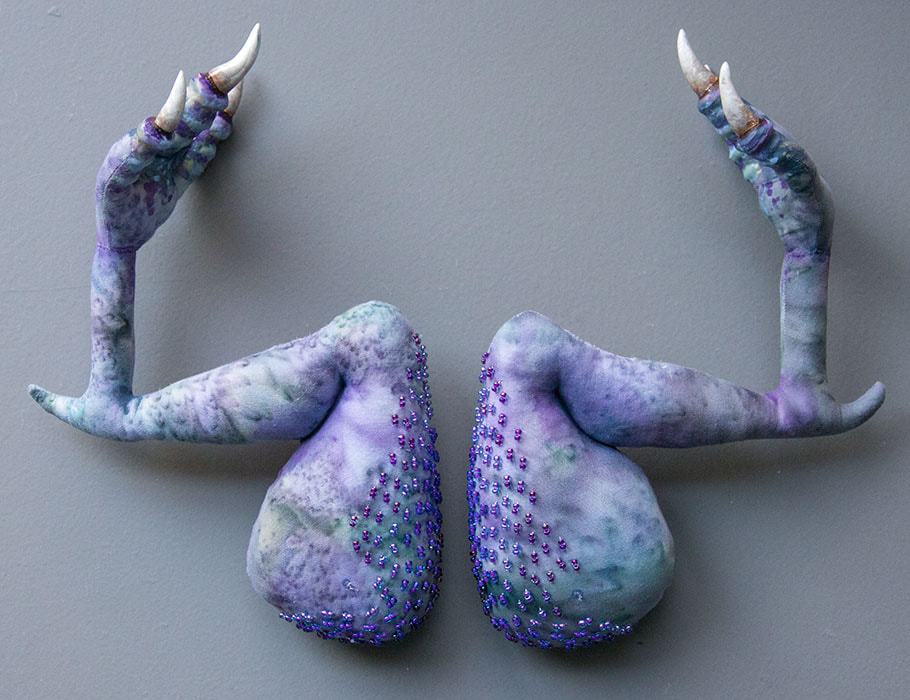
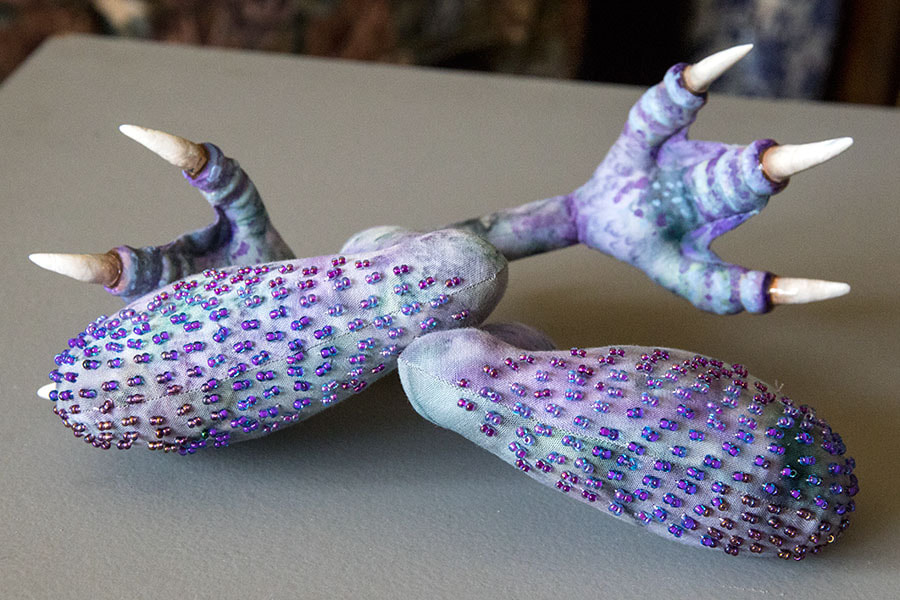
I'd already started the beading on the upper thighs....
*Note that the colour differences between the photos is due to the different lighting. The arms and legs are nowhere near as brightly coloured as in some of the photos. The following photos of the finished 'dragon drumsticks' are closer to the real colour....
Now I have to put her together....
April 30, 2022
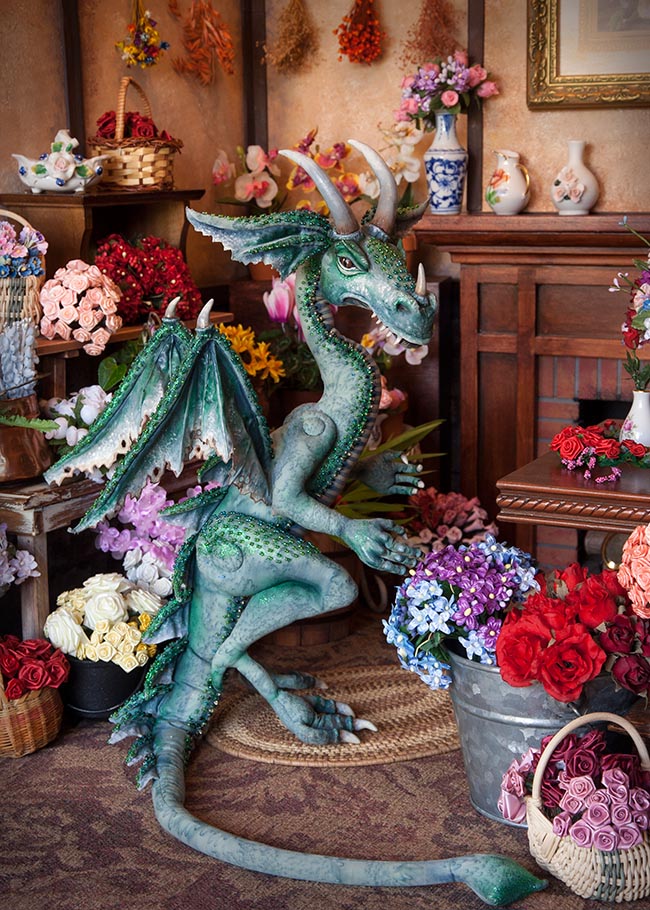
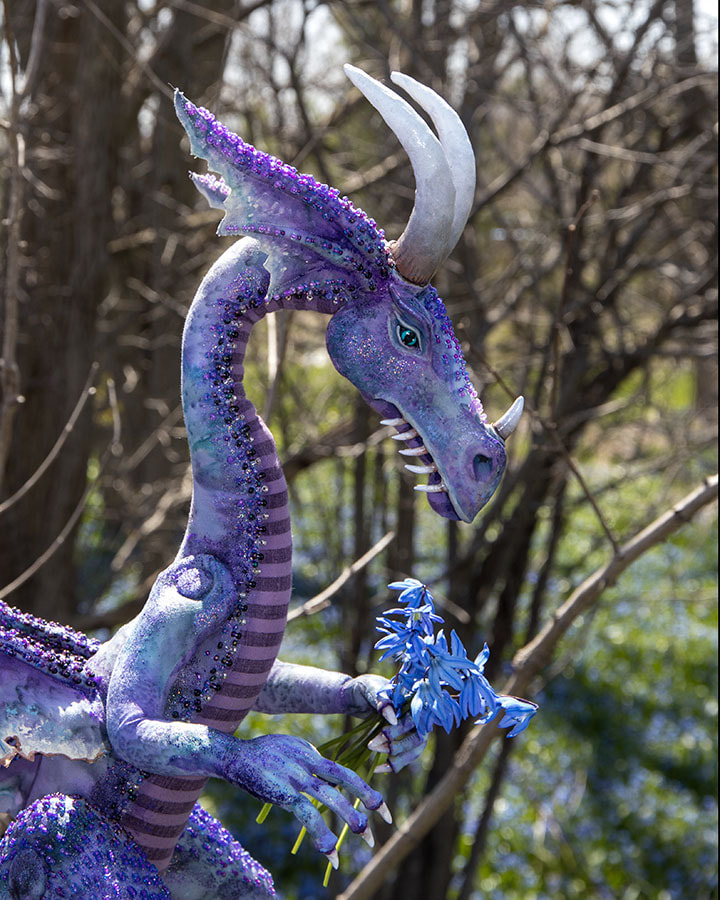
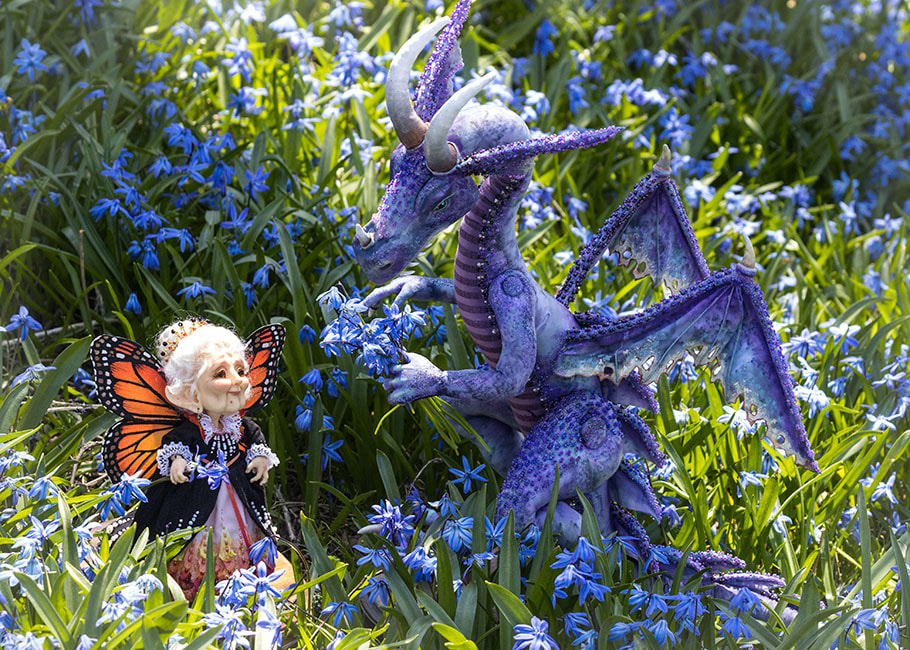
My new dragon is finally finished! That just took five whole weeks, but the way time is flying these days it somehow didn't feel that long.
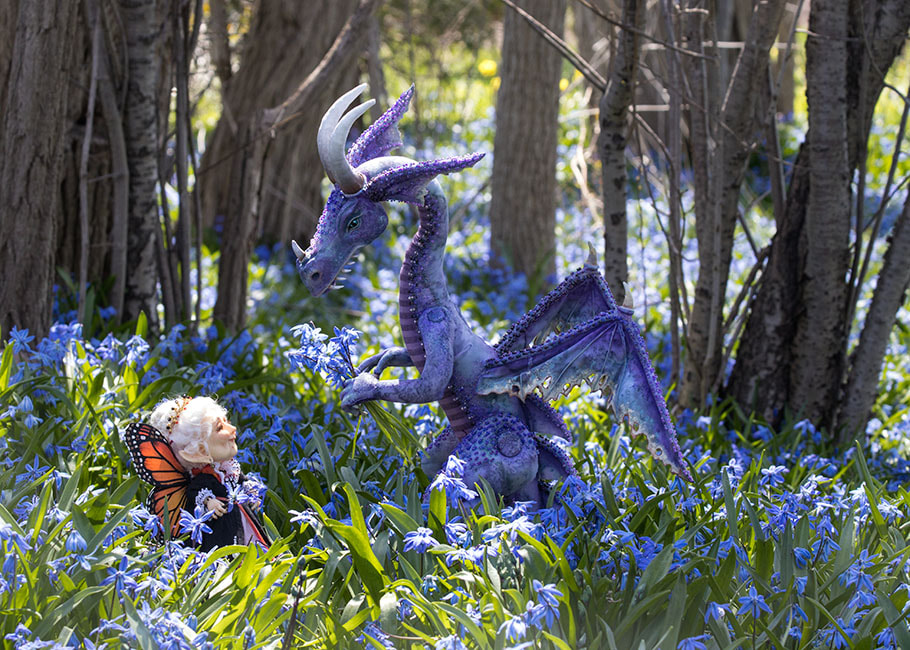
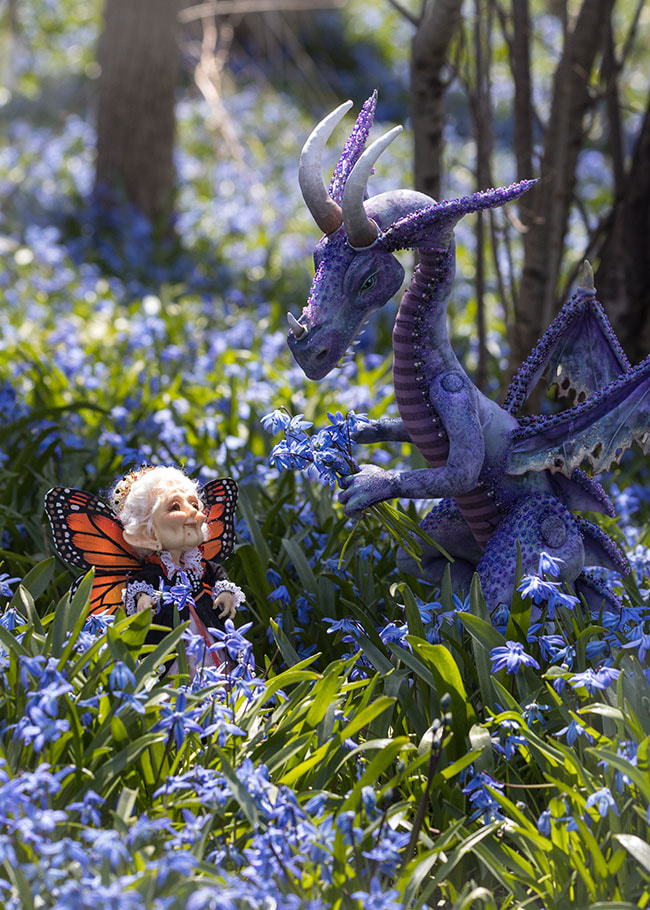
We went to the woods on the town-line yesterday and I took Saphira and Phairby along just in case the scillas were still half-decent. They were still pretty nice under the trees, so I took some photos, even though they were back-lit in the midday sun....
We went to the woods on the town-line yesterday and I took Saphira and Phairby along just in case the scillas were still half-decent. They were still pretty nice under the trees, so I took some photos, even though they were back-lit in the midday sun....
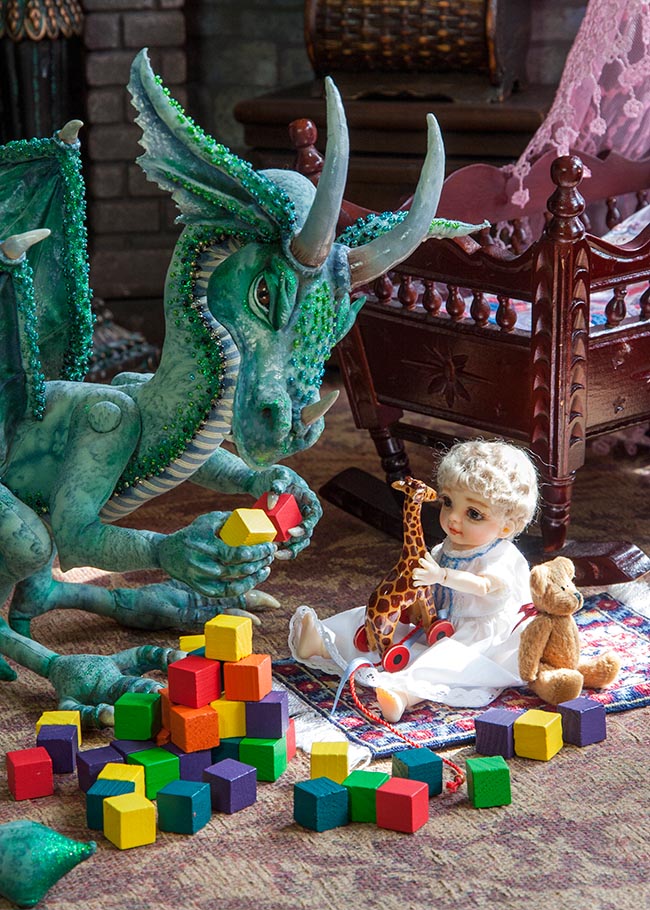
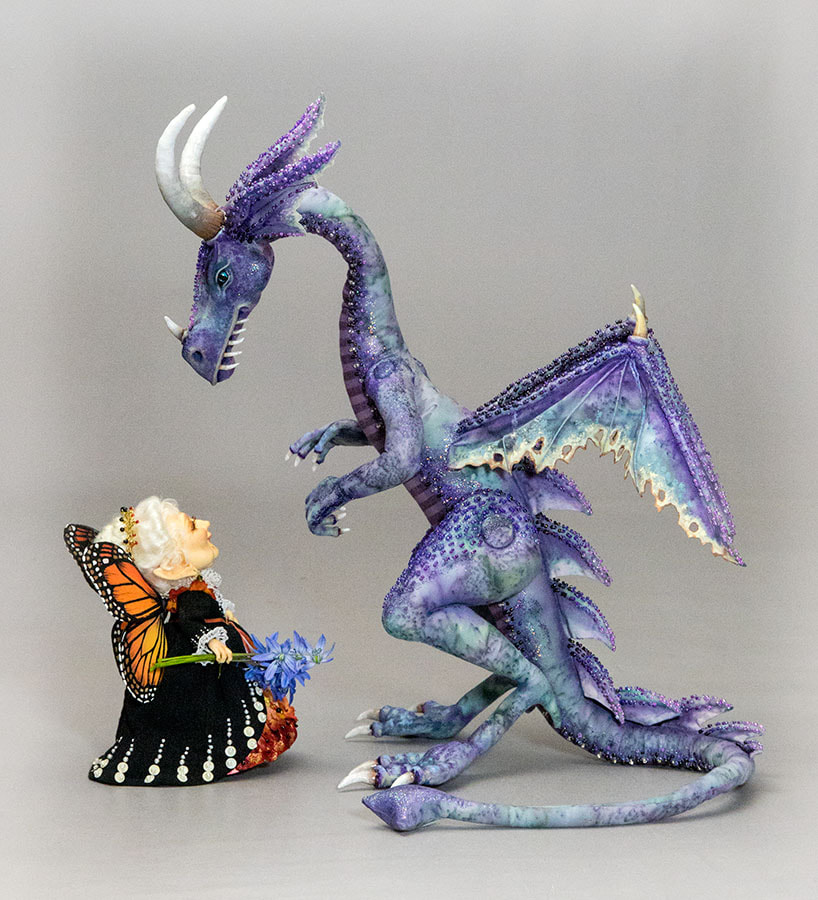
Then back at home in the studio. I have Saphira posed with Phairby, since she's going to get a saddle with a little Elf Warrior rider Phairby's size...
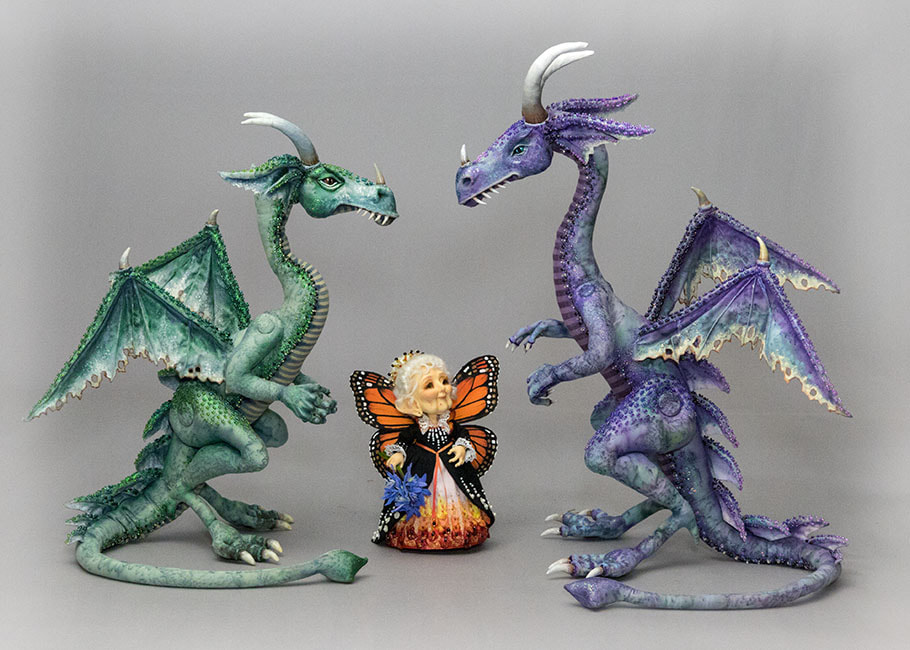
Then a comparison photo with Winston. It's not meant to be their first meeting, but strictly a comparison photo. Saphira is a little bigger, but then female dragons are. I added 1/4" in her upper torso to help accommodate a saddle and rider. I also straightened the curves in the neck so that I can bend it to whatever curves I want without popping the seams. And I also added 1/2" to the length of her lower legs and a bit of width to her thighs. Everything else is from the same patterns.
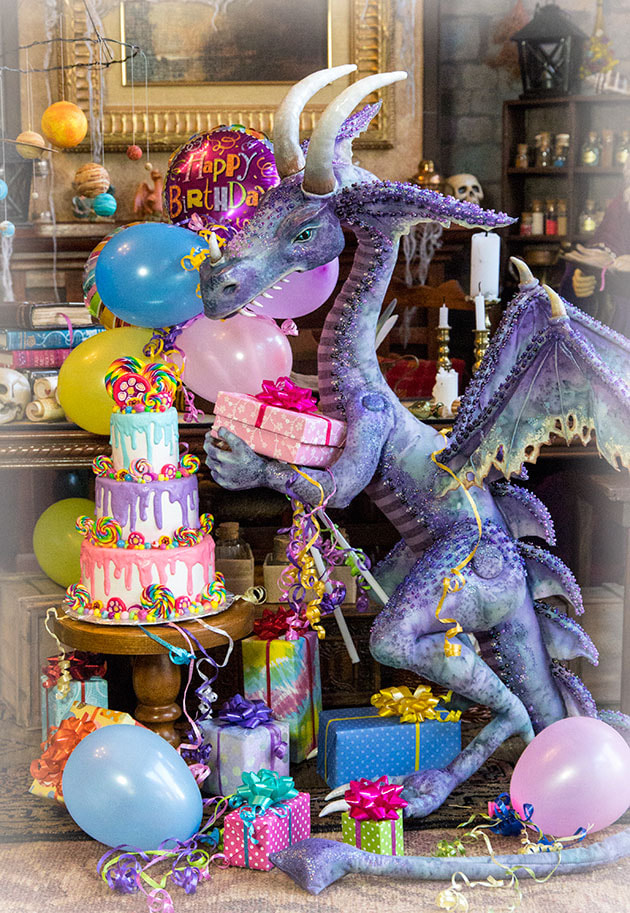
Then to celebrate a friend's birthday, I had her pose with a cake, balloons, and gifts....
Copyright © 2022 Martha Boers
All Rights Reserved
