Making Polymer Clay Buttons
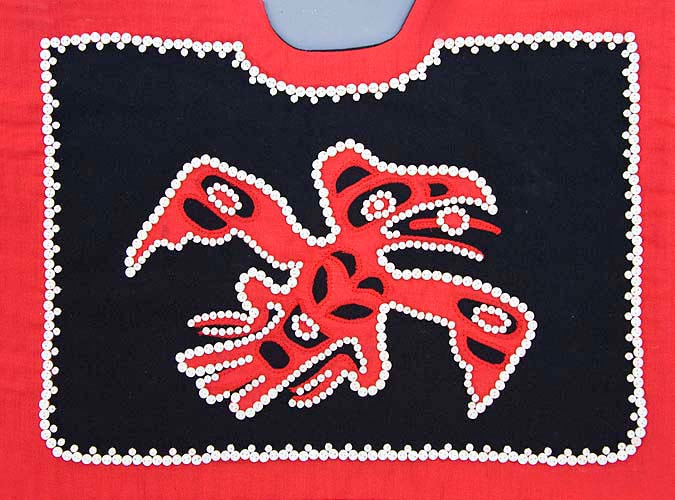
I was making a traditional-style Northwest Coast Native button blanket, and would need many hundreds of pearly white buttons, and didn't want to use the thick 'craft' buttons, so decided to make my own. Making buttons from polymer clay sounds simple enough - roll out the clay, cut out the buttons and poke some holes in it. But it's a lot more complicated than it sounds. For one thing, the clay is very soft, and distorts very easily especially if you touch it. The clay also tends to stick to everything - including the insides of the straws I used to cut out the circle shapes. After a bit of experimenting, I eventually came up with a way to make the buttons without ever touching them with my hands.
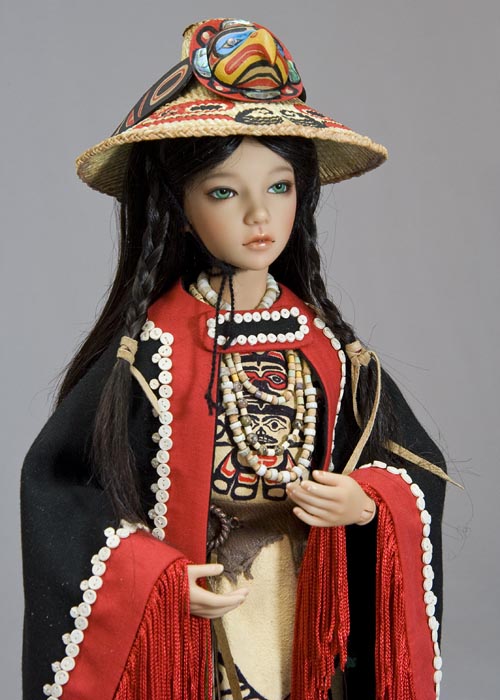
Asa in Pacific Northwest Ensemble
|
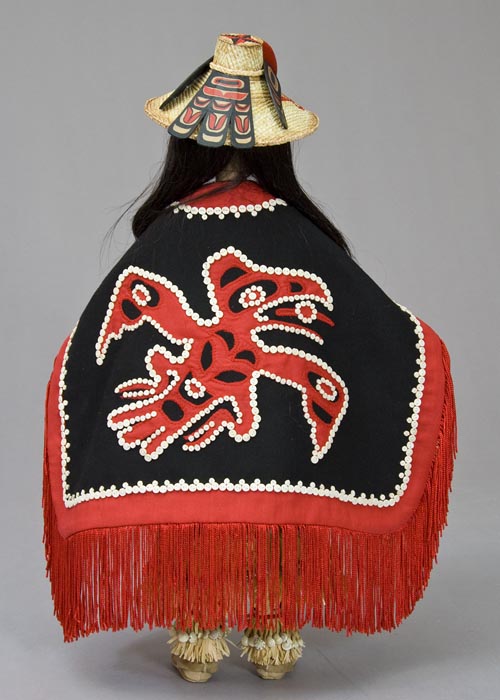
Back of Button Blanket
|
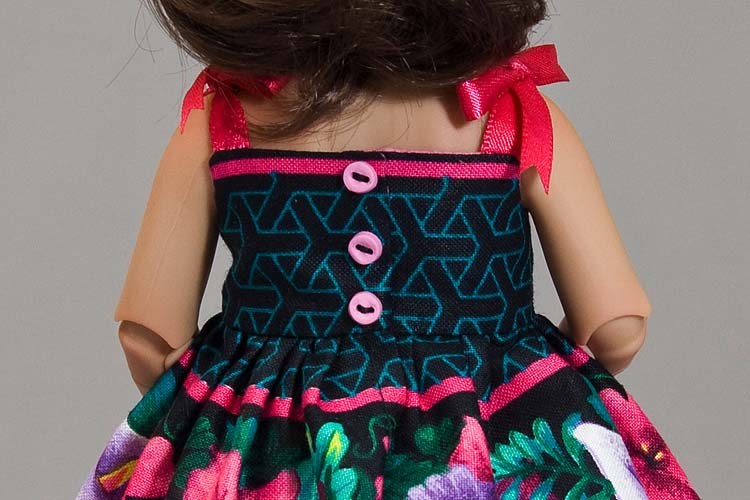
The polymer clay can be mixed in any colour to co-ordinate with your doll's outfit.
You may need to experiment, as the colour of the clay can change during baking.
|
|
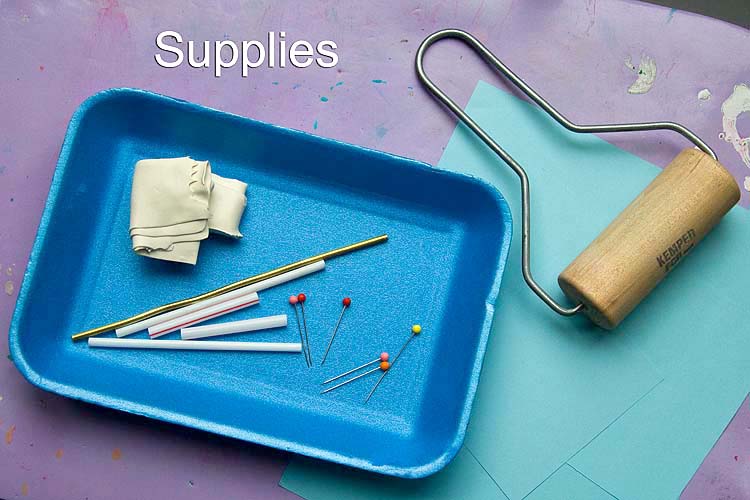
Instructions
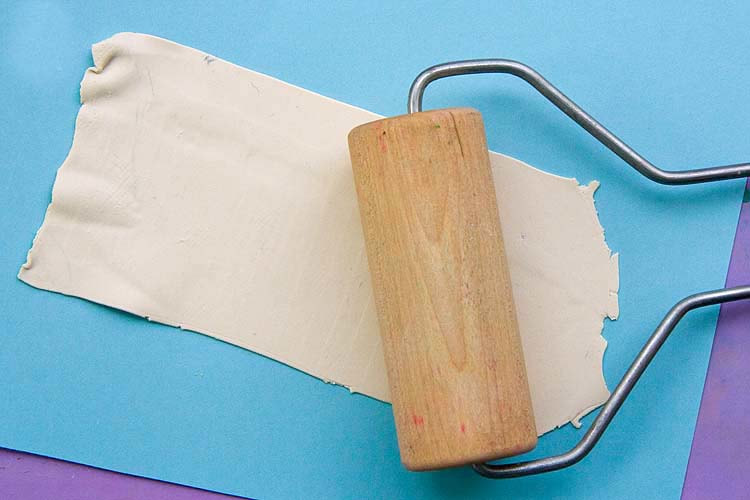
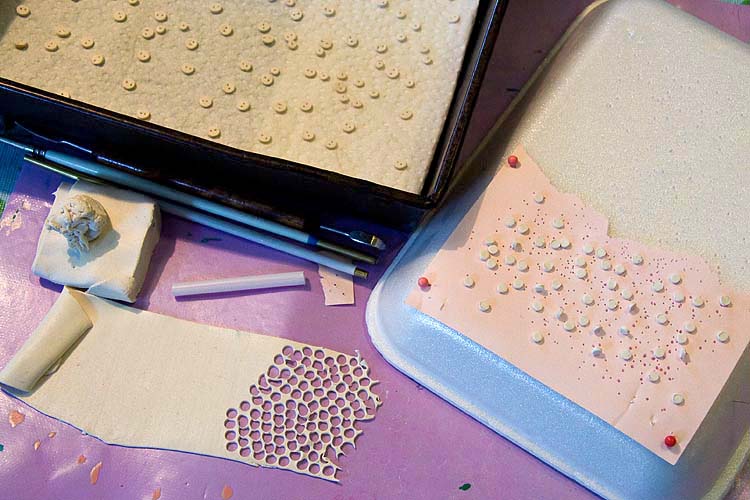
1. Roll out polymer clay on a sheet of paper - or run through pasta machine - to desired thickness
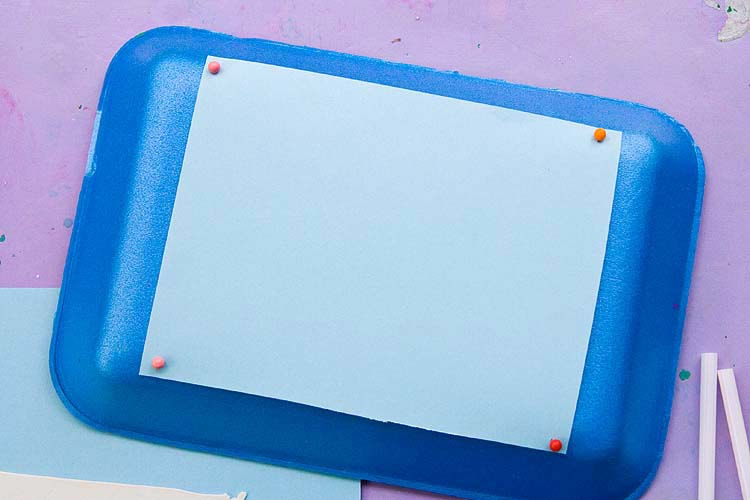
2. Cut a rectangle of paper and pin onto back of Styrofoam tray
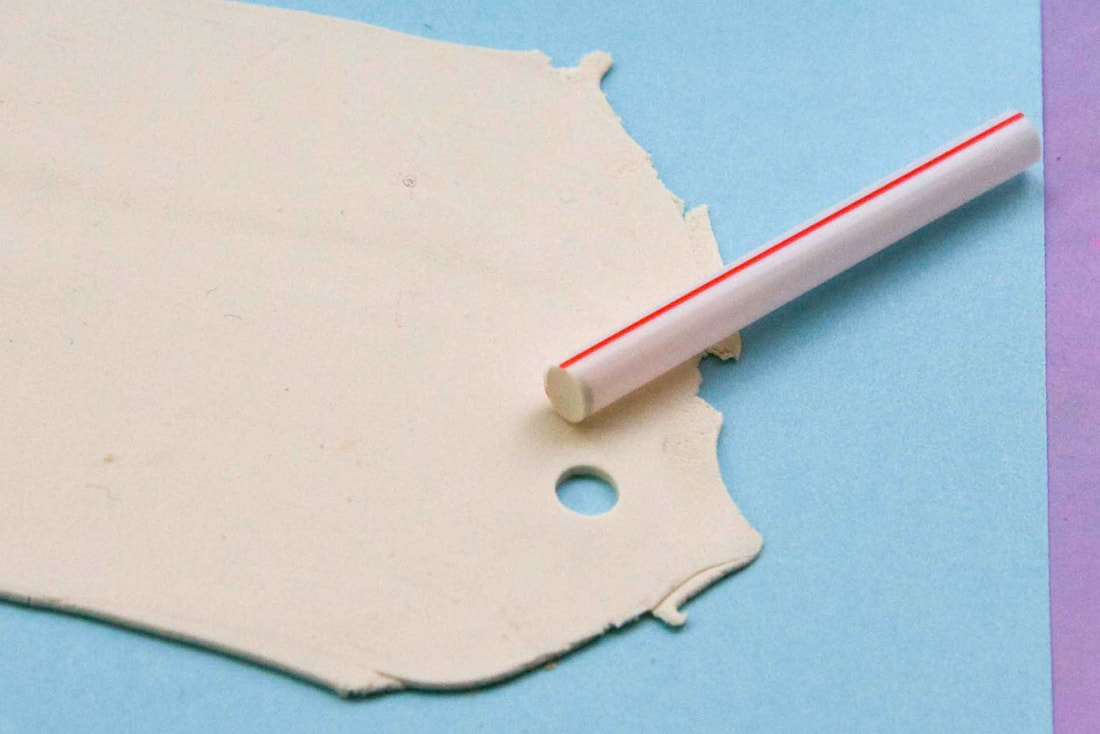
3. Press straw into polymer clay, twist...

3a. Polymer clay will likely be inside straw
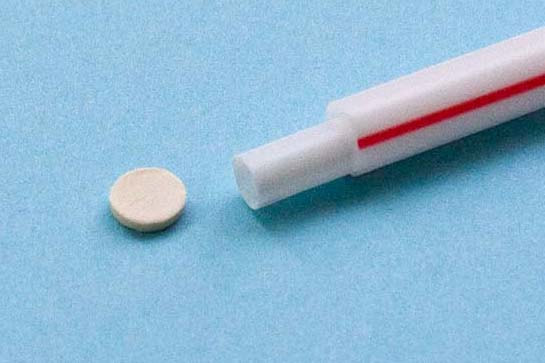
4. Using a smaller straw or flat-ended dowel, push polymer clay disk out onto paper-covered Styrofoam tray
5. Cut tiny square of paper and insert pin through it
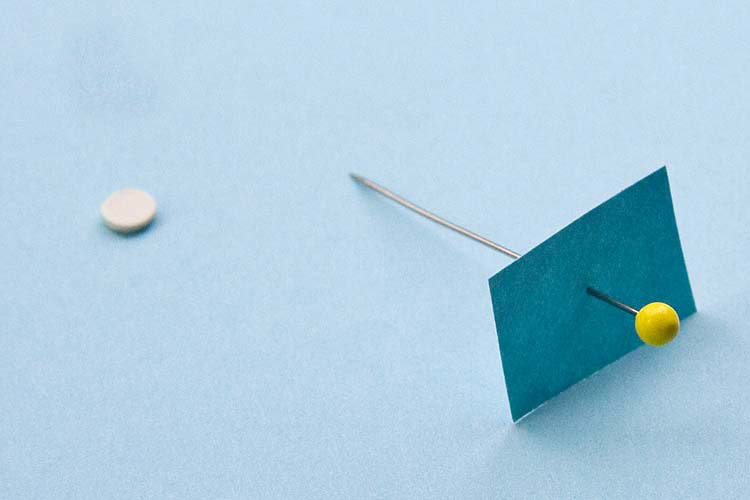
6. Insert pin through polymer clay disk right down through Styrofoam tray in order to make first button hole
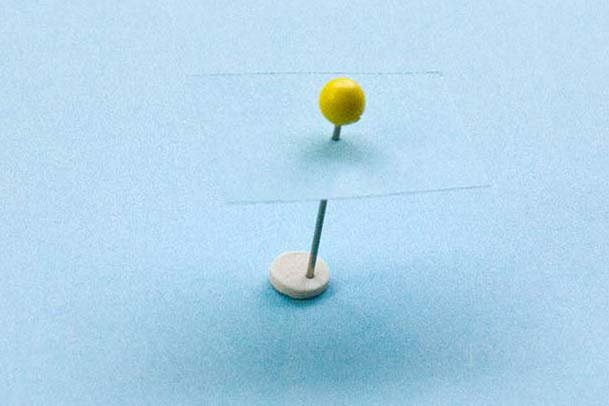
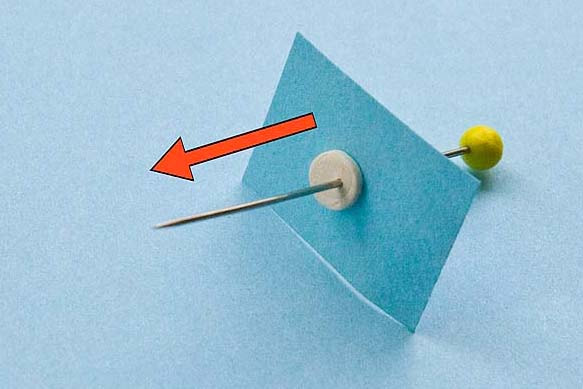
7. When you pull the pin up out of the Styrofoam, the polymer clay button will stick to the pin. Use the small piece of paper to gently push the button off the pin back onto the paper-covered Styrofoam.
8. Insert pin back through paper, and poke second hole through button.
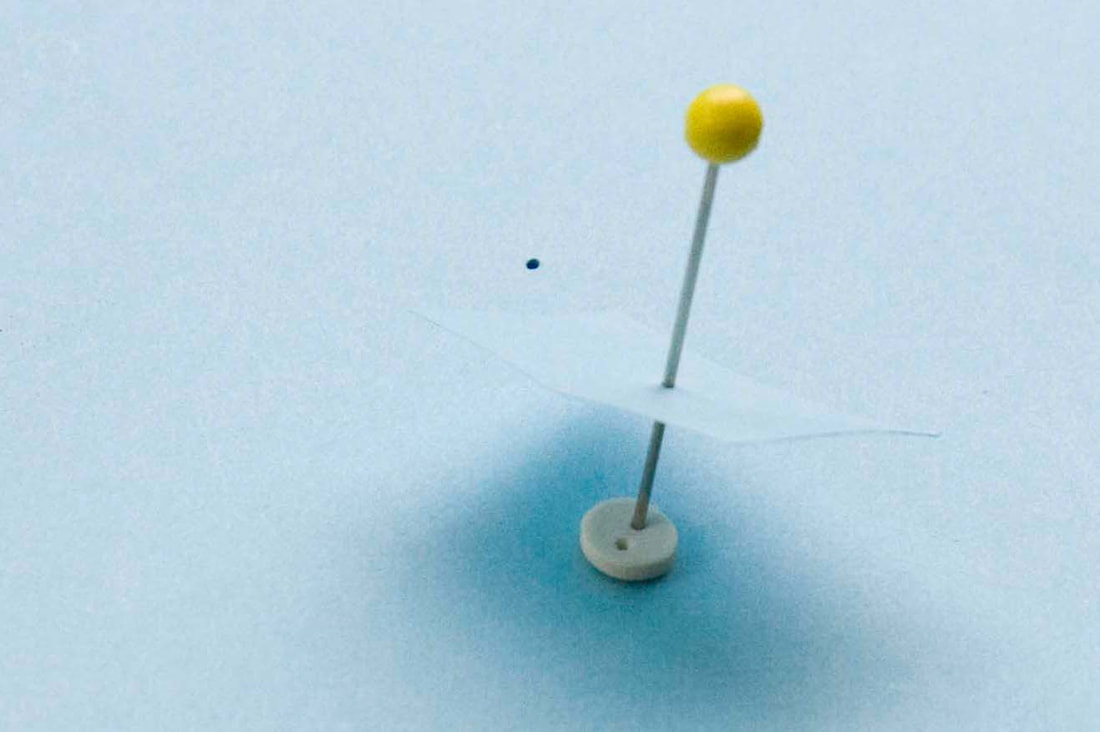
9. This time use paper to gently push button onto paper-towel-covered baking dish.
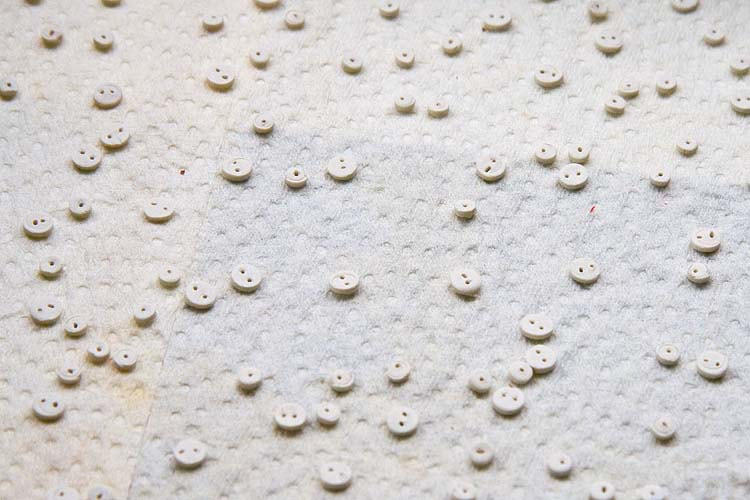
10. Make as many buttons as you need. *It's actually wise to make more than you need as some buttons may end up slightly deformed, or even discolored by the baking process.
Pre-heat oven to 265, then turn down to 250 after putting dish in oven. Bake for 8 minutes. Let cool thoroughly.
Inspiration
The completed button blanket with all the polymer clay buttons sewn on...
Copyright © 2012 Martha Boers
All Rights Reserved
